
Simple Chocolate Crinkle Cookies: A Christmas Classic Made Easy

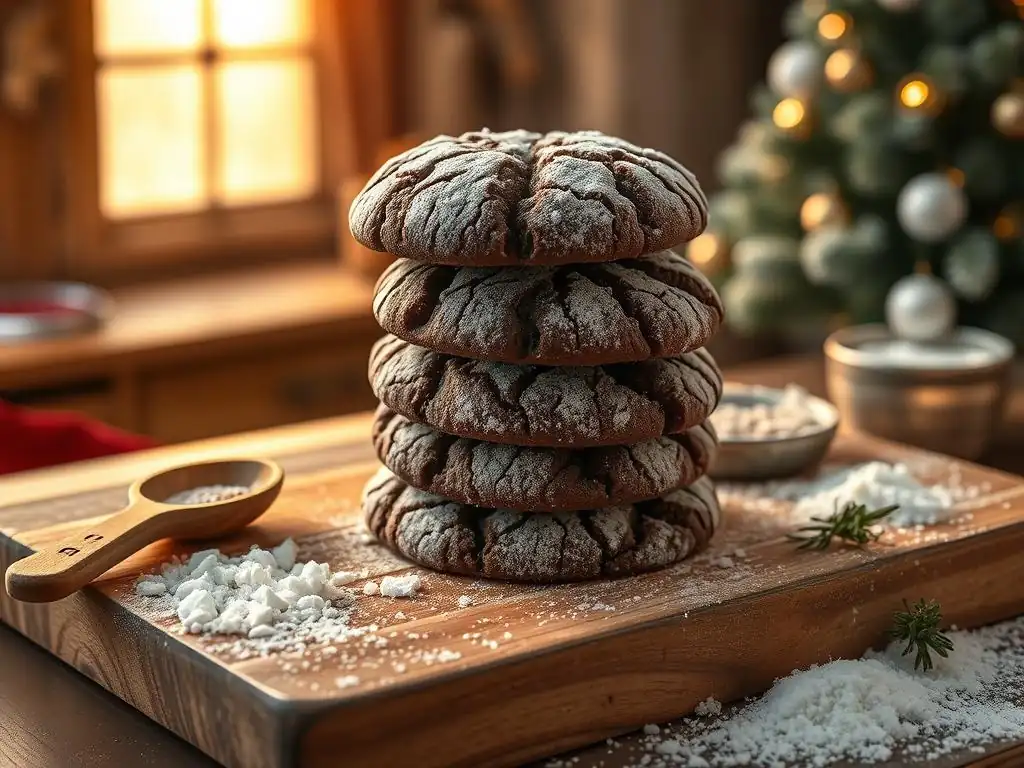
Welcome to BakeWithEase, your ultimate guide to unlocking the joy of baking! Ever dreamed of creating those perfectly cracked, fudgy cookies that melt in your mouth? You're in the right place! Today, we're diving into an easy chocolate crinkle cookie recipe that will become your new go-to, especially during the holidays. But what makes our recipe so special? Let's find out and embark on this delicious journey together!
- Classic Peanut Butter Blossoms: A Holiday Favorite - BakeWithEase.com
- Introduction to Peanut Butter Blossoms
- The Secret to Perfectly Soft Peanut Butter Blossoms
- Ingredients for Your Peanut Butter Blossom Recipe
- Step-by-Step Guide to Making Peanut Butter Blossoms
- Tips and Tricks for Baking the Best Peanut Butter Blossoms
- Serving Suggestions for Your Homemade Peanut Butter Blossoms
- More Easy Christmas Cookie Recipes from BakeWithEase
- Conclusion: Enjoy Baking Peanut Butter Blossoms This Holiday Season
-
Frequently Asked Questions
- What makes this chocolate crinkle cookie recipe "easy"?
- Can I substitute ingredients in this chocolate crinkle cookie recipe?
- How should I store these chocolate crinkle cookies to keep them fresh?
- What causes the signature "crinkles" in these cookies?
- Can I freeze the chocolate crinkle cookie dough for later use?
- Final Reflection: The Enduring Magic of Simple Christmas Baking
- Unleash Your Inner Baker: Make These Crinkle Cookies This Week!
Classic Peanut Butter Blossoms: A Holiday Favorite - BakeWithEase.com
Introduction to Peanut Butter Blossoms
Why Peanut Butter Blossoms are a Holiday Baking Staple
Peanut Butter Blossoms hold a special place in the hearts of many during the festive season, and for good reason. These iconic cookies, with their soft, chewy peanut butter base and signature chocolate kiss pressed into the center, have been a holiday baking tradition for over 70 years. Their origin is often traced back to Freda Smith of Pillsbury in 1957, who entered them into a baking contest. Since then, they've become synonymous with Christmas cookie platters across North America, beloved for their simple yet perfect combination of salty and sweet flavors, and their instantly recognizable look.
Beyond their delicious taste, the simple Peanut Butter Blossom recipe is incredibly accessible for bakers of all skill levels, making them a perfect project for family baking sessions. Their ease of creation, coupled with the delightful reward of a classic cookie, solidifies their status as a non-negotiable addition to holiday cookie exchanges and festive gatherings. The visual appeal of the melted (and then re-hardened) chocolate kiss nestled in the golden peanut butter cookie is charmingly rustic and undeniably festive, embodying the warmth and comfort of the holiday season.
BakeWithEase's Simple Peanut Butter Blossom Recipe for Festive Baking
At BakeWithEase, we believe that holiday baking should be joyful and stress-free, which is why our simple Peanut Butter Blossom recipe is designed for maximum ease and delicious results. We strip away any complicated steps or fancy techniques, focusing on straightforward instructions and common pantry ingredients. Our goal is to empower you to create these classic cookies without fuss, ensuring a successful bake even if you're new to the world of holiday cookies.
This easy Peanut Butter Blossom recipe focuses on achieving that ideal soft, tender texture in the cookie base while ensuring the chocolate remains perfectly set on top. We guide you through each stage, from creaming the butter and sugar to rolling the dough and adding the signature chocolate kiss. By following our simple steps, you'll produce a batch of beautiful and utterly delicious Peanut Butter Blossoms ready to share, gift, or simply enjoy with a cup of hot cocoa. Get ready to fill your home with the irresistible aroma of freshly baked holiday cookies!
The Secret to Perfectly Soft Peanut Butter Blossoms
Understanding the Importance of Softening the Butter
One of the foundational steps to achieving that coveted soft and tender texture in your Peanut Butter Blossoms is properly softening the butter. Butter's temperature significantly impacts the cookie dough's structure. Cold butter doesn't cream well with sugar; it breaks into small pieces, resulting in a dense cookie. Melted butter, on the other hand, causes cookies to spread excessively in the oven, leading to thin, greasy results. Softened butter, ideally around 65-70°F (18-21°C), is pliable but not oily.
When softened butter is creamed with sugar, the sugar crystals cut into the butter, creating tiny air pockets. This process, known as creaming, incorporates air into the dough, which helps the cookies rise and become lighter and softer during baking. Using butter that is too cold or too warm will compromise this aeration process, negatively affecting the final texture of your easy Peanut Butter Blossom recipe. Taking the time to ensure your butter is at the correct temperature is a small step that makes a big difference in the quality of your holiday Peanut Butter Blossoms.
Achieving the Ideal Texture: Chewy and Tender
The perfect Peanut Butter Blossom boasts a chewy center and tender edges, a delightful contrast that makes them so addictive. Achieving this balance involves several factors in our simple Peanut Butter Blossom recipe. Using a combination of granulated sugar and brown sugar is key; brown sugar adds moisture and chewiness due to its molasses content, while granulated sugar contributes to spread and crisping at the edges. The ratio is important – often recipes use slightly more granulated than brown, but a good amount of brown sugar is crucial for chew.
Furthermore, avoiding overmixing the dough after adding the dry ingredients is vital. Overmixing develops the gluten in the flour, which can lead to tougher cookies. We mix just until the flour streaks disappear. Finally, the baking time plays a critical role. Baking the cookies just until the edges are set and the centers look slightly underbaked (they will continue to cook on the hot baking sheet) ensures they remain soft and chewy once cooled. This careful balance of ingredients and technique results in the ideal texture for these classic holiday cookies.
Ingredients for Your Peanut Butter Blossom Recipe
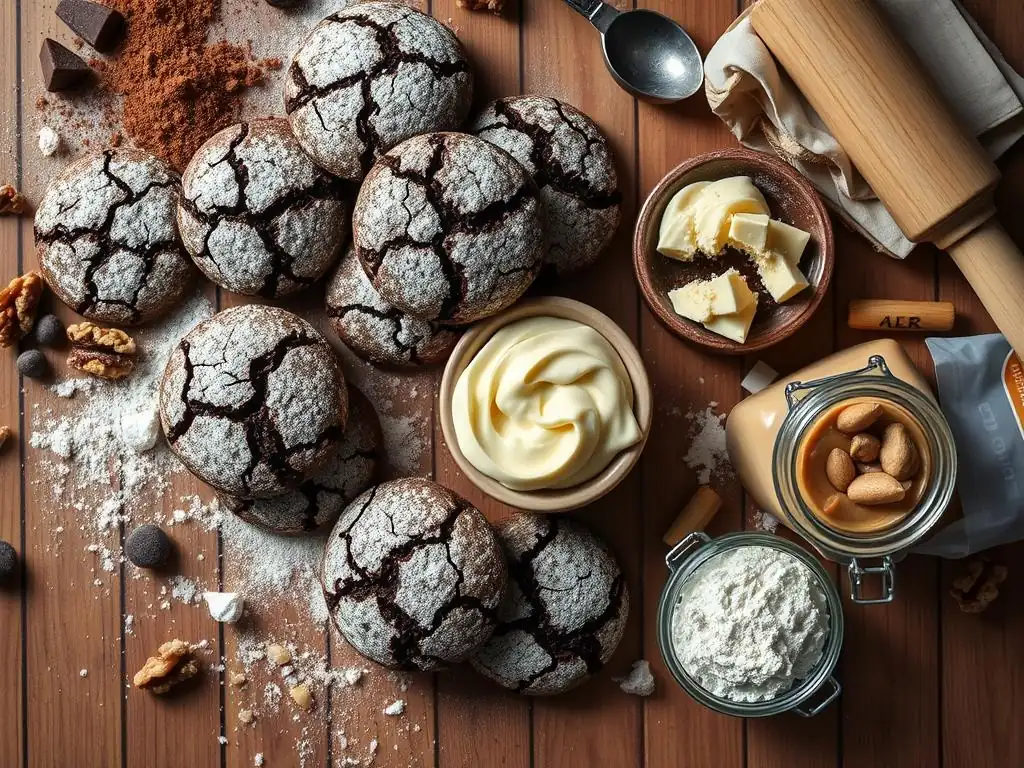
Crafting a batch of delicious Peanut Butter Blossoms relies on a few key ingredients, readily available in most pantries. You'll need all-purpose flour, baking soda for leavening, salt to balance the sweetness, unsalted butter (softened, as we discussed! ), granulated sugar, light brown sugar, eggs to bind everything together, vanilla extract for flavor depth, and of course, creamy peanut butter. Having these staples on hand ensures you can whip up this easy Peanut Butter Blossom recipe whenever the holiday baking mood strikes.
It's important to measure ingredients accurately, especially the flour and leavening agents. Using the spoon-and-level method for flour (gently spooning flour into a measuring cup and leveling it off with a straight edge) prevents packing too much flour, which can result in dry cookies. Fresh baking soda is also crucial for proper lift; check the expiration date on your box. These basic ingredients, when combined correctly, form the foundation for wonderfully tender and flavorful holiday Peanut Butter Blossoms.
Creamy Peanut Butter is Key
The star of the show in a Peanut Butter Blossom is, naturally, the peanut butter. For this specific cookie, creamy, processed peanut butter (like Jif or Skippy) is typically recommended over natural-style peanut butter. Processed peanut butter contains stabilizers and sugar, which contribute to the cookie's consistent texture and sweetness, helping it hold its shape and preventing excessive spreading. Natural peanut butter, which separates and is often less sweet, can result in a drier, more crumbly cookie that doesn't perform as well in this particular recipe format.
While you might prefer natural peanut butter for spreading, for a classic easy Peanut Butter Blossom recipe, the creamy, no-stir variety is your best bet. It provides the necessary structure and rich, uniform peanut butter flavor that is the hallmark of these holiday cookies. Ensure you use peanut butter at room temperature for easier incorporation into the dough.
Choosing the Right Hershey's Kiss
The final touch that transforms a peanut butter cookie into a classic Peanut Butter Blossom is the Hershey's Kiss. While the original recipe calls for standard milk chocolate Hershey's Kisses, don't hesitate to experiment! There are numerous varieties available during the holiday season and year-round, offering fun twists on the classic.
Consider using milk chocolate Kisses for the traditional taste, or dark chocolate Kisses for a richer, less sweet contrast to the peanut butter. White chocolate Kisses can add a different visual and flavor profile, though they melt slightly differently. Peppermint Kisses are a festive option, bringing a minty kick. Ensure you have enough Kisses on hand – you'll need one for each cookie, typically a standard bag will suffice for a batch yielding around 3-4 dozen Peanut Butter Blossoms. Unwrap them while the cookies are baking so they are ready to press into the warm cookies immediately.
Step-by-Step Guide to Making Peanut Butter Blossoms
Making the dough for our easy Peanut Butter Blossom recipe is straightforward. Begin by creaming the softened butter and both sugars together in a large bowl until the mixture is light and fluffy, typically taking 2-3 minutes with an electric mixer. This step is crucial for incorporating air. Next, beat in the egg and vanilla extract until well combined. In a separate bowl, whisk together the flour, baking soda, and salt.
Gradually add the dry ingredients to the wet ingredients, mixing on low speed just until the flour is incorporated and no dry streaks remain. Be careful not to overmix. Finally, beat in the creamy peanut butter until the dough is uniform in color and texture. The dough should be relatively soft but manageable.
Rolling and Shaping: Creating the Classic Blossom Shape
Once the dough is ready, it's time to shape the cookies. Many recipes recommend chilling the dough for at least 30 minutes to make it easier to handle, although our easy Peanut Butter Blossom recipe is forgiving enough that you can often proceed immediately, especially if your kitchen isn't too warm. Roll the dough into small balls, roughly 1 inch in diameter. You can use a cookie scoop for consistency, aiming for about 1 to 1.5 tablespoons of dough per cookie.
After rolling, tradition dictates rolling the dough balls in granulated sugar before placing them on the prepared baking sheets (lined with parchment paper is recommended for easy cleanup and even baking). This sugary coating gives the cookies a beautiful sparkle and a slight crispness on the exterior, contrasting with the soft interior. Space the balls about 2 inches apart on the baking sheet as they will spread slightly.
Baking to Perfection: Achieving the Right Doneness
Baking time for Peanut Butter Blossoms is relatively short, typically 8-10 minutes in a preheated oven at 375°F (190°C). You're looking for the edges of the cookies to appear set and lightly golden brown, while the centers still look a bit soft and puffy. Avoid overbaking, as this will result in dry, hard cookies rather than the desired soft and chewy texture.
The exact baking time will vary depending on your oven and the size of your cookies, so it's best to start checking around the 8-minute mark. The cookies will continue to firm up as they cool on the baking sheet after coming out of the oven. Once baked, remove the baking sheet from the oven and immediately proceed to the next step – adding the Kisses.
Adding the Hershey's Kiss: The Finishing Touch
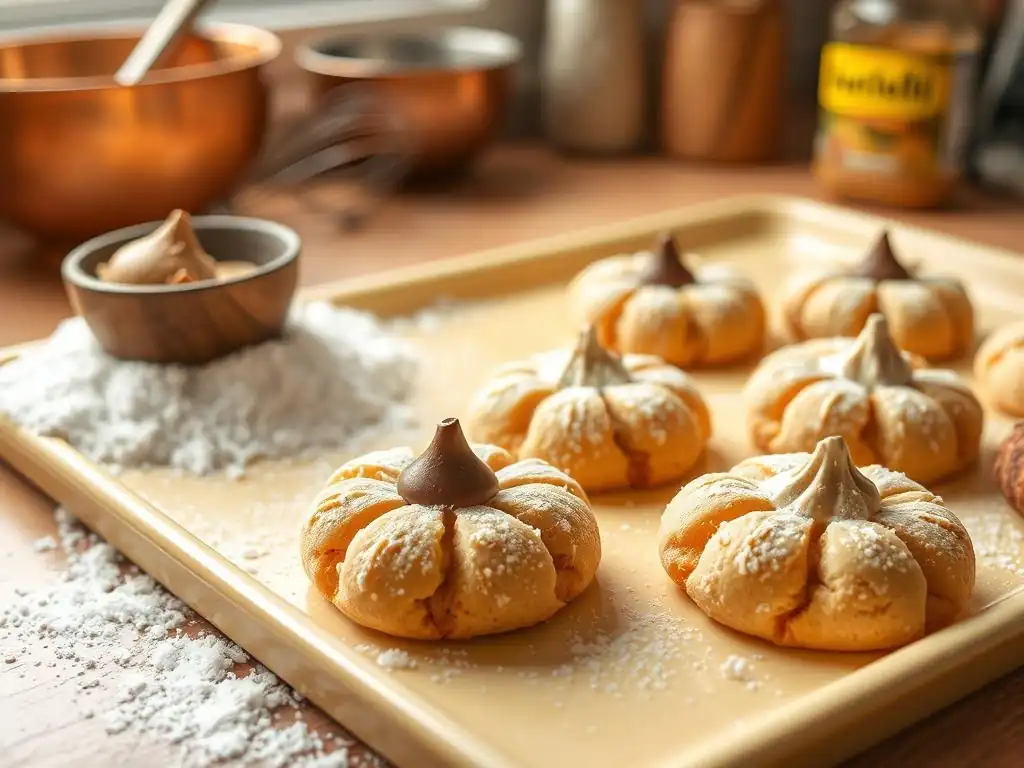
This is the signature moment! Immediately after removing the hot cookies from the oven, gently press an unwrapped Hershey's Kiss into the center of each cookie. The heat from the cookie will slightly melt the base of the chocolate, allowing it to adhere and creating that classic "blossom" effect as the cookie slightly cracks around the edges when pressed.
Be gentle when pressing; you want the Kiss to sit nestled in the center, not pushed all the way through the cookie. If a cookie cracks excessively, you can gently press the edges back together. Allow the cookies to cool on the baking sheet for 5-10 minutes before carefully transferring them to a wire rack to cool completely. As the cookies cool, the chocolate Kiss will re-harden, creating the perfect finished Peanut Butter Blossom.
Tips and Tricks for Baking the Best Peanut Butter Blossoms
Troubleshooting Common Peanut Butter Blossom Problems
Even with a simple Peanut Butter Blossom recipe, you might encounter a few common issues. If your cookies spread too much, ensure your butter wasn't too soft or melted, measure your flour accurately (too little flour causes spread), and consider chilling the dough slightly before rolling. If they are too dry or crumbly, you might have overmeasured the flour, overbaked them, or your baking soda isn't fresh.
Cookies not cracking around the Kiss? This usually happens if you wait too long after taking them out of the oven to press the Kisses in. The cookies need to be hot enough to allow the chocolate to melt slightly and the cookie structure to yield. If the Kisses won't stick, the cookie might have cooled too much; you can try gently reheating the cookie for just 30 seconds in a warm oven or microwave before pressing the Kiss, but this can be tricky. Following the steps promptly after baking is key to success.
Variations and Flavor Enhancements for Your Blossoms
While the classic Peanut Butter Blossom is perfect as is, feel free to get creative! Instead of rolling the dough in granulated sugar, try using colored sanding sugar for a more festive look. You can also roll them in powdered sugar after they cool (though this isn't traditional) for a different aesthetic.
Experiment with different types of chocolate Kisses, as mentioned earlier – dark chocolate, white chocolate, or even flavored varieties like caramel or special holiday editions. For an extra layer of flavor, add a pinch of cinnamon or nutmeg to the dough along with the dry ingredients. Some bakers like to add a teaspoon of peanut butter extract for an intensified peanut butter flavor. These simple tweaks can add a personal touch to your easy Peanut Butter Blossom recipe.
Storing Your Peanut Butter Blossoms for Maximum Freshness
Proper storage is essential to keep your homemade Peanut Butter Blossoms soft and delicious. Once completely cooled (ensure the chocolate Kisses are fully set), store the cookies in an airtight container at room temperature. Layer them between sheets of parchment paper or wax paper to prevent the Kisses from sticking to each other or the lid.
When stored correctly, Peanut Butter Blossoms will stay fresh and soft for about 5-7 days. If you want to store them longer, they freeze beautifully. Place the cooled cookies in a single layer on a baking sheet to freeze solid, then transfer them to a freezer-safe airtight container or bag, again layering with parchment paper. Frozen Peanut Butter Blossoms can last for up to 2-3 months. Thaw them at room temperature before serving.
Serving Suggestions for Your Homemade Peanut Butter Blossoms
Peanut Butter Blossoms: The Perfect Christmas Treat
Peanut Butter Blossoms are the quintessential Christmas cookie, gracing holiday platters with their festive appearance and comforting taste. They are ideal for cookie exchanges, homemade gifts for friends and family, or simply as a delightful treat to have on hand during the busy holiday season. Their relatively sturdy nature (once the chocolate is set) makes them easy to transport, perfect for bringing to parties or potlucks.
The combination of the soft, sweet, and slightly salty peanut butter cookie with the smooth, melting chocolate is universally appealing. They evoke feelings of nostalgia and holiday warmth, making them a welcome addition to any festive occasion. Serve them alongside other holiday favorites from BakeWithEase for an impressive spread.
Pairing Ideas: Complementing Flavors and Drinks
Peanut Butter Blossoms pair wonderfully with a variety of beverages. A classic choice is a cold glass of milk, which complements the richness of the peanut butter and chocolate perfectly. For a warm option, hot cocoa or a simple black tea are excellent companions. Coffee also works well, especially a medium roast that won't overpower the cookie's flavor.
If you're serving them as part of a dessert spread, consider pairing them with other contrasting flavors and textures. Sugar cookies, gingerbread cookies, or shortbread offer different profiles. A fruit tart or a lighter, creamy dessert can also provide a nice balance to the richness of the Peanut Butter Blossoms. Their distinct flavor profile makes them a standout on any holiday dessert table.
Explore Our Holiday Baking Collection
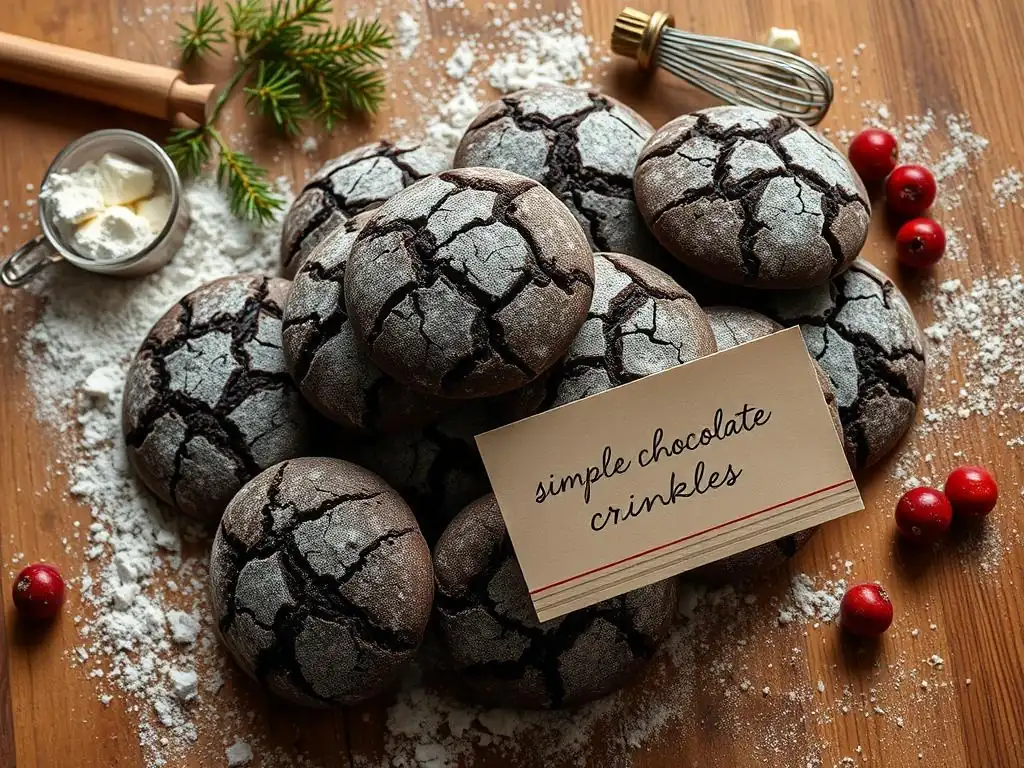
Discover a wide array of easy-to-follow Christmas cookie recipes on BakeWithEase.com. From classic sugar cookies perfect for decorating to spicy gingerbread and festive shortbread, our collection is designed to help you fill your holiday season with delicious homemade treats. Each recipe provides clear instructions and helpful tips to ensure your baking is successful and enjoyable, allowing you to create a diverse and beautiful assortment for your holiday celebrations. Find your next favorite holiday cookie and expand your festive baking repertoire with BakeWithEase.
Conclusion: Enjoy Baking Peanut Butter Blossoms This Holiday Season
Baking Peanut Butter Blossoms is a rewarding and enjoyable holiday tradition that yields truly delightful results. Our simple Peanut Butter Blossom recipe is crafted to make the process easy and accessible, ensuring you can create these classic cookies with confidence. From the perfect soft texture to the iconic chocolate kiss, every element comes together to form a cookie that embodies the spirit of holiday baking. So gather your ingredients, get your oven ready, and enjoy the process of making these beloved festive treats. Happy baking from all of us at BakeWithEase!
Frequently Asked Questions
This recipe simplifies the classic by using common pantry ingredients and straightforward instructions. It avoids complicated techniques, making it perfect for beginner bakers.
While the recipe is designed for ease, you can make some substitutions. For example, you can use different types of chocolate, but be mindful that it may affect the final texture and flavor.
Store the cooled cookies in an airtight container at room temperature. This will help maintain their soft and chewy texture for several days.
The combination of chilling the dough and rolling the cookies in powdered sugar creates the cracked, crinkled appearance during baking.
Yes, you can freeze the dough! Wrap it tightly in plastic wrap and store it in a freezer bag. Allow it to thaw in the refrigerator before rolling and baking for fresh cookies anytime.
Final Reflection: The Enduring Magic of Simple Christmas Baking
The comforting aroma of warm chocolate and the satisfying crackle of a perfectly crinkled cookie remain timeless symbols of Christmas joy, and this simple recipe ensures that magic is accessible to everyone. These aren't just cookies; they're a gateway to cherished memories and the spirit of the season, easily recreated in any kitchen.
The enduring appeal of baking, particularly during the holidays, lies in its ability to connect us to tradition and loved ones. It's a tangible expression of care and a shared experience that transcends generations. The best things in life are homemade.
This sentiment perfectly captures the heart of this recipe – a simple approach to creating something truly special, fostering a sense of accomplishment and warmth. The ease of the recipe allows even novice bakers to participate in this cherished tradition, making it a truly inclusive and joyful experience.
So, this Christmas, I encourage you to dust off your mixing bowls and embrace the simplicity of this recipe. Don't be intimidated by the seemingly complex texture; the process is surprisingly straightforward. Let the aroma fill your home with festive cheer, and share the delicious results with those you cherish. The joy of baking, and the joy of sharing, are gifts far more precious than any store-bought treat. Let the crinkle of these cookies be a reminder of the simple pleasures and enduring magic of the season.
Thanks for taking the time to explore our simple recipe for Christmas Crinkle Cookies! We hope you found the instructions easy to follow and are ready to bake up some delicious holiday treats. Now, let's get those cookies in the oven!
- Bake a batch (or two!) of these irresistible cookies: Gather your ingredients and follow the recipe – you deserve a delicious reward!
- Share your baking success: Post a picture of your finished cookies on social media and tag us – we’d love to see your creations! Use #BakeWithEaseCrinkles
- Challenge a friend to a baking duel: See who can make the most perfectly crinkled cookies!
Ready to transform your kitchen into a Christmas cookie wonderland? What’s your favorite holiday baking tradition?