
Homemade Vanilla Pudding from Scratch: Rich and Creamy

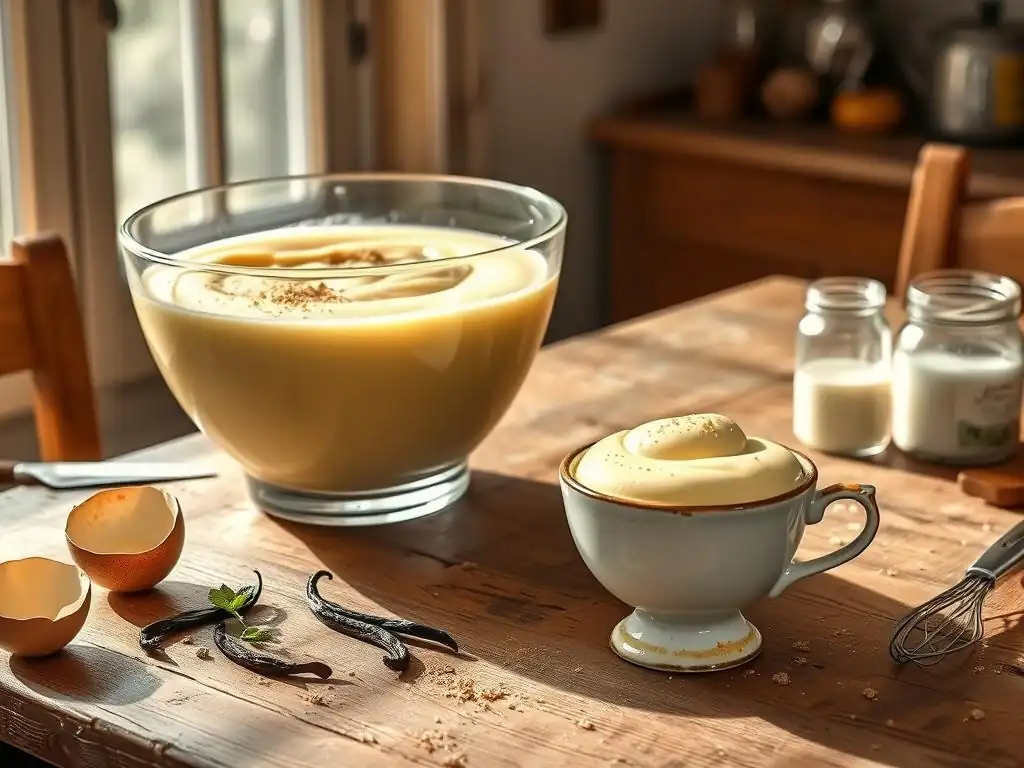
Welcome to BakeWithEase, your kitchen companion for effortless baking adventures! Ever dreamt of creating a dessert that's both comforting and impressive? Dive into our world of delectable delights and discover just how simple it can be to whip up a homemade vanilla pudding that's unbelievably rich and creamy. Ready to trade store-bought for scratch-made goodness? The secrets to this classic treat are waiting just below.
- BakeWithEase's Easy Homemade Vanilla Pudding Recipe
- Key Ingredients for the Best Vanilla Pudding
- Step-by-Step Guide to Making Homemade Vanilla Pudding
- Tips for Perfect Homemade Vanilla Pudding Every Time
- Variations on the Classic Vanilla Pudding Recipe
- Serving Suggestions for Your Creamy Vanilla Pudding
- Troubleshooting Common Vanilla Pudding Problems
- Enjoy Your Delicious, Easy Homemade Vanilla Pudding!
-
Frequently Asked Questions
- What makes this vanilla pudding recipe "easy"?
- Can I substitute any ingredients in this vanilla pudding recipe?
- How do I prevent lumps from forming in my homemade vanilla pudding?
- How long does homemade vanilla pudding last in the refrigerator?
- What are some serving suggestions for this homemade vanilla pudding?
- Final Reflection: The Enduring Comfort of Homemade
- Unleash Your Inner Pastry Chef: Make Creamy Vanilla Pudding Today!
BakeWithEase's Easy Homemade Vanilla Pudding Recipe
Why Make Vanilla Pudding from Scratch?
Making vanilla pudding from scratch offers a depth of flavor and a creamy texture that simply cannot be replicated by a box mix. While convenient, most instant or cook-and-serve pudding mixes rely heavily on artificial flavors, colors, and stabilizers like tetrasodium pyrophosphate and disodium phosphate. These ingredients create a quick gel, but they lack the richness and complexity derived from cooking fresh milk, eggs, sugar, and real vanilla gently on the stovetop. The process of whisking the custard base and watching it transform is also incredibly rewarding, connecting you to traditional baking techniques.
Furthermore, creating your own easy homemade vanilla pudding recipe gives you complete control over the ingredients. You can choose the quality of your dairy, the type of sugar, and, most importantly, the form of vanilla you use, whether it's premium extract or a fragrant vanilla bean. This control allows you to tailor the sweetness and richness to your personal preference and avoid unwanted additives, resulting in a purer, more natural taste that highlights the simple elegance of vanilla. The difference in taste is often described as night and day, with homemade offering a truly luxurious experience.
The Appeal of a Rich and Creamy Homemade Dessert
There's something inherently comforting and satisfying about a rich and creamy homemade dessert like vanilla pudding. Its smooth, velvety texture coats the palate, while the warm, familiar flavor of vanilla provides a sense of nostalgia and simple pleasure. Unlike more complex desserts, vanilla pudding is approachable, making it a perfect canvas for various toppings or enjoyable on its own. It's a dessert that appeals across generations, from children who love its sweetness to adults who appreciate its sophisticated simplicity when made well.
Achieving that perfect rich and creamy consistency is the hallmark of a great easy homemade vanilla pudding recipe. This involves carefully balancing the ratio of eggs (or egg yolks) to liquid, using sufficient fat from milk or cream, and cooking the mixture just until it thickens properly without becoming lumpy or too stiff.
The result is a pudding that flows gently, holds its shape slightly, and melts in your mouth, leaving behind a clean, pure vanilla flavor. This delightful texture and taste make it a versatile dessert, suitable for a simple weeknight treat or an elegant ending to a special meal.
Key Ingredients for the Best Vanilla Pudding
High-Quality Milk and Cream: The Foundation of Flavor
The quality and fat content of your dairy significantly impact the final texture and richness of your homemade vanilla pudding. Using whole milk (around 3.5% fat) provides a much creamier result than using skim or 1% milk, which can lead to a thinner, less satisfying pudding. For an even richer pudding, consider using a mix of whole milk and heavy cream (typically 36-40% fat) or half-and-half (10-18% fat). A common ratio in many easy homemade vanilla pudding recipes is 2 cups of whole milk combined with 1 cup of heavy cream for ultimate richness.
The fat in the milk and cream contributes to the smooth mouthfeel and helps carry the vanilla flavor throughout the pudding. Using fresh, good-quality dairy also ensures a clean base flavor without any off-notes that could detract from the delicate vanilla.
While ultra-pasteurized (UHT) milk is convenient, some bakers find that pasteurized milk provides a slightly better flavor profile for custards and puddings. Experimenting with different dairy combinations, like using evaporated milk for added depth or substituting some milk with coconut milk for a subtle tropical hint, can also yield interesting variations on the classic easy homemade vanilla pudding recipe.
Vanilla Extract vs. Vanilla Bean: Choosing Your Vanilla
The choice between vanilla extract and vanilla bean is primarily one of flavor intensity, visual appeal, and cost. High-quality pure vanilla extract, made by percolating alcohol through cured vanilla beans, is the most common choice for an easy homemade vanilla pudding recipe due to its convenience and availability. Look for pure vanilla extract rather than imitation vanilla, which is made from synthetic vanillin and lacks the complex array of flavor compounds found in real vanilla. About 1 to 2 teaspoons of good extract per 2-3 cups of liquid is typically sufficient.
Using a whole vanilla bean, particularly from varieties like Madagascar Bourbon, Tahitian, or Mexican, provides the most authentic and intense vanilla flavor, along with visible specks of vanilla seeds throughout the pudding. While more expensive (a single bean can cost upwards of $5-$10 depending on type and quality), a vanilla bean offers a truly gourmet experience.
You would typically split a bean lengthwise, scrape out the seeds, and steep both the seeds and the pod in the milk/cream mixture while heating to infuse maximum flavor. For a balance of flavor and cost, some recipes suggest using half a vanilla bean along with a teaspoon of good quality vanilla extract.
Sugar and Eggs: Achieving the Perfect Sweetness and Texture
Sugar in vanilla pudding serves two main purposes: providing sweetness and contributing to the overall smooth texture. Granulated sugar is standard for most easy homemade vanilla pudding recipes, dissolving easily and providing clean sweetness. The amount can be adjusted to taste, but typically ranges from 1/4 to 1/2 cup per 2-3 cups of liquid. Using slightly less sugar allows the natural flavors of the dairy and vanilla to shine through more prominently. Some recipes might incorporate a small amount of brown sugar for a subtle caramel note, though this would slightly alter the classic vanilla flavor profile.
Eggs, specifically the yolks, are crucial for thickening homemade vanilla pudding and giving it its characteristic rich, custard-like consistency. Egg yolks are rich in fat and lecithin, which act as emulsifiers and thickeners when heated gently. A standard recipe might use 3-5 egg yolks per 2-3 cups of liquid.
Using only yolks results in a very rich, smooth, and deeply colored pudding. Using whole eggs (typically 2-3 whole eggs per 2-3 cups of liquid) will also thicken the pudding but results in a slightly lighter texture and color. The protein in the eggs coagulates when heated, creating the pudding's structure, making the tempering process (gradually whisking hot liquid into the eggs) a critical step to prevent scrambling.
Step-by-Step Guide to Making Homemade Vanilla Pudding
Preparing Your Ingredients: A Crucial First Step
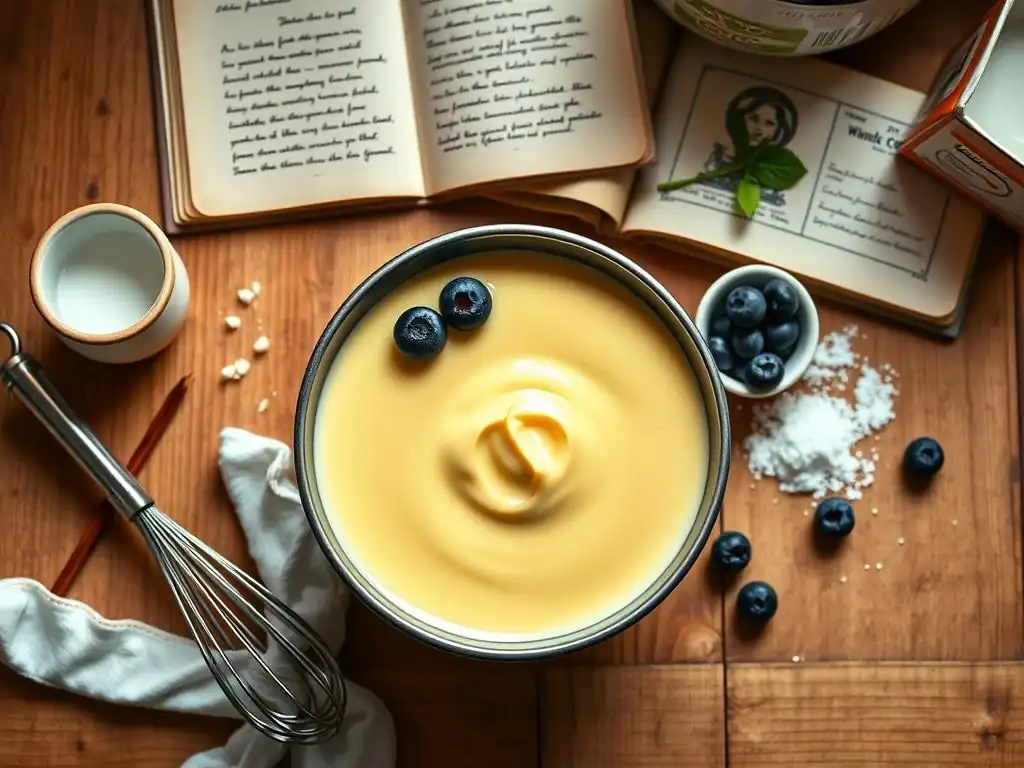
Before you even turn on the stove, ensure all your ingredients are measured out and ready to go. This mise en place approach is vital for smooth pudding making, as the cooking process requires continuous attention. You'll need your milk and cream measured into a saucepan. In a separate medium bowl, whisk together your sugar, cornstarch (if using as a stabilizer alongside eggs, a common technique in an easy homemade vanilla pudding recipe), and salt. This helps distribute the cornstarch evenly and prevents lumps.
In another small bowl, lightly whisk your eggs or egg yolks. Have your vanilla extract or scraped vanilla bean seeds ready. Having everything prepped means you won't be fumbling for ingredients while the mixture is on the heat, reducing the risk of scorching or improper thickening. It's also helpful to have a fine-mesh sieve and heatproof storage container ready for the finished pudding. This preparation phase typically takes only 5-10 minutes but saves potential headaches later.
Cooking the Pudding Base: Achieving the Right Consistency
Start by heating the milk and cream in the saucepan over medium heat. If using a vanilla bean, add the seeds and the scraped pod to the milk now. Bring the mixture just to a simmer, watching carefully to ensure it doesn't boil over. Meanwhile, whisk the sugar, cornstarch, and salt mixture into the whisked eggs in the bowl until smooth. This creates a paste that will help thicken the pudding.
Once the milk is simmering, you must temper the eggs. Slowly ladle about half a cup of the hot milk mixture into the egg mixture while whisking constantly. This gradually warms the eggs without cooking them. Repeat this process, adding another half cup of hot milk while whisking. Now, slowly pour the warmed egg mixture back into the saucepan with the remaining hot milk, whisking continuously.
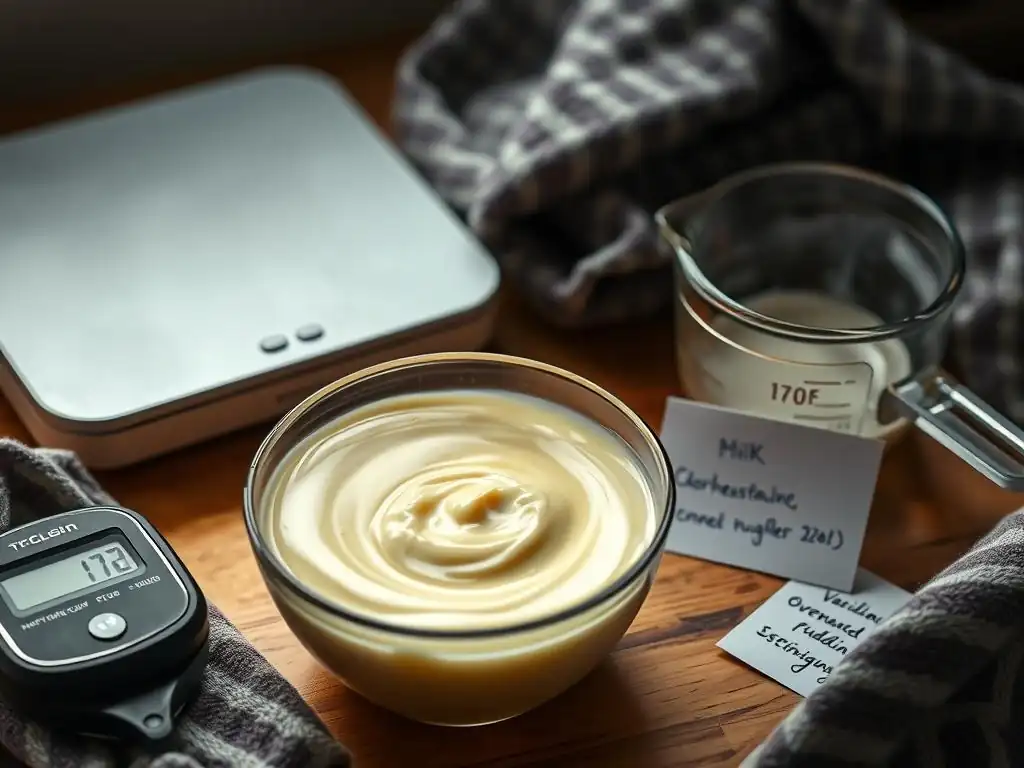
Cook the pudding base over medium-low heat, stirring constantly with a whisk or a wooden spoon, paying attention to the bottom and edges of the pan. Continue to cook until the pudding thickens enough to coat the back of a spoon (it should reach about 160°F to 170°F or 71°C to 77°C). This usually takes 5-10 minutes after adding the eggs back to the pan. Do not boil the pudding once the eggs are added, as this can cause it to curdle.
Infusing Vanilla Flavor: Maximizing the Taste
The timing of adding vanilla is crucial for preserving its delicate aroma and flavor. If using vanilla extract, it's best to stir it in after the pudding has finished cooking and has been removed from the heat. The alcohol in the extract can evaporate if heated for too long, taking some of the volatile flavor compounds with it. Adding it at the end ensures the pure vanilla flavor is prominent.
If you used a vanilla bean pod to infuse the milk while heating, remove the pod before tempering the eggs or just before the pudding finishes cooking. The scraped seeds will remain in the pudding, providing both flavor and visual appeal. Stirring in the extract at the final stage, after removing the pudding from the heat, is a simple yet effective technique highlighted in many easy homemade vanilla pudding recipes to achieve maximum vanilla impact. A good quality extract added at this point will bloom in the warm pudding, distributing its fragrance evenly.
Cooling and Setting: Patience is Key
Once the pudding has thickened, remove it from the heat immediately. For the smoothest possible texture, it's highly recommended to strain the hot pudding through a fine-mesh sieve into a clean bowl or serving dish. This step removes any potential small lumps of cooked egg or unincorporated starch, ensuring a perfectly smooth finish. Stir in the vanilla extract at this point if you haven't used a vanilla bean or used extract earlier.
To prevent a skin from forming on the surface as it cools, cover the pudding immediately. The best method is to press a piece of plastic wrap directly onto the surface of the hot pudding, ensuring no air is trapped between the pudding and the wrap. Allow the pudding to cool at room temperature for about 20-30 minutes before transferring it to the refrigerator.
It needs at least 2-4 hours in the refrigerator to chill thoroughly and set to its final creamy consistency. While tempting, serving it too soon will result in a thinner texture than desired for a classic easy homemade vanilla pudding recipe.
Tips for Perfect Homemade Vanilla Pudding Every Time
Preventing Lumps: Essential Techniques
Lumps are the nemesis of smooth homemade pudding, but they are preventable with a few key techniques. First, ensure your dry ingredients (sugar, cornstarch, if using) are well-whisked together before adding any liquid. This helps distribute the starch evenly. Second, and most critically, temper your eggs properly. Slowly stream the hot milk mixture into the whisked eggs while whisking vigorously. This gradually raises the temperature of the eggs without scrambling them, creating a smooth base for the pudding.
Third, once the egg mixture is added back to the saucepan, cook the pudding over medium-low heat and stir constantly. Use a whisk to reach into the corners of the pan and scrape the bottom to prevent sticking and ensure even thickening. If despite your best efforts, you end up with a few small lumps, straining the pudding through a fine-mesh sieve immediately after cooking is the most effective way to achieve a perfectly smooth texture, a step often recommended in an easy homemade vanilla pudding recipe.
Adjusting Sweetness and Thickness: Customizing Your Pudding
One of the benefits of making pudding from scratch is the ability to customize it to your liking. The amount of sugar specified in an easy homemade vanilla pudding recipe is a guideline; feel free to adjust it based on your preference for sweetness. Start with the recommended amount and taste a small spoonful once the pudding is cooked (be careful, it will be hot!). While you can't add more sugar easily once it's cooled, you can note it for your next batch.
Thickness is controlled primarily by the amount of egg yolks and/or starch used and the cooking time. If your pudding seems too thin after cooking and cooling, gently reheat it over low heat while whisking in a slurry of a teaspoon of cornstarch mixed with a tablespoon of cold milk or water. Cook until it thickens slightly more, then cool again. If it's too thick, you can whisk in a small amount of warm milk or cream, a tablespoon at a time, until the desired consistency is reached. Note that adding liquid will slightly dilute the flavor.
Storing Your Homemade Vanilla Pudding: Keeping it Fresh
Proper storage is essential to maintain the quality and prevent a skin from forming on your delicious easy homemade vanilla pudding. As soon as the pudding is cooked and strained (if desired), transfer it to individual serving dishes or a larger storage container. While it's still hot, cover the surface of the pudding directly with plastic wrap. Press the plastic wrap down so it touches the entire surface, leaving no air pockets. This prevents evaporation from the surface, which is what causes the rubbery skin to form.
Once covered, allow the pudding to cool at room temperature for 20-30 minutes before refrigerating. Store the pudding in the refrigerator for up to 3-4 days. The texture may firm up slightly as it chills. If you find it too firm straight from the fridge, let it sit at room temperature for 10-15 minutes or give it a quick whisk to loosen it slightly before serving. Always keep it covered tightly in the refrigerator when not in use.
Variations on the Classic Vanilla Pudding Recipe
Chocolate Vanilla Pudding: A Delicious Twist
Combining the classic flavors of vanilla and chocolate creates a universally loved dessert. To make a chocolate vanilla pudding variation from your easy homemade vanilla pudding recipe base, simply add chocolate to the hot pudding after you've removed it from the heat and stirred in the vanilla extract. Use about 2-4 ounces of finely chopped good quality bittersweet or semi-sweet chocolate per 3 cups of pudding base.
Add the chopped chocolate to the hot pudding and whisk gently until the chocolate is completely melted and the pudding is smooth and uniformly colored. The residual heat from the pudding is usually sufficient to melt the chocolate. This creates a rich, creamy dessert with the distinct profile of both vanilla and chocolate, often referred to as 'Marbled' or 'Black and White' pudding if you swirl the chocolate portion into a plain vanilla portion. Adjust the amount of chocolate based on how intense you want the chocolate flavor to be.
Butterscotch Vanilla Pudding: Adding a Caramel Note
For a warm, caramel-infused variation, transform your easy homemade vanilla pudding recipe into a butterscotch vanilla pudding. This involves substituting some or all of the granulated sugar with brown sugar and adding butter to the base. A typical approach is to use a mix, perhaps 1/4 cup brown sugar and 1/4 cup granulated sugar, and add 2-3 tablespoons of unsalted butter to the milk mixture as it heats.
The brown sugar provides a molasses flavor, and the butter adds richness, creating the characteristic butterscotch profile. Cook the pudding base as usual, incorporating the brown sugar and butter with the milk. Ensure the brown sugar is fully dissolved. The vanilla extract or bean is still crucial here, as the vanilla flavor beautifully complements the caramel notes of the butterscotch. This variation results in a pudding that is slightly darker in color and has a deeper, more complex sweetness than the classic version.
Vegan Vanilla Pudding: A Dairy-Free Delight
Adapting an easy homemade vanilla pudding recipe for a vegan diet requires substituting the dairy milk and cream and the eggs. Instead of dairy, use plant-based milks like almond milk, soy milk, oat milk, or coconut milk. Full-fat coconut milk from a can (the thick creamy part) can provide a richness similar to dairy cream when combined with a lighter plant milk. For thickening, cornstarch or agar-agar are common vegan alternatives to eggs.
A common vegan ratio might involve 2 cups of plant milk, 1/4 cup of cornstarch, and 1/2 cup of sugar, cooked until thickened, with vanilla extract added at the end. Agar-agar requires different ratios and cooking times; typically, 1-2 teaspoons of agar-agar powder can set 2 cups of liquid. While the texture will differ slightly from a dairy-and-egg based custard, a well-made vegan vanilla pudding can still be wonderfully creamy and flavorful, offering a delicious option for those with dietary restrictions.
Serving Suggestions for Your Creamy Vanilla Pudding
Classic Toppings: Whipped Cream, Berries, and More
A simple bowl of creamy homemade vanilla pudding is delicious on its own, but classic toppings can elevate it into a more festive dessert. Freshly whipped cream is perhaps the most traditional accompaniment. Its light, airy texture and subtle sweetness provide a lovely contrast to the rich pudding. A dollop of whipped cream can be piped or spooned onto the warm or chilled pudding just before serving.
Fresh berries, such as strawberries, raspberries, blueberries, or a mix, add a burst of freshness, color, and a slight tartness that cuts through the richness of the pudding. Sliced bananas are another popular choice, pairing well with the vanilla flavor. A sprinkle of cinnamon, nutmeg, or a dusting of cocoa powder can also add simple yet effective flavor enhancements. For a bit of crunch, consider toasted nuts, granola, or crushed cookies like vanilla wafers or gingersnaps.
Creative Presentations: Parfaits and Dessert Cups
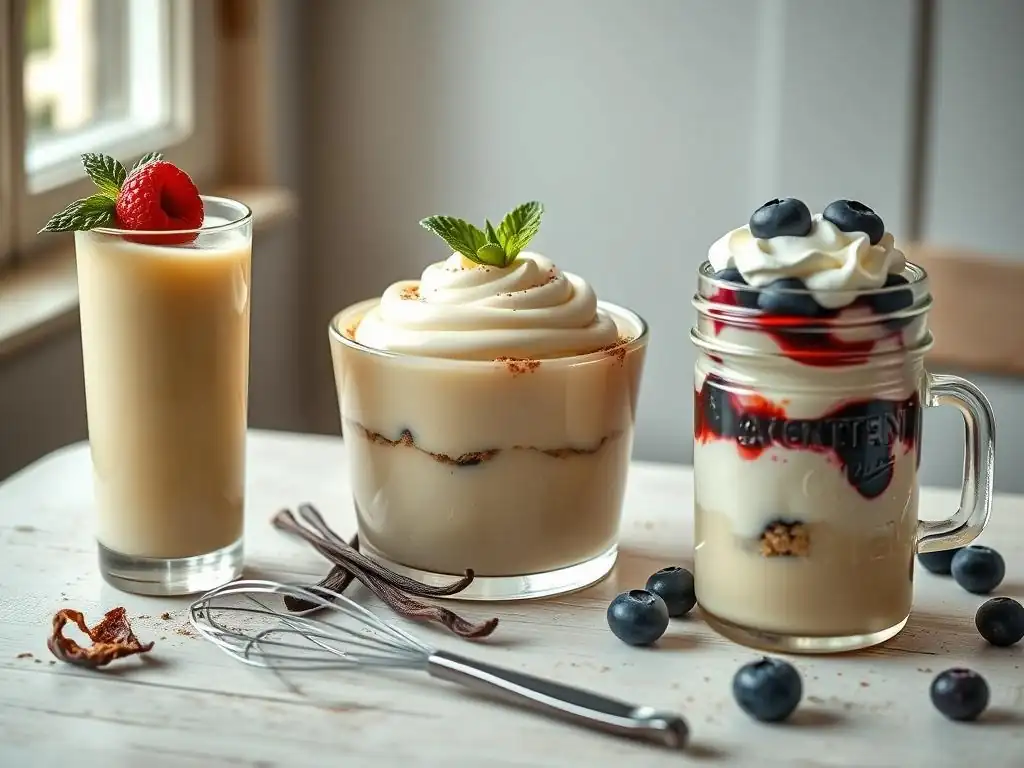
Beyond serving in a simple bowl, your easy homemade vanilla pudding recipe lends itself beautifully to more creative presentations. Layering the pudding with other components in clear glasses or jars creates elegant parfaits that showcase the different textures and colors. Consider layering pudding with granola, fresh fruit, cake cubes (like pound cake or sponge cake), cookie crumbs, or fruit compotes.
Small dessert cups or ramekins are perfect for individual servings. You can top these with a swirl of whipped cream and a single berry for a refined look. Serving the pudding warm in small cups can be comforting, especially on a chilly evening, while chilled cups are refreshing in warmer weather. These individual portions are also convenient for entertaining or meal prepping desserts throughout the week.
Pairing Vanilla Pudding with Other Desserts
Homemade vanilla pudding is versatile enough to be paired with or used as a component in other desserts. It can serve as a base for trifles, layered with cake, fruit, and whipped cream. A layer of creamy vanilla pudding adds richness and moisture to a fruit tart or pie, often used in conjunction with fresh fruit fillings.
Consider using it as a filling for éclairs or cream puffs for a classic pastry application. A scoop of warm vanilla pudding alongside a slice of chocolate cake or a fruit crumble provides a delightful contrast in temperature and texture. Its simple, clean flavor makes it a harmonious partner for a wide range of cakes, pastries, and fruit-based desserts, truly showcasing the versatility of an easy homemade vanilla pudding recipe.
Troubleshooting Common Vanilla Pudding Problems
Pudding Too Thin? How to Thicken It
If your homemade vanilla pudding hasn't thickened sufficiently after cooking and cooling, don't despair! This is a common issue and often fixable. The most likely causes are not cooking it long enough, not reaching the correct temperature (around 160-170°F or 71-77°C), or an incorrect ratio of thickeners (eggs/starch) to liquid. To fix a thin pudding, you'll need to gently reheat it.
In a separate small bowl, whisk together 1-2 tablespoons of cornstarch with 2-3 tablespoons of cold milk or water to create a smooth slurry. Return the thin pudding to a saucepan and heat it over low to medium-low heat, stirring constantly. Once it's warm, slowly whisk in the cornstarch slurry. Continue to cook and whisk constantly until the pudding visibly thickens to the desired consistency, ensuring it reaches a gentle simmer but doesn't boil vigorously. Remove from heat, strain if needed, and cool again. This technique effectively rescues a thin easy homemade vanilla pudding recipe.
Conversely, if your vanilla pudding ends up too thick or rubbery, it's usually due to overcooking or using too much thickener. While harder to fix perfectly than a thin pudding, you can often improve the texture. The goal is to incorporate more liquid without diluting the flavor too much.
Gently warm the thick pudding in a saucepan over very low heat, stirring constantly. In a separate bowl, warm a few tablespoons of milk or cream (the same type used in the recipe). Gradually whisk the warm milk or cream into the warm pudding, a tablespoon at a time, until it reaches your desired consistency. Whisk thoroughly after each addition to incorporate the liquid smoothly. Be patient and add liquid slowly to avoid making it too thin. This process requires careful, gentle heating and whisking to restore the creamy texture of your easy homemade vanilla pudding recipe.
Avoiding a Skin on Your Pudding: Simple Solutions
A rubbery skin forming on the surface of cooling pudding is undesirable but easily prevented. The skin forms as the surface cools and dries out faster than the interior. The most effective method to avoid this is to cover the pudding immediately after cooking while it's still hot.
Pour the hot pudding into your serving dishes or storage container. Take a piece of plastic wrap and press it directly onto the surface of the pudding, ensuring the wrap touches every part of the surface and there are no air bubbles trapped underneath. This creates a barrier that prevents evaporation and keeps the surface moist.
Alternatively, you can brush the surface with a thin layer of melted butter, though this will slightly alter the flavor and isn't as common in an easy homemade vanilla pudding recipe. Covering tightly with plastic wrap is the preferred method used by many bakers.
Enjoy Your Delicious, Easy Homemade Vanilla Pudding!
Making homemade vanilla pudding from scratch is a rewarding experience that yields a dessert far superior to anything from a box. By using quality ingredients, following a few simple techniques like tempering eggs and cooking gently, and paying attention to cooling, you can achieve a wonderfully rich and creamy result every time. This easy homemade vanilla pudding recipe is a fundamental skill that opens the door to many variations and uses in other desserts.
We love seeing what our community creates! Once you've made your batch of this delicious, easy homemade vanilla pudding, we encourage you to share your success. Take a photo of your beautiful pudding, whether served simply or incorporated into a creative dessert. Share it on social media and tag us, or tell us about your experience in the comments section on BakeWithEase. Your triumphs inspire other home bakers to try their hand at making this classic comfort dessert from scratch.
Frequently Asked Questions
What makes this vanilla pudding recipe "easy"?
This recipe emphasizes simple, readily available ingredients and a straightforward process, making it easier to follow than more complex pudding recipes. The focus is on a quick and satisfying result without unnecessary complications.
Can I substitute any ingredients in this vanilla pudding recipe?
While substitutions are possible, they may affect the texture and flavor. For example, using a different type of milk could change the creaminess of the pudding. We recommend following the recipe for optimal results first.
How do I prevent lumps from forming in my homemade vanilla pudding?
Whisking the ingredients constantly and thoroughly during the cooking process is crucial. Also, ensure the cornstarch is fully dissolved before heating to prevent clumping.
How long does homemade vanilla pudding last in the refrigerator?
Properly stored in an airtight container, homemade vanilla pudding typically lasts for 3-4 days in the refrigerator. Make sure to cool it completely before refrigerating for best results and food safety.
What are some serving suggestions for this homemade vanilla pudding?
Enjoy it plain, topped with fresh fruit, whipped cream, or a sprinkle of cinnamon. It's also a delicious addition to parfaits, trifles, or as a filling for cream pies or tarts.
Final Reflection: The Enduring Comfort of Homemade
The simple act of making vanilla pudding from scratch offers more than just a delicious dessert; it's a powerful connection to a simpler time, a testament to the enduring power of homemade goodness in our increasingly fast-paced world. In a society obsessed with convenience and instant gratification, taking the time to create something from basic ingredients offers a profound sense of accomplishment and a richer appreciation for the flavors we consume.
The comforting aroma of simmering vanilla and the smooth, creamy texture of homemade pudding evoke powerful memories and emotions. It's a taste of home, a reminder of simpler times spent in the kitchen, learning and sharing recipes passed down through generations. The best things in life are homemade.
This sentiment rings truer than ever when considering the satisfaction derived from creating something delicious and wholesome with your own two hands. The process itself becomes a meditative practice, a welcome respite from the constant demands of modern life.
Now, I invite you to consider the possibilities. Don't just limit yourself to this recipe; let it inspire you to explore other homemade delights. Try experimenting with different flavorings, or perhaps even attempting other classic desserts from scratch. Embrace the challenge, savor the process, and share the joy of homemade goodness with your loved ones. The rewards – both culinary and emotional – are immeasurable.
Unleash Your Inner Pastry Chef: Make Creamy Vanilla Pudding Today!
Thanks for taking the time to explore the world of homemade vanilla pudding! We hope you now feel confident in creating this classic dessert from scratch. Ready to take your culinary skills to the next level?
- Whip up a batch of our delicious pudding: Use the recipe as a jumping-off point; experiment with different extracts or mix-ins!
- Share your pudding creation: Snap a photo and tag us on social media – we love seeing your baking adventures!
- Challenge a friend to a pudding-making showdown: See who can create the creamiest, most delicious pudding.
What flavor extract will you try in your next batch of homemade vanilla pudding?