
Budget Tools for Achieving Perfect Bread Crusts

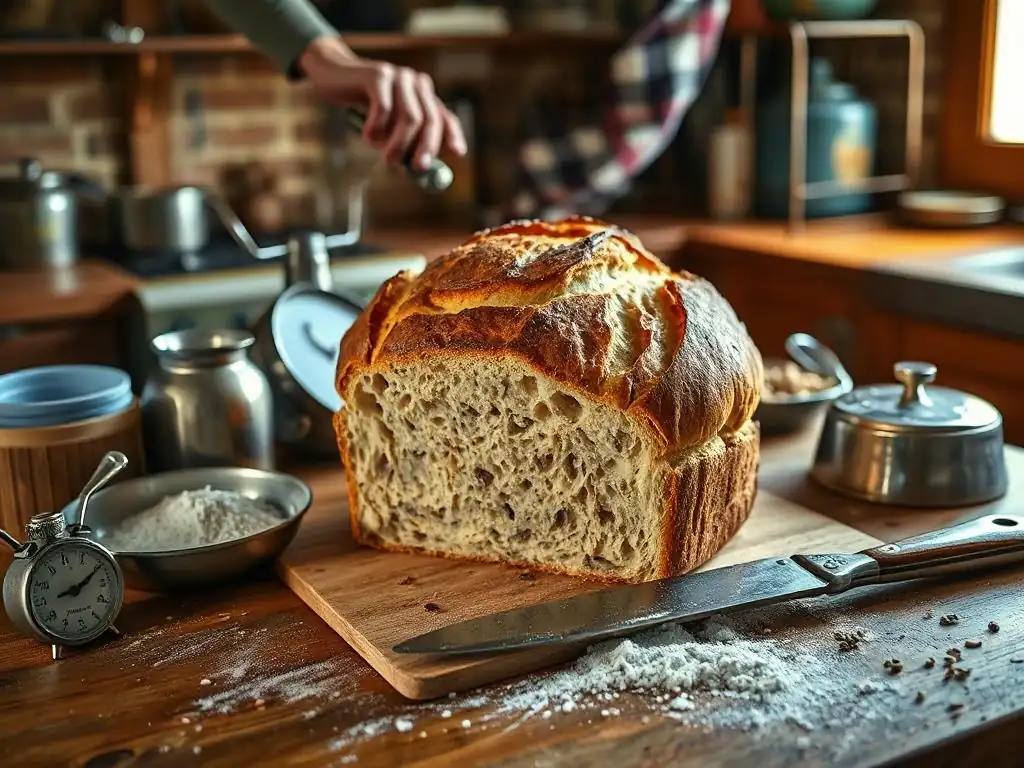
Welcome to BakeWithEase, your passport to baking brilliance!
Ever dreamed of achieving that perfect, bakery-worthy crust on your homemade bread? You're in the right place. While professional ovens might seem like the only answer, we're about to reveal the budget-friendly tools that can unlock the secret to that coveted crispy exterior. Intrigued? Discover our top picks and techniques in this guide to achieving the perfect crust bread recipe without breaking the bank. Let's get baking!
- Achieving the Perfect Crust: A Guide to Affordable Bread Baking
- Essential Baking Equipment for a Superior Crust on a Budget
- Mastering Steaming Techniques for a Perfect Crust
- Budget-Friendly Bread Recipes for Perfect Crusts
- Troubleshooting Common Crust Problems: Tips and Tricks
- Conclusion: Enjoying Crusty Bread Made Easy and Affordable
-
Frequently Asked Questions
- What are the most budget-friendly tools I can use to improve my bread crust?
- How does a Dutch oven help create a better bread crust?
- Can I achieve a good crust without specialized baking equipment?
- What role does steam play in developing a perfect bread crust?
- What are some common mistakes people make that prevent them from achieving a good bread crust?
- Final Reflection: The Alchemy of the Perfect Crust
- Unlock Your Crusty Bread Potential!
Achieving the Perfect Crust: A Guide to Affordable Bread Baking
Unlocking Crispy Bread: The Secret to a Perfect Crust Bread
The pursuit of that ideal, crackly, deeply golden crust is a shared passion among bread bakers. It's the hallmark of a well-baked loaf, providing a delightful contrast to the soft, airy interior. Achieving this level of perfection might seem daunting, perhaps requiring expensive, professional equipment. However, the truth is that the fundamental principles behind a perfect crust can be mastered with surprisingly budget-friendly tools and techniques. It's less about the price tag on your equipment and more about understanding the science of baking and how simple tools can manipulate heat and moisture effectively.
The secret primarily lies in two key factors during the baking process: high initial temperature and sufficient steam. High heat ensures that the dough springs up rapidly before the crust sets, leading to a lighter loaf and a thinner, crispier crust. Steam, particularly in the first phase of baking, keeps the surface of the dough moist and elastic.
This prevents the crust from forming too quickly, allowing the loaf to expand fully (oven spring) and resulting in a thinner, more brittle crust that shatters beautifully when sliced. Without adequate steam, the crust forms too soon, restricting expansion and often leading to a thick, tough crust. Mastering these two elements is crucial for any perfect crust bread recipe.
Essential Baking Equipment for a Superior Crust on a Budget
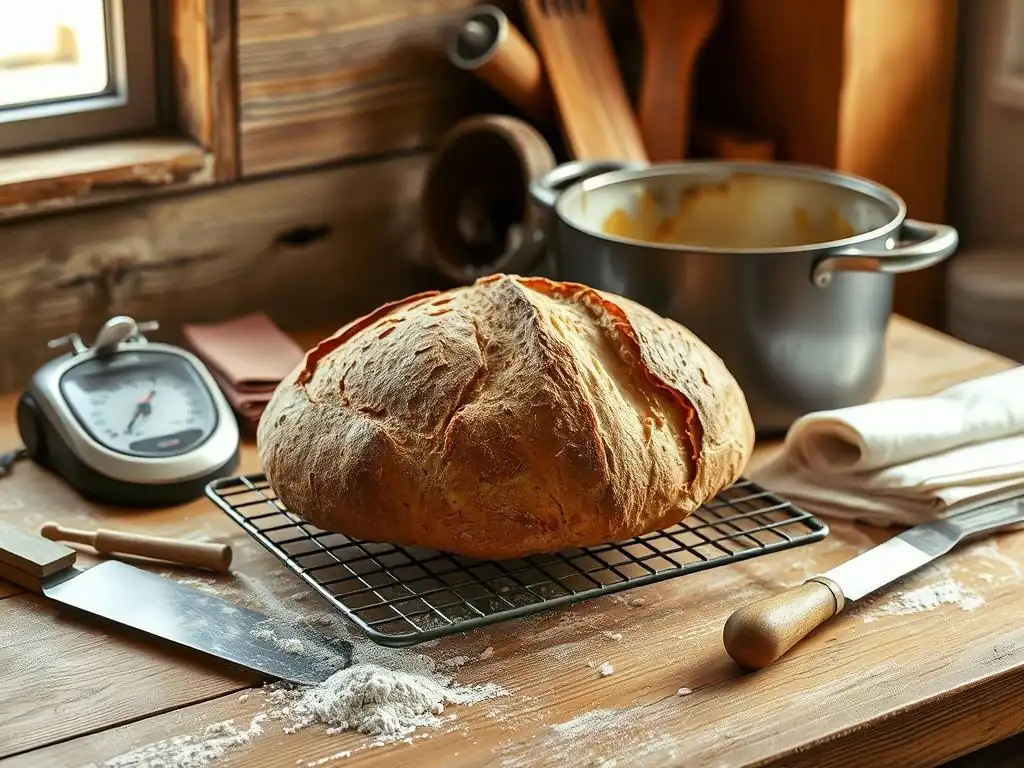
The Dutch Oven: Your Secret Weapon for Crusty Bread
Why a Dutch Oven is Key to Achieving a Perfect Crust
A cast iron Dutch oven is widely regarded as one of the best tools for achieving a perfect crust on homemade bread, especially for no-knead recipes. Its heavy construction allows it to retain and distribute heat incredibly efficiently and evenly. Preheating the Dutch oven in a hot oven creates an intensely hot environment that delivers a powerful burst of initial heat to the dough, promoting excellent oven spring. This high heat is paramount for achieving that sought-after crispy exterior.
Crucially, baking bread inside a lidded Dutch oven traps the moisture released from the dough as it bakes. This trapped steam creates a humid micro-environment around the loaf during the critical initial baking phase. As discussed earlier, this steam keeps the crust supple, allowing the dough to expand fully before the crust sets. After the initial steaming period (typically 20-30 minutes), removing the lid allows the crust to dry out and brown beautifully in the dry heat, resulting in a wonderfully crispy and golden exterior, essential for a truly perfect crust bread recipe.
Dutch Oven Alternatives: Budget-Friendly Options for Crusty Bread
While a cast iron Dutch oven is fantastic, it can be an investment, sometimes costing upwards of $100 or even $200 for premium brands. Fortunately, there are more budget-friendly alternatives that can still help you achieve a great crust. A heavy-duty stoneware casserole dish with a lid can mimic the heat retention and steam-trapping properties of a Dutch oven reasonably well. Look for one with a tight-fitting lid that can withstand high oven temperatures, often labeled as suitable for baking bread.
Another effective, and often cheaper, method is using a pizza stone or baking steel combined with a steaming technique. You place the dough directly on the preheated stone or steel for direct heat transfer to the base, while simultaneously creating steam in the oven using other methods (discussed below).
While this doesn't trap steam quite as efficiently around the loaf as a Dutch oven does, it's a viable alternative, especially if you already own a stone or steel. Even a simple heavy-duty baking sheet can work in a pinch, though it won't retain heat as well as cast iron or stone/steel.
Baking Stone or Baking Steel: Achieving a Crisp Crust Through Direct Heat
Baking Stone Benefits: Even Heat Distribution for a Golden Crust
A baking stone, typically made from ceramic or cordierite, is another excellent tool for promoting a crisp crust. Like a Dutch oven, it needs to be preheated in a hot oven for a significant amount of time, often an hour or more, to reach a high temperature, usually around 450°F to 500°F (230°C to 260°C).
When you place your dough directly onto the hot stone, it provides a powerful burst of conductive heat to the base of the loaf. This intense heat transfer from the stone helps the bottom crust set quickly and become very crisp, preventing a soggy bottom.
Beyond the initial heat boost, a baking stone provides consistent, even heat distribution throughout the baking process. This stable temperature helps ensure that the entire loaf bakes uniformly, leading to an evenly browned and perfectly crispy crust all around. While they require careful handling (they can break if subjected to sudden temperature changes or dropped), a good baking stone is a relatively affordable investment for anyone serious about improving their bread crusts and is a staple tool for many aiming for a perfect crust bread recipe.
Baking Steel Advantages: Faster Heating and Superior Crust Development
Baking steels, typically made from thick plate steel, are often considered an upgrade from baking stones, particularly for achieving an exceptionally crispy crust and great oven spring. Steel conducts heat much more efficiently than ceramic or stone. This means a baking steel heats up faster and reaches a higher surface temperature than a stone in the same amount of time in the oven. This translates to an even more intense burst of heat when the dough hits the steel.
The superior heat conductivity of baking steel results in more rapid and significant oven spring, as the dough is propelled upwards by the intense heat from below. This contributes to a lighter crumb and a thinner, crispier crust. While generally more expensive than baking stones, budget-friendly options are becoming available, and their durability means they can last a lifetime. For those prioritizing the crispiest possible bottom and maximum oven spring, a baking steel is a powerful tool in the quest for a perfect crust bread recipe.
The Importance of a Good Oven Thermometer for Perfect Bread Crust
Ensuring Accurate Oven Temperature for Consistent Crust Results
Your oven's internal thermostat might not be as accurate as you think. Many home ovens can be off by as much as 25°F to 50°F (15°C to 30°C) or even more. When baking bread, especially when aiming for a specific crust texture, temperature accuracy is paramount. If your oven is running cooler than the recipe specifies, your crust might not brown properly or become as crisp. If it's too hot, the crust might set too quickly, preventing good oven spring, or burn before the interior is fully cooked.
An inexpensive oven thermometer is a simple but essential tool to verify your oven's true temperature. By placing one inside your oven, you can see the actual temperature and adjust your oven's setting accordingly. If your oven reads 400°F but the thermometer says 375°F, you know to set your oven to 425°F to achieve the desired 400°F. This accuracy ensures consistent results every time you bake, taking guesswork out of the equation and significantly improving your chances of achieving a perfect crust bread recipe.
Budget-Friendly Oven Thermometer Options
You don't need to spend a lot of money to get a reliable oven thermometer. Simple dial-type oven thermometers, often made of stainless steel, are widely available for under $10 at most kitchen supply stores or online retailers. These hang or stand on an oven rack and provide a continuous reading of the internal temperature.
While digital probe thermometers exist and offer precise readings, they are typically more expensive. For simply monitoring the ambient temperature inside the oven to ensure accuracy for your perfect crust bread recipe, a basic analog dial thermometer is perfectly sufficient and fits well within a budget-friendly approach to equipping your kitchen for great bread.
Mastering Steaming Techniques for a Perfect Crust
The Power of Steam: Creating a Moist Environment for a Crispy Crust
As mentioned earlier, steam is absolutely critical during the initial phase of baking bread (the first 15-20 minutes). When you place dough into a hot oven, the surface immediately begins to dry out and harden. If this happens too quickly, the crust sets before the loaf has fully expanded from the rapid production of gases inside (oven spring). The result is a loaf with less volume and a thicker, tougher crust.
Introducing steam into the oven prevents the surface of the dough from drying out prematurely. It keeps the outer layer moist and elastic, allowing the loaf to expand freely during oven spring. Once the loaf has achieved its maximum volume, the steam dissipates (or you remove the lid/steam source), and the crust is then exposed to the dry heat, allowing it to brown, crisp up, and develop that desirable shatter. Without adequate steam, achieving a truly perfect crust bread recipe is significantly more challenging.
Simple Steaming Methods: Achieving Professional Results Without Expensive Equipment
You don't need a professional steam injection oven to create a steamy environment for your bread. Several low-cost, effective methods work well in a standard home oven. The goal is to generate a good amount of steam right when the bread goes in and maintain it for the first portion of the bake.
Here are a few budget-friendly techniques:
- Using a Water Bath: Place a metal tray or cast iron pan on the bottom rack of your oven while it preheats. Just before you load your bread, carefully pour about a cup of hot water into the preheated tray. This will instantly create a cloud of steam. Be very careful when adding the water to avoid burns.
- The Ice Cube Trick: Similar to the water bath, place a sturdy metal pan (like a cast iron skillet or an old baking sheet) on the bottom rack during preheating. When you put your bread in, quickly toss a handful of ice cubes into the hot pan. The ice will melt and vaporize rapidly, generating steam. This method is often less volatile than pouring water.
- Using a Spray Bottle: Some bakers lightly mist the inside walls of the oven with water using a clean spray bottle immediately after placing the bread inside. Repeat this once or twice during the first few minutes of baking. However, be cautious not to spray the heating elements or oven light, and this method is generally less effective at generating significant, sustained steam compared to the water bath or ice cube methods.
These methods, used in conjunction with a hot baking surface (stone, steel, or Dutch oven), provide the necessary humidity to achieve a crisp, thin crust for your perfect crust bread recipe without requiring specialized, expensive equipment.
Budget-Friendly Bread Recipes for Perfect Crusts
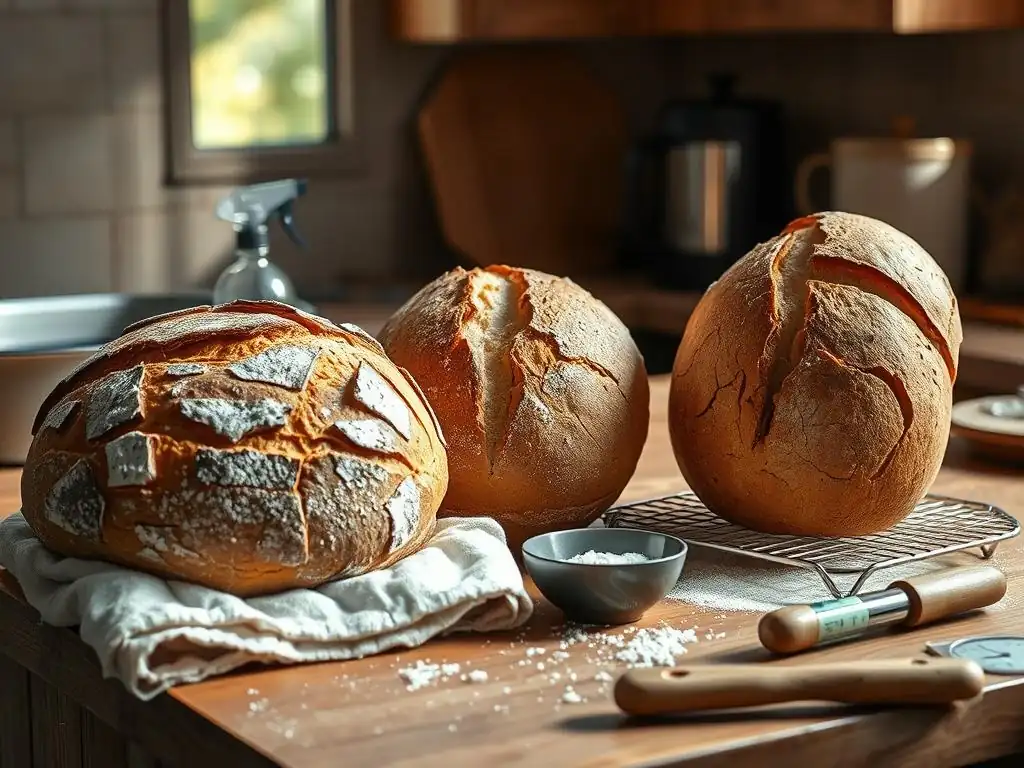
Rustic Country Loaf: A Simple Recipe for a Crusty Delight
Achieving a perfect crust starts with a good base recipe. A simple rustic country loaf is an excellent starting point. It typically uses basic ingredients: flour, water, salt, and yeast (or sourdough starter). The key to its crust potential lies in its relatively high hydration (water content) and often a longer, slower fermentation process (like an overnight cold proof in the refrigerator). Higher hydration doughs tend to produce more steam internally during baking, which contributes to a thinner crust.
A basic formula might look something like:
500g Strong Bread Flour
350g Water (70% hydration)
10g Salt
Instant Yeast (quantity varies, e.g., 1/4 tsp for long cold proof, 1 tsp for faster bake)
Mixing these ingredients, allowing for bulk fermentation (perhaps 2-3 hours at room temperature or 12-18 hours in the fridge), shaping, and then baking at a high temperature (450-500°F or 230-260°C) using one of the steaming methods discussed above will yield a loaf with a fantastic, rustic crust. This straightforward approach proves you don't need fancy ingredients or complex techniques to achieve a perfect crust bread recipe.
Sourdough Starter and the Perfect Crust: A Tangy and Crisp Combination
Sourdough bread is renowned for its beautiful, often deeply colored and incredibly crispy crust. The natural fermentation process driven by a sourdough starter contributes significantly to this. Sourdough doughs are often fermented for longer periods, developing more complex flavors and also contributing to the dough's structure and ability to achieve good oven spring.
Furthermore, sourdough starter itself adds moisture to the dough. The acids produced during fermentation also slightly alter the dough's chemistry, which can influence how the crust browns and crisps. Baking sourdough at high temperatures, often starting covered in a Dutch oven to trap steam and then finishing uncovered, is the standard method precisely because it excels at creating that signature thick, blistered, and incredibly crispy crust that is the hallmark of a perfect crust bread recipe made with sourdough. While maintaining a starter requires commitment, it's a zero-cost ingredient once established.
Troubleshooting Common Crust Problems: Tips and Tricks
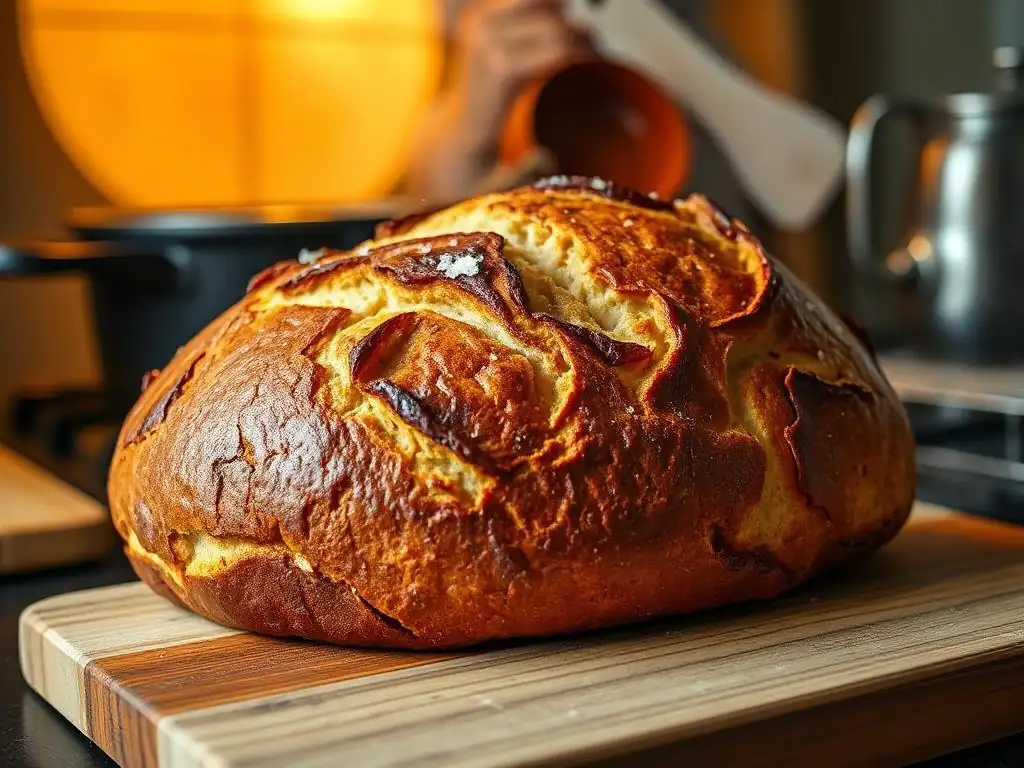
Why is My Crust Too Soft? Identifying and Resolving Common Issues
A soft or chewy crust is a common frustration when aiming for that perfect, crispy exterior. Several factors can contribute to this. The most frequent culprit is insufficient steam during the initial baking phase. If the crust sets too early due to lack of humidity, it can become thick and soft rather than thin and crispy. Ensure your steaming method is effective and sustained for the first 15-20 minutes.
Another reason could be the baking temperature or time. If the temperature is too low, or the baking time is too short, the crust might not have enough time to fully dry out and crisp up. Ensure your oven thermometer confirms your oven is reaching the target temperature, typically 450-500°F (230-260°C). Also, make sure you bake the loaf long enough after removing the steam source (if using one) for the crust to properly brown and harden. Sometimes, simply adding another 5-10 minutes to the uncovered baking time can make a significant difference for your perfect crust bread recipe.
Achieving the Perfect Color: Mastering Crust Browning Techniques
The rich, golden-to-dark brown color of a bread crust isn't just for looks; it contributes significantly to the flavor and texture. Browning is the result of the Maillard reaction and caramelization, complex chemical processes that occur at high temperatures. If your crust is too pale, it likely hasn't reached the optimal temperature or baked for long enough.
Ensure your oven temperature is accurate using a thermometer and that you are baking at the recommended high temperatures (usually 450°F / 230°C or higher). Baking for sufficient time is also key – don't pull the bread out simply because the internal temperature is met; the crust needs time to develop color and crispness. Baking on a preheated stone, steel, or in a Dutch oven ensures good heat transfer for browning.
Additionally, some bakers lightly mist the surface of the dough with water just before baking (though this can interfere with some steaming methods) or include a small amount of sugar or malt in the recipe, which aids browning. For a dark, blistered crust often seen in sourdough, ensuring good steam and baking at high heat for adequate time is crucial for that perfect crust bread recipe aesthetic and texture.
Conclusion: Enjoying Crusty Bread Made Easy and Affordable
Achieving a perfect crust on your homemade bread is a rewarding milestone for any baker. It adds incredible texture, flavor, and visual appeal to your loaf. While professional bakeries might use expensive equipment, we've seen that the core principles – high heat and steam – can be effectively managed using budget-friendly tools and simple techniques right in your home kitchen.
Whether you opt for a trusty Dutch oven, a preheated baking stone, or simply utilize a baking sheet with effective steaming methods like a water bath or ice cubes, you have the power to transform your bread's exterior. Combined with accurate temperature monitoring and reliable recipes, these affordable approaches make the dream of a perfect crust bread recipe a delicious reality for everyone. So gather your simple tools, practice your steaming, and get ready to enjoy the satisfying crackle of a beautifully crusty loaf baked with ease and affordability.
Frequently Asked Questions
What are the most budget-friendly tools I can use to improve my bread crust?
You can achieve a perfect crust without breaking the bank by using tools like a spray bottle to add moisture, a Dutch oven to trap steam, and a baking stone for even heat distribution.
How does a Dutch oven help create a better bread crust?
A Dutch oven traps steam inside during the initial baking phase, which is crucial for a crispy crust. This mimics the environment of a professional bread oven and promotes oven spring.
Can I achieve a good crust without specialized baking equipment?
Yes! A spray bottle filled with water sprayed into your oven creates steam. You can also use a cast iron skillet to mimic a Dutch oven, and a pizza stone is a great substitute for a baking stone.
What role does steam play in developing a perfect bread crust?
Steam keeps the surface of the dough moist during the initial baking phase. This allows the crust to fully expand before it sets, resulting in a thinner, crispier crust and better oven spring.
What are some common mistakes people make that prevent them from achieving a good bread crust?
Common mistakes include not using enough steam, baking at too low a temperature, and removing the bread from the oven too early. These can result in a pale, soft crust.
Final Reflection: The Alchemy of the Perfect Crust
The pursuit of the perfect bread crust transcends mere culinary skill; it's a journey into the heart of texture, flavor, and the satisfying alchemy of transforming simple ingredients into something truly extraordinary. This article explored various budget-friendly tools and techniques that can elevate your home baking game, proving that achieving that coveted crackle and depth of flavor isn't reserved for professional bakers with expensive equipment. The methods discussed, from using a simple Dutch oven to mastering the art of steam injection, are accessible to everyone, regardless of their budget.
The impact of a perfectly crafted crust extends far beyond the immediate sensory experience. It's a symbol of patience, precision, and the rewarding connection between effort and result. It's a testament to the enduring power of simple pleasures, a reminder that even in a fast-paced world, taking the time to nurture something – in this case, a loaf of bread – can yield immense satisfaction. Bread is the staff of life,
they say, and a perfect crust is the jewel in its crown. This seemingly small detail speaks volumes about the care and attention poured into the process, reflecting a deeper appreciation for the craft and the ingredients.
Now, I invite you to consider your own baking journey. What tools and techniques have you found most effective in achieving your ideal crust? More importantly, what does the pursuit of that perfect crust represent to you personally? Perhaps it's a symbol of self-sufficiency, a creative outlet, or simply a delicious way to share joy with loved ones. Embrace the process, experiment with the techniques outlined in this article, and discover the magic that awaits you in the pursuit of the perfect crust. The journey itself is as rewarding as the destination.
Unlock Your Crusty Bread Potential!
Thanks for taking the time to explore the world of perfect bread crusts! You've now unlocked valuable insights into achieving that golden-brown, crackling perfection. Ready to take your baking to the next level?
- Master the art of scoring: Experiment with different scoring techniques to find what creates the best crust for your bread type. Try a simple cross, a complex pattern, or even a freehand design! This will be your most important takeaway.
- Share your crusty creations: Show off your baking skills by sharing pictures of your bread on social media using #BakeWithEaseCrustyCrusts. Let's inspire each other!
- Dive deeper into our resources: Check out our other articles on bread baking techniques for more tips and tricks to elevate your baking game.
Ready to bake your most beautiful loaf yet? What unique scoring pattern will you try first?