
Achieve Precision and Consistency with Budget Baking Tools

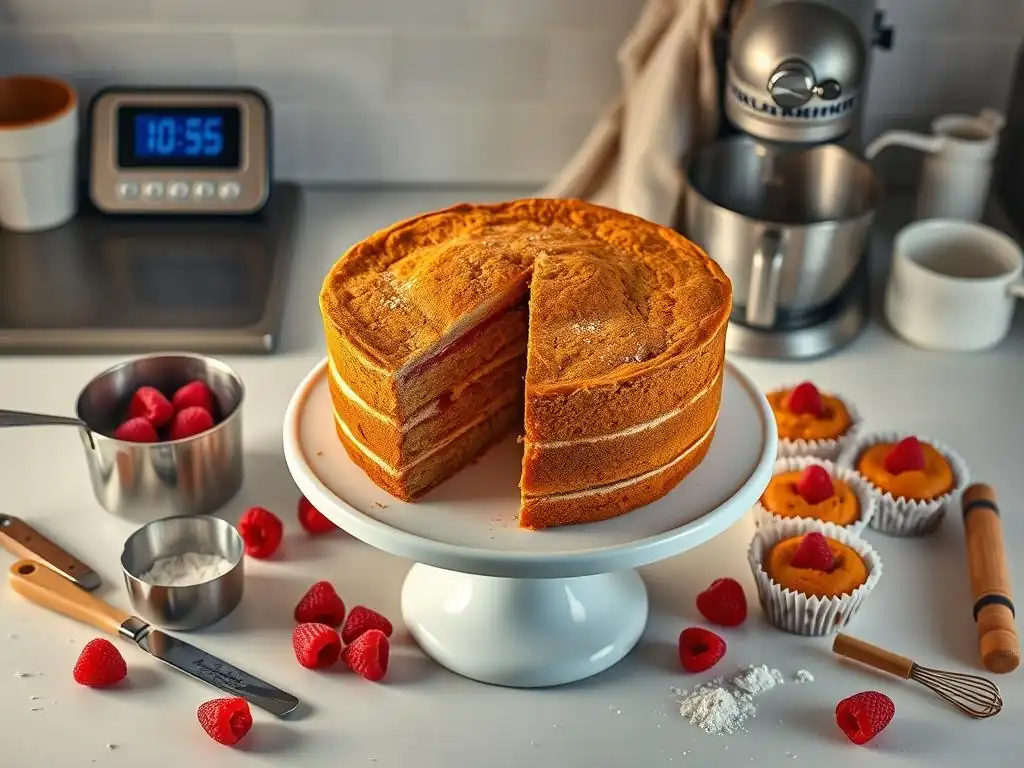
Welcome to BakeWithEase, your partner in creating delectable treats! Ever wondered how to achieve that bakery-perfect finish without breaking the bank? This guide dives deep into budget baking tools and reveals consistency tips that will elevate your creations. Unlock the secrets to professional-level baking, even on a shoestring budget. Curious to learn how? Let's get started!
- Achieve Precision and Consistency with Budget Baking Tools: Bake Like a Pro Without Breaking the Bank
- Introduction: Elevate Your Baking with Affordable Tools & Consistency Tips
- Mastering Consistency: Essential Budget Baking Tools and Techniques
- Case Studies: Real-World Examples of Consistent Baking with Budget Tools
- Conclusion: Bake with Confidence and Consistency – Even on a Budget
-
Frequently Asked Questions
- How can I achieve consistent baking results without expensive equipment?
- What are some essential, yet budget-friendly, baking tools?
- How important is an oven thermometer for budget baking?
- What are some tips for maintaining consistency when using different brands of ingredients?
- How can I improve my baking consistency if I'm using older, less precise baking tools?
- Final Reflection: The Sweet Science of Consistent Baking on a Budget
- Unlock Your Baking Potential: Master Budget-Friendly Precision!
Achieve Precision and Consistency with Budget Baking Tools: Bake Like a Pro Without Breaking the Bank
Introduction: Elevate Your Baking with Affordable Tools & Consistency Tips
BakeWithEase.com: Your Guide to Consistent Baking on a Budget
Welcome to BakeWithEase.com, your trusted companion on the journey to becoming a confident and consistent baker! Many aspiring bakers believe that achieving professional-level results requires investing in expensive, high-end equipment. This simply isn't true. With the right knowledge and a few strategically chosen budget baking tools, you can dramatically improve the precision and consistency of your bakes, from fluffy cakes to perfectly chewy cookies, without spending a fortune. Our goal is to show you how to leverage affordable equipment to unlock your full baking potential.
Achieving consistency is key in baking, and it starts with accurate measurements and reliable techniques. We'll explore how simple, budget-friendly tools can make a significant difference in your results. Whether you're just starting out or looking to refine your skills, understanding which tools offer the best value and how to use them effectively is crucial. By focusing on essential budget baking tools consistency tips, you can build a reliable foundation for all your future baking adventures.
Why Precision Matters: The Secret to Perfect Baking Results
Baking is often described as a science, and for good reason. Unlike cooking, where you can often adjust ingredients on the fly, baking relies on precise ratios and chemical reactions. Small deviations in ingredient amounts or oven temperature can lead to drastically different outcomes – a cookie that spreads too much, a cake that sinks, or bread that doesn't rise. This is where precision becomes paramount. Without it, achieving consistent results becomes a frustrating game of chance.
Precision isn't just about following a recipe exactly; it's about having the tools that allow you to follow it exactly, time after time. Using accurate measuring tools ensures your ingredient ratios are correct, while monitoring oven temperature guarantees consistent heat distribution. These seemingly small details contribute significantly to the final texture, flavor, and appearance of your baked goods. Mastering these aspects with smart budget baking tools consistency tips is the secret to replicating success and building confidence in the kitchen.
Mastering Consistency: Essential Budget Baking Tools and Techniques
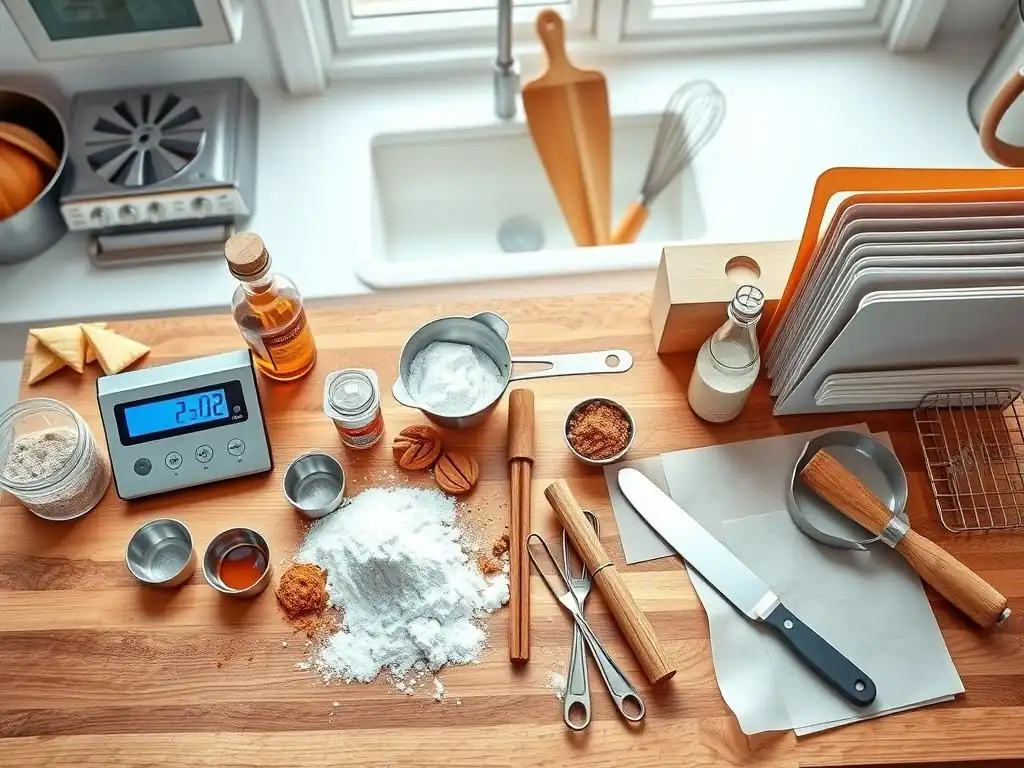
Leveling the Playing Field: Affordable Tools for Consistent Measurements
Digital Kitchen Scales: The Foundation of Precision
-
Why Accurate Measurements Matter for Consistency
In baking, measuring by weight is far more accurate than measuring by volume. A cup of flour can vary significantly in weight depending on how it's scooped or packed, potentially by as much as 20-30 grams. This variation can throw off the delicate balance of ingredients in a recipe, leading to inconsistent results.
Using a digital scale eliminates this variability, ensuring you use the exact amount of each ingredient specified in the recipe every single time. This is perhaps the single most impactful step you can take towards achieving consistent baking results, and thankfully, reliable digital scales are incredibly budget-friendly.
Consider a standard cookie recipe calling for 250g of flour. If you measure by volume and accidentally use 280g (due to packing), the dough will be drier, potentially leading to crumbly cookies that don't spread properly. Conversely, if you use only 220g, the dough might be too wet, resulting in flat, greasy cookies. A digital scale removes this guesswork, providing the foundation for consistent baking. Many recipes, especially those from professional sources, now list ingredients by weight for this exact reason.
-
Features to Look for in a Budget-Friendly Digital Scale
When shopping for a digital scale on a budget, several features are key to ensuring accuracy and ease of use. Look for a scale with a decent capacity, typically around 11 lbs (5 kg), which is sufficient for most home baking tasks. Precision is also important; aim for a scale that measures in increments of at least 1 gram (or 0.05 ounces). A tare function is essential – this allows you to zero out the weight of your container before adding ingredients, making it easy to measure multiple ingredients into the same bowl.
Other helpful features include an easy-to-read display (preferably backlit), multiple unit options (grams, ounces, pounds, milliliters for liquids), and a compact, easy-to-clean design. Models like the Ozeri ZK14-S Pronto, often available for under $20, demonstrate that you don't need to spend a lot to get a scale with these crucial features. Focus on functionality and accuracy over fancy features you won't use.
-
Using Your Scale for Precise Ingredient Ratios: A Step-by-Step Guide
Using a digital scale is straightforward and quickly becomes second nature. Here's a simple process: First, place your mixing bowl or container onto the scale. Press the 'Tare' or 'Zero' button to reset the display to 0.0. Carefully add your first ingredient, watching the display until you reach the desired weight. For example, if the recipe calls for 150g of sugar, add sugar until the screen reads
150g. Once measured, press 'Tare' again to zero out the scale before adding the next ingredient.Repeat this process for all dry ingredients. For liquids, many scales have a liquid measurement function, or you can measure them by weight if the recipe provides gram measurements (water weighs 1g per 1ml). This method ensures that your ingredient ratios are consistently correct, which is a fundamental budget baking tools consistency tip for reliable results every time you bake. It eliminates the common pitfalls associated with volumetric measurements.
Measuring Cups & Spoons: Beyond the Basics for Consistent Results
-
Understanding Dry vs. Liquid Measuring Techniques
Even when using measuring cups and spoons, understanding the correct technique is vital for consistency, especially for recipes that don't provide weight measurements. For dry ingredients like flour or sugar, you should spoon the ingredient lightly into the measuring cup until it overflows, then level it off with a straight edge (like the back of a knife) without packing it down. Packing dry ingredients can add significantly more to the cup than intended.
Liquid measuring cups, on the other hand, are designed with a spout and headspace above the top line to prevent spills. To measure liquids accurately, place the cup on a flat surface and pour the liquid until it reaches the desired mark. View the measurement at eye level to account for the meniscus (the curve of the liquid's surface). Using the wrong technique or the wrong type of cup for the ingredient is a common source of inconsistency in baking.
-
Recommended Affordable Measuring Cup & Spoon Sets
You don't need expensive brand-name sets to get accurate measurements. Look for sturdy sets made from plastic or stainless steel. Stainless steel is generally more durable and doesn't retain odors, while good quality plastic sets are lightweight and often dishwasher safe. A basic set of dry measuring cups usually includes 1/4, 1/3, 1/2, and 1 cup sizes. Measuring spoons typically come in sets including 1/4, 1/2, 1 teaspoon, and 1 tablespoon.
Many budget-friendly sets, available for under $15, also include less common sizes like 1/8 teaspoon or 2/3 cup, which can be helpful for specific recipes. Ensure the measurement markings are clearly visible and preferably engraved or molded into the material rather than just printed, as printed markings can fade over time. Investing in a reliable, complete set is a great budget baking tools consistency tip.
-
Tips for Accurate Measuring: Avoiding Common Mistakes
Beyond using the correct technique for dry vs. liquid ingredients, there are other simple tips to enhance accuracy with cups and spoons. For ingredients like brown sugar, which is meant to be packed, ensure you pack it firmly into the cup until it holds its shape when inverted. For sticky ingredients like honey or syrup, lightly oil the measuring cup or spoon first to ensure the ingredient slides out completely. Always level dry ingredients with a straight edge; don't use your finger, as this can scoop out too much or leave too much behind.
Finally, always use the correct size measuring cup or spoon. Don't try to estimate a 1/2 cup by filling a 1 cup halfway. Using the specific size needed for the amount in the recipe ensures greater accuracy. Following these simple steps with your budget-friendly measuring tools will significantly improve your baking consistency.
Achieving Uniformity: Budget-Friendly Tools for Consistent Baking
Oven Thermometers: Ensuring Accurate Baking Temperatures
-
Why Oven Temperature Fluctuations Impact Consistency
One of the most overlooked factors in baking consistency is the actual temperature inside your oven. Oven thermostats can be notoriously inaccurate, often varying by 25°F to 50°F (or even more) from the set temperature. This means if your recipe calls for 350°F, your oven might actually be baking at 325°F or 375°F.
Such temperature discrepancies directly impact baking time, browning, and the final texture of your baked goods. A cake baked at too low a temperature might not rise properly or could dry out before it's cooked through, while one baked too hot could burn on the outside while remaining raw in the center.
Relying solely on your oven's built-in thermostat is a gamble if you seek consistent results. An external oven thermometer provides an accurate reading of the true temperature inside your oven, allowing you to adjust your oven's dial accordingly. This simple, inexpensive tool is indispensable for achieving reliable, repeatable baking outcomes and is a top budget baking tools consistency tip.
-
Top Budget Oven Thermometers for Reliable Readings
You don't need a fancy digital thermometer to get an accurate oven temperature reading. Simple analog dial thermometers, often made of stainless steel, are widely available and highly effective. Look for models designed specifically for ovens, which can withstand high temperatures (typically up to 500°F or 600°F). These thermometers usually hang from an oven rack or stand upright.
Many reliable analog oven thermometers can be purchased for under $10. Key features to look for include a large, easy-to-read dial and durable construction. While digital oven thermometers exist, they are generally more expensive and offer little practical advantage over a good analog one for simply monitoring the ambient oven temperature. Investing in one is a minimal cost with a significant return in terms of baking consistency.
-
Calibrating Your Oven for Consistent Baking
Using an oven thermometer allows you to effectively "calibrate" your oven without needing a technician. Place the thermometer in the center of your oven. Preheat your oven to a standard baking temperature, like 350°F (175°C), and let it stabilize for at least 20-30 minutes. Note the temperature displayed on your external thermometer. The difference between your oven's setting and the thermometer's reading is your oven's offset.
For example, if you set your oven to 350°F but the thermometer reads 325°F, you know your oven runs 25°F cool. From now on, when a recipe calls for 350°F, you'll set your oven to 375°F. Conversely, if it reads 375°F, set your oven to 325°F. Regularly checking your oven's temperature this way is a fundamental budget baking tools consistency tip that will prevent many common baking failures.
Baking Pans: Choosing the Right Material for Even Baking
-
Understanding the Impact of Pan Material on Heat Distribution
The material of your baking pan significantly affects how heat is absorbed and distributed, which in turn impacts browning and cooking time. Metal pans, particularly aluminum, conduct heat efficiently and evenly, leading to consistent browning. Shiny aluminum pans reflect heat, resulting in lighter, softer crusts, while darker metal pans absorb more heat, producing darker, crispier crusts. Non-stick coatings on metal pans can also affect browning.
Glass and ceramic pans heat up more slowly than metal but retain heat for longer. This can be beneficial for dishes that need to stay warm, but for baked goods like cakes or cookies, it can lead to darker bottoms and sides before the center is fully cooked. Silicone pans are non-stick and flexible but don't conduct heat well, often resulting in less browning and requiring longer bake times. Choosing the right material for the specific recipe is key to consistent results.
-
Affordable Baking Pan Recommendations: Aluminum vs. Glass
For general-purpose baking like cakes, cookies, muffins, and bread, affordable aluminum or aluminized steel pans are excellent choices for consistent results. A standard set of round cake pans (8 or 9 inch), a loaf pan, a muffin tin, and a baking sheet are foundational pieces, often available as a set or individually for under $25-$30 each. Look for pans that feel reasonably sturdy and have straight sides.
Glass baking dishes are also budget-friendly and work well for items like brownies, casseroles, or fruit crisps, where even heat retention is desirable. However, be mindful that they can cause the bottoms and edges of cakes or brownies to brown much faster than the center. If using glass for a recipe designed for metal, you may need to reduce the oven temperature by 25°F and/or shorten the baking time to maintain consistency.
-
Tips for Preventing Sticking and Ensuring Even Baking
Regardless of the pan material, proper preparation is crucial for preventing sticking and promoting even baking. Always grease pans thoroughly, using butter, shortening, or baking spray, especially for cakes and muffins. For extra insurance with cakes or loaves, line the bottom of the pan with parchment paper after greasing. This creates a non-stick barrier and makes removal much easier.
When placing multiple items on a baking sheet (like cookies or muffins), ensure there is adequate space between them to allow for even heat circulation. Overcrowding a pan can lead to uneven baking. For cakes, ensure the batter is evenly distributed in the pan. Rotating pans halfway through the baking time can also help compensate for oven hot spots and promote more uniform browning, contributing to overall baking consistency.
Silicone Baking Mats: Achieving Consistent Bottoms
-
Benefits of Silicone Mats Over Parchment Paper
Silicone baking mats, often sold under brand names like Silpat (though many affordable alternatives exist), are a fantastic reusable tool that significantly improves baking consistency, particularly for cookies and pastries. They provide a perfectly non-stick surface, eliminating the need for grease or parchment paper. This results in evenly browned bottoms without the risk of sticking, which can happen even with greased pans or parchment.
Unlike parchment paper, which can sometimes wrinkle or shift, silicone mats lie flat and distribute heat evenly across the bottom of the baked good. This leads to more uniform results across an entire batch of cookies or scones. They are also durable, reusable hundreds or even thousands of times, making them a cost-effective and eco-friendly alternative to disposable parchment paper.
-
Recommended Budget Silicone Baking Mats Brands
Many budget-friendly brands offer silicone baking mats that perform comparably to the more expensive options. Look for mats made from food-grade silicone, often reinforced with fiberglass mesh for durability and even heat distribution. Standard sizes designed to fit half-sheet pans (approximately 11x16 inches) are the most versatile for home baking.
Brands like Amazon Basics, Kitzini, or Vremi often offer sets of two mats for under $20. Check reviews to ensure they are truly non-stick and durable. While they might not last quite as long as premium brands, they offer excellent value and provide the consistent, non-stick surface needed for perfectly baked bottoms, a key budget baking tools consistency tip.
-
How to Clean and Maintain Your Silicone Baking Mats
Proper cleaning and maintenance will extend the life of your budget silicone baking mats. After use, wipe them down with warm, soapy water using a non-abrasive sponge. For stubborn residue, a paste of baking soda and water can help. Rinse thoroughly and lay flat or hang to dry. Avoid using sharp knives directly on the mats, as this can cut the silicone and damage the fiberglass mesh.
While some manufacturers claim their mats are dishwasher safe, hand washing is generally recommended to prolong their lifespan and prevent them from absorbing dishwasher detergent odors. Store them rolled up or laid flat to avoid creases. With proper care, even budget silicone mats can provide consistent non-stick performance for many years.
Consistent Mixing & Shaping: Affordable Tools for Professional Results
Dough Scrapers & Bowl Scrapers: Essential for Consistent Dough Handling
-
Why Dough Scrapers Improve Dough Handling and Consistency
Dough scrapers and bowl scrapers are simple, inexpensive tools that are invaluable for working with doughs and batters, helping to achieve consistency in handling and portioning. A bench scraper (or dough scraper) is a flat, rigid tool, usually metal or plastic, with a handle. It's perfect for dividing dough into equal portions without tearing, scraping sticky dough from work surfaces, and transferring chopped ingredients. This ensures consistent size and weight for rolls, biscuits, or bread loaves, which promotes even baking.
A bowl scraper is a flexible, curved tool, typically made of plastic or silicone. Its flexibility allows it to conform to the shape of your mixing bowl, making it incredibly efficient at scraping down the sides and bottom to ensure all ingredients are incorporated. This prevents pockets of unmixed flour or sugar, leading to a more consistent batter or dough texture throughout.
-
Recommended Budget Dough Scrapers
Both bench and bowl scrapers are very affordable. A basic plastic bench scraper can cost as little as $5-$10, while a stainless steel version might be $10-$15. Look for a bench scraper with a comfortable handle and a sharp, straight edge for clean cuts through dough. Stainless steel is durable and easy to clean, while plastic is lighter and gentler on wooden surfaces.
Flexible bowl scrapers are even cheaper, often sold in sets for under $10. Silicone bowl scrapers are particularly effective as they are heat-resistant and very pliable. Having both types – a rigid bench scraper and a flexible bowl scraper – provides the versatility needed for handling various doughs and batters consistently.
-
Techniques for Using Dough Scrapers for Efficient Dough Division
Using a bench scraper to divide dough ensures consistent portion sizes, which is key for uniform baking times and results. After kneading, shape the dough into a log. Use the bench scraper to make clean cuts through the log at measured intervals. You can even weigh each portion using your digital scale after cutting to ensure they are exactly the same weight, adding another layer of precision.
The bench scraper is also useful for gathering sticky dough from your work surface, minimizing the amount of flour needed to prevent sticking (excess flour can toughen dough). The bowl scraper is perfect for folding ingredients into batter or dough without overmixing and for getting every last bit of batter out of the bowl – no waste! Mastering these simple techniques with your budget scrapers is a great budget baking tools consistency tip.
Rolling Pins: Achieving Uniform Thickness for Cookies and Pastries
-
Understanding Different Types of Rolling Pins
Rolling pins are essential for achieving uniform thickness in doughs for cookies, pie crusts, and pastries. The two main types are the American (or baker's) rolling pin and the French rolling pin. The American rolling pin has handles and a central barrel that may be tapered or straight. The French rolling pin is a simple tapered dowel with no handles, allowing for more direct control and feel of the dough.
While both can work, many bakers find the French pin offers better control for achieving even thickness. However, a straight-barreled American pin can be easier for beginners to achieve a consistent thickness across a large sheet of dough, especially when used with thickness guides.
-
Affordable Rolling Pin Recommendations
Simple wooden rolling pins are often the most budget-friendly option and work perfectly well. A straight-barreled wooden American pin or a tapered wooden French pin can typically be purchased for $15-$25. Look for pins made from durable hardwoods like maple or beech, which are smooth and less likely to splinter.
Another budget option is a rolling pin with adjustable thickness rings. These plastic or silicone rings fit onto the ends of the pin and lift it off the surface, ensuring the dough is rolled to a precise, uniform thickness (e.g., 1/8 inch, 1/4 inch). While the pins themselves might be slightly more expensive (perhaps $25-$35), they guarantee consistent thickness, which is invaluable for cookies and pastries that need to bake evenly.
-
Tips for Achieving Even Thickness with Your Rolling Pin
To achieve uniform thickness, start by flattening your dough slightly with your hands. Begin rolling from the center outwards, rotating the dough occasionally to prevent sticking and ensure even expansion. Don't press too hard; let the weight of the pin do the work. If your pin doesn't have thickness guides, you can use wooden dowels or even rulers placed on either side of the dough as guides.
Roll the dough larger than needed before cutting out shapes to account for any slight variations at the edges. For cookies, rolling to a consistent 1/4 inch thickness is often ideal for even baking. Consistent thickness ensures all pieces bake in the same amount of time and have the same texture, making this a vital budget baking tools consistency tip.
Maintaining Consistency: Cleaning and Storage Tips for Your Baking Tools
Cleaning and Maintaining Your Budget Baking Tools
-
Extending the Life of Your Affordable Baking Equipment
Proper cleaning and maintenance are essential for extending the lifespan of your budget baking tools and ensuring they continue to perform consistently. Food residues left on tools can become breeding grounds for bacteria and can also affect the flavor or texture of future bakes. Dirty pans can lead to sticking, and grime on measuring tools can affect accuracy. Taking a few minutes to clean tools immediately after use prevents tough buildup and keeps them in good working order.
Regular maintenance, like seasoning cast iron pans (if you use them) or occasionally oiling wooden handles on rolling pins, also contributes to longevity. By caring for your affordable tools, you ensure they provide reliable service bake after bake, proving that you don't need expensive equipment for consistent results if you maintain what you have.
-
Recommended Cleaning Products
Most budget baking tools can be cleaned with warm water and standard dish soap. For stainless steel items like measuring cups or scrapers, baking soda can be used as a gentle abrasive to remove stubborn stains or residues. A paste of baking soda and water is also effective for cleaning silicone mats.
Avoid harsh chemicals or abrasive scrub pads on non-stick surfaces, as these can damage the coating. For wooden tools, avoid soaking them in water; wash quickly and dry immediately. For metal pans with baked-on residue, a soak in hot soapy water followed by scrubbing with a nylon brush is usually sufficient.
-
Proper Storage Techniques to Prevent Damage
How you store your baking tools impacts their condition and readiness for use. Store baking pans vertically in a rack or stack them carefully with protective layers (like paper towels or soft cloths) in between to prevent scratching. Store sharp tools like bench scrapers safely to protect their edges and your hands.
Measuring cups and spoons are best stored nested together or hung on hooks for easy access and to keep sets complete. Store wooden tools in a dry place away from extreme temperatures. Proper storage prevents damage, keeps your tools organized, and ensures they are clean and ready for your next consistent baking project, reinforcing good budget baking tools consistency tips.
Case Studies: Real-World Examples of Consistent Baking with Budget Tools
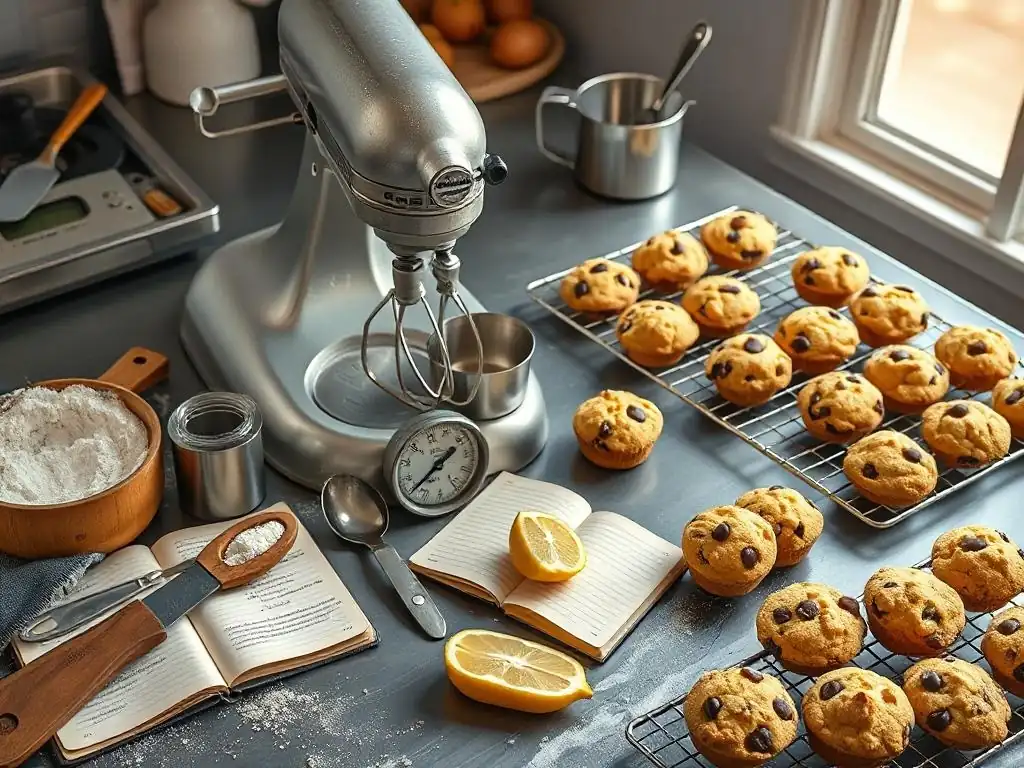
Sarah's Story: How She Improved Baking Consistency with Affordable Equipment
Sarah, a busy home baker, loved making cookies for friends and family but was frustrated by inconsistent results. One batch would spread perfectly, the next would be thick and cakey, and sometimes the bottoms would burn. She was using hand-me-down measuring cups and spoons and relying on her oven's unreliable dial. After reading about budget baking tools consistency tips online, she decided to invest in a few affordable items.
Her first purchase was a $12 digital kitchen scale. She started weighing her flour and sugar instead of scooping. Next, she bought a $15 set of two silicone baking mats. Finally, she spent $8 on an oven thermometer.
The transformation was remarkable. Her cookies started coming out consistently sized, evenly browned, and with the perfect texture every time. The scale ensured accurate ratios, the mats provided even heat transfer to the bottoms, and the thermometer allowed her to bake at the true temperature the recipe intended. Sarah proved that a modest investment in the right budget baking tools can yield significant improvements in baking consistency.
Replicating Famous Recipes with Accurate Tools and Techniques
Many popular bakery items or cookbook recipes are developed using precise measurements and professional equipment. While you might not have a commercial convection oven, you can get surprisingly close to replicating these results at home by focusing on precision with budget tools. Take, for example, a beloved chocolate chip cookie recipe known for its specific chewiness and spread. Achieving this often relies on exact ratios of flour, sugar, and butter, as well as a precise baking temperature.
Using a digital scale (costing perhaps $20) to weigh ingredients ensures you hit those target ratios accurately. Combining this with an oven thermometer (around $10) to verify your oven's true temperature allows you to bake the cookies under the optimal conditions recommended by the recipe developer. Using a budget silicone mat (a set is maybe $20) guarantees that the bottoms brown just right without sticking.
By applying these budget baking tools consistency tips and techniques with affordable equipment, bakers can replicate complex recipes with a level of accuracy previously thought only possible with expensive gear. This demonstrates the power of precision tools, regardless of their price tag.
Conclusion: Bake with Confidence and Consistency – Even on a Budget
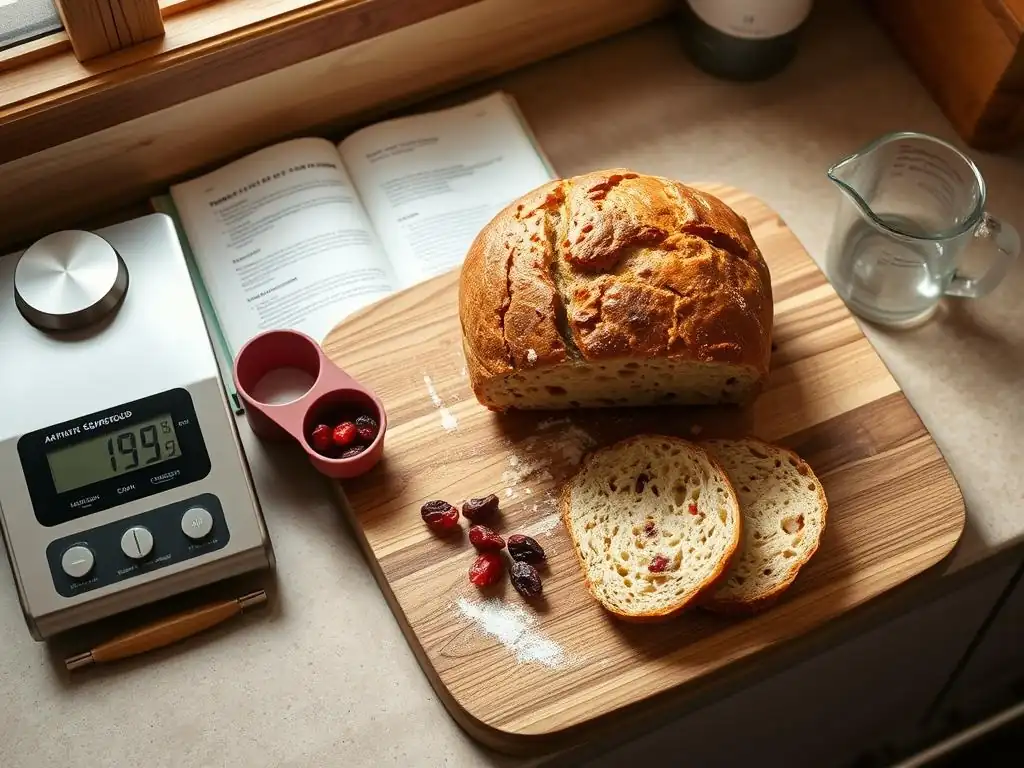
Embrace Precision and Enjoy the Rewards of Consistent Baking
Achieving precision and consistency in baking doesn't require emptying your wallet on high-end kitchen gadgets. As we've explored, focusing on a few key budget baking tools and mastering fundamental techniques can dramatically improve your results. A reliable digital scale, accurate measuring cups and spoons, an oven thermometer, and quality yet affordable baking pans and mats are the core components of a consistent baking toolkit. These tools empower you to follow recipes accurately, control variables like temperature, and ensure uniform handling of doughs and batters.
By embracing precision, you move beyond guesswork and into predictable, reliable baking. The rewards are significant: fewer failed bakes, delicious results every time, and the confidence to tackle more complex recipes. Implementing budget baking tools consistency tips is the most effective way to elevate your baking without financial strain. Start small, build your collection gradually, and focus on using your tools correctly.
Your Next Steps: Building Your Budget-Friendly Baking Toolkit
Ready to improve your baking consistency? Your next step is to assess your current tools and identify where precision might be lacking. Do you need a reliable digital scale? Is your oven temperature suspect? Are your measuring cups worn or inaccurate? Prioritize the tools that will have the biggest impact on the types of baking you do most often.
- [ ] Purchase a digital kitchen scale (aim for one with gram precision).
- [ ] Get an oven thermometer and calibrate your oven.
- [ ] Ensure you have a good set of both dry and liquid measuring tools.
- [ ] Consider adding a silicone baking mat or two.
- [ ] Look into affordable dough scrapers for easier dough handling.
Remember, consistent baking is a skill built on practice and reliable tools. With smart choices in budget baking tools consistency tips and a commitment to accurate techniques, you can bake like a pro without breaking the bank. Happy baking!
Frequently Asked Questions
How can I achieve consistent baking results without expensive equipment?
You can achieve consistency by focusing on accurate measuring using affordable tools like measuring cups and spoons, and by understanding oven temperature variations. Mastering basic techniques is also crucial.
What are some essential, yet budget-friendly, baking tools?
Essential budget-friendly tools include a good set of measuring cups and spoons, a reliable oven thermometer, and a silicone spatula. These items help ensure accuracy and prevent sticking.
How important is an oven thermometer for budget baking?
An oven thermometer is extremely important. It helps you ensure your oven is at the correct temperature, preventing uneven baking and inconsistent results, even with a budget oven.
What are some tips for maintaining consistency when using different brands of ingredients?
When using different brands, pay attention to ingredient density and moisture content. You may need to adjust liquid measurements slightly. Always follow the recipe closely but be prepared to adapt.
How can I improve my baking consistency if I'm using older, less precise baking tools?
Calibrate your older tools! Check your measuring cups with a kitchen scale to ensure accuracy. Also, consider replacing them gradually with budget-friendly alternatives as your budget allows.
Final Reflection: The Sweet Science of Consistent Baking on a Budget
Mastering the art of baking doesn't require a professional kitchen or a limitless budget; it demands precision and the right tools. The pursuit of consistent, delicious baked goods, regardless of cost, is a journey achievable with careful planning and smart choices. This article highlighted the importance of selecting budget-friendly baking tools that deliver reliable performance, proving that quality doesn't always equate to a high price tag.
The impact of accessible baking tools extends far beyond the kitchen. It fosters creativity, encourages experimentation, and strengthens the bonds we share through the simple act of sharing homemade treats. Baking is at once child's play and adult joy. And love, of course.
– This sentiment perfectly captures the emotional connection we forge with the process and the results, regardless of the cost of our equipment. The accessibility of quality, affordable tools democratizes this joy, allowing more people to experience the satisfaction of baking success.
Now, consider your own baking journey. What tools have you found indispensable? What compromises have you made, and what have you learned from them? I encourage you to reflect on your baking process, identify areas where precision could be improved, and explore the affordable options available to elevate your baking game. Embrace the challenge of finding the perfect balance between budget and quality, and unlock the potential for consistent, delicious results that will delight you and those you share your creations with.
Unlock Your Baking Potential: Master Budget-Friendly Precision!
Thanks for diving into the world of budget baking! You've now got the tools to create delicious treats without breaking the bank. Ready to put your new knowledge into action?
- Start planning your next baking project: Use the tips and tricks you learned to create a detailed shopping list, focusing on cost-effective ingredient swaps and smart purchasing strategies.
- Share your baking triumphs (or challenges!) with our community: Join the BakeWithEase forum to connect with fellow bakers and share your budget-friendly creations. Let's inspire each other!
- Explore our extensive recipe library: Discover new budget-friendly recipes that will surprise and delight your taste buds.
What innovative baking technique will you try first to save money and time?