
How to Make a Shiny Chocolate Mirror Glaze

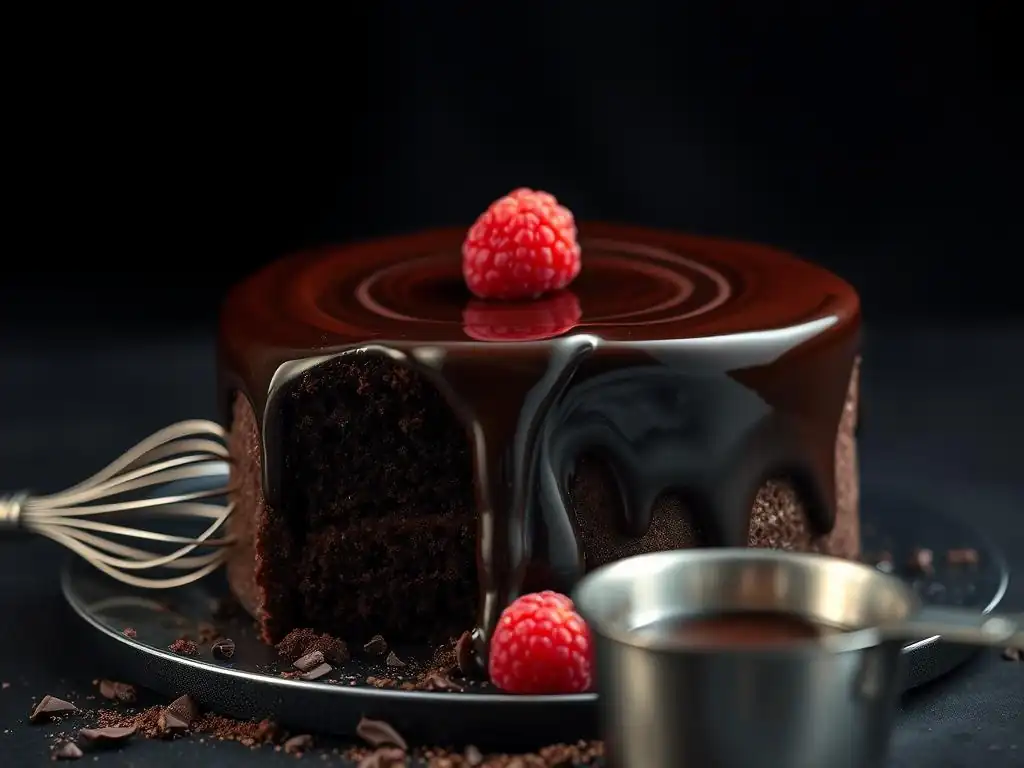
Welcome to BakeWithEase, your ultimate guide to effortless baking! Ever dreamed of achieving that flawlessly smooth, unbelievably glossy finish on your desserts? Prepare to be amazed. This article unveils the secrets to creating a stunning shiny chocolate mirror glaze recipe that will elevate your pastries to professional-level creations. Intrigued? Let's dive in and unlock the magic behind this dazzling technique!
- How to Make a Shiny Chocolate Mirror Glaze: The BakeWithEase Guide
- Introduction to the Perfect Shiny Chocolate Mirror Glaze
- Understanding the Science Behind a Shiny Mirror Glaze
- Shiny Chocolate Mirror Glaze Recipe: Ingredients You'll Need
- Step-by-Step Guide: Creating Your Perfect Mirror Glaze
- Glazing Your Cake: Achieving a Flawless, Shiny Finish
- Troubleshooting Common Mirror Glaze Problems
- Storing and Reusing Leftover Mirror Glaze
- Beyond the Basics: Variations and Flavor Combinations
- Conclusion: Mastering the Art of the Shiny Chocolate Mirror Glaze
- Frequently Asked Questions
- Final Reflection: The Enduring Allure of the Perfect Glaze
- Unlock Your Inner Pastry Chef: Master the Mirror Glaze!
How to Make a Shiny Chocolate Mirror Glaze: The BakeWithEase Guide
Achieving that flawless, reflective surface on your cakes might seem like a professional secret, but it's surprisingly accessible with the right technique. A shiny chocolate mirror glaze can elevate a simple dessert into a stunning centerpiece, making every slice feel extra special. At BakeWithEase, we believe everyone can master beautiful baking, and this guide will walk you through creating a perfect, glossy chocolate mirror glaze recipe from start to finish. Get ready to impress!
Introduction to the Perfect Shiny Chocolate Mirror Glaze
Imagine a cake so smooth and reflective, you can almost see your face in it. That's the magic of a mirror glaze. It's a technique widely used in patisseries to give cakes, tarts, and pastries a sleek, modern finish. Unlike a traditional ganache or buttercream, a mirror glaze sets into a firm, yet slightly elastic, incredibly shiny coating that truly lives up to its name.
What is Mirror Glaze and Why Use It?
Mirror glaze, also known as glacage miroir, is a type of coating made primarily from sugar, water, glucose or corn syrup, condensed milk or cream, gelatin, and chocolate or colored white chocolate. The combination of sugar and syrup creates the high shine, while the gelatin provides structure and elasticity, allowing it to coat smooth surfaces without cracking. Its primary appeal is aesthetic, transforming a simple cake into a work of art with minimal effort compared to intricate piping or frosting techniques.
Using a shiny chocolate mirror glaze not only adds a layer of visual sophistication but also contributes a smooth, rich texture and flavor to your dessert. It's particularly popular for mousse cakes, entremets, and cheesecakes that have been frozen solid, as the cold surface helps the glaze set quickly and evenly. The reflective quality is unmatched by other glazes, making it ideal for special occasions and celebratory bakes.
Achieve a Professional Finish with This Easy Chocolate Glaze Recipe
You might think a glossy mirror finish requires years of culinary school, but that's simply not true. This shiny chocolate mirror glaze recipe is designed for home bakers, focusing on clear steps and readily available ingredients. We'll guide you through the process, from melting chocolate to achieving the perfect pouring consistency.
With just a few basic tools and careful attention to temperature, you can replicate the stunning results seen in high-end bakeries. This recipe yields enough glaze to generously cover an 8-inch round cake or a standard loaf pan-sized entremet. Mastering this technique opens up a world of decorative possibilities for your future baking projects, proving that professional-looking results are well within your reach.
Understanding the Science Behind a Shiny Mirror Glaze
Creating a successful mirror glaze isn't just about mixing ingredients; it involves a bit of culinary science. The interaction between sugar, water, gelatin, and fat (from chocolate or condensed milk) at specific temperatures is what yields that signature shine and smooth texture. Understanding these fundamentals will help you troubleshoot and perfect your shiny chocolate mirror glaze recipe.
The Role of Ingredients in Chocolate Mirror Glaze Success
Each ingredient plays a crucial role in the final texture and appearance of the glaze. Sugar, particularly in combination with glucose or corn syrup, is the primary component responsible for the shine. The syrup helps prevent crystallization and maintains a fluid consistency. Gelatin is essential for setting the glaze; without it, the mixture would simply run off the cake. Using the correct amount of gelatin, typically around 10-12 grams of sheet gelatin or 2-3 teaspoons of powder gelatin per standard batch, ensures the glaze sets firm enough to hold its shape but remains pliable.
Condensed milk or cream adds opacity and richness, providing a solid base color for the chocolate. The chocolate itself provides flavor and contributes to the setting properties due to its cocoa butter content. Using high-quality chocolate with at least 60% cocoa solids is recommended for a deep flavor and good structure. The careful balance of these elements, heated and then cooled, creates a stable emulsion that sets beautifully glossy.
Getting the Right Texture: Temperature and Technique
Temperature control is paramount for a successful shiny chocolate mirror glaze. The mixture is typically heated to dissolve the sugar and gelatin, often reaching temperatures around 100-103°C (212-217°F). However, the application temperature is critical – usually between 30-35°C (86-95°F). If the glaze is too hot, it will be too thin and run off the cake, failing to coat properly. If it's too cold, it will be too thick, challenging to pour smoothly, and may result in a dull finish or visible streaks.
Achieving the perfect smooth texture also involves careful blending. After heating, the mixture often contains air bubbles. Using an immersion blender held at an angle, keeping the blade submerged at all times, is the best technique to emulsify the glaze and remove bubbles without incorporating more air. Blending for about 1-2 minutes is usually sufficient to achieve a smooth, homogenous consistency ready for cooling.
Shiny Chocolate Mirror Glaze Recipe: Ingredients You'll Need
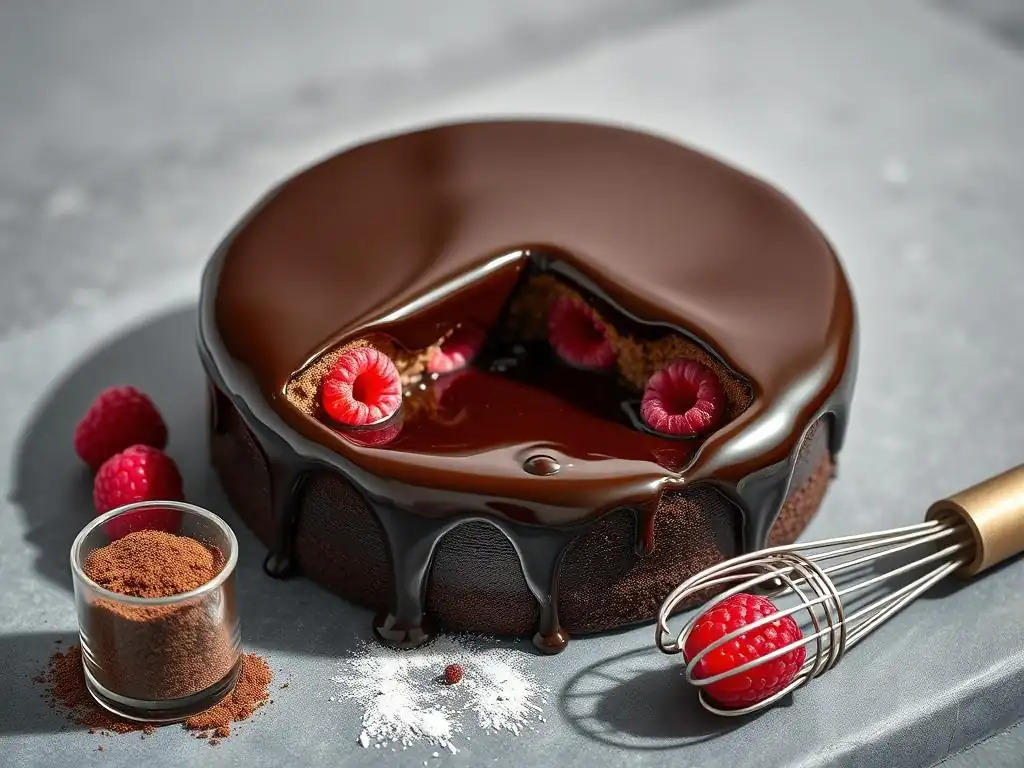
Gathering all your ingredients before you begin is key to a smooth process. This recipe focuses on creating a classic, deep brown shiny chocolate mirror glaze perfect for dark chocolate or mousse cakes. Ensure your ingredients are measured accurately for the best results.
Essential Ingredients for a Flawless Chocolate Mirror Glaze
Here are the core components for your shiny chocolate mirror glaze recipe:
- 200 grams granulated sugar
- 200 grams glucose syrup or light corn syrup
- 100 ml water
- 150 grams sweetened condensed milk
- 200 grams good quality dark chocolate (at least 60% cocoa solids), finely chopped
- 12 grams gelatin sheets (about 6 sheets) or 2-3 teaspoons unflavored gelatin powder
Ensure your chocolate is finely chopped or in callet form to facilitate quick melting. If using gelatin powder, you will need an additional 60ml of cold water to bloom it before adding it to the hot mixture. Using sheet gelatin typically involves soaking it in a large bowl of cold water for 5-10 minutes until pliable, then squeezing out the excess water.
Ingredient Substitutions and Variations (Optional)
While the essential ingredients provide the best results for a classic shiny chocolate mirror glaze recipe, some substitutions are possible, though they may slightly affect the outcome. For instance, you can use white chocolate instead of dark chocolate to create a base for colored glazes, though you may need slightly less white chocolate (around 180g) as it contains more cocoa butter.
If you don't have glucose syrup, light corn syrup is the most common substitute, providing a similar anti-crystallization benefit and shine. Honey can also be used, but its distinct flavor will be noticeable. Sweetened condensed milk provides opacity and sweetness; evaporated milk can be used but may result in a less opaque glaze. Gelatin is crucial for the set; there are vegan alternatives like agar-agar, but they require different ratios and techniques and may not yield the exact same elastic, shiny finish as gelatin.
Step-by-Step Guide: Creating Your Perfect Mirror Glaze
Making a shiny chocolate mirror glaze involves several key stages, each requiring precision. Follow these steps carefully to achieve a beautiful, glossy finish every time.
Step 1: Preparing the Chocolate Mirror Glaze Ingredients
Begin by preparing your gelatin. If using gelatin sheets, soak them in a generous amount of cold water for 5-10 minutes until they are soft and pliable. If using gelatin powder, sprinkle the powder over 60ml of cold water in a small bowl and let it sit for 5-10 minutes to bloom. While the gelatin is blooming, finely chop your dark chocolate and place it in a heatproof bowl.
Measure out your sugar, glucose or corn syrup, water, and sweetened condensed milk. Having all your ingredients ready and measured before heating is essential for a smooth process, as timing becomes important once the mixture is on the heat. This preparation phase ensures you can move seamlessly through the next steps of the shiny chocolate mirror glaze recipe.
Step 2: Combining and Heating the Glaze Mixture
In a medium saucepan, combine the sugar, glucose or corn syrup, and water. Heat this mixture over medium heat, stirring occasionally until the sugar is completely dissolved. Once the sugar is dissolved, stop stirring and bring the syrup to a boil. Allow it to boil for about 1-2 minutes to reach a temperature of around 100-103°C (212-217°F).
Remove the saucepan from the heat. Stir in the sweetened condensed milk. If using gelatin sheets, squeeze out all the excess water and add the softened sheets to the hot mixture, stirring until completely dissolved. If using bloomed gelatin powder, add the entire bowl of bloomed gelatin to the hot mixture and stir until dissolved. The heat from the syrup is sufficient to dissolve the gelatin without further boiling, which could degrade its setting power.
Step 3: Achieving the Perfect Smoothness: Blending the Glaze
Pour the hot liquid mixture directly over the finely chopped dark chocolate in the heatproof bowl. Let it sit for 2-3 minutes to allow the heat to melt the chocolate. Then, using an immersion blender, blend the mixture until it is completely smooth and emulsified.
- Crucial Technique: Insert the immersion blender at an angle, ensuring the head is fully submerged and touches the bottom of the bowl to avoid incorporating air bubbles. Keep the blender submerged throughout the blending process. Blend for about 1-2 minutes until no streaks of chocolate or syrup are visible and the glaze is homogenous and glossy. Avoid lifting the blender head out of the liquid while it's running.
Step 4: Cooling the Chocolate Mirror Glaze to the Ideal Temperature
This is arguably the most critical step for a shiny finish. The glaze needs to cool to the correct pouring temperature, which is typically between 30°C and 35°C (86°F and 95°F). Pour the blended glaze through a fine-mesh sieve into a clean container or jug to catch any small lumps or unincorporated bits.
Allow the glaze to cool at room temperature, stirring occasionally with a spatula to prevent a skin from forming and to help it cool evenly. Using a digital thermometer is highly recommended to accurately track the temperature. Cooling can take anywhere from 1 to 3 hours depending on your room temperature and the volume of glaze. Patience here is key for a truly beautiful shiny chocolate mirror glaze.
Step 5: Testing the Glaze Consistency
While waiting for the glaze to reach the target temperature (30-35°C), you can visually assess its readiness. When it's close, dip the back of a spoon or a silicone spatula into the glaze. It should coat the back of the spoon evenly and opaque, without being too thick or too thin.
If the glaze runs off the spoon almost instantly, it's too hot and needs more cooling time. If it's very thick and gloopy, it might be too cold. The ideal consistency is similar to warm honey or thick syrup. This visual test, combined with the thermometer reading, confirms your shiny chocolate mirror glaze is ready to be applied.
Glazing Your Cake: Achieving a Flawless, Shiny Finish
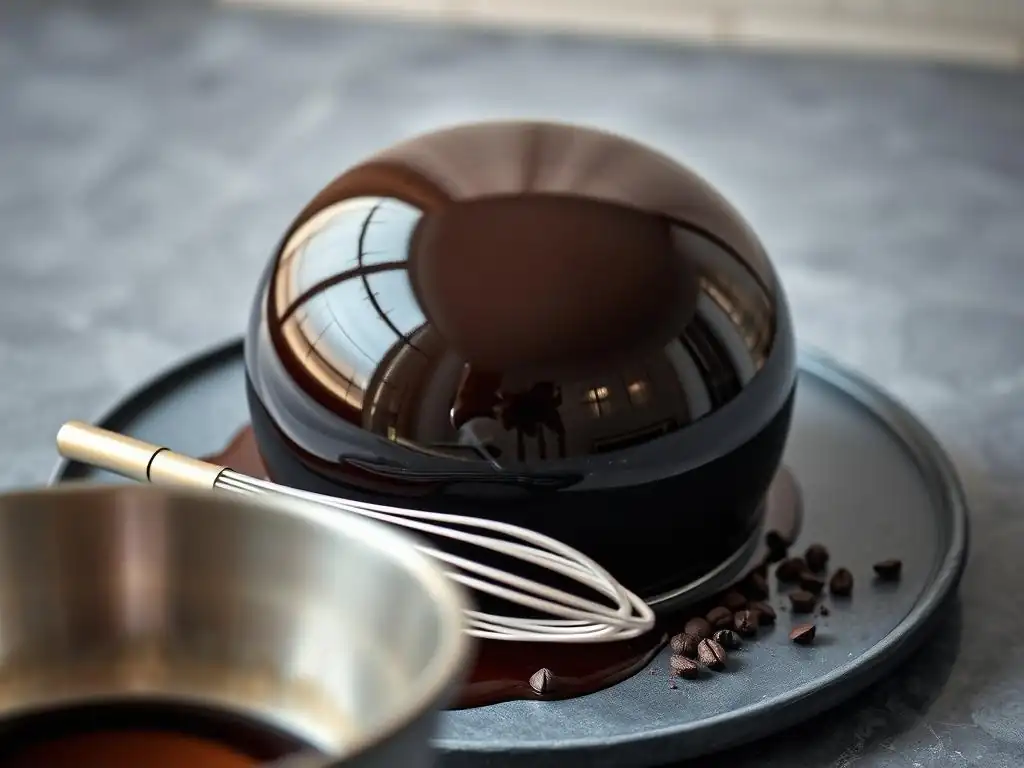
Applying the glaze correctly is the final step to achieving that stunning mirror effect. Proper cake preparation is just as important as the glaze itself.
Preparing Your Cake for Glazing
The cake you plan to glaze should be frozen solid. This is crucial for several reasons:
- A frozen cake surface allows the warm glaze to set almost instantly upon contact, preventing it from soaking into the cake layers.
- Freezing creates a firm, smooth surface, essential for an even application. Any bumps or imperfections on the cake's surface will show through the glaze.
- The cold helps the glaze firm up quickly, minimizing drips and ensuring a thick, opaque coating.
Ensure your cake is placed on a wire rack set over a tray or large bowl to catch the excess glaze. Trim any uneven edges or crumbs from your cake before freezing. A mousse cake or an entremet that has been frozen overnight is ideal for this shiny chocolate mirror glaze recipe.
The Best Technique for Applying Chocolate Mirror Glaze
Once your cake is frozen solid and the glaze is between 30-35°C (86-95°F), it's time to glaze. Pour the glaze steadily and continuously over the center of the frozen cake, working outwards towards the edges. Don't hesitate; a single, confident pour is better than multiple small pours.
Allow the glaze to flow naturally down the sides of the cake, coating it completely. You can gently nudge the glaze over the edges with a spatula if needed, but avoid spreading it, as this can create streaks. Let the excess glaze drip off for a few minutes. You can gently tap the wire rack to encourage drips to fall.
Tips for a Smooth and Even Glaze Application
- Work quickly: The glaze sets fast on a frozen cake. Have everything ready before you start pouring.
- One pour: Ideally, you want to cover the cake in one go. Re-glazing areas can result in uneven thickness and dull spots.
- Use a palette knife carefully: If you need to smooth the top or tidy the bottom edge, use a long, clean palette knife in one swift motion. Avoid touching the surface more than once.
- Catch the drips: The excess glaze caught in the tray below can be strained and reused (see storage section).
- Chill to set: Once the dripping slows significantly (after about 5-10 minutes), carefully transfer the glazed cake to the refrigerator to fully set for at least 30 minutes before slicing.
Troubleshooting Common Mirror Glaze Problems
Even with a great shiny chocolate mirror glaze recipe, sometimes things don't go perfectly the first time. Here are solutions to common issues.
Dealing with Air Bubbles in Your Chocolate Glaze
Air bubbles are a common frustration. They can appear as small pinpricks or larger pockets on the surface of your glaze.
- Prevention: The best method is prevention during the blending stage. Use an immersion blender held at an angle, keeping the head submerged and still while it runs. Avoid lifting it out of the liquid.
- Fixing: If you have bubbles after blending, let the glaze sit for 10-15 minutes before pouring to allow some to rise. You can also gently pass the surface through a fine-mesh sieve. For stubborn bubbles just before pouring, gently run a kitchen torch quickly over the surface (don't heat the glaze, just pop the surface bubbles), or carefully skim them off with a spoon.
Fixing a Glaze That's Too Thick or Too Thin
The wrong consistency usually relates to temperature.
- Too Thin (too hot): If your glaze is running off the cake and not coating properly, it's likely too warm. Stop pouring, collect the glaze, and let it cool further, stirring occasionally, until it reaches the 30-35°C (86-95°F) range.
- Too Thick (too cold): If the glaze is gloopy, hard to pour, or setting too fast with visible lines, it's too cold. Gently warm it slightly over a double boiler or in the microwave in short bursts (5-10 seconds), stirring well between bursts, until it reaches the correct pouring temperature. Use a thermometer to check.
Achieving Maximum Shine in Your Mirror Glaze
Several factors contribute to maximum shine:
- Ingredients: Using glucose or corn syrup and good quality chocolate helps.
- Temperature: Pouring at the precise 30-35°C (86-95°F) temperature is critical. Too hot or too cold reduces shine.
- Smoothness: Thorough blending to create a homogenous, emulsified mixture is essential. Strain if necessary.
- Cake Surface: Glazing a perfectly smooth, frozen cake provides the ideal base for a reflective finish. Any texture underneath will affect the surface.
- Cooling: Allowing the glaze to set undisturbed on the frozen cake, then chilling in the refrigerator, helps the shine develop fully. Avoid touching the surface.
Storing and Reusing Leftover Mirror Glaze
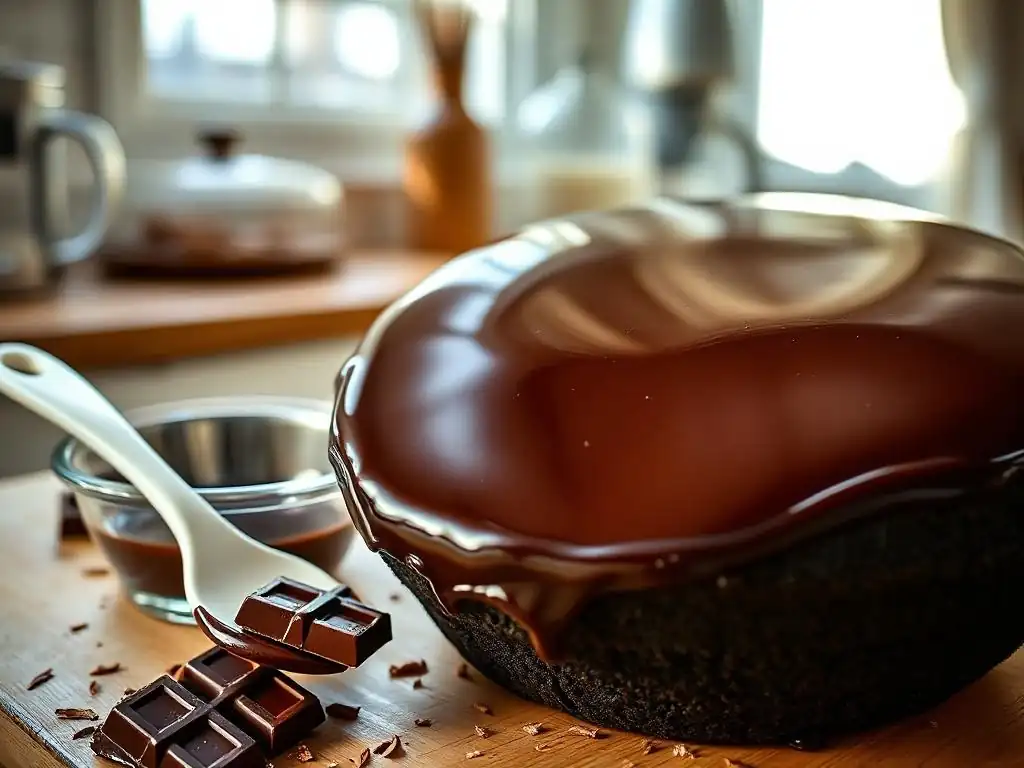
Don't discard that beautiful shiny chocolate mirror glaze that dripped off your cake! It can be saved and used again for future baking projects.
Proper Storage Techniques for Chocolate Glaze
Once the excess glaze has finished dripping (after about 10-15 minutes), carefully scrape it from the tray below the wire rack. Pour the collected glaze through a fine-mesh sieve into an airtight container to remove any crumbs.
Store the strained glaze in the refrigerator for up to 1-2 weeks. Make sure the container is truly airtight to prevent the glaze from drying out or absorbing odors. Label the container with the date so you know how long it's been stored. This reserved glaze is perfect for glazing smaller pastries, cupcakes, or even as a pourable sauce (though it will set firmer than a standard sauce).
Reheating and Reusing Your Mirror Glaze for Future Baking Projects
To reuse stored shiny chocolate mirror glaze, gently reheat it. The best method is to place the container of glaze in a warm water bath (like a double boiler setup) and stir until it becomes liquid again. Alternatively, you can microwave it in short bursts (15-20 seconds), stirring thoroughly after each burst, until it reaches a pourable consistency.
Once melted, check the temperature with a thermometer. You will likely need to let it cool down again to the crucial 30-35°C (86-95°F) range before pouring it over a frozen cake. Ensure it is completely smooth before reusing; blend it again if necessary, being careful to avoid introducing air bubbles. Reheating and cooling does not significantly degrade the quality or shine of this shiny chocolate mirror glaze recipe.
Beyond the Basics: Variations and Flavor Combinations
Once you've mastered the classic shiny chocolate mirror glaze recipe, you can start experimenting with different flavors and colors to match your dessert creations.
Experimenting with Different Chocolate Types in Your Glaze
This recipe uses dark chocolate for a rich, classic look. However, you can easily adapt it:
- Milk Chocolate: Use milk chocolate instead of dark chocolate. You might need slightly more gelatin (around 14-15g) as milk chocolate has less cocoa butter. The resulting glaze will be lighter in color and sweeter.
- White Chocolate: Use white chocolate to create a base for colored glazes. White chocolate has a higher cocoa butter content, so you might need slightly less (around 180g) and potentially a tiny bit less gelatin (around 10g). White chocolate glaze is often used with food coloring to create vibrant mirror finishes.
When using different chocolates, ensure they are good quality. Compound chocolate (often labeled "baking chocolate" or "chocolate coating") contains vegetable fats instead of cocoa butter and will not yield the same shiny, smooth result as couverture or high-quality bar chocolate.
Adding Flavors and Colors to Your Chocolate Mirror Glaze
You can easily infuse your shiny chocolate mirror glaze with additional flavors:
- Extracts: Add 1-2 teaspoons of pure vanilla extract, almond extract, or orange extract after blending, before the glaze cools.
- Liqueurs: A tablespoon or two of coffee liqueur (like Kahlúa), orange liqueur (like Grand Marnier), or rum can be added at the same stage for a boozy kick.
- Coffee: Replace a small amount of the water (e.g., 20ml) with strong brewed coffee or espresso for a mocha glaze.
For colored glazes, start with the white chocolate variation. Use gel or powder food coloring for intense, vibrant hues. Add the coloring after blending the glaze, stirring it in until the desired shade is achieved. Avoid liquid food coloring, as it can affect the glaze's consistency. You can create swirls or marbled effects by pouring different colored glazes simultaneously or swirling them gently on the cake.
Conclusion: Mastering the Art of the Shiny Chocolate Mirror Glaze
Creating a shiny chocolate mirror glaze might seem daunting at first, but by following this detailed guide and paying attention to temperature and technique, you can achieve stunning, professional-looking results right in your own kitchen. This shiny chocolate mirror glaze recipe provides a reliable foundation for elevating your cakes and desserts.
Remember the key steps: accurate measurement, careful heating, thorough but gentle blending, precise cooling to 30-35°C (86-95°F), and pouring over a frozen cake. Practice makes perfect, and soon you'll be glazing cakes with confidence, turning simple bakes into showstopping centerpieces.
Enjoy Your Beautiful and Delicious Glazed Creations
Now that you've mastered the shiny chocolate mirror glaze recipe, it's time to enjoy the fruits of your labor! Let your beautifully glazed cake set fully in the refrigerator for at least 30 minutes before slicing. The glaze provides a smooth, rich counterpoint to the cake or mousse underneath.
Share your creation with friends and family and bask in the compliments on its stunning appearance. This technique is a fantastic addition to your baking repertoire, opening up possibilities for elegant desserts for any occasion. Happy glazing from all of us at BakeWithEase!
Frequently Asked Questions
How difficult is it to make a shiny chocolate mirror glaze?
While it may seem intimidating, a shiny chocolate mirror glaze is surprisingly easy to make with the right recipe and instructions. BakeWithEase.com offers a simple, step-by-step guide.
What are the key ingredients needed for a shiny chocolate mirror glaze?
The core ingredients typically include chocolate, sugar, glucose syrup, condensed milk, and gelatin. A high-quality chocolate is crucial for the best results.
What makes a chocolate mirror glaze "shiny"?
The shine comes from the combination of ingredients and the proper heating and cooling process. The smooth, even surface reflects light, creating the mirror-like effect.
Can I use any type of chocolate for a mirror glaze?
It's generally recommended to use good quality chocolate with a high cocoa butter content for a smoother, shinier glaze. Different types (dark, milk, white) can be used, but may require adjustments to the recipe.
How long does a chocolate mirror glazed cake last?
A chocolate mirror glazed cake will generally last for 3-4 days in the refrigerator. It's important to store it properly to maintain the glaze's appearance and prevent it from becoming sticky.
Final Reflection: The Enduring Allure of the Perfect Glaze
The pursuit of the perfect shiny chocolate mirror glaze is more than just a culinary quest; it's a testament to our desire for beauty and precision in the simplest of things. This seemingly simple recipe, broken down step-by-step in this article, unlocks a world of possibilities for bakers of all skill levels. The ability to create a flawlessly smooth, intensely glossy finish elevates even the humblest cake into a masterpiece, proving that sometimes, the smallest details make the biggest impact.
The impact of a visually stunning dessert extends far beyond the palate; it's an experience that engages all the senses. A perfectly mirrored glaze speaks to our innate appreciation for artistry and craftsmanship. It's a visual delight that captures attention and sparks conversation, transforming a simple treat into a memorable moment. As the renowned pastry chef, Pierre Hermé, once said, Pastry is not just about taste; it's about emotion, it's about memory.
The shiny chocolate mirror glaze, in its own way, embodies this sentiment perfectly.
Now, I invite you to take what you've learned and experiment. Don't be afraid to tweak the recipe, to personalize it, to make it your own. The journey of mastering the shiny chocolate mirror glaze is a continuous one, filled with learning, experimentation, and the undeniable satisfaction of creating something truly beautiful. So, gather your ingredients, embrace the process, and let the magic unfold. The perfect, shimmering glaze awaits.
Unlock Your Inner Pastry Chef: Master the Mirror Glaze!
Thanks for joining us on this delicious journey into the world of mirror glazes! We hope you've gained the confidence to create stunningly shiny, professional-looking desserts. Ready to take your baking to the next level?
- Your first masterpiece awaits! Try making the chocolate mirror glaze recipe today – the results are truly breathtaking. Don't forget to adjust the recipe to your favorite flavor profile.
- Share your creation! Post a photo of your finished dessert on social media and tag us – we'd love to see your delicious work!
- Explore other advanced baking techniques on BakeWithEase.com – we have a treasure trove of recipes and tips waiting for you!
What innovative flavor combinations will you explore with your newfound mirror glaze skills?