
How to Make Chocolate Curls for Easy Decoration

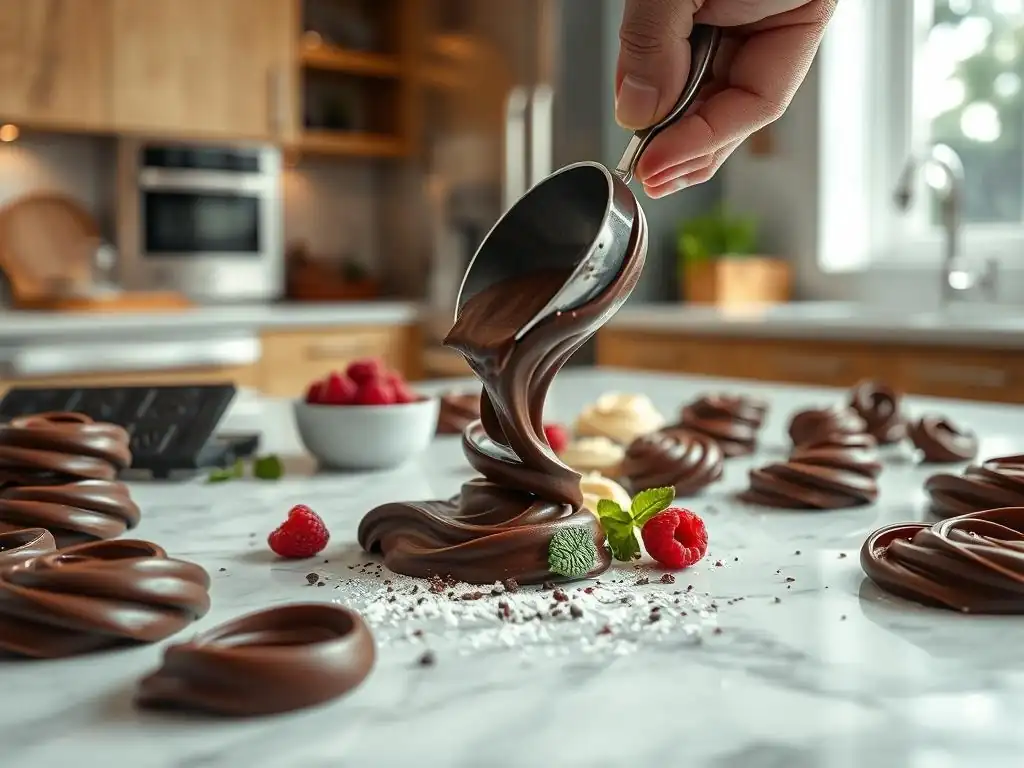
Welcome to BakeWithEase, where delicious baking becomes effortlessly achievable! Ever wondered how those stunning chocolate curls elevate desserts from simple to spectacular? Unlock the secrets to easy chocolate curl decorating and transform your next creation into a masterpiece. We'll guide you through the process, step-by-step, so you can impress with minimal effort. Ready to add a touch of elegance? Let's dive in!
- How to Make Chocolate Curls for Easy Decoration: BakeWithEase Guide
- Introduction to Easy Chocolate Curl Decorating
- Understanding Chocolate for Curl Creation
- Step-by-Step Guide: Creating Stunning Chocolate Curls
- Troubleshooting Common Chocolate Curl Problems
- Decorating Ideas Using Your Homemade Chocolate Curls
- Storing Your Chocolate Curls for Later Use
- Mastering Different Types of Chocolate Curls
- Conclusion: Enjoying the Art of Easy Chocolate Curl Decorating
-
Frequently Asked Questions
- How difficult is it to make chocolate curls, even for a beginner?
- What type of chocolate works best for creating chocolate curls?
- What tools do I need to make chocolate curls successfully?
- What is the ideal temperature for the chocolate when making curls?
- How should I store chocolate curls to keep them fresh?
- Final Reflection: The Enduring Allure of Easy Elegance
- Unleash Your Inner Pastry Chef!
How to Make Chocolate Curls for Easy Decoration: BakeWithEase Guide
Introduction to Easy Chocolate Curl Decorating
Elevate Your Baking with Simple Chocolate Curls
Adding a touch of elegance to your baked goods doesn't have to be complicated. Simple chocolate curls are a fantastic way to take cakes, cupcakes, pies, and other desserts from ordinary to extraordinary with minimal effort. This technique allows even beginner bakers to achieve professional-looking results, proving that beautiful decoration is within everyone's reach. Mastering easy chocolate curl decorating opens up a world of possibilities for enhancing the visual appeal and texture of your sweet creations.
These delicate ribbons of chocolate provide a delightful textural contrast to smooth frostings or creamy fillings. They melt pleasantly in the mouth and offer a rich flavor burst. Learning this simple skill means you'll always have an impressive garnish ready for any occasion, whether it's a birthday party, holiday gathering, or just a treat for yourself. The ease of making them makes them a go-to decoration for busy bakers seeking maximum impact with minimum fuss.
Why Chocolate Curls are the Perfect Baking Decoration
Chocolate curls are incredibly versatile and appealing, making them a perfect choice for decorating a wide range of desserts. Unlike intricate piping work or fondant decorations that require specific tools and skills, creating chocolate curls is straightforward and forgiving. A few simple tools and a basic understanding of chocolate are all you need to get started. Their organic, slightly irregular shape adds a charming, handcrafted touch that is both beautiful and inviting.
Beyond their aesthetic appeal, chocolate curls offer a wonderful flavor component that complements almost any dessert. They are particularly effective on items like chocolate cakes, cheesecakes, ice cream sundaes, or even hot chocolate. The process of easy chocolate curl decorating is quick once you get the hang of it, allowing you to decorate multiple items in a short amount of time, which is ideal when preparing for events or large batches of treats.
BakeWithEase: Your Guide to Chocolate Decorating Mastery
At BakeWithEase, our mission is to demystify baking techniques and make them accessible to everyone. This guide on how to make chocolate curls for easy decoration is a prime example of that philosophy. We break down the process into simple, manageable steps, ensuring that you can confidently create beautiful chocolate garnishes even if you've never tried it before. Our focus is on practical tips and easy-to-follow instructions.
We understand that working with chocolate can sometimes feel intimidating, but with the right guidance, it becomes a rewarding experience. This article provides the foundational knowledge you need, from choosing the right chocolate to troubleshooting common issues. By following our BakeWithEase approach, you'll find that easy chocolate curl decorating is not only achievable but also enjoyable, adding a new skill to your baking repertoire.
Understanding Chocolate for Curl Creation
Choosing the Right Chocolate for Perfect Curls
The type and quality of chocolate you use significantly impact the success of your chocolate curls. Not all chocolate behaves the same way when melted and cooled. For the best results in easy chocolate curl decorating, you should look for chocolate that contains cocoa butter as its primary fat source, rather than vegetable oils. Compound chocolate (often labeled as "candy melts" or "chocolate flavored coating") is made with vegetable oils and tends to be too soft and oily for creating firm, well-shaped curls.
High-quality chocolate, like couverture chocolate, which has a higher percentage of cocoa butter (around 32-39%), is ideal because it melts smoothly and sets up firmly with a good snap. However, you don't necessarily need expensive couverture. Many good quality baking bars or even standard chocolate chips (though chips contain stabilizers that can affect smoothness) can work well, provided they contain real cocoa butter. Check the ingredient list – cocoa butter should be high up, preferably after sugar and cocoa solids.
Types of Chocolate Ideal for Easy Chocolate Curls: Dark, Milk, and White
You can make beautiful, easy chocolate curls using dark, milk, or white chocolate, each offering a different flavor profile and appearance. Dark chocolate, typically containing 50-70% cocoa solids, often works best for beginners because it's less sensitive to temperature fluctuations than milk or white chocolate. Its firmness once set makes it easier to shave into distinct curls. A dark chocolate with around 60% cocoa solids is a good starting point.
Milk chocolate and white chocolate can also produce stunning curls, but they require a bit more care due to their higher sugar and milk fat content, which makes them softer at room temperature. Milk chocolate usually contains around 30-40% cocoa solids, while white chocolate contains no cocoa solids but is made from cocoa butter, sugar, and milk solids. When working with milk or white chocolate for easy chocolate curl decorating, ensure your working surface and tools are cool, and consider chilling the chocolate slightly more than you would dark chocolate before attempting to curl it.
The Importance of Chocolate Tempering for Chocolate Curls
While you can make some form of chocolate shaving without tempering, achieving beautiful, glossy, and stable chocolate curls requires tempering. Tempering is a process of heating and cooling chocolate to specific temperatures to stabilize the cocoa butter crystals. Properly tempered chocolate will set with a firm snap, a smooth, shiny surface, and will not melt easily at room temperature. This is crucial for curls that hold their shape and don't bloom (develop a dull, grayish appearance due to fat separation).
For easy chocolate curl decorating, tempering ensures your curls are durable enough to handle and place on desserts without melting instantly. Untempered chocolate, when cooled, will be soft, sticky, and likely to melt in your fingers, making curl creation frustrating. While full tempering can be complex, even a simple seeding method (melting chocolate and adding solid tempered chocolate to cool it and introduce stable crystals) can significantly improve the quality of your curls compared to just melting and cooling.
Step-by-Step Guide: Creating Stunning Chocolate Curls
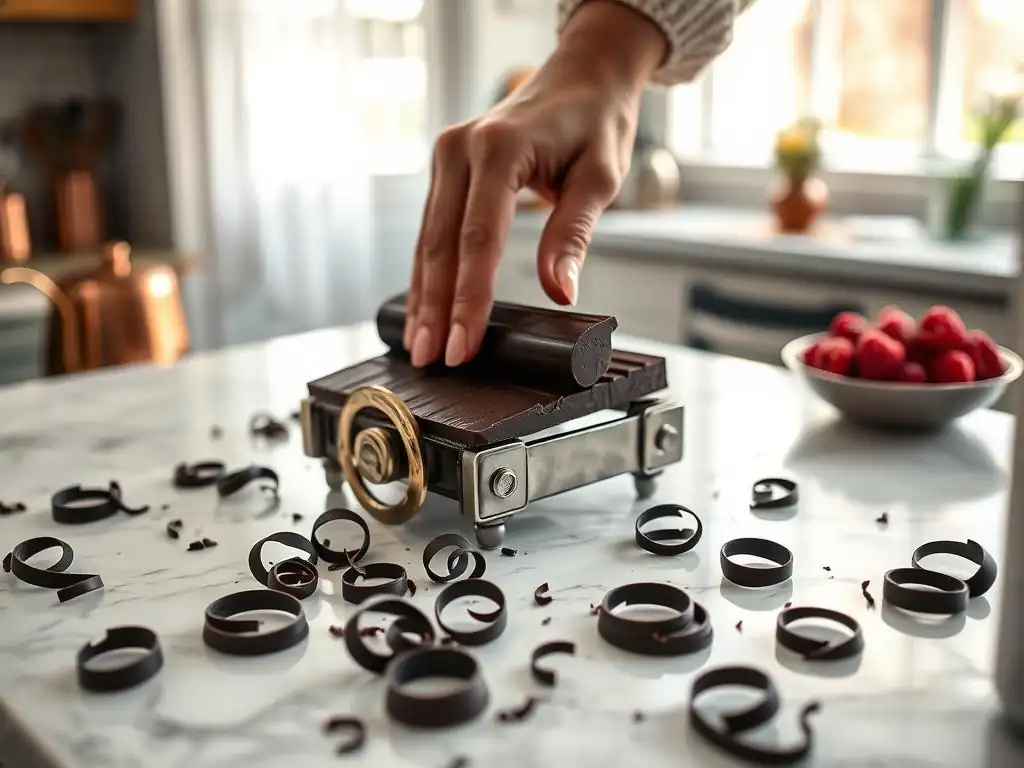
Preparing Your Chocolate for Curling
The first step to making easy chocolate curls is getting your chocolate into the right state. You need a block or piece of chocolate that is solid but not too hard – it should be firm enough to hold its shape but soft enough for a peeler or knife to glide through without excessive force. Start by melting your chocolate gently, either using a double boiler or in a microwave on low power, stirring frequently until just melted and smooth.
Once melted, the chocolate needs to be cooled and set. If you've tempered the chocolate, spread a thin layer (about 1/8 to 1/4 inch thick) onto a clean, smooth surface like the back of a baking sheet, a marble slab, or a large cutting board. Use an offset spatula or scraper to spread it evenly.
Allow the chocolate to cool and solidify at room temperature or in a cool spot (around 65-70°F or 18-21°C) until it is firm to the touch but still slightly pliable – it shouldn't snap when you gently press it. If it's too hard, let it warm up slightly; if too soft, chill briefly.
Tools You'll Need to Make Chocolate Curls
Making easy chocolate curls requires only a few basic tools that you likely already have in your kitchen. The most common and often easiest tool for creating curls is a vegetable peeler. A standard swivel peeler or a Y-peeler both work effectively. Ensure the blade is sharp and clean.
Other useful tools include a sharp chef's knife or a large paring knife. These are particularly good for making larger or more irregular curls directly from a block of chocolate. Additionally, a chocolate shaver, while less common, is specifically designed for creating fine shavings or delicate curls from a block. Regardless of the tool, the key is a clean, smooth surface of chocolate to work from.
The Best Techniques for Making Easy Chocolate Curls with a Vegetable Peeler
Using a vegetable peeler is arguably the simplest method for easy chocolate curl decorating. Once your chocolate is prepared and set to the right consistency on a flat surface, hold the peeler at a slight angle against the chocolate. Apply gentle, even pressure and draw the peeler along the surface, away from you. As you do this, a thin layer of chocolate will peel off and naturally curl as it leaves the surface.
The angle, pressure, and speed will affect the size and tightness of the curl. Experiment with different angles – a steeper angle might create tighter curls, while a flatter angle could produce wider ones. Work systematically across the chocolate surface. Use a toothpick or small spatula to gently lift the finished curls and transfer them to a parchment-lined tray. Avoid touching them with your warm fingers as they can melt quickly.
Alternative Methods: Using a Knife or Chocolate Shaver for Curl Creation
While a vegetable peeler is excellent for speed and ease, a sharp knife offers more control over the size and shape of your chocolate curls. For this method, you can work directly from a solid block of tempered chocolate or from the sheet of cooled chocolate you prepared. Hold the knife at a low angle (almost parallel) against the chocolate surface.
Push the edge of the blade gently but firmly along the chocolate. A thin layer will shave off and curl as it goes. This technique requires a very sharp knife and a steady hand. A chocolate shaver, designed specifically for this task, works similarly but often has a wider blade and a handle, making it easier to create larger or longer curls from a block. Both knife and shaver methods allow for more customization in the curl dimensions compared to a standard peeler.
Troubleshooting Common Chocolate Curl Problems
Chocolate Too Soft: Solutions for Melted Chocolate
If your chocolate is too soft when you try to make curls, it will likely just smear or melt instead of curling cleanly. This usually happens if the chocolate hasn't cooled sufficiently or if the working environment is too warm. The ideal temperature for making easy chocolate curls is between 65-70°F (18-21°C). If your chocolate is too soft, gently slide the surface you spread it on (like the baking sheet) into the refrigerator for just a few minutes.
- Checklist for Soft Chocolate:
- Is the room temperature too high? (Above 70°F / 21°C) -> Cool the room or move to a cooler spot.
- Has the chocolate cooled long enough? -> Allow more time to set.
- Was the chocolate properly tempered? (Untempered chocolate is softer) -> Consider re-melting and tempering.
- Are your hands too warm? -> Handle the chocolate surface minimally.
- Is the chocolate type inherently soft? (e.g., some compound chocolates) -> Use real chocolate with cocoa butter.
Remember, only a few minutes in the fridge are usually needed. Over-chilling can make the chocolate too hard, leading to brittle curls. You want it firm but yielding slightly to pressure.
Chocolate Too Hard: Tips for Brittle Chocolate
On the flip side, if your chocolate is too hard, it will shatter or break into flakes instead of forming smooth curls. This often occurs if the chocolate has been chilled for too long or is simply too cold or brittle. The chocolate should be firm but not rock hard. If you press it gently with your finger, it should slightly indent, not snap.
If your chocolate is too hard for easy chocolate curl decorating, let it sit at room temperature for a few minutes to warm up slightly. You can also gently warm the back of the surface it's on (if it's a metal tray) with your hands for a few seconds. Be patient; it only takes a small temperature increase to make the difference between brittle shards and perfect curls. Avoid applying direct heat, which could melt it unevenly.
Achieving Consistent Curl Size and Shape
Achieving consistency in your chocolate curls comes with practice, but there are techniques to help. The angle at which you hold your tool (peeler, knife, or shaver) and the amount of pressure you apply are the primary factors influencing curl size and shape. A consistent angle and steady pressure across the chocolate surface will yield more uniform curls.
For the most consistent results with a peeler, try to maintain the same angle relative to the chocolate. For thicker curls, apply slightly more pressure or use a tool with a wider blade. For finer shavings, use less pressure and a very sharp blade. Working with a large, flat area of chocolate prepared as described in the "Preparing Your Chocolate" section makes it easier to maintain consistent strokes compared to working directly from an irregular block. Don't worry if your first few attempts aren't perfect; you can always re-melt and re-spread the chocolate to try again!
Decorating Ideas Using Your Homemade Chocolate Curls
Cake Decorating with Chocolate Curls: Simple and Elegant Designs
Chocolate curls are a go-to for cake decoration because they instantly add sophistication and texture. For a simple yet elegant look, you can cover the entire top surface of a frosted cake with curls. This works beautifully on chocolate cakes, vanilla cakes with chocolate frosting, or even red velvet cakes. A standard 8-inch cake might require around 100-150 grams of chocolate to produce enough curls for full coverage, depending on their size.
Another popular method for easy chocolate curl decorating on cakes is to apply them around the sides. Gently press the curls into the frosting along the perimeter of the cake, either just around the base or all the way up the sides. You can also arrange a cluster of curls in the center or along one edge of the cake top, perhaps surrounding a piped border or fresh fruit. Their rich appearance makes any cake look more professionally finished.
Cupcake Topping Ideas: Adding a Chocolate Curl Touch
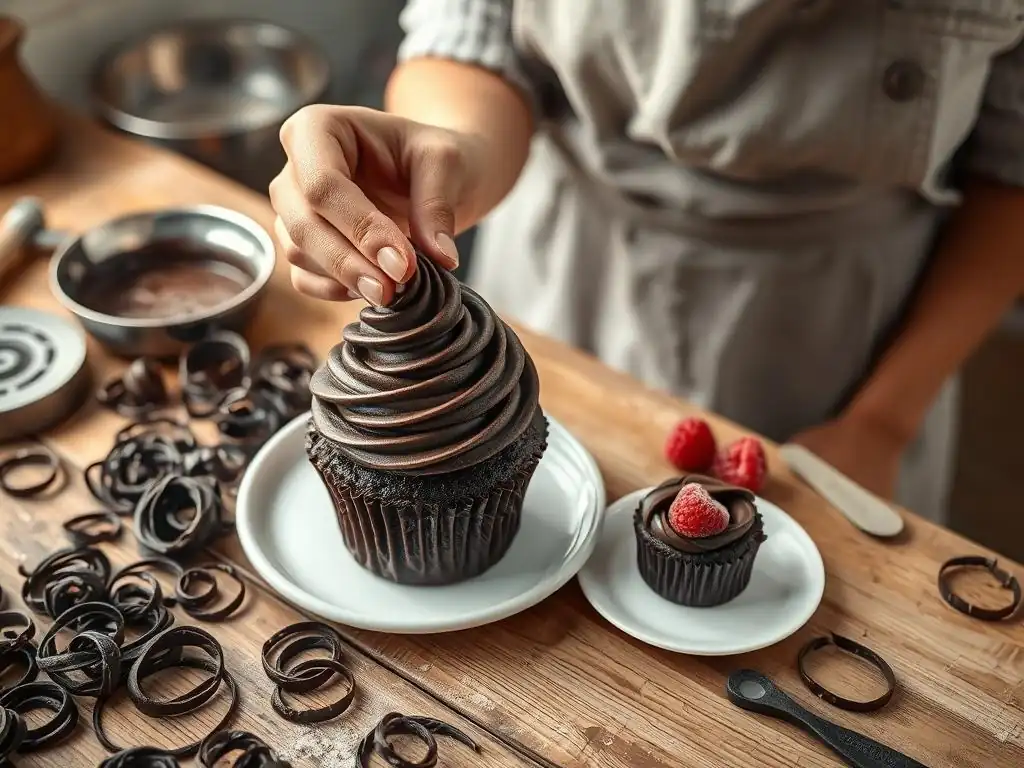
Cupcakes are perfect canvases for easy chocolate curl decorating. A simple swirl of frosting topped with a sprinkle or cluster of chocolate curls elevates a basic cupcake into a gourmet treat. You can scatter fine shavings over the entire frosting surface for a delicate look, or place a few larger, more dramatic curls upright in the frosting swirl.
Consider combining different types of chocolate curls on a single cupcake – a mix of dark and white chocolate curls creates a striking visual contrast. For themed cupcakes, such as those for a party, you can use curls to complement other decorations like sprinkles or edible glitter. Since cupcakes are smaller, you'll need fewer curls per serving, making this an economical yet impactful decoration method.
Dessert Garnishes: Chocolate Curls for Ice Cream and More
Beyond cakes and cupcakes, chocolate curls are fantastic garnishes for a wide variety of desserts. Sprinkle them generously over scoops of ice cream or frozen yogurt for added texture and flavor. A classic hot fudge sundae is incomplete without a flourish of chocolate curls on top of the whipped cream.
Pies, tarts, mousses, and puddings also benefit greatly from easy chocolate curl decorating. A few curls scattered over a chocolate mousse or a slice of chocolate cream pie enhance both the appearance and the chocolatey goodness. Even simple desserts like fresh fruit salads can be made more special with a light scattering of fine chocolate shavings. They add a touch of indulgence without being overly heavy.
Storing Your Chocolate Curls for Later Use
Best Practices for Storing Chocolate Curls
Proper storage is key to keeping your beautiful, easy chocolate curls looking their best until you're ready to use them. The primary enemies of chocolate curls are heat, moisture, and strong odors. Store your curls in a cool, dry place, away from direct sunlight and any sources of heat like ovens or appliances. An ideal storage temperature is between 60-65°F (15-18°C).
Use an airtight container to store the curls. Line the bottom of the container with parchment paper, gently place the curls in a single layer if possible, add another layer of parchment if stacking is necessary, and seal tightly. This protects them from moisture and prevents them from absorbing smells from other foods. Avoid storing them in the refrigerator if possible, as the humidity can cause condensation, leading to sugar bloom, although a very dry fridge might work in a pinch if your room is too warm.
Preventing Melting and Blooming in Stored Chocolate Curls
Melting is the most obvious storage issue, easily prevented by keeping the curls cool. Blooming, either fat bloom (grayish streaks) or sugar bloom (grainy white spots), is another concern. Fat bloom happens when chocolate gets too warm and then cools, causing cocoa butter crystals to destabilize and rise to the surface. Sugar bloom occurs when moisture condenses on the chocolate surface, dissolving sugar which then recrystallizes.
Storing in a cool, stable temperature environment is the best defense against both types of bloom. The airtight container helps prevent moisture contact. If you must store them in the fridge, place the sealed container inside another sealed bag or container to minimize exposure to humid air when you open the fridge. While bloomed chocolate is still safe to eat, it loses its shine and smooth texture, which detracts from the visual appeal of your easy chocolate curl decorating.
Mastering Different Types of Chocolate Curls
Making Fine Chocolate Shavings
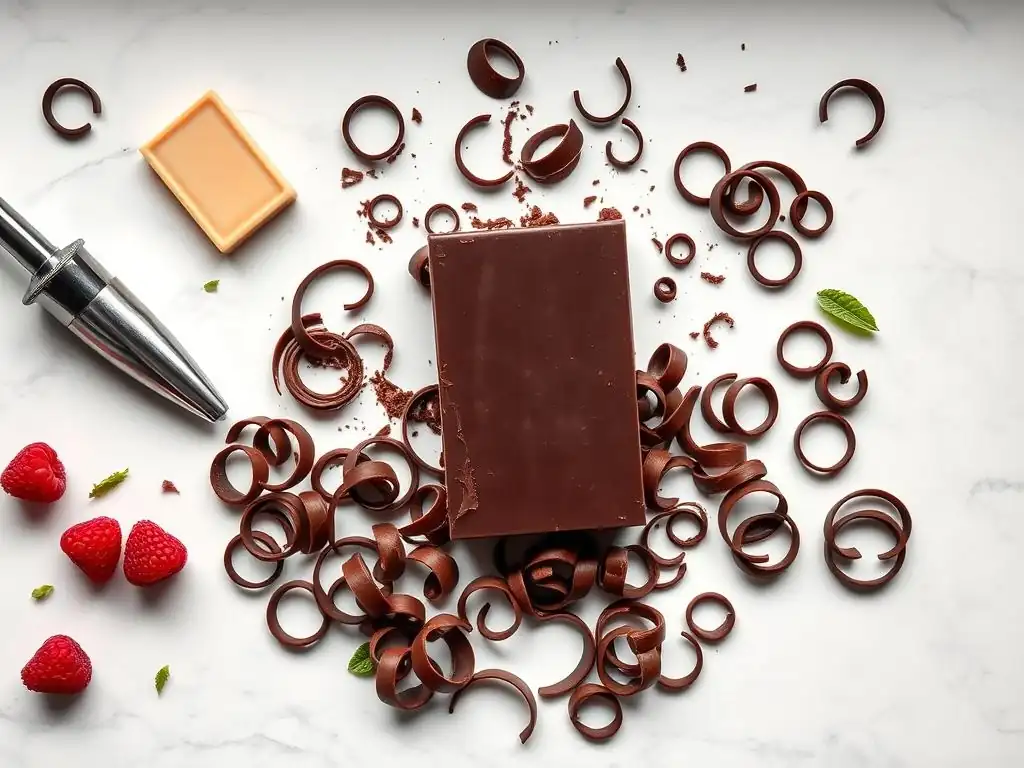
Fine chocolate shavings offer a delicate, almost powdery texture and appearance, perfect for light garnishes or covering large surfaces evenly. To create fine shavings for easy chocolate curl decorating, use a very sharp knife or the smallest holes on a box grater. If using a knife, hold it at a very low angle (almost flat) against the chocolate surface and scrape gently.
If using a box grater, hold a block of firm (but not frozen) chocolate and lightly grate it using the side with the smallest holes. The key is light pressure and a cool block of chocolate. These fine shavings melt very quickly, so handle them minimally, perhaps using a spoon or small brush to gather and sprinkle them. They are excellent for dusting over cappuccinos, hot chocolate, or the edges of plates.
Creating Large, Dramatic Chocolate Curls
For a bolder statement in your easy chocolate curl decorating, you'll want to create large, dramatic curls. This is best achieved using a wide vegetable peeler or a chocolate shaver, or by working with a larger block of chocolate and a sharp knife. Prepare your sheet of chocolate slightly thicker than you would for smaller curls (closer to 1/4 inch).
When using a peeler on a flat surface, apply slightly more pressure and hold the peeler at a consistent, moderate angle. If working directly from a block with a knife or shaver, use a tool with a wider blade and take longer strokes along the chocolate surface. The size of the curl is directly related to the length of the stroke and the thickness of the chocolate layer being peeled. Be extra gentle when transferring these larger curls as they can be more fragile.
Experimenting with Flavored Chocolate for Unique Curls
Don't limit yourself to plain dark, milk, or white chocolate for your easy chocolate curl decorating! Experimenting with flavored chocolates can add an exciting twist to your desserts. Chocolates infused with flavors like orange, mint, chili, or coffee can be used to create unique curls that complement specific dessert profiles. Imagine coffee-flavored curls on a tiramisu or mint curls on a chocolate cake.
You can also add your own flavorings to white chocolate before setting it for curling. A few drops of food-grade extract (like almond, raspberry, or lemon) can be stirred into melted white chocolate. Ensure the extract is oil-based if possible, as water-based extracts can cause chocolate to seize. Alternatively, use colored cocoa butter powders to tint white chocolate different colors before making curls for vibrant, fun decorations.
Conclusion: Enjoying the Art of Easy Chocolate Curl Decorating
Mastering the Technique for Impressive Results
Making beautiful chocolate curls might seem daunting at first glance, but as this guide shows, easy chocolate curl decorating is an achievable skill for any home baker. By understanding the role of chocolate quality, mastering the simple techniques with tools like a vegetable peeler, and knowing how to troubleshoot common issues, you can consistently produce impressive garnishes. The key is practice and patience – don't be discouraged if your first few attempts aren't perfect ribbons.
Each time you try, you'll get a better feel for the right chocolate consistency and tool pressure needed to create those lovely curls. Remember the importance of having your chocolate at the correct temperature – not too hard, not too soft. With a little effort, you'll soon be able to whip up professional-looking chocolate decorations whenever you need them, elevating everything from simple cupcakes to elaborate celebration cakes.
BakeWithEase: Your Partner in Baking Success
At BakeWithEase, we are dedicated to helping you succeed in all your baking endeavors. Learning techniques like easy chocolate curl decorating is just one step in your journey to becoming a more confident and creative baker. We provide the straightforward guides, practical tips, and encouragement you need to tackle new skills and perfect classic ones.
Whether you're looking to master sourdough, perfect your pie crust, or simply add a beautiful chocolate garnish to your latest creation, BakeWithEase is here to guide you. We believe that baking should be enjoyable and accessible to everyone. Keep practicing this easy chocolate curl decorating technique, explore our other resources, and most importantly, have fun creating delicious and beautiful treats!
Frequently Asked Questions
How difficult is it to make chocolate curls, even for a beginner?
Making chocolate curls is surprisingly easy! With the right temperature and a few simple tools, even beginners can achieve beautiful, professional-looking decorations. The key is patience and practice.
What type of chocolate works best for creating chocolate curls?
Semi-sweet or dark chocolate with a high cocoa butter content is generally recommended. This allows the chocolate to melt smoothly and set with the right consistency for easy curling. Avoid chocolate chips as they often contain stabilizers.
What tools do I need to make chocolate curls successfully?
You'll primarily need a chocolate bar, a vegetable peeler or sharp knife, and a slightly warmed surface like a baking sheet. A bowl for melting the chocolate is also essential.
What is the ideal temperature for the chocolate when making curls?
The chocolate should be melted smoothly and slightly cooled but still pliable. If it's too hot, it will be too thin. If it's too cold, it will crack. Experiment to find the perfect consistency.
How should I store chocolate curls to keep them fresh?
Store your chocolate curls in an airtight container at room temperature or in the refrigerator. Avoid humidity and extreme temperatures to prevent them from melting or becoming sticky. These curls will enhance any dessert with elegant ease.
Final Reflection: The Enduring Allure of Easy Elegance
The art of crafting perfect chocolate curls, once considered a culinary feat achievable only by professionals, is now within everyone's reach. This accessibility democratizes dessert decoration, allowing home bakers to elevate their creations with a touch of sophisticated simplicity. No longer is a flawlessly swirled chocolate curl a symbol of unattainable expertise; it's a testament to the power of readily available techniques and a little practice.
The impact of easily accessible decorating techniques extends far beyond the individual cake or cupcake. It fosters a sense of creativity and empowerment in the kitchen, encouraging experimentation and self-expression. The simple act of adding a chocolate curl transforms a dessert from ordinary to extraordinary, reflecting a deeper cultural shift towards valuing both ease and elegance. The details are not the details. They make the design.
– Charles Eames. This quote perfectly encapsulates the transformative power of seemingly small details like chocolate curls, elevating the overall aesthetic and experience.
Now, I invite you to consider your own culinary adventures. Will you embrace the simplicity and elegance of chocolate curls? Perhaps you'll experiment with different types of chocolate, or try varying the curl size and shape. The possibilities are endless. Don't be afraid to try, to fail, and to learn. Each perfectly formed curl is a step towards mastering a skill, and more importantly, towards expressing your own unique creativity in the kitchen. Let the easy elegance of chocolate curls inspire you to create your own delicious masterpieces.
Unleash Your Inner Pastry Chef!
Thanks for taking the time to learn how to create stunning chocolate curls! You've now got a secret weapon for elevating your desserts. Ready to put your new skills to the test?
- Craft your masterpiece: Try making chocolate curls for your next cake, cupcakes, or even ice cream! Experiment with different types of chocolate for unique textures and tastes.
- Share your creations: Show off your beautiful chocolate curls on social media using #BakeWithEaseCurls – we'd love to see them!
- Challenge yourself: Try a new chocolate – white, milk, or dark – and see how the curl’s texture and appearance change.
What delicious treat will you be decorating with your perfectly formed chocolate curls?