
Easy Party Favors You Can Bake Yourself


Welcome to BakeWithEase, where the joy of baking meets the ease of execution! Thinking of adding a personal touch to your next gathering? This time, ditch the generic store-bought trinkets and dive into the delightful world of homemade party favors. Discover how simple ingredients and a dash of creativity can result in edible gifts that are both delicious and memorable. Intrigued? Let's explore some surprisingly easy homemade party favors recipes that will leave your guests delighted and asking for more!
- Delightful Homemade Party Favors
- Baking for Kids Parties: The Joy of Homemade Party Favors
- Top 5 Easy Homemade Party Favors Recipes
- Tips for Baking Party Favors with Kids
- Creative Packaging Ideas for Your Baked Party Favors
- Making Baking for Kids Parties Easier
- Conclusion: Spreading Joy with Homemade Party Favors
-
Frequently Asked Questions
- What are some examples of homemade party favors I can bake?
- Are homemade party favors cheaper than buying pre-made ones?
- How far in advance should I bake homemade party favors?
- What are some tips for packaging baked party favors attractively?
- What are the easiest homemade party favors recipes for beginner bakers?
- Final Reflection: The Sweetness of Homemade Connection
- Unleash Your Inner Party Baker!
Delightful Homemade Party Favors
Creating party favors for special occasions, especially kids' parties, adds a wonderful personal touch that store-bought options simply can't replicate. When you bake your own party treats, you're not just giving a gift; you're sharing a piece of your time, effort, and love. These delightful homemade party favors become cherished mementos of the celebration, often sparking happy memories long after the last guest has gone home. From classic cookies to fun, bite-sized brownies, the possibilities for delicious, bakeable favors are endless and surprisingly easy to achieve, even for novice bakers.
Choosing to bake your own party favors also allows for complete control over ingredients, making it easier to accommodate dietary needs or preferences among guests. You can opt for organic ingredients, reduce sugar content, or ensure allergy-friendly options are available. This level of customization is invaluable and contributes significantly to the thoughtful nature of homemade party favors. Plus, the aroma of fresh baking filling your home before the party even begins sets a warm and inviting atmosphere, hinting at the sweet surprises awaiting your guests.
Baking for Kids Parties: The Joy of Homemade Party Favors
Baking for kids parties is a fantastic way to make the celebration unique and memorable. Homemade party favors recipes offer a wonderful opportunity to tailor treats specifically to the party's theme, the birthday child's favorite flavors, or even involve the kids in the preparation process. It's a chance to create edible art that delights young guests and provides a sweet takeaway from the fun. The effort invested in baking these special items is often genuinely appreciated by both children and their parents, highlighting the care put into every detail of the party.
Beyond the personal touch, baking homemade party favors can also be a practical choice. While it requires time and effort, the cost of ingredients for a large batch of cookies or brownie bites is often significantly less than purchasing pre-packaged party favors for every guest.
For a party of 20 kids, for example, buying small toys or candies might easily total $40-$60, whereas the ingredients for a large batch of sugar cookies or brownie bites might only cost $10-$15, offering a substantial saving while providing a more meaningful item. This makes baking a smart choice for both budget and sentiment.
Why Choose Baked Party Favors Over Store-Bought?
Opting for baked party favors offers several distinct advantages over simply purchasing mass-produced items. Firstly, there's the unparalleled freshness and taste of homemade goods. A cookie baked just a day or two before the party will invariably taste better than one that has potentially been sitting on a store shelf for weeks or months. This commitment to quality ingredients and fresh preparation elevates the perceived value and enjoyment of the favor.
Furthermore, baking your own allows for creativity and personalization that store-bought favors lack. You can customize flavors, shapes, and decorations to perfectly match the party theme – whether it's dinosaur-shaped cookies for a prehistoric party or purple-frosted treats for a unicorn theme. This level of detail makes the party feel more cohesive and special.
Anecdotal evidence suggests that homemade party favors are also less likely to be discarded immediately after the party; many guests report savoring these edible treats or appreciating the effort involved more than generic plastic toys. For instance, a survey among parents found that over 70% preferred receiving homemade edible favors compared to small plastic trinkets that often end up as waste.
The Philosophy: Simple Recipes, Big Smiles
The core philosophy behind choosing homemade party favors, especially for kids' parties, is rooted in simplicity and the joy it brings. The goal isn't to create overly complicated or elaborate confections, but rather delicious, approachable treats that are easy to make in batches and bring genuine smiles to little faces. Simple recipes mean less stress for the baker and a higher likelihood of success, even when making large quantities.
This approach aligns perfectly with the BakeWithEase philosophy: making baking accessible and enjoyable for everyone. Focusing on simple, tried-and-true recipes ensures that anyone, regardless of their baking experience, can successfully create wonderful homemade party favors. It's about the act of making and sharing, the delicious result, and the happiness it spreads.
A batch of classic chocolate chip cookies or cheerful sugar cookies might seem basic, but their universal appeal and the warmth of knowing they were made especially for the guests create a significant positive impact. The smiles these simple baked goods produce are the true measure of their success.
Top 5 Easy Homemade Party Favors Recipes
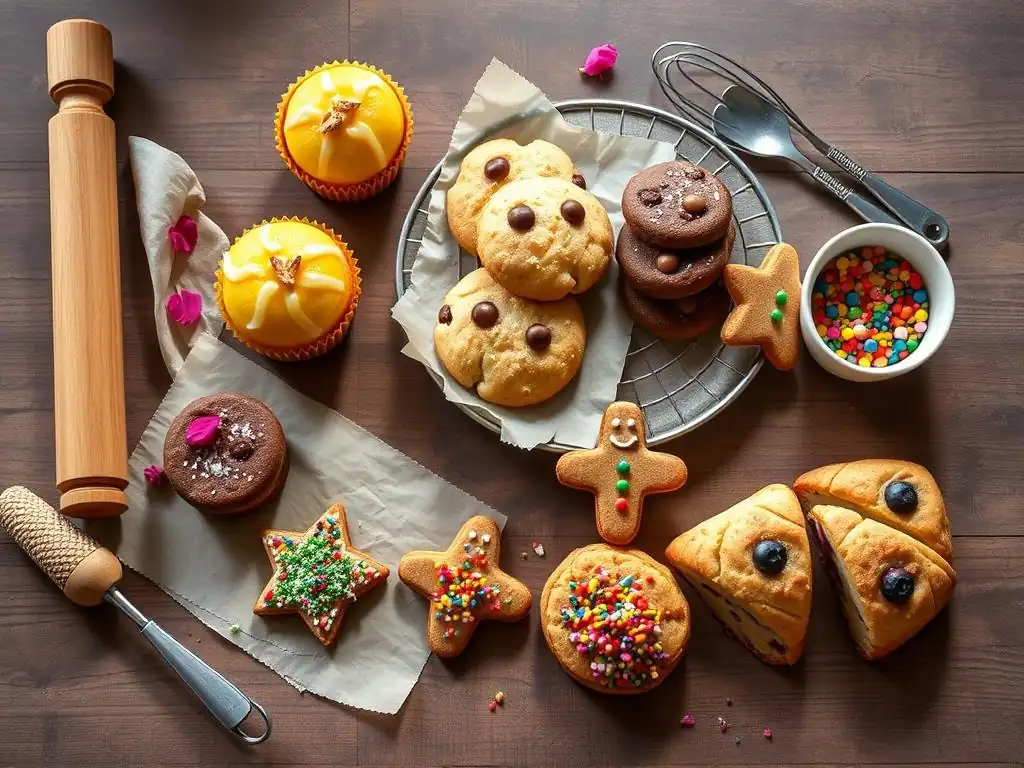
Here are five fantastic and easy homemade party favors recipes perfect for any celebration, especially kids' parties. These recipes are chosen for their simplicity, yield, and broad appeal, making them ideal candidates for batch baking.
- Mini Chocolate Chip Cookies
- Rainbow Sprinkled Sugar Cookies
- Puppy Chow (Muddy Buddies)
- Rice Krispie Treats
- Brownie Bites
Mini chocolate chip cookies are universally loved and make perfect bite-sized party favors. Their small size makes them easy to handle and package, and a single batch yields a large number, making them economical for parties. Baking them mini also means they bake faster, speeding up the overall process significantly.
Making them mini also allows guests to enjoy one or two without feeling overwhelmed, making them a great small treat to take home. A standard recipe that yields about 3 dozen regular-sized cookies can easily produce 6-8 dozen mini cookies, providing ample favors for a party of 20-30 children with just one or two batches. This scalability is key when baking for a crowd.
Ingredients for Mini Chocolate Chip Cookies
This recipe yields approximately 7-8 dozen mini cookies.
- 1 cup (2 sticks) unsalted butter, softened
- ¾ cup granulated sugar
- ¾ cup packed light brown sugar
- 2 large eggs
- 1 teaspoon vanilla extract
- 2 ¼ cups all-purpose flour
- 1 teaspoon baking soda
- ½ teaspoon salt
- 1 ½ cups mini chocolate chips
Baking Instructions: Mini Chocolate Chip Cookies
- Preheat oven to 375°F (190°C). Line baking sheets with parchment paper.
- In a large bowl, cream together the softened butter, granulated sugar, and brown sugar until light and fluffy, about 2-3 minutes.
- Beat in the eggs one at a time, then stir in the vanilla extract.
- In a separate medium bowl, whisk together the flour, baking soda, and salt.
- Gradually add the dry ingredients to the wet ingredients, mixing until just combined. Do not overmix.
- Stir in the mini chocolate chips.
- Drop rounded ½ teaspoon portions of dough onto the prepared baking sheets, spacing them about 1 inch apart. Remember, they are mini!
- Bake for 8-10 minutes, or until the edges are golden brown and the centers are set. Baking time will be shorter than for full-sized cookies.
- Let cookies cool on the baking sheets for 2-3 minutes before transferring to a wire rack to cool completely.
Packaging Ideas for Mini Chocolate Chip Cookie Favors
Once cooled, these mini cookies are ready for packaging. Simple cellophane bags tied with colorful ribbon are a classic and effective choice. You can fit about 5-8 mini cookies per bag, depending on size.
Alternatively, small paper bags or food-safe treat boxes work well. Consider adding a small sticker with a thank you message or the party theme. For example, for a dinosaur party, use a dinosaur-shaped sticker. A typical batch yielding 80 mini cookies could create 10-16 favors, each containing 5-8 cookies.
Sugar cookies are perfect for decorating and are incredibly versatile. Adding rainbow sprinkles directly into the dough or pressing them onto the tops before baking makes them instantly festive and appealing to kids. They hold their shape well, which is great if you use cookie cutters.
These cookies offer a blank canvas for creativity. While you can decorate them with icing after baking, keeping it simple with sprinkles saves significant time and effort, making them ideal for batch baking for parties. A standard recipe can easily produce 24-30 cookies, which is a good starting point for a party of average size.
Ingredients for Rainbow Sprinkled Sugar Cookies
This recipe yields approximately 24-30 cookies, depending on cutter size.
- 1 cup (2 sticks) unsalted butter, softened
- 1 ½ cups granulated sugar
- 2 large eggs
- 1 teaspoon vanilla extract
- 3 cups all-purpose flour
- 1 teaspoon baking powder
- ½ teaspoon salt
- ½ cup rainbow sprinkles (plus more for decorating)
Baking Instructions: Rainbow Sprinkled Sugar Cookies
- Preheat oven to 375°F (190°C). Line baking sheets with parchment paper.
- In a large bowl, cream together the softened butter and granulated sugar until light and fluffy, about 2-3 minutes.
- Beat in the eggs one at a time, then stir in the vanilla extract.
- In a separate medium bowl, whisk together the flour, baking powder, and salt.
- Gradually add the dry ingredients to the wet ingredients, mixing until just combined.
- Stir in ½ cup of rainbow sprinkles.
- Roll dough out on a lightly floured surface to about ¼ inch thickness. Use cookie cutters to cut out shapes.
- Carefully transfer cookies to the prepared baking sheets. Gently press additional sprinkles onto the tops of the cookies if desired.
- Bake for 9-11 minutes, or until the edges are lightly golden.
- Let cookies cool on the baking sheets for 2-3 minutes before transferring to a wire rack to cool completely.
Decorating and Packaging Rainbow Sprinkled Sugar Cookies
The beauty of these cookies is that the sprinkles provide most of the decoration! If you want to add a little extra flair without much effort, a simple glaze (powdered sugar mixed with a little milk or lemon juice) can be drizzled over cooled cookies.
For packaging, stack 2-3 cookies and place them in a clear treat bag or small box. Tying the bag with colorful ribbon that matches the sprinkles enhances the visual appeal. You could also use small paper envelopes or glassine bags for a more rustic look. For a party of 25 kids, baking two batches yielding 50-60 cookies would allow for 2 cookies per favor bag.
Recipe 3: Puppy Chow (Muddy Buddies) – A Sweet and Savory Snack
Puppy Chow, also known as Muddy Buddies, is a no-bake cereal snack coated in chocolate, peanut butter, and powdered sugar. It's incredibly easy to make in large quantities and is always a hit with kids and adults alike due to its irresistible sweet and slightly salty flavor profile and fun texture. While technically not "baked," it's a very popular homemade edible favor.
This snack mix is perfect for scooping into small bags or containers. It's robust and travels well, making it ideal for distributing at the end of a party. A standard batch can easily yield enough to fill 25-30 small favor bags, making it a very efficient option for larger parties.
Ingredients for Puppy Chow (Muddy Buddies)
This recipe yields approximately 10-12 cups of mix, enough for 25-30 small favor bags.
- 9 cups Chex cereal (Rice, Corn, or Wheat)
- 1 cup chocolate chips (semi-sweet or milk chocolate)
- ½ cup peanut butter
- ¼ cup unsalted butter
- 1 teaspoon vanilla extract
- 1 ½ cups powdered sugar
Making Puppy Chow: Step-by-Step Guide
- Measure cereal into a very large bowl or a large resealable plastic bag. Set aside.
- In a microwave-safe bowl, combine the chocolate chips, peanut butter, and butter.
- Microwave on high for 1 minute; stir. Continue microwaving in 30-second intervals, stirring after each, until the mixture is smooth and melted. Be careful not to burn the chocolate.
- Stir vanilla extract into the melted chocolate mixture.
- Pour the chocolate mixture over the cereal in the bowl. Gently stir with a spatula until the cereal is evenly coated. If using a bag, pour the mixture in, seal the bag, and gently shake until coated.
- Add the powdered sugar to the bowl (or bag). If using a bag, seal tightly and shake vigorously until the cereal is completely coated with powdered sugar. If using a bowl, stir gently until coated.
- Spread the puppy chow in a single layer on wax paper or parchment paper to cool completely.
Packaging Puppy Chow for Party Favors
Puppy Chow is best packaged in small, airtight bags or containers to maintain freshness and prevent the powdered sugar from making a mess. Clear cellophane bags or small Ziploc-style snack bags work perfectly.
Scoop about ½ to ¾ cup of the mix into each bag. Tie the bag with a ribbon or seal it. Small paper gable boxes or treat cups also make cute containers. A batch yielding 10-12 cups can create 20-24 favors if each contains ½ cup, or slightly more if less is portioned per bag, making it a high-yield homemade party favors recipe.
Recipe 4: Rice Krispie Treats – A No-Bake Option
Rice Krispie Treats are a classic no-bake favorite that are incredibly quick and easy to whip up. They are gooey, sweet, and can be cut into various shapes, making them a fun and versatile party favor. Like Puppy Chow, they are technically not baked but fit the category of easy homemade party favors perfectly.
Their simple ingredient list and fast preparation time make them ideal for last-minute party prep or when you need a high volume of favors quickly. A standard 9x13 inch pan recipe yields about 24 squares, but you can easily cut them smaller or use cookie cutters for more unique shapes and a higher yield per batch.
Ingredients for Rice Krispie Treats
This recipe yields approximately 24 standard squares or 30-36 smaller pieces.
- 6 cups Rice Krispies cereal
- 1 (10 oz) bag marshmallows (about 40 large or 6 cups mini)
- 3 tablespoons unsalted butter
- ½ teaspoon vanilla extract (optional, but recommended)
- Pinch of salt (optional)
How to Make Rice Krispie Treats: A Simple Method
- Grease a 9x13 inch baking pan with butter or cooking spray.
- In a large saucepan, melt the butter over low heat.
- Add the marshmallows and stir constantly until they are completely melted and smooth. Remove from heat.
- Stir in the vanilla extract and salt (if using).
- Add the Rice Krispies cereal to the marshmallow mixture. Stir gently until the cereal is fully coated.
- Press the mixture evenly into the prepared baking pan using a buttered spatula or wax paper. Do not press too firmly, as this can make the treats hard.
- Let cool completely at room temperature for about 1-2 hours before cutting.
Cutting and Packaging Rice Krispie Treats for Favors
Once cooled, turn the slab of treats out onto a cutting board. Cut into squares using a sharp knife. For party favors, smaller squares (approx. 2x2 inches) or even fun shapes cut with cookie cutters work well. Dip cookie cutters in water or cooking spray to prevent sticking.
Wrap each individual treat in plastic wrap or place them in small cellophane bags. This keeps them fresh and prevents them from sticking together. A 9x13 inch pan can yield 24 standard favors, or if cut into smaller 1.5x1.5 inch squares, you can get closer to 35-40 favors, making this a very efficient homemade party favors recipe.
Recipe 5: Brownie Bites – Rich and Decadent
For a richer, more indulgent homemade party favor, brownie bites are an excellent choice. They are essentially mini brownies, baked in mini muffin tins or cut into small squares from a pan. Their fudgy texture and intense chocolate flavor are always popular.
Baking brownies in mini muffin tins ensures uniform size and a perfect bite every time. A standard brownie recipe can easily be adapted to create dozens of these small treats, making them suitable for party favors. They are slightly more effort than Rice Krispie Treats but offer a different kind of deliciousness.
Ingredients for Fudgy Brownie Bites
This recipe yields approximately 36-48 mini brownie bites.
- ½ cup (1 stick) unsalted butter, melted
- 1 cup granulated sugar
- 2 large eggs
- 1 teaspoon vanilla extract
- ½ cup all-purpose flour
- ⅓ cup unsweetened cocoa powder
- ¼ teaspoon baking powder
- ¼ teaspoon salt
- ½ cup chocolate chips (optional, for extra fudginess)
Baking Instructions: Perfectly Moist Brownie Bites
- Preheat oven to 350°F (175°C). Grease a mini muffin tin well or use paper liners.
- In a medium bowl, whisk together the melted butter and granulated sugar until combined.
- Beat in the eggs one at a time, then stir in the vanilla extract.
- In a separate small bowl, whisk together the flour, cocoa powder, baking powder, and salt.
- Gradually add the dry ingredients to the wet ingredients, mixing until just combined. Do not overmix. Stir in chocolate chips if using.
- Spoon the batter into the prepared mini muffin cups, filling each about two-thirds full.
- Bake for 12-15 minutes, or until a toothpick inserted into the center comes out with moist crumbs (not wet batter). Be careful not to overbake, as they can become dry.
- Let brownie bites cool in the tin for 10 minutes before carefully removing them to a wire rack to cool completely.
Presentation Ideas for Brownie Bite Party Favors
Once cooled, brownie bites are ready to be packaged. They look lovely placed in mini cupcake liners (if not baked in them) before being placed in favor bags or boxes.
Small treat bags, mini gable boxes, or even small paper cups are great for packaging 2-3 brownie bites per favor. Tie with a ribbon or seal with a sticker. For a party of 20 kids, baking one batch yielding 36-48 bites would allow for 1-2 bites per favor, a rich little treat to take home. This is another great homemade party favors recipe option.
Tips for Baking Party Favors with Kids
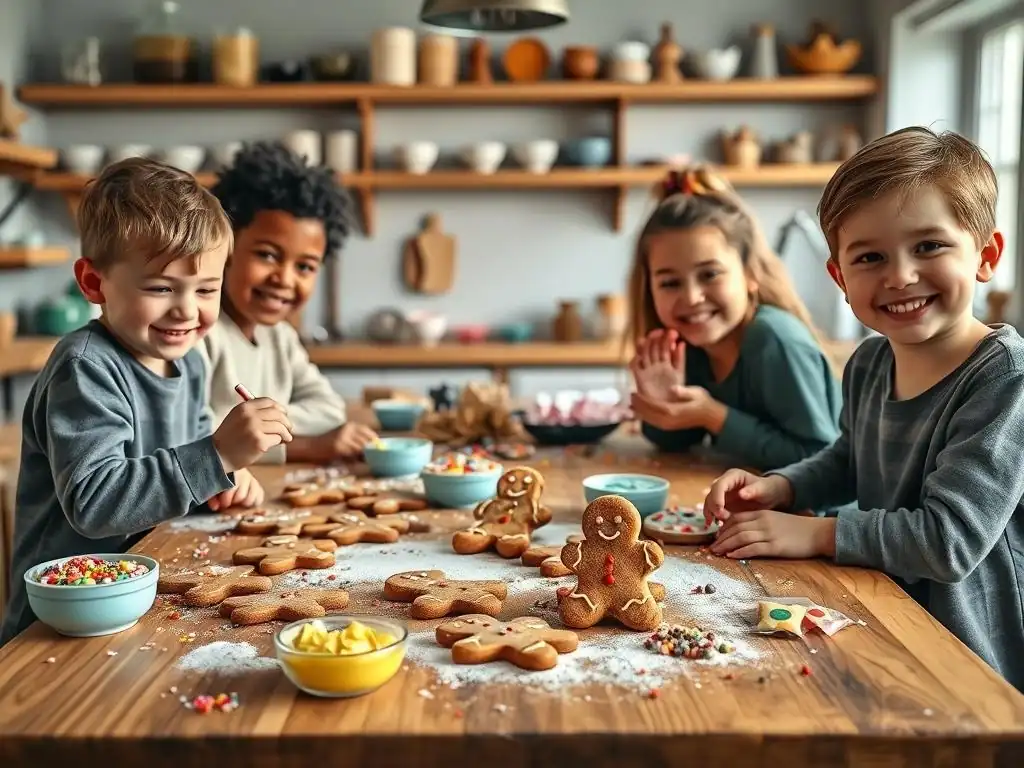
Baking for kids parties can be a fun activity to do with the kids! Getting children involved in the process makes it a memorable experience and teaches them basic kitchen skills. Here are some tips for baking homemade party favors with your little helpers.
- Choose simple recipes suitable for their age level. Rice Krispie Treats or simple cookie doughs are great starts.
- Prepare ingredients beforehand to minimize waiting time and potential mess.
- Assign age-appropriate tasks, like stirring, adding pre-measured ingredients, or decorating.
- Emphasize safety, especially around hot ovens or mixers.
- Be prepared for a little extra mess and embrace the fun!
Getting Kids Involved in the Baking Process
Involving children in baking homemade party favors can be a wonderful bonding experience. For toddlers and preschoolers, tasks like pouring pre-measured ingredients into a bowl, stirring (with supervision), or pressing cookie cutters are perfect. They also love decorating cooled cookies with sprinkles or simple icing.
Older children can take on more responsibility, such as measuring ingredients, cracking eggs, operating a hand mixer (with guidance), or rolling out dough. This participation gives them a sense of ownership and pride in the finished product. For instance, letting a 6-year-old help measure flour for the sugar cookies or allowing an 8-year-old to carefully stir the melting marshmallows for Rice Krispie Treats builds confidence and makes the homemade party favors even more special.
Scaling Recipes for Large Parties
When baking homemade party favors for a large number of guests, scaling the recipe is key. Most standard recipes are designed for home use and might yield 2-3 dozen items. For a party of 20-30 kids, you'll likely need to double or triple the recipe, or choose a recipe that naturally yields more (like Puppy Chow).
Remember to scale ingredients accurately – don't just eyeball it, especially with leavening agents like baking soda or powder. Baking in multiple batches is often necessary, so plan your time accordingly. Using two baking sheets simultaneously can speed things up. For a party requiring 50-60 favors, doubling a cookie recipe that yields 24-30 cookies per batch is a common strategy. Ensure you have enough space on your countertops and cooling racks for the increased volume.
Storing Baked Goods for Optimal Freshness
Proper storage is crucial to ensure your homemade party favors remain fresh and delicious until party time. Most cookies and brownies can be stored at room temperature in airtight containers for 3-5 days. Layering them with parchment paper can prevent sticking.
Puppy Chow and Rice Krispie Treats should also be stored in airtight containers at room temperature. Puppy Chow is best consumed within 3-4 days for optimal texture, while Rice Krispie Treats are best within 2-3 days. If baking further in advance, some baked goods like cookies and brownies can be frozen for up to 2-3 months, then thawed at room temperature before packaging. Ensure they are wrapped very well to prevent freezer burn. Proper storage ensures your hard work results in delightful favors that taste great when guests receive them.
Creative Packaging Ideas for Your Baked Party Favors
The presentation of your homemade party favors is almost as important as the taste! Creative packaging elevates simple baked goods into charming gifts. You don't need expensive supplies; often, simple materials combined thoughtfully make the biggest impact.
- Cellophane bags are versatile and inexpensive.
- Paper bags or small boxes offer a different look.
- Ribbons, twine, and tags add personalization.
- Consider using colorful tissue paper or shredded paper filler.
- Think about the party theme when choosing colors and materials.
Using Cellophane Bags and Ribbon
Clear cellophane bags are a go-to for packaging homemade party favors because they allow the delicious treats inside to be seen. They are available in various sizes, perfect for holding a few cookies, a handful of brownie bites, or a scoop of Puppy Chow.
Simply fill the bag with your cooled treats, gather the top, and tie it securely with colorful ribbon or twine. Curling ribbon, satin ribbon, or rustic twine can all create different looks. For a touch of whimsy, use ribbon in the party's theme colors. A 4x6 inch or 5x7 inch cellophane bag is usually sufficient for 2-4 small cookies or a generous portion of snack mix, creating lovely, visible homemade party favors.
Adding personalized tags or stickers makes your homemade party favors feel truly special. You can easily create these yourself using cardstock, a printer, and some string or adhesive paper. Include a simple "Thank You for Coming!" message, the birthday child's name, or a design related to the party theme.
Punch a hole in the tag and tie it onto the ribbon securing the bag. For stickers, simply print them on sticker paper and affix them to the bag or box. Websites often offer free printable templates for party favor tags. This small addition shows extra care and makes the homemade party favors more memorable. For example, printing a tag that says "Thanks for making my 5th birthday sweet!" adds a lovely personal touch.
Eco-Friendly Packaging Options
For those mindful of environmental impact, there are several eco-friendly ways to package homemade party favors. Small paper bags (like glassine or brown paper lunch bags) are biodegradable and can be decorated with stamps, drawings, or stickers.
Reusable fabric pouches or small drawstring bags made from cotton or muslin are another lovely option. While slightly more expensive upfront, they are durable and can be reused by guests. Small cardboard treat boxes made from recycled material are also available. Using paper shred filler instead of plastic crinkle paper is another small step. Choosing packaging like glassine bags tied with natural twine makes your delicious homemade party favors a little kinder to the planet.
Making Baking for Kids Parties Easier
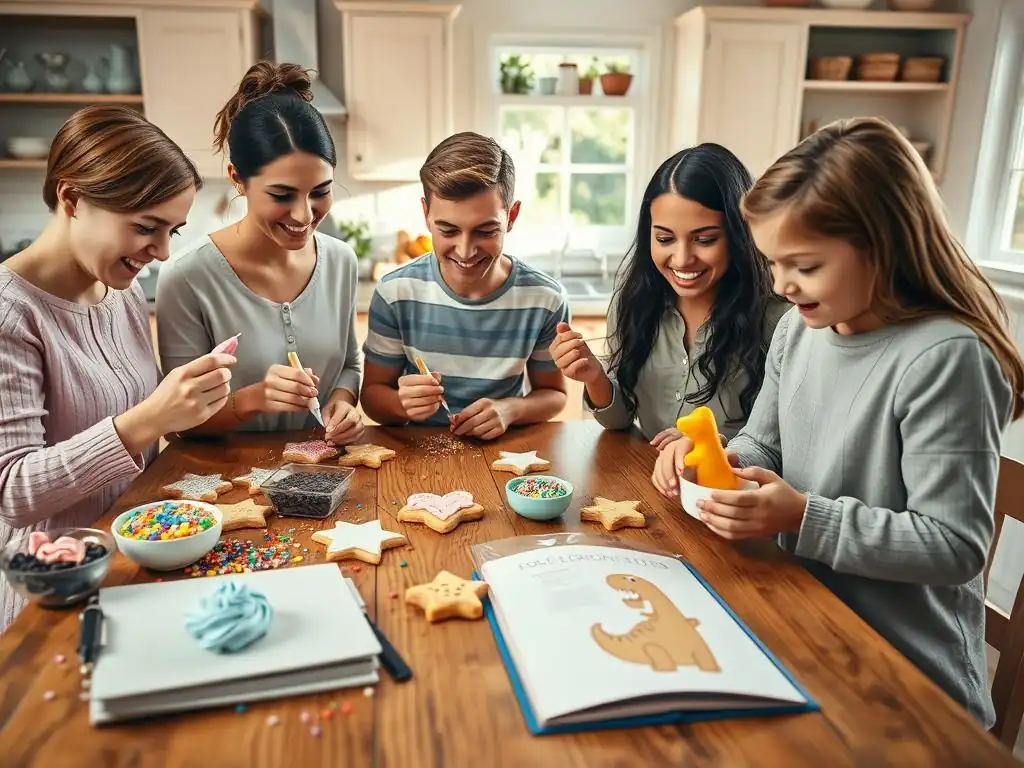
Baking for kids parties, especially when making homemade party favors for a crowd, can feel daunting, but with a little planning and the right approach, it can be manageable and even enjoyable. The key is to simplify where possible and utilize available resources.
- Plan your baking schedule in advance.
- Choose recipes that can be made ahead of time.
- Gather all ingredients and equipment before starting.
- Don't be afraid to ask for help if possible.
- Focus on "easy" – remember the goal is fun, not perfection.
Resources for Baking Beginners
If you're new to baking or just starting out with homemade party favors recipes, there are plenty of resources to help you succeed. BakeWithEase.com offers a wealth of simple recipes and step-by-step guides specifically designed for beginners. Look for recipes clearly marked as "easy" or "beginner-friendly."
Online tutorials, baking blogs, and even simple cookbooks focused on basic baking techniques can provide valuable guidance. Don't hesitate to start with the most straightforward recipes, like Rice Krispie Treats or the simple sugar cookies mentioned here. Practice makes perfect, and every successful batch builds confidence. Remember, even experienced bakers started somewhere!
Exploring More Baking Recipes for Occasions
Once you've mastered a few easy homemade party favors recipes, you might feel inspired to explore more baking for occasions. BakeWithEase.com has entire sections dedicated to baking for holidays, birthdays, and other special events.
You can find recipes for cupcakes, cakes, pies, and other festive treats that can complement your party favors or be the centerpiece of another celebration. Expanding your repertoire of baking for kids parties means you'll have a variety of delicious options for future events. Perhaps next time you'll try decorated mini cupcakes or themed cake pops!
Conclusion: Spreading Joy with Homemade Party Favors
Creating homemade party favors is a wonderful way to add a personal, heartfelt touch to any celebration, especially kids' parties. While store-bought options are convenient, baking your own allows for customization, freshness, and that special ingredient: love. We've explored some easy and crowd-pleasing homemade party favors recipes, from classic cookies to fun snack mixes, proving that you don't need to be an expert baker to create delightful takeaways for your guests.
Choosing homemade party favors recipes like Mini Chocolate Chip Cookies or Rainbow Sprinkled Sugar Cookies not only provides delicious treats but also offers opportunities to involve children in the baking process, teach valuable skills, and make lasting memories in the kitchen. With simple recipes, smart planning, and creative packaging, you can easily manage baking for kids parties and send every guest home with a sweet reminder of the fun they had. So, preheat your oven (or gather your no-bake ingredients!) and start spreading joy, one delicious homemade party favor at a time.
Frequently Asked Questions
What are some examples of homemade party favors I can bake?
You can bake things like mini cupcakes, decorated sugar cookies, or small loaves of artisan bread. These are all great, edible gifts.
Are homemade party favors cheaper than buying pre-made ones?
Generally, yes! Baking your own is often more cost-effective than purchasing pre-packaged favors, especially if you buy ingredients in bulk.
How far in advance should I bake homemade party favors?
It depends on the recipe. Cookies and some breads can be baked 2-3 days ahead, while cakes are better made closer to the event for freshness.
What are some tips for packaging baked party favors attractively?
Use cellophane bags, ribbon, and personalized tags. Consider adding a small recipe card for a special touch or an ingredient list for allergy concerns.
What are the easiest homemade party favors recipes for beginner bakers?
Simple sugar cookies, brownie bites, or even a basic shortbread recipe are great starting points. These are relatively foolproof and require minimal ingredients.
Final Reflection: The Sweetness of Homemade Connection
The simple act of baking a party favor speaks volumes about the intention behind a celebration. It's a tangible expression of care, a personalized touch that elevates a gathering from ordinary to extraordinary. In a world increasingly dominated by mass-produced goods, the homemade element offers a refreshing counterpoint, a reminder of the value of handcrafted gifts and the joy of sharing something created with love.
The impact of homemade gifts extends far beyond the immediate recipient; it fosters a sense of community and connection. It's a subtle yet powerful way to cultivate deeper relationships, reminding us of the importance of personal interaction in an increasingly digital age. As the author Maya Angelou wisely said, People will forget what you said, people will forget what you did, but people will never forget how you made them feel.
Baking these small treats isn't just about the recipe; it's about the feeling you impart.
Now, consider the possibilities. What small act of baking could you undertake to brighten someone's day? Perhaps a batch of miniature cookies for a neighbor, a tray of brownies for a friend's gathering, or even a simple loaf of bread for a family member. Don't underestimate the power of a homemade gesture; it's a small investment that yields immeasurable returns in connection, joy, and lasting memories. Let the sweetness of homemade connection inspire you to bake your way to deeper relationships.
Unleash Your Inner Party Baker!
Thanks for joining us on this delicious journey into easy, homemade party favors! We hope you've found some inspiration to wow your guests with your baking skills. Ready to take the next step?
- Bake your first batch of these delightful treats! Use the recipes we shared as a starting point, and don't be afraid to experiment with flavors and decorations.
- Share your creations on social media using #BakeWithEasePartyFavors – let's see those beautiful results! We’d love to feature your amazing work.
- Consider adding a personal touch: write a short, handwritten note to each recipient, making your party favors extra special.
What unique twist will you add to your next batch of homemade party favors?