
Understanding Chocolate Viscosity for Baking Applications

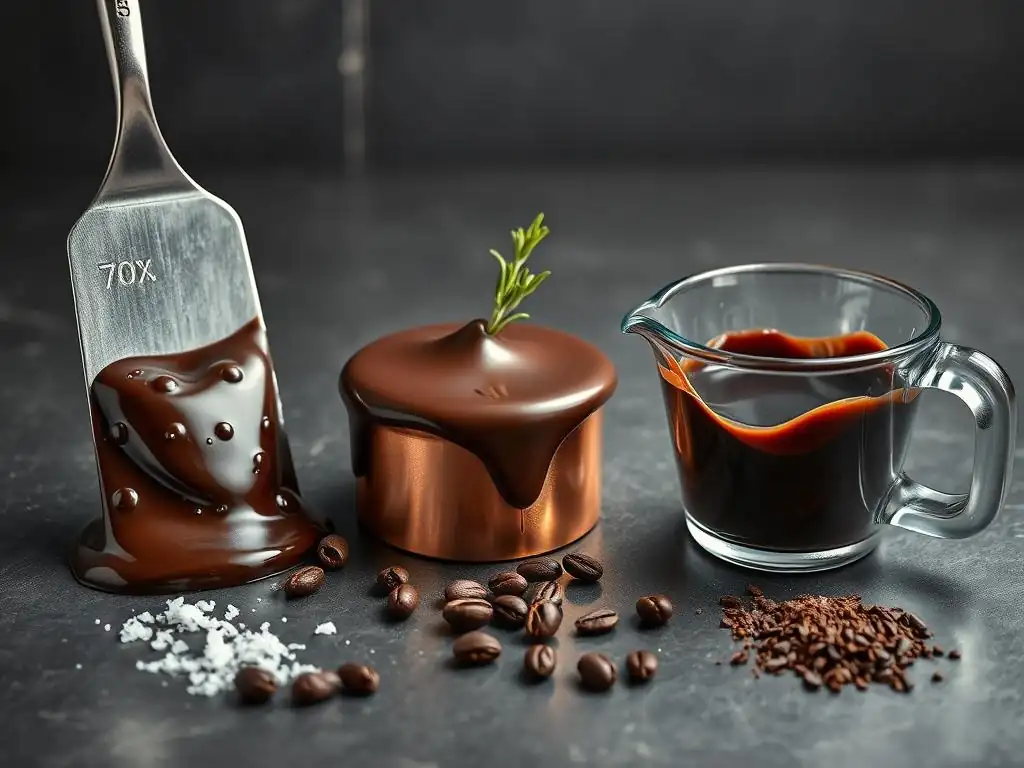
Welcome to BakeWithEase, where baking becomes a delightful journey, not a daunting task! Ever wondered how the perfect pour of chocolate can transform your baked goods? Our latest deep dive explores the fascinating world of chocolate viscosity baking recipes, unlocking the secrets to achieving the ideal texture and consistency in every delectable creation. Curious about how this affects your pastries? Let's unravel the science and art of chocolate, one delicious recipe at a time…
Welcome to BakeWithEase! Today, we're diving deep into a fascinating aspect of baking with chocolate: viscosity. Understanding how chocolate flows isn't just for professional chocolatiers; it's a crucial skill for any baker aiming for perfect results in their chocolate viscosity baking recipes. Getting the viscosity right can be the difference between a smooth, glossy glaze and a thick, uneven mess, or a decadent ganache that sets perfectly versus one that's too runny or too stiff.
Whether you're coating truffles, molding shapes, or creating luscious fillings, the flow properties of your melted chocolate play a starring role. Mastering chocolate viscosity will elevate your baking and give you more control over your sweet creations.
- What is Chocolate Viscosity and Why Does it Matter in Baking?
- Key Factors Influencing Chocolate Viscosity
- Measuring Chocolate Viscosity for Baking Success
- How Different Chocolate Types Affect Viscosity in Baking Recipes
- Adjusting Chocolate Viscosity for Specific Baking Applications
- Chocolate Viscosity in Specific Baking Recipes: Practical Examples
- Troubleshooting Chocolate Viscosity Issues in Your Baking
- Mastering Chocolate Viscosity: Tips and Tricks for Bakers
-
Frequently Asked Questions
- What is chocolate viscosity and why is it important for baking?
- How does chocolate viscosity affect different baking recipes?
- How can I adjust the viscosity of my chocolate for baking?
- What are some common problems caused by incorrect chocolate viscosity in baking?
- Where can I find reliable chocolate viscosity baking recipes on BakeWithEase.com?
- Final Reflection: The Sweet Science of Chocolate Viscosity
- Unlock Your Chocolate's Potential: Master the Melt!
What is Chocolate Viscosity and Why Does it Matter in Baking?
Defining Chocolate Viscosity: A Baker's Perspective
Simply put, chocolate viscosity is a measure of how easily melted chocolate flows. Think of it like comparing honey to water. Honey is very viscous – it flows slowly and thickly. Water has low viscosity – it flows quickly and thinly. In the world of chocolate viscosity baking, we're interested in how much resistance the melted chocolate has to flowing. A high-viscosity chocolate is thick and slow-moving, while a low-viscosity chocolate is thin and flows quickly. This property is dynamic; it changes with temperature and even with how much you stir it!
For bakers, understanding this flow is key to predicting how chocolate will behave in different applications. Will it spread smoothly over a cake? Will it drip beautifully down the sides? Can it hold its shape when piped? All these questions are answered by its viscosity. Getting a feel for this helps you choose the right type of chocolate or adjust it for your specific needs in various chocolate viscosity baking recipes.
The Impact of Chocolate Viscosity on Baking Outcomes
The viscosity of your melted chocolate directly influences the success of many baking processes. For instance, when dipping cookies or fruits, you generally want a chocolate with lower viscosity so it coats thinly and evenly, leaving a crisp shell. If the chocolate is too thick, you'll get a heavy, uneven coating that might crack. Conversely, for a stable chocolate ganache filling, you need higher viscosity so it holds its shape when set.
Consider chocolate molding: a low-viscosity chocolate flows easily into intricate mold details, ensuring a smooth, bubble-free finish. A high-viscosity chocolate might trap air pockets or fail to fill fine details. Even something as simple as drizzling chocolate requires the right flow – too thin and it spreads out, too thick and it breaks into blobs. Mastering chocolate viscosity baking techniques is essential for achieving professional-looking results.
Key Factors Influencing Chocolate Viscosity
Chocolate Composition and its Effect on Flow Properties
The ingredients and their proportions within the chocolate are primary drivers of its viscosity. Different types of chocolate have varying amounts of cocoa solids, cocoa butter, sugar, and emulsifiers like lecithin, all of which impact how it flows when melted. Understanding these components helps predict the behavior of chocolate in your favorite chocolate viscosity baking recipes.
| Component | Primary Effect on Viscosity | Notes |
|---|---|---|
| Cocoa Butter | Decreases Viscosity | Lubricates particles, improves flow. |
| Cocoa Solids | Increases Viscosity | Solid particles add resistance to flow. |
| Sugar | Increases Viscosity | Dissolved or suspended particles add drag. |
| Milk Solids | Increases Viscosity | Similar to cocoa solids, adds resistance. |
| Lecithin | Decreases Viscosity | Emulsifier, coats particles, reduces friction. |
Different chocolate types are formulated with these components in varying ratios, leading to naturally different viscosities. For example, couverture chocolate is known for its higher cocoa butter content, specifically designed for superior flow and tempering.
Cocoa Butter Content and Viscosity
Cocoa butter is the liquid fat in chocolate, and it acts as a lubricant for the solid particles (cocoa solids, sugar, milk solids). The more cocoa butter a chocolate contains relative to its solids, the lower its viscosity will be – meaning it flows more easily. Couverture chocolate, often favored for dipping and molding, typically contains a higher percentage of cocoa butter, sometimes ranging from 32% to 39% or even higher. This higher fat content gives it excellent fluidity compared to standard baking chocolate, which might have closer to 28-30% cocoa butter.
Chocolate with lower cocoa butter content will be thicker and flow slower when melted. This is why baking chips, which are formulated to hold their shape at higher temperatures, often have a lower cocoa butter ratio and melt into a much thicker mass than a fine couverture chocolate. Understanding this ratio is fundamental for predicting how chocolate will behave in your chocolate viscosity baking projects.
Sugar Content and its Influence
Sugar is another solid component in chocolate, and like cocoa solids, it increases viscosity. Sugar particles, whether dissolved or suspended, create friction and resistance within the melted chocolate mass. Chocolates with a higher sugar content tend to be more viscous than those with less sugar, assuming other factors like cocoa butter content are similar. For instance, a very sweet milk chocolate might be thicker than a less sweet dark chocolate, even if their total fat content is comparable, simply due to the volume of sugar particles.
This effect is also why adding granulated sugar directly to melted chocolate is generally not recommended unless it's first dissolved into a liquid component like cream. Undissolved sugar crystals can make the chocolate gritty and further increase its viscosity in an undesirable way. Controlling sugar is part of managing chocolate viscosity in baking recipes.
Lecithin and its Role in Controlling Chocolate Flow
Lecithin, commonly soy lecithin or sunflower lecithin, is a powerful emulsifier added to most commercial chocolates. Its primary role is to reduce viscosity by coating the solid particles (cocoa solids, sugar, milk solids), preventing them from clumping together. This lubrication allows the particles to slide past each other more easily, significantly improving the flow properties of the melted chocolate. Even a small amount of lecithin, often less than 0.5% of the total weight, can dramatically decrease viscosity, allowing manufacturers to use less expensive cocoa butter while still achieving desired fluidity.
The presence and amount of lecithin can vary between chocolate brands and types. Chocolates designed for easy melting and flow, like many compound chocolates or some couverture varieties, often have optimized lecithin levels. This makes them easier to work with for tasks like coating or candy making, directly impacting the chocolate viscosity baking experience.
Temperature's Role in Chocolate Viscosity
Temperature is perhaps the most intuitive factor affecting chocolate viscosity. As chocolate heats up, its viscosity decreases; it becomes thinner and flows more easily. Conversely, as it cools, viscosity increases, and it becomes thicker and more resistant to flow. This relationship is not linear; viscosity decreases quite rapidly with increasing temperature above its melting point. Melting chocolate to the correct temperature is crucial – typically between 105°F and 120°F (40°C and 49°C) for most applications, depending on the type.
However, overheating chocolate can also cause problems. Beyond a certain point, excessive heat can damage the chocolate's structure, causing the cocoa butter to separate or the solids to burn, leading to a permanently thickened, often grainy, texture. Maintaining the correct working temperature within the recommended range is vital for achieving and maintaining the desired chocolate viscosity for baking.
The Significance of Particle Size in Chocolate
The size of the solid particles within chocolate – cocoa solids, sugar crystals, and milk solids – also affects its viscosity. Chocolate is essentially a suspension of these solid particles in a liquid cocoa butter phase. Finer particles, the result of extensive refining during manufacturing, create a smoother texture and generally result in lower viscosity compared to chocolate with larger, coarser particles. This is because smaller particles have a greater total surface area to be coated by cocoa butter and lecithin, leading to better lubrication and less friction.
High-quality chocolates, like fine couverture, are typically refined to a very small particle size, often below 20-30 microns (a micron is one-thousandth of a millimeter). This fine particle size contributes significantly to the chocolate's smooth mouthfeel and its excellent flow properties when melted. Cheaper chocolates or baking chocolates might have larger particles, resulting in a slightly grainier texture and higher viscosity, which impacts their suitability for certain chocolate viscosity baking recipes.
Measuring Chocolate Viscosity for Baking Success
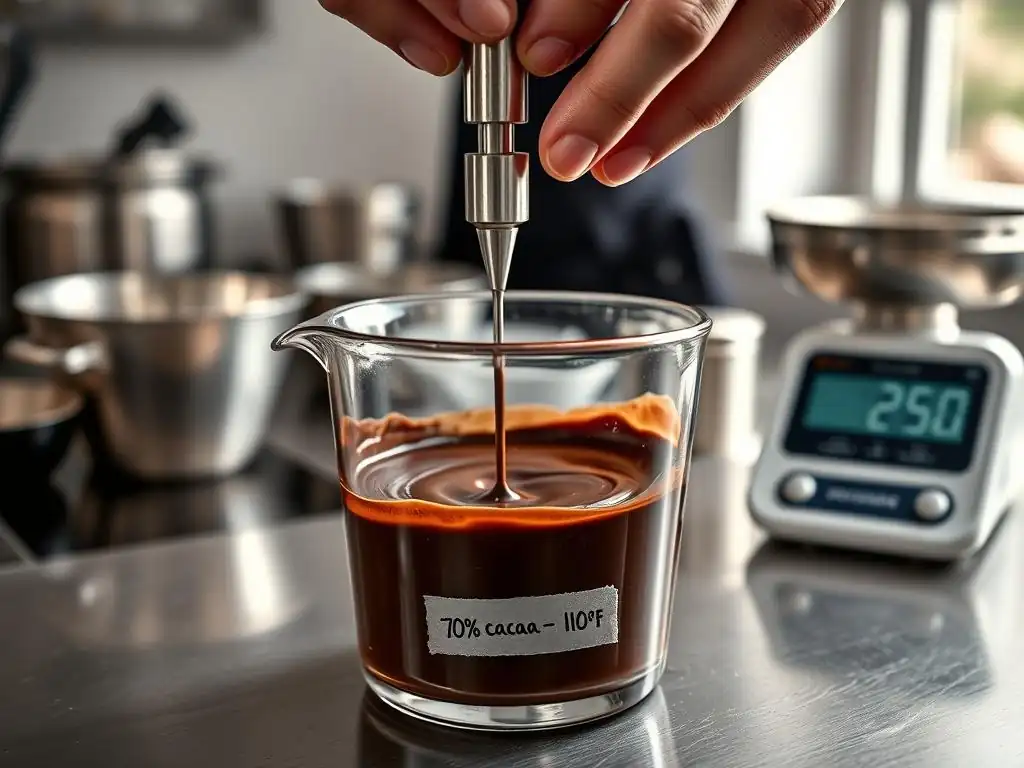
While professional chocolatiers use precise scientific instruments, home bakers can develop a good intuitive sense for chocolate viscosity using simple methods. These techniques help you assess if your melted chocolate has the right flow for your intended application in your chocolate viscosity baking recipes.
Simple Methods for Assessing Chocolate Viscosity at Home
You don't need fancy equipment to get a general idea of your chocolate's viscosity. Two easy methods involve observing how it drips and how it spreads. These simple tests, performed while the chocolate is at its intended working temperature, can tell you a lot about its flow properties.
The "Drip Test" Explained
The drip test is a straightforward way to gauge how easily melted chocolate flows. Melt your chocolate to its working temperature (e.g., around 110°F or 43°C for dark chocolate). Dip a spoon or spatula into the chocolate, lift it out, and observe how the chocolate drips off.
- If it drips off in a thin, steady stream and the excess drains quickly from the spoon, it has low viscosity (high fluidity). This is good for thin coatings and molding.
- If it drips off in thick, slow blobs and a significant amount clings to the spoon, it has high viscosity (low fluidity). This might be better for thicker coatings or fillings.
You can even assign a rough "drop count" – how many drops fall in a few seconds – to compare the relative viscosity of different chocolates or batches. This simple visual check is invaluable for chocolate viscosity baking applications like dipping or glazing.
Observing Chocolate Flow on Spreading
Another simple test is to observe how the melted chocolate spreads. Place a small spoonful of melted chocolate onto a piece of parchment paper or a flat surface. Watch how quickly it levels out and how thin the edges become.
- A low-viscosity chocolate will spread out readily into a relatively thin puddle with smooth edges.
- A high-viscosity chocolate will hold its shape more, spread slower, and form a thicker puddle with less defined edges.
This test is particularly useful when you're trying to achieve a specific thickness for a glaze or coating. It helps you see how the chocolate will behave when applied to a surface, guiding you in your chocolate viscosity baking endeavors.
Professional Tools for Measuring Chocolate Viscosity [Rheometers, Viscometers]
In industrial settings and high-end chocolate production, precise instruments like rheometers and viscometers are used to measure chocolate viscosity scientifically. These tools apply controlled stress or shear rates to the chocolate and measure its resistance to flow, providing objective, numerical data, often expressed in units like Pascal-seconds (Pa.s) or Poise (P).
A common method involves using a rotational viscometer, where a spindle rotates within the melted chocolate, and the torque required to maintain a certain speed is measured. This provides a reading of the chocolate's viscosity at a specific temperature and shear rate. While these tools are far beyond the needs of a home baker, understanding that such measurements exist highlights the scientific precision involved in formulating chocolates with specific flow properties for various applications, including professional chocolate viscosity baking.
How Different Chocolate Types Affect Viscosity in Baking Recipes
Not all chocolate is created equal, especially when it comes to how it flows when melted. The type of chocolate you choose significantly impacts its natural viscosity, which in turn dictates its suitability for different chocolate viscosity baking recipes.
Understanding the Viscosity of Dark Chocolate
Dark chocolate typically contains a higher percentage of cocoa solids and less sugar and milk solids compared to milk or white chocolate. Its viscosity is primarily influenced by the ratio of cocoa solids to cocoa butter. Dark chocolates with a very high cocoa percentage (e.g., 70% or more) often have a higher proportion of solid cocoa particles relative to cocoa butter, which can result in higher viscosity and a thicker flow when melted, unless it's a high-cocoa butter couverture specifically formulated for fluidity.
Conversely, dark chocolates with a lower cocoa percentage (e.g., 50-60%) generally have more sugar and potentially more cocoa butter relative to solids, which can sometimes make them flow more easily than intensely dark varieties. Always check the cocoa butter content and formulation (e.g., if it's couverture) to better predict the dark chocolate's viscosity for your chocolate viscosity baking projects.
Milk Chocolate Viscosity Considerations
Milk chocolate includes milk solids in addition to cocoa solids, cocoa butter, and sugar. The presence of milk solids adds another type of particle to the suspension, which generally increases viscosity compared to a dark chocolate with a similar cocoa butter content. Milk chocolates also typically contain more sugar than dark chocolates, further contributing to their thickness when melted.
While often softer when solid due to milk fat, melted milk chocolate can sometimes be thicker than a dark chocolate designed for melting (like couverture). The specific ratio of cocoa butter, sugar, and milk solids varies greatly between brands, leading to a wide range of viscosities within the milk chocolate category. This variability is something to consider when choosing milk chocolate for specific chocolate viscosity baking applications like dipping or coating.
White Chocolate Viscosity and Baking Challenges
White chocolate contains no cocoa solids, only cocoa butter, sugar, milk solids, and vanilla. Since it lacks the solid cocoa particles that significantly increase viscosity in dark and milk chocolate, white chocolate's viscosity is primarily determined by the ratio of cocoa butter to sugar and milk solids. High-quality white chocolate with a generous amount of cocoa butter (often 30% or more) can be quite fluid when melted.
However, white chocolate can be trickier to work with due to its composition. It scorches more easily than dark or milk chocolate because of the milk solids and sugar. It can also seize very quickly if even a tiny amount of water is introduced. While potentially fluid, managing its temperature and avoiding moisture are key challenges when working with white chocolate viscosity in baking recipes.
Couverture Chocolate: Viscosity and Tempering
Couverture chocolate is a premium category specifically formulated for professional use, particularly for coating, dipping, and molding. Its defining characteristic is a high percentage of cocoa butter, typically 32% or more, combined with fine particle size and often optimal lecithin levels. This composition results in significantly lower viscosity and superior fluidity when melted compared to standard baking or eating chocolate.
The low viscosity of couverture makes it ideal for creating thin, even coatings and achieving a high-gloss finish when properly tempered. Tempering, the process of carefully controlling temperature during melting and cooling, is essential for working with couverture to stabilize the cocoa butter crystals and achieve the desired snap and shine, which also relies on managing its unique chocolate viscosity for baking success.
Adjusting Chocolate Viscosity for Specific Baking Applications
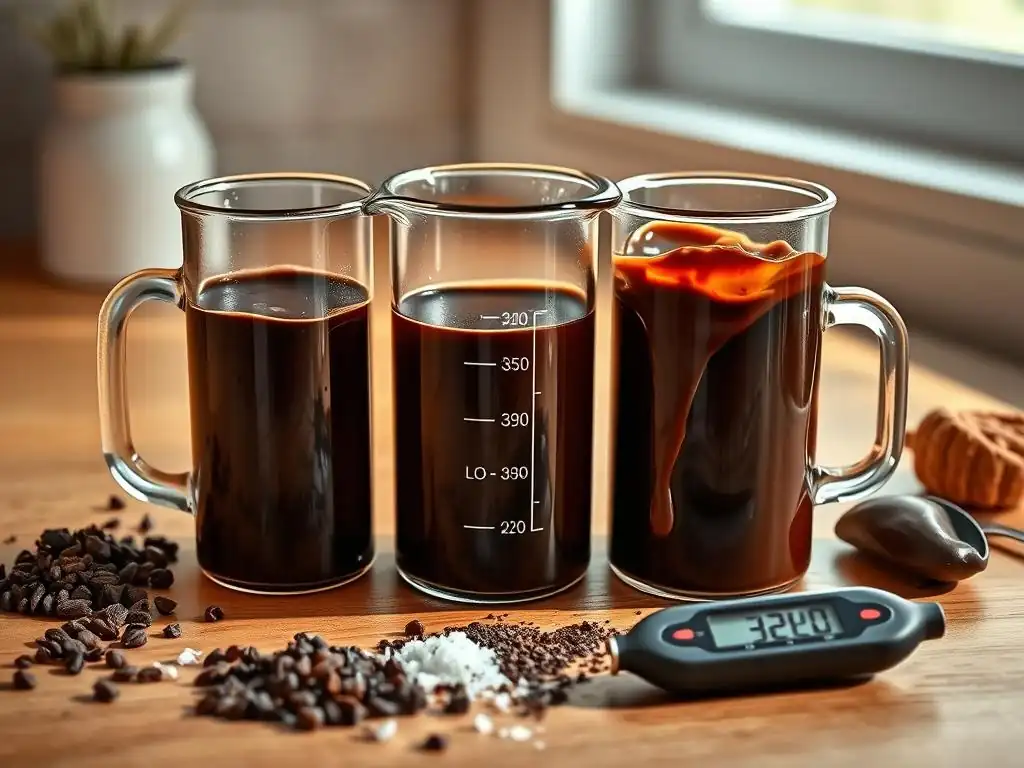
Sometimes, the natural viscosity of your chosen chocolate isn't quite right for the specific task at hand in your chocolate viscosity baking recipes. Fortunately, you can often adjust the flow properties of melted chocolate to make it thinner or thicker.
Thinning Chocolate for Easy Coating and Dipping
For applications like dipping truffles, coating cake pops, or creating thin chocolate shells for candies, you need chocolate that flows easily and coats thinly. If your melted chocolate is too thick, it will result in a heavy, uneven layer.
Using Cocoa Butter to Reduce Viscosity
The most effective way to thin melted chocolate while maintaining its integrity and ability to temper is by adding pure cocoa butter. Cocoa butter is the same fat that gives chocolate its fluidity, so adding more simply increases the liquid phase without introducing foreign flavors or disrupting the chocolate's structure. Start by adding a small amount, perhaps 1-2% of the chocolate's weight, in a melted state. Stir gently until fully combined and check the viscosity. Add more cocoa butter as needed, a little at a time, until the desired flow is achieved.
Adding cocoa butter is the preferred method for thinning couverture chocolate when tempering, as it helps maintain the correct fat balance for crystallization. This is a key technique for achieving optimal chocolate viscosity in baking recipes focused on coating.
Adding Refined Coconut Oil for a Smoother Flow
Refined coconut oil is another common ingredient used to thin melted chocolate, especially for simple coatings or drizzles where tempering isn't required (like on cookies or cupcakes). Unlike pure cocoa butter, coconut oil is a different type of fat and adding too much can alter the chocolate's flavor and texture, making it softer at room temperature. However, a small amount (start with 1 teaspoon per 8-10 ounces of chocolate) can significantly improve flow.
Use refined coconut oil as it has a neutral flavor compared to unrefined versions. Melt the coconut oil before adding it to the melted chocolate and stir until smooth. This method is simpler than using cocoa butter and works well for quick, non-tempered chocolate viscosity baking applications.
Thickening Chocolate for Fillings and Ganaches
For fillings, mousses, or stable ganaches, you often need a higher viscosity – chocolate that is thicker and will set up firmly. Simply cooling the chocolate will increase its viscosity, but sometimes you need to achieve a certain thickness while it's still warm or ensure it sets to a specific consistency.
Incorporating Heavy Cream for a Richer Texture
Adding heavy cream is the classic method for creating ganache, which is essentially a thickened chocolate mixture. The ratio of chocolate to cream determines the final viscosity and firmness of the ganache. A higher ratio of chocolate to cream (e.g., 2 parts chocolate to 1 part cream) results in a thicker ganache suitable for fillings or truffles that set quite firm. A lower ratio (e.g., 1 part chocolate to 1 part cream) yields a thinner ganache perfect for pourable glazes or softer fillings.
Heat the cream until just simmering, then pour it over the chopped chocolate. Let it sit for a few minutes to melt the chocolate, then stir gently from the center outwards until smooth and emulsified. As the ganache cools, its viscosity will increase dramatically, providing the desired texture for various chocolate viscosity baking uses.
Using Tapioca Starch for Increased Viscosity
While less common than using cream, starches like tapioca starch or cornstarch can be used as thickening agents in some chocolate preparations, particularly sauces or fillings where you need significant viscosity control without adding extra fat or dairy. Starch particles swell when heated in the presence of liquid, creating a thicker texture.
To use tapioca starch, you would typically create a slurry with a small amount of cold liquid (like water or milk) before whisking it into a warm chocolate mixture that contains some liquid component. Heat gently while stirring until the mixture thickens. This method requires careful handling to avoid a starchy flavor or gummy texture, but it offers a way to increase chocolate viscosity in baking recipes without relying solely on fat content.
Chocolate Viscosity in Specific Baking Recipes: Practical Examples
Let's look at how understanding and managing chocolate viscosity plays out in some common chocolate viscosity baking recipes.
Chocolate Glazes: Achieving the Perfect Viscosity
A chocolate glaze needs to be fluid enough to pour or spread smoothly over a cake or pastry, creating a thin, even, and often glossy coating. If the glaze is too thick, it will be difficult to apply smoothly and might result in an uneven, dull finish. If it's too thin, it might run off the sides too quickly and not provide adequate coverage.
For a pourable glaze like a simple ganache glaze (using a 1:1 chocolate to cream ratio), the viscosity when warm should be low enough to flow easily but high enough to cling slightly to the surface. For a mirror glaze, often made with gelatin, sugar, and chocolate, the viscosity is carefully controlled to be thick enough to coat opaque but fluid enough to create a perfectly smooth, reflective surface. Achieving the right chocolate viscosity for baking glazes is key to a professional look.
Chocolate Ganache: Viscosity for Different Applications (Dripping vs. Filling)
Chocolate ganache is a prime example of how viscosity determines application.
- Dripping Ganache: For a trendy drip cake effect, you need a ganache with relatively low viscosity when warm. A ratio of about 1 part chocolate to 1.25 or 1.5 parts warm cream often works well. When slightly cooled but still pourable, it should drip naturally down the sides without running all the way off or stopping too quickly.
- Filling Ganache: For filling cakes or making truffles, you need a ganache that will set up much firmer. A ratio of 2 parts chocolate to 1 part warm cream is typical. When warm, this ganache will be much thicker than a dripping ganache. As it cools, its viscosity increases significantly, becoming scoopable for truffles or spreadable for fillings.
Adjusting the chocolate-to-cream ratio is the primary way to control chocolate viscosity in baking ganache recipes.
Chocolate Mousse: The Role of Viscosity in Texture
Chocolate mousse relies on achieving a light, airy texture that still holds its shape. This is often achieved by incorporating whipped cream or whipped egg whites into a chocolate base. The chocolate base itself, often a ganache or a mixture of melted chocolate, eggs, and butter, must have the correct viscosity before the aerating agent is folded in.
If the chocolate base is too warm and thin, it will deflate the whipped cream or egg whites, resulting in a runny mousse. If it's too cool and thick, it will be difficult to fold smoothly, leading to lumps and an uneven texture. The chocolate mixture needs to be cooled to a specific temperature (often lukewarm) where its viscosity is just right – thick enough to hold air but fluid enough to be gently combined with the aerating component. Managing the chocolate viscosity in baking mousse recipes is critical for that signature airy texture.
Chocolate Lava Cakes: Viscosity and Molten Centers
The defining feature of a chocolate lava cake is its molten, flowing center. This is achieved by underbaking a portion of the batter or, more commonly, by placing a piece of solid ganache or chocolate in the center of the batter before baking. The viscosity of the "lava" is paramount.
If using a ganache insert, its composition (chocolate to cream ratio) determines how fluid it will be when heated in the oven. A ganache with a lower chocolate-to-cream ratio will be more fluid. If using just a piece of chocolate, its natural melting point and viscosity will determine the flow. The surrounding cake batter must bake and solidify while the center remains molten, requiring careful temperature and timing control, directly linked to the desired chocolate viscosity in baking lava cake recipes.
Troubleshooting Chocolate Viscosity Issues in Your Baking
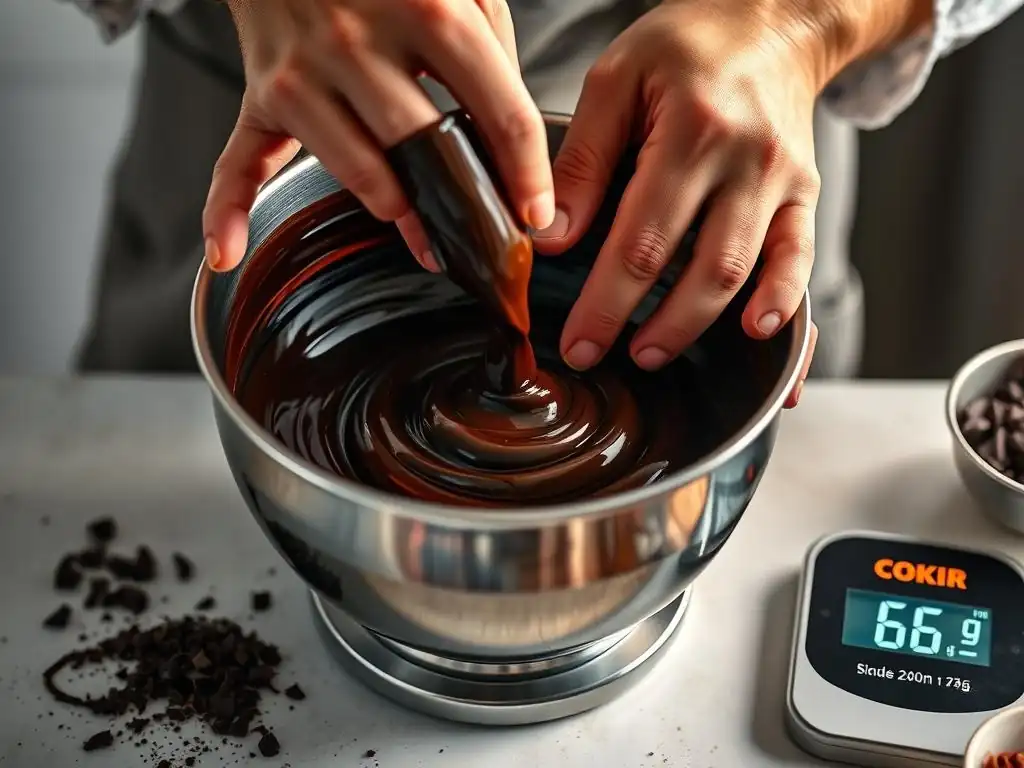
Even with careful planning, you might encounter viscosity problems with your melted chocolate. Knowing how to identify and fix these common issues is a valuable skill in chocolate viscosity baking.
Chocolate Too Thick: Common Causes and Solutions
- Overheating: Exposing chocolate to excessive heat can cause it to seize or become grainy and thick. The cocoa solids can burn, and the cocoa butter can separate.
- Solution: Unfortunately, severely overheated chocolate is often beyond saving for smooth applications. For slightly thickened but not burned chocolate, try stirring in a tiny amount of melted cocoa butter or refined coconut oil (as discussed earlier).
- Adding a Tiny Amount of Liquid: Introducing even a single drop of water or other liquid into melted chocolate can cause it to seize instantly, turning it into a thick, lumpy paste. This happens because the sugar particles, which were suspended in the cocoa butter, dissolve in the water and clump together.
- Solution: If seizing occurs due to a small amount of liquid, you might be able to rescue it by stirring in more liquid (like warm cream, milk, or melted butter/oil) until it becomes a smooth, but now much thinner, sauce or ganache. This won't work for tempering or molding but can save it for a sauce or glaze.
- Not Melted Completely: Sometimes, chocolate appears thick simply because there are still tiny unmelted pieces or solid fat crystals within it.
- Solution: Ensure the chocolate is fully melted and smooth before using. Gentle, consistent heat is key. Remove from heat once mostly melted and stir to melt residual pieces using residual heat.
Chocolate Too Thin: How to Fix It
- Over-thinning: You might have added too much cocoa butter, oil, or other liquid when trying to adjust viscosity.
- Solution: This is harder to fix directly without altering the composition significantly. If it's a ganache that's too thin, you can try adding more melted chocolate to increase the chocolate-to-cream ratio. If it's plain melted chocolate over-thinned with oil, you might need to use it for a different application where lower viscosity is acceptable (like a drizzle instead of a coating) or, if possible, blend it with more solid chocolate (not ideal).
- Too High Temperature: The chocolate might simply be too hot, making it excessively fluid.
- Solution: Allow the chocolate to cool slightly while stirring gently, monitoring the temperature. As it cools towards its working temperature range, its viscosity will naturally increase.
Achieving Consistent Chocolate Viscosity for Repeatable Results
Consistency is key in chocolate viscosity baking recipes, especially if you want repeatable outcomes.
- Use the same brand and type of chocolate each time, as formulations vary.
- Measure ingredients accurately, especially when making ganaches or adjusting viscosity with added fats.
- Control your melting temperature carefully. Use a thermometer if possible, or melt gently using a double boiler or microwave in short bursts, stirring frequently.
- Keep your workspace dry and free from water splashes.
- If adjusting viscosity, add thinning or thickening agents gradually, checking the flow as you go.
By paying attention to these factors, you can achieve more predictable and satisfying results in all your chocolate viscosity baking projects.
Mastering Chocolate Viscosity: Tips and Tricks for Bakers
Becoming adept at managing chocolate viscosity takes practice, but a few key techniques can significantly improve your results in chocolate viscosity baking.
Tempering Chocolate for Optimal Viscosity and Shine
Tempering is the process of melting, cooling, and gently reheating chocolate to stabilize the cocoa butter crystals. While its primary goal is to achieve a firm set, snap, and glossy finish, proper tempering also ensures the chocolate has the ideal working viscosity – fluid enough to coat thinly but thick enough to set quickly and cleanly. Untempered chocolate, even when melted, can be thicker and more sluggish to work with compared to tempered chocolate at its working temperature.
- Melt chocolate to its initial temperature (e.g., 115-120°F / 46-49°C for dark).
- Cool it down while stirring or seeding with solid chocolate (e.g., to 80-82°F / 27-28°C for dark).
- Gently reheat to the working temperature (e.g., 88-91°F / 31-33°C for dark).
Working with chocolate at the correct tempering temperature range provides the best chocolate viscosity for baking applications like molding and dipping.
Using a Chocolate Refiner for Improved Flow
While a tool for manufacturers, understanding what a chocolate refiner does sheds light on why some chocolates have better viscosity. Refining reduces the particle size of the solid components (cocoa solids, sugar, milk solids) to a very fine consistency. This process is crucial for creating smooth chocolate with low viscosity.
A home baker won't use a refiner, but choosing chocolates that are well-refined (often indicated by a smooth texture and good melting properties) is key. High-quality couverture chocolate is usually very well-refined, contributing to its superior flow and making it a joy to use in chocolate viscosity baking where fluidity is needed.
Storing Chocolate Properly to Maintain Viscosity
Proper storage is essential for maintaining the quality and melting properties of chocolate over time. Chocolate should be stored in a cool, dry, dark place, ideally between 60-70°F (15-21°C). Avoid storing it in the refrigerator, as temperature fluctuations and moisture can lead to sugar or fat bloom (a white, powdery or streaky surface) and potentially affect its melting characteristics and viscosity when you later try to use it in chocolate viscosity baking recipes.
Exposure to heat or humidity can negatively impact the structure of chocolate, potentially causing it to be thicker and harder to work with when melted. Always store your chocolate correctly to ensure it performs as expected when you're ready to bake.
Frequently Asked Questions
What is chocolate viscosity and why is it important for baking?
Chocolate viscosity refers to its thickness or resistance to flow. Understanding it is crucial because it directly impacts the texture and appearance of your baked goods.
How does chocolate viscosity affect different baking recipes?
Different recipes require different viscosities. A low viscosity is ideal for thin coatings and ganaches, while a higher viscosity works better for molding and creating thicker layers.
How can I adjust the viscosity of my chocolate for baking?
You can adjust viscosity by adding cocoa butter to decrease it or finely ground cocoa powder to increase it. Temperature control is also critical.
What are some common problems caused by incorrect chocolate viscosity in baking?
Incorrect viscosity can lead to issues like blooming (white streaks on the surface), uneven coatings, and difficult handling during molding or decorating.
Where can I find reliable chocolate viscosity baking recipes on BakeWithEase.com?
BakeWithEase.com offers a range of recipes specifically designed to utilize different chocolate viscosities. Look for recipes emphasizing specific textures or application techniques, like ganaches or molded chocolates.
Final Reflection: The Sweet Science of Chocolate Viscosity
Understanding chocolate viscosity is not merely a technical detail; it's the key to unlocking the full potential of your baking creations. A perfectly viscous chocolate ganache, a flawlessly smooth chocolate mousse, or a beautifully textured brownie – all hinge on mastering this fundamental aspect of chocolate's behavior. The recipes and techniques explored in this article are more than just instructions; they are a pathway to consistent, predictable, and delicious results.
The impact of understanding chocolate viscosity extends far beyond the individual baker. It's a foundational element in the artistry of pastry and confectionery, influencing texture, mouthfeel, and ultimately, the overall sensory experience. The subtle nuances of viscosity dictate whether a chocolate coating will flow smoothly or crack, whether a truffle will hold its shape, or whether a cake will have that perfect fudgy interior. The proof of the pudding is in the eating,
as the saying goes, and in the world of chocolate, the proof lies in the precise control of its viscosity.
Now, consider your own baking journey. What have you learned about the importance of precise measurements and careful technique? How will you apply this newfound knowledge to your next chocolate creation? I encourage you to experiment, to explore the fascinating world of chocolate viscosity, and to discover the joy of creating perfectly textured treats. The journey of mastering chocolate is a continuous one, filled with delicious discoveries and rewarding moments. Embrace the challenge, and let your baking rise to new heights!
Unlock Your Chocolate's Potential: Master the Melt!
Thanks for diving into the world of chocolate viscosity with us! We hope you now feel confident tackling even the trickiest chocolate recipes. Ready to put your newfound knowledge to the test?
- Experiment with different chocolate types and percentages: Try making a ganache with a higher percentage cacao for a richer, more intense flavor! Notice the viscosity changes.
- Share your chocolate creations with our community on social media using #BakeWithEaseChocolate! Let's inspire each other!
- Consider journaling your experiences – what worked best, what adjustments did you make? This will help you refine your technique over time.
What unexpected viscosity challenges have you encountered in your baking journey, and how did you overcome them?