
Easy Vanilla Bean Panna Cotta: Impress Your Guests

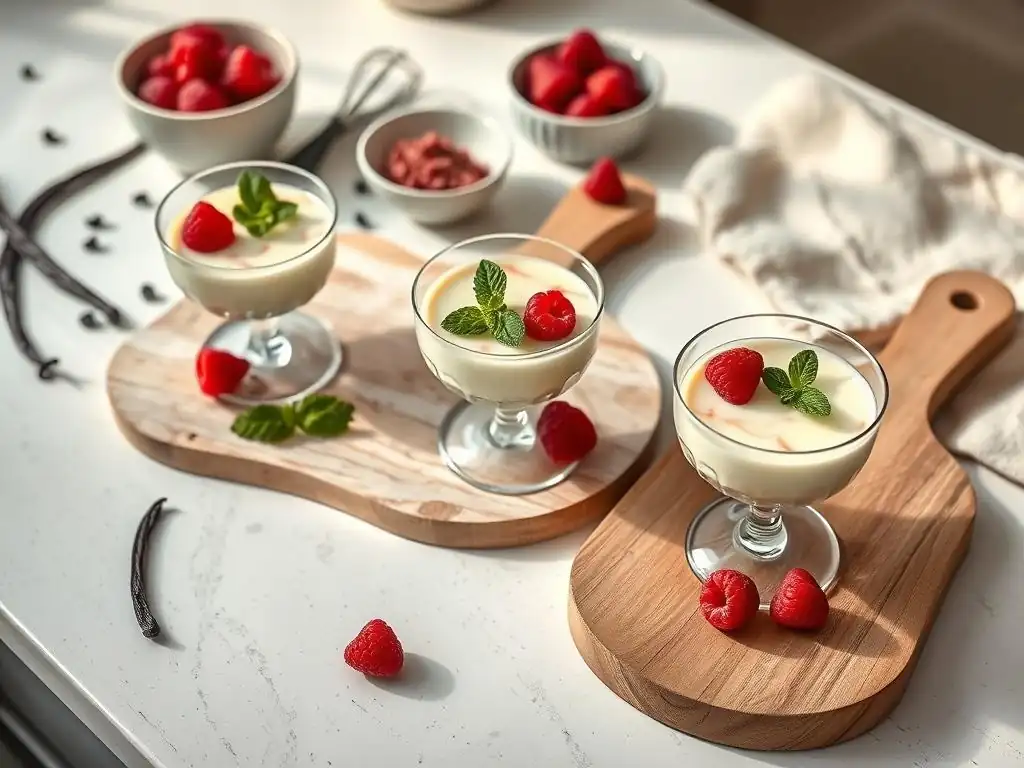
Welcome to BakeWithEase, your kitchen companion for creating delicious baked goods!
Ever dreamt of crafting a dessert that's both elegant and effortlessly simple? Delve into our world of Pastries and Desserts and discover the secrets to making an easy vanilla bean panna cotta that will truly impress. What makes this recipe so special? Let's find out!
- Classic Vanilla Bean Panna Cotta: An Elegant Dessert
- Introduction to Vanilla Bean Panna Cotta
- Simple Vanilla Bean Panna Cotta Recipe
- Tips and Tricks for Perfect Panna Cotta
- Serving and Presentation Ideas
- Storing Homemade Panna Cotta
- Why Vanilla Bean Panna Cotta is Perfect for Any Occasion
-
Frequently Asked Questions
- What makes this vanilla bean panna cotta "easy" to make?
- Can I use vanilla extract instead of a vanilla bean?
- What if I don't have gelatin sheets? Can I use powdered gelatin?
- How long does the panna cotta need to chill before serving?
- What are some serving suggestions for this vanilla bean panna cotta?
- Final Reflection: The Unexpected Joy of Simple Elegance
- Unlock Your Inner Pastry Chef: Make Panna Cotta Today!
Classic Vanilla Bean Panna Cotta: An Elegant Dessert
Introduction to Vanilla Bean Panna Cotta
What is Panna Cotta and Why Vanilla Bean?
Panna cotta, Italian for "cooked cream," is a simple yet elegant dessert originating from the Piedmont region of Italy. At its core, it's a mixture of dairy (typically cream and/or milk), sugar, and gelatin, gently heated and then chilled until set into a delicate, wobbly custard-like consistency. Unlike traditional custards that rely on egg yolks for thickening, panna cotta achieves its smooth, ethereal texture solely through the careful use of gelatin, resulting in a lighter mouthfeel that melts beautifully on the tongue. Its simplicity makes it a perfect canvas for showcasing flavors.
While panna cotta can be flavored in countless ways – from chocolate and coffee to fruit purees and liqueurs – vanilla bean remains the classic choice for a reason. The subtle, complex aroma and flavor of real vanilla extracted from the pod offer a depth that vanilla extract simply cannot replicate.
The tiny, dark specks of vanilla bean seeds suspended within the creamy white base also provide a visual cue of the dessert's quality and artisanal preparation. Choosing vanilla bean elevates this humble dessert into something truly special, highlighting the richness of the cream and the delicate texture without overpowering it.
Why This Vanilla Bean Panna Cotta Recipe is Easy to Make
Creating a stunning dessert doesn't have to be complicated, and this easy vanilla bean panna cotta recipe is a perfect example. The process involves just a few basic steps: blooming gelatin, gently heating dairy with sugar and vanilla, combining the mixtures, and chilling. There are no complex techniques like tempering eggs or constant stirring over a double boiler required. Most of the work is passive – waiting for the mixture to heat and then waiting for the panna cotta to set in the refrigerator.
Furthermore, the ingredients are readily available in most grocery stores, making this easy vanilla bean panna cotta accessible for home cooks. Precision is important, particularly with the gelatin amount and heating temperatures, but the steps are straightforward and forgiving once you understand the basics. By following simple instructions, even novice bakers can achieve a perfectly smooth, creamy, and delicious vanilla bean panna cotta that looks and tastes like it came from a high-end restaurant. It's designed to minimize fuss while maximizing flavor and elegance.
Simple Vanilla Bean Panna Cotta Recipe
Ingredients
High-Quality Vanilla Bean: The Key Ingredient
The true magic of an easy vanilla bean panna cotta lies in the vanilla itself. Using a high-quality, plump vanilla bean is crucial for imparting that rich, nuanced flavor and the signature specks. Vanilla beans are typically sold by origin, such as Madagascar, Tahitian, or Mexican. Madagascar vanilla beans are often favored for their classic, creamy, sweet flavor profile, while Tahitian beans offer more floral and fruity notes. Mexican vanilla beans tend to be smoky and spicy. For a classic vanilla bean panna cotta, a good quality Madagascar bean is an excellent choice, providing a familiar and beloved flavor.
When selecting a vanilla bean, look for one that is supple, moist, and slightly oily, not dry or brittle. A plump bean indicates it still contains plenty of vanillin, the compound responsible for much of its flavor and aroma. One standard 6-8 inch vanilla bean is usually sufficient to beautifully flavor about 2-3 cups of liquid for panna cotta.
To use it, you simply split the bean lengthwise with a sharp knife and scrape out the tiny, dark seeds using the back of the blade. Both the seeds and the scraped pod are then typically steeped in the warm cream mixture to fully extract their flavor.
Essential Dairy: Heavy Cream, Milk, and Gelatin
The base of any successful easy vanilla bean panna cotta is the dairy, which provides richness and body. Heavy cream, also known as whipping cream, is essential because its high fat content (typically 36-40%) gives the panna cotta its luxurious, creamy texture and mouthfeel. Using too little heavy cream or substituting lower-fat dairy will result in a less rich and potentially less stable dessert. Whole milk is often used in combination with heavy cream to slightly lighten the dessert without sacrificing too much richness, and also helps the gelatin dissolve smoothly.
Gelatin is the gelling agent that allows the cooked cream mixture to set into its characteristic wobbly form. It's available in several forms, most commonly as powdered gelatin or gelatin sheets. For this easy vanilla bean panna cotta recipe, powdered gelatin is often preferred for its ease of measurement and reliability.
The amount of gelatin used is critical; too little will result in a liquid or overly soft panna cotta, while too much will create a rubbery texture. A typical ratio is about 1 to 1.5 teaspoons of powdered gelatin per cup of liquid, but always follow the specific recipe instructions as gelatin strength can vary.
Sweetening Agent: Granulated Sugar for Perfect Balance
Sugar in panna cotta serves not only to sweeten the dessert but also to balance the richness of the cream and enhance the vanilla flavor. Granulated sugar is the standard choice for an easy vanilla bean panna cotta because it dissolves easily when heated with the dairy. The amount of sugar can be adjusted slightly to personal preference, but a common starting point is around 1/4 to 1/3 cup of sugar per 2-3 cups of total liquid. This amount provides a pleasant sweetness without making the dessert cloying, allowing the delicate vanilla flavor to shine through.
While other sweeteners like honey, maple syrup, or even artificial sweeteners could technically be used, granulated sugar is recommended for a classic vanilla bean panna cotta as it has a neutral flavor that doesn't compete with the vanilla. Its crystalline structure ensures it integrates smoothly into the warm liquid. Ensuring the sugar is fully dissolved before chilling is important; undissolved sugar can lead to a grainy texture in the final product. Gentle heating and stirring help achieve a perfectly smooth, sweet base.
Step-by-Step Instructions
Preparing the Gelatin: The Foundation
The crucial first step in making an easy vanilla bean panna cotta is properly preparing the gelatin, a process known as "blooming." This involves sprinkling the powdered gelatin over a small amount of cold liquid, usually water or milk specified in the recipe. Using cold liquid is essential because hot liquid can cause the gelatin granules to clump together and dissolve unevenly, leading to lumps in your final panna cotta. A typical ratio is about 1 tablespoon of cold liquid per teaspoon of powdered gelatin.
Once sprinkled evenly over the surface of the cold liquid, the gelatin should be left undisturbed for 5 to 10 minutes. During this time, the dry gelatin granules absorb the liquid and swell, transforming into a translucent, jelly-like mass. This blooming process ensures that when the gelatin is later added to the warm cream mixture, it will dissolve smoothly and completely, creating a uniform gelling effect throughout the panna cotta. Skipping or rushing this step is a common cause of grainy or improperly set panna cotta.
Infusing the Cream: Extracting Vanilla Bean Flavor
While the gelatin is blooming, you can begin infusing the dairy with that wonderful vanilla bean flavor. In a saucepan, combine the heavy cream, milk, and sugar. Split the vanilla bean lengthwise, scrape out the seeds using the back of a knife or spoon, and add both the seeds and the empty pod to the saucepan. Gently heat this mixture over medium heat, stirring occasionally to help the sugar dissolve. The goal is to bring the mixture to a gentle simmer, not a rolling boil, as boiling can scorch the cream and diminish the delicate vanilla aroma.
Allow the mixture to simmer gently for about 5-10 minutes. This simmering time is crucial for allowing the heat to extract the maximum flavor from both the vanilla seeds and the pod. You'll notice the cream starting to take on a slightly off-white hue from the vanilla seeds. After simmering, remove the saucepan from the heat and let the mixture sit for another 10-15 minutes with the vanilla pod still in it. This brief resting period allows for further infusion as the mixture cools slightly, deepening the vanilla flavor before you proceed to the next step.
Combining and Cooking: Achieving the Right Consistency
Once the cream mixture has steeped and the gelatin has bloomed, it's time to combine them to create the base for your easy vanilla bean panna cotta. First, remove the vanilla pod from the steeped cream mixture; you can rinse it and save it for flavoring sugar or other uses if desired. Gently reheat the cream mixture if it has cooled significantly, just until it is warm but not hot enough to boil again. Then, add the bloomed gelatin mass to the warm cream mixture.
Stir the mixture constantly and gently until the gelatin is completely dissolved. This usually takes just a minute or two in the warm liquid. It's important that the liquid is warm enough to dissolve the gelatin but not so hot that it degrades the gelatin's gelling properties. You should see no grainy particles or lumps of gelatin remaining. Once fully dissolved, you have your finished panna cotta base, ready to be poured into serving molds or glasses.
Setting the Panna Cotta: Chill Time
The final step in creating your easy vanilla bean panna cotta is allowing it ample time to set properly in the refrigerator. Carefully pour the warm panna cotta mixture into your desired serving vessels – this could be individual ramekins, small glasses, or even a single larger mold. If pouring into ramekins or a mold that you plan to unmold later, you might lightly oil them first with a neutral oil like grapeseed oil for easier release, although this is often unnecessary for a well-made panna cotta.
Cover each serving vessel or the mold with plastic wrap to prevent a skin from forming on the surface and to keep refrigerator odors out. Transfer the covered panna cottas to the refrigerator and chill for a minimum of 4 hours, although chilling for at least 6 hours or preferably overnight is highly recommended for the best set and texture. A properly chilled vanilla bean panna cotta should be firm but still have a characteristic wobble when gently shaken. Rushing the chill time will result in a runny or overly soft dessert.
Tips and Tricks for Perfect Panna Cotta
Avoiding Common Mistakes
One frequent issue when making vanilla bean panna cotta is a grainy texture. This is almost always caused by the gelatin not dissolving completely. Ensure you properly bloom the gelatin in cold liquid first, letting it sit for the recommended time (5-10 minutes) until it's fully hydrated and jelly-like. When you add the bloomed gelatin to the warm cream mixture, stir gently but continuously until you are absolutely certain there are no granules or lumps remaining. The cream mixture should be warm enough to dissolve the gelatin, but not boiling hot, which can weaken the gelatin.
Another common problem is the panna cotta not setting firmly enough, resulting in a liquid or overly soft dessert. This can happen for a few reasons. First, double-check that you used the correct amount of gelatin specified in the recipe – using too little is a primary cause.
Second, ensure you didn't overheat the mixture after adding the gelatin; excessive heat (boiling) can degrade the gelatin's gelling power. Finally, make sure you gave the panna cotta enough time to chill. While 4 hours is a minimum, chilling for 6-8 hours or overnight in a cold refrigerator (around 35-40°F or 2-4°C) is often necessary to achieve the perfect, wobbly set for your easy vanilla bean panna cotta.
Variations and Flavor Combinations
Adding Lemon Zest for a Zesty Twist
While classic vanilla bean panna cotta is delightful on its own, adding a touch of citrus can provide a wonderful contrast to the creamy richness. Incorporating lemon zest introduces a bright, slightly tart, and aromatic element that complements the vanilla beautifully. The oils in the zest infuse into the warm cream mixture, lending a refreshing note. To add lemon zest, simply use a microplane or fine grater to remove the yellow part of the peel from about half a lemon (avoiding the bitter white pith).
Add the lemon zest to the saucepan along with the vanilla bean, cream, milk, and sugar at the beginning of the process. Allow it to steep and simmer with the mixture as instructed. Before adding the gelatin and pouring the panna cotta, strain the mixture through a fine-mesh sieve to remove the zest pieces and the vanilla pod. This leaves behind the infused flavor without any textural disruption. The resulting panna cotta will have the classic vanilla flavor with a subtle, uplifting hint of lemon.
Incorporating Raspberry Puree for a Fruity Panna Cotta
Fruit purees make excellent accompaniments or additions to vanilla bean panna cotta, and raspberry is a particularly popular choice due to its vibrant color and tart-sweet flavor. You can serve the panna cotta topped with raspberry puree, or you can swirl the puree into the panna cotta mixture itself for a marbled effect. To make a simple raspberry puree, blend fresh or frozen raspberries (thawed) with a little sugar to taste, then strain it through a sieve to remove the seeds.
For a swirled effect, prepare your easy vanilla bean panna cotta base as instructed. Pour about two-thirds of the mixture into your serving glasses. Gently warm the raspberry puree slightly (don't boil) and add a few tablespoons to the remaining panna cotta base, stirring just enough to create streaks, or simply dollop spoonfuls of puree into the glasses on top of the vanilla layer and swirl gently with a skewer or spoon. Chill as usual. The combination of creamy vanilla and bright raspberry creates a visually appealing and delicious dessert.
Chocolate Vanilla Bean Panna Cotta: A Decadent Variation
For those who love the combination of vanilla and chocolate, transforming your easy vanilla bean panna cotta into a decadent chocolate version is simple. This variation results in a rich, smooth dessert with the depth of chocolate balanced by the aromatic vanilla. You'll typically need to add finely chopped good-quality chocolate to the warm cream mixture after it has steeped with the vanilla bean and the gelatin has been dissolved. Dark chocolate (around 60-70% cocoa) works well, providing intense flavor without being overly bitter.
After removing the vanilla pod and dissolving the gelatin in the warm cream base, add about 4-6 ounces (113-170 grams) of finely chopped chocolate to the mixture. Stir gently until the chocolate is completely melted and the mixture is smooth and homogeneous. Taste and add a little more sugar if needed, as the chocolate will reduce the perceived sweetness. Pour into molds and chill as usual. The result is a luscious chocolate panna cotta with subtle hints and visible specks of vanilla bean throughout.
Serving and Presentation Ideas
Elegant Presentation: Plating Techniques
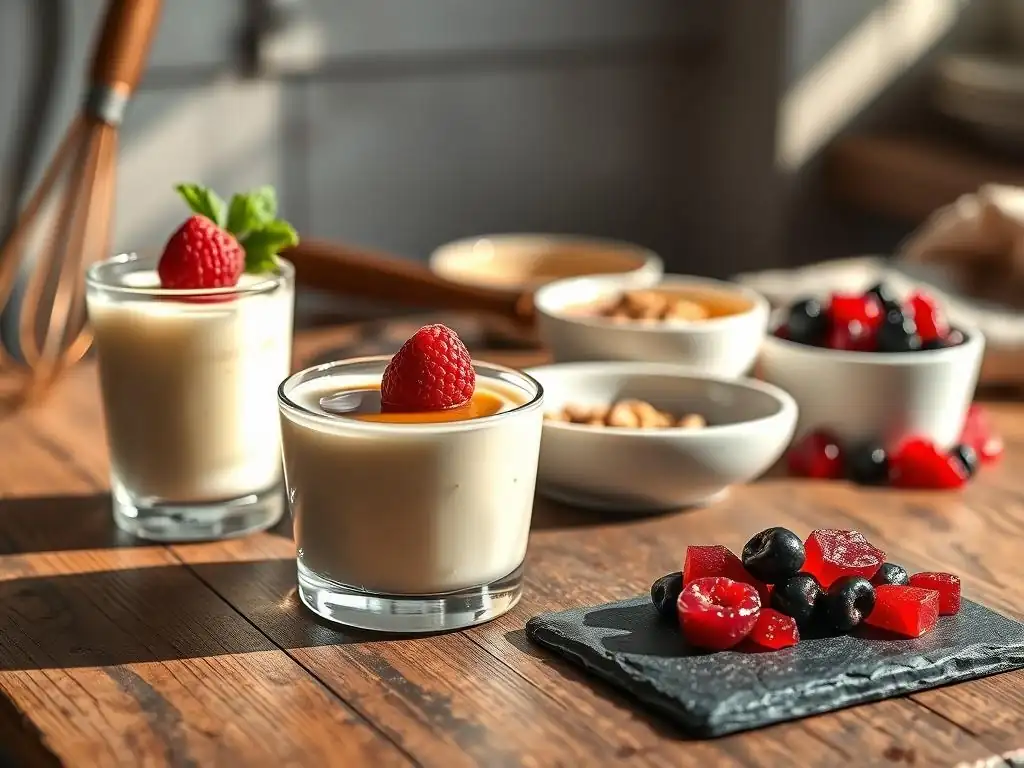
Serving your easy vanilla bean panna cotta beautifully enhances the dining experience. If you chilled the panna cotta in individual glasses or jars, serving is as simple as adding a topping directly to the glass. This method is foolproof and eliminates any risk of the panna cotta not releasing from a mold. It also allows guests to appreciate the layers if you've added a fruit puree or sauce to the bottom before pouring the panna cotta base.
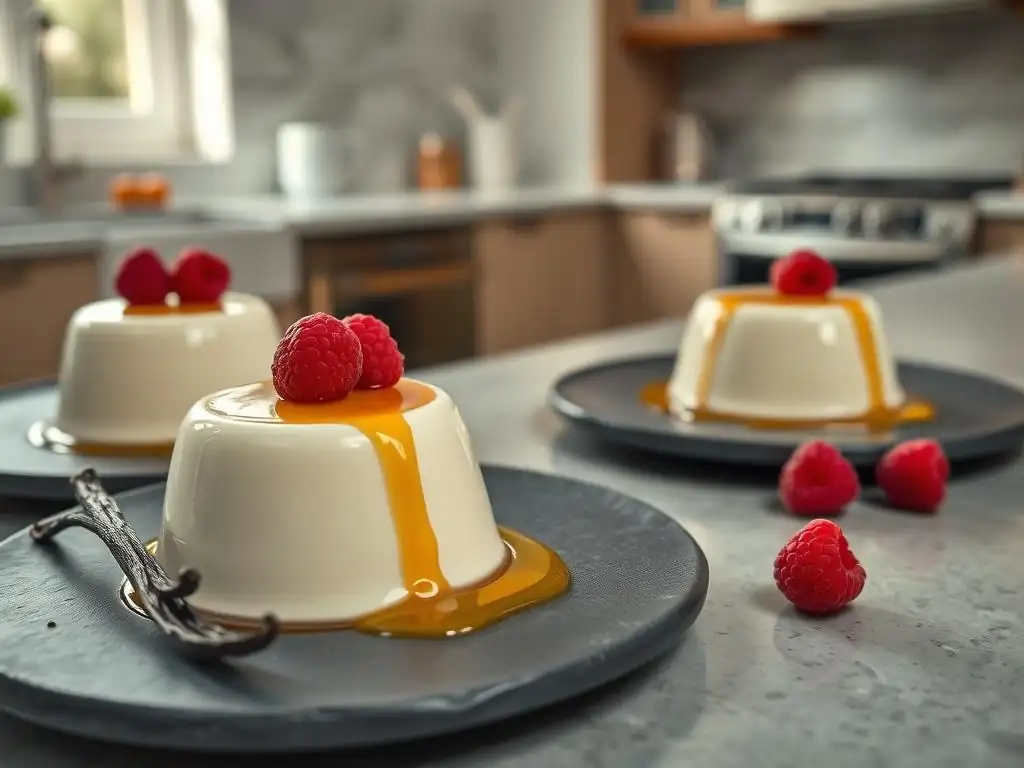
If you chilled the panna cotta in ramekins or molds and wish to unmold them, there's a simple trick. Briefly dip the bottom of the mold in hot water (just a few seconds) and run a thin knife around the edge. Then, invert the mold onto a chilled serving plate. With a gentle shake or nudge, the panna cotta should slide out smoothly, standing elegantly on the plate. Serve immediately after unmolding before it begins to soften too much.
Topping Suggestions: Complementing the Vanilla Flavor
The beauty of a simple vanilla bean panna cotta is its versatility when it comes to toppings. The clean, creamy vanilla flavor serves as an excellent base for a variety of complementary flavors and textures. Choosing the right topping can elevate the dessert from simply delicious to truly unforgettable.
Fresh Berries: A Classic Pairing
One of the most popular and visually appealing toppings for vanilla bean panna cotta is fresh berries. Strawberries, raspberries, blueberries, and blackberries all work wonderfully. Their natural sweetness and slight acidity provide a refreshing contrast to the rich, creamy panna cotta, preventing it from feeling too heavy. A simple mix of seasonal berries, perhaps lightly macerated with a tiny bit of sugar or a squeeze of lemon juice, spooned over the top just before serving adds vibrant color and fresh flavor. Approximately 1/4 to 1/2 cup of mixed berries per serving is usually sufficient.
Caramel Sauce: Adding Richness
For a more decadent option, a drizzle of warm caramel sauce pairs exceptionally well with vanilla bean panna cotta. The deep, slightly bitter notes of caramel add a layer of complexity and richness that complements the sweet vanilla base. You can use a store-bought caramel sauce, but a homemade version (made from sugar, butter, and cream) offers superior flavor. Drizzle the sauce generously over the panna cotta right before serving. The contrast between the cool, creamy dessert and the warm, flowing caramel is delightful. A typical serving might use 1-2 tablespoons of caramel sauce.
Toasted Almonds: Providing Texture and Flavor
Adding texture is key to a balanced dessert, and toasted almonds provide a satisfying crunch that contrasts beautifully with the smooth panna cotta. Almonds also have a subtle nutty flavor that pairs well with vanilla. You can use slivered, sliced, or chopped almonds. Toast them lightly in a dry pan over medium heat until fragrant and golden brown, watching carefully as they can burn quickly. Let them cool completely before sprinkling them over the panna cotta. About 1-2 teaspoons of toasted almonds per serving adds a perfect textural element and a hint of nutty aroma.
Storing Homemade Panna Cotta
Best Practices for Refrigeration
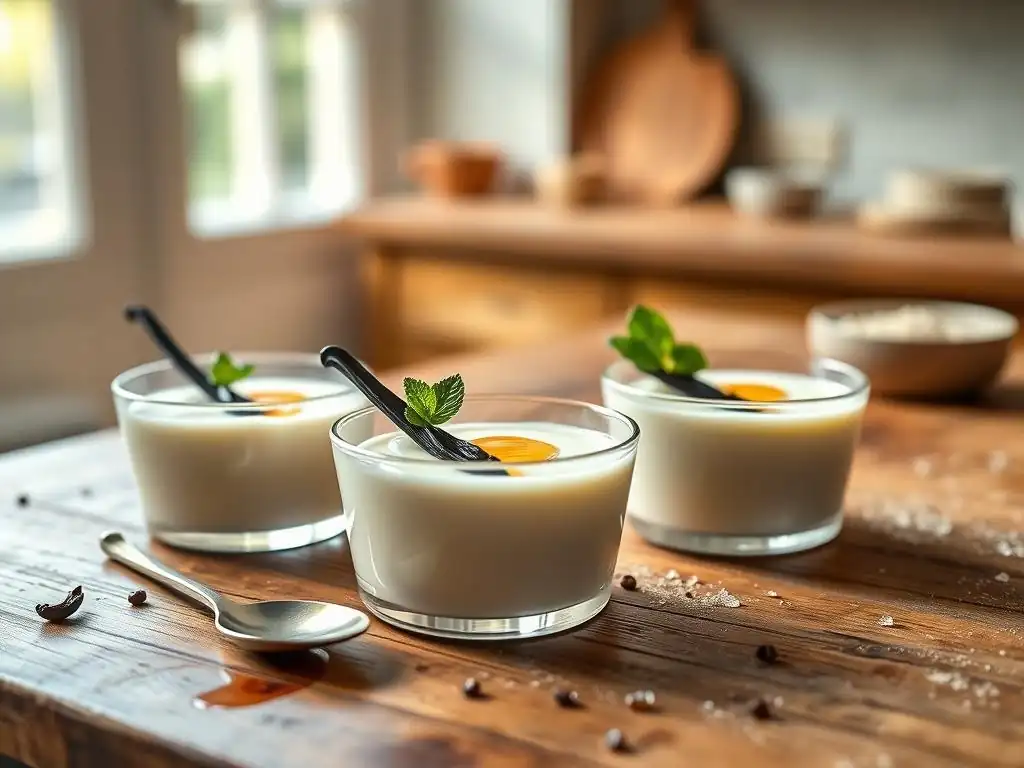
Proper storage is crucial for maintaining the texture and freshness of your homemade easy vanilla bean panna cotta. Once the panna cotta has set, it should be kept refrigerated at all times until just before serving. The ideal temperature for storing panna cotta is between 35°F and 40°F (2°C and 4°C). Ensure the panna cotta is covered, whether in individual glasses with plastic wrap or in a container with an airtight lid. This prevents the surface from drying out, absorbing odors from the refrigerator, or developing a skin.
If you've made the panna cotta in a large mold or container and plan to serve it over several days, it's best to keep it in the mold until you are ready to portion it out. Cut portions as needed and return the rest to the refrigerator promptly. Properly stored in an airtight container in the refrigerator, vanilla bean panna cotta typically maintains its quality for 3 to 4 days. Always check for any off smells or textures before serving if it's been stored for more than a couple of days.
Shelf Life and Freezing Considerations
As mentioned, the typical shelf life for refrigerated homemade vanilla bean panna cotta is about 3 to 4 days when stored correctly. After this time, while it might still be safe to eat, the texture can start to degrade, potentially becoming firmer or less smooth. The delicate wobble is best enjoyed within the first few days.
Regarding freezing, panna cotta is generally not a dessert that freezes well. The gelatin structure, which gives panna cotta its characteristic texture, can be damaged by the freezing and thawing process. When thawed, the panna cotta often becomes watery, grainy, or separates, losing its desirable smoothness and wobbly consistency. Therefore, it is best to plan to consume your easy vanilla bean panna cotta within its refrigerated shelf life and avoid freezing leftovers.
Why Vanilla Bean Panna Cotta is Perfect for Any Occasion
Impress Guests with Minimal Effort
One of the greatest advantages of making an easy vanilla bean panna cotta is its ability to impress guests with relatively little effort. The elegant appearance, complete with those tell-tale vanilla bean specks, suggests sophistication and skill, yet the preparation is remarkably simple, involving basic heating and chilling steps. You can prepare the panna cotta base ahead of time, even a day in advance, leaving only the simple task of adding toppings just before serving.
This makes it an ideal dessert for dinner parties or gatherings, allowing you to spend more time with your guests instead of being stuck in the kitchen. The smooth, creamy texture and familiar, comforting flavor of vanilla appeal to almost everyone, ensuring it will be a crowd-pleaser. Presenting individual servings in pretty glasses or unmolding them onto plates with a simple garnish creates a restaurant-quality dessert experience without the complexity usually associated with such presentations.
A Versatile Dessert for Any Season
Vanilla bean panna cotta is a remarkably versatile dessert that fits well into any season or menu. In the warmer months, its cool, creamy nature makes it a refreshing treat, especially when paired with fresh berries or a bright fruit coulis like raspberry or passion fruit. The light texture is perfect for concluding a summer meal without feeling heavy.
During cooler seasons, the rich, comforting flavor of vanilla can be enhanced with toppings like caramel sauce, toasted nuts, or even a spiced poached pear. Its neutral base means it can adapt to richer, warmer flavor profiles. Whether served at a light spring brunch, a casual summer barbecue, an elegant autumn dinner, or a festive winter holiday gathering, an easy vanilla bean panna cotta remains a fitting and delightful choice.
Vanilla Bean Panna Cotta: A Classic Dessert
Ultimately, vanilla bean panna cotta holds its place as a classic dessert for good reason. Its timeless appeal lies in its pure, unadulterated flavor and exquisite texture. It's a dessert that celebrates the quality of its few core ingredients, allowing the aromatic vanilla and rich cream to take center stage.
Mastering this easy vanilla bean panna cotta recipe provides you with a foundational skill that can be adapted to numerous other flavors and variations. It's a dessert that is both comforting and sophisticated, simple to make yet elegant to serve. Once you've successfully made this easy vanilla bean panna cotta, you'll find yourself returning to it again and again for its reliability, ease, and undeniable deliciousness.
Frequently Asked Questions
What makes this vanilla bean panna cotta "easy" to make?
The recipe focuses on simple techniques and easy-to-find ingredients, removing complicated steps and equipment needs often associated with Italian desserts. It's designed for bakers of all skill levels.
Can I use vanilla extract instead of a vanilla bean?
While vanilla extract can be substituted, using a vanilla bean provides a superior flavor profile and adds visual appeal with its specks. The recipe's flavor is largely dependent on vanilla.
What if I don't have gelatin sheets? Can I use powdered gelatin?
Yes, you can substitute powdered gelatin for gelatin sheets. Just be sure to bloom the gelatin in cold water according to the package instructions before incorporating it into the cream mixture.
How long does the panna cotta need to chill before serving?
The panna cotta requires at least 4 hours of chilling in the refrigerator to properly set. Ideally, it's best to chill it overnight for the best texture and flavor.
What are some serving suggestions for this vanilla bean panna cotta?
You can serve it with fresh berries, a drizzle of honey, a fruit coulis, or even a sprinkle of toasted nuts. The light and creamy base pairs well with many toppings.
Final Reflection: The Unexpected Joy of Simple Elegance
The seemingly simple act of crafting a perfect panna cotta speaks volumes about the power of intention and the beauty found in mindful creation. This recipe, designed for ease and accessibility, transcends its humble ingredients to deliver an experience that delights both the palate and the soul. It's a testament to the fact that extraordinary results don't always require extraordinary effort.
The enduring appeal of panna cotta lies not just in its creamy texture and delicate vanilla flavor, but in its ability to elevate any occasion. It's a dish that effortlessly bridges the gap between casual gatherings and sophisticated celebrations. The quiet satisfaction of watching the panna cotta set, the gentle shimmer of the finished product – these are moments of mindful creation that resonate far beyond the kitchen. The best things in life are simple.
This adage rings especially true when considering the impact of this seemingly simple dessert.
Now, I invite you to consider the possibilities. Don't just limit yourself to special occasions. Embrace the opportunity to create this simple yet elegant dessert for yourself, as a reward for a long day, or simply as a moment of self-care. The process itself is a meditative practice, and the result? A delicious reminder that even the simplest acts can bring immense joy and satisfaction. Try it. Impress yourself. You deserve it.
Unlock Your Inner Pastry Chef: Make Panna Cotta Today!
Thanks for spending some time with us and learning how to make this deliciously creamy vanilla bean panna cotta! You've gained a new dessert recipe that's sure to impress. Now it's time to put your newfound skills to the test!
- Whip up your own batch of panna cotta: Grab those ingredients and let's get baking! This recipe is surprisingly easy, even for beginners.
- Share your creation: Post a picture of your masterpiece on social media and tag us! We'd love to see your panna cotta creations.
- Explore other BakeWithEase recipes: Discover more delightful desserts and easy-to-follow recipes on our website!
Ready to experience the joy of homemade panna cotta? What unique twist will you add to your own recipe?