
Foolproof Molten Lava Cakes Even Beginners Can Make

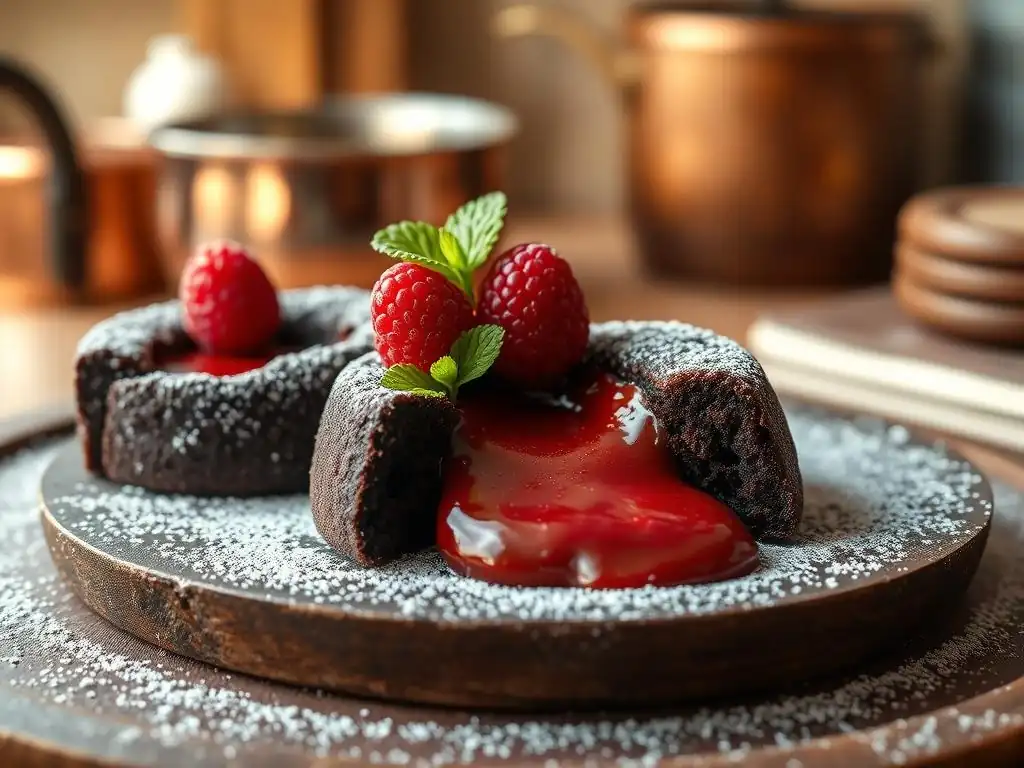
Welcome to BakeWithEase, your trusted companion in the delightful world of baking! Ever dreamt of creating a dessert that's both impressive and incredibly easy? Then prepare to be amazed, because we're diving into the irresistible allure of our easy molten lava cake recipe. Unlock the secrets to achieving that perfect, gooey center and discover how even a beginner can bake a truly unforgettable dessert. Intrigued? Let's get started!
- Foolproof Classic Chocolate Molten Lava Cakes - BakeDecadently
- Introduction to Baking Classic Chocolate Molten Lava Cakes
- The Secret to a Perfect Molten Lava Cake: A Detailed Recipe
- Step-by-Step Guide: Baking Molten Lava Cakes
- Troubleshooting Molten Lava Cake Issues
- Tips and Tricks for Baking Molten Lava Cakes
- Variations on the Classic Recipe
- Storing and Reheating Molten Lava Cakes
- Conclusion: Savoring Your Homemade Molten Lava Cakes
-
Frequently Asked Questions
- How easy is the Foolproof Molten Lava Cake recipe from BakeWithEase.com, really?
- What makes this molten lava cake recipe "foolproof"?
- Can I substitute any of the ingredients in the Easy Molten Lava Cake recipe?
- How long does it take to bake the Molten Lava Cakes?
- What are some tips for ensuring a perfectly molten center in my lava cakes?
- Final Reflection: The Unexpected Joy of a Perfectly Molten Center
- Unleash Your Inner Pastry Chef: Make Molten Lava Cakes Tonight!
Foolproof Classic Chocolate Molten Lava Cakes - BakeDecadently
Introduction to Baking Classic Chocolate Molten Lava Cakes
Welcome to the wonderful world of baking! Today, we're diving into a dessert that looks incredibly sophisticated but is surprisingly simple to master: the classic chocolate molten lava cake. This dessert, with its rich, warm chocolate liquid center encased in a tender cake exterior, is a showstopper. Many people believe it's too complicated for a home kitchen, but with the right guidance, you'll find that creating a truly decadent molten lava cake is well within reach, even if you're just starting your baking journey.
Baking should be a joyful and rewarding experience, not a source of stress. Our goal at BakeWithEase is to demystify impressive recipes like this one, breaking them down into manageable steps. This particular easy molten lava cake recipe is designed with beginners in mind, focusing on straightforward techniques and commonly available ingredients. You'll learn the fundamental principles behind achieving that perfect molten center, giving you confidence to tackle other challenging-looking desserts in the future.
Why This Recipe is Perfect for Home Bakers
This easy molten lava cake recipe is specifically tailored for home bakers because it requires minimal specialized equipment and relies on fundamental baking techniques. Unlike some complex pastries that demand precise temperature controls and intricate folding methods, this recipe primarily involves melting, mixing, and careful timing. It's an excellent introduction to working with chocolate and understanding how temperature affects texture, key skills for any aspiring baker.
Furthermore, the relatively short baking time and individual portion sizes make it a quick project, perfect for a spontaneous dessert craving or a last-minute dinner party. You can easily scale the recipe up or down, and the forgiving nature of the batter means minor imperfections are unlikely to ruin the final result. Mastering this simple molten lava cake recipe provides a significant boost in baking confidence, proving that elegant desserts don't always require hours of labor or years of experience.
BakeDecadently's Promise: Rich Flavors, Elegant Desserts
At BakeWithEase, our promise is to guide you in creating desserts that are not only delicious but also beautiful and impressive. This easy molten lava cake recipe embodies that promise perfectly. We focus on using quality ingredients to ensure the deepest, most satisfying chocolate flavor, while our step-by-step instructions ensure you achieve that signature molten core every time. The result is an elegant dessert that looks like it came straight from a high-end restaurant but was made with love in your own kitchen.
We believe that baking should be an exploration of flavor and texture. This recipe highlights the luxurious combination of rich dark chocolate and a warm, flowing center. It's a sensory experience that delights the palate and impresses guests. Follow our lead, and you'll discover just how simple it is to create truly decadent desserts that elevate everyday moments into special occasions. This easy molten lava cake recipe is just the beginning of your journey to baking elegance.
The Secret to a Perfect Molten Lava Cake: A Detailed Recipe
The magic of a molten lava cake lies in its contrast: a firm outer cake layer and a warm, liquid chocolate center. Achieving this requires precise measurements and careful timing, but it's not nearly as difficult as it sounds. The "secret" is essentially underbaking a rich chocolate cake batter just enough so that the center remains liquid while the outside sets. Our easy molten lava cake recipe guides you through this delicate balance, ensuring success.
This recipe breaks down the process into manageable steps, from preparing the chocolate base to baking and serving. We've tested this method extensively to make it as foolproof as possible for home bakers. By using specific quantities and providing clear instructions, we take the guesswork out of the equation, allowing you to focus on the joy of baking. Let's gather our ingredients and equipment and get started on this delightful culinary adventure.
Key Ingredients for Classic Chocolate Molten Lava Cake
Using high-quality ingredients is paramount for achieving a rich, decadent flavor in your easy molten lava cake recipe. You'll need:
- Dark Chocolate: About 6 ounces (approximately 170 grams) of good quality dark chocolate, ideally 60-70% cocoa content. Avoid chocolate chips if possible, as they contain stabilizers that can prevent a smooth melt; use baking bars or fèves instead.
- Unsalted Butter: Around 1/2 cup (approximately 113 grams). Unsalted butter gives you control over the saltiness of the final dessert.
- Eggs: 2 large eggs and 2 large egg yolks. The extra yolks contribute to richness and help create that gooey center.
- Granulated Sugar: About 1/4 cup (approximately 50 grams). This provides sweetness and helps tenderize the cake.
- All-Purpose Flour: Roughly 2 tablespoons (approximately 15 grams). Just a small amount is needed to give the cake structure.
- Pinch of Salt: Enhances the chocolate flavor.
- Optional: Vanilla extract (about 1/2 teaspoon) for added depth of flavor.
These quantities are typically sufficient for 4 standard-sized lava cakes baked in 6-ounce ramekins. Ensuring your ingredients are at room temperature (except for the chocolate, which you'll melt) can help with smooth incorporation during mixing.
Essential Equipment for Baking Lava Cakes
While this easy molten lava cake recipe doesn't require a professional kitchen setup, a few essential tools will make the process much smoother. Having the right equipment ensures consistent results and simplifies the steps.
Here are the key items you'll need:
- Ramekins: Four 6-ounce (or similar size) oven-safe ramekins are crucial. These individual dishes are perfect for baking and serving the cakes.
- Double Boiler or Microwave: For melting the chocolate and butter. A heatproof bowl set over a pot of simmering water works perfectly as a double boiler.
- Mixing Bowls: You'll need a few bowls for melting chocolate, mixing batter, and potentially whisking eggs and sugar.
- Whisk and Rubber Spatula: A whisk is useful for combining wet ingredients, and a rubber spatula is essential for folding in the dry ingredients and the melted chocolate mixture without deflating the batter.
- Measuring Cups and Spoons: Accurate measurements are key in baking.
- Hand Mixer or Stand Mixer (Optional): While not strictly necessary, a mixer can make creaming butter and sugar and whisking eggs easier.
- Baking Sheet: Placing the ramekins on a baking sheet makes them easier to transfer in and out of the oven.
Having these tools ready before you start mixing will ensure a seamless baking experience for your easy molten lava cake recipe.
Step-by-Step Guide: Baking Molten Lava Cakes
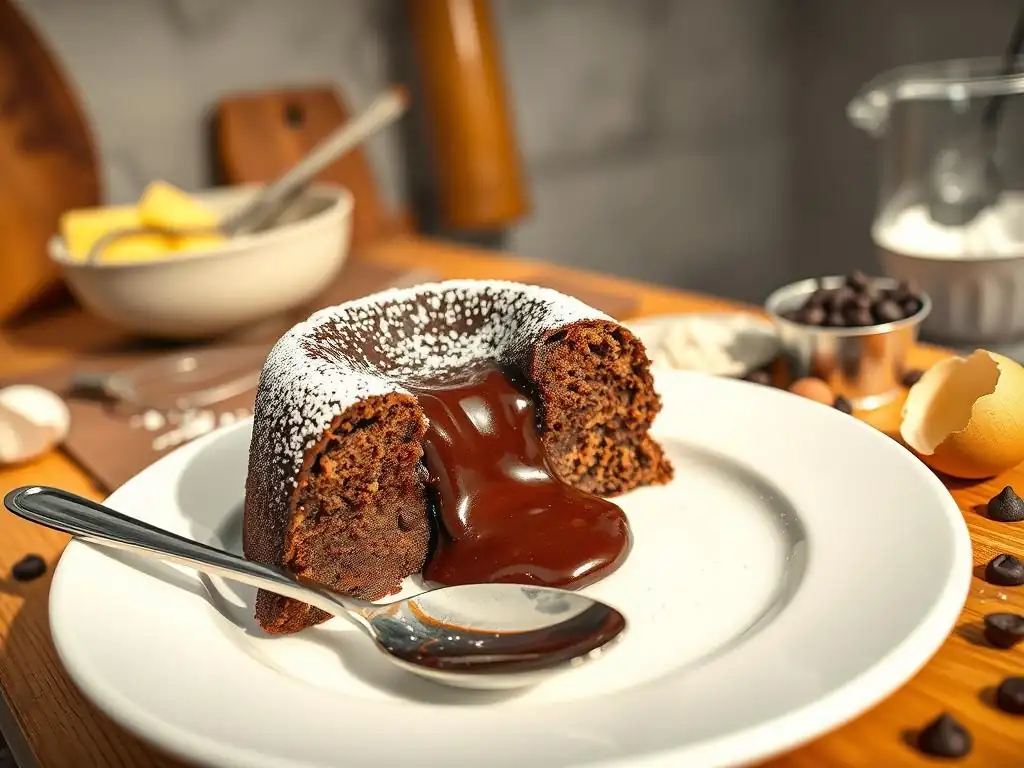
Baking these delightful cakes is a process broken down into simple, logical steps. We'll start by preparing the rich chocolate component, then move on to the cake batter, and finally, guide you through baking and serving. Each step is designed to be manageable, even for those new to baking. Pay close attention to the details, especially timing, as that's key to the molten center.
Following this guide precisely will lead you to successful results. Remember to read through all the steps before you begin to ensure you have everything you need and understand the flow of the recipe. This easy molten lava cake recipe is designed for clarity and success.
Step 1: Preparing the Chocolate Ganache
While not a traditional ganache, this step involves creating the rich, melt-in-your-mouth chocolate base that will contribute to the molten center and the overall flavor of the cake. It's a simple process of combining chocolate and butter.
Melting Dark Chocolate and Heavy Cream
Begin by finely chopping your 6 ounces (approx. 170g) of dark chocolate. The smaller the pieces, the faster and more evenly the chocolate will melt. In a heatproof bowl set over a pot of gently simmering water (ensure the bottom of the bowl doesn't touch the water), combine the chopped dark chocolate and the 1/2 cup (approx.
113g) of unsalted butter, cut into pieces. Stir occasionally with a rubber spatula until the mixture is completely smooth and glossy. Alternatively, you can melt the chocolate and butter in a microwave-safe bowl in 30-second intervals, stirring after each, until melted. Be careful not to overheat the chocolate, as it can seize.
Once melted and smooth, carefully remove the bowl from the heat (or microwave). If you are using the double boiler method, use oven mitts as the bowl will be hot. This melted chocolate and butter mixture forms the base of our cake's rich flavor and contributes significantly to the final texture, making this easy molten lava cake recipe particularly indulgent.
Cooling the Ganache
After melting, the chocolate and butter mixture will be quite warm. It's crucial to let this mixture cool slightly before incorporating it into the egg and sugar mixture. Allowing it to cool prevents scrambling the eggs and ensures that the final batter has the correct consistency.
Let the mixture sit at room temperature for about 10-15 minutes, stirring occasionally. You want it to cool down but remain liquid – it should still be easily pourable, not thick or solidifying. The ideal temperature is warm to the touch but not hot. You can test this by carefully touching the outside of the bowl. Proper cooling is a small but important step in this easy molten lava cake recipe to ensure the batter comes together smoothly.
Step 2: Preparing the Cake Batter
With the chocolate base ready and cooling, we move on to preparing the cake batter itself. This involves combining the eggs, sugar, and flour to create the structure that will hold the molten center.
Creaming Butter and Sugar
- Use a clean mixing bowl.
- Add the 1/4 cup (approx. 50g) of granulated sugar.
- Add the 2 large eggs and 2 large egg yolks.
- Add the optional 1/2 teaspoon of vanilla extract and the pinch of salt.
Using a whisk or an electric mixer on medium speed, beat the eggs, egg yolks, and sugar together for about 2-3 minutes. The mixture should become pale yellow, slightly thickened, and airy. This process incorporates air, which helps give the cake a light texture around the molten core. Ensure the sugar is mostly dissolved.
Incorporating Eggs and Flour
Once the egg and sugar mixture is light and slightly thickened, it's time to add the dry ingredient: flour. Gently whisk or beat the 2 tablespoons (approx. 15g) of all-purpose flour into the egg mixture until just combined. Be careful not to overmix at this stage. Overmixing flour can develop gluten, leading to a tougher cake texture, which we want to avoid in our easy molten lava cake recipe.
Mix just until you see no dry streaks of flour. The batter will still be relatively thin at this point.
Folding in the Cooled Ganache
Now, the magic happens – combining the chocolate mixture with the batter. Take your slightly cooled chocolate and butter mixture from Step 1. Gently pour it into the egg and flour mixture.
Using a rubber spatula, carefully fold the chocolate mixture into the batter. Use a motion that scrapes the bottom and sides of the bowl and folds the mixture over onto itself. Continue folding until the batter is uniform in color and no streaks of egg mixture are visible. Do not overmix; stop folding as soon as everything is just combined. The batter will be relatively thick and smooth. This folding step is crucial for maintaining the air incorporated earlier and ensuring a tender cake structure around the molten center of your easy molten lava cake recipe.
Step 3: Assembling and Baking the Lava Cakes
Now that the batter is ready, it's time to prepare the ramekins and get these delicious cakes into the oven. Proper preparation of the ramekins is key to easily inverting the cakes later.
Preparing the Ramekins
Generously butter the inside of each of your four 6-ounce ramekins. Use softened butter or cooking spray, ensuring every surface is coated. This prevents the cake from sticking.
Next, dust the inside of the buttered ramekins with cocoa powder. Add a tablespoon or two of cocoa powder to one ramekin, swirl it around to coat the buttered surface completely, then tap out the excess into the next ramekin, repeating until all four are dusted. The cocoa powder provides a non-stick layer that matches the cake color and flavor, making the inversion process seamless for your easy molten lava cake recipe. Alternatively, you can use flour, but cocoa powder is preferred for chocolate cakes.
Filling the Ramekins
Place the prepared ramekins on a baking sheet. This makes them easier to handle when transferring them to and from the oven.
Carefully divide the molten lava cake batter equally among the four prepared ramekins. You can pour the batter directly from the bowl or use a large spoon or a small measuring cup. Fill each ramekin about two-thirds to three-quarters full. Avoid filling them all the way to the top, as the cakes will rise slightly during baking. Filling them evenly ensures consistent baking times for each cake in your easy molten lava cake recipe.
Baking Time and Temperature
Preheat your oven to 400°F (200°C). A hot oven helps set the outside of the cake quickly while leaving the inside molten.
Place the baking sheet with the filled ramekins carefully into the preheated oven. Bake for approximately 10-12 minutes. The exact baking time will vary depending on your oven and the size of your ramekins. You are looking for the edges of the cakes to be set and slightly pulled away from the sides of the ramekins, while the center should still look soft and slightly wobbly when gently shaken. This short baking window is critical for achieving the signature molten center in your easy molten lava cake recipe.
Step 4: Serving the Molten Lava Cakes
The moment of truth! Properly serving the cakes ensures that beautiful molten center is revealed. This step is quick but requires a little care.
Determining Doneness
As mentioned in the baking step, you'll know the cakes are ready when the edges appear set and slightly firm, while the very center still looks soft and a bit jiggly. If the entire top looks firm and cracked, you've likely overbaked them, and the center may not be fully molten. Conversely, if the edges still look very wet or the cake hasn't puffed up at all, they need more time.
A light touch on the edge should feel like set cake, while the center yields slightly. This is the crucial balance for a successful easy molten lava cake recipe.
Baking for 10-12 minutes at 400°F (200°C) is a good starting point for standard 6-ounce ramekins. If using smaller ramekins (e.g., 4-ounce), reduce the time by 1-2 minutes. If using larger ones, add 1-2 minutes.
Inverting and Plating
Once baked, carefully remove the baking sheet from the oven. Let the cakes rest in their ramekins for just 1-2 minutes. This brief resting period allows the edges to firm up slightly, making inversion easier.
Place a serving plate upside down over the top of a ramekin. Holding the plate and ramekin together firmly, carefully and quickly invert them so the ramekin is now upside down on the plate. Gently lift the ramekin straight up. If you prepared the ramekins properly (butter and cocoa powder), the cake should slide out easily, revealing the beautiful shape and, hopefully, that glorious molten center beginning to ooze. If it sticks slightly, a gentle tap on the bottom of the ramekin might help. Repeat for the remaining cakes of your easy molten lava cake recipe.
Garnish Suggestions
Serving molten lava cakes warm is essential to enjoy the liquid center. While they are delicious on their own, a simple garnish elevates the presentation and flavor.
Consider these classic options:
- A dusting of powdered sugar.
- A scoop of vanilla bean ice cream (the contrast of hot and cold is divine! ).
- Fresh berries (like raspberries or strawberries) for a touch of tartness.
- A dollop of whipped cream.
- A drizzle of raspberry sauce or a simple chocolate sauce.
Choose a garnish that complements the rich chocolate flavor without overpowering it. The visual appeal is part of the experience of this easy molten lava cake recipe!
Troubleshooting Molten Lava Cake Issues
Even with a foolproof recipe, baking can sometimes present challenges. Don't worry; understanding potential issues and how to address them is part of the learning process. Here are some common problems you might encounter when making an easy molten lava cake recipe and how to troubleshoot them.
Cakes Lacked a Molten Center
This is the most common issue and almost always due to overbaking. The cake was left in the oven too long, causing the entire batter to set rather than just the edges.
To prevent this, closely monitor the cakes during the last few minutes of baking. Start checking around the 9-minute mark for 6-ounce ramekins. Look for the visual cues: set edges, slightly wobbly center. Ovens vary, so your ideal time might be 10 minutes, 11 minutes, or 12 minutes.
Make a note of the time that works for your oven for future bakes of this easy molten lava cake recipe. If you suspect they are done, it's better to take them out slightly underbaked than overbaked. A cake with a too-liquid center can still be salvaged (eat it with a spoon! ), but an overbaked one loses its signature feature.
Cakes Overflowed
Overflowing usually indicates that the ramekins were filled too full. The batter rises slightly as it bakes.
Ensure you are filling the ramekins only two-thirds to three-quarters full. The batter should have room to expand without spilling over the sides. Using the correct size ramekin (6-ounce is standard for this recipe) also helps prevent this. If you use smaller ramekins, you'll need to use less batter per dish.
Cakes Were Too Dense
If your molten lava cakes turned out dense and heavy rather than light around the molten core, it could be due to overmixing the batter after adding the flour or overworking the melted chocolate mixture.
Remember to fold the flour in gently until just combined. Vigorously whisking after adding flour develops gluten, resulting in a tough texture. Similarly, when folding in the melted chocolate and butter, mix only until the batter is uniform. Overmixing can deflate the air incorporated when beating the eggs and sugar. Gentle handling of the batter is key to a tender crumb in this easy molten lava cake recipe.
Tips and Tricks for Baking Molten Lava Cakes
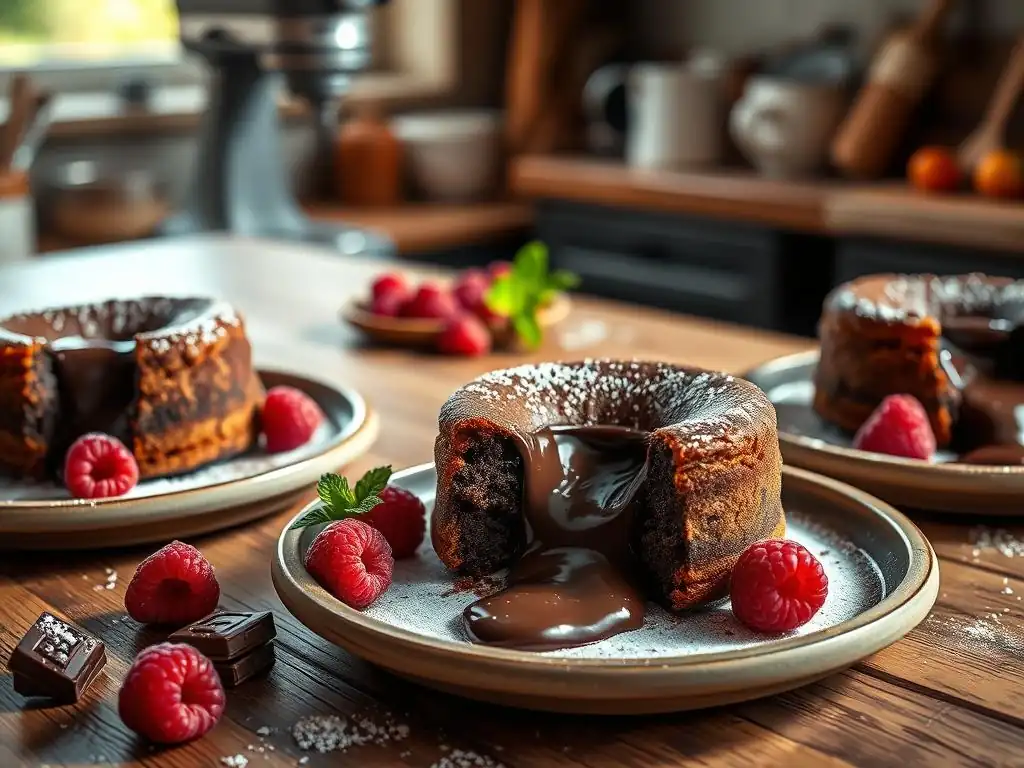
Beyond the basic steps, a few additional tips can help ensure your easy molten lava cake recipe turns out perfectly every time and make the process even smoother.
The Importance of High-Quality Chocolate
The flavor of your molten lava cakes is heavily reliant on the chocolate you use. Since chocolate is the star ingredient, opting for good quality dark chocolate (around 60-70% cocoa content) makes a significant difference.
Avoid using standard chocolate chips from the baking aisle if possible. These often contain stabilizers that help them hold their shape when baked, which can hinder the smooth melting required for the molten center. Baking bars or fèves designed for melting are a better choice. Brands like Ghirardelli baking bars, Callebaut, or Valrhona offer excellent flavor and melting properties. While you don't need the most expensive chocolate, choosing a reputable brand will elevate your easy molten lava cake recipe from good to truly exceptional.
Adapting Baking Time for Different Ovens
Ovens can vary significantly in temperature, sometimes by as much as 25-50°F (15-30°C). The specified baking time of 10-12 minutes is a guideline.
It's highly recommended to use an oven thermometer to verify your oven's actual temperature. If your oven runs hot, you may need to slightly reduce the baking time (e.g., start checking at 9 minutes). If it runs cool, you might need an extra minute or two. The visual cues (set edges, wobbly center) are more reliable than the clock alone. Once you bake this easy molten lava cake recipe a couple of times, you'll get a feel for your specific oven's timing. Keep notes!
Storing Unbaked Lava Cakes
One of the great things about this easy molten lava cake recipe is that the batter can be made ahead of time. This is perfect for entertaining!
After preparing the batter and dividing it into the buttered and cocoa-dusted ramekins, you can cover each ramekin tightly with plastic wrap. Store them in the refrigerator for up to 24 hours. When you're ready to bake, remove them from the refrigerator and let them sit at room temperature for about 20-30 minutes while your oven preheats. You may need to add 1-3 minutes to the baking time since the batter will be colder than if baked immediately. This make-ahead option adds convenience to your easy molten lava cake recipe.
Variations on the Classic Recipe
While the classic chocolate molten lava cake is undeniably delicious, this easy molten lava cake recipe is also a fantastic base for experimentation. Adding different flavors can create exciting new desserts.
Espresso Molten Lava Cake
For coffee lovers, adding espresso to the chocolate batter provides a wonderful depth and bitterness that complements the sweetness of the chocolate.
To make an espresso variation, dissolve 1-2 teaspoons of instant espresso powder in 1 tablespoon of hot water. Stir this mixture into the melted chocolate and butter mixture before folding it into the egg batter. The amount of espresso can be adjusted to your preference. Start with a little and add more if desired. The robust coffee flavor enhances the chocolate notes beautifully in this twist on the easy molten lava cake recipe.
Orange Zest Molten Lava Cake
Chocolate and orange is a classic pairing. The bright, citrusy notes of orange zest cut through the richness of the chocolate, creating a refreshing contrast.
Finely grate the zest of one small orange. Stir the orange zest into the melted chocolate and butter mixture before combining it with the egg batter. Ensure you only use the colored part of the peel, not the bitter white pith. The essential oils in the zest infuse the chocolate with a lovely aroma and flavor, making this an aromatic variation of the easy molten lava cake recipe.
Chili Chocolate Molten Lava Cake
For those who enjoy a little heat, adding a pinch of chili powder or cayenne pepper can create a sophisticated and intriguing flavor profile.
Add a pinch (start with 1/8 to 1/4 teaspoon) of cayenne pepper or chili powder to the melted chocolate and butter mixture. Stir it in thoroughly. The heat level is a matter of personal preference, so start with a small amount and increase it if you like a stronger kick. The subtle warmth of the chili enhances the chocolate flavor and adds an unexpected layer to your easy molten lava cake recipe.
Hazelnut Molten Lava Cake
The combination of chocolate and hazelnut is a match made in heaven, reminiscent of popular chocolate spreads.
Finely chop about 1/4 cup of toasted hazelnuts. Fold these into the batter along with the chocolate mixture. For an even stronger hazelnut flavor, you can replace a small amount of the melted butter (about 1-2 tablespoons) with hazelnut oil or stir in 1-2 tablespoons of a high-quality hazelnut spread (like Nutella) into the melted chocolate mixture. This adds a delightful nutty dimension to your easy molten lava cake recipe.
Storing and Reheating Molten Lava Cakes
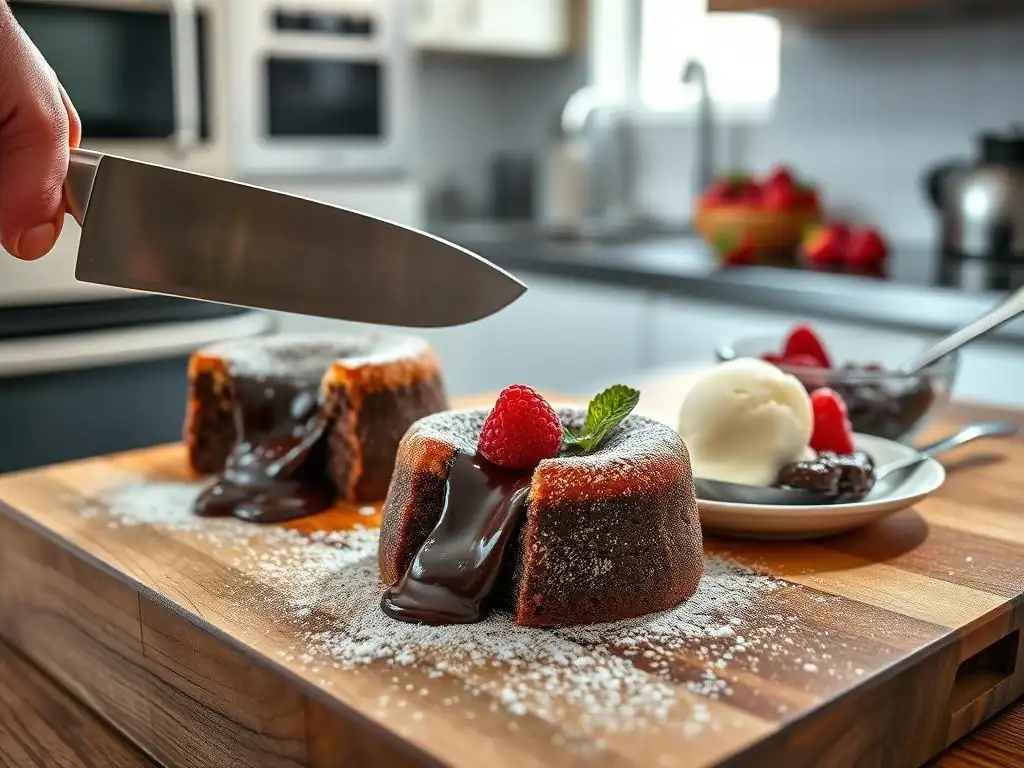
While molten lava cakes are definitely best enjoyed fresh and warm, sometimes you might have leftovers, or you might have made them ahead. Here's how to handle storage and reheating.
Storing Leftovers
If you have baked molten lava cakes that weren't eaten immediately, allow them to cool completely in their ramekins or on a plate. Once cooled, cover them tightly with plastic wrap or transfer them to an airtight container.
Store the cooled cakes in the refrigerator. They will lose their molten center as they cool and firm up, essentially becoming rich chocolate cupcakes. They can be stored in the refrigerator for up to 3-4 days. Storing them properly ensures they remain fresh and moist until you're ready to enjoy them again, perhaps after reheating.
Reheating Instructions
To bring a refrigerated, previously baked molten lava cake back to its molten glory, reheating is necessary.
The best way to reheat is in the oven. Preheat your oven to 350°F (175°C). Place the cake (either in its ramekin or on an oven-safe plate if it was stored out of the ramekin) in the oven for about 8-12 minutes, or until the center is warm and soft again. Be careful not to overheat, or you risk drying out the cake or losing the molten effect entirely.
Alternatively, you can reheat a single cake in the microwave on 50% power for 30-60 seconds, checking frequently, until the center is warm and gooey. Oven reheating generally yields a better texture around the edges. Reheating allows you to enjoy the signature feature of your easy molten lava cake recipe even days later.
Conclusion: Savoring Your Homemade Molten Lava Cakes
You've done it! You've successfully navigated the steps of creating a truly stunning dessert with our easy molten lava cake recipe. The process, from melting the chocolate to inverting the final product, is straightforward, proving that elegant results are achievable in any home kitchen. Take a moment to admire your work – the perfectly shaped cake, the promise of that warm, flowing chocolate center.
Baking, especially creating something as impressive as a molten lava cake, is a rewarding experience. It allows you to express creativity, learn new skills, and, most importantly, share delicious moments with others. Whether you followed the classic recipe or experimented with a variation, you've created something special. This easy molten lava cake recipe is a testament to the fact that decadent desserts don't have to be complicated.
Celebrate Special Occasions
Molten lava cakes are the perfect dessert for celebrating. Their elegant appearance and rich flavor make them ideal for birthdays, anniversaries, holidays, or simply turning an ordinary weeknight into something memorable. Serving these warm, gooey cakes provides a moment of pure indulgence that guests will remember.
Imagine the delight as your friends or family cut into the cake and the warm chocolate lava flows onto the plate. It’s a simple pleasure, but incredibly effective at creating a sense of occasion. This easy molten lava cake recipe gives you the power to create those special moments whenever you choose, without needing to rely on store-bought options.
BakeDecadently: Elevating Your Baking Experience
At BakeWithEase, our mission is to help you bake decadently and confidently. This easy molten lava cake recipe is just one example of how we break down seemingly complex desserts into achievable steps for home bakers of all levels. We believe that everyone can create beautiful and delicious treats in their own kitchen.
We hope this guide has inspired you to try this recipe and perhaps explore other baking adventures. We are committed to providing you with the knowledge, tips, and easy-to-follow recipes you need to elevate your baking experience. Keep practicing, keep experimenting, and most importantly, keep enjoying the process of creating deliciousness. Happy baking!
Frequently Asked Questions
How easy is the Foolproof Molten Lava Cake recipe from BakeWithEase.com, really?
The recipe is designed for beginner bakers, focusing on simple steps and easy-to-find ingredients. BakeWithEase emphasizes clarity and accessibility in all their recipes.
What makes this molten lava cake recipe "foolproof"?
The foolproof nature comes from precise measurements, clear instructions, and techniques that minimize common errors. This ensures a consistently delicious result.
Can I substitute any of the ingredients in the Easy Molten Lava Cake recipe?
While substitutions are possible, BakeWithEase recommends following the recipe closely for best results. Any changes could affect the cake's texture and molten center.
How long does it take to bake the Molten Lava Cakes?
The baking time is relatively short, usually around 12-15 minutes. This is crucial for achieving the signature molten center without overbaking the cake.
What are some tips for ensuring a perfectly molten center in my lava cakes?
The key is to monitor the baking time carefully. Also, ensure your oven is accurately preheated and that the ramekins are properly prepared to prevent sticking.
Final Reflection: The Unexpected Joy of a Perfectly Molten Center
The pursuit of culinary perfection, even in something as seemingly simple as a molten lava cake, reveals a surprising depth of satisfaction. Mastering this seemingly delicate dessert unlocks a world of confidence in the kitchen, proving that even complex-sounding recipes can be approachable and rewarding for everyone. This isn't just about making a delicious treat; it's about embracing the process and celebrating the small victories along the way.
The impact of a perfectly executed molten lava cake extends far beyond the individual experience. It’s a testament to the power of shared culinary moments, a symbol of comfort and celebration. The best things in life are the people we love, the places we've been, and the memories we've made along the way.
This simple dessert, when shared, becomes a vehicle for connection and joy, transforming a kitchen endeavor into a meaningful experience. The ease of this recipe makes it accessible to everyone, regardless of their baking experience, fostering a sense of accomplishment and shared pleasure.
So, I encourage you: Don't be intimidated by the idea of creating something seemingly sophisticated. Try this recipe. Embrace the slight mess, the gentle warmth of the oven, and the pure delight of that first, decadent bite. The journey to a perfectly molten center is a journey of self-discovery, a testament to your capabilities, and a delicious reward for your efforts. You might surprise yourself with what you can achieve.
Unleash Your Inner Pastry Chef: Make Molten Lava Cakes Tonight!
Thanks for joining us on this delicious journey into the world of molten lava cakes! We hope you gained the confidence to tackle this seemingly tricky dessert. Now it's time to put your newfound skills to the test!
- Bake your own perfect lava cakes tonight! Grab those ingredients and let’s get started. Remember, even minor variations in your technique can yield amazing results, so experiment and have fun!
- Share your creation! Snap a picture of your molten masterpiece and tag us on social media – we’d love to see your baking success.
- Consider trying a fun variation – add a scoop of ice cream, a drizzle of chocolate sauce, or even a sprinkle of sea salt!
Ready to experience the joy of perfectly gooey chocolate? What unique twist will you add to your lava cakes?