
Kulfi at Home: Rich & Creamy Indian Frozen Delight

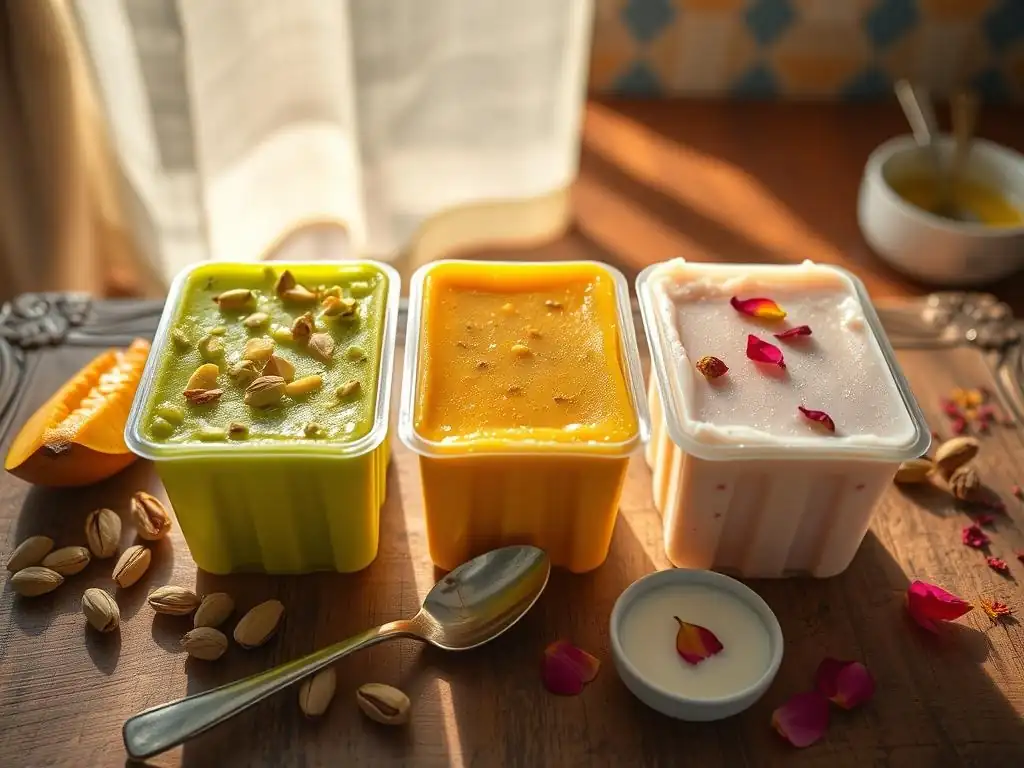
Welcome to BakeWithEase, your haven for all things baking! Ever dreamt of creating decadent desserts without the fuss? You're in the right place. Today, we're diving into the world of frozen delights, specifically a traditional Indian treat. Prepare to be amazed by our Easy homemade kulfi recipe – a creamy, rich, and utterly irresistible dessert that's simpler to make than you think. Ready to ditch the store-bought stuff and experience the authentic taste of kulfi made with love? Let's get started!
- Kulfi at Home: Rich & Creamy Indian Frozen Delight - An Easy Homemade Kulfi Recipe
- Introduction to Kulfi: The Authentic Indian Ice Cream
- Easy Homemade Kulfi Recipe: Step-by-Step Guide
- Kulfi Flavor Variations: Customize Your Frozen Treat
- Tips for the Best Homemade Kulfi: Achieve Creamy Perfection
- Troubleshooting Your Kulfi: Common Problems and Solutions
- Serving Suggestions: Enjoying Your Kulfi
- Conclusion: Enjoy Your Easy Homemade Kulfi
-
Frequently Asked Questions
- How easy is it to make kulfi at home using BakeWithEase's recipe?
- What are the key ingredients I need for BakeWithEase's kulfi recipe?
- Can I customize the flavors of my homemade kulfi based on BakeWithEase's recipe?
- How long does it take to freeze the kulfi after preparing the mixture, according to BakeWithEase?
- Is BakeWithEase's kulfi recipe suitable for someone with dietary restrictions, like gluten intolerance?
- Final Reflection: The Enduring Sweetness of Homemade Kulfi
- Unleash Your Inner Kulfi Master!
Kulfi at Home: Rich & Creamy Indian Frozen Delight - An Easy Homemade Kulfi Recipe
Introduction to Kulfi: The Authentic Indian Ice Cream
What is Kulfi? Exploring the Traditional Indian Frozen Dessert
Kulfi is a traditional Indian frozen dessert that holds a special place in the hearts of many. Unlike conventional ice cream, which is churned, kulfi is made by slowly simmering milk until it reduces significantly, concentrating the flavor and creating a dense, creamy texture. This slow reduction process, often taking several hours, is key to kulfi's unique consistency – it's much denser and slower to melt than regular ice cream.
Historically, kulfi originated in the Mughal Empire, dating back to the 16th century. It was often flavored with pistachios, saffron, cardamom, and rosewater, ingredients commonly used in royal kitchens. The reduced milk base, sometimes thickened further with khoya (dried milk solids) or cornstarch in modern variations, gives it a distinct richness that churning simply cannot replicate. This makes kulfi a truly unique frozen treat, celebrated across India and beyond for its intense flavor and luxurious mouthfeel.
Why Make Kulfi at Home? Benefits and Advantages
Making kulfi at home offers numerous benefits, especially for those who love to bake and create in their own kitchen. Firstly, control over ingredients is paramount. You can choose high-quality milk, fresh nuts, and natural flavorings, avoiding artificial additives and excessive preservatives often found in store-bought versions. This not only results in a healthier dessert but also one with a purer, more authentic taste.
Furthermore, crafting your own easy homemade kulfi recipe allows for endless customization. While classic flavors are wonderful, you can experiment with unique combinations like fig and walnut, chocolate, or even seasonal fruit purees. The process, though requiring patience for the milk reduction, is surprisingly simple and doesn't require any special equipment like an ice cream maker. It's a rewarding culinary project that yields a delightful dessert perfect for cooling off on a warm day or concluding a festive meal.
Easy Homemade Kulfi Recipe: Step-by-Step Guide
Ingredients for the Perfect Kulfi: What You'll Need
To create a delicious and easy homemade kulfi, you'll need a few key ingredients, focusing on full-fat dairy for maximum richness. The core is milk – typically 4-6 cups (around 1 to 1.5 liters) of whole milk, which will be reduced significantly. You'll also need about 1/2 to 3/4 cup (100-150g) of sugar, adjusted to your sweetness preference. For classic flavor, a pinch of ground cardamom or a few green cardamom pods is essential.
Optional additions elevate the kulfi further. A tablespoon or two of finely chopped nuts like pistachios, almonds, or cashews adds texture and flavor. For a richer base, some recipes include a tablespoon or two of cornstarch mixed with a little cold milk to thicken it slightly faster, though traditional methods rely solely on milk reduction. A tiny pinch of saffron threads soaked in warm milk can also add a beautiful color and aroma, especially for a saffron kulfi variation.
Kulfi Recipe Instructions: A Simple and Delicious Method
Step 1: Preparing the Milk Base for Rich Kulfi
Begin by pouring the whole milk into a heavy-bottomed pot or pan. This is crucial as a heavy bottom prevents the milk from scorching easily during the long simmering process. Place the pot over medium heat and bring the milk to a gentle boil, stirring occasionally to prevent a skin from forming. Once boiling, reduce the heat to low and let the milk simmer uncovered.
The goal here is to reduce the milk volume by about 50-60%, concentrating the milk solids and creating a thick, creamy base. This process can take anywhere from 1 to 2 hours, depending on the width of your pan and the heat level. Stir the milk frequently, especially scraping the sides and bottom, to incorporate the milk solids that form back into the liquid. This ensures maximum richness and prevents sticking.
Step 2: Adding Flavor and Texture to Your Kulfi Mix
Once the milk has reduced and thickened to a custard-like consistency, it's time to add the sugar. Stir it in until it completely dissolves. Taste and adjust the sweetness if necessary; remember that frozen desserts tend to taste less sweet than when they are liquid. Next, add your chosen flavorings, such as ground cardamom or crushed cardamom pods. If using saffron, add the soaked saffron threads and their milk.
This is also the stage to add any chopped nuts you're using for texture. Stir everything together thoroughly. If you are using the cornstarch method, mix the cornstarch with a couple of tablespoons of cold milk into a smooth slurry before adding it to the hot reduced milk. Pour the slurry into the hot milk base while stirring constantly and cook for another 2-3 minutes until slightly thickened. Remove the mixture from the heat and let it cool completely to room temperature.
Step 3: Setting the Kulfi Molds for Freezing
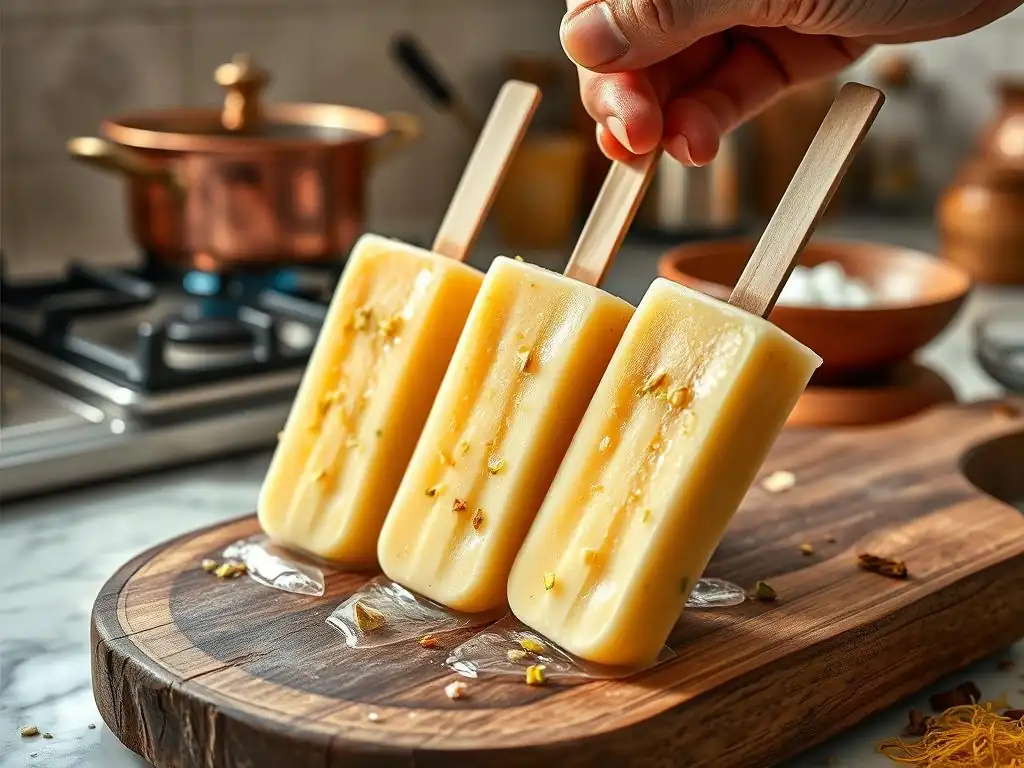
Once the kulfi mixture has cooled, it's ready to be poured into molds for freezing. Traditional kulfi is often frozen in conical molds or small clay pots ( matkas), but you can use any ice pop molds, small cups, or even a loaf pan lined with plastic wrap. If using individual molds, carefully pour the cooled mixture into each one, leaving a little headspace as liquids expand slightly when frozen.
If using ice pop molds with sticks, insert the sticks now. If using cups or a loaf pan, you can insert sticks later when the kulfi is partially frozen, or simply slice and serve from the loaf pan. Cover the molds tightly with lids or plastic wrap to prevent ice crystals from forming on the surface. Place the filled molds in the freezer on a flat surface.
Step 4: Unmolding and Serving Your Homemade Kulfi
Allow the kulfi to freeze completely. This typically takes at least 6-8 hours, but for the best texture, freezing overnight is recommended. Once fully frozen, the kulfi should be solid. To unmold individual kulfi pieces, dip the molds briefly (for about 10-15 seconds) in warm water. This will slightly loosen the kulfi from the sides, making it easy to slide out.
If using a loaf pan, lift it out using the plastic wrap liner and slice the kulfi into desired portions. Serve the easy homemade kulfi immediately. It can be enjoyed as is or garnished with additional chopped nuts, a sprinkle of cardamom, or a few strands of saffron for an extra touch of elegance. Enjoy the rich, creamy texture and intense flavor of your homemade frozen delight!
Kulfi Flavor Variations: Customize Your Frozen Treat
Classic Kulfi Flavors: Mango, Pistachio, and Cardamom
The world of kulfi is rich with traditional flavors that have been enjoyed for centuries. Cardamom Kulfi, often considered the most classic, relies solely on the aromatic spice to enhance the natural sweetness and richness of the reduced milk base. About a teaspoon of ground cardamom or 4-5 crushed pods is usually sufficient for a batch made with 1-1.5 liters of milk, providing a warm, fragrant note.
Pistachio Kulfi is another beloved variation, adding both flavor and a delightful crunch. This is typically made by adding finely chopped or ground pistachios to the reduced milk mixture. For a batch, around 1/4 to 1/2 cup (about 30-60g) of pistachios is common, often blanched and skinned for a smoother texture. Mango Kulfi, especially popular during the summer months, incorporates mango pulp into the base. About 1/2 to 1 cup (100-200g) of ripe mango puree is blended with the cooled milk mixture before freezing, lending a vibrant color and fruity sweetness.
Exploring Saffron Kulfi: A Royal and Aromatic Delight
Saffron Kulfi is perhaps one of the most luxurious and visually stunning variations. It utilizes the precious spice saffron, known for its vibrant golden-yellow hue and unique, slightly bitter, floral aroma. To make Saffron Kulfi, a generous pinch of saffron threads (perhaps 15-20 threads) is typically steeped in a tablespoon or two of warm milk for about 10-15 minutes. This allows the color and flavor to infuse into the milk.
The saffron-infused milk is then added to the reduced milk base along with the sugar and other flavorings (like a hint of cardamom) just before cooling. The resulting kulfi has a beautiful pale yellow color and a distinct, aromatic flavor that is both elegant and deeply satisfying. Often, Saffron Kulfi is garnished with slivered pistachios and a few extra saffron strands, enhancing its regal appearance and taste.
How to Infuse Flavors for a Delicious Kulfi Experience
Successfully infusing flavors is key to a truly delicious kulfi. For spices like cardamom or saffron, steeping them in warm milk or adding them during the simmering process allows their aromas to penetrate the base thoroughly. Using whole spices, like green cardamom pods lightly crushed, can provide a more intense flavor than ground spices, though they should be removed before freezing for a smooth texture.
When incorporating fruits, using a smooth, concentrated puree is best. For example, ripe mangoes should be pureed without adding water. Add fruit purees to the cooled milk base, as cooking fruit for too long can sometimes affect the texture or brightness of the flavor.
Nuts are typically added chopped or ground, providing both flavor and texture. For stronger flavors like rosewater or kewra water, a few drops are usually sufficient, added after the mixture has cooled to preserve their delicate fragrance. Experimenting with combinations like rose and pistachio or fig and almond can lead to exciting new easy homemade kulfi creations.
Tips for the Best Homemade Kulfi: Achieve Creamy Perfection
Achieving the Right Consistency: Avoiding Icy Kulfi
The hallmark of great kulfi is its smooth, dense, and creamy texture, completely free of ice crystals. The most critical step in achieving this is the slow reduction of the milk. Reducing the milk volume by at least half concentrates the milk solids and natural fats, which inherently makes the mixture less prone to forming ice crystals compared to a waterier base. Aim for a consistency that coats the back of a spoon thickly.
Using full-fat milk is also essential, as the higher fat content contributes significantly to creaminess. Some recipes suggest adding a touch of heavy cream or condensed milk towards the end of the reduction for extra richness, although traditional kulfi relies solely on the reduced milk. Ensuring the mixture cools completely before freezing and freezing it quickly in a cold freezer also helps minimize ice crystal formation.
Choosing the Right Molds: Kulfi Mold Options
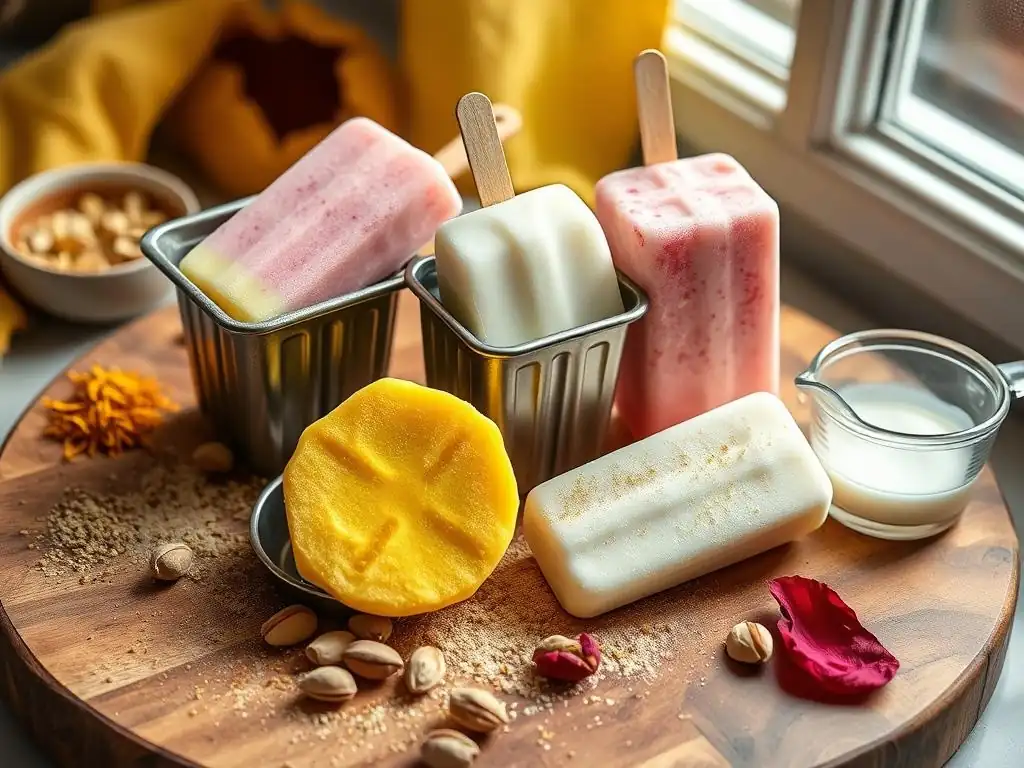
While you can technically freeze kulfi in any container, the type of mold you use can impact both the presentation and the ease of serving. Traditional kulfi is often made in conical metal molds or small, unglazed clay pots known as matkas. These shapes help the kulfi freeze evenly and are easy to unmold after a quick dip in warm water.
Alternatively, standard plastic or silicone ice pop molds work perfectly well and often come with their own sticks, making them convenient for individual servings. Small plastic or paper cups can also be used; just insert a stick partway through the freezing process. If making a larger batch to slice, a loaf pan lined with plastic wrap is an excellent option. Choose molds that are easy to seal or cover to protect the kulfi from freezer burn and surrounding odors.
Storing Your Homemade Kulfi: Keeping it Fresh and Delicious
Proper storage is key to maintaining the quality of your easy homemade kulfi. Once frozen and potentially unmolded, kulfi should be stored in an airtight container in the freezer. If using individual molds, keep them covered until serving. If storing multiple pieces or slices in a container, separating them with parchment paper can prevent them from sticking together.
Kulfi, like most frozen desserts, is best enjoyed within a few weeks of making it. While it can last longer, its texture and flavor may gradually diminish, and it can start to develop freezer burn if not sealed properly. Ensure the freezer temperature remains consistently low (ideally 0°F or -18°C) for optimal storage conditions.
Troubleshooting Your Kulfi: Common Problems and Solutions
Kulfi Not Freezing Properly: Reasons and Solutions
If your kulfi isn't freezing into a solid mass, there are a few likely culprits. The most common reason is that the base mixture is too thin. This usually happens if the milk wasn't reduced enough during the simmering process. A kulfi base needs to be significantly thicker than regular milk – think of it closer to a thin custard.
To fix this, if the mixture is still liquid or only partially frozen, you can pour it back into a pot and gently simmer it again to reduce it further. Alternatively, adding a small amount of cornstarch slurry (1-2 tablespoons cornstarch mixed with cold milk) to the warm mixture and cooking for a few minutes can help thicken it. Ensure your freezer is functioning correctly and set to a low enough temperature; a freezer that is too full or frequently opened may struggle to freeze items properly.
Kulfi Too Icy: How to Prevent and Fix
An icy texture is the most common disappointment when making homemade kulfi, and it's often related to the amount of water content and the speed of freezing. The primary prevention is thorough milk reduction, as discussed earlier. The lower the water content, the fewer ice crystals will form. Using full-fat milk and avoiding added water (even when soaking saffron) helps.
Freezing the kulfi quickly is also important. Ensure your freezer is cold and place the molds towards the back where the temperature is most consistent. If your kulfi has already frozen with ice crystals, you can try partially thawing it (until soft but not liquid), blending it smooth with an immersion blender or in a food processor, and then refreezing it. While this won't replicate the perfect texture of properly made kulfi, it can sometimes salvage an icy batch.
Kulfi Not Sweet Enough: Adjusting the Sweetness Level
Sweetness is a matter of personal preference, but it's important to remember that cold temperatures dull sweetness. A kulfi mixture that tastes perfectly sweet when warm or at room temperature may taste less sweet once frozen. Tasting the cooled mixture before freezing is crucial for adjusting the sugar level.
If your kulfi is already frozen and not sweet enough, you can't add sugar directly. However, you can compensate when serving. Drizzling a little condensed milk, a sprinkle of powdered sugar, or serving it alongside a sweet component like jalebi or a sweet fruit puree can help balance the flavors. For future batches, taste the cooled base and add sugar gradually until it tastes slightly sweeter than you'd like the final frozen product to be.
Serving Suggestions: Enjoying Your Kulfi
Traditional Kulfi Presentation: Serving Styles and Garnishes
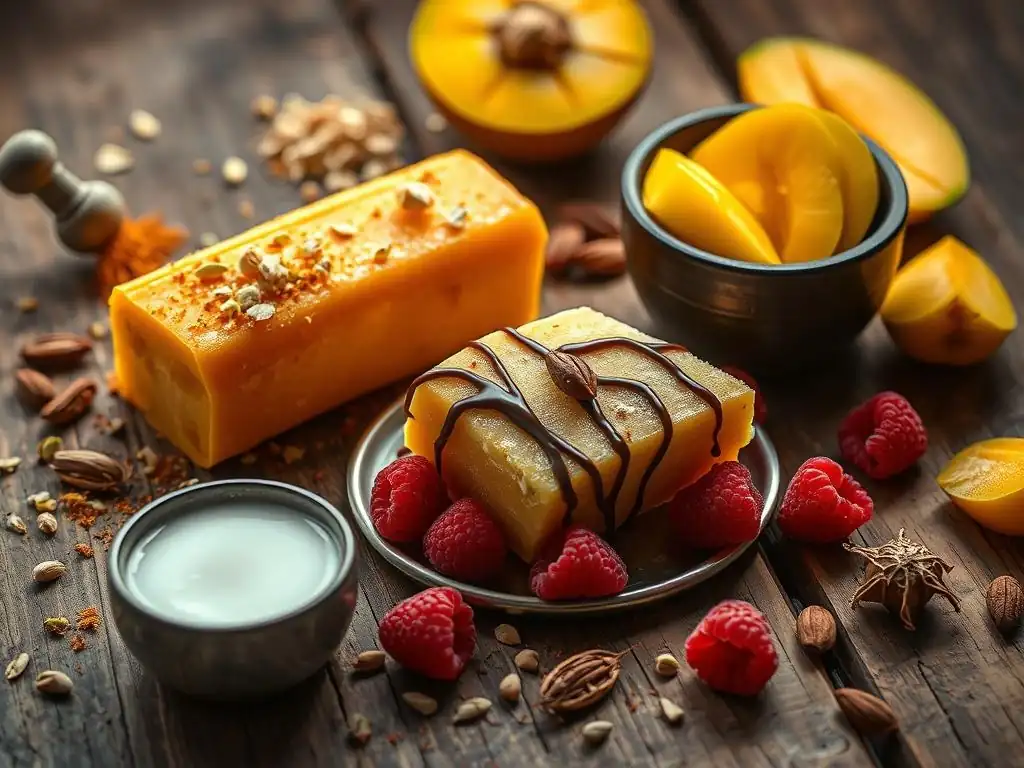
Traditional kulfi presentation enhances the enjoyment of this classic dessert. Often, it is served sliced. Once unmolded from a conical mold or loaf pan, the kulfi is cut into thick rounds or wedges. These slices are typically arranged on a plate. If using matkas, the kulfi is often served directly in the small clay pot it was frozen in, which adds an earthy charm and helps keep it cold longer.
Garnishes are key to traditional kulfi. A sprinkle of finely chopped or slivered nuts, most commonly pistachios or almonds, adds color and crunch. A few strands of saffron, perhaps soaked briefly in warm milk beforehand, provide an aromatic and visual flourish, especially for saffron kulfi. Some also add a pinch of ground cardamom or a tiny drizzle of rose syrup.
Pairing Kulfi with Other Desserts: Complementary Flavors
Kulfi's rich, creamy texture and concentrated flavor make it a wonderful dessert on its own, but it also pairs beautifully with other Indian sweets. A classic pairing is serving kulfi with warm jalebis, the crispy, syrupy fried spirals. The contrast between the cold, dense kulfi and the hot, sweet jalebis is delightful.
Another popular combination is Kulfi Falooda. This layered dessert features kulfi served over falooda noodles (made from cornstarch), rose syrup, sweet basil seeds ( sabja), and sometimes tapioca pearls. The textures and flavors combine to create a refreshing and substantial treat. Kulfi can also be served alongside warm gulab jamun (fried milk solid balls in syrup) or simply with fresh fruit like mango slices or berries, providing a lighter counterpoint to its richness.
Conclusion: Enjoy Your Easy Homemade Kulfi
Making kulfi at home is a rewarding process that results in a truly special frozen dessert. While it requires a bit of patience for the milk reduction, the steps are straightforward and don't demand specialized equipment. By following this easy homemade kulfi recipe and tips, you can achieve that signature dense, creamy texture and rich flavor that defines authentic kulfi, avoiding common pitfalls like iciness.
Experiment with classic flavors like pistachio, cardamom, and saffron, or get creative with your own variations. Sharing a scoop (or a slice!) of your homemade kulfi with friends and family is a delightful way to enjoy the fruits of your labor. So, gather your ingredients, set aside some time for simmering, and get ready to savor the rich, creamy goodness of kulfi made right in your own kitchen.
Frequently Asked Questions
How easy is it to make kulfi at home using BakeWithEase's recipe?
Our Easy Homemade Kulfi Recipe is designed to be beginner-friendly, using simple steps and readily available ingredients. You'll be surprised at how easily you can create this rich and creamy dessert!
What are the key ingredients I need for BakeWithEase's kulfi recipe?
The core ingredients for our kulfi recipe are usually full-fat milk, condensed milk, and often cardamom for flavor. Some variations might include nuts or saffron.
Can I customize the flavors of my homemade kulfi based on BakeWithEase's recipe?
Absolutely! Our recipe serves as a base, allowing you to experiment with different flavors like mango, pistachio, or even rose. Feel free to get creative!
How long does it take to freeze the kulfi after preparing the mixture, according to BakeWithEase?
The freezing time depends on your freezer, but generally, it takes at least 6-8 hours, or preferably overnight, for the kulfi to fully solidify and achieve the desired texture.
Is BakeWithEase's kulfi recipe suitable for someone with dietary restrictions, like gluten intolerance?
Yes, kulfi is naturally gluten-free. However, always double-check the ingredients of any added flavorings to ensure they are also gluten-free, particularly if using store-bought ingredients.
Final Reflection: The Enduring Sweetness of Homemade Kulfi
The simple act of making kulfi at home transcends mere recipe-following; it's a journey into the heart of Indian culinary tradition, a tradition readily accessible and surprisingly easy to embrace. In a world of readily available, often mass-produced desserts, the ability to craft a rich, creamy kulfi from scratch offers a powerful connection to heritage and a satisfying sense of accomplishment. This isn't just about a delicious treat; it's about reclaiming the joy of homemade goodness.
The enduring appeal of kulfi lies not just in its delightful taste, but in its ability to evoke memories and connect generations. It's a dessert that speaks to shared experiences, family gatherings, and the comforting familiarity of flavors passed down through time. Food is symbolic of love when words are inadequate.
- Alan D. Wolfelt. This quote perfectly encapsulates the emotional resonance of creating and sharing kulfi – a tangible expression of care and connection. The simple act of making it, sharing it, and savoring it becomes a powerful ritual, strengthening bonds and creating lasting memories.
Now, I invite you to embark on your own kulfi adventure. Don't be intimidated by the seemingly complex process; the recipe provided is designed for ease and accessibility. Experiment with flavors, share your creations with loved ones, and rediscover the simple joy of homemade goodness. Let the creamy richness of homemade kulfi not only satisfy your sweet tooth, but also enrich your life with the warmth of tradition and the satisfaction of creation. The journey is as rewarding as the destination.
Unleash Your Inner Kulfi Master!
Thanks for joining us on this creamy, delicious journey into the world of homemade kulfi! We hope you've gained the confidence to tackle this delightful Indian frozen treat. Ready to take your culinary skills to the next level?
- Whip up your own batch of kulfi: Use our recipe as a starting point, experimenting with your favorite flavors and ingredients. Think cardamom rose, mango lassi, or even pistachio saffron!
- Share your kulfi creations: Tag us on social media and show off your delicious results! We’d love to see your kulfi masterpieces.
- Explore other BakeWithEase recipes: Discover a world of delicious desserts and baking inspiration – we have something for every skill level.
What exciting flavor combinations will you try for your next homemade kulfi adventure?