
NoBake Decadent Chocolate Cheesecake

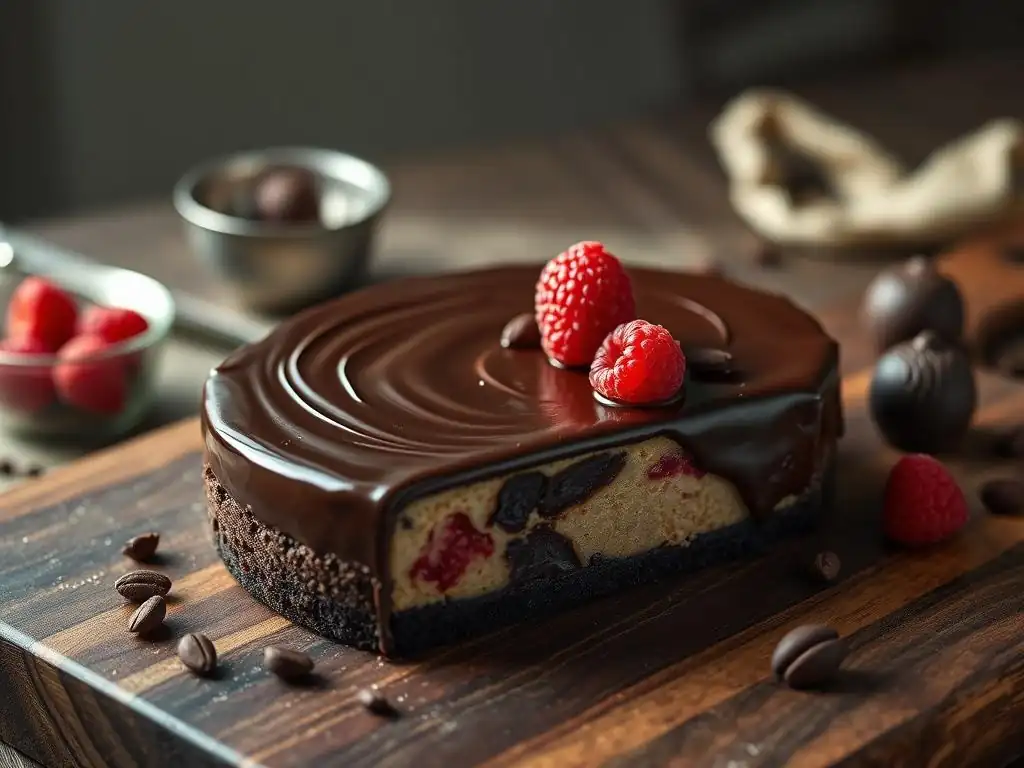
Welcome to BakeWithEase, your guide to unlocking baking brilliance! Ever dreamed of a decadent dessert without the oven's heat? Dive into our No Bake Chocolate Cheesecake Recipe and discover how effortlessly you can create a rich, creamy masterpiece. Get ready to indulge in a slice of pure chocolate heaven, and learn the secrets to no-bake perfection. What makes this cheesecake so irresistibly easy? Find out inside!
- Introduction: Indulge in Rich Chocolate Cheesecake Without Baking
- Why Choose a No-Bake Chocolate Cheesecake Recipe?
- Key Ingredients for Your No-Bake Chocolate Cheesecake
- No-Bake Chocolate Cheesecake Recipe: Step-by-Step Guide
- Tips for the Perfect No-Bake Chocolate Cheesecake
- Serving and Storing Your No-Bake Chocolate Cheesecake
- Variations on the No-Bake Chocolate Cheesecake Recipe
- Troubleshooting Common No-Bake Cheesecake Problems
- Conclusion: Enjoy Your Effortless Chocolate Cheesecake Delight
- Frequently Asked Questions
- Final Reflection: The Enduring Allure of No-Bake Chocolate Cheesecake
- Unlock Your Inner Pastry Chef: No-Bake Cheesecake Awaits!
Introduction: Indulge in Rich Chocolate Cheesecake Without Baking
Welcome to the delightful world of no-bake cheesecakes! If you're seeking a dessert that is both incredibly luxurious and remarkably simple to create, a no-bake chocolate cheesecake is an absolute winner. This recipe allows you to achieve that signature creamy, rich texture and intense chocolate flavor without ever needing to turn on your oven. It's the perfect treat for any occasion, offering a decadent experience with minimal effort. Get ready to discover the secrets to crafting a truly spectacular no bake chocolate cheesecake recipe that will impress everyone.
This guide will walk you through each step, from preparing the perfect crust to whipping up a silky-smooth chocolate filling. We'll cover essential tips, ingredient details, and even how to troubleshoot common issues. Whether you're a baking novice or just looking for a hassle-free dessert option, this no bake chocolate cheesecake recipe is designed for success. Prepare for a dessert that is cool, creamy, and bursting with deep chocolatey goodness.
Why Choose a No-Bake Chocolate Cheesecake Recipe?
Perfect for Summer Baking
One of the most compelling reasons to opt for a no-bake chocolate cheesecake, especially during warmer months, is to avoid heating up your kitchen. Traditional baked cheesecakes require extended oven time, which can significantly raise the temperature in your home. With a no bake chocolate cheesecake recipe, the only heat involved might be melting some chocolate, and the final dessert chills in the refrigerator.
This makes it an ideal choice for entertaining during summer parties or simply enjoying a cool treat on a hot afternoon. Imagine serving a slice of chilled, creamy chocolate cheesecake when the weather outside is soaring – it’s incredibly refreshing and satisfying. The simplicity and lack of oven requirement make the no bake chocolate cheesecake recipe a go-to for effortless summer indulgence.
Quick and Easy Dessert Preparation
Beyond avoiding the oven, a key advantage of a no-bake chocolate cheesecake is the speed and ease of preparation. The active time required to mix the ingredients and assemble the cheesecake is surprisingly short, often less than 30 minutes. The majority of the process involves chilling time, allowing the refrigerator to do the heavy lifting of setting the dessert.
Compared to baked cheesecakes, which involve water baths, careful temperature control, and long baking/cooling times (sometimes totaling 3-4 hours before chilling), a no bake chocolate cheesecake recipe is a breeze. You can whip up the components, layer them, and have it ready to chill in well under an hour, making it perfect for last-minute cravings or busy schedules.
Beginner-Friendly Cheesecake Recipe
If you've been intimidated by the prospect of making a cheesecake before, a no bake chocolate cheesecake recipe is the perfect starting point. Many common cheesecake pitfalls associated with baking, such as cracking, sinking, or uneven texture, are simply not a concern with a no-bake version. The process is much more forgiving, relying on the gelling properties of the ingredients and cold temperatures to achieve structure.
The steps are straightforward: crush cookies, mix with butter, press into a pan, combine filling ingredients, pour, and chill. There's no worry about overbaking or sudden temperature changes. This makes it an excellent recipe for novice bakers looking to build confidence while still creating a stunning and delicious dessert.
Key Ingredients for Your No-Bake Chocolate Cheesecake
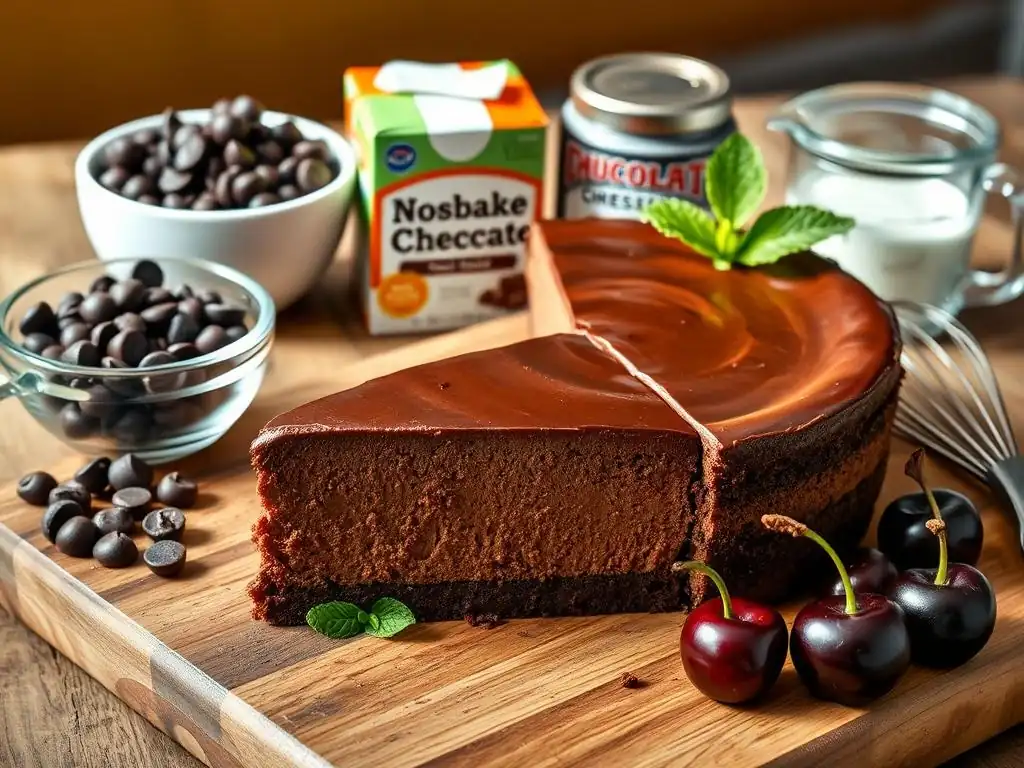
The foundation of a great no-bake chocolate cheesecake is its crust. Traditionally, this involves crushing cookies and binding them together with melted butter. For a chocolate cheesecake, chocolate sandwich cookies (like Oreos, with the cream filling removed if preferred, or whole) are a popular choice, providing an extra layer of chocolate flavor and a dark, appealing color. You'll typically need about 20-24 whole cookies (roughly 1 ½ cups of crumbs) combined with about 6-8 tablespoons of melted unsalted butter.
Alternatively, you can use graham cracker crumbs for a slightly less intense chocolate base, or even use chocolate graham crackers for a middle ground. Ensure your crumbs are fine and uniform for a compact crust. The butter acts as the glue, holding the crumbs together once chilled, creating a firm, sliceable base that complements the creamy filling.
The Filling: Cream Cheese, Cocoa Powder, Melted Chocolate, and Heavy Cream
The heart of your no bake chocolate cheesecake recipe is the rich and creamy filling. This requires a combination of ingredients to achieve the right texture and intense chocolate taste. The primary base is softened full-fat cream cheese, which provides the classic tangy cheesecake flavor and structure. You'll need about 2-3 blocks (16-24 ounces) of cream cheese, ensuring it's softened to room temperature for a lump-free filling.
To infuse the chocolate flavor, you'll typically use a combination of unsweetened cocoa powder and melted chocolate. About ½ cup of good quality unsweetened cocoa powder adds depth, while 4-6 ounces of melted semi-sweet or dark chocolate provides richness and helps the filling set. Finally, whipped heavy cream (about 1 ½ - 2 cups before whipping) is folded in to create that light, airy, yet incredibly creamy texture characteristic of a fantastic no-bake cheesecake filling. Some recipes might also include powdered sugar for sweetness and a touch of vanilla extract to enhance the flavors.
Optional Toppings: Whipped Cream, Chocolate Shavings, Chocolate Syrup
While the no bake chocolate cheesecake recipe is undeniably delicious on its own, toppings can elevate it to an even more decadent level. Simple whipped cream is a classic pairing, offering a cool, light contrast to the rich chocolate. You can whip your own heavy cream with a little powdered sugar and vanilla until soft or stiff peaks form.
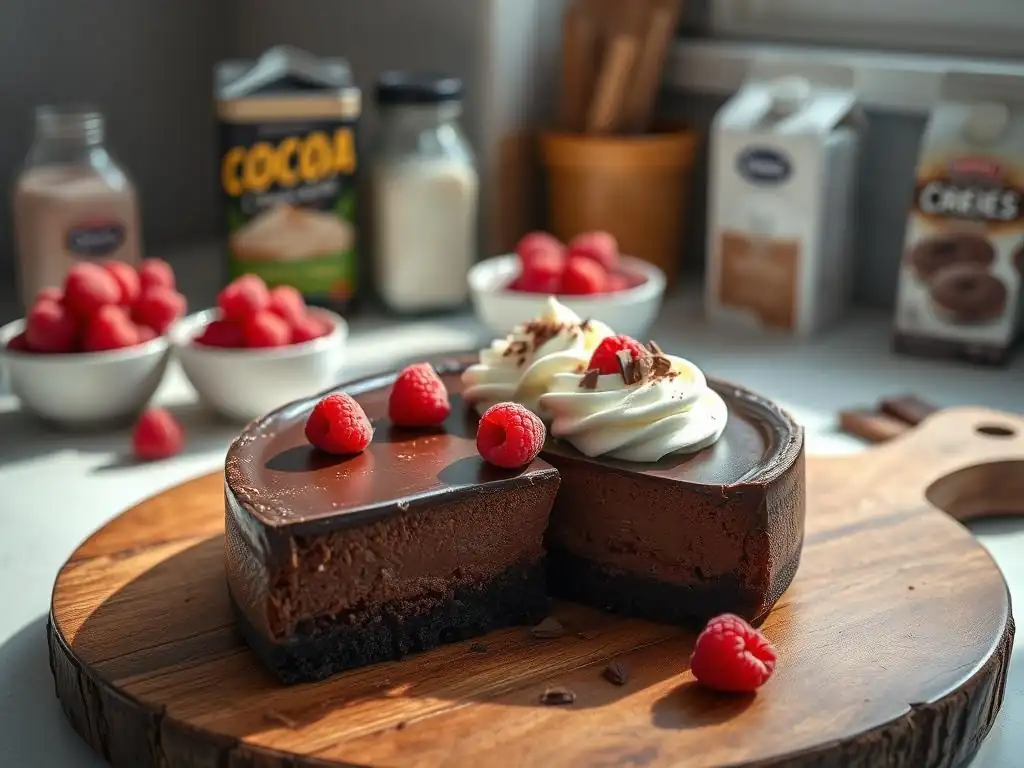
For an extra dose of chocolate, consider adding chocolate shavings or curls over the whipped cream or directly onto the cheesecake surface. A drizzle of chocolate syrup or ganache can also add visual appeal and intense flavor. Fresh berries like raspberries or strawberries offer a lovely tartness that cuts through the richness of the chocolate, providing a beautiful color contrast as well. Get creative with your toppings to make your no-bake chocolate cheesecake truly spectacular.
No-Bake Chocolate Cheesecake Recipe: Step-by-Step Guide
Combining Cookie Crumbs and Melted Butter
Start by preparing your crust ingredients. You'll need about 1 ½ cups of fine chocolate cookie crumbs (from approximately 20-24 cookies) and 6-8 tablespoons of unsalted butter, melted. If using whole cookies, pulse them in a food processor until they resemble fine sand. In a medium bowl, combine the cookie crumbs and the melted butter. Stir them together using a fork or spoon until the crumbs are evenly moistened and resemble wet sand.
This mixture should hold together when you press a small amount between your fingers. If it seems too dry, add another tablespoon or two of melted butter. If using graham cracker crumbs, the ratio of butter might be slightly different, often around 4-6 tablespoons per 1 ½ cups of crumbs. Ensure the butter is fully incorporated for the best results.
Pressing the Crust into the Springform Pan
Once your crumb mixture is ready, transfer it to a 9-inch springform pan. A springform pan is ideal because its sides can be easily removed, allowing for a clean presentation of the finished cheesecake. Pour the mixture into the bottom of the pan. Using the bottom of a glass or measuring cup, firmly and evenly press the crumbs onto the bottom of the pan and slightly up the sides if you desire a side crust.
Pressing firmly is crucial for a stable crust that won't fall apart when sliced. Ensure the thickness is consistent across the bottom. Aim for an even layer that is compact and smooth. This process usually takes a few minutes of dedicated pressing to get it just right.
Chilling the Crust for Optimal Firmness
After pressing the crust into the pan, it's essential to chill it before adding the filling. This step allows the melted butter to solidify, binding the crumbs together and creating a firm, stable base for your cheesecake. Place the springform pan with the pressed crust into the refrigerator for at least 30 minutes.
For even better results, you can place it in the freezer for 10-15 minutes. This chilling period is vital for preventing a soggy crust once the creamy filling is added. A properly chilled crust will hold its shape beautifully when the cheesecake is sliced.
Making the Rich Chocolate Cheesecake Filling
Creaming the Cream Cheese for a Smooth Texture
The key to a smooth and creamy no-bake chocolate cheesecake filling is starting with properly softened cream cheese. You'll need 16-24 ounces of full-fat cream cheese, brought to room temperature. This usually takes about 1-2 hours sitting on the counter. In a large bowl, use an electric mixer (handheld or stand mixer) to beat the softened cream cheese on medium speed until it is light and fluffy, about 2-3 minutes.
Scrape down the sides and bottom of the bowl occasionally to ensure no lumps remain. Creaming the cheese thoroughly at this stage is crucial for preventing a grainy texture in the final filling. It should be smooth and spreadable before you add any other ingredients.
Incorporating Cocoa Powder and Melted Chocolate
Next, it's time to add the chocolate elements. Gradually add about ½ cup of unsweetened cocoa powder to the creamed cheese, mixing on low speed until just combined. Be careful not to overmix the cocoa powder, as it can create a dusty cloud! Then, incorporate the melted and slightly cooled chocolate. You'll need 4-6 ounces of semi-sweet or dark chocolate, melted gently (either in a double boiler or microwave in 30-second intervals, stirring between each) and allowed to cool slightly so it doesn't melt the cream cheese.
Add the melted chocolate to the cream cheese mixture and beat on medium speed until fully incorporated and the mixture is uniformly chocolate-colored and smooth. You can also add powdered sugar (start with ½ cup and adjust to taste) and a teaspoon of vanilla extract at this stage, beating until everything is well combined and smooth.
Combining Cream Cheese Mixture and Whipped Cream
In a separate clean bowl, whip the heavy cream. You'll need about 1 ½ - 2 cups of cold heavy cream. Using an electric mixer with a whisk attachment, beat the cream on medium-high speed until stiff peaks form. This means the cream holds its shape firmly when the whisk is lifted. Be careful not to over-whip, or you'll end up with butter!
Gently fold the whipped cream into the chocolate cream cheese mixture in two or three additions. Use a spatula and a gentle folding motion to incorporate the whipped cream without deflating it. The goal is to combine the mixtures until no streaks of white cream remain, resulting in a light, airy, and uniformly colored chocolate filling.
Achieving a Perfectly Smooth and Creamy Filling
The final filling should be smooth, airy, and free of lumps. If you notice any small lumps of cream cheese, you can briefly beat the mixture again on low speed, but avoid overmixing once the whipped cream is added. The texture should be thick enough to hold its shape but still pourable.
Taste the filling and adjust sweetness if necessary. Some prefer a very dark, intense chocolate flavor, while others like it sweeter. The combination of cream cheese, cocoa, melted chocolate, and whipped cream creates the signature rich and creamy texture that makes a no bake chocolate cheesecake recipe so delightful. Ensure all ingredients are well combined before proceeding to the assembly stage.
Assembling the No-Bake Chocolate Cheesecake
Pouring the Filling Over the Prepared Crust
Once your chocolate cookie crust has chilled and is firm, it's time to add the filling. Retrieve the springform pan from the refrigerator or freezer. Carefully pour the prepared chocolate cheesecake filling directly onto the chilled crust.
Distribute the filling evenly over the crust. The filling should be thick enough to stay put and not seep under the edges of the crust, especially if you've pressed it up the sides of the pan. Pouring slowly and carefully will help ensure an even layer.
Smoothing the Surface of the Cheesecake
After pouring the filling, use an offset spatula or the back of a spoon to gently smooth the top surface of the cheesecake. Work from the center outwards, creating an even and level top. This step is important for a professional-looking finish.
Take your time to spread the filling smoothly and evenly to the edges of the pan. Aim for a flat or slightly rounded top, depending on your preference. A smooth surface makes for easy slicing and a beautiful presentation.
Refrigerating for Optimal Setting Time
The most crucial step in a no bake chocolate cheesecake recipe is the chilling time. Once the filling is smoothed into the pan, cover the springform pan loosely with plastic wrap. Place the cheesecake in the refrigerator to set.
The cheesecake needs to chill for a minimum of 4-6 hours, but ideally, it should chill for at least 8 hours or, even better, overnight. This allows the cream cheese, melted chocolate, and whipped cream to firm up and achieve the desired stable, sliceable consistency. Do not rush this step; adequate chilling is key to a perfectly set no-bake cheesecake.
Tips for the Perfect No-Bake Chocolate Cheesecake
Ensuring a Firm Cheesecake
Achieving a firm, sliceable no-bake chocolate cheesecake relies heavily on two factors: using full-fat cream cheese and allowing sufficient chilling time. Full-fat cream cheese provides the necessary structure. Low-fat or whipped cream cheese often results in a runnier filling that may not set properly. Always opt for the block-style, full-fat variety, ensuring it's softened to room temperature before mixing.
Secondly, resist the urge to cut the chilling time short. While it might seem set after just a few hours, the texture continues to firm up significantly over 8 hours or more. For the best results, plan to make your no bake chocolate cheesecake recipe the day before you intend to serve it. This overnight chill ensures the filling is completely set and the slices are clean and neat.
Preventing Lumps in Your Filling
Lumps in a no-bake cheesecake filling are usually caused by not starting with properly softened cream cheese or not beating it sufficiently before adding other ingredients. Ensure your cream cheese is at room temperature – it should yield easily to gentle pressure. If it's still cold, it will be difficult to beat smooth, leaving small, firm pieces.
Beat the softened cream cheese alone for 2-3 minutes with an electric mixer until it is completely smooth and fluffy, scraping down the bowl frequently. Introduce other ingredients gradually, mixing well after each addition. If you're adding melted chocolate, make sure it's not too hot, as this can cause the cream cheese to seize or become lumpy. Letting the melted chocolate cool slightly before incorporating helps maintain a smooth texture.
Achieving the Best Chocolate Flavor
To get a truly decadent chocolate flavor in your no bake chocolate cheesecake recipe, the quality and type of chocolate you use matter. Using a combination of unsweetened cocoa powder and melted chocolate provides depth and richness. Use a good quality unsweetened or Dutch-process cocoa powder for a deep, less bitter chocolate taste.
For the melted chocolate, semi-sweet or dark chocolate chips or bars (around 60-70% cacao) work well. Avoid using milk chocolate, as it is too sweet and lacks the intense chocolate flavor needed to balance the richness of the cream cheese. You can also enhance the chocolate flavor by adding a pinch of salt to the filling (salt brings out sweetness) or a teaspoon of espresso powder, which intensifies chocolate notes without adding a coffee flavor.
Serving and Storing Your No-Bake Chocolate Cheesecake
Delicious Serving Suggestions
Serving a no-bake chocolate cheesecake is where you can add those final touches of elegance and flavor. Once the cheesecake is fully set, carefully run a knife around the edge of the springform pan before releasing the sides. This helps prevent the cheesecake from sticking. Slice the cheesecake using a sharp knife, wiping the blade clean between slices for the neatest cuts.
Serve slices chilled. Classic toppings include a dollop of freshly whipped cream, a sprinkle of chocolate shavings, or a drizzle of chocolate syrup. For a contrasting flavor, add fresh berries like raspberries or strawberries. A small scoop of vanilla ice cream alongside a slice is also a delightful pairing. Presenting each slice with a simple garnish makes it feel extra special.
Proper Storage for Maximum Freshness
To keep your no-bake chocolate cheesecake fresh and delicious, proper storage is essential. Once sliced or if there are leftovers, cover the springform pan (with the sides removed) or individual slices tightly with plastic wrap. Place the covered cheesecake back in the refrigerator.
Stored correctly in the refrigerator, a no-bake chocolate cheesecake will last for 3-4 days. For longer storage, you can freeze the cheesecake. It's best to freeze it whole or in large portions before adding any delicate toppings. Wrap the cheesecake tightly in plastic wrap, then in a layer of aluminum foil. Frozen no-bake cheesecake can last for up to 1-2 months. Thaw it slowly in the refrigerator for several hours or overnight before serving.
Variations on the No-Bake Chocolate Cheesecake Recipe
Adding Espresso Powder
Adding a small amount of espresso powder is a fantastic way to deepen and enhance the chocolate flavor in your no bake chocolate cheesecake recipe without making it taste like coffee. Chocolate and coffee are natural partners, as the coffee notes amplify the richness of the cocoa and melted chocolate.
Stir 1-2 teaspoons of instant espresso powder into the cream cheese mixture along with the cocoa powder and melted chocolate. Ensure it is fully dissolved. The espresso powder won't add a distinct coffee flavor but will make the chocolate taste more intense and complex, adding another layer of decadence to your dessert.
Exploring Different Types of Chocolate
The type of chocolate you use can significantly alter the final flavor profile of your no bake chocolate cheesecake recipe. While semi-sweet or dark chocolate is standard, you can experiment with others. Using a higher percentage dark chocolate (like 70% or more) will result in a less sweet, more intense and slightly bitter chocolate flavor.
For a sweeter, milder chocolate taste, you could use milk chocolate, though be aware this will drastically change the overall richness and sweetness. White chocolate can also be used, creating a white chocolate no-bake cheesecake, though the method for melting and incorporating it might differ slightly from dark or semi-sweet. Consider swirling different types of melted chocolate into the top of the filling before chilling for a marbled effect and layered flavor.
Incorporating Chocolate Ganache into the Topping
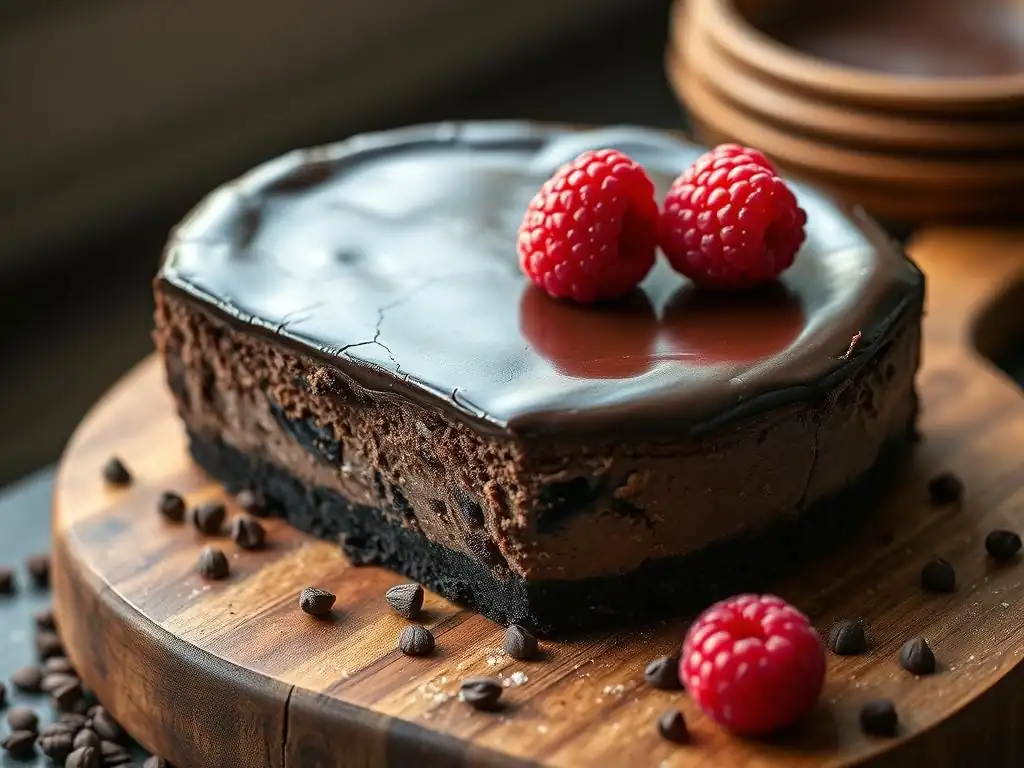
A luxurious chocolate ganache makes an incredible topping or swirl for a no-bake chocolate cheesecake. Ganache is typically made by heating heavy cream and pouring it over chopped chocolate, then stirring until smooth. A simple ratio of 1:1 (equal parts chocolate to cream by weight) creates a pourable ganache, while a 2:1 ratio makes a thicker ganache suitable for whipping.
Once your no-bake cheesecake is set, you can pour cooled ganache over the top, letting it drip down the sides. Alternatively, you can swirl slightly cooled ganache into the top of the cheesecake filling just before chilling, creating beautiful patterns. Allow the ganache to set in the refrigerator along with the cheesecake. This adds an extra layer of intense chocolate flavor and a glossy, appealing finish.
Troubleshooting Common No-Bake Cheesecake Problems
Soggy Crust Solutions
A soggy crust is a common frustration with no-bake cheesecakes. This usually happens if the crust isn't pressed firmly enough or isn't sufficiently chilled before adding the filling. Ensure you press the cookie crumb mixture down very firmly into the pan, using the bottom of a glass or measuring cup. The crumbs should be compact and solid.
More importantly, chill the crust in the refrigerator for at least 30 minutes, or ideally in the freezer for 10-15 minutes, before adding the filling. This allows the butter to harden completely, creating a barrier that prevents moisture from the filling from seeping into the crust. If you find your crust still slightly soft, try chilling it longer next time or slightly increasing the amount of melted butter used.
Runny Filling Fixes
If your no-bake chocolate cheesecake filling turns out too runny, it could be due to several factors. Using low-fat cream cheese is a primary culprit, as it lacks the necessary fat content to set firmly. Ensure you use full-fat, block-style cream cheese. Not whipping the heavy cream sufficiently is another cause; the whipped cream is crucial for providing structure and airiness. Whip the cream until stiff peaks form.
Overmixing the filling after adding the whipped cream can also break down the air pockets, leading to a looser texture. Gently fold the whipped cream in. If your filling seems too loose before chilling, you can try adding a stabilizer like a small amount of melted gelatin (dissolved in hot liquid and cooled) or some instant pudding mix (check package directions for no-bake cheesecake use), although a classic no bake chocolate cheesecake recipe typically doesn't require these if ingredients are handled correctly and chilled properly.
Cheesecake Not Setting Properly - Troubleshooting Tips
If your no-bake chocolate cheesecake hasn't set after the recommended chilling time, it's likely related to the issues mentioned above: low-fat ingredients, insufficient whipping of cream, or not enough chilling time. The single most effective troubleshooting tip is to simply chill it for longer. An overnight chill (8-12 hours) is almost always sufficient for a standard no bake chocolate cheesecake recipe using full-fat cream cheese and well-whipped cream.
If you've chilled it overnight and it's still too soft, double-check that you used full-fat cream cheese and that your heavy cream was whipped to stiff peaks. As a last resort for a very loose cheesecake, you could carefully scrape the filling back into a bowl, gently re-whip the cream cheese mixture briefly if it seems separated, incorporate more stiffly whipped cream if needed, or add a small amount of dissolved gelatin (follow package directions carefully) before pouring it back into the pan and chilling again.
Conclusion: Enjoy Your Effortless Chocolate Cheesecake Delight
Congratulations! You've just unlocked the secrets to creating a truly decadent and effortless no-bake chocolate cheesecake. This no bake chocolate cheesecake recipe proves that you don't need an oven to achieve a dessert that is rich, creamy, and utterly satisfying. From the simple chocolate cookie crust to the smooth, intense chocolate filling, every bite is a luxurious experience.
Whether you made it for a special occasion or just because you needed a chocolate fix, this recipe is sure to become a favorite. It's perfect for hot days, busy schedules, or anyone new to the world of cheesecakes. So go ahead, slice into your beautifully set cheesecake, add your favorite toppings, and savor the pure chocolate bliss. Enjoy your delicious, homemade no-bake chocolate cheesecake!
Frequently Asked Questions
What makes this cheesecake "no-bake"?
The recipe avoids baking by using a refrigeration process to set the cheesecake filling. This eliminates the need for an oven and makes it a simple and convenient dessert.
What kind of chocolate is best for this recipe?
Semi-sweet chocolate is recommended for a balanced flavor profile. However, you can adjust the chocolate type based on your personal preference (e.g., dark, milk).
How long does the cheesecake need to chill?
For best results, chill the cheesecake for at least 6 hours, or preferably overnight. This ensures the filling is fully set and has the proper consistency.
Can I use a different type of crust for this recipe?
Yes, you can substitute the graham cracker crust with an Oreo crust or a cookie crust. Ensure the crust is firmly pressed and pre-chilled before adding the filling.
Are there any substitutions I can make for the cream cheese?
While cream cheese is crucial for the texture, you could experiment with a Neufchatel cheese for a slightly lighter version. However, this might impact the final cheesecake consistency.
Final Reflection: The Enduring Allure of No-Bake Chocolate Cheesecake
The simplicity of a no-bake chocolate cheesecake belies its profound ability to satisfy a deep-seated craving for rich indulgence. This recipe, designed for ease and accessibility, transcends mere dessert; it's a testament to the power of uncomplicated pleasures in a world often obsessed with complexity. It's a recipe that anyone can master, regardless of baking experience, offering a delicious reward for minimal effort.
The enduring appeal of this classic dessert lies not just in its taste, but in its ability to evoke memories and create new ones. It's a dessert that effortlessly bridges generations, a comforting presence at gatherings and celebrations, a quiet indulgence for a solitary evening. A slice of cake is happiness. A chocolate cake is double happiness.
This sentiment, though perhaps not specifically about no-bake cheesecakes, perfectly captures the joy and satisfaction this simple recipe provides. The ease of preparation allows for more time to focus on sharing and enjoying the moment, rather than being stressed in the kitchen.
Now, I invite you to consider the possibilities. Don't just bake this cheesecake; experience it. Reflect on the simple pleasures it brings, the ease of its creation, and the joy it shares. Perhaps this recipe will inspire you to explore other no-bake delights, or maybe it will simply remind you to slow down and savor the simple things in life. The next time you crave a decadent treat, remember the power of this recipe – a testament to the fact that sometimes, the most satisfying experiences are the simplest ones.
Unlock Your Inner Pastry Chef: No-Bake Cheesecake Awaits!
Thanks for joining us on this delicious journey into no-bake cheesecake bliss! We hope you've gained some valuable tips and tricks to create a decadent dessert without the oven's fuss. Now, let's turn that inspiration into reality:
- Whip up your own masterpiece! Gather your ingredients and follow the recipe – you'll be surprised how simple it is to achieve such rich flavor. This is the main event, the moment your culinary skills shine!
- Share your creation: Post a photo of your finished cheesecake on social media and tag us @BakeWithEase (fictional tag)! Let’s celebrate your baking success together.
- Explore more no-bake recipes: Dive into our recipe archives for even more delightful, oven-free treats!
Ready to transform your kitchen into a chocolate haven? What’s your favorite no-bake dessert ingredient? Let us know in the comments!