
Simple Vanilla Layer Cake Assembly: Stack with Confidence

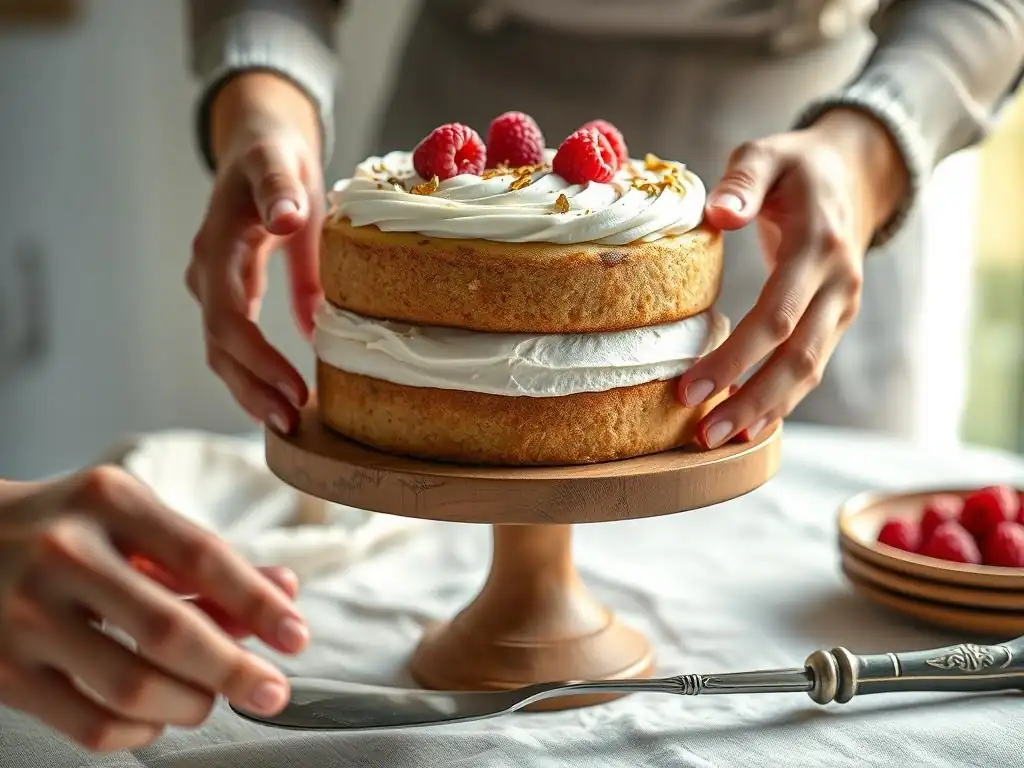
Welcome to BakeWithEase, your kitchen companion for all things baking! Ever dreamt of creating a show-stopping layer cake but felt intimidated? This week, we're demystifying the process with our easy vanilla layer cake recipe. Discover how to stack your cake layers with confidence and create a visually stunning dessert that tastes as good as it looks. Ready to elevate your baking game? Dive in and let's get started – the secret to a perfect cake assembly awaits!
- Assembling the Perfect Vanilla Layer Cake: A Beginner's Guide
- Preparing for Vanilla Layer Cake Assembly
- Step-by-Step Guide to Assembling Your Vanilla Layer Cake
- Tips for a Stable and Delicious Vanilla Layer Cake
- Troubleshooting Common Vanilla Layer Cake Assembly Issues
- Serving and Storing Your Assembled Vanilla Layer Cake
- Enjoy Your Beautifully Assembled Vanilla Layer Cake!
-
Frequently Asked Questions
- What makes this vanilla layer cake recipe "easy"?
- What are some common mistakes people make when stacking layer cakes, and how does this recipe avoid them?
- What kind of frosting is recommended for this "Easy Vanilla Layer Cake Recipe"?
- Can this "Easy Vanilla Layer Cake Recipe" be adapted for different flavors?
- What if I don't have all the recommended baking tools for the "Easy Vanilla Layer Cake Recipe"?
- Final Reflection: The Sweetness of Simplicity and Confidence in the Kitchen
- Ready to Bake Your Dream Cake?
Assembling the Perfect Vanilla Layer Cake: A Beginner's Guide
Bringing together the components of an easy vanilla layer cake recipe is a rewarding step in the baking process. After you've successfully baked your tender vanilla cake layers and prepared your chosen frosting or filling, assembly is where your creation truly takes shape. This guide is designed to walk you through stacking with confidence, ensuring your final cake is not only delicious but also visually appealing. It's about mastering the techniques that make a layer cake stable and beautiful, transforming simple ingredients into a stunning dessert.
Assembling a layer cake might seem daunting at first, especially if you're aiming for those perfectly smooth sides and sharp edges you see in bakeries. However, with a few key steps and a bit of patience, anyone can achieve impressive results. We'll cover everything from preparing your workspace and tools to applying the final coat of frosting, making the entire process accessible and enjoyable. Think of it as building a delicious edible structure – each layer adding to its strength and flavor profile.
Preparing for Vanilla Layer Cake Assembly
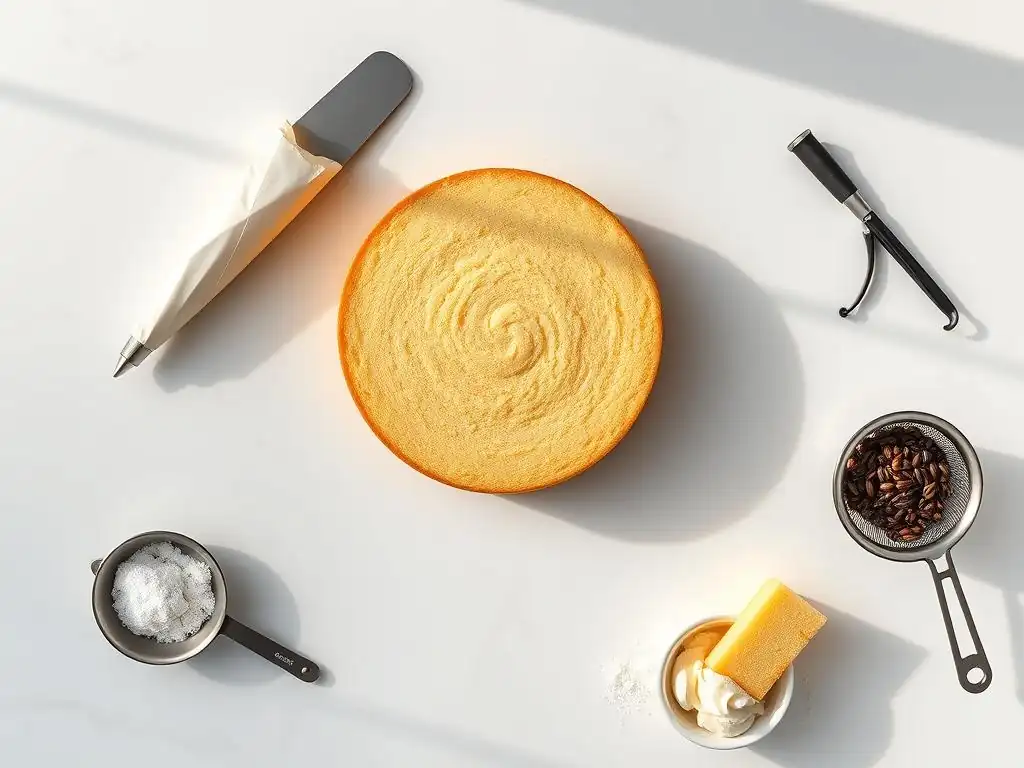
Before you even think about stacking your first vanilla cake layer, a little preparation goes a long way. Having everything ready and organized will streamline the assembly process and minimize stress. This stage is crucial for ensuring a smooth workflow and preventing common issues like uneven layers or messy frosting application. Taking the time to prepare properly sets you up for success, making the assembly of your easy vanilla layer cake recipe much simpler.
This preparatory phase includes ensuring your cake layers are properly cooled and leveled, gathering all necessary ingredients like frosting and any fillings, and having the right tools at your fingertips. It's also a good idea to clear your workspace and possibly cover it to make cleanup easier. A calm and organized environment is the first ingredient for a beautifully assembled cake.
Gathering Your Vanilla Cake Layers & Frosting Essentials
Your vanilla cake layers must be completely cooled before assembly begins. Attempting to stack or frost warm cakes will lead to melting frosting, sliding layers, and a generally unstable structure. Ideally, the cakes should cool in their pans for 10-15 minutes before being inverted onto a wire rack to cool completely.
For best results, some bakers even prefer to chill their cooled cake layers in the refrigerator for 30 minutes or the freezer for about 10-15 minutes; this makes them firmer and easier to handle, significantly reducing crumbling during leveling and frosting. A standard 8-inch two-layer cake might require approximately 3-4 cups of buttercream or frosting in total – about 1/2 cup for filling between layers and the rest for the crumb coat and final layer.
Alongside your cooled vanilla cake layers, ensure your frosting or ganache is ready. Buttercream should be smooth and spreadable, potentially requiring a quick whip with a mixer if it's been sitting. Ganache, if used as a filling or frosting, needs to be at the right consistency – pourable for drips, spreadable for frosting, or firm for a filling. Have any other fillings, like fruit compotes or curds, measured and ready to go. This prevents you from stopping mid-assembly to prepare ingredients, which can disrupt the process and allow layers to warm up.
Essential Tools for Cake Stacking and Frosting
Having the right tools makes the assembly process considerably easier and helps achieve a professional finish on your easy vanilla layer cake recipe. A sturdy cake stand or turntable is invaluable for rotating the cake as you frost, allowing for even coverage and smooth sides. An offset spatula is perhaps the most crucial tool for spreading frosting smoothly; having one small (e.g., 4-6 inches) and one large (e.g., 8-10 inches) can be helpful for different tasks. A bench scraper or cake smoother is excellent for achieving smooth sides and sharp edges on the final frosting layer.
Other helpful tools include a serrated knife or cake leveler for trimming dome tops from your vanilla cake layers, parchment paper or wax paper strips to protect your cake stand from frosting mess, and a piping bag fitted with a large round tip if you plan to pipe a dam around your filling. While not strictly essential for a basic assembly, these tools can elevate your results and make the process more efficient. For example, using parchment strips can save significant cleanup time on your cake board or stand.
Ensuring Even Vanilla Cake Layers: Leveling Techniques
Most vanilla cake layers bake with a slight dome in the center. For a stable and level layer cake, these domes need to be removed. Leveling your cakes ensures that when stacked, they sit flat on top of each other, preventing leaning or instability. The simplest method is using a long serrated knife: hold it parallel to your work surface and carefully slice off the dome with a gentle sawing motion. Aim to remove just enough to create a flat top. You can use a ruler or a cake leveler tool to help guide your knife for greater precision.
Alternatively, a dedicated cake leveler tool provides adjustable wires that allow you to slice through the cake at a consistent height. This often results in a more precise and even cut than freehand slicing. Regardless of the method, ensure your cake is fully cooled before attempting to level, as warm cakes are more prone to crumbling. The removed cake scraps (often called "cake trimmings" or "cake pops scraps") are delicious and can be reserved for snacking or making cake pops, ensuring no part of your easy vanilla layer cake recipe goes to waste.
Step-by-Step Guide to Assembling Your Vanilla Layer Cake
With your preparation complete, it's time to bring your easy vanilla layer cake recipe to life by stacking the layers. This process involves several distinct steps, each building upon the last to create a cohesive and stable structure. Patience and attention to detail at each stage will result in a beautiful finished cake that holds its shape and is easy to slice.
We'll start with the crucial crumb coat, move on to stacking and filling, and finally apply the smooth, finished layer of frosting. Following these steps methodically will help you avoid common pitfalls and build confidence in your cake assembly skills. Let's start stacking!
Step 1: Applying the Crumb Coat
The crumb coat is a thin layer of frosting applied to the entire surface of the cake before the final, thicker layer. It's a non-negotiable step for a clean, professional finish. Its primary purpose is to trap any loose crumbs from the cake layers, preventing them from getting into your final layer of frosting. This ensures a smooth, crumb-free exterior.
Applying a crumb coat also helps to seal the cake, locking in moisture and providing a smooth base for the final layer. It's essentially a primer for your cake. Spread a thin, even layer of frosting over the top and sides of the stacked cake using an offset spatula.
Don't worry about perfection at this stage; the goal is simply to cover all surfaces and catch crumbs. Once applied, chill the cake in the refrigerator for at least 20-30 minutes (or freezer for 10-15 minutes) until the crumb coat is firm to the touch. This chilling step is essential for setting the crumb coat and making the final frosting application much easier.
Step 2: Stacking and Filling Your Vanilla Cake Layers
Begin by placing your first leveled vanilla cake layer top-side down on your cake stand or board. This provides a flat, stable base. If using parchment strips, slide them slightly under the edges of the cake.
Apply a dollop of frosting to the center of the stand before placing the first layer; this acts as "glue" to secure the cake and prevent it from sliding. Next, spread an even layer of your chosen filling over the top of this first layer, leaving about a 1/2-inch border around the edge, especially if using a soft filling like jam or custard. For buttercream or ganache fillings, you can spread closer to the edge.
Place the second vanilla cake layer on top of the filling. If you have a third layer, add the filling and then place the final layer on top, ideally bottom-side up for the flattest top surface. Ensure the layers are centered and stacked evenly.
Gently press down on the top layer to settle the cake and distribute the filling evenly. If using a soft filling, you might pipe a dam of stiffer frosting around the edge of each layer before adding the filling to prevent it from squeezing out. This technique is particularly useful for an easy vanilla layer cake recipe with delicate fillings.
Step 3: The Final Frosting Layer: Achieving a Smooth Finish
Once your crumb-coated cake is chilled and firm, it's time for the final layer of frosting. Apply a generous amount of frosting to the top and sides of the cake. Don't be shy; using enough frosting makes it easier to achieve a smooth finish without pulling up the crumb coat. Start by spreading frosting on the top, working from the center outwards. Then, apply frosting to the sides, ensuring full coverage.
Use your offset spatula or a bench scraper to smooth the sides. Hold the scraper against the side of the cake at a slight angle (around 45 degrees) and rotate the cake stand while holding the scraper steady. This action will scrape away excess frosting and create a smooth surface. For the top, clean your spatula and gently pull excess frosting from the edge towards the center, smoothing as you go. Repeat these steps until you achieve your desired level of smoothness. Any imperfections can often be smoothed over with a warm, dry spatula.
Tips for a Stable and Delicious Vanilla Layer Cake
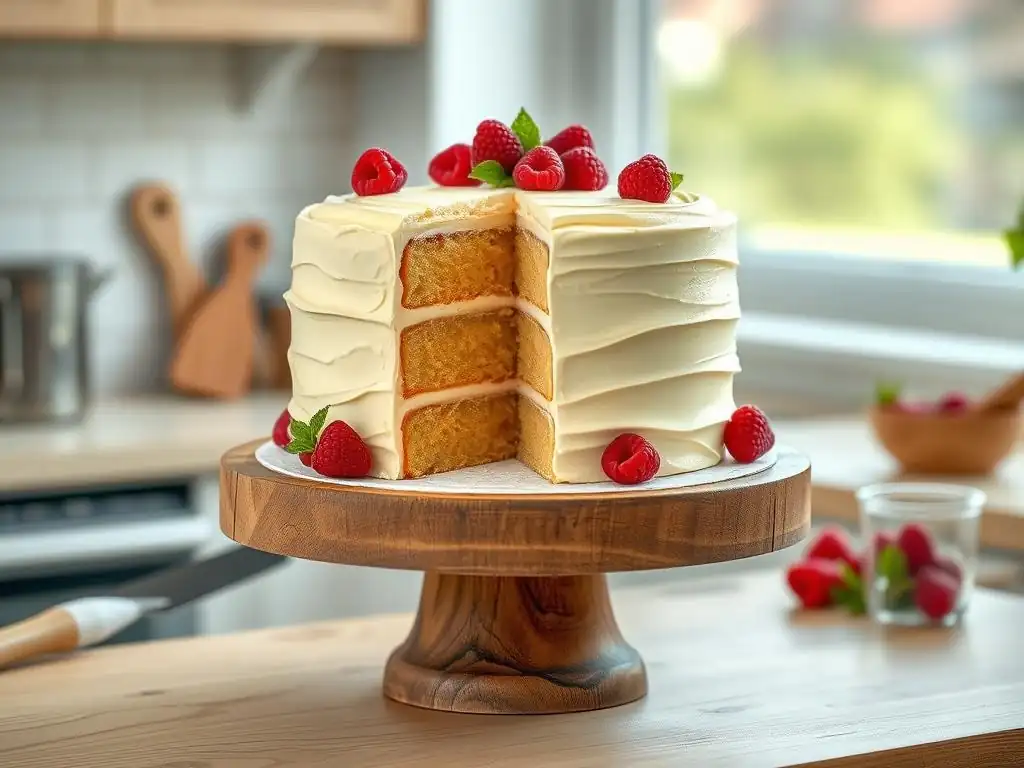
Beyond the basic steps, incorporating a few expert tips can significantly improve the stability, appearance, and overall deliciousness of your easy vanilla layer cake recipe. These small adjustments can make a big difference in the final outcome, transforming a simple stack of cakes into a professional-looking centerpiece.
From optimizing your tools to strategic chilling, these tips address common challenges and enhance the baking experience. Mastering these techniques will give you the confidence to tackle any layer cake project.
Using a Cake Turntable for Easy Frosting
A cake turntable is arguably the most useful tool for frosting a layer cake smoothly and efficiently. It allows you to rotate the cake easily with one hand while holding your spatula or scraper steady with the other. This continuous motion is key to achieving even frosting coverage and smooth sides without having to awkwardly move around the cake yourself.
When using a turntable, place your cake board or stand directly in the center. Ensure the turntable spins smoothly. As you apply and smooth the frosting on the sides, keep your non-frosting hand on the turntable, rotating it at a consistent speed. This technique, combined with a steady hand holding the scraper, is the secret to those perfectly smooth cake sides you admire. It makes frosting your easy vanilla layer cake recipe a much less frustrating process.
Chilling the Cake Between Layers for Stability
Chilling is your best friend when assembling a layer cake. As mentioned, chilling the crumb-coated cake is essential for setting that base layer and trapping crumbs. However, chilling at other stages can also be beneficial. Chilling the leveled cake layers before assembly makes them firmer and less prone to breaking or crumbling.
After stacking and filling the layers but before the crumb coat, a brief chill (15-20 minutes) can help the filling set slightly and prevent the layers from shifting. After the crumb coat, a chill of at least 20-30 minutes is recommended. If you encounter any issues like leaning or bulging during the final frosting, a quick trip back to the refrigerator for 10-15 minutes can help stabilize the cake before you continue. Don't skip the chilling steps – they are vital for a sturdy and beautiful cake.
Choosing High-Quality Vanilla Extract for Enhanced Flavor
While assembly focuses on structure and appearance, the flavor of your easy vanilla layer cake recipe is paramount. The quality of your vanilla extract significantly impacts the taste of both the cake layers and the vanilla frosting. Opting for a pure vanilla extract over imitation vanilla will provide a richer, more complex flavor profile.
Consider using Madagascar bourbon vanilla extract for a classic, sweet, and creamy vanilla taste, or Tahitian vanilla for a more floral and fruity note. Even a simple ingredient like vanilla extract can elevate your cake from good to outstanding. Using a good quality vanilla ensures that the inherent flavor of your easy vanilla layer cake recipe shines through all that beautiful frosting.
Troubleshooting Common Vanilla Layer Cake Assembly Issues
Even with careful preparation and technique, you might encounter challenges during layer cake assembly. Don't be discouraged! Most common issues have straightforward solutions. Understanding how to identify and fix problems like bulging sides, air bubbles, or dry layers will save you frustration and help you achieve a better result.
Being prepared to troubleshoot means you can approach the assembly of your easy vanilla layer cake recipe with confidence, knowing you can handle potential hiccups along the way.
Preventing Cake Bulging and Sliding
Cake bulging, where the filling pushes out the sides, or sliding layers are common problems often caused by too much filling, filling spread too close to the edge, or insufficient chilling. To prevent bulging, avoid overfilling the cake. A layer of filling about 1/4 to 1/2 inch thick is usually sufficient for an 8-inch cake. Ensure you leave that small border (around 1/2 inch) around the edge when applying softer fillings.
Using a dam of stiffer frosting around the edge of each layer before adding a soft filling is an effective preventative measure. If layers are sliding, it's likely due to insufficient chilling or a wobbly base. Ensure your cake board is stable and always chill the cake after stacking and after the crumb coat. If you notice slight bulging or sliding, gently push the layers back into place and immediately chill the cake until firm, then continue frosting carefully.
Fixing Air Bubbles and Imperfections in Frosting
Air bubbles in frosting can appear during mixing or application and create frustrating surface imperfections. To minimize air bubbles, mix your buttercream on low speed for several minutes after it's fully combined to help push out trapped air. When applying frosting, try to work smoothly and avoid overworking the frosting on the cake.
If you spot air bubbles or small imperfections on your final frosting layer, you can often smooth them out. For small bubbles, gently pop them with a pin and smooth the area with a warm, dry offset spatula. For larger imperfections or uneven areas, apply a little more frosting to the spot and re-smooth using your bench scraper or spatula. Dipping your spatula in hot water and wiping it dry before smoothing can help create a very smooth finish on buttercream.
Dealing with Dry Cake Layers
While this guide focuses on assembly, starting with moist vanilla cake layers is crucial for a delicious outcome. If your layers turned out slightly dry, there are ways to mitigate this during assembly. Preparing a simple syrup (equal parts sugar and water, heated until sugar dissolves, then cooled) is an excellent solution.
Before stacking, gently brush the top of each cake layer with the cooled simple syrup using a pastry brush. Don't oversaturate, but apply enough to add noticeable moisture. This technique, called "soaking," helps to hydrate the cake and improve its texture. For an easy vanilla layer cake recipe, a vanilla-flavored simple syrup can enhance the overall taste while adding moisture.
Serving and Storing Your Assembled Vanilla Layer Cake
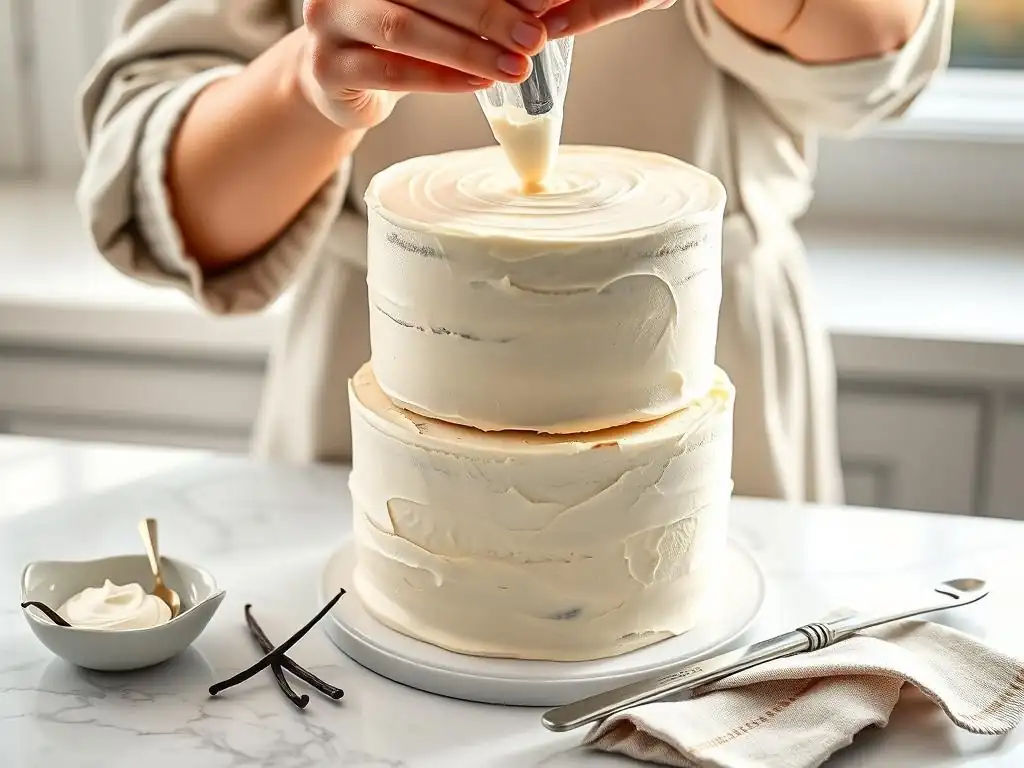
Once your easy vanilla layer cake recipe is beautifully assembled and frosted, the final steps involve serving it cleanly and storing any leftovers properly. A little care here ensures that the cake remains delicious and presents well when sliced.
Proper handling after assembly preserves the cake's texture and flavor, allowing you and your guests to enjoy every last crumb.
Slicing Techniques for Clean Presentation
Slicing a layer cake can sometimes be messy, but a few simple techniques can result in clean, perfect slices. Use a long, sharp knife, preferably a serrated one for cutting through cake layers without squishing them. Before each cut, dip the knife in hot water and wipe it clean with a dry cloth.
Cut straight down through the cake. For serving, cut the cake into wedges from the center, or for larger cakes, consider cutting the cake into rows: slice across the diameter, then make parallel slices perpendicular to the first cut, creating rectangular portions. Clean the knife after each slice for the neatest presentation. This hot knife method is especially effective for cakes with firm frosting or ganache.
Proper Storage to Maintain Moisture and Flavor
To keep your assembled easy vanilla layer cake recipe fresh, proper storage is key. If the cake is covered in buttercream or ganache, it can typically be stored at room temperature for 2-3 days, provided the room is cool (below 70°F or 21°C). Cover the cut surfaces with plastic wrap or place the entire cake under a cake dome to prevent it from drying out.
For longer storage or if the cake contains perishable fillings (like fresh fruit or cream cheese frosting), it should be stored in the refrigerator. Place the cake in an airtight container or cover it tightly with plastic wrap. Refrigerated cake is best enjoyed after sitting at room temperature for 20-30 minutes to soften the frosting and moisten the cake layers slightly. For very long storage, slices can be individually wrapped and frozen for up to 2-3 months.
Enjoy Your Beautifully Assembled Vanilla Layer Cake!
Frequently Asked Questions
What makes this vanilla layer cake recipe "easy"?
This recipe focuses on simple ingredients and a straightforward assembly process, making it accessible even for beginner bakers. We prioritize clear instructions and minimal steps for a stress-free baking experience.
What are some common mistakes people make when stacking layer cakes, and how does this recipe avoid them?
Common mistakes include uneven layers, unstable frosting, and a wobbly structure. Our guide emphasizes leveling the cake layers, using a stable buttercream frosting, and applying a crumb coat for a smooth finish.
What kind of frosting is recommended for this "Easy Vanilla Layer Cake Recipe"?
While you can use your favorite, we suggest a classic vanilla buttercream due to its simplicity and delicious flavor. It provides a stable base for stacking and is easy to customize.
Can this "Easy Vanilla Layer Cake Recipe" be adapted for different flavors?
Absolutely! You can easily add extracts (almond, lemon) or incorporate fruit purees into the batter or frosting for flavor variations. Consider adding chocolate chips or nuts for added texture.
What if I don't have all the recommended baking tools for the "Easy Vanilla Layer Cake Recipe"?
While professional tools can help, this recipe is designed to be accessible. A good serrated knife for leveling, a spatula for frosting, and a rotating cake stand (optional) are the most helpful.
Final Reflection: The Sweetness of Simplicity and Confidence in the Kitchen
Mastering the simple vanilla layer cake isn't just about baking; it's about building confidence in the kitchen. This seemingly straightforward recipe, designed for ease and accessibility, unlocks a world of possibilities for aspiring bakers. The techniques explored—from achieving perfectly level layers to creating a smooth, stable frosting—are transferable skills that can be applied to countless other baking endeavors.
The enduring appeal of the vanilla layer cake lies not just in its deliciousness, but in its symbolic representation of celebration and shared joy. It's a dessert that transcends generations, a comforting classic that evokes feelings of warmth and nostalgia. A cake is a celebration of life, a moment of joy, a symbol of togetherness.
This simple truth, often overlooked, is amplified by the ease with which this recipe allows anyone to create this cherished treat. The process itself becomes a source of personal satisfaction, a testament to the power of simple ingredients and careful technique.
Now, I invite you to consider your own baking journey. What seemingly insurmountable task have you avoided? What simple recipe might unlock a new level of confidence within you? Don't be afraid to experiment, to embrace the occasional imperfection, and to savor the sweet rewards of your labor. The next time you crave a delicious vanilla layer cake, remember the power of simplicity and the joy of creating something beautiful with your own hands. Bake on!
Ready to Bake Your Dream Cake?
Thanks for joining us on this delicious journey! We hope you gained the confidence to assemble a stunning vanilla layer cake. Now it's time to put your newfound skills to the test!
- Bake your masterpiece: Grab your favorite vanilla cake recipe (or use ours!) and create your own show-stopping layer cake. Don’t be afraid to experiment with different frostings and fillings!
- Share your creation: Show off your beautiful cake on social media using #BakeWithEase – we’d love to see it!
- Challenge a friend: Encourage a friend to bake a cake with you – it’s even more fun together!
What flavor combination will you try for your next baking adventure?