
Chilling Cookie Dough: Is It Necessary for Beginner Classic Cookies?

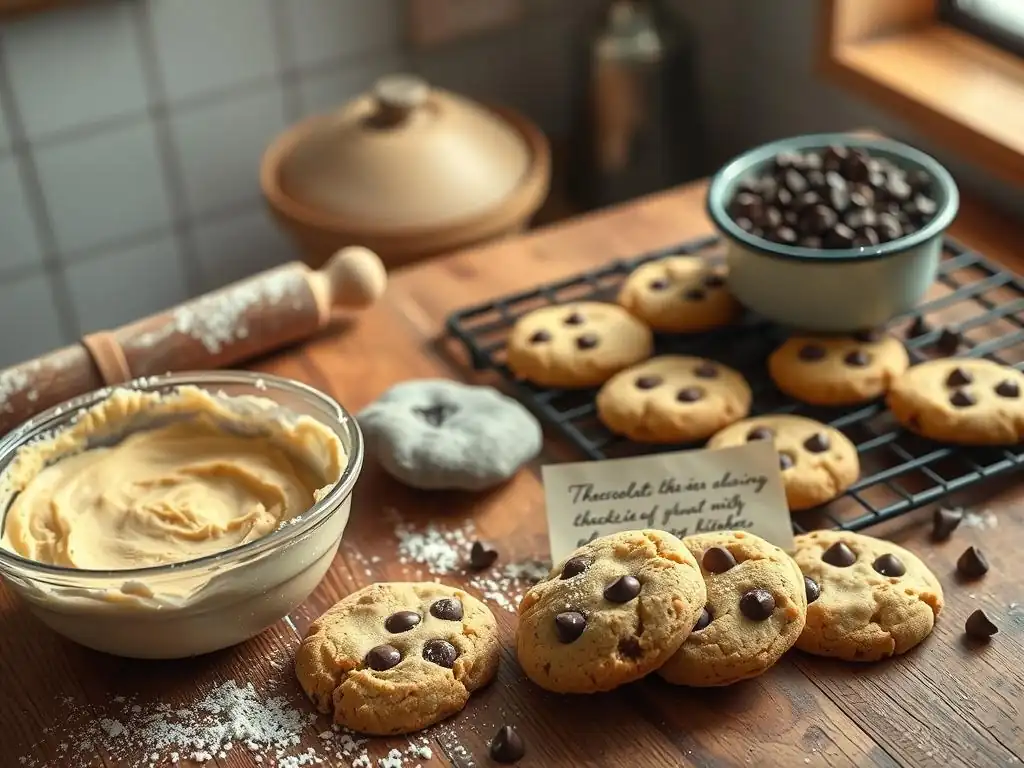
Welcome to BakeWithEase, your guide to effortless baking! Ever wondered if chilling your cookie dough is really necessary for that perfect beginner classic cookie? We'll dive into the chilling process, revealing its secrets and answering that very question. Get ready to unlock the keys to melt-in-your-mouth cookies and discover whether this step is a baking must-do, or a myth!
- The Necessity of Chilling Cookie Dough for Classic Cookies
- Understanding the Importance of Chilling Cookie Dough
- Classic Cookie Recipes and Chilling Requirements
- Benefits of Chilling Cookie Dough
- Drawbacks and Considerations of Chilling
- What Happens if You Skip Chilling?
- Chilling Alternatives
- Step-by-Step Guide to Chilling Cookie Dough
- Chilled vs. Unchilled Cookies: A Comparison
- Mastering Cookie Baking: Chilling as a Skill
- Expert Advice on Cookie Chilling
-
Frequently Asked Questions
- Is chilling cookie dough always necessary for beginner classic cookies?
- What are the benefits of chilling cookie dough for beginner classic cookies?
- How long should I chill my cookie dough for beginner classic cookies?
- What happens if I skip chilling my cookie dough for beginner classic cookies?
- Can I chill cookie dough for too long when making beginner classic cookies?
- Final Reflection: The Chill Factor in Cookie Perfection
- Unlock Your Inner Cookie Master!
The Science Behind Chilling: Fat Solidification and Gluten Relaxation
Chilling cookie dough is a crucial step for many beginner classic cookie recipes, and it's all rooted in simple kitchen science. When butter or other fats in your dough are cold, they solidify. During baking, these solid fat pockets melt slowly, creating steam.
This steam helps leaven the cookie slightly and, more importantly, contributes to a tender, chewy texture. Without sufficient chilling, the fat might melt too quickly in the hot oven, leading to excessive spreading before the cookie structure sets. Think of a classic chocolate chip cookie: the goal is often a slightly crisp edge and a soft, chewy center, which is largely achieved by controlling the fat's melt rate through chilling.
Beyond fat, chilling also impacts the flour and liquids in the dough. Flour absorbs moisture over time, and chilling allows this process to happen more evenly throughout the dough. This hydration helps prevent dry or crumbly spots in the final cookie. Furthermore, chilling gives the gluten in the flour a chance to relax.
Gluten develops when flour and liquid are mixed and kneaded (even gently, as in cookie dough). Relaxed gluten results in a more tender cookie crumb. For beginner classic cookie chilling, understanding these basic principles helps explain why recipes recommend this step, making it less of a mystery and more of an intentional technique.
Many beloved beginner classic cookies benefit significantly from chilling. Take sugar cookies designed for rolling and cutting; chilling is absolutely essential. The dough needs to be firm enough to handle, roll out to about 1/4 inch thickness, and cut into shapes without sticking excessively or losing its form. A minimum of 30-60 minutes of chilling is typically recommended for these, often longer for easier handling, sometimes up to 2-3 hours.
For drop cookies like chocolate chip or oatmeal, chilling helps control spread. While some recipes claim to be "no-chill," many traditional versions suggest chilling for at least 30 minutes, and gourmet recipes might call for 24-72 hours to deepen flavors. Peanut butter cookies, often made with solid fats like shortening or peanut butter itself, still benefit from a brief chill (around 30 minutes) to help them hold their shape and the signature fork-tine pattern during baking.
The specific chilling time for beginner classic cookie chilling varies not only by cookie type but also by the recipe's fat content and the ambient temperature of your kitchen. A dough with a higher proportion of butter might require a longer chill than one with more shortening, as butter softens at a lower temperature.
A good rule of thumb for most drop cookies is at least 30 minutes, but observing the dough is key – it should be firm enough to scoop without collapsing immediately on the baking sheet. For slice-and-bake cookies, a firm log that holds its cylindrical shape is necessary, often requiring 2-4 hours or even overnight chilling.
When is Chilling Optional?
While beneficial for many, chilling isn't strictly mandatory for all beginner classic cookie recipes. Some recipes are specifically formulated to be baked immediately after mixing. These often have a higher ratio of flour to fat and liquid, or they might use chemical leaveners (like baking soda and powder) in a way that relies less on the steam from slowly melting fat for lift.
Examples might include certain types of shortbread (though some shortbread doughs are chilled for ease of handling) or specific chewy cookie recipes designed for minimal spread. Recipes explicitly labeled "no-chill" have been tested and balanced to work without refrigeration.
However, even when a recipe doesn't require chilling, a short stint in the fridge can often still improve the outcome, particularly for beginner classic cookie chilling attempts. A 15-20 minute chill can make dough easier to handle, especially if it's sticky or you're working in a warm kitchen.
It can also slightly reduce spread, which might be desirable even if the recipe is designed to be baked immediately. So, while some recipes allow you to skip the fridge entirely, a brief chill is rarely detrimental and can often enhance the final cookie's texture and appearance, offering a small safety net for beginners.
Enhanced Flavor Development
One of the most significant advantages of chilling cookie dough, particularly for longer periods (12-72 hours), is the development of richer, more complex flavors. During the chilling process, the dry ingredients, especially the flour and sugar, have more time to absorb moisture from the wet ingredients. This hydration process is similar to how flavors meld and deepen in stews or sauces left to sit overnight.
The sugars in the dough begin to break down slightly, contributing to more nuanced sweetness and often enhancing browning during baking, which also adds flavor complexity. For beginner classic cookie chilling, experiencing this flavor difference firsthand can be a revelation and highlight why patience can be a key ingredient.
Consider a classic chocolate chip cookie dough. When chilled for 24 hours, the flavors of the butter, brown sugar, vanilla, and chocolate chips have time to meld together. The flour fully hydrates, leading to a more uniform texture.
Many experienced bakers agree that the subtle caramel notes from the brown sugar become more pronounced, and the overall taste is deeper and less one-dimensional than a cookie baked immediately. While a 30-minute chill primarily focuses on texture and spread, longer chilling periods unlock this flavor potential, making it a worthwhile technique for those looking to elevate their beginner classic cookie chilling game beyond the basics.
Controlling how much a cookie spreads in the oven is critical to achieving the desired thickness and texture. Chilling the dough is the most effective way to manage this spread. When cold dough enters a hot oven, the fat is solid and melts gradually.
This slower melting process gives the cookie's structure (formed by the flour and eggs) time to set before the fat has completely liquefied and caused the cookie to flatten excessively. A cookie baked from well-chilled dough will typically be thicker and have a chewier center compared to one baked from unchilled dough, which often spreads into a thinner, crispier disc. This control is especially important for beginner classic cookie chilling, as unpredictable spreading can be a common source of frustration.
For instance, if you're making classic peanut butter cookies and want those distinct crosshatch marks made by a fork to remain visible, chilling is essential. The cold dough resists spreading initially, preserving the shape impressed by the fork. Similarly, for drop sugar cookies or snickerdoodles, chilling ensures they maintain a pleasant mound shape rather than spreading out too thinly.
Recipes often calibrate the ingredient ratios assuming the dough will be chilled to achieve a specific spread; skipping the chill disrupts this balance. Mastering beginner classic cookie chilling helps bakers achieve consistent results, leading to more predictable and satisfying cookies batch after batch.
Improved Dough Handling
Working with cold cookie dough is significantly easier than working with warm, sticky dough. Whether you're scooping drop cookies, rolling logs for slice-and-bake varieties, or rolling and cutting shapes for decorative cookies, chilled dough is firmer, less sticky, and holds its shape better. This is particularly beneficial for beginner classic cookie chilling, as it reduces frustration and mess.
Trying to roll out warm sugar cookie dough is often a sticky, tearing ordeal, while chilled dough rolls smoothly and cleanly. Scooping warm dough can result in unevenly shaped cookies that spread inconsistently, whereas cold dough scoops into neater, more uniform balls.
Consider making holiday cutout cookies. If the dough isn't properly chilled, it will stick to the rolling pin, the counter, and the cookie cutters. Transferring the cut shapes to the baking sheet becomes a challenge, with shapes stretching or tearing.
Chilled dough, however, releases easily from surfaces and holds its defined edges during transfer. Even for simple drop cookies, chilling makes the dough less likely to stick to the scoop or your hands, leading to a cleaner process and better-looking cookies. This improved handling is a practical benefit of beginner classic cookie chilling that makes the baking process smoother and more enjoyable.
Drawbacks and Considerations of Chilling
Time Commitment and Planning
The most obvious drawback of chilling cookie dough is the added time it requires. While some recipes only call for a minimum of 30 minutes, others recommend several hours or even days for optimal results. This means that spontaneous cookie-baking cravings might have to be put on hold unless you have pre-made dough chilled and ready. For beginner classic cookie chilling, remembering to factor in this chilling time is part of the planning process. You can't decide to bake cookies right before needing them if the recipe requires a 2-hour chill.
This time commitment requires a shift in how you approach baking. Instead of mixing and baking in one go, you might mix the dough one afternoon and bake the next, or even mix it days in advance. While frustrating if you're in a hurry, viewing chilling as an integral part of the recipe, like preheating the oven, helps manage expectations. It's a necessary pause that contributes positively to the final product. Incorporating beginner classic cookie chilling into your baking schedule means thinking ahead, perhaps making dough the night before a planned baking session.
Dough Hardness and Adjustments
Chilling dough makes it firm, which, while beneficial for handling, can sometimes make it quite hard, especially if chilled for a long time or frozen. Very cold dough can be difficult to scoop or roll immediately out of the refrigerator. For beginner classic cookie chilling, encountering rock-hard dough can be surprising. If the dough is too hard to work with, it might need to sit at room temperature for 10-20 minutes to soften slightly. However, be cautious not to let it get too warm, which would negate the benefits of chilling.
When baking from deeply chilled or frozen dough, you might also need to adjust the baking time slightly. Colder dough takes longer to heat through in the oven. This often means adding an extra minute or two to the baking time specified in the recipe for unchilled dough. It's important to watch the cookies closely, looking for visual cues like the edges turning golden brown, rather than relying solely on the clock. Learning to gauge the doneness of beginner classic cookie chilling batches requires a little practice, but it's a skill that develops quickly.
What Happens if You Skip Chilling?
Impact on Texture and Appearance
Skipping the chilling step, especially in recipes where it's recommended, typically results in cookies with a different texture and appearance. The most common outcome is excessive spreading. Because the fat melts too quickly in the hot oven, the dough flattens out rapidly before the structure has time to set. This often leads to thinner, crispier cookies that lack the desired chewiness in the center. For beginner classic cookie chilling recipes like chocolate chip, this means losing that desirable thick, slightly soft middle.
The appearance is also affected. Cookies baked from unchilled dough tend to have flatter profiles and can sometimes look greasy, as the rapidly melted fat can separate slightly. Shapes, especially for rolled or scooped cookies, are often less defined. For instance, if you skip chilling sugar cookie cutouts, they are likely to spread and lose their sharp edges during baking. Understanding these potential outcomes helps illustrate why beginner classic cookie chilling is often a recommended step – it's about achieving a specific, desired result in terms of both how the cookie looks and how it feels to eat.
Potential Problems with Unchilled Dough
Beyond texture and appearance, baking with unchilled dough can present practical problems, particularly for beginner classic cookie chilling attempts. Sticky, warm dough is harder to portion evenly, whether using a scoop or rolling balls by hand, leading to inconsistent cookie sizes and baking times within the same batch. This inconsistency can make it difficult to judge when the cookies are done, potentially resulting in some being underbaked while others are overbaked.
Furthermore, warm dough is more susceptible to issues during handling. If you're adding mix-ins like chocolate chips or nuts, they might not distribute as evenly in soft dough. For recipes where shapes are important, like thumbprint cookies or those requiring pressing with a fork, warm dough is less likely to hold the indentation or pattern. While some recipes are forgiving, many beginner classic cookie chilling guides recommend chilling precisely to avoid these handling difficulties and ensure a smoother, more successful baking experience from start to finish.
Chilling Alternatives
Quick Chilling Methods
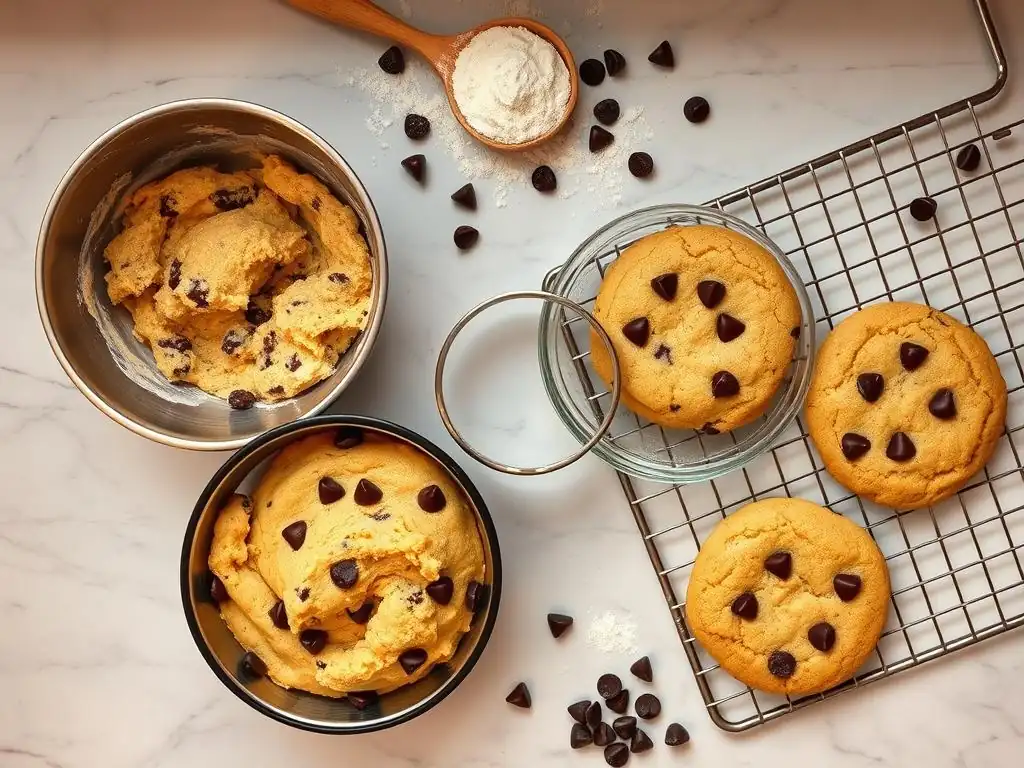
If you're short on time but still want some of the benefits of chilling for your beginner classic cookie chilling project, quick chilling methods can help. Placing the dough in the freezer for 15-30 minutes is a popular alternative to an hour or more in the refrigerator.
Spread the dough out slightly on a plate or in a shallow container to maximize the surface area exposed to the cold, allowing it to firm up faster. For drop cookies, you can even scoop the dough balls onto a baking sheet and place the entire sheet in the freezer for 15-20 minutes before transferring to the oven.
Another quick method involves chilling the formed dough balls or shapes rather than the entire batch of dough. Once you've scooped or cut your cookies, place them directly onto the baking sheets and pop the sheets into the refrigerator for 20-30 minutes while your oven preheats. This chills the individual portions quickly.
While these quick methods won't replicate the full flavor development of a long chill, they are effective at solidifying the fat and making the dough easier to handle, providing a significant improvement over baking immediately. These techniques offer flexibility for beginner classic cookie chilling when time is limited.
For times when chilling is simply not an option or you need cookies right now, seeking out recipes specifically designed as "no-chill" is the best approach. These recipes are formulated with ingredient ratios that result in dough firm enough to bake immediately without excessive spreading. They often contain a higher proportion of flour or use different types of fat (like shortening, which is solid at room temperature) that contribute to less spread. Some rely more heavily on chemical leaveners to achieve the desired texture without needing the slow fat melt provided by chilling.
While a standard beginner classic cookie chilling recipe might yield a thinner cookie if baked immediately, a well-tested no-chill recipe will produce cookies with the intended texture and shape without any refrigeration time. Look for recipe titles that explicitly state "no-chill" or descriptions that promise cookies ready from bowl to oven in minutes.
These recipes are a great resource for busy bakers or those new to the kitchen who want to minimize steps. However, it's worth noting that even the best no-chill recipes might not achieve the same depth of flavor that comes from a longer chill period, a trade-off for the convenience.
Preparing Dough for Chilling
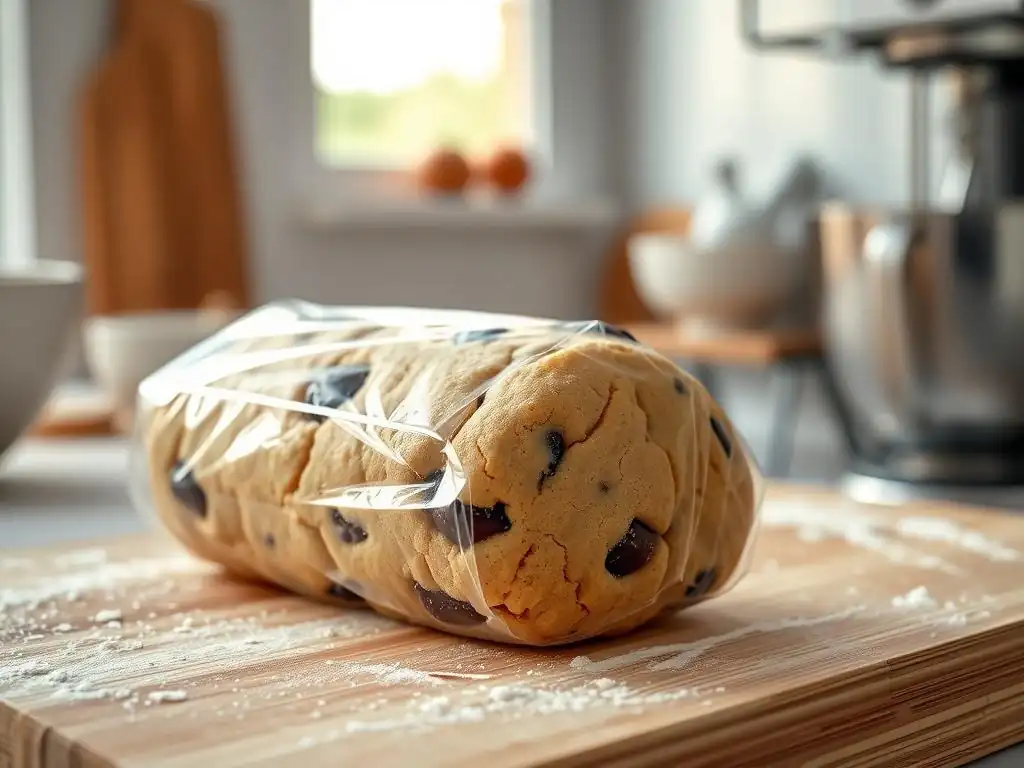
Once your beginner classic cookie dough is mixed, proper preparation for chilling is key. If it's a drop cookie dough, you have two main options: chill the bulk dough or chill scooped portions. For chilling the bulk dough, gather it into a ball or disc, wrap it tightly in plastic wrap, and flatten it slightly into a disc about 1-2 inches thick.
This disc shape allows it to chill more evenly and quickly than a large ball. For slice-and-bake cookies, form the dough into logs (typically 1.5 to 2 inches in diameter), wrap them tightly in plastic wrap, and ensure the ends are sealed.
If you plan to chill scooped portions, scoop the dough balls onto a plate or small baking sheet lined with parchment paper. Place this in the refrigerator or freezer until the balls are firm, then transfer them to an airtight container or freezer bag for longer storage. For rolled and cut cookies, divide the dough into two or three flatter discs before wrapping.
This makes it easier to roll out after chilling without needing to soften a large, hard block of dough. Proper wrapping prevents the dough from drying out or absorbing odors from the refrigerator during the beginner classic cookie chilling process.
Storing Dough in the Refrigerator
Once prepared, place the wrapped dough in the refrigerator. The amount of time needed depends on the recipe and the desired outcome. For a basic chill to improve handling and reduce spread in beginner classic cookie chilling, 30 minutes to 2 hours is often sufficient. For enhanced flavor development, aim for 24 to 72 hours. Ensure the dough is placed in a spot in the refrigerator where it won't be easily disturbed and where temperatures are consistently cold.
Tightly wrapped dough can typically be stored in the refrigerator for 2-4 days without significant loss of quality. Some recipes even suggest chilling for up to a week for maximum flavor. If you need to store it longer, consider freezing (see Chilling Alternatives). When ready to bake, you may need to let the dough sit at room temperature for 10-20 minutes if it's too hard to scoop or roll. This step is crucial for successful beginner classic cookie chilling and ensures the dough is at the right consistency for shaping and baking.
Baking Chilled Dough: Adjusting Baking Times
Baking chilled dough requires a slight adjustment compared to baking unchilled dough. Because the dough is cold, it takes longer to heat through in the oven. As a result, cookies made from chilled dough often require an extra 1-3 minutes of baking time compared to the time specified for unchilled dough in the same recipe. For beginner classic cookie chilling, it's important not to simply follow the clock but to watch the cookies for visual cues of doneness.
Look for the edges of the cookies to be set and lightly golden brown. The centers should still look slightly soft or just set, as cookies continue to cook slightly after being removed from the oven. Since chilled dough resists spreading initially, you'll notice they hold their shape better throughout the baking process. Start checking for doneness at the minimum time suggested in the recipe for unchilled dough, then continue baking in 1-minute increments until they reach your desired level of doneness. This careful monitoring is key when baking your beginner classic cookie chilling batches.
Assessing Differences in Taste, Texture, and Appearance
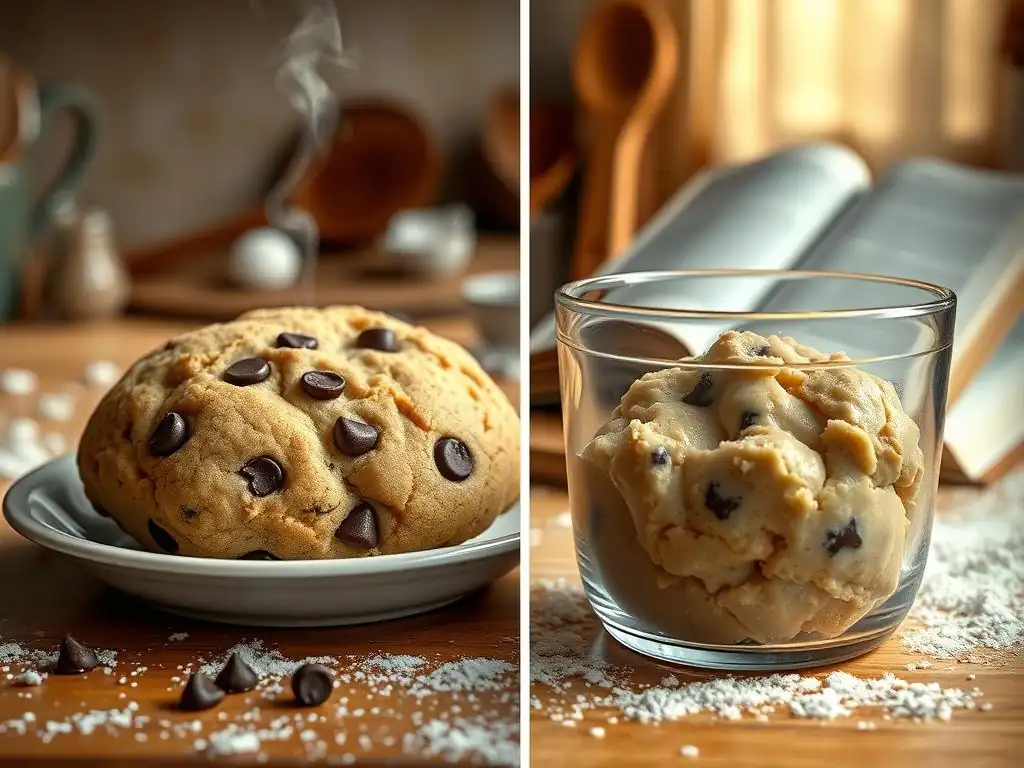
Conducting a side-by-side comparison is the best way to truly understand the impact of beginner classic cookie chilling. Take a single batch of dough (like a standard chocolate chip cookie recipe that recommends chilling). Bake half of the dough immediately after mixing, and chill the other half for at least 24 hours before baking. Then, compare the resulting cookies. You'll likely observe distinct differences in taste, texture, and appearance.
- Appearance: The unchilled cookies will typically be flatter and wider, with potentially less defined edges. The chilled cookies will be thicker, often with a more domed center and slightly less spread.
- Texture: The unchilled cookies will likely be crispier throughout, especially if they spread very thin. The chilled cookies will often have a chewier center and potentially slightly crispier edges, a more complex texture profile.
- Taste: While the difference might be subtle with a short chill, cookies chilled for 24+ hours often have a deeper, more developed flavor. The sweetness might seem more nuanced, and the flavors of butter and other ingredients are more integrated.
This comparison exercise is highly recommended for anyone learning beginner classic cookie chilling, as it provides tangible proof of the technique's value and helps you decide if and how long you prefer to chill your own cookie dough based on the desired outcome.
Understanding Oven Impact
Mastering beginner classic cookie chilling also involves understanding how your oven affects the process. Ovens can vary significantly in temperature accuracy and hot spots. A properly calibrated oven that maintains a consistent temperature is crucial for achieving predictable results with chilled dough. If your oven runs cool, chilled dough might spread more before setting, while a hot oven might cause the edges to set too quickly, resulting in less spread than desired.
It's helpful to use an oven thermometer to verify your oven's actual temperature. If your oven has hot spots, rotating the baking sheet halfway through the baking time can help ensure even baking, which is particularly important for thicker cookies baked from chilled dough. Learning how your specific oven interacts with chilled dough – how quickly it heats up and how evenly it bakes – is an important step in refining your beginner classic cookie chilling skills and consistently producing great cookies.
Experimenting with Chilling Times
Once you're comfortable with the basic concept of beginner classic cookie chilling, experimenting with different chilling times can be a rewarding way to discover your preferred cookie characteristics. Try baking small batches of the same dough after different chilling durations – say, 30 minutes, 4 hours, and 24 hours. Note the differences in spread, thickness, texture, and flavor for each batch.
Does a 4-hour chill give you the perfect balance of slight spread and chewy texture? Or do you prefer the deeper flavor and minimal spread of a 48-hour chill? By systematically testing different chilling times with your favorite beginner classic cookie chilling recipes, you can fine-tune the process to match your personal taste and texture preferences. This experimentation is a key part of moving from following a recipe to truly mastering the art of cookie baking.
Tips from Bakers
Experienced bakers often share valuable tips for beginner classic cookie chilling. One common piece of advice is to always flatten bulk dough into a disc or shape logs before chilling; this makes it much easier to handle and roll out later compared to a hard ball. Another tip is to let deeply chilled dough sit at room temperature for just long enough to become scoopable or rollable, but no longer – typically 10-20 minutes. Over-softening can undo the benefits of chilling.
Many pros recommend chilling scooped cookie dough balls on the baking sheet for at least 10-15 minutes while the oven preheats, even if the recipe doesn't explicitly state a long chill. This brief chill helps the cookies start baking with a colder core, improving texture. For beginner classic cookie chilling, don't be afraid to experiment with chilling times beyond what the recipe suggests, especially for classic drop cookies. A 24-hour chill is often cited as a game-changer for flavor in chocolate chip cookies.
Troubleshooting Chilling Issues
Sometimes, issues can arise during the beginner classic cookie chilling process. If your dough is too hard to work with after chilling, simply let it sit at room temperature for a few minutes until it's pliable enough to scoop or roll. If it becomes too soft while you're working with it (especially in a warm kitchen), pop it back in the fridge or freezer for a quick firm-up.
If your chilled cookies are still spreading too much, ensure your oven is at the correct temperature (use an oven thermometer!) and that your baking sheets aren't too warm between batches. Also, check your ingredient measurements, particularly the flour and fat ratios, as incorrect proportions can affect spread regardless of chilling. Conversely, if your chilled cookies aren't spreading enough, they might need slightly longer to warm up at room temperature before baking, or your oven might be running too hot, setting the edges too quickly. Patience and observation are your best tools when troubleshooting beginner classic cookie chilling outcomes.
Frequently Asked Questions
No, chilling isn't always necessary, but it's highly recommended. It helps prevent excessive spreading and improves the flavor and texture of your cookies.
Chilling allows the fat to solidify, preventing the cookies from spreading too thin. It also allows the flavors to meld and develop, resulting in a richer, more delicious cookie.
The ideal chilling time varies, but generally, 30 minutes to 2 hours is sufficient. Some recipes may benefit from even longer chilling, up to 24 hours.
Skipping the chilling process can result in flat, thin, and potentially greasy cookies. The flavors may also be less developed and the texture less desirable.
Yes, chilling dough for too long can dry it out, making it difficult to scoop and bake. If this happens, let the dough warm up slightly at room temperature before scooping.
The necessity of chilling cookie dough before baking isn't just a culinary quirk; it's the key to unlocking consistently delicious, beautifully shaped beginner classic cookies. Ignoring this crucial step can lead to flat, spread-out cookies that lack the texture and visual appeal we all crave. This seemingly simple act dramatically impacts the final product, transforming a potentially disappointing bake into a triumph.
The impact of chilling on the cookie-baking experience extends beyond just the technical aspects. It's a moment of mindful preparation, a pause before the creative rush of baking itself. This pause allows the flavors to meld, the dough to firm up, and the baker to appreciate the process. It's a reminder that sometimes, the best results come from slowing down and allowing time for things to develop. Patience is a virtue, and in baking, it's often the secret ingredient.
This quote, though not directly about chilling, perfectly encapsulates the importance of this often-overlooked step.
Now, consider your own baking journey. Will you embrace the chill? Will you take the time to let your dough rest, allowing the butter to firm and the gluten to relax? The next time you're ready to bake classic cookies, remember the power of the chill. Don't rush the process; savor the anticipation, and experience the difference a little patience can make. The perfectly shaped, deliciously textured cookies awaiting you are well worth the wait.
Thanks for joining us on this delicious journey into the world of classic cookies! We hope you gained valuable insights into the chilling process and its impact on your baking. Now it's time to put your newfound knowledge into action.
- Bake a batch of chilled cookie dough: Put your skills to the test and experience the difference firsthand! Note the texture and spread of your cookies.
- Share your baking triumph (or tale of triumph over adversity!): Post a picture of your cookies on social media and tag us – we’d love to see your creations!
- Experiment with different chilling times: Challenge yourself to explore how varying chill times affect your cookies' final result. What’s your perfect chilling sweet spot?
Ready to transform your cookie game? What innovative chilling techniques will you try next?