
Bake a Simple Cake That Stays Moist for Days

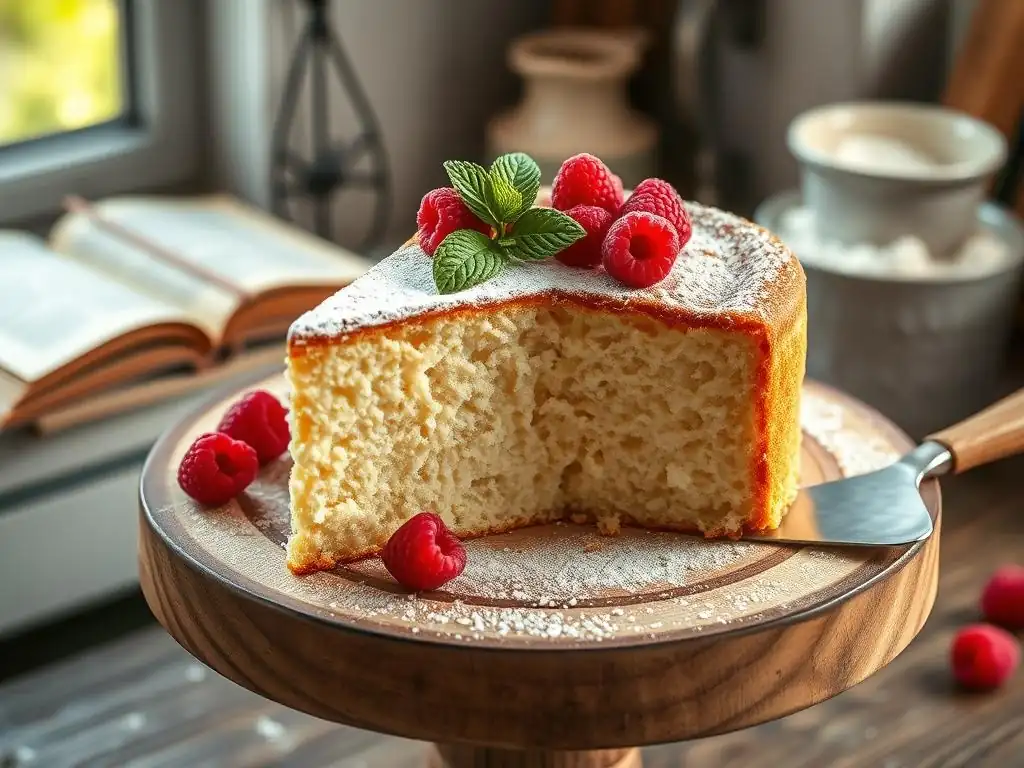
Welcome to BakeWithEase, your kitchen companion for unlocking baking brilliance! Are you ready to discover the secret to an Easy Moist Cake Recipe that will have everyone asking for seconds? We'll guide you through a simple, foolproof method that guarantees a delectable cake, moist and flavorful, that stays fresh longer than you ever thought possible. Intrigued? Let's get baking!
- Introduction: The Secret to a Perfectly Moist Cake (and How to Keep It That Way!)
- The Ultimate Vanilla Bean Cake Recipe: Step-by-Step Guide
- Secrets to Keeping Your Cake Moist for Days
- Variations on the Vanilla Bean Cake Recipe
- Troubleshooting Your Vanilla Bean Cake: Common Issues and Solutions
- Conclusion: Enjoy Your Deliciously Moist Cake!
-
Frequently Asked Questions
- What makes a cake recipe "easy" according to BakeWithEase.com?
- How does BakeWithEase.com ensure a cake recipe results in a moist cake?
- What types of cakes are most likely to stay moist for days, according to BakeWithEase?
- Does BakeWithEase.com provide tips for storing a cake to maintain its moisture?
- Are the ingredients in an "easy moist cake recipe" from BakeWithEase.com readily available?
- Final Reflection: The Enduring Allure of a Perfectly Moist Cake
- Unlock Your Inner Baker: Moist Cake Magic Awaits!
Introduction: The Secret to a Perfectly Moist Cake (and How to Keep It That Way!)
Baking a cake should be a joyful experience, not a frustrating one ending with a dry, crumbly disaster. The quest for a cake that is not only delicious right out of the oven but also remains delightfully moist for days is a common goal for many home bakers. Achieving this seemingly simple feat involves understanding a few key principles and techniques, from ingredient selection to proper storage. This article will guide you through creating a simple yet incredibly moist vanilla bean cake, perfect for beginners and experienced bakers alike looking for a reliable easy moist cake recipe.
We'll cover everything from the science behind moisture in baking to the practical steps of mixing, baking, and crucially, storing your cake to ensure it stays fresh and tender. Say goodbye to dry cake woes and hello to consistently perfect slices. Whether you're making a cake for a special occasion or just because, mastering the art of the moist crumb is a game-changer that elevates your baking from good to truly great. Let's unlock the secrets to baking a vanilla bean cake that impresses not just on day one, but on day two, three, and beyond!
Why This Vanilla Bean Cake Recipe is Perfect for Any Baker
This specific vanilla bean cake recipe is designed with accessibility and reliability in mind, making it an ideal easy moist cake recipe for anyone, regardless of their baking experience level. It uses straightforward techniques and readily available ingredients, demystifying the process of creating a tender, flavorful cake. Unlike some complex recipes that require specialized equipment or advanced skills, this approach focuses on fundamental principles that guarantee success, such as proper mixing without overdeveloping the gluten and precise temperature control during baking.
Furthermore, the inherent structure of this particular recipe is balanced to promote moisture retention. By incorporating specific ratios of wet to dry ingredients and often utilizing fats and sugars effectively, it creates a crumb that resists drying out quickly. This makes it a fantastic foundational recipe. Once you've mastered this simple vanilla bean cake, you can confidently explore variations, knowing you have a solid base that delivers consistent results – a truly easy moist cake recipe that builds confidence in the kitchen.
Understanding the Science Behind Cake Moisture
The moisture level in a cake is fundamentally determined by the interaction of its ingredients during the mixing and baking processes. Liquids like milk, eggs, and extracts provide initial moisture, while fats (butter, oil) and sugars contribute to tenderness and help retain that moisture by interfering with gluten development and attracting water molecules.
For instance, using oil instead of butter can sometimes result in a moister cake because oil is liquid at room temperature and coats flour particles more effectively, inhibiting gluten formation and trapping moisture. Sugar, beyond sweetness, is hygroscopic, meaning it attracts and holds onto water, significantly impacting the cake's final texture and moisture over time.
Baking is a delicate balance. As the cake bakes, water evaporates. The goal is to set the cake's structure (through protein coagulation from eggs and gluten development from flour) before too much moisture escapes.
Overbaking is the primary culprit for dry cakes because it allows excessive water evaporation and further protein denaturation, tightening the crumb. Ingredients like buttermilk or sour cream, often used in easy moist cake recipes, contribute not only liquid but also acidity. Acidity helps break down proteins, resulting in a more tender crumb, and can also activate baking soda, producing leavening gases that create a lighter texture, which indirectly contributes to the perception of moisture.
The Ultimate Vanilla Bean Cake Recipe: Step-by-Step Guide
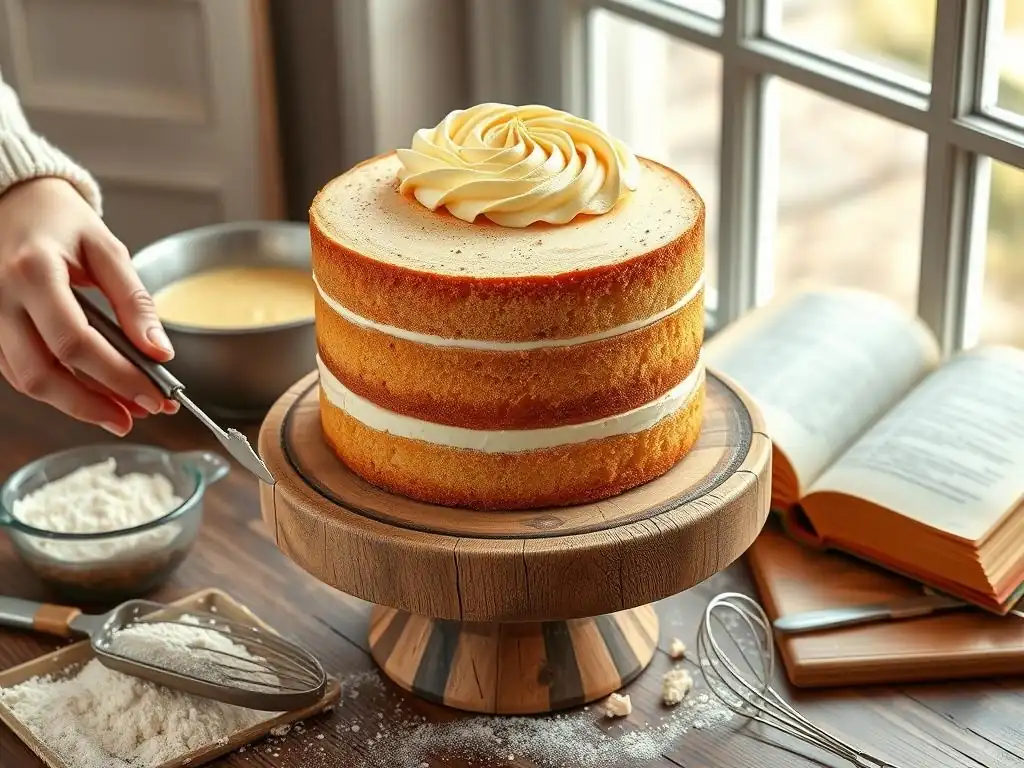
Let's dive into creating our perfect vanilla bean cake. This guide breaks down each step to ensure your success, focusing on techniques that contribute to a wonderfully moist outcome. Follow these instructions carefully, and you'll be rewarded with a delicious cake that stays tender for days. This is your go-to easy moist cake recipe detailed for guaranteed results.
Gathering Your Ingredients: Quality Vanilla Bean and Other Essentials
The foundation of a great cake is quality ingredients. For this vanilla bean cake, the star is, of course, the vanilla. Opt for a real vanilla bean if possible; the tiny black specks add intense flavor and visual appeal. Bourbon or Madagascar vanilla beans are classic choices known for their rich, creamy notes. If using extract, choose a high-quality pure vanilla extract, not imitation, for the best flavor. You'll typically need about 1-2 teaspoons of extract per vanilla bean used, though this can vary.
Beyond the vanilla, ensure your other ingredients are fresh and at the correct temperature. Butter should be softened but not melted (around 65-68°F or 18-20°C is ideal), eggs should be at room temperature (allowing them to incorporate more evenly and create a better emulsion), and milk or buttermilk should also be at room temperature.
Using cake flour instead of all-purpose flour can contribute to a finer, more tender crumb due to its lower protein content (around 7-9% compared to 10-12% in all-purpose), which means less gluten development. Sifting dry ingredients like flour, baking powder, baking soda, and salt is also crucial for an even distribution and a lighter texture.
Preparing Your Equipment: Essential Tools for Baking Success
Having the right tools ready before you start mixing is key to a smooth baking process. You'll need standard baking equipment like mixing bowls (at least one large one), measuring cups and spoons, a whisk, a rubber spatula, and an electric mixer (either a stand mixer with paddle attachment or a hand mixer). A kitchen scale is highly recommended for accuracy, especially when measuring flour and sugar, as volume measurements can vary significantly. For example, a cup of sifted flour can weigh anywhere from 115g to 130g depending on packing.
For baking the cake itself, you'll need your chosen cake pan(s). A standard 8-inch or 9-inch round cake pan is typical for this recipe. Ensure your pan(s) are properly prepared to prevent sticking.
This usually involves greasing the pan with butter or shortening, then flouring it, or using a baking spray that contains flour. Lining the bottom of the pan with parchment paper is an extra layer of security and makes removing the cake much easier. Make sure your oven is preheated to the correct temperature before you put the cake in; an accurately preheated oven ensures even baking from the start.
Mixing the Batter: Achieving the Perfect Consistency
Mixing the batter correctly is perhaps the most critical step in creating a moist cake. The creaming method is commonly used for butter-based cakes: creaming softened butter with sugar until light and fluffy. This process incorporates air, which contributes to the cake's leavening and tender texture. You'll want to cream them for a good 3-5 minutes, scraping down the sides of the bowl frequently. The mixture should be pale yellow and significantly increased in volume.
Next, eggs are added one at a time, mixing well after each addition to ensure they are fully incorporated. This creates an emulsion, binding the fat and liquid components. Finally, the dry and wet ingredients are added alternately, starting and ending with the dry ingredients. This method helps prevent overmixing. Mix just until the ingredients are combined. Overmixing develops gluten, which can lead to a tough, dry cake. A few small lumps of dry ingredients are preferable to an overmixed, smooth batter.
Key Techniques for a Moist Cake Batter
One essential technique for a moist batter is the proper incorporation of fat and sugar during the creaming stage. This step is not just about combining ingredients; it's about creating a stable structure that supports the cake's rise and texture. Aim for a mixture that is airy and light, indicating sufficient air pockets have been created. This aeration contributes to a tender crumb, a hallmark of a moist cake.
Another crucial technique involves the careful addition of wet and dry ingredients. Adding them alternately, in small increments, and mixing only until just combined minimizes gluten development. For example, you might add one-third of the dry ingredients, mix briefly, then half of the wet, mix briefly, another third of the dry, the remaining wet, and finally the last third of the dry. Always stop mixing as soon as no streaks of flour are visible. Overmixing is a primary cause of dry cakes, so err on the side of undermixing slightly rather than overmixing.
Baking to Perfection: Time and Temperature are Crucial
Baking time and temperature are not suggestions; they are critical parameters for a successful cake, especially when aiming for an easy moist cake recipe. Most vanilla bean cakes bake between 325°F (160°C) and 350°F (175°C). A slightly lower temperature, like 325°F, often promotes more even baking and reduces the risk of overcooking the edges before the center is done, contributing to overall moisture. Baking time will vary depending on the size and depth of your pan(s), typically ranging from 25 to 40 minutes for standard layers.
It's vital to resist the urge to open the oven door frequently, especially during the first two-thirds of the baking time. Fluctuations in temperature can cause the cake to collapse. Rely on a kitchen timer but start checking for doneness a few minutes before the recipe states the cake should be ready. Ovens can vary significantly, sometimes by as much as 25-50°F (15-30°C) from the dial setting, so an oven thermometer is a valuable tool for accurate baking.
How to Check for Doneness: Avoid Overbaking!
Knowing exactly when your cake is done is the ultimate defense against a dry cake. The classic test involves inserting a wooden skewer or toothpick into the center of the cake. When it comes out with just a few moist crumbs attached – not wet batter, but not completely clean – the cake is usually perfectly baked. If it comes out clean, it might be slightly overdone, and if it comes out with wet batter, it needs more time.
Another indicator is how the cake reacts to a gentle touch. The top should spring back slightly when lightly pressed. The edges of the cake will also start to pull away from the sides of the pan. Pay close attention to these cues and use the skewer test as the final confirmation. Removing the cake from the oven just as it reaches doneness is paramount to preserving its moisture. Even a few extra minutes in a hot pan after baking can lead to a drier result.
Cooling and Preparing for Frosting
Once the cake is out of the oven and passes the doneness test, the cooling process is the next step. Do not leave the cake in the hot pan for too long. Let it cool in the pan on a wire rack for about 10-15 minutes. This allows the cake structure to set slightly as it cools, preventing it from breaking when you attempt to remove it. The residual heat continues the cooking process slightly, but the wire rack allows air circulation, preventing the bottom from becoming soggy.
After the initial cooling period in the pan, carefully invert the cake onto the wire rack to cool completely. Cooling on a wire rack allows air to circulate around the entire cake, preventing condensation that can make the bottom soggy and ensuring even cooling. Allow the cake to cool completely before attempting to frost it. Frosting a warm cake will cause the frosting to melt and slide off, and can trap steam, potentially making the cake gummy. A fully cooled cake is firm enough to handle and ready for its delicious topping.
Secrets to Keeping Your Cake Moist for Days
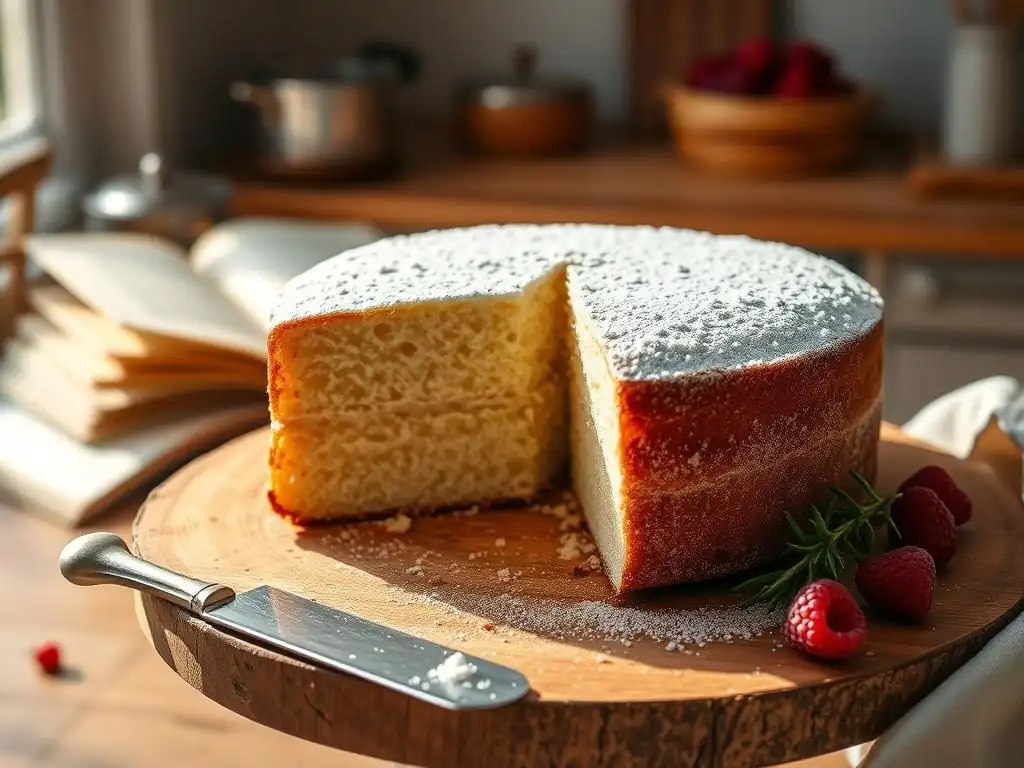
Baking a perfectly moist cake is only half the battle; keeping it that way is the other. Proper storage is paramount to preserving that tender crumb and delightful texture you worked hard to achieve. A well-baked cake can stay moist for 3-4 days if stored correctly, but improper methods can lead to dryness within hours.
Beyond storage, the ingredients themselves play a significant role in a cake's longevity. Recipes specifically designed as an easy moist cake recipe often include elements that naturally help retain moisture over time. Understanding which ingredients contribute to this and why can help you troubleshoot future baking endeavors or adapt recipes.
The Importance of Proper Storage
Once your cake has cooled completely, it needs to be protected from the air. Exposure to air is the primary reason cakes dry out; the moisture evaporates into the surrounding environment. Simply leaving a cake on a plate on the counter, even overnight, can significantly reduce its moisture content, leaving it stale and crumbly.
The ideal storage method involves creating an airtight barrier around the cake. This traps the existing moisture within the cake, preventing it from escaping. Whether the cake is frosted or unfrosted dictates the best approach, but the principle of minimizing air exposure remains constant.
Wrapping and Sealing Techniques
For unfrosted cakes or individual cake layers, the best method is to wrap them tightly in plastic wrap. Ensure the plastic wrap is pressed directly against the surface of the cake, leaving no gaps where air can sneak in. Wrap it again in a second layer of plastic wrap or aluminum foil for extra protection. Store wrapped unfrosted cakes at room temperature for up to 2-3 days, or in the refrigerator for up to a week. For longer storage, double-wrapped cake layers freeze beautifully for up to 2-3 months. Thaw them wrapped at room temperature.
For frosted cakes, wrapping directly in plastic wrap can damage the frosting. The best approach is to store the cake in an airtight cake carrier or container. If a carrier isn't available, place the cake on its serving plate, then carefully tent it with plastic wrap, ensuring the wrap doesn't touch the frosting if possible, but creates a seal around the base of the plate.
Alternatively, use toothpicks inserted into the top of the cake to support the plastic wrap above the frosting. A frosted cake is best stored at room temperature for 2-3 days unless the frosting or filling requires refrigeration (like cream cheese frosting or fresh fruit filling).
The Role of Ingredients in Moisture Retention
Certain ingredients are moisture magnets and play a crucial role in keeping your easy moist cake recipe living up to its name. Fats like butter and oil coat flour particles, inhibiting gluten development and creating a tender crumb that feels moist. A cake with a higher fat content will generally stay moist longer than a low-fat cake. Sugar is also a hygroscopic ingredient, meaning it attracts and holds onto water. Recipes with a balanced amount of sugar will have a softer, moister texture.
Ingredients like buttermilk, sour cream, yogurt, or even mayonnaise (in some classic recipes) contribute both fat and acidity. The fat adds richness and moisture, while the acidity breaks down proteins, leading to a more tender cake. These ingredients also often have a higher water content than butter or oil, providing more initial liquid. Using brown sugar instead of all white sugar can also increase moisture due to the molasses content in brown sugar.
Using Buttermilk for Extra Moisture
Buttermilk is a secret weapon in many easy moist cake recipes. Its acidity reacts with baking soda (a common leavener in buttermilk recipes), creating carbon dioxide gas that helps the cake rise and contributes to a tender crumb. More importantly for moisture, the acidity helps break down gluten strands in the flour. Less gluten development results in a softer, more delicate cake structure that feels incredibly moist and tender on the palate.
Beyond its chemical effects, buttermilk is simply a liquid that adds moisture to the batter. Its slightly thicker consistency compared to regular milk also seems to contribute to a richer mouthfeel. Replacing some of the liquid in a standard cake recipe with buttermilk is a simple way to boost moisture and tenderness, making it a fantastic ingredient for achieving that desired easy moist cake result. Typically, you can substitute an equal amount of buttermilk for milk in many recipes, often needing to adjust the baking powder and add baking soda if the recipe doesn't already call for it.
Avoiding Common Mistakes That Dry Out Cakes
Several common pitfalls can turn a potentially moist cake into a dry disappointment. The most frequent error is overbaking. As discussed, baking too long or at too high a temperature evaporates too much moisture. Always check for doneness a few minutes early, using the skewer test, and remove the cake promptly once it's ready.
Another mistake is using ingredients that are too cold. Cold eggs and butter don't emulsify properly with the sugar and other ingredients, leading to a less uniform batter and potentially a tougher, drier cake. Ensure all refrigerated ingredients are brought to room temperature before mixing. Finally, improper storage is a major culprit. Leaving a cake exposed to air, even just on the counter overnight, allows moisture to escape rapidly. Always wrap and seal your cake properly once it has cooled.
Variations on the Vanilla Bean Cake Recipe
Once you have mastered the basic easy moist cake recipe for vanilla bean, you can explore countless variations to keep things interesting. The beauty of a solid base recipe is its adaptability. Small tweaks can lead to exciting new flavor profiles and textures, all while maintaining that desirable moist crumb.
Experimenting with additions, different pan types, or alternative frostings allows you to customize your cake for any occasion or preference. These variations are simple enough that they don't complicate the process too much, keeping it firmly in the realm of an easy moist cake recipe even with a twist.
Adding Citrus Zest for a Bright Twist
A simple yet impactful variation is to add citrus zest to your vanilla bean cake batter. The oils in citrus zest – lemon, orange, or lime – provide a bright, aromatic counterpoint to the creamy vanilla. For an 8-inch or 9-inch cake recipe, the zest of one medium lemon or orange is usually sufficient. Add the zest during the creaming stage with the butter and sugar, or whisk it into the wet ingredients.
The acidity in the zest also subtly interacts with the batter, potentially contributing to tenderness. The vibrant flavor pairs beautifully with vanilla, creating a more complex and refreshing cake. Lemon-vanilla or orange-vanilla cakes are classic combinations that elevate the simple vanilla bean base without requiring significant changes to the core easy moist cake recipe structure.
Adapting the Recipe for Cupcakes
Transforming this easy moist cake recipe into cupcakes is incredibly simple and perfect for individual servings. The batter consistency works well for cupcakes. The main difference lies in the baking time and temperature. Cupcakes typically bake at a slightly higher temperature, often 350°F (175°C) or even 375°F (190°C), for a shorter duration.
Fill cupcake liners about two-thirds full. Baking time for standard cupcakes is usually between 18 and 25 minutes. Check for doneness using the toothpick test, just as you would with a cake layer. Cupcakes cool much faster than a full cake; let them sit in the muffin tin for 5-10 minutes before transferring them to a wire rack to cool completely before frosting. This adaptation is a fantastic way to make this easy moist cake recipe portable and party-friendly.
Alternative Frosting Ideas to Complement Your Vanilla Bean Cake
While a classic vanilla buttercream is a natural pairing for a vanilla bean cake, exploring alternative frostings can offer delightful new taste experiences. A simple cream cheese frosting provides a tangy contrast to the sweet vanilla, and its richness also helps keep the cake feeling moist. A light and airy whipped cream frosting, perhaps stabilized with a little cream cheese or gelatin, offers a less sweet option that lets the vanilla flavor shine.
For something a bit different, consider a fruit curd (like lemon or passion fruit) as a filling between layers or swirled into a basic frosting. A chocolate ganache is another decadent option that pairs surprisingly well with vanilla. When choosing a frosting, consider its moisture content; frostings like ganache or cream cheese frosting can also help seal the cake and contribute to its overall moisture retention compared to very dry or crumbly frostings.
Troubleshooting Your Vanilla Bean Cake: Common Issues and Solutions
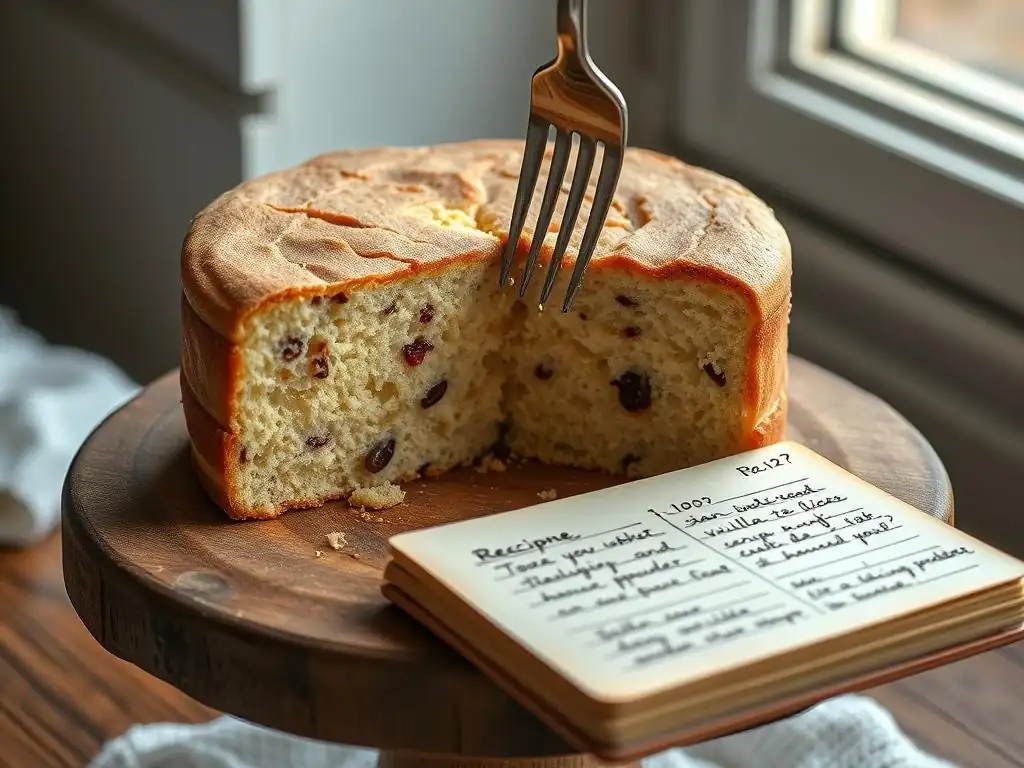
Even with a reliable easy moist cake recipe, baking sometimes presents challenges. Knowing how to identify and fix common problems is part of becoming a confident baker. Don't despair if your first attempt isn't perfect; troubleshooting is a valuable skill.
Here are some of the most frequent issues faced when baking cakes and practical steps to correct them in the future. These tips apply broadly but are particularly helpful when refining your approach to this vanilla bean cake.
Dry Cake? Here's What You Did Wrong
A dry cake is the most common complaint and usually stems from one or a combination of factors.
- Overbaking: This is the prime suspect. Check your cake at the earliest recommended time and use the skewer test. Ovens vary, so trust the visual and skewer cues over the timer alone.
- Incorrect Measuring: Too much flour or too little liquid/fat will result in a dry cake. Using a kitchen scale for dry ingredients is the most accurate method. For example, a cup of flour can vary by 10-20 grams depending on how it's scooped and leveled.
- Ingredients Too Cold: Cold ingredients don't emulsify correctly, leading to a less cohesive batter and potentially a tougher, drier crumb. Ensure butter and eggs are at room temperature.
- Overmixing: Developing too much gluten makes the cake tough and dry. Mix just until ingredients are combined after adding flour.
- Improper Storage: Leaving a cooled cake exposed to air allows moisture to evaporate rapidly. Always wrap tightly once cooled.
If you find your cake is slightly dry after baking, you can try brushing the layers with a simple syrup (equal parts sugar and water, heated until sugar dissolves) or a flavored liquid (like milk or a liqueur) while they are still slightly warm.
Cake Sticking to the Pan? Quick Fixes
Having your cake stick to the pan is frustrating after all your hard work. This issue almost always comes down to improper pan preparation.
- Not Greasing/Flouring Properly: Simply greasing the pan is often not enough, especially for complex pans. You need a barrier.
- Missing Parchment Paper: Lining the bottom of the pan with parchment paper cut to size is the most reliable way to prevent sticking bottoms.
- Cooling Too Long in the Pan: Leaving the cake in the hot pan for too long after removing it from the oven can cause it to stick as it cools and contracts. Let it cool for 10-15 minutes, then invert onto a wire rack.
- Not Letting it Cool Slightly: Trying to remove the cake immediately after taking it out of the oven before its structure has set can cause it to break or stick.
Ensure you grease the pan thoroughly with butter or shortening, get into all the corners, then flour it, tapping out any excess flour. For extra security, especially with an easy moist cake recipe that might be more tender, always use parchment paper on the bottom.
Uneven Baking? Tips and Tricks
An unevenly baked cake – where the edges are done (or even burnt) while the center is still raw – is usually an oven issue or related to pan placement.
- Oven Hot Spots: Most ovens have hotter and cooler areas. Using an oven thermometer can help you identify these spots. Rotate your cake pan halfway through the baking time to promote even baking.
- Incorrect Oven Temperature: If your oven is running hotter than the setting, the outside will cook too fast. Calibrate your oven or use an oven thermometer and adjust the temperature accordingly.
- Pan Placement: Placing the cake pan too close to a heating element (top or bottom) can cause uneven heat distribution. Bake on the center rack whenever possible.
- Pan Material/Color: Dark metal pans absorb more heat and can cause edges to brown faster than the center. Shiny metal pans reflect heat and bake more evenly. Adjust baking time/temperature slightly depending on your pan type.
Using baking strips (moistened fabric strips wrapped around the outside of the pan) can also help insulate the edges, causing the cake to rise and bake more evenly across the surface.
Conclusion: Enjoy Your Deliciously Moist Cake!
Congratulations! By following this guide, you've baked a beautiful, flavorful, and most importantly, moist vanilla bean cake. You've navigated the steps from selecting ingredients to mastering baking techniques and learned the vital importance of proper storage. This easy moist cake recipe is now a reliable tool in your baking repertoire, promising delicious results every time.
Remember, baking is a skill that improves with practice. Each cake you bake teaches you something new about ingredients, temperatures, and your own oven. Don't be afraid to try this recipe again, perhaps incorporating one of the variations we discussed. Share your creation with friends and family, or simply enjoy a slice (or two!) yourself.
We love seeing your baking triumphs! Your delicious vanilla bean cake is a testament to mastering key techniques, and sharing your experience can inspire others. Did you add citrus zest? Perfect it as cupcakes? Or perhaps you found a storage tip that worked wonders?
Let us know how your easy moist cake recipe turned out! Sharing your results, including any lessons learned, helps build a community of bakers. Your success story could be just the motivation another beginner needs to try this recipe.
Next Steps: Exploring More Cake Recipes
Now that you've successfully baked and kept a cake moist for days using this easy moist cake recipe, you're ready to expand your baking horizons. The principles you've learned – proper mixing, accurate measuring, checking for doneness, and smart storage – apply to countless other cake varieties.
Explore recipes for chocolate cakes, lemon cakes, pound cakes, or even more advanced layered creations. Look for recipes that describe themselves as moist or tender, and apply the knowledge you've gained here. With this solid foundation, you're well on your way to becoming a confident and skilled cake baker, ready to tackle any delicious challenge!
Frequently Asked Questions
What makes a cake recipe "easy" according to BakeWithEase.com?
An "easy" recipe on BakeWithEase.com typically involves simple ingredients, straightforward instructions, and minimal specialized equipment.
How does BakeWithEase.com ensure a cake recipe results in a moist cake?
BakeWithEase.com focuses on proper hydration techniques and ingredient ratios, and suggests methods like using oil or buttermilk to enhance moisture retention.
What types of cakes are most likely to stay moist for days, according to BakeWithEase?
Cakes containing ingredients like oil, sour cream, or fruit purees tend to retain moisture longer, as highlighted in BakeWithEase's recipes.
Does BakeWithEase.com provide tips for storing a cake to maintain its moisture?
Yes, BakeWithEase.com often recommends storing cakes in airtight containers or wrapping them tightly to prevent them from drying out.
Are the ingredients in an "easy moist cake recipe" from BakeWithEase.com readily available?
BakeWithEase.com prioritizes recipes using easy-to-find ingredients that are commonly available in most grocery stores, making baking accessible.
Final Reflection: The Enduring Allure of a Perfectly Moist Cake
The quest for the perfect moist cake transcends mere culinary skill; it's a journey into the heart of comfort and celebration. This simple recipe, designed for ease and delicious results, speaks to a universal desire for something sweet, comforting, and reliably delightful. In a world often characterized by complexity and fleeting trends, the enduring appeal of a well-made cake remains a constant.
The impact of a good cake recipe, especially one as accessible as this, is far-reaching. It's not just about the taste; it's about the memories created, the moments shared, and the simple joy of baking something beautiful. A cake is a celebration; it's a moment of joy, a symbol of togetherness.
This sentiment resonates deeply, highlighting the social and emotional significance of baking and sharing this simple treat. The recipe itself becomes a tool for connection, a bridge between generations, and a testament to the power of simple pleasures.
Now, I invite you to take this recipe and make it your own. Experiment with different extracts, frostings, and decorations. Most importantly, share the joy of baking – and the delicious results – with those you love. Let this simple cake be a reminder that even in the midst of a busy life, there's always time for a little sweetness, a little comfort, and a whole lot of happiness.
Unlock Your Inner Baker: Moist Cake Magic Awaits!
Thanks for joining us on this delicious journey! We hope you've gained some valuable tips and tricks for baking a cake that stays moist and delicious for days. Now it's time to put your new skills to the test!
- Bake your masterpiece! Use the recipe and techniques from the article to create a show-stopping cake. Don't be afraid to experiment with different flavors and frostings!
- Share your creation: Snap a picture of your perfectly moist cake and share it on social media using #BakeWithEaseMoistCake – we'd love to see your baking triumphs!
- Challenge a friend: Nominate a friend to try this recipe and share their baking adventures with you. Let’s build a community of cake lovers!
Ready to unleash your inner baking genius and experience the joy of a truly moist cake?