
Get That Perfect Peanut Butter Cookie Crosshatch: An Easy Beginner Trick

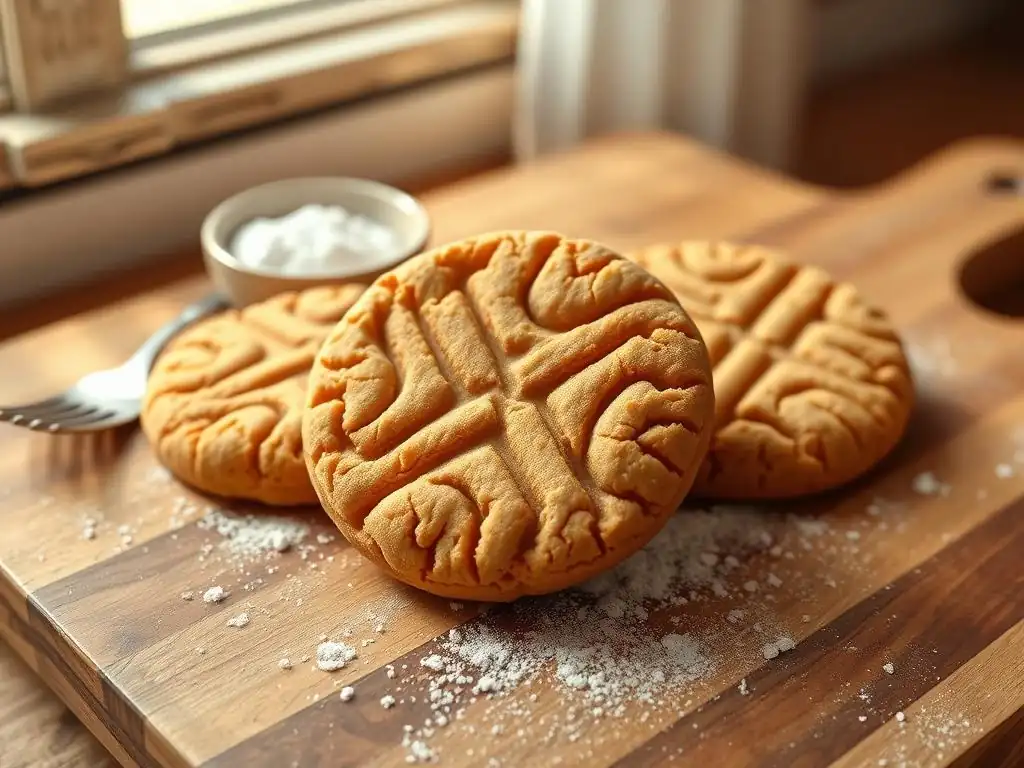
Welcome to BakeWithEase—your ultimate destination for mastering the delightful art of baking! Whether you're just starting out or looking to refine your skills, we provide you with simple recipes, techniques, and tips tailored for every baker. Today, we’re diving into a deliciously easy recipe that will elevate your baking game: Easy Peanut Butter Crosshatch Cookies. Discover how a few simple steps can lead you to that perfect crosshatch design, creating cookies that not only taste amazing but also look stunning. Ready to impress your friends and family? Let’s get started!
- Achieving the Perfect Peanut Butter Cookie Crosshatch
- Baking Delicious Peanut Butter Cookies with a Classic Design
- Creating Crosshatch Peanut Butter Cookies: A Simple Guide
- Step-by-Step Crosshatch Guide
- Troubleshooting
- Variations and Designs
- Storing Your Cookies
- Enjoy!
-
Frequently Asked Questions
- What makes these peanut butter cookies "easy," especially for beginners?
- How crucial is the crosshatch pattern for these peanut butter cookies?
- What are the key ingredients needed for these "Easy peanut butter crosshatch cookies"?
- Can I substitute any ingredients in the "Easy peanut butter crosshatch cookies" recipe?
- How can I ensure my "Easy peanut butter crosshatch cookies" don't turn out dry?
- Final Reflection: Mastering the Crosshatch & the Joy of Baking
- Unlock Your Inner Cookie Artist: Master the Crosshatch!
The simple act of pressing a fork onto a ball of peanut butter cookie dough does more than just create a visually appealing pattern; it significantly impacts the baking process and the final texture of your easy peanut butter crosshatch cookies. This iconic crosshatch isn't merely decorative; it serves a functional purpose by flattening the cookie dough to a more uniform thickness. A cookie that is too thick in the center compared to its edges will bake unevenly. The edges might brown too quickly or even burn while the center remains undercooked and doughy.
By creating the crosshatch, you ensure that the cookie has a relatively consistent thickness across its surface. This allows heat to penetrate the dough more evenly during baking, leading to a more uniform texture throughout – a slightly crispy edge that transitions smoothly to a soft, chewy center. For instance, baking a typical 1/2-inch thick cookie dough ball at 350°F (175°C) might take around 10-12 minutes.
Without the flattening crosshatch, the center might remain significantly thicker, potentially requiring several extra minutes of baking to cook through, by which time the thinner edges would be overdone. The crosshatch mitigates this by reducing the thickness variation, promoting that perfect, consistent bake that is the hallmark of a well-made peanut butter cookie.
The crosshatch pattern is undeniably the most recognizable feature of classic peanut butter cookies, instantly signaling their flavor and comforting familiarity. This simple design has been associated with peanut butter cookies for generations, becoming a visual cue that evokes nostalgia and anticipation for that distinct sweet and salty taste. While the exact origin is debated, a popular theory suggests it was initially used to differentiate peanut butter cookies from other types on a baking sheet, or perhaps even to ensure they flattened adequately without excessive spreading. Regardless of its historical start, it's now a beloved tradition.
Beyond identification, the indentations created by the fork tines slightly alter the cookie's surface area and texture in those specific spots. The dough pressed down by the fork tends to bake up slightly denser and can sometimes offer a tiny bit more crispness compared to the raised areas. This subtle textural contrast within a single bite adds another layer of enjoyment to the cookie experience. Mastering this technique is a foundational step in learning to make easy peanut butter crosshatch cookies and is often one of the first skills a beginner baker learns when tackling this classic treat.
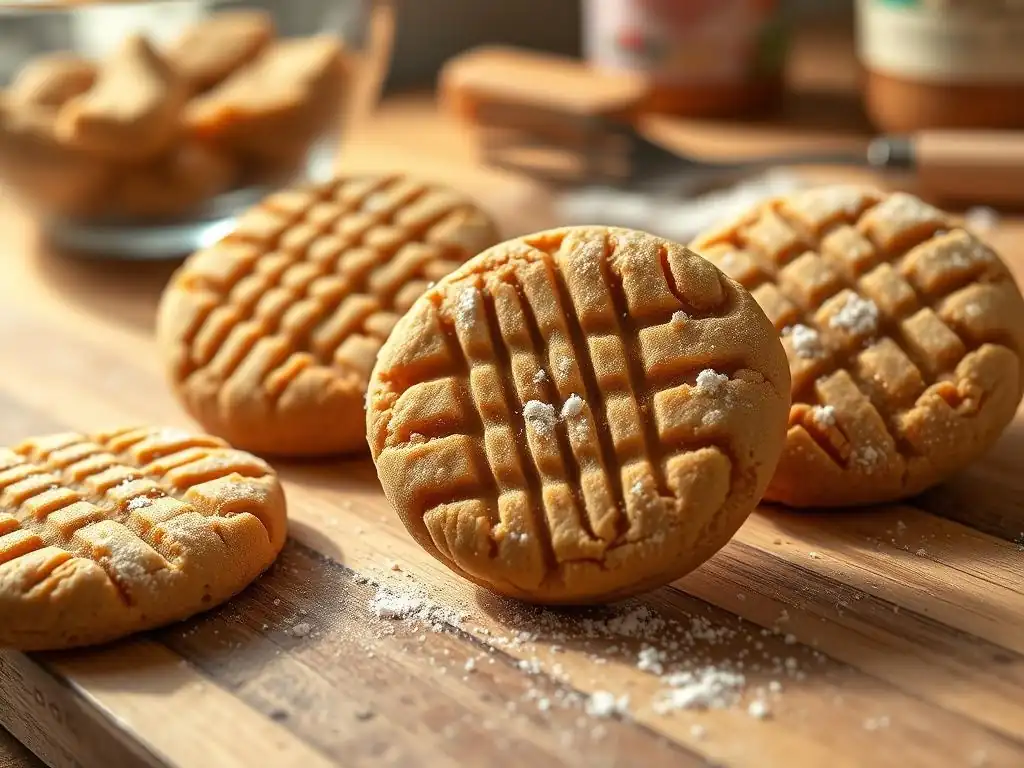
Making easy peanut butter crosshatch cookies starts with a reliable recipe. Here’s a straightforward one perfect for beginners. This recipe typically yields about 2-3 dozen cookies, depending on their size.
Ingredients:
- 1 cup (2 sticks) unsalted butter, softened
- 1 cup creamy peanut butter (natural or conventional)
- 1 cup granulated sugar
- 1 cup packed light brown sugar
- 2 large eggs
- 1 teaspoon vanilla extract
- 2 ½ cups all-purpose flour
- 1 teaspoon baking soda
- ½ teaspoon baking powder
- ½ teaspoon salt
Essential Tools:
- Large mixing bowls (at least 2)
- Electric mixer (stand mixer or hand mixer) or sturdy whisk and spatula
- Measuring cups and spoons
- Rubber spatula or wooden spoon
- Baking sheets
- Parchment paper or silicone baking mats
- Small scoop or measuring spoon (for portioning dough)
- Dinner fork
Step-by-Step Crosshatch Guide
Step 1: Preparing the Dough
Begin by creaming together the softened butter, creamy peanut butter, granulated sugar, and brown sugar in a large bowl using an electric mixer until the mixture is light and fluffy. This usually takes about 2-3 minutes on medium speed. Ensure the butter is properly softened, not melted, for the best results; it should yield slightly when pressed but not be oily.
Next, beat in the eggs one at a time, mixing well after each addition. Scrape down the sides of the bowl as needed to ensure everything is incorporated. Stir in the vanilla extract. In a separate medium bowl, whisk together the all-purpose flour, baking soda, baking powder, and salt. Gradually add the dry ingredients to the wet ingredients, mixing on low speed just until combined. Be careful not to overmix, as this can result in tough cookies. The dough should be relatively firm but still pliable.
Tips for Flavor and Texture
For an extra layer of flavor in your easy peanut butter crosshatch cookies, consider using half creamy and half crunchy peanut butter. This adds delightful little pockets of roasted peanut texture throughout the cookie. Ensure your baking soda and baking powder are fresh; expired leavening agents can lead to flat, dense cookies that don't spread correctly or hold their shape well after pressing.
If your dough seems too soft after mixing, especially in warmer kitchens, cover the bowl and chill it in the refrigerator for 30-60 minutes. Chilling the dough makes it much easier to handle, scoop, and shape into balls without sticking excessively to your hands or the scoop. It also helps prevent the cookies from spreading too much while baking, ensuring they maintain a nice thickness.
Once your dough is ready, it's time to portion and shape the cookies. Use a small cookie scoop (about 1.5 to 2 tablespoons in size) or a measuring spoon to portion out consistent amounts of dough. Roll each portion between your palms to form smooth, round balls. Aim for balls roughly 1 to 1.5 inches in diameter.
Place the rolled dough balls onto baking sheets lined with parchment paper or silicone mats, spacing them about 2-3 inches apart. They will spread slightly during baking, and adequate spacing prevents them from running into each other. Using a scoop helps ensure all your cookies are roughly the same size, which is crucial for achieving uniform baking time and results across the entire batch.
Achieving Uniformity
Uniformity in size is key to baking successful easy peanut butter crosshatch cookies. If some cookies are significantly larger than others on the same sheet, the smaller ones will finish baking much sooner, risking being overdone or burnt by the time the larger ones are ready. A standard cookie scoop is an invaluable tool for this.
If you don't have a scoop, use a measuring spoon (like a tablespoon) to portion the dough, then roll it into balls. Take a moment to eyeball the balls and ensure they are roughly the same size before placing them on the baking sheet. This simple step dramatically improves the consistency of your baked goods.
Step 3: The Crosshatch Technique
Now for the signature step! Take a dinner fork and lightly flour the tines. This prevents the dough from sticking to the fork as you press. For each dough ball, gently press the fork down onto the center, flattening the ball into a disk.
Lift the fork, rotate it 90 degrees, and press down again, creating the classic crosshatch pattern. This action not only creates the visual design but also flattens the cookie dough to a thickness of roughly 1/2 inch, promoting even baking as discussed earlier.
Using a Fork for Definition
To get a clear, defined crosshatch on your easy peanut butter crosshatch cookies, make sure the fork tines are clean and lightly floured before each press. Pressing down firmly enough to flatten the cookie significantly but not so hard that you press it completely flat to the baking sheet is the goal. You want a distinct pattern with ridges and valleys.
Experiment with the amount of flour on the fork; too much can leave white residue on the cookies, while too little will cause sticking. A quick dip in a small bowl of flour or even sugar works well.
Adjusting Pressure
The amount of pressure you apply with the fork directly impacts the thickness and spread of the cookie. A firmer press will result in a thinner, wider cookie, while a lighter press will yield a thicker cookie that spreads less. Practice on a few cookies to find the pressure that gives you the desired thickness and pattern definition.
Consistency in pressure across all cookies on a single baking sheet is important for uniform results. Try to press each cookie with roughly the same force and to the same thickness. This, combined with uniform dough ball size, ensures your easy peanut butter crosshatch cookies bake evenly.
Preheat your oven to 350°F (175°C). Place one baking sheet of prepared, crosshatched cookies on the center rack of the preheated oven. Baking one sheet at a time, especially in home ovens, often leads to more consistent results than trying to bake multiple sheets simultaneously, which can impede air circulation and cause uneven temperatures.
Bake the cookies for 10-12 minutes. The exact baking time can vary depending on your oven and the size/thickness of your cookies. Look for the edges to be lightly golden brown and the centers to appear set, no longer wet or glossy. The cookies will continue to set up slightly as they cool on the baking sheet.
Temperature and Time
Baking easy peanut butter crosshatch cookies at the correct temperature is vital. 350°F (175°C) is a standard temperature that allows the cookies to bake through without burning the outside before the inside is done. Baking at too high a temperature can lead to hard, dry cookies, while too low can result in excessive spreading and a pale, undercooked texture.
Always start checking for doneness at the lower end of the suggested time range (e.g., 10 minutes). If the edges are just starting to turn golden and the center still looks a bit soft, give them another minute or two. It's better to check frequently than to rely solely on the timer.
Monitoring for Doneness
Signs that your easy peanut butter crosshatch cookies are done include lightly browned edges and a center that looks matte and set, not shiny. They shouldn't look raw or wet in the middle. They may still look slightly soft when you first pull them out of the oven; this is normal.
Allow the cookies to cool on the baking sheet for 5-10 minutes before carefully transferring them to a wire rack to cool completely. This cooling time on the hot sheet helps them finish baking gently and firm up enough to move without breaking. Moving them too soon can cause them to fall apart.
Troubleshooting
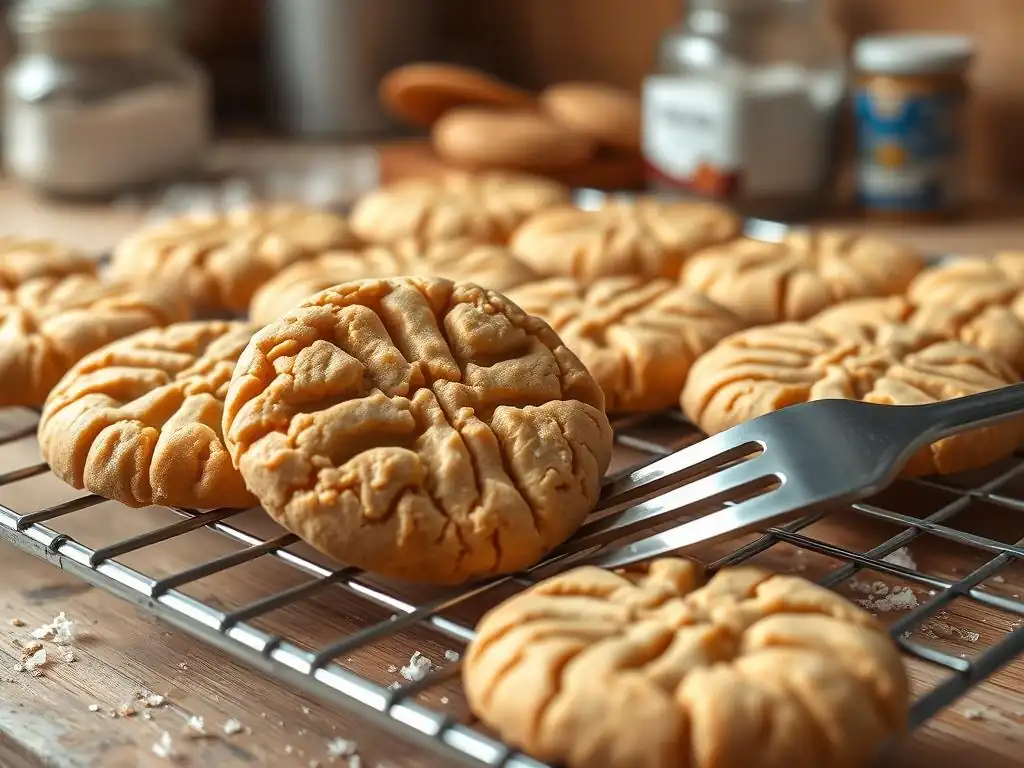
Sticky Dough
If your peanut butter cookie dough is excessively sticky and difficult to roll into balls or press with a fork, there are a few common culprits. This often indicates the butter was too soft or even slightly melted, or perhaps the kitchen is very warm. Insufficient flour can also contribute to stickiness.
- Chill the dough: This is the easiest fix. Cover the bowl and refrigerate the dough for at least 30-60 minutes, or until it's firm enough to handle easily.
- Add a little more flour: If chilling isn't enough, you can try mixing in a tablespoon or two more of all-purpose flour. Do this sparingly to avoid making the cookies tough.
- Flour your hands and tools: Keep a small bowl of flour nearby and lightly dust your hands, the scoop, and the fork tines as needed while working with the dough.
Disappearing Crosshatch
Sometimes, the beautiful crosshatch pattern seems to vanish or become very faint after baking. This usually happens because the cookie spread too much during baking, essentially "filling in" the indentations. Excessive spread can be caused by several factors, including butter that was too soft, insufficient chilling of the dough, too little flour, or baking at too low a temperature.
- Chill the dough longer: Ensure your dough is well-chilled before shaping and pressing.
- Re-press gently mid-bake (carefully!): Some bakers carefully open the oven partway through baking (around 5-6 minutes) and gently re-press the crosshatch with a floured fork. Use oven mitts and be very cautious of the hot oven.
- Ensure accurate measurements: Double-check that you used the correct amount of flour and that leavening agents are fresh.
- Check oven temperature: Use an oven thermometer to ensure your oven is heating accurately.
Uneven Baking
If some cookies on the sheet are perfectly baked while others are underdone or overdone, this points to uneven heat distribution in your oven or inconsistent cookie size/thickness. As mentioned earlier, uniformity is key for easy peanut butter crosshatch cookies.
- Ensure uniform size and thickness: Use a scoop and press each cookie with roughly the same pressure to ensure they are all similar in size and thickness before baking.
- Rotate the baking sheet: Halfway through the baking time (e.g., after 5-6 minutes), carefully rotate the baking sheet 180 degrees in the oven. This helps expose all cookies to the same amount of heat.
- Bake one sheet at a time: For the most consistent results, bake only one sheet of cookies on the center rack at a time.
Variations and Designs
Experimenting with Patterns
While the classic crosshatch is iconic for easy peanut butter crosshatch cookies, don't be afraid to get creative! You can press once with a fork for a simple line pattern, or even use the bottom of a glass to flatten the cookies if you prefer a smooth top (though you'll miss the functional benefit of the tines for potential unevenness).
- Try pressing with a cookie stamp for a decorative image.
- Use the back of a spoon to create a concave center, perfect for adding a chocolate kiss or a dollop of jam after baking.
- Make smaller or larger dough balls to change the size of your cookies.
Different Tools for Unique Effects
Beyond the standard dinner fork, other tools can create interesting textures and patterns on your easy peanut butter crosshatch cookies. Consider what you have in your kitchen!
- Pastry blender: The tines can create a different kind of textured surface.
- Potato masher: Some mashers have patterns that could transfer uniquely to the cookie dough.
- Textured rolling pin: If you're flattening a larger sheet of dough to cut shapes, a textured pin can add an overall design.
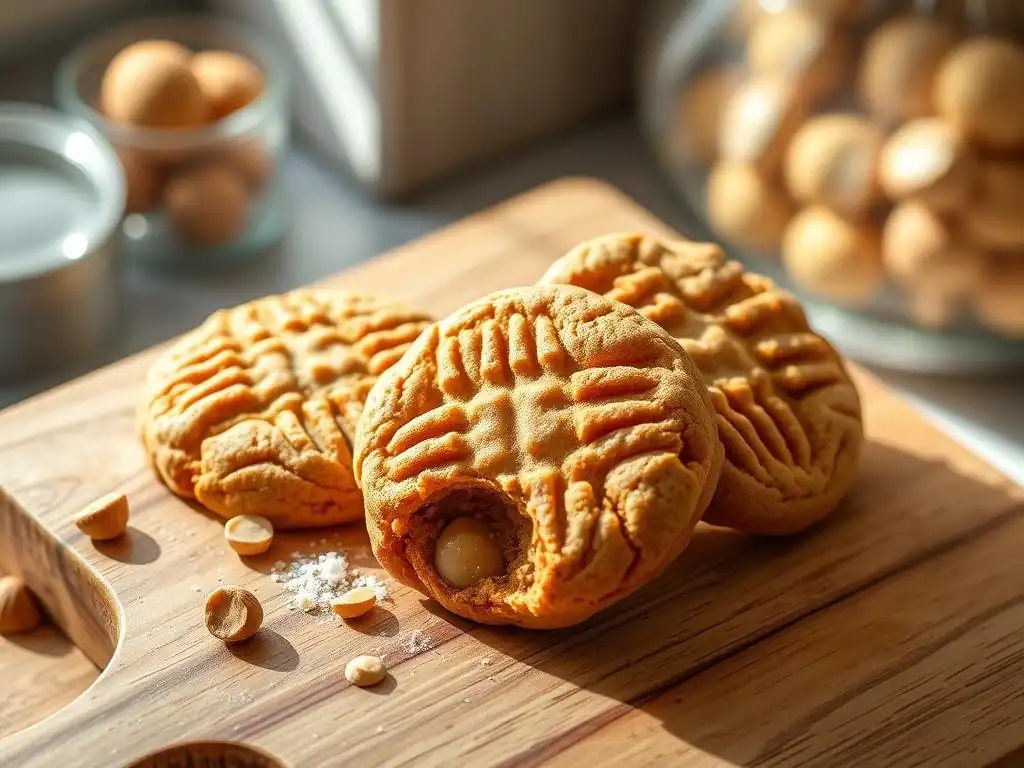
Maintaining Freshness
Proper storage is key to keeping your easy peanut butter crosshatch cookies delicious and fresh for as long as possible. Once completely cooled on a wire rack, store them in an airtight container at room temperature.
- Place a slice of plain white bread in the container with the cookies; the cookies will absorb moisture from the bread, helping them stay soft. Replace the bread slice every couple of days.
- Layer cookies with parchment paper if stacking multiple layers to prevent them from sticking together.
- Store away from direct sunlight or heat sources.
- Baked peanut butter cookies typically stay fresh for 3-5 days at room temperature. For longer storage, they can be frozen in an airtight container or freezer bag for up to 3 months. Thaw at room temperature.
Enjoy!
Frequently Asked Questions
The recipe emphasizes simple ingredients and a straightforward process, making it perfect for those new to baking. The article specifically focuses on achieving the crosshatch pattern, which is made easy with a simple fork technique.
While not essential for the taste, the crosshatch pattern is visually appealing and a classic characteristic of peanut butter cookies. The article provides an easy trick to consistently achieve this design.
The key ingredients include peanut butter, flour, sugar (both granulated and brown), butter, eggs, and baking soda. The recipe aims for readily available ingredients in most pantries.
Some substitutions are possible, such as using a different type of nut butter. However, altering the core ingredients like flour, sugar, or peanut butter may affect the texture and flavor of the final cookies.
Avoid overbaking them! Bake until the edges are set and the centers are still slightly soft. Also, measuring ingredients accurately is crucial to maintaining proper moisture levels.
Final Reflection: Mastering the Crosshatch & the Joy of Baking
The seemingly simple act of creating a perfect peanut butter cookie crosshatch is more than just a baking technique; it's a gateway to culinary confidence. This seemingly small detail elevates a classic treat, transforming a humble cookie into a visually appealing masterpiece. It's a testament to the power of small details in achieving big results, a lesson applicable far beyond the kitchen.
The crosshatch, in its simplicity, mirrors the beauty found in mastering small skills to achieve larger goals. It's a reminder that perfection isn't about grand gestures, but the meticulous attention to detail. The difference between ordinary and extraordinary is that little extra.
This quote resonates deeply, as the crosshatch itself is that "little extra" that takes a good cookie and makes it truly memorable. The process, from carefully measuring ingredients to the precise pressure of the fork, cultivates patience and a sense of accomplishment, mirroring the satisfaction found in mastering any skill.
Now, I invite you to take this newfound knowledge and apply it to your own baking adventures. Don't be afraid to experiment, to embrace the imperfections, and to find joy in the process. Whether it's perfecting your crosshatch, tackling a new recipe, or pursuing a personal goal, remember the power of small, deliberate actions. The next time you bake, remember the satisfaction of a perfectly executed crosshatch – a symbol of your own potential for growth and achievement. Go forth and create your own culinary masterpieces!
Thanks for joining us on this delicious journey to perfect peanut butter cookie crosshatches! You've just unlocked a simple yet impressive baking skill. Ready to put your new knowledge to the test?
- Craft your masterpiece: Try making a batch of peanut butter cookies today, using the crosshatch technique you've learned. Experiment with different pressure levels to see the variations you can achieve.
- Share your creations: Post a picture of your beautifully crosshatched cookies on social media and tag us – we'd love to see your baking artistry! Use #BakeWithEaseCrosshatch
- Challenge a friend: Share this article with a friend who loves to bake and challenge them to a crosshatch cookie-off!
Now, tell us: What unique variations on the crosshatch technique will you try first?