
The Only Quick Bread Guide a Beginner Needs

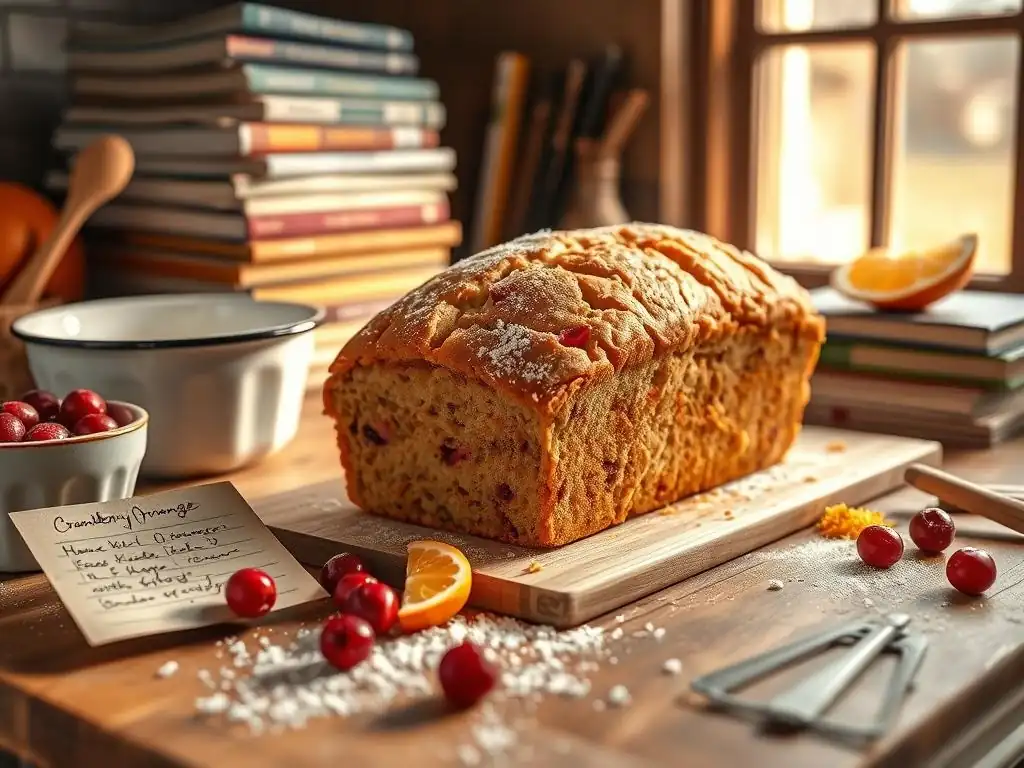
Welcome to BakeWithEase, where the delightful world of baking becomes accessible to everyone! Whether you're just starting out or looking to refine your skills, we have everything you need to embark on your baking journey. Dive into our featured article, "The Only Quick Bread Guide a Beginner Needs," and unlock the secrets to crafting delicious quick breads with ease. With our straightforward recipes and expert tips, you'll be whipping up mouthwatering loaves in no time. So roll up your sleeves, preheat that oven, and let’s get baking!
- Mastering Quick Breads: A Beginner's Guide to Baking Success
- Understanding Quick Breads: Foundations for New Bakers
- Essential Equipment for Quick Bread Baking
- Quick Bread Ingredients: A Detailed Guide
- Beginner-Friendly Recipe: Classic Blueberry Muffins
- Troubleshooting Common Quick Bread Issues
- Expanding Your Quick Bread Repertoire
- Storage and Preservation Techniques
- Advanced Tips for Quick Bread Perfection
- Quick Bread Baking: Recap and Future Baking
-
Frequently Asked Questions
- What exactly is quick bread, and why is it good for beginners?
- What are some of the most common types of quick bread a beginner might want to try?
- What are the key differences between using baking powder and baking soda in quick bread recipes?
- What are some common mistakes beginners make when baking quick bread, and how can they be avoided?
- Where can I find reliable and easy-to-follow quick bread recipes designed specifically for beginners?
- Final Reflection: The Joy of Baking, One Quick Bread at a Time
- Unleash Your Inner Baker: Quick Bread Mastery Awaits!
Mastering Quick Breads: A Beginner's Guide to Baking Success
Understanding Quick Breads: Foundations for New Bakers
Defining Quick Breads: Leavening Without Yeast
Quick breads are a fantastic entry point for anyone looking for a quick bread beginner recipe guide. Unlike traditional yeast breads, which rely on yeast and fermentation to rise, quick breads use chemical leavening agents. These agents, primarily baking powder and baking soda, create carbon dioxide bubbles rapidly when mixed with liquid and/or subjected to heat, causing the dough or batter to rise quickly during baking. This means there's no kneading or lengthy proofing time required, making them significantly faster to prepare from start to finish compared to yeast-leavened goods.
Think of classics like muffins, scones, biscuits, cornbread, and even many types of loaf cakes (like banana bread or zucchini bread) – these all fall under the quick bread umbrella. The defining characteristic is this fast-acting leavening process. This fundamental difference is what makes quick breads so accessible and appealing, especially for beginners eager to see delicious results without a significant time commitment. Mastering the basics of how these leaveners work is key to success with any quick bread recipe.
Benefits of Quick Breads: Speed and Simplicity
The most significant advantage of quick breads, particularly for those seeking a quick bread beginner recipe guide, is their inherent speed and simplicity. From mixing the ingredients to pulling the finished product from the oven, many quick bread recipes can be completed in under an hour, sometimes even as little as 30-40 minutes for things like biscuits or muffins. This contrasts sharply with yeast breads, which can take several hours or even days due to the necessary rising periods.
Furthermore, the techniques involved in making quick breads are generally straightforward. Most recipes follow a simple mix-wet-into-dry approach, or a cut-in method for richer doughs like biscuits or scones. There's no complex kneading process or the need to develop gluten structure in the same way as yeast doughs. This lower barrier to entry makes quick breads incredibly rewarding for beginners, allowing them to build confidence and enjoy delicious homemade baked goods relatively quickly. It's truly a perfect starting point on your baking journey.
Essential Equipment for Quick Bread Baking
Mixing and Measuring Tools: Accuracy is Key
Accurate measurement is paramount in quick bread baking because the chemical leavening reactions rely on precise ratios. For dry ingredients like flour, sugar, baking powder, and baking soda, using dry measuring cups that can be leveled off with a straight edge is crucial. For smaller amounts of leaveners, salt, and spices, a set of measuring spoons is indispensable. Over- or under-measuring these can significantly impact the texture and rise of your quick bread.
Liquids, such as milk, buttermilk, or oil, should be measured in liquid measuring cups, which typically have a spout and markings up the side, allowing you to read the volume at eye level. For mixing, you'll need at least one or two large mixing bowls. A standard set might include a 2-quart and a 4-quart bowl. Whisks are essential for combining dry ingredients and sometimes for aerating wet ingredients like eggs. Rubber spatulas or wooden spoons are needed for folding ingredients together gently without overmixing, which is a common pitfall in quick bread preparation.
Baking Pans: Selecting the Right Size and Material
The type and size of baking pan are critical for quick breads, influencing bake time, crust development, and overall shape. Loaf pans are standard for banana bread, zucchini bread, and pound cakes, typically coming in a 9x5 inch or 8.5x4.5 inch size. Muffin tins (standard 12-cup) are used for muffins and cupcakes, while square or rectangular pans (like 8x8 inch or 9x13 inch) are suitable for cornbread or some coffee cakes.
The material of the pan also matters. Metal pans, especially light-colored aluminum, conduct heat efficiently and promote even browning. Darker metal pans can absorb more heat, potentially leading to darker crusts or faster baking times, so recipes often specify adjustments.
Glass or ceramic pans heat up more slowly but retain heat well, which can be good for even cooking but may require slightly longer bake times or a reduction in oven temperature (often 25°F or about 15°C). Using the pan size specified in your quick bread beginner recipe guide is vital to ensure the correct bake time and prevent overflow or underbaking.
Oven Management: Temperature and Placement
Proper oven temperature is non-negotiable for successful quick bread baking. Chemical leaveners are activated by heat, and an oven that is too cool or too hot will result in poor rise or uneven texture. Always preheat your oven fully before putting the quick bread in; this can take 15-20 minutes or more depending on the oven. An oven thermometer can help verify the accuracy of your oven's thermostat, as they can sometimes be off by 25-50°F (about 15-30°C).
Placement within the oven also affects baking. For most quick breads, baking on the middle rack provides the most even heat distribution, ensuring the top and bottom cook at roughly the same rate. If baking multiple items, ensure there is adequate space around each pan for air circulation. Avoid placing pans directly against oven walls. For loaf cakes or muffins, baking too high or too low can lead to tops browning too quickly or bottoms becoming too dark before the interior is cooked through.
Quick Bread Ingredients: A Detailed Guide

Flour: Types and Their Impact on Texture
Flour provides the structure for quick breads. All-purpose flour is the most common choice in a quick bread beginner recipe guide because it offers a good balance of protein (gluten) content, typically around 10-12%. This creates enough structure to hold the shape without making the quick bread tough. When measuring, spoon the flour lightly into the measuring cup and level it off; scooping directly from the bag can compact the flour, resulting in too much flour by weight (up to 25% more!) and a dry, dense quick bread.
Other flours can be used, but they will alter the texture. Cake flour (7-8% protein) creates a very tender, fine crumb but might not provide enough structure for some recipes. Whole wheat flour (13-14% protein) adds flavor and nutrition but results in a denser texture; it's often best used in combination with all-purpose flour in a quick bread for beginners to maintain a lighter crumb. Gluten-free flour blends are also available, but they require specific recipe adjustments as they lack gluten entirely, which is the primary structure provider in traditional quick breads.
Sweeteners: Exploring Sugar, Honey, and Alternatives
Sweeteners add flavor, contribute to tenderness, and aid in browning the crust of your quick bread. Granulated sugar is the most common type, providing clean sweetness and helping to create a tender crumb by interfering with gluten development. Brown sugar adds moisture and a slightly different flavor profile due to the presence of molasses. Light brown sugar has less molasses than dark brown sugar, resulting in a milder flavor.
Liquid sweeteners like honey, maple syrup, or agave nectar can also be used, but they add moisture and can affect the texture and rise. When substituting liquid sweeteners for granulated sugar in a quick bread beginner recipe, you may need to slightly reduce other liquids in the recipe and potentially add a bit more flour to maintain the proper batter consistency. Artificial sweeteners can provide sweetness but do not contribute to structure, moisture, or browning in the same way, often resulting in quick breads with different textures and less desirable crusts.
Leavening Agents: Baking Powder, Baking Soda, and Their Reactions
The stars of the quick bread show are the chemical leavening agents: baking powder and baking soda. Baking soda (sodium bicarbonate) requires an acid to react and produce carbon dioxide. Common acids in quick breads include buttermilk, yogurt, sour cream, molasses, brown sugar, honey, fruit purees, or vinegar. When baking soda is combined with an acid and liquid, it reacts immediately.
Baking powder, on the other hand, is a complete leavener containing both an acid (like cream of tartar) and a base (baking soda), along with a starch filler. Most baking powders are double-acting, meaning they produce a small amount of gas when mixed with liquid and then a second, more powerful release of gas when exposed to heat in the oven.
Using the correct type and amount of leavener specified in your quick bread beginner recipe is critical for achieving the desired rise and texture. Too little means a flat, dense quick bread; too much can lead to a bitter or soapy taste and an overly rapid rise that collapses.
Liquids: Milk, Buttermilk, and Their Role in Moisture
Liquids are essential for hydrating the dry ingredients, activating the leavening agents, and contributing to the overall moisture and tenderness of a quick bread. Milk is a common liquid, providing moisture and a bit of fat and protein for richness and browning. Buttermilk is particularly popular in quick breads like muffins and biscuits because its acidity reacts with baking soda, producing a significant lift and contributing to a tender crumb.
Other liquids like yogurt, sour cream, water, fruit juices, or even melted butter or oil (though often considered fats, they are liquid at room temperature) can be used depending on the recipe. The amount of liquid significantly impacts batter consistency – too little results in a dry, crumbly quick bread, while too much can lead to a heavy, wet interior or a quick bread that collapses. Always measure liquids accurately and follow the recipe's lead.
Flavor Enhancers: Fruits, Nuts, Spices, and Extracts
Beyond the basic structure, flavor enhancers are what make quick breads exciting and delicious. Fresh or dried fruits (like blueberries, cranberries, bananas, or apples) add sweetness, moisture, and bursts of flavor. Nuts (walnuts, pecans, almonds) provide crunch and richness. Spices such as cinnamon, nutmeg, ginger, or cloves add warmth and complexity, especially in autumnal quick breads.
Extracts, like vanilla extract, almond extract, or lemon extract, intensify or add specific flavors without adding significant liquid. Chocolate chips, cocoa powder, or citrus zest are other common additions. When adding mix-ins like fruit or nuts to a quick bread beginner recipe, it's often helpful to toss them with a tablespoon or two of the dry flour mixture before adding them to the wet ingredients. This helps prevent them from sinking to the bottom of the batter during baking.
Beginner-Friendly Recipe: Classic Blueberry Muffins
Ingredient Preparation: Setting Up for Success
Before you start mixing your first quick bread for beginners, it's crucial to prepare all your ingredients. This practice, known as "mise en place," ensures you don't forget anything and makes the mixing process smoother. Start by preheating your oven to the temperature specified in the recipe, commonly around 375°F to 400°F (190°C to 200°C) for muffins. Grease and flour your muffin tin, or line it with paper liners.
Measure all your dry ingredients into one large bowl: flour, sugar, baking powder, salt, and any spices. Give them a quick whisk to combine and distribute the leavening evenly. In a separate bowl, measure and whisk together all your wet ingredients: milk (or buttermilk), eggs, melted butter or oil, and vanilla extract. If using fresh blueberries, gently rinse them and pat them dry. Tossing them with a tablespoon of the measured flour mixture can help prevent them from sinking.
Batter Mixing Techniques: Achieving Optimal Texture
The key to tender quick breads, especially muffins, is to mix the batter just until the dry ingredients are incorporated into the wet, avoiding overmixing. This is often referred to as the "muffin method." Start by pouring the wet ingredients into the bowl with the dry ingredients. Using a rubber spatula or wooden spoon, gently fold the ingredients together.
Mix only until you no longer see streaks of dry flour. A few small lumps in the batter are perfectly fine and even desirable; overmixing develops gluten, which leads to tough, dense muffins rather than light, tender ones. If adding mix-ins like blueberries, fold them in gently during the last few stirs. The entire mixing process should take less than a minute or two once the wet and dry are combined. This gentle touch is a fundamental technique in any quick bread beginner recipe guide.
Baking Process: Temperature and Timing for Perfection
Once your muffin batter is mixed, scoop it evenly into the prepared muffin tin cavities, filling them about two-thirds to three-quarters full. Place the tin in the preheated oven, ideally on the middle rack. The baking time will vary depending on the recipe and your oven, but for standard-sized muffins, it typically ranges from 18 to 25 minutes at 375-400°F (190-200°C).
Begin checking for doneness around the minimum recommended time. A common test is to insert a wooden skewer or toothpick into the center of a muffin; if it comes out clean or with a few moist crumbs attached (but no wet batter), they are done. The tops should also be golden brown and spring back lightly when gently pressed. Baking quick breads at the correct temperature ensures the leavening agents activate properly and the exterior browns nicely while the interior cooks through.
Cooling and Serving: Preserving Quality
Once your quick bread, like these blueberry muffins, is baked, resist the urge to immediately remove them from the pan. Allowing them to cool in the pan for a few minutes (typically 5-10 minutes for muffins or loaves) allows them to set slightly and makes them easier to remove without breaking. Place the pan on a wire rack during this initial cooling period.
After the initial cooling, carefully remove the muffins or loaf from the pan and transfer them directly onto the wire rack to cool completely. Cooling on a wire rack allows air to circulate around the entire quick bread, preventing the bottom from becoming soggy from trapped steam. While warm quick breads are often delicious, allowing them to cool fully (especially loaves) improves their texture and makes them easier to slice cleanly. Serve warm or at room temperature.
Troubleshooting Common Quick Bread Issues
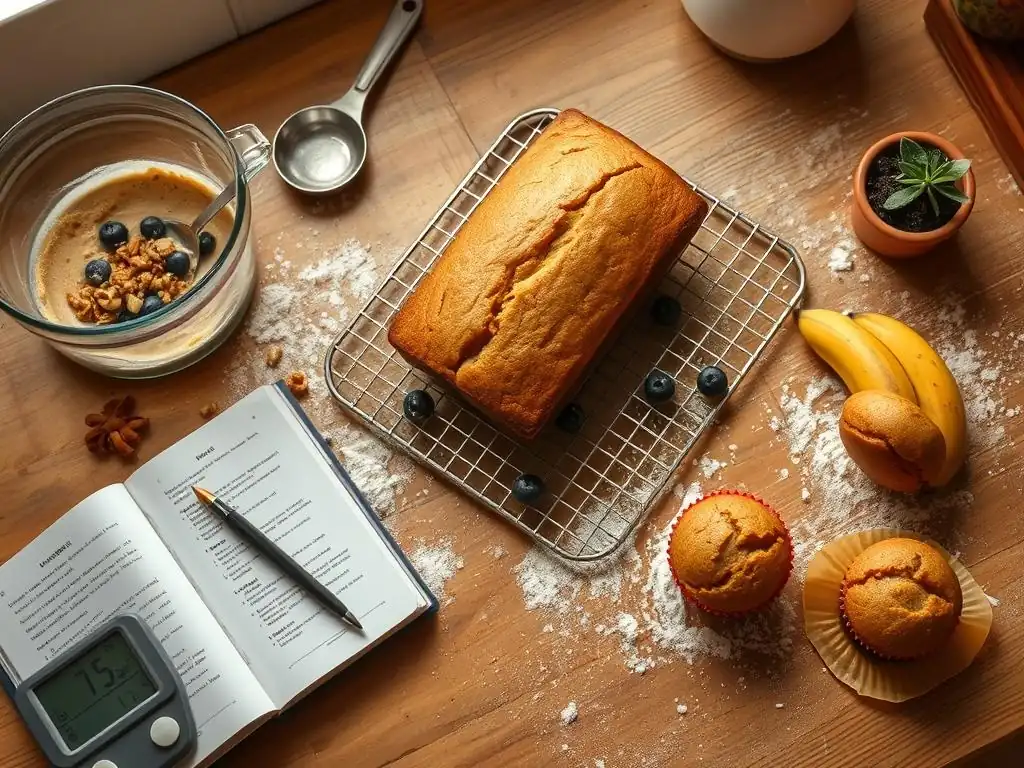
Dense Breads: Causes and Solutions
One of the most frustrating issues when making a quick bread for beginners is ending up with a dense, heavy result instead of a light, airy one. The primary culprit is almost always overmixing the batter. When you overmix, you develop the gluten in the flour too much, leading to a tough, bread-like texture rather than the desired tender crumb of a quick bread. Always mix wet and dry ingredients just until combined, leaving some small lumps.
Another cause of density can be using too much flour, often due to scooping instead of spooning and leveling, as mentioned earlier. This throws off the wet-to-dry ratio. Incorrect or expired leavening agents (baking powder or baking soda) will also result in a poor rise and a dense quick bread. Ensure your leaveners are fresh; you can test baking powder by adding a teaspoon to hot water (it should fizz vigorously) and baking soda by adding a teaspoon to vinegar (it should fizz immediately).
Dry Breads: Prevention and Remedies
Dry quick breads lack moisture and can be crumbly or hard. This is often caused by using too much flour, which absorbs excessive moisture. As highlighted in this quick bread beginner recipe guide, accurate measurement, particularly spooning and leveling flour, is key to prevention. Overbaking is another major contributor to dryness; baking for too long or at too high a temperature evaporates too much moisture from the quick bread. Use the toothpick test and start checking for doneness at the minimum recommended time.
Using too little fat (butter or oil) or liquid (milk, eggs) can also lead to a dry quick bread, as these ingredients contribute to moisture and tenderness. Ensure you are measuring these accurately as well. While you can't fix a dry quick bread after it's baked, you can try serving it warm with butter, jam, or a glaze to add moisture. For future attempts, double-check ingredient measurements and baking times.
Uneven Baking: Addressing Hot Spots and Positioning
Quick breads can sometimes bake unevenly, with one side browning faster than the other or the center remaining undercooked while the edges are done. This is frequently due to hot spots in your oven. Most ovens have slight temperature variations. Using an oven thermometer can help you understand where your oven is hottest and coolest.
To mitigate uneven baking, try rotating your quick bread pan halfway through the baking time. For example, if a loaf is baking for 50 minutes, turn the pan 180 degrees after 25 minutes. Ensure the pan is placed on the middle rack, away from the oven walls, to allow for better air circulation. If you are baking multiple items, avoid crowding the oven; this obstructs airflow and can lead to uneven results. Sometimes, simply knowing your oven's quirks and adjusting positioning or bake time slightly is necessary.
Collapsed Breads: Identifying and Correcting the Cause
A quick bread that rises beautifully in the oven only to sink in the middle after cooling is a common disappointment. This collapse is often a sign that the interior structure was not fully set before the quick bread was removed from the oven. The most frequent cause is underbaking. Even if the top looks done, the center may still be wet and unable to support the weight of the quick bread as it cools.
Another reason for collapse can be using too much leavening agent. While leaveners provide lift, an excessive amount can cause the quick bread to rise too rapidly or too high, creating a weak structure that can't sustain itself. Measuring baking powder and baking soda accurately is crucial. Opening the oven door too early or too frequently during the baking process can also cause a sudden drop in temperature, which can shock the quick bread and lead to collapse before the structure is set.
Expanding Your Quick Bread Repertoire
Sweet Quick Breads: Scones, Biscuits, and More
Once you've mastered a basic quick bread beginner recipe like muffins, a world of other sweet quick breads awaits! Scones are a delightful option, typically less sweet than muffins and made with a dough that is cut into shapes (like triangles or rounds) before baking. They often incorporate butter cut into the dry ingredients, similar to pastry dough, resulting in a tender, crumbly texture.
Biscuits are another beloved quick bread, usually made with very cold butter or shortening cut into flour, milk or buttermilk, and leavening. The key to flaky biscuits is creating layers of fat within the dough. Other sweet quick breads include loaf cakes like banana bread, pumpkin bread, or lemon poppy seed bread, which are baked in loaf pans and are often moister and more cake-like than muffins.
Savory Quick Breads: Cornbread, Soda Bread, and Variations
Quick breads aren't limited to sweet treats; many delicious savory options exist. Cornbread, a staple in many cuisines, is a classic example. It's typically made with a mixture of cornmeal and wheat flour and leavened with baking powder and often baking soda if buttermilk is used. Variations include adding cheese, jalapeños, or herbs.
Soda bread is another traditional savory quick bread, particularly associated with Ireland. It uses baking soda as the primary leavening agent, activated by buttermilk. It's often a simple dough made with flour, baking soda, salt, and buttermilk, sometimes with the addition of butter or raisins (for a slightly sweeter version). These savory quick breads are excellent accompaniments to soups, stews, or chili, offering a different dimension to the quick bread category.
Seasonal Quick Breads: Adapting Recipes to the Seasons
Quick breads are wonderfully adaptable to seasonal ingredients, making them perfect for year-round baking. In the spring, think about quick breads featuring rhubarb or strawberries. Summer brings an abundance of berries like raspberries and blackberries, perfect for muffins or scones, and vegetables like zucchini for zucchini bread.
Fall is prime quick bread season with pumpkin bread, apple muffins, and spiced loaf cakes featuring cinnamon, nutmeg, and ginger. Winter offers opportunities to use cranberries, oranges, and warm spices in quick breads. Adapting a basic quick bread beginner recipe by swapping in seasonal fruits, nuts, or spices is a great way to keep your baking fresh and exciting throughout the year. Just be mindful of the moisture content added by different fruits and adjust baking times as needed.
Storage and Preservation Techniques
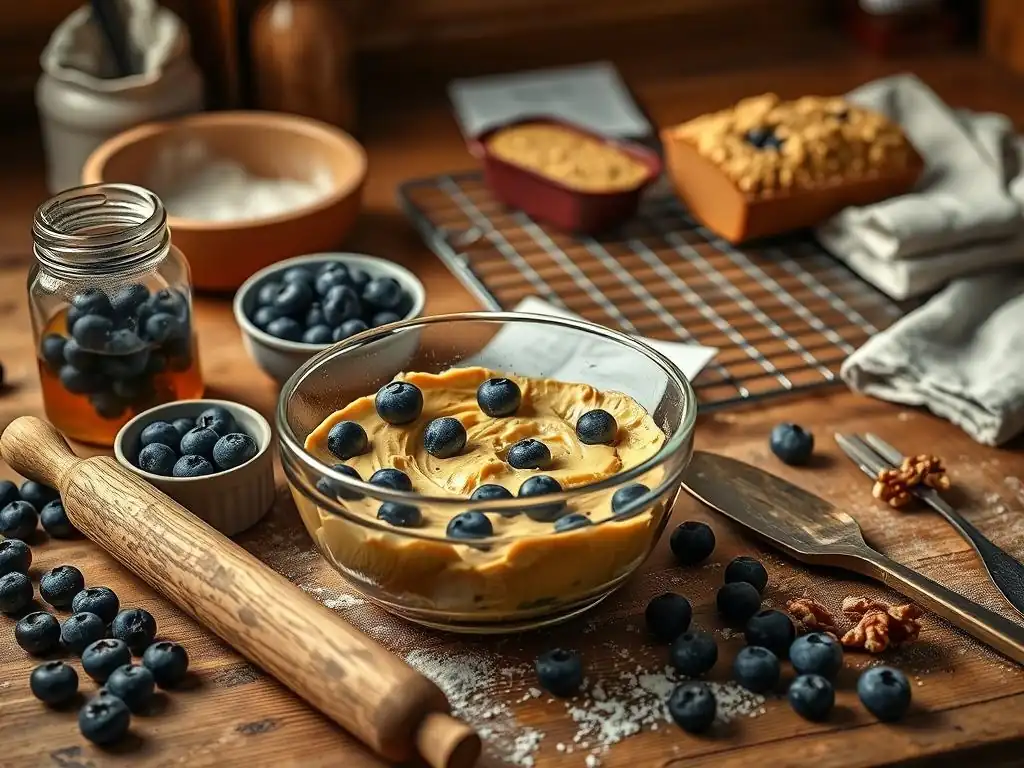
Room Temperature Storage: Maintaining Freshness
Most quick breads are best enjoyed fresh, ideally within 1-2 days of baking. For short-term storage at room temperature, ensure the quick bread is completely cooled first. Storing a warm quick bread will create condensation, leading to a soggy texture and potential mold growth. Once cool, store muffins, scones, or biscuits in an airtight container on the counter.
Loaf quick breads can be stored wrapped tightly in plastic wrap or aluminum foil, or in a resealable plastic bag. Keeping air away is key to preventing them from drying out. While they are safe to eat for several days, the texture and moisture level will start to decline after the second day. This simple storage method is sufficient for quick consumption of your quick bread for beginners.
Freezing for Extended Shelf Life: Best Practices
Freezing is an excellent way to preserve quick breads for longer periods, typically up to 2-3 months. This is particularly useful if you've baked a large batch or a loaf you won't finish quickly. Ensure the quick bread is completely cooled before freezing. Freezing warm quick bread will result in ice crystals and a compromised texture upon thawing.
For muffins or biscuits, place them on a baking sheet in a single layer and freeze until solid (about 1-2 hours). Then, transfer the frozen items to a freezer-safe bag or container, squeezing out as much air as possible. This prevents them from sticking together, allowing you to take out just one or two at a time.
For loaves, wrap the cooled loaf tightly in plastic wrap, then in aluminum foil, or place it in a freezer-safe bag. Label with the date. To thaw, simply leave the quick bread at room temperature or gently warm it in a low oven (around 300°F or 150°C).
Advanced Tips for Quick Bread Perfection
Accurate Measuring: Ensuring Consistent Results
While covered earlier, reiterating the importance of accurate measuring is crucial for consistent quick bread success. Using a kitchen scale to measure dry ingredients like flour is the most precise method, especially for flour. 1 cup of all-purpose flour weighs approximately 120-130 grams, depending on how it's packed. Using a scale eliminates the variability of volume measurements due to scooping versus spooning.
For liquids, using a clear liquid measuring cup at eye level is standard. For smaller amounts of leaveners and salt, level measuring spoons are necessary. Even slight variations in these powerful ingredients can significantly alter the outcome of your quick bread. Adopting precise measuring habits is perhaps the single most impactful step you can take to improve your quick bread baking results beyond following a basic quick bread beginner recipe guide.
Avoiding Overmixing: Preventing Toughness
Overmixing is the downfall of many quick breads, leading to a tough, rubbery texture. The goal is to mix the wet and dry ingredients just until they are combined. For muffins and loaf cakes, this often means mixing until no dry streaks of flour remain, leaving some small lumps in the batter. For biscuits and scones, it involves bringing the dough together gently and handling it as little as possible.
Excessive mixing develops gluten, the protein structure in flour. While gluten development is desired in yeast breads for chewiness, it makes quick breads tough. Teach yourself to stop mixing as soon as the ingredients are incorporated. This might feel counterintuitive if you're used to mixing cake batter until smooth, but it's a fundamental technique difference for quick bread for beginners.
Oven Calibration: Achieving Precise Baking Temperatures
As mentioned under equipment, oven temperature accuracy is vital. An oven that runs consistently hot or cold will affect bake time and result. If your quick breads are consistently browning too quickly or taking much longer than expected, your oven thermostat might be off. An inexpensive oven thermometer placed inside the oven can tell you the true temperature.
If your oven is off, you can often adjust the temperature setting accordingly (e.g., if it reads 350°F when set to 375°F, set it to 400°F next time) or, for persistent issues, look into having your oven calibrated by a professional. Knowing the true temperature your quick bread is baking at ensures that the leavening reactions occur as intended and the quick bread cooks through properly without drying out or burning.
Flavor Experimentation: Creating Unique Recipes
Once you feel comfortable with basic quick bread techniques and have a few successful quick bread beginner recipe attempts under your belt, don't hesitate to experiment with flavors! Start by making small substitutions in a trusted base recipe. Swap blueberries for raspberries, add lemon zest and poppy seeds, or mix in chocolate chips and a touch of espresso powder.
Consider adding different spices, extracts, or even dried fruits and nuts. Be mindful of the moisture and fat content of your additions; very wet ingredients might require a slight adjustment to the dry ingredients or baking time. Keep notes on your experiments – what worked, what didn't, and what adjustments you made. This is how you move from following a quick bread beginner recipe guide to creating your own signature quick bread variations!
Quick Bread Baking: Recap and Future Baking
Frequently Asked Questions
What exactly is quick bread, and why is it good for beginners?
Quick bread is bread that doesn't require yeast for leavening, relying instead on baking powder or baking soda. This makes it faster and easier to make than traditional yeast breads, perfect for beginners.
What are some of the most common types of quick bread a beginner might want to try?
Popular beginner-friendly quick breads include banana bread, muffins, and scones. These recipes are generally simple and require readily available ingredients.
What are the key differences between using baking powder and baking soda in quick bread recipes?
Baking powder is a complete leavening agent containing both an acid and a base, while baking soda needs an acidic ingredient (like buttermilk or lemon juice) to activate. Using them incorrectly can impact the texture.
What are some common mistakes beginners make when baking quick bread, and how can they be avoided?
Overmixing the batter is a common mistake, leading to tough bread. Gently fold the wet and dry ingredients together until just combined.
Where can I find reliable and easy-to-follow quick bread recipes designed specifically for beginners?
BakeWithEase.com offers a variety of quick bread beginner recipes with step-by-step guides and easy-to-find ingredients, ensuring a successful baking experience.
Final Reflection: The Joy of Baking, One Quick Bread at a Time
The accessibility of quick bread recipes has democratized baking, making the joy of creating something delicious from scratch available to everyone. No longer is baking a daunting, time-consuming task reserved for experienced cooks; with a few simple ingredients and a basic understanding of the process, anyone can whip up a loaf of warm, comforting bread. This accessibility empowers individuals to connect with food on a deeper level, fostering creativity and a sense of accomplishment.
The enduring appeal of quick breads lies in their versatility and the immediate gratification they offer. From the classic cornbread to the more adventurous zucchini or banana variations, the possibilities are endless. The simple act of baking a quick bread can be a meditative process, a moment of calm amidst the chaos of daily life. Baking is at once child's play and adult joy. And love, of course.
- Alma Flor Ada. This quote perfectly encapsulates the magic of quick bread baking: it's simple enough for beginners yet rewarding enough to bring immense satisfaction.
Now, I invite you to roll up your sleeves and embark on your own quick bread baking journey. Don't be afraid to experiment, to adapt recipes to your taste, and to share your creations with loved ones. The true reward isn't just in the delicious bread itself, but in the process of learning, creating, and sharing the joy of baking. So, choose a recipe, gather your ingredients, and let the aroma of freshly baked bread fill your home – you might just surprise yourself with what you can create.
Unleash Your Inner Baker: Quick Bread Mastery Awaits!
Thanks for joining us on this quick bread adventure! We hope you've discovered the joy of creating delicious, homemade loaves with minimal fuss. Now it's time to put your newfound knowledge into action.
- Bake your first masterpiece: Choose your favorite recipe from the article and get baking! Don't be afraid to experiment with different flavors and additions.
- Share your creation: Show off your baking skills by posting a picture of your quick bread on social media and tagging #BakeWithEase – let's inspire each other!
- Challenge yourself: Try a recipe you initially thought was too advanced. You might be surprised by what you can achieve!
Ready to transform your kitchen into a quick bread haven? What exciting flavor combination will you try first?