
Essential Baking Tools: Your Secret to Beginner Success

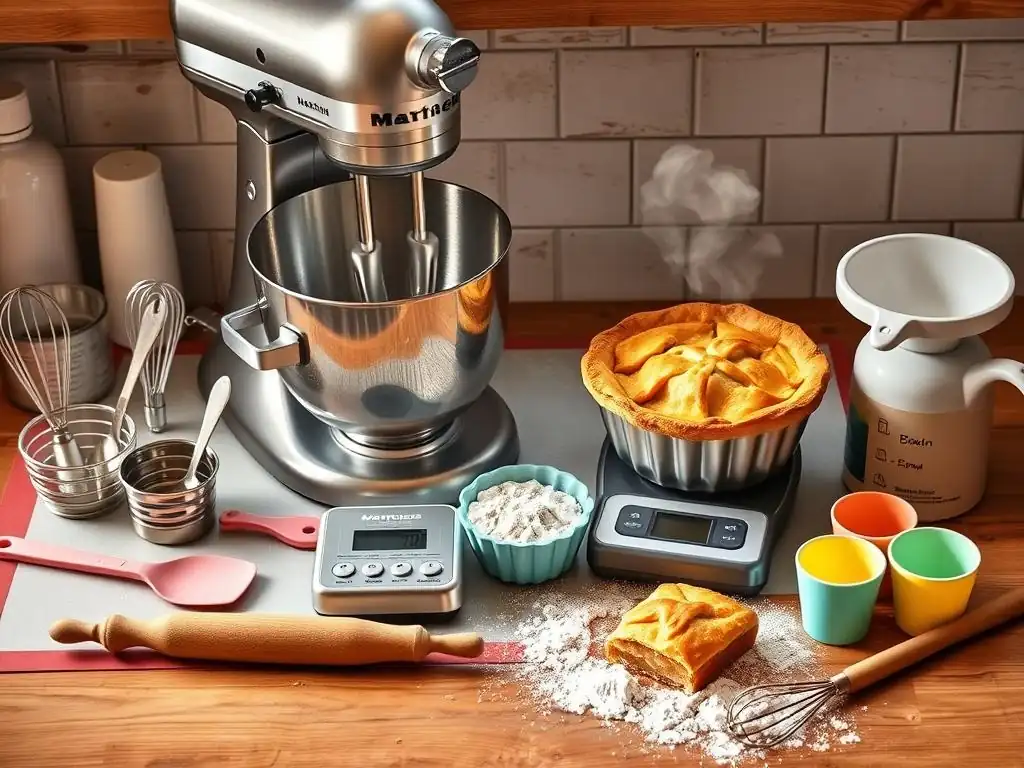
Welcome to BakeWithEase, your companion on the delicious journey into the world of baking! Are you ready to unlock the secrets to creating delectable treats, no matter your experience level? This month we're diving into the essentials. From conquering croissants to perfecting pies, it all starts with the right tools. Curious about the baking tools for beginners that will set you up for sweet success? Let's equip your kitchen and get baking! Discover the must-have items that will transform your baking experience from daunting to delightful and find out where to start.
- Essential Baking Tools: Your Secret to Beginner Success | BakeWithEase
- Welcome to BakeWithEase: Your Beginner Baking Journey
- Why You Need the Right Baking Tools for Beginners
-
Must-Have Baking Tools for Beginners: A Comprehensive Guide
- Measuring Tools: Accurate Baking Starts Here
- Mixing Bowls: The Foundation of Every Recipe
- Spatulas and Scrapers: Essential for Combining and Cleaning
- Baking Pans: The Heart of Your Baked Goods
- Hand Mixer vs. Stand Mixer: Choosing the Right Tool
- Oven Thermometer: Ensuring Accurate Baking Temperatures
- Beyond the Basics: Helpful Baking Tools for Beginners
- Investing in Quality: Choosing Durable Baking Tools
- Beginner Baking Tool Checklist: Your Shopping Guide
- Mastering Baking with Essential Tools: BakeWithEase Tips
- Frequently Asked Questions
- Final Reflection: Unlocking Baking Bliss: From Beginner to Baker
- Unleash Your Inner Baker!
Essential Baking Tools: Your Secret to Beginner Success | BakeWithEase
Welcome to BakeWithEase: Your Beginner Baking Journey
Welcome to BakeWithEase! If you're just starting your adventure in the kitchen, you've come to the right place. Baking can seem daunting at first, with precise measurements and specific techniques, but with the right guidance and, crucially, the right baking tools for beginners, you'll find it's a rewarding and enjoyable process. We're here to help you build confidence one delicious bake at a time.
Getting started doesn't require a professional kitchen setup. You can create amazing baked goods with just a few key pieces of equipment. Think of these foundational items as your partners in pastry, making the steps easier and the results more predictable. As you gain experience, you might add more specialized items, but for now, let's focus on the essentials that will set you up for early triumphs.
Why You Need the Right Baking Tools for Beginners
Baking is often described as a science because it relies heavily on chemical reactions that occur when ingredients are combined and heated. Unlike cooking, where you can often adjust as you go, baking requires precision. Using the correct essential baking tools for beginners ensures that you can accurately measure ingredients, mix them properly, and bake them consistently, leading to successful outcomes instead of frustrating failures.
Imagine trying to measure flour with a soup spoon or bake a cake in a regular pot – the results would be unpredictable and likely disappointing. The right tools are designed specifically for baking tasks, making them not only possible but also much simpler and more efficient. They help control variables like temperature, mixing consistency, and even baking time, which are critical for beginners learning the ropes.
The Importance of Quality Baking Equipment for Beginners
Investing in good quality baking tools for beginners might seem like an unnecessary expense when you're just starting out, but it can make a significant difference in your early baking experiences. Cheaper tools might warp under heat, measure inaccurately, or break easily, leading to inconsistencies in your recipes and potential frustration. For example, a flimsy cookie sheet might heat unevenly, causing some cookies to burn while others remain underbaked.
Opting for moderately priced, durable equipment means your tools will last longer, perform better, and help you achieve more consistent results. This consistency is key when you're learning; it allows you to understand what works and what doesn't in a recipe without wondering if your equipment is the problem. A sturdy set of measuring cups, a reliable mixing bowl, or a well-made baking pan can truly elevate your beginner baking journey.
Setting Yourself Up for Baking Success: Essential Tools
Success in beginner baking isn't just about following a recipe; it's also about having the right setup to execute it effectively. The essential baking tools for beginners act as your foundation. They simplify key steps like accurate measuring, thorough mixing, and even baking. Without these basic items, even the simplest cookie or cake recipe can become unnecessarily challenging.
Think of it like learning to paint – you need brushes, paint, and a canvas. In baking, your essential tools are your brushes and canvas. They enable you to perform the core tasks correctly. Having them readily available means you can focus on learning techniques and understanding ingredients, rather than struggling with inadequate equipment. This preparedness builds confidence and makes the learning process much smoother and more enjoyable.
Must-Have Baking Tools for Beginners: A Comprehensive Guide
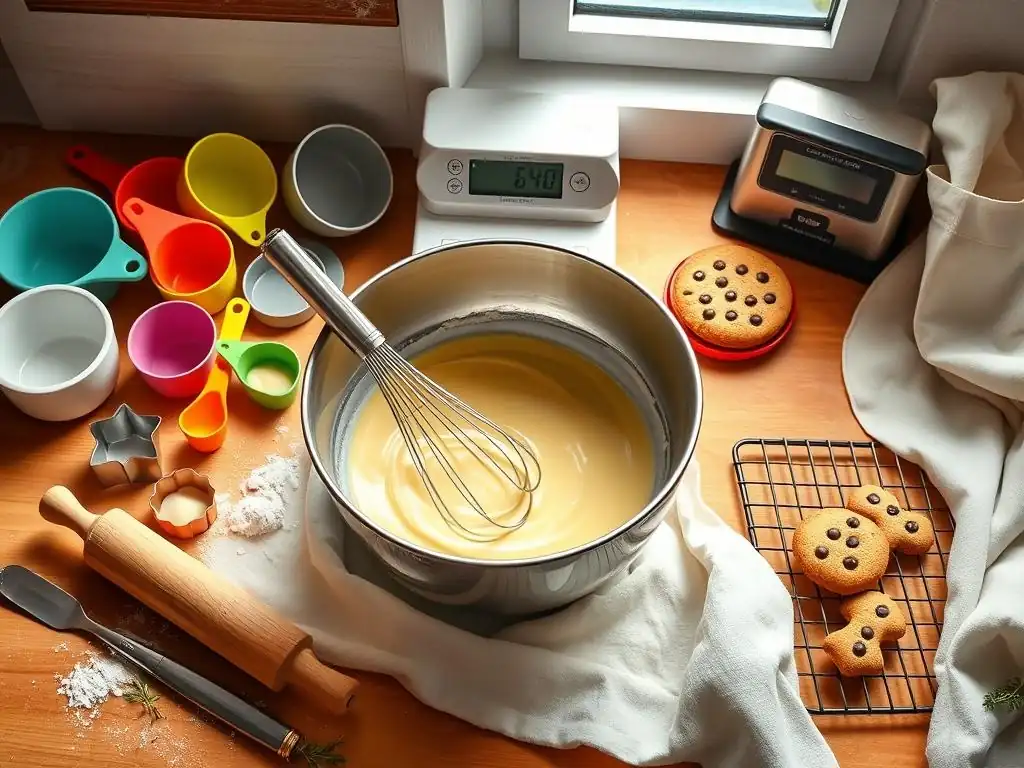
Measuring Tools: Accurate Baking Starts Here
Accuracy is paramount in baking, and proper measuring tools are non-negotiable baking tools for beginners. Unlike cooking, where a pinch of salt or a dash of spice is acceptable, baking relies on precise ratios of ingredients for the correct chemical reactions to occur. Incorrect measurements can lead to dense cakes, flat cookies, or bread that doesn't rise.
A basic set of measuring tools is relatively inexpensive, often costing between $15 and $30 for a decent quality set. This small investment prevents many common baking errors right from the start. Having dedicated tools for dry and liquid ingredients is crucial because they are designed differently to ensure accuracy for each type of substance.
Dry Measuring Cups: Ensuring Precise Ingredient Amounts
Dry measuring cups are designed to be leveled off with a straight edge (like the back of a knife or a bench scraper) to ensure an exact amount of dry ingredients like flour, sugar, or oats. They typically come in a set of standard sizes: 1 cup, 1/2 cup, 1/3 cup, and 1/4 cup. Materials vary, but stainless steel or sturdy plastic are good choices for durability.
When measuring flour, it's best to lightly spoon it into the cup rather than scooping directly from the bag, which can compact the flour and result in using too much. Leveling off the top removes any excess, giving you the precise volume needed for your recipe. This simple technique, combined with using the right cups, is a fundamental skill for all beginner bakers.
Liquid Measuring Cups: Mastering Liquid Measurements
Liquid measuring cups are different from dry ones. They are usually clear (glass or plastic) with a spout for easy pouring and measurement markings up the side. You measure liquids by placing the cup on a flat surface and reading the measurement at eye level. This allows gravity to settle the liquid and ensures an accurate reading at the bottom of the meniscus (the curve of the liquid surface).
Common sizes include 1 cup, 2 cup, and 4 cup (quart) capacities. Using a liquid measuring cup for liquids like milk, water, oil, or vanilla extract prevents spills and allows for more accurate volume measurements compared to using a dry measuring cup, which doesn't have a spout and is harder to fill precisely to a specific line without spilling.
Kitchen Scale: The Ultimate Precision Tool for Baking
While measuring cups are essential, a digital kitchen scale is arguably the most accurate tool for measuring ingredients, especially flour and other dry goods. Recipes that list ingredients by weight (grams or ounces) are often more consistent because volume measurements can vary depending on how ingredients are scooped or packed. For example, a cup of flour can weigh anywhere from 120g to 150g depending on how it's measured by volume.
A basic digital scale can cost anywhere from $20 to $40 and is an excellent investment for any serious beginner baker. Using a scale eliminates the variability of volume measurement, ensuring you use the exact amount of each ingredient specified in the recipe. This precision is particularly helpful for recipes like bread or delicate pastries where ingredient ratios are critical.
Mixing Bowls: The Foundation of Every Recipe
Mixing bowls are where the magic happens – where disparate ingredients come together to form batters and doughs. You'll need a few different sizes for various tasks, from whisking a couple of eggs to combining all the dry and wet ingredients for a large cake. Having a set of two or three bowls in different sizes (e.g., small, medium, large) is a great starting point for baking tools for beginners.
The material of the mixing bowl can also impact your baking process. Different materials have different properties regarding weight, heat retention, and ease of cleaning. Considering the types of recipes you plan to make initially can help you choose the best material and sizes for your needs.
Different Sizes and Materials: Choosing the Right Mixing Bowl
A set of mixing bowls typically ranges from small (around 1.5-2 quarts) to large (around 5-8 quarts). The small bowl is perfect for whisking eggs or combining small amounts of ingredients. The medium bowl is versatile for mixing batters for smaller cakes or muffins. The large bowl is essential for making bread dough, mixing large batches of cookie dough, or combining ingredients for a large cake.
Common materials include stainless steel, glass, ceramic, and plastic. Each has pros and cons. Stainless steel is lightweight and durable. Glass is heavy but allows you to see the mixing process. Ceramic can be attractive but is heavier and breakable. Plastic is lightweight and often inexpensive but can stain and retain odors over time.
Stainless Steel Mixing Bowls: Durable and Versatile
Stainless steel mixing bowls are a popular choice for many bakers, including beginners, due to their durability, lightweight nature, and ease of cleaning. They don't retain odors or stains and are resistant to rust. They also don't react with acidic ingredients, which can be a concern with some other materials.
These bowls are also relatively inexpensive; a set of three varying sizes might cost around $20-$40. Their lightness makes them easy to handle when mixing by hand or moving ingredients. While they don't offer the visibility of glass bowls, their practicality and robustness make them excellent baking tools for beginners.
Glass Mixing Bowls: See-Through Convenience
Glass mixing bowls offer the advantage of transparency, allowing you to see how well ingredients are combining or if there are any unmixed pockets. They are also non-reactive, meaning they won't interact with acidic ingredients. Glass bowls are heavier than stainless steel, which can provide stability when mixing, especially with a hand mixer.
However, glass bowls are breakable and can be quite heavy, especially the larger sizes. They can also retain heat or cold longer than stainless steel, which might be a factor in certain temperature-sensitive recipes. A good quality set might cost between $30 and $50. They make visually appealing baking tools for beginners and are great for watching dough develop or layers form.
Spatulas and Scrapers: Essential for Combining and Cleaning
Spatulas and scrapers are the unsung heroes of the baking world. They are essential for everything from gently folding ingredients together to scraping every last bit of batter from a bowl. You'll likely need a few different types and sizes as part of your basic baking tools for beginners.
A good set of spatulas is incredibly versatile. They help you mix, fold, scrape, and spread with precision. Having the right scraper can also make cleaning up much easier, saving you time and effort after you've finished baking.
Rubber Spatulas: Gentle and Effective Mixing
Flexible rubber or silicone spatulas are indispensable for scraping down the sides of bowls, folding delicate ingredients like whipped egg whites or cream into a batter, and transferring batters or doughs. The flexible head conforms to the shape of the bowl, ensuring you get every last drop.
Look for spatulas with a sturdy handle and a heat-resistant head, especially if you plan to use them with warm ingredients or near the stovetop. A set of two or three different sizes (e.g., a small one for jars, a medium one for general mixing, and a large one for scraping bowls) is a great starting point. A decent set can be found for $10-$20. These are truly essential baking tools for beginners.
Offset Spatulas: Perfect for Frosting and Leveling
Offset spatulas have a thin, flexible blade that is "offset" from the handle, allowing you to easily spread frosting or ganache onto cakes and cupcakes without your knuckles dragging through the icing. They are also useful for leveling batters in pans or lifting delicate cookies from a baking sheet.
Offset spatulas come in various sizes, from small ones (4-6 inches) for detail work to larger ones (8-10 inches) for frosting entire cakes. A medium-sized offset spatula is a versatile addition to your baking tools for beginners collection. You can often find a good one for around $8-$15.
Bench Scrapers: A Baker's Best Friend
A bench scraper, also known as a dough scraper or bench knife, is a simple tool with a flat, rectangular blade and a handle. It's incredibly useful for dividing dough, scraping sticky dough or flour off your work surface, and even transferring chopped ingredients.
For bread bakers, a bench scraper is almost as essential as flour itself. It helps you handle and portion dough without it sticking excessively to your hands. It's also fantastic for cleaning up flour and dough scraps from your counter after you're done kneading or shaping. A sturdy bench scraper is an affordable addition to your baking tools for beginners, typically costing $10-$20.
Baking Pans: The Heart of Your Baked Goods
The pan you bake in directly influences the shape, texture, and evenness of your baked goods. Using the correct type and size of pan specified in a recipe is crucial for achieving the desired outcome. Having a few basic baking pans is fundamental for any set of baking tools for beginners.
Pan materials and colors also affect baking. Darker pans absorb more heat, which can lead to faster browning (sometimes too fast) compared to lighter, reflective pans. Most recipes assume you are using standard light-colored metal pans unless otherwise specified.
Cake Pans: Round, Square, and Beyond
For beginners, a couple of 8 or 9-inch round cake pans are standard for layer cakes. A 9x13 inch rectangular pan is versatile for sheet cakes, brownies, and casseroles. These sizes are commonly called for in beginner-friendly recipes. Look for pans made from aluminum or aluminized steel for even heating.
Investing in good quality cake pans (around $15-$25 each) ensures your cakes bake evenly without burnt edges or undercooked centers. Non-stick coatings can be helpful but aren't strictly necessary if you grease and flour your pans properly. Having these fundamental baking tools for beginners allows you to tackle a wide range of cake recipes.
Muffin Tins: Creating Perfect Muffins and Cupcakes
A standard 12-cup muffin tin is essential for making muffins and cupcakes. These pans ensure consistent size and shape for individual portions. Muffin tins are usually made of metal, often with a non-stick coating.
Using paper liners makes cleanup easier, but you can also grease and flour the tin directly. A good quality 12-cup muffin tin typically costs $15-$25 and is a must-have among baking tools for beginners who want to make these popular treats.
Cookie Sheets: For Evenly Baked Cookies
Flat or rimmed baking sheets are crucial for baking cookies, scones, biscuits, and more. Rimmed baking sheets (often called half sheets, around 13x18 inches) are particularly versatile as the rim prevents juices from spilling if you use them for roasting vegetables or baking items that might spread slightly.
Look for heavy-gauge aluminum baking sheets for the best results. They conduct heat evenly, leading to consistently baked goods. Avoid dark, thin sheets which can cause bottoms to burn easily. Lining your sheet with parchment paper or a silicone baking mat (like a Silpat) further promotes even baking and makes cleanup a breeze. A good quality half sheet costs around $20-$30 and is an essential item in your collection of baking tools for beginners.
Loaf Pans: Baking Bread and More
A standard 9x5 inch loaf pan is perfect for baking quick breads (like banana bread or pumpkin bread) and yeast breads. It gives the bread its characteristic rectangular shape. Like other pans, loaf pans come in various materials, with metal being the most common.
Ensuring the pan is the correct size is important; using a pan that's too small can cause batter to overflow, while one that's too large can result in a flat, dense loaf. A sturdy metal loaf pan is a fundamental piece of your baking tools for beginners, typically costing $10-$20.
Hand Mixer vs. Stand Mixer: Choosing the Right Tool
When it comes to mixing batters, creams, and doughs beyond just stirring with a spatula, you'll likely want a mixer. The choice between a hand mixer and a stand mixer depends on your budget, the types of baking you plan to do, and the volume of baking. Both are valuable baking tools for beginners, but they serve different purposes.
Consider how frequently you'll bake and the effort you want to expend. Hand mixers require you to hold and guide them, while stand mixers are stationary and often more powerful, handling tougher tasks like kneading dough with ease.
Hand Mixers: Compact and Convenient for Small Batches
Hand mixers are lightweight, portable, and relatively inexpensive, making them an excellent choice for beginners or those with limited storage space. They are great for whipping cream or egg whites, mixing cake batters, and making frosting. You can find a good quality hand mixer for $20-$50.
While they require you to hold and move them through the ingredients, they are perfectly adequate for most beginner recipes that don't involve heavy dough. They typically come with a pair of beaters and sometimes whisk attachments. A hand mixer is a practical and accessible addition to your baking tools for beginners.
Stand Mixers: Power and Efficiency for Large Recipes
Stand mixers are a more significant investment (often $200-$400 or more) but offer superior power and capacity, especially for frequent or larger batch baking. They sit on the counter and usually come with multiple attachments: a whisk for aeration, a paddle attachment for creaming and mixing batters, and a dough hook for kneading bread dough.
If you plan to bake bread regularly or make large quantities of cookies or cakes, a stand mixer can save you a lot of manual effort. Its hands-free operation also allows you to add ingredients while mixing. While not strictly necessary for all beginner recipes, it's a transformative tool for dedicated beginner bakers.
Oven Thermometer: Ensuring Accurate Baking Temperatures
One of the most common culprits for baking failures is an inaccurate oven temperature. Oven thermostats can be notoriously unreliable, sometimes being off by as much as 25-50 degrees Fahrenheit (or even more). Baking at the wrong temperature can lead to goods that are burnt on the outside and raw inside, or that simply don't rise or set correctly.
A simple, inexpensive oven thermometer (often $5-$10) that hangs or stands inside your oven is a crucial tool for any baker, especially beginners. It allows you to verify that your oven is reaching and maintaining the temperature specified in the recipe. Using one ensures that you're eliminating a major variable and giving your baked goods the best chance to succeed. This is arguably one of the most important yet overlooked baking tools for beginners.
Beyond the Basics: Helpful Baking Tools for Beginners
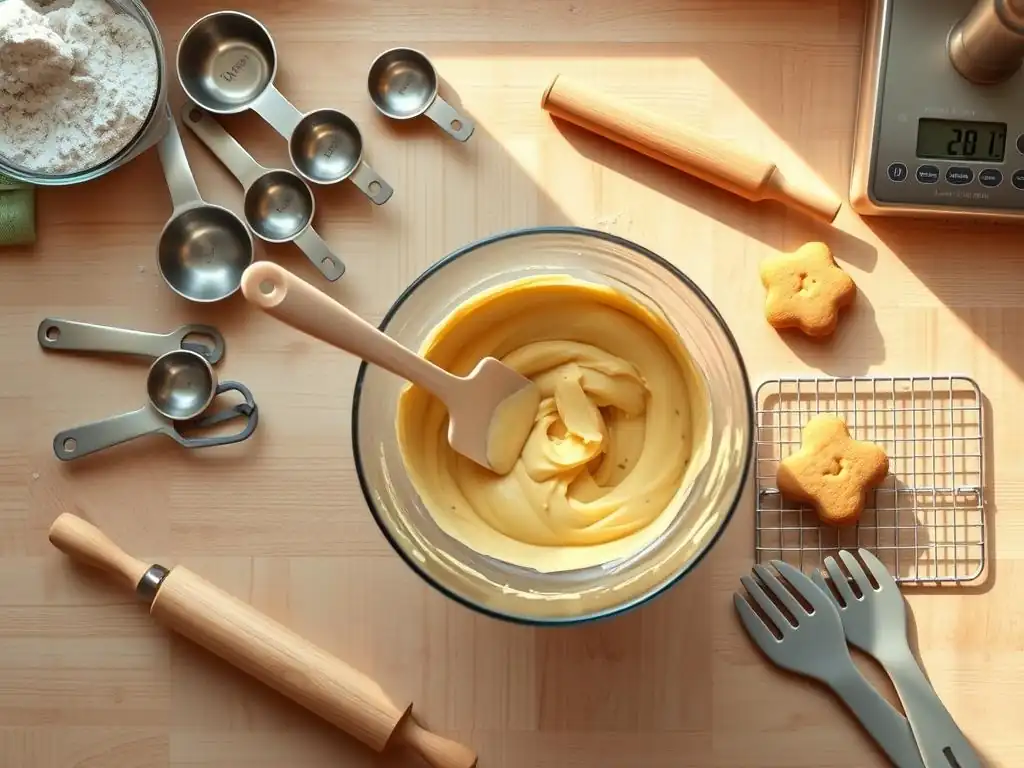
Once you have the core baking tools for beginners, a few additional items can make specific tasks easier and expand the types of recipes you can confidently tackle. These aren't strictly essential for every single beginner recipe, but they are highly recommended as you progress.
Consider adding these tools as you become more comfortable and find yourself frequently encountering recipes that call for them. They represent a natural next step in building your collection of essential baking equipment.
Rolling Pin: Essential for Pastry and Dough
If you plan to make pies, tarts, biscuits, or rolled cookies, a rolling pin is a must-have. It's used to flatten dough to an even thickness. Rolling pins come in various styles, including American style (with handles and a central cylinder that rotates) and French style (a simple tapered cylinder).
The key is to choose a rolling pin that is comfortable for you to use and heavy enough to help you roll out dough without excessive effort. A decent rolling pin can be found for $15-$30. It's an indispensable tool once you venture into the world of pastries and shaped doughs.
Whisk: Achieving Light and Airy Mixtures
While hand and stand mixers have whisk attachments, a manual whisk is still incredibly useful for smaller tasks like whisking eggs, making vinaigrettes, or incorporating dry ingredients into wet ones by hand. The wire loops are designed to incorporate air into mixtures, which is essential for things like meringues or light batters.
Balloon whisks, with their many wires, are best for incorporating air. French whisks, which are more cylindrical, are good for getting into the corners of pots when making sauces or custards. A basic balloon whisk is a great addition to your baking tools for beginners and costs only about $5-$10.
Pastry Brush: Adding Shine and Flavor
A pastry brush is a small brush used to apply washes to baked goods, such as egg wash for a golden crust on bread or melted butter on scones. It can also be used to grease pans in a controlled manner or brush away excess flour from dough.
Pastry brushes are typically made with natural bristles or silicone. Silicone brushes are easier to clean and more durable. A small pastry brush is an inexpensive but useful item ($5-$10) for adding a professional touch and extra flavor to your baked goods.
Sifter: For Light and Fluffy Flour
Sifting flour or powdered sugar helps aerate the ingredient and remove any lumps, resulting in a lighter, more tender baked good. While some argue that modern flour is fine enough that sifting isn't always necessary unless specified in the recipe, it can still improve the texture of delicate cakes and pastries.
Sifters come in crank-style or squeeze-handle versions. A fine-mesh sieve can also serve the same purpose. A basic sifter or sieve costs around $10-$20 and is a helpful tool to have among your baking tools for beginners if you want to ensure the lightest texture possible.
Investing in Quality: Choosing Durable Baking Tools
When selecting your baking tools for beginners, it's wise to prioritize quality and durability where your budget allows. While you don't need the most expensive professional-grade equipment, opting for sturdy, well-made items will save you money in the long run compared to constantly replacing flimsy tools that break or don't perform well.
Focus on materials and construction. Look for tools with solid handles that won't loosen, pans made from heavy-gauge metal that resist warping, and spatulas with heat-resistant silicone heads. Checking reviews from other home bakers can also provide insight into the longevity and performance of specific products.
Material Matters: Selecting Long-Lasting Equipment
The materials your baking tools for beginners are made from significantly impact their lifespan and performance. Stainless steel is excellent for mixing bowls, measuring cups, and whisks due to its durability, non-reactivity, and ease of cleaning. Heavy-gauge aluminum or aluminized steel is preferred for baking pans as it conducts heat evenly and resists warping.
Silicone is a fantastic material for spatulas and baking mats because it's heat-resistant, flexible, and non-stick. For measuring cups and spoons, sturdy, BPA-free plastic can be a budget-friendly and durable option, though stainless steel is often considered more long-lasting.
Caring for Your Baking Tools: Cleaning and Storage Tips
Proper care extends the life of your baking tools for beginners. Always follow the manufacturer's cleaning instructions; some items might be dishwasher safe, while others require hand washing. For metal pans, avoid using abrasive scrubbers that can damage non-stick coatings. Dry metal tools immediately after washing to prevent rust.
Store your tools neatly to prevent damage. Use drawer organizers for smaller items like measuring spoons and spatulas. Hang items like whisks and spatulas if you have space. Stack pans carefully, perhaps with paper towels in between to protect non-stick surfaces. Taking a few minutes to properly clean and store your equipment after each use ensures it's ready for your next baking adventure.
Beginner Baking Tool Checklist: Your Shopping Guide
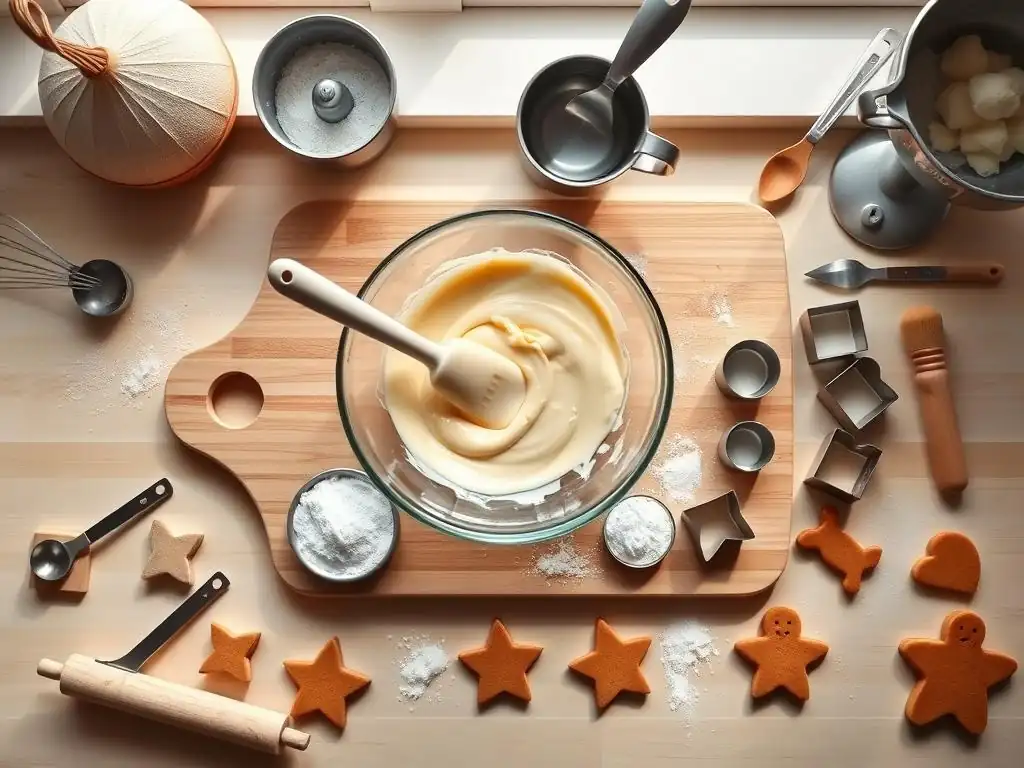
Here is a simple checklist to help you gather your essential baking tools for beginners. You don't need everything at once, but this covers the basics to get you started with most simple recipes.
- [ ] Dry Measuring Cups (set of 4-5 sizes)
- [ ] Liquid Measuring Cup (at least a 2-cup size)
- [ ] Measuring Spoons (set of 4-6 sizes)
- [ ] Set of 2-3 Mixing Bowls (varying sizes, e.g., 2 qt, 4 qt, 6 qt)
- [ ] Rubber/Silicone Spatula (at least 1-2)
- [ ] Whisk (1 standard size)
- [ ] 9x13 inch Rectangular Baking Pan (1)
- [ ] 12-cup Muffin Tin (1)
- [ ] Rimmed Baking Sheet (Half Sheet size, 1)
- [ ] Oven Thermometer (1)
Consider adding next:
- [ ] Kitchen Scale
- [ ] 8 or 9-inch Round Cake Pans (2 for layer cakes)
- [ ] Loaf Pan (9x5 inch)
- [ ] Offset Spatula
- [ ] Bench Scraper
- [ ] Rolling Pin
- [ ] Pastry Brush
- [ ] Hand Mixer
Mastering Baking with Essential Tools: BakeWithEase Tips
Having the right baking tools for beginners is the first step, but knowing how to use them effectively is key. As you start baking, remember these friendly tips from BakeWithEase.
Start Small: Don't Overwhelm Yourself
It's exciting to get new baking tools for beginners, but don't feel pressured to use them all at once or tackle the most complex recipe right away. Begin with simple, straightforward recipes like basic cookies, muffins, or a simple loaf of quick bread. These recipes often require only the most fundamental tools and allow you to get comfortable with measuring, mixing, and understanding how your oven works.
Gradually introduce new tools as recipes call for them. This approach makes the learning curve less steep and helps you appreciate how each specific tool contributes to the baking process. Building your skills alongside your tool collection is a rewarding way to learn.
Practice Makes Perfect: Get Comfortable with Your Tools
The more you bake, the more intuitive using your baking tools for beginners will become. Practice measuring accurately, scraping bowls efficiently with your spatula, and recognizing how different ingredients look and feel when properly mixed. Don't be discouraged by early mistakes; they are a natural part of the learning process.
Focus on understanding the why behind each step in the recipe and how your tools help achieve it. Why do you sift flour? Why use a liquid measuring cup for milk? This understanding builds confidence and makes you a more adaptable baker in the long run.
Explore BakeWithEase for Beginner-Friendly Recipes
Now that you're equipped with the knowledge about essential baking tools for beginners, it's time to put them to use! At BakeWithEase.com, we have a wide array of recipes specifically designed for beginners. Our step-by-step guides break down the process, making it easy to follow along and achieve delicious results.
From simple chocolate chip cookies that perfect your measuring skills to easy quick breads that utilize your loaf pan, our recipes are tailored to help you practice with your new tools and build your baking confidence. Happy baking!
Frequently Asked Questions
What are the most essential baking tools for a beginner?
The most essential baking tools for beginners include a measuring cup set, measuring spoons, and a mixing bowl. These form the foundation for accurate recipe execution.
I'm on a budget. Which baking tools should I prioritize?
Prioritize a good quality oven thermometer to ensure accurate baking temperatures, and a flexible spatula for easy scraping and folding. These offer the best value for improved results.
What type of baking pans are best for beginners?
A standard 9x13 inch baking pan and a round cake pan are versatile for many recipes. Choose non-stick options for easier cleanup and release.
How important is a kitchen scale for baking?
While not strictly essential, a kitchen scale provides more accurate measurements than volume, leading to more consistent results, especially for yeast-based breads.
Where can I find affordable baking tools specifically designed for beginners?
Websites like Amazon and Target often have beginner-friendly baking kits. Also, discount stores and thrift shops can be good sources for affordable tools.
Final Reflection: Unlocking Baking Bliss: From Beginner to Baker
The humble baking tool, often overlooked, is the key that unlocks a world of culinary creativity. Mastering even the basics can transform a daunting kitchen experience into one filled with joy and delicious rewards. This article highlighted the essential tools every beginner needs, demystifying the process and empowering you to confidently create your own baked goods.
The impact of accessible baking knowledge is profound. It's not just about creating delicious treats; it's about fostering a sense of accomplishment, connecting with tradition, and sharing the joy of homemade goodness with loved ones. Baking is at once child's play and adult joy. And love, of course.
This quote perfectly encapsulates the emotional connection we forge with baking, a connection amplified by the right tools. The rise in popularity of home baking during recent times underscores the inherent human need for creative expression and the comforting ritual of creating something tangible and delicious.
Now, it's your turn. Don't let the perceived complexity of baking hold you back. Take a moment to reflect on the tools you already possess and identify any gaps. Perhaps it's time to invest in that trusty mixing bowl or finally upgrade your baking sheet. Remember, the journey of a baker is a lifelong adventure, and each perfectly risen loaf or perfectly crumbed cookie is a testament to your dedication and skill. Embrace the process, experiment with recipes, and most importantly, enjoy the sweet rewards of your labor.
Unleash Your Inner Baker!
Thanks for joining us on this baking journey! We hope you've gained the confidence to tackle any recipe. Now it's time to put your newfound knowledge into action.
- Start baking! Choose your favorite recipe (or try a new one!) and get those mixing bowls out. This is where the real fun begins.
- Share your baking creations with us on social media – we’d love to see your delicious results! Use #BakeWithEase to show off your skills.
- Explore our website for more beginner-friendly recipes and tips. You might discover your new signature dish!
Ready to transform your kitchen into a sweet haven? What recipe will you tackle first?