
Banana Bread Secrets: Using Overripe Bananas Perfectly

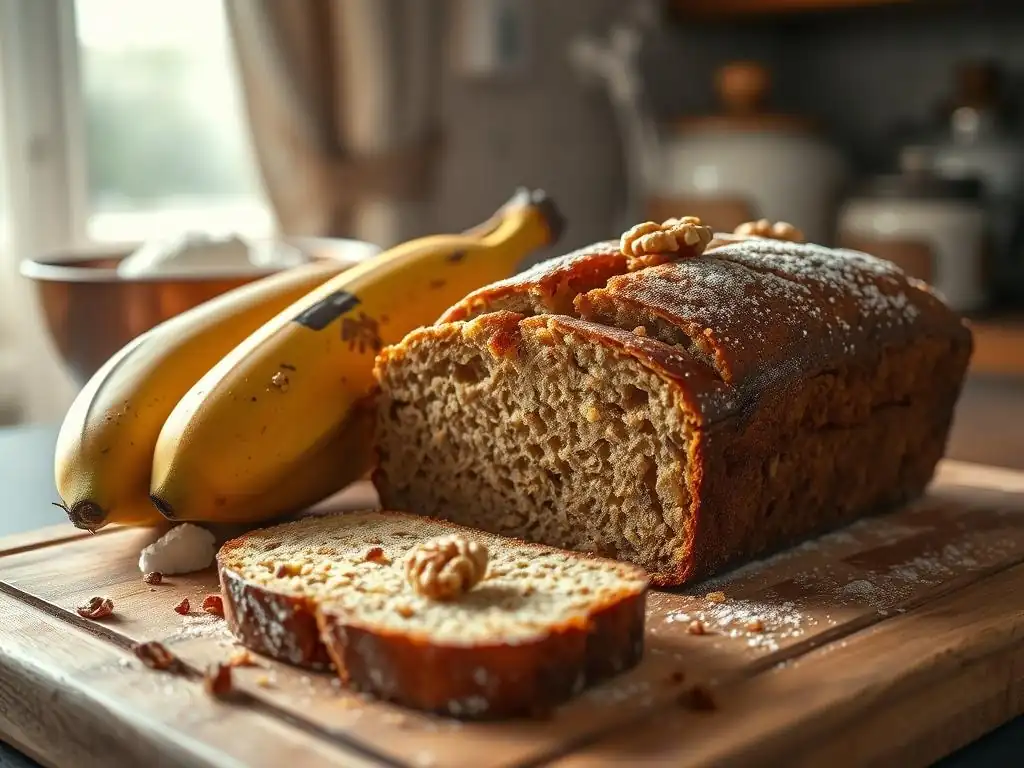
Welcome to BakeWithEase, where the joy of baking meets effortless execution! Ever wondered what makes the perfectly ripe banana bread truly exceptional? We're diving deep into the secrets of this beloved treat, starting with the often-overlooked star ingredient: your overripe bananas. Discover how to unlock their full potential and transform them into something truly extraordinary. Intrigued? Let's get baking!
- Banana Bread Mastery: Unlocking Flavor with Overripe Bananas
- The Baker's Almanac Presents: Elevate Your Banana Bread
- The Power of Overripe Bananas in Baking
- Recognizing Ideal Ripeness for Baking
- Crafting Exceptional Banana Bread: A Comprehensive Guide
- Advanced Techniques for Superior Banana Bread
- Storing and Savoring Your Banana Bread
- Addressing Common Banana Bread Challenges
- Signature Banana Bread Recipe: An Almanac Exclusive
- Expanding Your Banana Bread Horizons
- Frequently Asked Questions
- Final Reflection: The Sweet Symphony of Perfectly Ripe Bananas
- Unlock Your Banana Bread Potential!
Banana Bread Mastery: Unlocking Flavor with Overripe Bananas
The Baker's Almanac Presents: Elevate Your Banana Bread
Welcome back, fellow baking enthusiasts! At BakeWithEase, we're always looking for ways to turn everyday ingredients into extraordinary treats. Today, we're diving deep into the humble banana, specifically those neglected ones on your counter that have turned spotty and soft. Far from being past their prime, these overripe wonders are the secret weapon for achieving truly spectacular banana bread. Forget tossing them; unlock their hidden potential and bake the most flavorful, moist loaf you've ever tasted.
This guide will take you through the science, selection, and step-by-step process of transforming overripe bananas into perfectly ripe banana bread. We'll cover everything from recognizing the ideal stage of ripeness to advanced techniques and troubleshooting common issues. Get ready to master the art of banana bread, turning those brown bananas into golden perfection.
The Power of Overripe Bananas in Baking
Overripe bananas aren't just softer; they undergo significant chemical changes that dramatically enhance their suitability for baking, particularly for creating that coveted perfectly ripe banana bread. These changes contribute directly to the flavor, sweetness, and moisture content of your finished product, making them superior to their firmer, less-ripe counterparts. Understanding these transformations is key to appreciating why timing the ripeness is so crucial.
The transition from green to yellow to heavily spotted brown isn't merely cosmetic. It's a biochemical process that unlocks the full potential of the fruit's sugars and softens its structure. This natural process simplifies preparation and guarantees a richer, more intense banana flavor that permeates the entire loaf, essential for truly delicious banana bread.
Enzymatic Breakdown: How Ripening Enhances Flavor
As bananas ripen, natural enzymes within the fruit, such as amylase, get to work. Amylase breaks down complex starches into simpler sugars like sucrose, glucose, and fructose. While a green banana might contain roughly 15-20% starch and only a small percentage of sugars, a heavily spotted, overripe banana can have its starch content drop significantly, with total sugar content increasing dramatically, potentially reaching 20-25% or even higher depending on the initial sugar content and variety. This conversion directly contributes to the intense sweetness and depth of flavor characteristic of perfectly ripe banana bread.
Furthermore, enzymes like pectinase break down the cell walls of the fruit. This process softens the banana's texture, making it incredibly easy to mash into a smooth consistency. This enzymatic breakdown also contributes to the release of volatile aromatic compounds, intensifying the classic banana flavor profile that makes baked goods like banana bread so appealing. The more pronounced flavor means you often need less added sugar to achieve a satisfyingly sweet loaf.
Sweetness and Moisture: The Role of Fructose and Water Content
The increase in simple sugars during ripening, particularly fructose, is significant. Fructose is sweeter than sucrose (table sugar) and has hygroscopic properties, meaning it attracts and retains moisture. This increased fructose content in overripe bananas not only makes the bread naturally sweeter but also contributes to a moister crumb. A typical overripe banana is composed of roughly 75-80% water, and the breakdown of its structure during ripening makes this moisture more readily available to the batter.
When you mash overripe bananas, you're essentially incorporating this concentrated source of sweetness and moisture directly into your dough. This moisture is crucial because it helps create a tender crumb structure and prevents the banana bread from drying out during baking. The combination of heightened sweetness from sugar conversion and increased available moisture from cell wall breakdown is the primary reason why overripe bananas are indispensable for achieving that moist, flavorful, perfectly ripe banana bread.
Recognizing Ideal Ripeness for Baking
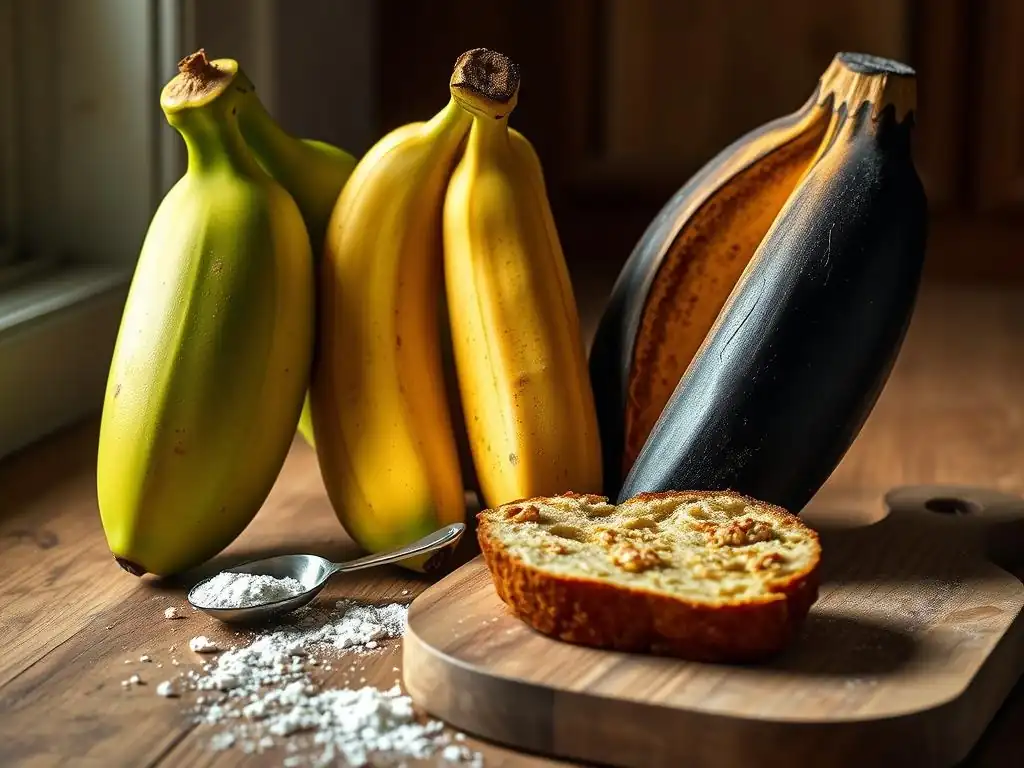
Knowing when a banana is just right for banana bread is key. It's a stage beyond pleasant eating but before total decay. The visual cues, texture, and even scent all play a role in identifying the perfect candidates for your baking project. Don't be shy about letting them sit on the counter for a few extra days; that's precisely what you want!
Aim for bananas that you might hesitate to eat raw – they should be significantly softer and darker than table bananas. This level of ripeness ensures maximum sugar conversion and ease of mashing, both critical for a successful loaf. Using bananas that are too firm will result in a less flavorful, potentially drier bread with visible chunks of banana instead of a smooth, integrated texture.
Visual Indicators: Spotting Brown Spots and Soft Texture
The most obvious sign of a banana ready for banana bread is its appearance. Look for bananas with a significant amount of brown or black spots covering the peel. Ideally, the peel should be at least 50% covered in brown spots, and even bananas that are 80-90% brown or almost entirely black are excellent candidates. The peel might even start to pull away slightly from the fruit.
Along with the spotting, the overall color of the peel will deepen from bright yellow to a duller yellow, often with a greenish tint completely absent. The fruit inside will also take on a deeper yellow hue. This visual transformation is your first and clearest signal that the starches have converted to sugars and the texture has softened appropriately for mashing and incorporating smoothly into your perfectly ripe banana bread batter.
Tactile Assessment: Evaluating Softness and Ease of Mashing
Beyond sight, touch is a crucial indicator of ripeness for baking. A banana ready for banana bread should feel very soft when gently squeezed. It should yield easily to pressure, feeling almost mushy inside its peel. If the banana still feels firm or requires significant pressure to deform, it's not yet ideal.
The ultimate test of tactile readiness is how easily it mashes. A perfectly ripe banana should require minimal effort to mash with a fork. It should break down into a smooth, lump-free consistency with just a few strokes. If you find yourself struggling to break it apart or are left with firm chunks, the banana isn't quite there yet. This ease of mashing ensures that the banana integrates seamlessly into the batter, contributing moisture and flavor evenly throughout your perfectly ripe banana bread.
Aromatic Clues: Identifying the Sweet, Fermented Scent
The smell of a banana also changes dramatically as it ripens. A green banana has a very subtle, almost starchy smell. A yellow banana has the familiar sweet, fruity aroma we associate with eating them raw. However, an overripe banana ready for baking develops a much stronger, sweeter, and more intense fragrance.
This aroma is often described as deeply sweet, sometimes with slightly alcoholic or fermented undertones. It's a rich, concentrated banana scent that tells you the flavors inside are potent and ready to infuse your baked goods. Trust your nose – if the banana smells strongly and sweetly of banana, it's likely reached the ideal stage for contributing maximum flavor to your perfectly ripe banana bread.
Crafting Exceptional Banana Bread: A Comprehensive Guide
Creating a truly exceptional loaf of banana bread involves more than just using overripe bananas. It requires understanding the interplay of ingredients, mastering the mixing technique, and baking it to perfection. This section will walk you through the essential components and steps to ensure your banana bread is consistently moist, flavorful, and has that desirable tender crumb.
We'll cover everything from selecting your core ingredients to the nuances of combining them and the critical phase of baking. Getting these steps right will ensure that the effort you put into selecting perfectly ripe bananas pays off in a delicious, satisfying result every time you bake.
Ingredient Essentials: Flour, Sugar, Eggs, and Fat
While the star is undoubtedly the overripe banana, the supporting cast of ingredients is vital for structure, texture, and overall flavor balance in your perfectly ripe banana bread. All-purpose flour provides the primary structure. Sugar, in addition to the sweetness from the bananas, aids in tenderizing the crumb, contributes to browning, and further enhances sweetness. Brown sugar is often preferred as its molasses content adds moisture and a deeper flavor profile that complements the banana.
Eggs act as a binder, providing structure and richness, while also helping the loaf rise. Fat, typically butter or oil, contributes moisture, tenderness, and flavor. Melted butter offers a rich, classic taste, while vegetable oil results in a very moist crumb. Baking soda, activated by the acidic components in the batter (like brown sugar, buttermilk if used, and the bananas themselves), is the primary leavening agent, ensuring a good rise and light texture.
Step-by-Step: From Mashed Bananas to Golden-Brown Loaf
Making banana bread is a relatively straightforward process, perfect for bakers of all levels. The key is following the steps in order and avoiding common pitfalls like overmixing. We'll break it down into manageable stages, focusing on the nuances that make a difference in the final outcome of your perfectly ripe banana bread.
- [ ] Preheat oven and prepare loaf pan.
- [ ] Mash bananas thoroughly.
- [ ] Combine wet ingredients.
- [ ] Whisk dry ingredients.
- [ ] Combine wet and dry mixtures.
- [ ] Add mix-ins (optional).
- [ ] Pour batter into pan.
- [ ] Bake until a toothpick comes out clean.
- [ ] Cool before slicing.
Preparing Bananas: Mashing and Measuring Techniques
Start by peeling your overripe bananas. Place them in a medium bowl. Using a fork or potato masher, mash the bananas until they are mostly smooth with just a few small lumps remaining. Avoid using a blender or food processor, as this can over-liquefy the banana and negatively impact the texture of your perfectly ripe banana bread. You want a thick, somewhat chunky puree, not a liquid.
Measure the mashed bananas carefully. Most standard recipes call for 1 to 1.5 cups (about 2-3 large bananas) of mashed banana per loaf. Using too little will result in a less flavorful, drier bread, while using too much can make the bread heavy or gummy. Pack the mashed banana lightly into your measuring cup to ensure accuracy.
Batter Creation: Combining Wet and Dry Ingredients
In a large bowl, whisk together the mashed bananas, melted butter or oil, sugars (brown and granulated), eggs, and any liquid ingredients like milk or sour cream, along with vanilla extract. Mix until well combined and smooth. In a separate medium bowl, whisk together the dry ingredients: flour, baking soda, salt, and any spices like cinnamon or nutmeg. Ensure the baking soda and salt are evenly distributed.
Create a well in the center of the dry ingredients and pour the wet ingredients into it. Using a spatula or wooden spoon, gently fold the ingredients together just until combined. Do not overmix! Overmixing develops the gluten in the flour, which can result in a tough, dense loaf instead of a tender, moist perfectly ripe banana bread. A few streaks of flour are acceptable; they will disappear during baking.
Baking Process: Optimal Temperature and Doneness Testing
Pour the batter into your prepared loaf pan (greased and floured or lined with parchment paper). Smooth the top if desired. Bake in a preheated oven, typically at 350°F (175°C), for 50-70 minutes, depending on your oven and the size of your pan. The baking time is crucial for achieving that perfectly ripe banana bread texture without drying it out.
To test for doneness, insert a toothpick or a thin skewer into the center of the loaf. It should come out clean or with just a few moist crumbs attached. If it comes out with wet batter, continue baking and check again in 5-minute intervals. If the top is browning too quickly, you can tent the loaf loosely with aluminum foil. Once baked, let the loaf cool in the pan for 10-15 minutes before transferring it to a wire rack to cool completely. Slicing while hot can cause it to collapse or become gummy.
Advanced Techniques for Superior Banana Bread
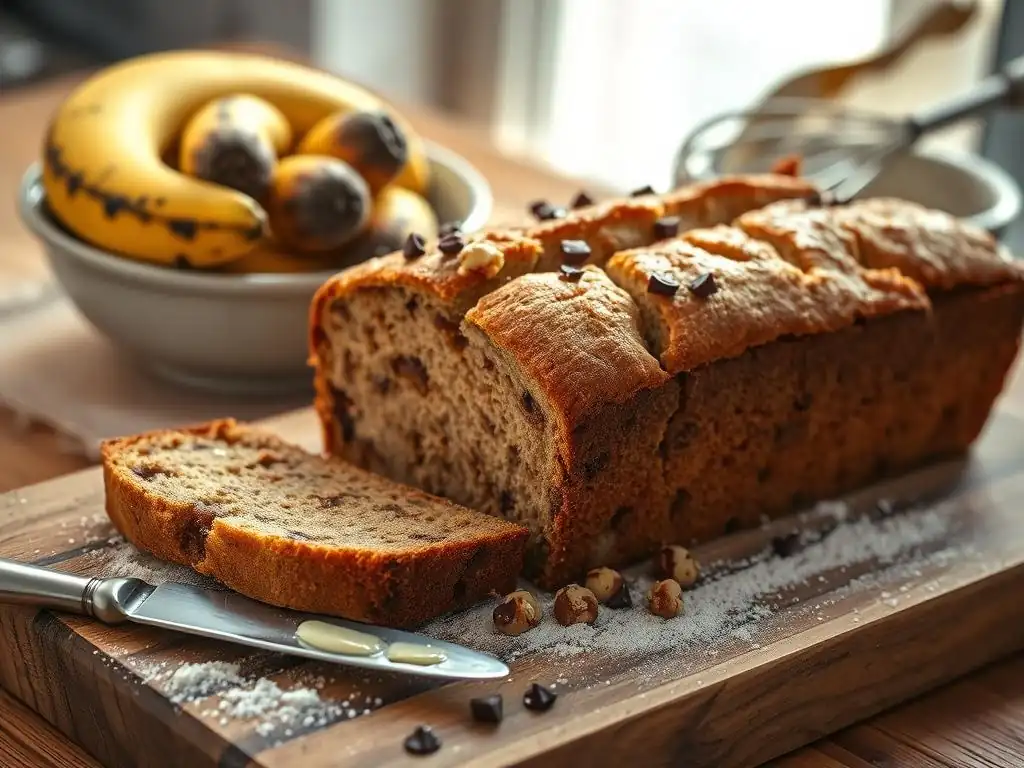
Once you've mastered the basics, you can elevate your banana bread game with a few advanced techniques. These methods focus on enhancing flavor, improving texture, and ensuring a perfect bake every time, taking your perfectly ripe banana bread from good to unforgettable.
Consider these additions and adjustments as ways to customize your loaf and add layers of complexity. They are simple steps that can make a significant difference in the final product, catering to different tastes and preferences.
Flavor Infusion: Spices, Extracts, and Zests
Spices are classic partners to banana bread, enhancing its warmth and depth. Cinnamon is almost always included, often in quantities of 1-2 teaspoons per loaf. Nutmeg, cloves, or allspice can also be added for complexity. Consider a pinch of cardamom for an unexpected, fragrant note. Whisk spices in with the dry ingredients to ensure even distribution.
Extracts, like vanilla extract (typically 1-2 teaspoons), boost the overall flavor profile. Almond extract can add a subtle nutty background. Citrus zest, particularly orange or lemon zest (about 1 teaspoon), can brighten the flavor and cut through the richness, adding a layer of freshness to your perfectly ripe banana bread. Add extracts and zests with the wet ingredients.
Texture Enhancement: Nuts, Chocolate, and Dried Fruits
Adding mix-ins is a fantastic way to introduce textural contrast and additional flavor. Chopped nuts, such as walnuts or pecans, are classic additions, providing a satisfying crunch. Use about 1/2 to 1 cup of nuts, lightly toasted for enhanced flavor if desired. Chocolate chips, dark or milk, melt into pockets of gooey sweetness. Mini chocolate chips distribute more evenly throughout the loaf.
Dried fruits like raisins, cranberries, or chopped dates can add chewy texture and bursts of sweetness. Aim for about 1/2 cup of mix-ins total to avoid overwhelming the batter. Gently fold mix-ins into the batter after combining the wet and dry ingredients, using minimal strokes to prevent overmixing. This ensures they are distributed without negatively impacting the batter structure.
Preventing Soggy Bottoms: Baking Sheets and Temperature Control
A common frustration is a banana bread with a perfect top but a dense, slightly undercooked or soggy bottom. This can happen if the bottom of the pan is too close to the heat source or if the overall baking time/temperature is not optimized. One effective technique is to place your loaf pan on a baking sheet before putting it in the oven.
The baking sheet acts as an insulator, shielding the bottom of the pan from direct radiant heat and allowing the heat to distribute more evenly around the loaf. Additionally, ensuring your oven thermostat is accurate is crucial. Using an oven thermometer can help verify that you are baking at the intended 350°F (175°C). Baking for the full recommended time, or until a toothpick comes out clean from the very center, is also essential for a perfectly baked, perfectly ripe banana bread from top to bottom.
Storing and Savoring Your Banana Bread
Once your perfectly ripe banana bread has cooled, the challenge becomes keeping it fresh and delicious. Proper storage is key to maintaining its moisture and texture. And when it's time to enjoy a slice, there are optimal ways to savor it, or even creatively repurpose any leftovers.
Taking a moment to store your loaf correctly will ensure that each slice tastes as good as the first, allowing you to enjoy the fruits of your labor for several days. Don't let your perfectly baked creation go stale prematurely!
Maintaining Freshness: Proper Storage Methods
To keep your banana bread moist and fresh, allow it to cool completely on a wire rack before storing. Storing warm bread traps steam, leading to sogginess and potential mold growth. Once cool, wrap the loaf tightly in plastic wrap, then place it in an airtight container or a resealable plastic bag.
Store the wrapped loaf at room temperature for up to 2-3 days. For longer storage, banana bread freezes beautifully. Wrap cooled slices or the entire loaf tightly in plastic wrap, then in aluminum foil or a freezer-safe bag. Frozen banana bread can last for 2-3 months. Thaw at room temperature or gently reheat.
Reheating Options: Warming for Optimal Enjoyment
While delicious at room temperature, warming a slice of banana bread can enhance its flavors and texture, bringing back that freshly baked feel. For a quick reheat, a toaster oven works well, warming the slice in just a few minutes. You can also gently warm slices in a microwave for 15-30 seconds, though be cautious not to overheat, which can make it rubbery.
For a whole loaf or multiple slices, warming in a conventional oven at a low temperature ( 300°F / 150°C) for 10-15 minutes, loosely tented with foil, is ideal. This method warms the bread through without drying it out. Serve warm slices plain, or with a smear of butter, cream cheese, or a dollop of whipped cream for an extra treat.
Creative Repurposing: Croutons and Bread Pudding
If you find yourself with slightly stale banana bread (though with perfectly ripe banana bread, this is less likely! ), don't despair. It can be given a second life in other delicious forms. Cut the bread into cubes and bake them at a low temperature ( 300°F / 150°C) until crisp to make sweet banana bread croutons, perfect for topping yogurt, ice cream, or fruit salads.
Alternatively, stale banana bread is an excellent base for bread pudding. The slightly dry texture absorbs the custard mixture beautifully. Use your favorite bread pudding recipe and substitute the standard bread cubes with banana bread cubes. This transforms leftover loaf into a comforting, decadent dessert, ensuring no perfectly ripe banana bread goes to waste.
Addressing Common Banana Bread Challenges
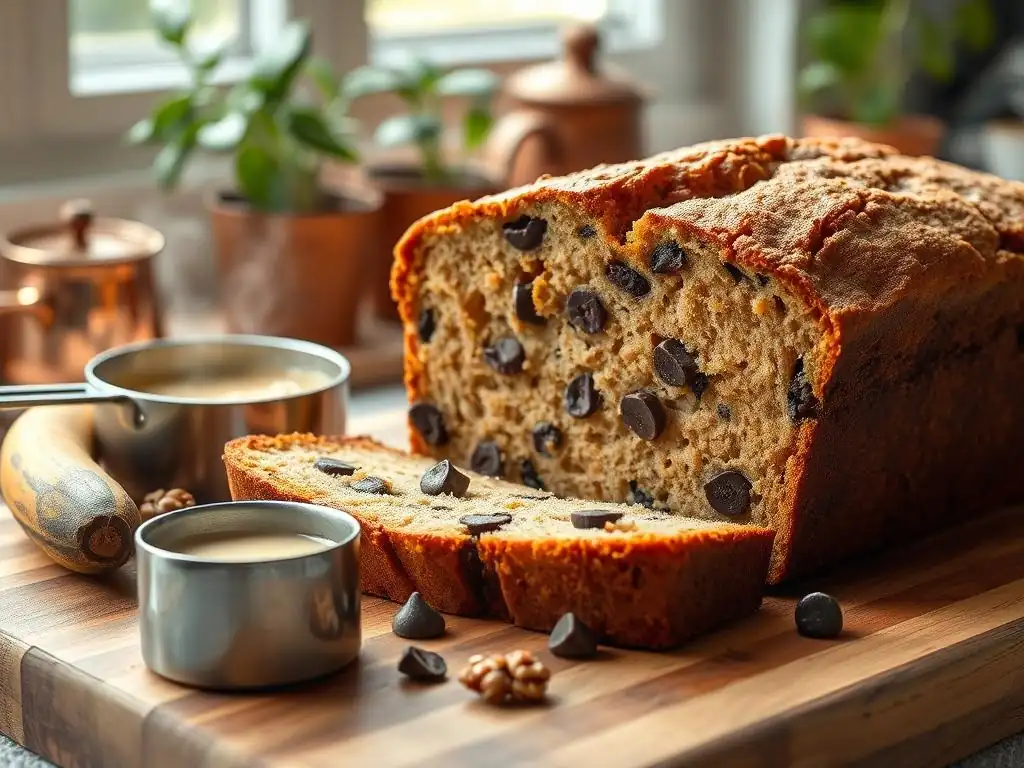
Even with the best intentions and perfectly ripe bananas, sometimes baking doesn't go exactly as planned. Understanding common issues and how to troubleshoot them can save your loaf and improve your technique for future baking endeavors.
We'll look at some frequent problems bakers encounter with banana bread – dryness, density, and gumminess – and provide practical solutions based on baking principles.
Combatting Dryness: Adding Moisture and Adjusting Baking Time
Dry banana bread is often a result of too little moisture in the batter or overbaking. Ensure you are using truly overripe bananas, as they provide essential moisture. Using oil instead of melted butter can contribute to a moister crumb. Incorporating ingredients like sour cream, yogurt, or buttermilk (replacing some of the liquid) adds fat and acidity, which tenderizes the gluten and increases moisture retention.
Double-check your oven temperature with a thermometer – an oven that runs hot can dry out baked goods quickly. Also, be precise with your baking time and rely on the toothpick test rather than just the clock. Removing the loaf just as the toothpick comes clean is crucial. Overbaking by even 5-10 minutes can significantly impact moisture levels, turning a perfectly ripe banana bread dry.
Achieving Lightness: Incorporating Air and Using Leavening Agents
If your banana bread turns out dense or heavy, it might be due to insufficient leavening, improper mixing, or too heavy a batter. Ensure your baking soda is fresh (test by mixing a little with vinegar – it should fizz vigorously). Measure it accurately; too little won't provide enough lift. While baking soda is the primary leavener, some recipes also include baking powder for extra insurance and lift.
Proper creaming of butter and sugar (if using this method) or whisking eggs until frothy incorporates air, which contributes to a lighter texture. However, the most common culprit for density is overmixing the batter after adding the flour. Mix only until the dry ingredients are just incorporated. A gentle hand ensures the gluten doesn't develop excessively, keeping the crumb tender and light, essential for perfectly ripe banana bread.
Preventing Gumminess: Avoiding Overmixing and Proper Baking
A gummy texture often indicates overmixing or underbaking. As mentioned, overmixing develops gluten, leading to a tough, chewy, and sometimes gummy crumb. Fold the wet and dry ingredients together gently until just combined. Resist the urge to beat the batter smooth.
Underbaking is another major cause of gumminess, especially in the center of the loaf. If the center hasn't fully cooked, the starches haven't set properly, resulting in a dense, sticky texture. Always use the toothpick test in the deepest part of the loaf to ensure it's fully baked through. If the top is getting too dark before the center is done, tent it with foil. Ensuring your oven temperature is accurate and baking for the appropriate duration are key to preventing a gummy center and achieving a perfectly ripe banana bread texture.
Signature Banana Bread Recipe: An Almanac Exclusive
Here at BakeWithEase, we've perfected a recipe that consistently delivers a moist, flavorful loaf, highlighting the natural sweetness and aroma of perfectly ripe bananas. This recipe balances simple ingredients with careful technique to ensure success every time.
Follow these precise measurements and instructions to bake our signature perfectly ripe banana bread. It's a crowd-pleaser that showcases just how incredible overripe bananas can be when given the chance to shine.
Ingredient Quantities: Precise Measurements for Consistent Results
For our signature loaf, you will need:
2 cups (250g) All-Purpose Flour
1 teaspoon Baking Soda
1/4 teaspoon Salt
1/2 teaspoon Ground Cinnamon (optional, but recommended)
1/2 cup (113g) Unsalted Butter, melted and slightly cooled OR 1/2 cup (120ml) Vegetable Oil
3/4 cup (150g) Granulated Sugar
1/4 cup (50g) Packed Light Brown Sugar
2 Large Eggs, at room temperature
1 teaspoon Vanilla Extract
1 and 1/2 cups (approx. 360g) Mashed Overripe Bananas (about 3-4 medium bananas)
Optional Mix-ins: 1/2 cup chopped walnuts or pecans, 1/2 cup chocolate chips.
Detailed Baking Instructions: A Step-by-Step Guide
Follow these steps carefully for the best results:
- Preheat your oven to
350°F (175°C). Grease and flour a standard 9x5 inch loaf pan, or line it with parchment paper. - In a medium bowl, whisk together the flour, baking soda, salt, and cinnamon (if using). Set aside.
- In a large bowl, whisk together the melted butter or oil, granulated sugar, and brown sugar until well combined.
- Add the eggs one at a time, whisking well after each addition. Stir in the vanilla extract.
- Add the mashed bananas to the wet ingredients and stir until incorporated.
- Add the dry ingredients to the wet ingredients. Using a spatula or wooden spoon, gently fold until just combined. Do not overmix. A few streaks of flour are okay.
- If using mix-ins, gently fold them in now.
- Pour the batter into the prepared loaf pan and spread evenly.
- Bake for 55-65 minutes, or until a toothpick inserted into the center comes out clean or with a few moist crumbs.
- If the top browns too quickly, tent loosely with aluminum foil after about 30-40 minutes.
- Let the loaf cool in the pan on a wire rack for 10-15 minutes before carefully removing it from the pan.
- Transfer the loaf to the wire rack to cool completely before slicing. Enjoy your perfectly ripe banana bread!
Expanding Your Banana Bread Horizons
Once you've mastered the classic recipe using perfectly ripe bananas, you might want to experiment with variations to suit different dietary needs or flavor preferences. Banana bread is incredibly versatile and adapts well to substitutions, allowing you to put your own spin on this beloved bake.
Exploring different flours, adapting for dairy sensitivities, or creating gluten-free versions are all within reach. These adaptations allow everyone to enjoy the moist, flavorful goodness of perfectly ripe banana bread.
Exploring Flour Variations: Whole Wheat, Spelt, and Almond Flour
While all-purpose flour provides a reliable structure, substituting or combining it with other flours can add nutritional value and distinct flavors. Replacing up to half of the all-purpose flour with whole wheat flour will add fiber and a nutty depth, resulting in a slightly denser loaf.
Spelt flour, an ancient grain, can also be used, offering a milder, slightly sweeter flavor than whole wheat and a tender crumb. For a different texture and flavor profile, almond flour can be incorporated, often requiring adjustments to liquid and binding agents due to its lack of gluten. Experimenting with flour blends can lead to exciting new versions of your perfectly ripe banana bread.
Dairy-Free Adaptations: Substituting Plant-Based Alternatives
Making banana bread dairy-free is relatively simple, often involving substituting butter with oil or a plant-based butter substitute, and replacing milk or sour cream with plant-based alternatives. Vegetable oil is naturally dairy-free and works wonderfully, contributing significant moisture. If using a recipe that calls for butter, use an equal amount of melted coconut oil or a stick-style dairy-free butter substitute.
For liquid components like milk or buttermilk, unsweetened plant-based milks such as almond milk, soy milk, oat milk, or coconut milk can be used cup-for-cup. To replicate the tang and moisture of buttermilk, combine 1 cup of plant-based milk with 1 tablespoon of vinegar or lemon juice and let it sit for 5-10 minutes before adding to the batter. These swaps ensure a delicious, moist perfectly ripe banana bread suitable for those avoiding dairy.
Gluten-Free Variations: Utilizing Gluten-Free Flour Blends
Creating a gluten-free perfectly ripe banana bread requires using a reliable gluten-free flour blend. Look for blends specifically designed for baking, which often contain a mix of rice flour, potato starch, tapioca starch, and xanthan gum (a binder necessary in the absence of gluten). Measure the gluten-free blend by weight if possible, as cup measurements can be inconsistent.
Substitute the all-purpose flour in the recipe with an equal amount (by weight or volume, depending on the blend's recommendation) of the gluten-free blend. Some recipes may require slightly more liquid or an extra egg to compensate for the different absorption properties of gluten-free flours. With a good blend and careful measuring, you can achieve a tender, flavorful gluten-free perfectly ripe banana bread that everyone can enjoy.
Frequently Asked Questions
What makes overripe bananas ideal for banana bread?
Overripe bananas are sweeter and softer, making them easier to mash and contributing to a moist and flavorful banana bread. The increased sugar content also enhances the bread's overall taste.
Can I use frozen bananas for banana bread?
Yes, you can! Just thaw them completely and drain any excess liquid before mashing. Frozen bananas often become even softer upon thawing, further improving the moisture of your banana bread.
What's the secret to preventing a soggy banana bread?
Avoid adding too many wet ingredients. Also, ensure your oven temperature is accurate and don't overbake. A toothpick inserted into the center should come out with moist crumbs attached.
How can I enhance the flavor of my banana bread beyond just the bananas?
Consider adding spices like cinnamon, nutmeg, or cloves. You can also incorporate ingredients like walnuts, chocolate chips, or a streusel topping for added texture and flavor.
What's the best way to store banana bread to keep it fresh?
Wrap the cooled banana bread tightly in plastic wrap or store it in an airtight container at room temperature. This will help retain moisture and prevent it from drying out for up to 3-4 days.
Final Reflection: The Sweet Symphony of Perfectly Ripe Bananas
The art of baking the perfect banana bread isn't just about following a recipe; it's about understanding the transformative power of perfectly ripe bananas. This seemingly simple act of baking connects us to a rich culinary history and allows us to appreciate the often-underestimated potential of seemingly "wasteful" ingredients. The sweet, caramelized notes of perfectly ripe bananas elevate banana bread from a simple loaf to a comforting masterpiece.
The journey from discarded fruit to a warm, fragrant loaf speaks volumes about resourcefulness and mindful consumption. We've explored the nuances of banana ripeness, the science behind achieving that perfect texture, and the creative freedom that comes with experimenting with different flavors and additions. This exploration isn't just about banana bread; it's about a larger conversation surrounding food waste and the joy of transforming simple ingredients into something extraordinary. Waste not, want not,
an old adage rings truer than ever in our modern world, and banana bread serves as a delicious testament to this wisdom.
Now, consider your own kitchen. Think about those slightly overripe bananas sitting on your counter. Don't let them go to waste! This article has equipped you with the knowledge and inspiration to transform them into something truly special. Embrace the imperfections, experiment with flavors, and share the joy of perfectly ripe banana bread with those you love. Let the sweet aroma fill your home and remind you of the simple pleasures and creative potential that lie within the everyday.
Unlock Your Banana Bread Potential!
Thanks for taking the time to explore the delicious world of overripe banana baking! You've now learned how to transform those seemingly wasted bananas into golden-brown, flavourful loaves. Ready to put your new skills to the test?
- Bake your perfect loaf today! Experiment with different spices, nuts, or chocolate chips—the possibilities are endless!
- Share your baking triumphs (and maybe even your banana bread fails!) on social media using #BakeWithEaseBananaBread. Let's inspire each other!
- Leave a comment below sharing your favorite banana bread add-in or baking tip – let's build a community of banana bread experts!
What unexpected ingredient will you add to your next banana bread masterpiece?