
Unlock Flavor: Roasting Fruit Before Baking

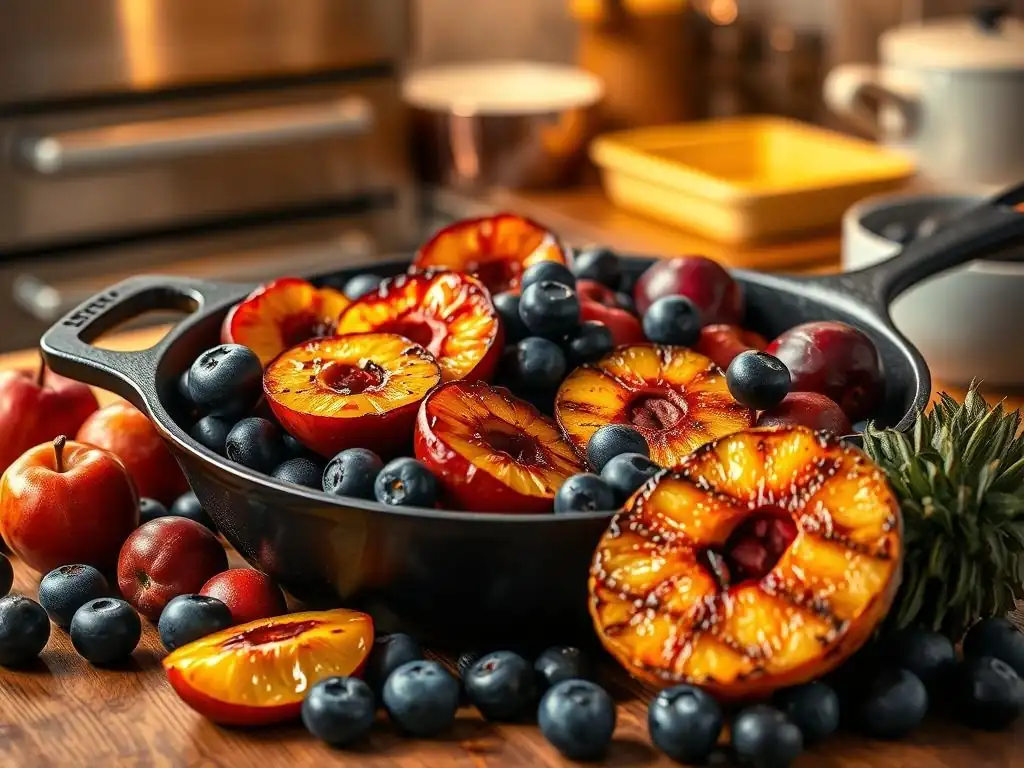
Welcome to BakeWithEase, your kitchen companion for all things baking!
Ever wondered how to dramatically elevate the flavor of your baked goods? Prepare to unlock a new dimension of deliciousness with our latest deep dive into the secrets of roasting fruit before baking. Discover how this simple technique can transform ordinary ingredients into extraordinary treats, adding a depth of flavor you never thought possible. Intrigued? Let's get started and explore the magic!
- Introduction to Roasting Fruit for Enhanced Baking
- Why Roast Fruit Before Baking? The Benefits Explained
- Best Fruits for Roasting Before Baking
- Roasting Fruit: A Step-by-Step Guide for Baking
- Roasting Fruit Before Baking: Recipe Ideas and Applications
- Tips and Tricks for Successful Fruit Roasting in Baking
- The Science Behind Roasting Fruit: Maillard Reaction and Flavor Development
- Troubleshooting Common Fruit Roasting Issues
- Conclusion: Elevate Your Baking with Roasted Fruit
- Frequently Asked Questions
- Final Reflection: The Transformative Power of Roasted Fruit
- Unleash Your Inner Pastry Chef: Take Your Baking to the Next Level!
Introduction to Roasting Fruit for Enhanced Baking
Baking with fresh fruit is a delightful experience, bringing vibrant flavors and natural sweetness to your creations. While simply adding raw fruit to batters or fillings is common, there's a technique that can elevate your baked goods to a whole new level: roasting fruit before baking. This process transforms the fruit, concentrating its flavors, improving its texture, and adding a depth that raw fruit simply can't achieve. Think of it as unlocking the hidden potential within your favorite fruits, making your pies richer, your muffins more flavorful, and your crumbles irresistibly aromatic.
Roasting fruit before incorporating it into your baking projects is a simple step that yields significant rewards. It involves briefly cooking the fruit in the oven, often with a touch of sweetener or spice, until it softens and its natural sugars begin to caramelize. This gentle heat treatment reduces excess moisture, which can often make baked goods soggy, and intensifies the fruit's inherent taste. Whether you're a seasoned baker or just starting out, mastering the art of roasting fruit can significantly enhance the quality and flavor profile of your sweet treats.
Why Roast Fruit Before Baking? The Benefits Explained
Intensified Fruit Flavor Through Roasting
One of the primary reasons to consider roasting fruit before baking is the remarkable intensification of flavor that occurs. When fruit is exposed to the dry heat of the oven, water evaporates, leaving behind a more concentrated essence of the fruit's natural sugars and aromatic compounds. This process is similar to reducing a sauce on the stovetop, where flavors become more pronounced as liquid is removed. For example, roasting strawberries can deepen their sweetness and bring out complex, almost jam-like notes that are absent in fresh strawberries.
Furthermore, the heat triggers chemical reactions, notably the Maillard reaction and caramelization, which contribute new, rich, and complex flavors. These reactions occur as sugars break down and interact with other compounds under heat. While caramelization primarily involves sugars, the Maillard reaction involves amino acids as well, creating a wider range of savory and sweet notes. Roasting apples, for instance, transforms their crisp, often tart profile into a soft, sweet, and deeply aromatic filling perfect for pies, far surpassing the simple sweetness of raw apples. This flavor concentration is key to making fruit the star of your baked goods.
Improved Texture: Achieving Perfect Softness
Roasting fruit before baking significantly improves its texture, making it ideally suited for fillings, toppings, and mix-ins. Raw fruit, especially varieties like apples or pears, can remain quite firm even after baking, leading to an inconsistent texture in pies or tarts. On the other hand, some soft fruits like berries can release too much water, making baked goods soggy and the fruit itself overly mushy. Roasting addresses both of these issues effectively.
The heat from the oven gently softens firmer fruits, breaking down cell walls to create a tender, yielding texture that holds up well during the second round of baking. For softer fruits, roasting allows excess moisture to evaporate before it hits your batter or dough, preventing sogginess. This pre-cooking step results in fruit that is soft but not waterlogged, maintaining its shape and integrity within the final product. Imagine a blueberry muffin where the berries are perfectly tender pockets of flavor rather than bursts of watery juice – that's the power of roasting.
Enhanced Color and Visual Appeal in Baked Goods
Beyond flavor and texture, roasting fruit adds a beautiful depth of color that enhances the visual appeal of your baked goods. As sugars caramelize on the surface of the fruit during roasting, they develop golden-brown hues and a slightly glossy finish. This natural coloring is far more appealing than the often pale or faded appearance of some fruits baked directly from raw.
Consider a tart topped with roasted peaches or plums; the edges where the fruit made contact with the pan will have lovely caramelized spots, adding visual interest and hinting at the rich flavors within. Even mixing roasted berries into a cake batter can result in streaks of deeper, more vibrant color compared to raw berries. This enhanced coloration makes your finished products look more professional and appetizing, inviting people to take a bite.
Best Fruits for Roasting Before Baking
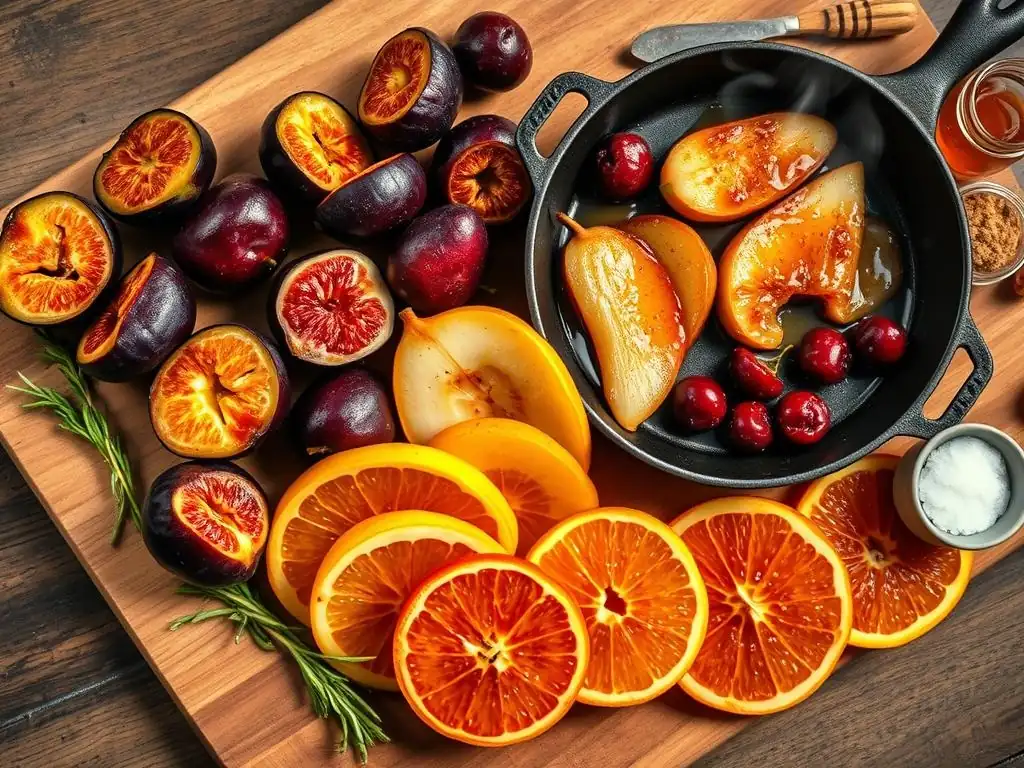
Roasting fruit before baking is a versatile technique that works well with many varieties, but some fruits benefit more than others. The ideal candidates are those that can withstand the heat without completely falling apart and those whose flavors are significantly improved by concentration and caramelization. Experimentation is always encouraged, but here are some top contenders:
Stone Fruits: Roasting Peaches, Plums, and Apricots
Stone fruits like peaches, plums, nectarines, and apricots are exceptional choices for roasting before baking. Their natural sweetness and relatively firm flesh (when ripe but not overly soft) make them perfect for this technique. Roasting peaches, for example, softens their flesh into a luscious, almost jammy consistency while intensifying their sweet, floral notes. A slight char on the edges adds a subtle complexity.
When roasting stone fruits, it's common to halve or quarter them and remove the pit. A drizzle of honey or maple syrup and maybe a sprinkle of cinnamon or cardamom can enhance their flavor further. These roasted fruits are fantastic in crumbles, pies, galettes, or simply served warm over ice cream or yogurt. The texture becomes incredibly tender, making them melt in your mouth when nestled in a warm pastry.
Berries: Roasting Strawberries, Blueberries, and Blackberries
While delicate, berries like strawberries, blueberries, raspberries, and blackberries also benefit greatly from roasting, especially when you want to avoid a watery filling. Roasting berries helps evaporate some of their high water content while concentrating their sweet-tart flavors. Strawberries, which can sometimes taste a bit bland when baked raw, develop a profound sweetness and depth after roasting.
Roasting berries is usually done quickly at a relatively high temperature to prevent them from completely collapsing. They can be roasted whole, perhaps tossed with a little sugar or a squeeze of lemon juice. Roasted blueberries make an incredible addition to muffins, pancakes, or scones, offering a more intense burst of flavor. Blackberries and raspberries, while more fragile, can be roasted gently and used in sauces, coulis, or folded into batters carefully.
Pome Fruits: Roasting Apples and Pears for Baking
Apples and pears are classic baking fruits, and roasting them beforehand elevates their game significantly. Roasting softens their firm flesh, making them tender and easy to slice or mash into fillings. It also brings out their natural sweetness and allows for the development of wonderful caramelized notes, especially around the edges.
For apples, varieties like Honeycrisp, Granny Smith (for tartness), Fuji, or Gala work well. Pears such as Bosc or Anjou hold their shape nicely during roasting. Slices, chunks, or halves can be roasted, often tossed with butter, sugar (brown sugar works wonders), and warming spices like cinnamon, nutmeg, or ginger. Roasted apples and pears are superb in pies, tarts, turnovers, or alongside savory dishes. The texture is transformed from crisp to yielding, creating a more cohesive filling for baked goods.
Citrus Fruits: Roasting Oranges and Grapefruit for Baking
Roasting citrus fruits might seem less intuitive than roasting other fruits, but it can add a unique dimension to your baking. Roasting slices or segments of oranges or grapefruit can mellow their acidity, concentrate their sweetness, and even soften the pith slightly, making the entire segment more palatable. It also brings out deeper, more complex citrus flavors that are different from their fresh counterparts.
Segments can be roasted on their own, perhaps with a sprinkle of sugar. Whole slices can be roasted until slightly caramelized. These roasted citrus pieces can be used in upside-down cakes, added to fruit salads, or incorporated into glazes and syrups for cakes and pastries. The process reduces some of the sharp bitterness often found in citrus pith and membrane, leaving behind a more nuanced sweetness and aroma.
Roasting Fruit: A Step-by-Step Guide for Baking
Roasting fruit for baking is a straightforward process that requires minimal effort but yields maximum flavor. Following a few simple steps ensures your fruit turns out perfectly roasted and ready to enhance your baked goods.
Preparing Your Fruit for Roasting
The first step is always to prepare your chosen fruit. This involves washing it thoroughly to remove any dirt or debris. For many fruits, you'll also need to remove stems, seeds, pits, or peels depending on the type of fruit and how you plan to use it.
Washing and Cutting Techniques
Begin by rinsing your fruit under cool water. For berries, you might want to gently spread them on a paper towel to dry slightly after washing. Stone fruits like peaches or plums should be washed before cutting. You'll typically halve or quarter stone fruits and remove the pit.
Apples and pears can be peeled (optional, but often preferred for pies), cored, and then cut into slices, wedges, or chunks of your desired size. Smaller fruits like grapes or cherries (pitted) can be roasted whole. Uniformity in size is key so the fruit roasts evenly. Aim for pieces roughly 1/2 inch to 1 inch thick for most applications.
Choosing the Right Seasoning: Spices, Herbs, and Sweeteners
Seasoning your fruit before roasting adds another layer of flavor. A simple sprinkle of sugar (granulated, brown, or maple sugar) helps with caramelization and sweetness. The amount needed depends on the fruit's natural sweetness and your preference, but a tablespoon or two per pound of fruit is a good starting point. Spices like cinnamon, nutmeg, ginger, cardamom, or cloves pair wonderfully with apples, pears, and stone fruits.
A pinch of salt can surprisingly enhance sweetness. For berries, a squeeze of lemon juice brightens the flavor, while a hint of vanilla or almond extract can add warmth. Don't be afraid to get creative; a sprig of rosemary with peaches or thyme with berries can offer unique aromatic notes.
The Roasting Process: Time and Temperature
Getting the oven temperature and roasting time right is crucial for achieving perfectly roasted fruit – tender and slightly caramelized, not burnt or mushy.
Optimal Oven Temperature for Roasting Fruit
A moderate to high oven temperature is generally best for roasting fruit. Temperatures ranging from 350°F (175°C) to 400°F (200°C) work well. Higher temperatures encourage faster caramelization and evaporation of moisture, which is great for berries or achieving browned edges on stone fruits. Lower temperatures result in slower cooking and less browning, suitable for larger pieces or fruits you want to keep very tender. For most applications, 375°F (190°C) is a versatile starting point. Ensure your oven is fully preheated before placing the fruit inside.
Roasting Time Guidelines for Different Fruits
Roasting time varies significantly depending on the type of fruit, its size, and the desired level of softness and caramelization.
- Berries: Often the quickest, needing only 10-20 minutes until they soften and release some juice.
- Stone Fruits (peaches, plums): Typically require 20-30 minutes for halves or quarters, becoming tender and slightly caramelized.
- Pome Fruits (apples, pears): Slices or chunks may take 25-40 minutes, depending on thickness and variety, until fork-tender.
- Citrus: Slices might take 20-35 minutes until slightly softened and caramelized.
It's important to check the fruit periodically during roasting. It's done when it's tender when pierced with a fork and shows some signs of browning or caramelization on the edges or surface. The goal of roasting fruit before baking is to soften and concentrate flavor, not fully cook it into a sauce, as it will undergo further heating in the final baked good.
Cooling and Storing Roasted Fruit
Once roasted, allow the fruit to cool slightly on the baking sheet before handling. As it cools, some of the juices will thicken slightly. If you plan to use the fruit immediately in a recipe, ensure it's cooled to room temperature unless the recipe specifically calls for warm fruit.
For storage, transfer the cooled roasted fruit and any accumulated juices to an airtight container. It can be stored in the refrigerator for 3-4 days. The flavors will continue to meld as it sits. Roasted fruit can also be frozen for longer storage; place it in a single layer on a baking sheet to freeze solid, then transfer to a freezer-safe bag or container. This makes it easy to grab just the amount you need for future baking endeavors.
Roasting Fruit Before Baking: Recipe Ideas and Applications
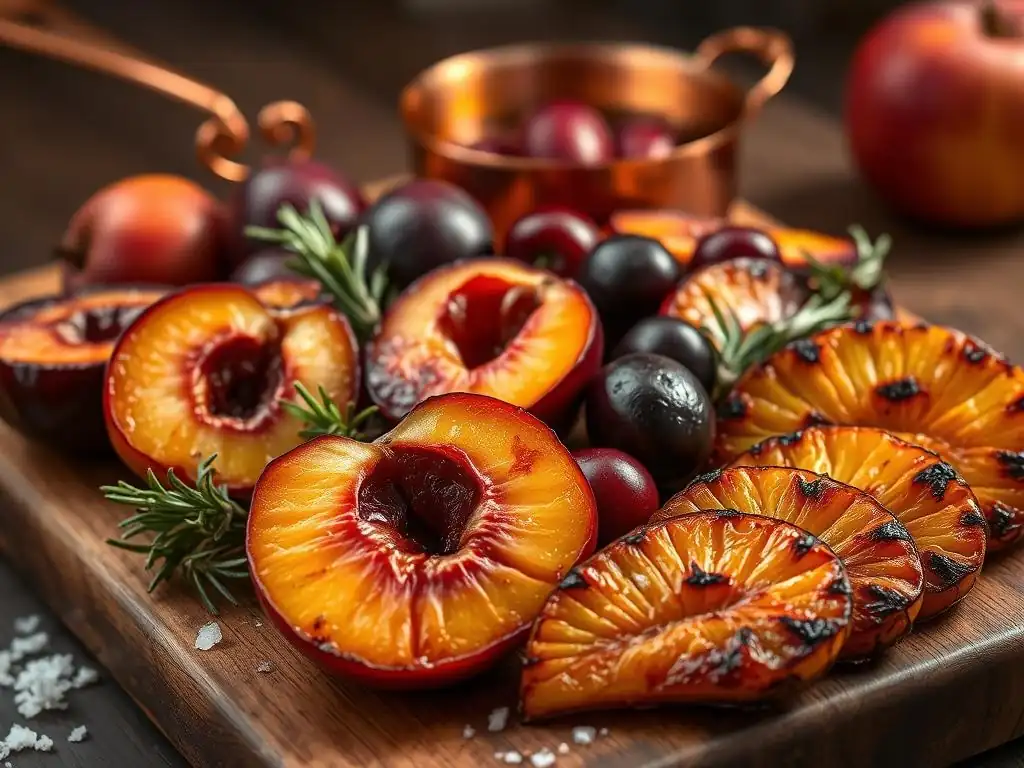
Roasting fruit opens up a world of possibilities in baking. The concentrated flavors and improved texture make roasted fruit a superior ingredient in many classic and creative desserts.
Roasted Fruit Crumble and Crisp Recipes
One of the simplest and most satisfying ways to use roasted fruit is in crumbles and crisps. Instead of using raw fruit, which can sometimes result in a watery bottom layer, using roasted fruit guarantees a flavorful, slightly thickened base. Imagine a classic apple crisp, but with apples that are already tender and infused with caramelized sweetness before they even meet the topping.
To make a roasted fruit crumble, simply prepare and roast your fruit (apples, berries, peaches, or a mix work well) with desired seasonings. Pour the roasted fruit and its juices into a baking dish, top with your favorite crumble or crisp topping (a mix of flour, oats, sugar, butter, and spices), and bake until the topping is golden brown and the fruit is bubbling. The pre-roasting ensures the fruit is perfectly soft by the time the topping is baked.
Roasted Fruit Pies and Tarts
Pies and tarts are arguably where roasting fruit shines brightest, especially for fruits that tend to release a lot of moisture. Using roasted fruit for pie filling drastically reduces the risk of a soggy bottom crust. The roasting process evaporates excess water upfront, resulting in a filling that is flavorful, nicely thickened by the fruit's natural pectin (concentrated by roasting), and less likely to weep during baking.
For a pie, roast sliced apples, peaches, or berries until tender but not falling apart. Mix the cooled roasted fruit with a thickener like cornstarch or flour (less may be needed than with raw fruit), sugar, and spices. Fill your pie crust and bake as usual. The result is a pie with a firm, flavorful filling that holds its shape beautifully when sliced. For tarts, roasted fruit can be arranged decoratively on a pastry cream or frangipane base.
Incorporating Roasted Fruit into Cakes and Muffins
Folding roasted fruit into cake or muffin batter adds pockets of intense flavor and moisture without making the batter overly wet. While fresh berries are commonly used in muffins, roasting them beforehand concentrates their flavor and reduces the chance of blue streaks throughout the batter (as some of the pigment is released during roasting).
Cool roasted berries, chopped stone fruit, or diced roasted apples can be gently folded into cake, muffin, or quick bread batters. Be careful not to overmix. The roasted fruit provides bursts of sweet, tender goodness in every bite. Consider a lemon-blueberry muffin where the blueberries are intensely flavorful roasted gems, or a spice cake with tender, caramelized roasted apple chunks.
Adding Roasted Fruit to Oatmeal and Yogurt
While not strictly baking, roasted fruit is a fantastic addition to breakfast items like oatmeal, yogurt, or granola. It's a simple way to add natural sweetness and complex flavor without refined sugars.
Warm roasted fruit stirred into a bowl of hot oatmeal creates a comforting, flavorful meal. A dollop of roasted peaches or berries over yogurt or granola provides a dessert-like breakfast treat. This application also highlights the versatility of roasting fruit beyond traditional baked goods and serves as a delicious way to use up any leftover roasted fruit.
Tips and Tricks for Successful Fruit Roasting in Baking
Achieving perfectly roasted fruit for your baking projects involves a few key considerations to ensure the best results every time.
Preventing Fruit from Becoming Too Soft or Mushy
The goal of roasting fruit before baking is to soften it and concentrate flavors, not turn it into a sauce. To prevent your fruit from becoming too soft or mushy:
- Choose fruit that is ripe but still slightly firm. Overripe fruit will break down too quickly.
- Cut fruit into uniform, appropriately sized pieces (not too small).
- Don't overcrowd the baking sheet. Give the fruit space so it roasts rather than steams.
- Roast at a temperature that allows for caramelization without excessive cooking time.
- Check the fruit periodically during roasting and remove it from the oven as soon as it reaches the desired tenderness – remember it will cook further in the final baked good. A fork should pierce it easily, but it shouldn't be falling apart.
Achieving Caramelization: The Key to Flavor
Caramelization is where much of the magic happens during roasting fruit. It develops those rich, complex, sweet notes. To encourage caramelization:
- Use a little sugar or sweetener tossed with the fruit. This provides readily available sugars to brown.
- Roast at a sufficient temperature (
375°Fto400°Foften works well). - Ensure the fruit is in a single layer on the baking sheet so the dry heat can reach the surfaces.
- Don't stir the fruit too frequently; let it sit in contact with the hot pan to brown.
- Using a metal baking sheet (rather than glass or ceramic) can help with browning.
Adjusting Baking Times When Using Roasted Fruit
Since the fruit is already partially cooked and softened from roasting, you may need to adjust the baking time of your final recipe.
- Pies and tarts: The fruit filling is already tender, so you're primarily focused on baking the crust and ensuring the filling is heated through and any thickener is activated. This might slightly reduce the overall baking time or the temperature might need adjustment to prevent the crust from over-baking before the filling is hot. Pay attention to visual cues like a golden crust and bubbling filling.
- Muffins and cakes: The baking time likely won't change significantly, as the fruit is mixed into the batter, which still needs to cook through. However, the roasted fruit will contribute moisture and tenderness.
Always monitor your baked goods as they finish to ensure they are cooked perfectly, using cues like golden-brown crusts, cake testers coming out clean, and proper internal temperatures.
Use Parchment Paper to Prevent Sticking
A simple yet highly effective tip for roasting fruit is to line your baking sheet with parchment paper. Fruit, especially when tossed with sugar or honey, can become quite sticky as it roasts and caramelizes.
Using parchment paper prevents the fruit from sticking to the pan, making cleanup a breeze. It also ensures that all those delicious caramelized bits come off the pan with the fruit, adding extra flavor to your final dish. This is particularly helpful when roasting berries or sticky stone fruits like plums.
The Science Behind Roasting Fruit: Maillard Reaction and Flavor Development
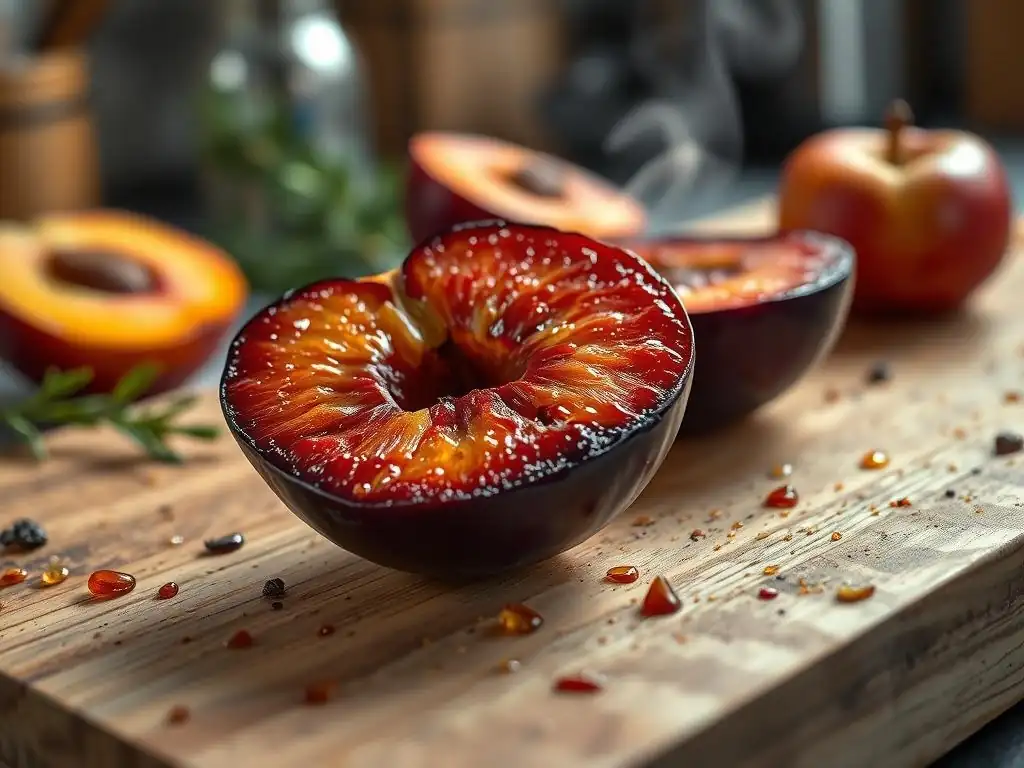
Understanding the science behind why roasting fruit before baking enhances flavor makes the technique even more fascinating. It's not just about softening; it's about fundamental chemical changes.
Understanding the Maillard Reaction
The Maillard reaction is a complex chemical process that occurs when amino acids and reducing sugars are heated together. It's responsible for the browning and development of savory, complex flavors in many cooked foods, from seared steaks to toasted bread. While fruit doesn't have significant amounts of amino acids compared to meat, the Maillard reaction still plays a role, particularly when fruit is heated alongside proteins (like in a butter-tossed roast) or when certain amino acids are present in trace amounts.
In fruit roasting, the Maillard reaction contributes to the browning and the development of new aromatic compounds that add depth and complexity beyond simple sweetness. These compounds create the appealing smell and taste of roasted fruit, distinct from fresh or simply cooked fruit. It works in tandem with caramelization to build layers of flavor.
How Roasting Changes the Sugar Content of Fruit
While roasting doesn't chemically increase the total amount of sugar in the fruit, it concentrates it by reducing the water content. Imagine a cup of sliced strawberries that are 92% water. After roasting, much of that water evaporates, leaving behind the sugars and solids in a smaller, denser package. This is why roasted fruit tastes sweeter and more intensely flavored than the same amount of raw fruit.
Furthermore, the high heat of roasting triggers caramelization, which is the browning of sugars when heated above their melting point (around 320°F / 160°C for sucrose). This process breaks down sugars and creates hundreds of new flavor compounds, ranging from nutty and buttery to slightly bitter and toasty. These caramelized sugars contribute significantly to the rich, complex taste of roasted fruit.
The Role of Acidity in Roasted Fruit Flavor
Fruit contains various organic acids (like citric, malic, and tartaric acid) that contribute to its tartness and overall flavor balance. Roasting can affect these acids in a couple of ways. The heat can break down some of the more volatile acidic compounds, slightly mellowing the fruit's tartness.
However, more importantly, as water evaporates and sugars concentrate, the ratio of sugar to acid changes. The sweetness becomes more prominent relative to the acidity, even if the absolute amount of acid hasn't changed drastically. This creates a perceived shift towards a sweeter, more balanced flavor profile. The remaining acidity is crucial, though, as it provides a necessary counterpoint to the concentrated sweetness and caramelized notes, preventing the flavor from being cloyingly sweet and adding brightness.
Troubleshooting Common Fruit Roasting Issues
Even with simple techniques like roasting, sometimes things don't go exactly as planned. Here are a few common issues you might encounter when roasting fruit for baking and how to fix them.
Fruit is Too Watery After Roasting
If your roasted fruit releases excessive liquid and seems watery instead of concentrated, several factors could be at play:
- Overcrowding: Putting too much fruit on a single baking sheet causes it to steam rather than roast. The moisture released has nowhere to go, and the fruit essentially boils in its own juices.
- Solution: Use multiple baking sheets or roast in batches, ensuring the fruit is in a single layer with space around the pieces.
- Low Temperature: Roasting at too low a temperature doesn't promote enough evaporation.
- Solution: Increase the oven temperature slightly (e.g., to
400°F / 200°C) to encourage faster water loss.
- Solution: Increase the oven temperature slightly (e.g., to
- Very Ripe Fruit: Overly ripe fruit often has less structure and releases moisture more readily.
- Solution: Use fruit that is ripe but still holds its shape well.
- Short Roasting Time: Not roasting long enough won't allow sufficient moisture to evaporate.
- Solution: Extend the roasting time until the desired level of tenderness and moisture reduction is achieved. The juices on the pan should look slightly syrupy, not watery.
Fruit is Burning Before It Softens
If the edges of your fruit are charring or burning before the fruit is tender in the center, the temperature might be too high or the fruit pieces might be too small or thin.
- High Temperature: An oven temperature that's too high can cause the surface sugars to burn before the heat penetrates and softens the fruit.
- Solution: Reduce the oven temperature (e.g., to
350°F / 175°Cor375°F / 190°C).
- Solution: Reduce the oven temperature (e.g., to
- Fruit Size: Small or thinly sliced fruit will cook and caramelize much faster than larger chunks.
- Solution: Ensure fruit pieces are of a uniform and appropriate size for the chosen temperature. Thicker slices or chunks might be better for higher heat.
- Sugary Marinade: Too much sugar or a very sweet marinade can cause rapid caramelization and burning.
- Solution: Reduce the amount of added sugar or sweetener, or mix it with less prone-to-burning ingredients like butter or oil.
- Pan Type: Dark metal pans absorb and radiate heat more intensely than lighter pans.
- Solution: If using a dark pan, consider reducing the temperature slightly or shortening the roasting time. Using parchment paper also provides a buffer.
Roasted Fruit Lacks Flavor
If your roasted fruit tastes somewhat flat despite the roasting process, consider these possibilities:
- Under-Roasting: Not roasting long enough won't allow sufficient water evaporation or caramelization to occur, which are key to flavor concentration.
- Solution: Extend the roasting time until the fruit is tender and shows visible signs of caramelization and reduced moisture.
- Lack of Seasoning: Simple roasting is good, but adding a touch of sweetener, spice, or acid enhances the natural flavors.
- Solution: Toss the fruit with a little sugar, honey, maple syrup, spices (cinnamon, nutmeg, ginger), a pinch of salt, or a squeeze of lemon/orange juice before roasting.
- Using Unripe Fruit: Unripe fruit lacks the natural sugars and volatile flavor compounds that develop as fruit matures. Roasting can't create flavors that aren't there to begin with.
- Solution: Always start with ripe, flavorful fruit for the best results when roasting fruit before baking.
- Flavor Loss: Some delicate flavor compounds can be lost if roasted for too long or at excessive heat.
- Solution: Aim for the sweet spot of tenderness and light caramelization without overdoing it, especially for more delicate fruits.
Conclusion: Elevate Your Baking with Roasted Fruit
Recap of the Benefits of Roasting Fruit
Roasting fruit before baking is a simple yet transformative technique that significantly enhances the quality of your baked goods. We've seen how this process concentrates fruit flavors, turning them from pleasant to profound by evaporating excess water and initiating caramelization and Maillard reactions. It improves texture, preventing sogginess in wet fillings while softening firmer fruits to a perfect tenderness. Furthermore, it adds beautiful color and visual appeal, making your creations look as good as they taste. From pies and crumbles to muffins and cakes, the benefits of roasting fruit are clear.
Encouragement to Experiment with Different Fruits and Recipes
Now that you understand the 'why' and 'how' of roasting fruit for baking, it's time to put it into practice! Don't be limited to the examples provided; the technique works with many different fruits. Try roasting grapes for a unique tart filling, or pineapple chunks for a tropical twist on a cake.
Experiment with different seasonings – a drizzle of balsamic glaze on strawberries before roasting, or a hint of black pepper with roasted plums. Roasting fruit before baking is a powerful tool in any baker's arsenal, promising deeper flavors and better textures in your favorite recipes. So preheat your oven, grab some fruit, and unlock a new dimension of flavor in your baking adventures!
Frequently Asked Questions
Why should I roast fruit before baking?
Roasting fruit before baking intensifies its natural sweetness and creates a deeper, more complex flavor. This process also helps to remove excess moisture, preventing soggy baked goods.
What types of fruit benefit most from roasting before baking?
Fruits like apples, pears, berries, and stone fruits (peaches, plums, apricots) are excellent candidates. Roasting enhances their flavor and texture, making them ideal for pies, crisps, and cakes.
How long should I roast fruit before baking?
The roasting time depends on the type and size of the fruit. Generally, aim for 15-30 minutes at around 375°F (190°C), until the fruit is slightly softened and caramelized.
Does roasting fruit affect the amount of sugar I need to add to my recipe?
Yes, because roasting concentrates the fruit's natural sugars, you may need to reduce the amount of added sugar in your baking recipe to avoid an overly sweet result. Taste as you go to adjust accordingly.
Can I roast frozen fruit before baking?
While fresh fruit is preferred, you can roast frozen fruit. Be aware that it will release more moisture, so consider roasting it for a longer time to compensate and ensure optimal flavor concentration.
Final Reflection: The Transformative Power of Roasted Fruit
Roasting fruit before baking isn't just a technique; it's a revelation. The subtle shifts in texture and the explosion of intensified flavor unlock a whole new dimension in baking, proving that sometimes, a little extra effort yields extraordinary results. This simple act transforms ordinary fruit into something truly special, elevating even the simplest recipes.
The impact of this seemingly small culinary detail is surprisingly profound. It's not just about enhancing the taste; it's about understanding the potential hidden within everyday ingredients. Roasting concentrates the natural sugars, creating a depth of flavor that fresh fruit simply can't match. This process connects us more deeply to the ingredients themselves, reminding us of the artistry involved in even the most basic cooking. The best things in life are simple, but not easy.
This quote perfectly encapsulates the effort and reward inherent in roasting fruit before baking.
Now, consider your own baking. What seemingly small adjustments could you make to unlock new levels of flavor and satisfaction? Think beyond fruit; what other ingredients could benefit from a similar transformation? I encourage you to experiment, to explore the possibilities, and to discover the joy of elevating your baking through mindful preparation. Embrace the transformative power of roasting, and unlock the extraordinary flavors waiting to be discovered in your kitchen.
Unleash Your Inner Pastry Chef: Take Your Baking to the Next Level!
Thanks for taking the time to explore the magic of roasting fruit before baking! We hope you discovered new ways to elevate your desserts. Ready to put your newfound knowledge into action?
- Roast and bake your favorite fruit tonight! Experiment with different fruits and roasting times to find your perfect combination. This is the core action — the one we truly hope you take away.
- Share your roasted fruit creations on social media using #BakeWithEaseRoastedFruit. Let’s inspire each other!
- Discover more flavor-boosting baking techniques in our upcoming articles – subscribe to our newsletter to stay updated!
What unique flavor combinations will you create with your roasted fruit this week? Let us know in the comments below!