
Your First Fruit Pie: A Beginner's Simple Guide

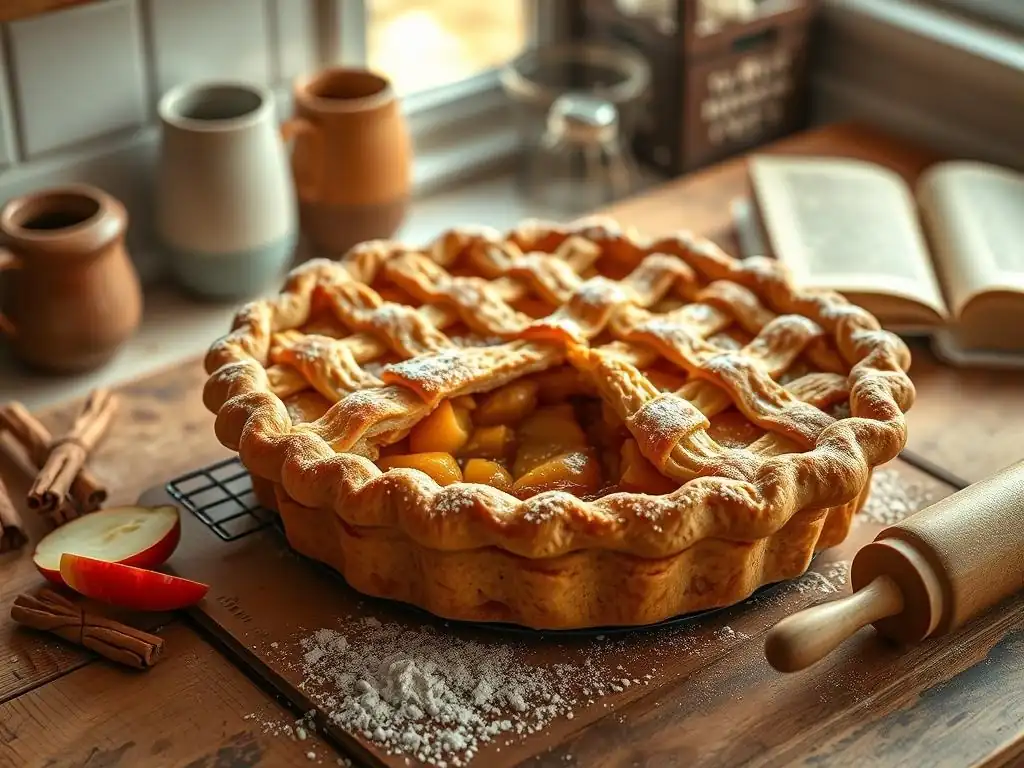
Welcome to BakeWithEase!
Ever dreamt of creating a perfectly golden, fruit-filled pie that makes everyone say "wow"? You're in the right place! Uncover the secrets behind our easy fruit pie recipe and discover how simple it is to achieve baking brilliance, even if you're just starting out. Get ready to impress – and learn a thing or two about selecting the freshest ingredients along the way... Let's get baking!
- Mastering Apple Pie: A Beginner's Guide - BakeWell.com
- Introduction to Baking Apple Pie for Beginners
- Essential Equipment for Your First Apple Pie
- Ingredients Breakdown: Your Apple Pie Recipe
- Step-by-Step Guide to Making Your First Apple Pie
- Troubleshooting Common Apple Pie Baking Problems
- Serving and Storing Your Homemade Apple Pie
- Variations and Additions to Your Apple Pie Recipe
- Conclusion: Enjoy Your Homemade Apple Pie!
-
Frequently Asked Questions
- What makes this fruit pie recipe easy for beginners?
- What type of fruit works best for this easy fruit pie recipe?
- Can I use a store-bought pie crust for this easy fruit pie recipe?
- What is the best way to prevent a soggy bottom crust in this easy fruit pie recipe?
- How do I know when my easy fruit pie recipe is done?
- Final Reflection: The Sweetness of Simple Beginnings
- Unleash Your Inner Baker: Craft Your First Delicious Pie!
Mastering Apple Pie: A Beginner's Guide - BakeWell.com
Introduction to Baking Apple Pie for Beginners
Why Apple Pie is a Great First Baking Project
Baking your very first pie might seem daunting, but starting with an easy fruit pie recipe, specifically apple, is one of the most rewarding ways to begin. Apple pie is a classic comfort food, familiar to almost everyone, making the end goal clear and motivating. The process involves fundamental baking techniques like making a simple crust and preparing a fruit filling, skills that are transferable to countless other recipes. Success with an apple pie builds confidence and provides a delicious result to share (or enjoy all by yourself! ).
Furthermore, apple pie is incredibly forgiving compared to more delicate pastries or cakes. Apples hold their shape relatively well when baked, and minor imperfections in the crust are often part of its rustic charm. Learning how to handle dough, balance sweetness and tartness, and achieve a golden-brown crust are foundational skills that an easy fruit pie recipe like apple pie teaches effectively, setting you up for future baking adventures.
What Makes This Apple Pie Recipe Beginner-Friendly?
This particular apple pie recipe is designed with the novice baker in mind, focusing on simplifying key steps without sacrificing flavor or texture. Instead of complex techniques, we'll use straightforward methods for both the filling and the crust. The ingredient list is kept manageable, featuring items readily available in most grocery stores, ensuring you won't need to hunt for obscure components.
The instructions are broken down into clear, actionable steps, guiding you through each stage of the process from start to finish. We'll provide specific tips for common beginner challenges, such as preventing a soggy bottom crust or dealing with sticky dough. By following this easy fruit pie recipe, you'll gain practical experience and understanding of basic pie construction, making your first attempt enjoyable and leading to a delicious, homemade apple pie you'll be proud of.
Essential Equipment for Your First Apple Pie
Must-Have Baking Tools for Apple Pie Success
To successfully bake your first apple pie, a few essential tools will make the process much smoother. A standard 9-inch pie plate is fundamental; glass or ceramic plates tend to distribute heat evenly, helping with that desirable golden crust. You'll also need a large mixing bowl for preparing the apple filling and another for mixing the pie dough. Measuring cups and spoons are crucial for accuracy, as baking relies on precise ratios, especially for the crust.
Other necessary items include a rolling pin to flatten the pie dough, a pastry blender or a fork for cutting butter into the flour for the crust, and a sharp knife or apple peeler/corer for preparing the apples. A sturdy cutting board is also essential for safe and efficient apple prep. Having these basic tools on hand will ensure you're well-equipped to tackle every step of this easy fruit pie recipe.
Helpful Tools for Streamlining Apple Pie Baking
While not strictly essential, some tools can significantly streamline the apple pie baking process, making it even easier for beginners. An apple peeler, corer, and slicer combined can drastically reduce the time spent preparing the fruit. A pastry cutter or bench scraper is excellent for dividing dough and cleaning surfaces.
For transferring the rolled-out dough, a pastry mat with measurements or a large, thin spatula can be very helpful. Using pie weights or dried beans is a good idea if you decide to par-bake your bottom crust (a technique to prevent sogginess, though not always necessary for a beginner's first pie). Lastly, a pie shield or aluminum foil strips are invaluable for protecting the edges of your pie crust from burning before the rest of the pie is done.
Ingredients Breakdown: Your Apple Pie Recipe
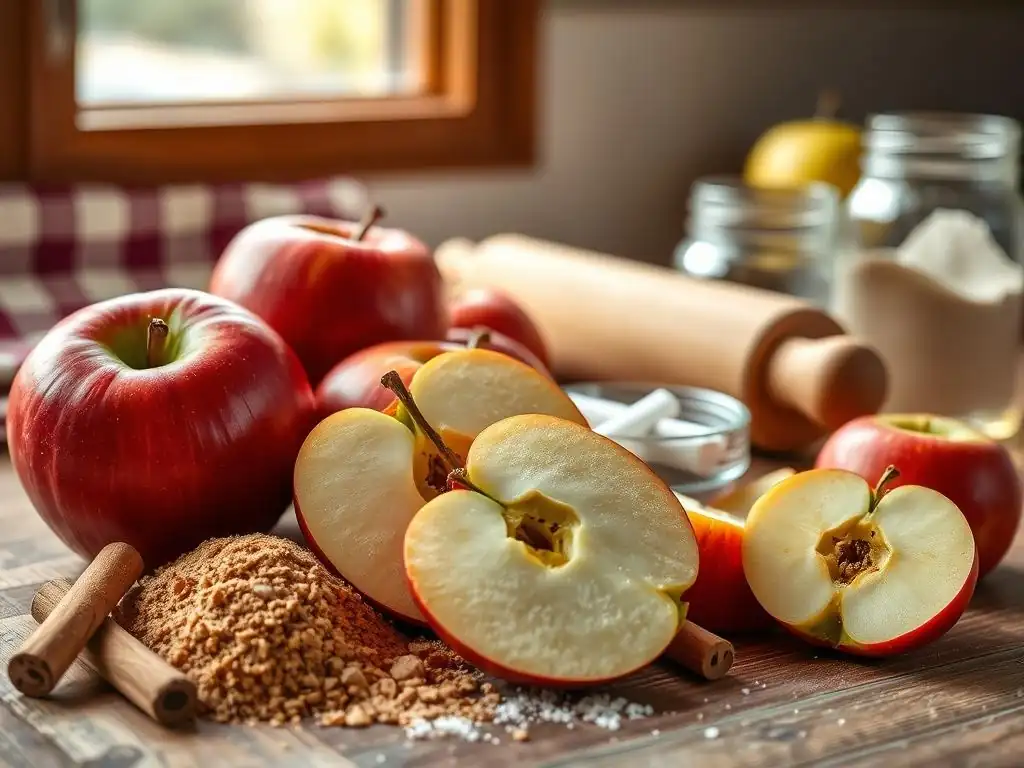
The Role of Quality Ingredients in Apple Pie
Using quality ingredients is perhaps the most impactful factor in the success of your easy fruit pie recipe. Fresh, flavorful apples are the star of the show, providing the bulk of the filling's taste and texture. Subpar or mealy apples will result in a bland, mushy filling. Similarly, the quality of your butter is paramount for a flaky, delicious crust. High-fat butter (typically around 80% fat) yields the best results.
Even ingredients like flour, sugar, and spices play a role. Using fresh spices, like cinnamon, nutmeg, or allspice, will provide a much more vibrant flavor profile than old, stale ones. Opting for all-purpose flour is standard and reliable for a beginner's crust. While this is an easy fruit pie recipe, choosing good ingredients elevates it from good to truly great.
Choosing the Right Apples for Your Pie (and Seasonality)
Selecting the correct type of apple is critical for achieving the desired texture and flavor in your baked easy fruit pie recipe. You generally want apples that hold their shape well when cooked, preventing the filling from turning into applesauce. A mix of apple varieties often provides the best balance of sweetness, tartness, and firmness.
Consider the season when buying apples. Apples are typically harvested from late summer through fall, and these seasonal varieties are often at their peak flavor and freshness. While many apple types are available year-round thanks to storage, seeking out in-season varieties can make a noticeable difference in the taste of your homemade easy fruit pie.
Apple Varieties: A Guide to Flavor and Texture
Using a blend of apple varieties adds complexity to your easy fruit pie recipe. Good baking apples include Honeycrisp, known for its crisp texture and balanced sweetness; Granny Smith, which provides a tart counterpoint and holds its shape exceptionally well; and Gala or Fuji, offering sweetness and firmness.
Other excellent choices are Braeburn, Jonagold, and Mutsu (Crispin). A common ratio is to use about 6-8 cups of sliced apples for a standard 9-inch pie, often a mix like 3 cups Granny Smith for tartness and structure, and 3-5 cups of sweeter, slightly softer apples like Honeycrisp or Gala for flavor depth. Experimenting with different combinations in future easy fruit pie recipes is part of the fun!
Pie Crust Ingredients and Achieving the Right Texture
A great pie crust for an easy fruit pie recipe relies on just a few simple ingredients: flour, fat (usually butter, sometimes with shortening), salt, and ice water. The key to a flaky crust lies in the fat. When cold butter is cut into the flour, it creates small pockets. As the pie bakes, the water in the butter turns to steam, puffing up these pockets and creating layers, which is the hallmark of flakiness.
Using ice water is crucial because it keeps the butter cold and prevents it from melting before baking. Handling the dough as little as possible also helps prevent the gluten from developing too much, which can result in a tough crust instead of a tender, flaky one. Aim for a dough that just comes together, with visible pieces of butter distributed throughout.
Step-by-Step Guide to Making Your First Apple Pie
Part 1: Preparing the Apple Filling
Peeling, Slicing, and Prepping Apples
The first step in your easy fruit pie recipe is preparing the star ingredient: the apples. Begin by washing your chosen apples thoroughly. Using a peeler, remove the skin from each apple. Then, core the apples using a corer or by cutting around the core with a knife. Slice the apples into relatively uniform pieces, about 1/4 to 1/2 inch thick. Aim for consistency so they cook evenly. For a standard 9-inch pie, you'll likely need about 6 to 8 medium apples, yielding roughly 6-8 cups of slices.
Once sliced, place the apples in a large mixing bowl. This is also the stage where you can toss them with a little lemon juice (about 1-2 tablespoons) to prevent browning while you prepare the rest of the filling ingredients. This step is particularly helpful if you're prepping the apples ahead of time or working slowly, ensuring your filling looks appealing.
Creating the Perfect Apple Filling Mixture (Sugar, Spices, Thickener)
In the bowl with your sliced apples, add the sugar. The amount depends on the sweetness of your apples and personal preference, but a common range is 1/2 cup to 1 cup of granulated sugar, often mixed with a few tablespoons of brown sugar for added depth of flavor. Next, add your spices. Cinnamon is essential, usually 1-2 teaspoons. You might also add 1/4 teaspoon of nutmeg, a pinch of allspice, or a touch of ginger for complexity.
Finally, add a thickener. This is crucial to prevent a runny filling. Common thickeners include all-purpose flour, cornstarch, or tapioca starch. For approximately 6-8 cups of apples, you'll typically need 2-4 tablespoons of flour or cornstarch, or 3-5 tablespoons of tapioca starch. Tapioca starch often creates a clearer filling. Gently toss all the ingredients together until the apple slices are evenly coated with the sugar, spice, and thickener mixture.
Part 2: Making the Pie Crust
Pie Crust Recipe for Beginners
Making a simple, flaky pie crust for your easy fruit pie recipe is achievable with a few key techniques. You'll need about 2 1/2 cups of all-purpose flour, 1 teaspoon of salt, 1 cup (2 sticks) of very cold unsalted butter cut into small cubes (about 1/2 inch), and about 1/2 cup of ice water. In a large bowl, whisk together the flour and salt. Add the cold butter cubes to the flour mixture.
Using a pastry blender, fork, or your fingertips, cut the butter into the flour until the mixture resembles coarse meal with some pea-sized pieces of butter still visible. This is crucial for flakiness. Gradually add the ice water, one tablespoon at a time, mixing gently with a fork or your hands until the dough just comes together. Be careful not to add too much water or overwork the dough. The dough should be slightly shaggy but hold together when squeezed.
Tips for a Flaky Pie Crust
To ensure a flaky crust for your easy fruit pie recipe, keeping everything cold is paramount. Use cold butter, ice water, and even chill your flour and bowl if your kitchen is warm. Avoid using your hands too much when incorporating the butter, as the warmth can melt it. Work quickly.
Once the dough comes together, divide it in half, shape each half into a disc, wrap tightly in plastic wrap, and refrigerate for at least 30 minutes, preferably an hour or more. This chilling period allows the gluten to relax, making the dough easier to roll, and solidifies the fat, which is essential for creating those flaky layers during baking. Don't skip this step!
Part 3: Assembling Your Apple Pie
Rolling Out the Pie Dough
Take one disc of chilled dough out of the refrigerator (keep the other disc chilled until needed). Lightly flour a clean surface and your rolling pin. Place the dough disc on the floured surface and begin rolling from the center outwards, rotating the dough occasionally to prevent sticking and maintain a circular shape. Aim for a circle about 12 inches in diameter, large enough to fit into your 9-inch pie plate with some overhang (about 1-2 inches).
As you roll, lift the dough periodically and add more flour underneath if needed to prevent it from sticking. If the dough becomes too soft or sticky, pop it back into the refrigerator for a few minutes to firm up. Roll to an even thickness, roughly 1/8 inch.
Transferring the Dough to the Pie Plate
Transferring the rolled-out dough can be tricky for a beginner's easy fruit pie recipe, but there are a couple of methods. The easiest is to gently roll the dough circle around your rolling pin, then unroll it carefully over your pie plate. Alternatively, you can fold the dough circle in half or quarters, lift it into the pie plate, and then unfold it.
Ease the dough gently into the bottom and up the sides of the pie plate, pressing it lightly into the corners without stretching it. Stretching the dough can cause it to shrink back during baking. Trim the excess dough, leaving about a 1-inch overhang around the edge.
Adding the Apple Filling and Top Crust
Pour the prepared apple filling evenly into the dough-lined pie plate. Dot the top of the filling with a few small pieces of butter (about 1-2 tablespoons total) for added richness and flavor. Now, prepare your top crust. Roll out the second disc of dough the same way you did the first. You can cut vents into the top crust with a knife (slits, shapes, etc.) or create a lattice top if you feel adventurous (though a solid top with vents is simpler for a first easy fruit pie recipe).
Carefully transfer the top crust over the filling, using the rolling pin method or folding method. Trim the excess dough, leaving about a 1-inch overhang. Crimp the edges of the top and bottom crusts together to seal the pie. You can do this by pressing them together with a fork or using your fingers to create a decorative edge.
Part 4: Baking Your First Apple Pie
Oven Temperature and Baking Time
Preheat your oven to a relatively high temperature initially, typically around 425°F (220°C). Baking at a higher temperature for the first 15-20 minutes helps set the bottom crust and encourages flakiness before you lower the temperature to cook the filling through. After the initial high-heat phase, reduce the oven temperature to 375°F (190°C) for the remainder of the baking time.
The total baking time for an easy fruit pie recipe like apple pie usually ranges from 45 to 65 minutes, but this can vary significantly depending on your oven and the type of apples used. It's essential to watch the pie closely, especially towards the end of the baking time.
How to Tell When Your Apple Pie is Perfectly Baked
Knowing when your easy fruit pie is done is key to avoiding an undercooked filling or burnt crust. The most reliable indicators are visual and auditory. The crust should be a deep golden brown color, including the bottom crust if you can see it through a glass plate.
Listen for gentle bubbling sounds from the filling through the vents in the top crust; this indicates that the juices are thickening and the apples are cooking. You can also gently insert a skewer or knife through a vent into the filling; if it goes in easily with little resistance, the apples are tender and the pie is likely done. If the crust is browning too quickly, loosely tent the pie with aluminum foil.
Troubleshooting Common Apple Pie Baking Problems

Soggy Bottom Crust: Prevention
A soggy bottom crust is a common frustration when baking an easy fruit pie recipe, but several steps can help prevent it. Ensure your pie plate is placed on the lowest rack in your oven; this helps direct heat towards the bottom crust. Using a metal pie plate can also conduct heat more effectively than glass or ceramic for the bottom crust.
Properly chilling your pie dough before rolling and assembly is crucial, as it helps the fat render correctly in the oven. You can also brush the bottom crust with a thin layer of egg white or melted butter before adding the filling; this creates a slight barrier. Another effective method is to par-bake the bottom crust for about 10-15 minutes before adding the filling, though this adds an extra step to your easy fruit pie recipe.
Burnt Pie Crust Edges: Protecting Your Pie
The edges of your pie crust are thinner than the center and tend to brown much faster. To prevent them from burning while the rest of your easy fruit pie bakes, protect them with a pie shield or strips of aluminum foil. You can buy reusable silicone pie shields, or simply tear off strips of foil and carefully crimp them around the edge of the pie after the first 15-20 minutes of baking (or as soon as you notice the edges are starting to brown).
Remove the shield or foil for the last 10-15 minutes of baking to allow the edges to finish browning slightly, but this protection is vital during the main baking period when the filling is cooking and the center crust is browning.
Filling Too Runny: Solutions
A runny filling in your easy fruit pie recipe is usually due to insufficient thickener or not cooking the pie long enough for the thickener to activate. Ensure you've used the recommended amount of flour, cornstarch, or tapioca starch for the quantity of apples. Remember that different apple varieties release varying amounts of juice, so sometimes adjustments are needed.
Make sure you are baking the pie until you see the filling bubbling through the vents. This bubbling indicates that the temperature inside the pie is high enough for the starch thickener to do its job. If your pie is done baking but the filling seems a bit loose upon cooling, it will often firm up considerably as it cools. If it's still too runny after cooling, consider adding a little more thickener next time or pre-cooking the apple filling slightly before adding it to the crust (though this adds complexity to a beginner recipe).
Serving and Storing Your Homemade Apple Pie
Cooling Your Apple Pie Properly
Once your easy fruit pie recipe is perfectly baked with a golden crust and bubbling filling, the hardest part is waiting! It is absolutely crucial to let the pie cool completely on a wire rack for at least 2-3 hours, and ideally longer. As the pie cools, the thickener in the filling continues to work, solidifying the juices.
Cutting into a hot apple pie will almost always result in a runny mess because the filling hasn't had time to set. Patience here is key to achieving neat slices and a properly thickened filling. Resist the urge to cut it too soon, even though the aroma is irresistible.
Serving Your Delicious Apple Pie
After the proper cooling time, your homemade easy fruit pie is ready to be served! Apple pie is wonderful served slightly warm or at room temperature. For that classic comfort food experience, serve slices plain or with a scoop of vanilla ice cream (à la mode) or a dollop of whipped cream.
Use a sharp knife that has been run under hot water and wiped dry to get cleaner slices. Wipe the knife clean between cuts if possible. Enjoy the fruits of your labor and share your baking triumph!
Storing Leftover Apple Pie
If you happen to have any leftover easy fruit pie (a rare occurrence! ), it can be stored at room temperature for up to 2 days, loosely covered with foil or plastic wrap. For longer storage or in warm, humid environments, it's best to refrigerate the pie.
Refrigerated apple pie will keep well for 3-4 days. To reheat refrigerated slices, you can warm them gently in a microwave for a short time or, for a crispier crust, reheat in a preheated oven at around 300°F (150°C) for 10-15 minutes.
Variations and Additions to Your Apple Pie Recipe
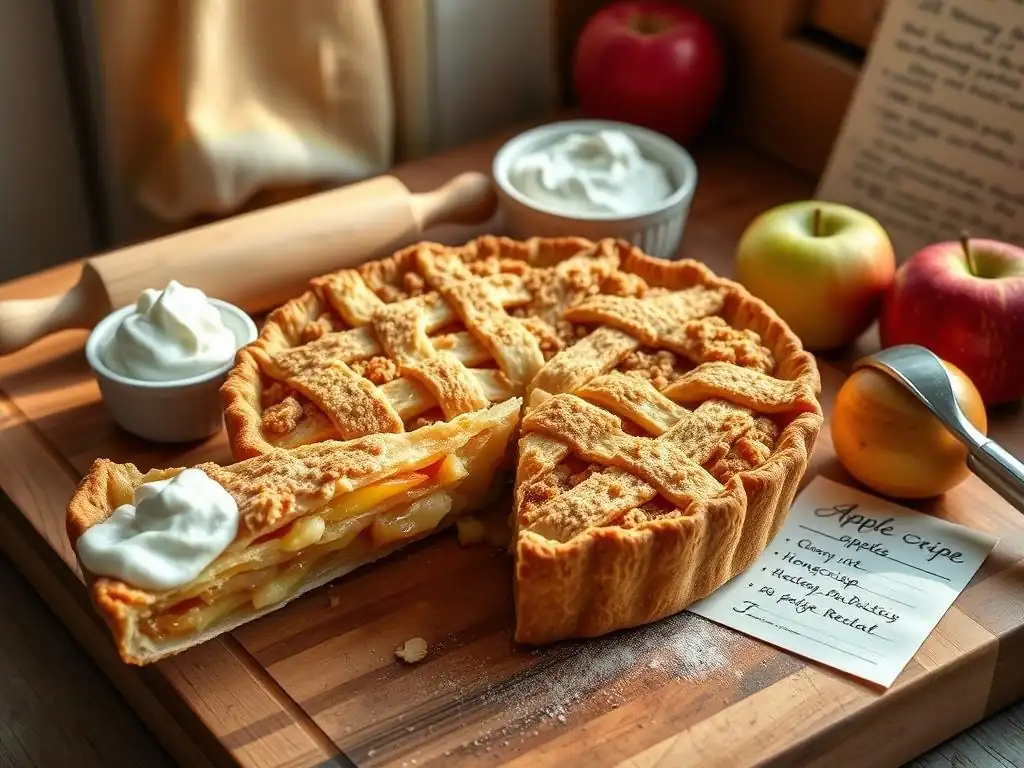
Adding Nuts, Spices, and Extracts
Once you've mastered the basic easy fruit pie recipe, you can start experimenting with variations. Enhance the spice profile by adding a pinch of ground cloves, ginger, or cardamom to the apple filling mixture. A splash of vanilla extract (about 1 teaspoon) can also deepen the flavor.
For added texture and nutty flavor, consider adding 1/4 to 1/2 cup of chopped walnuts or pecans to the apple filling. Toasting the nuts lightly before adding them can boost their flavor even more. These simple additions can personalize your easy fruit pie and make it uniquely yours.
Topping Ideas: Crumble and Lattice
Beyond the traditional double-crust, there are other delicious topping options for your easy fruit pie recipe. A crumble topping (also known as a streusel) is a popular alternative. It's made from a mixture of flour, sugar (often brown sugar), butter, and sometimes oats or nuts, crumbled over the apple filling before baking. This provides a lovely crunchy contrast to the soft filling.
If you're feeling more confident with dough handling, attempting a lattice top is a beautiful way to finish your pie. This involves cutting the top crust dough into strips and weaving them over the filling. While slightly more complex than a solid top, it allows steam to vent effectively and creates a stunning visual. There are many tutorials available for mastering the lattice technique.
Conclusion: Enjoy Your Homemade Apple Pie!
Celebrating Your Baking Achievement
Congratulations! You've just completed baking your first easy fruit pie, specifically a delicious homemade apple pie. This is a significant accomplishment in your baking journey. Take a moment to appreciate the beautiful golden crust, the sweet aroma filling your home, and the satisfaction of creating something wonderful from simple ingredients.
Making your first pie can feel like a big step, but by following this easy fruit pie recipe, you've gained valuable skills and confidence. Each subsequent pie you bake will build upon this experience, becoming easier and more intuitive.
Continued Baking with BakeWell
This easy fruit pie recipe is just the beginning of your baking adventure with BakeWithEase.com. We have a wealth of other simple and delicious recipes, from cookies and cakes to breads and pastries, all designed to help bakers of every level succeed.
Continue exploring our site for more ingredient deep dives, technique guides, and, of course, many more easy fruit pie recipes and beyond. Happy baking, and we look forward to seeing what you create next!
Frequently Asked Questions
What makes this fruit pie recipe easy for beginners?
This recipe focuses on simple ingredients and a straightforward method, avoiding complex techniques often found in traditional pie making. It prioritizes ease of preparation and a foolproof result.
What type of fruit works best for this easy fruit pie recipe?
While many fruits work well, berries like blueberries and raspberries, or prepared fruits like canned cherries are great starting points. Avoid fruits with high water content unless you adjust the thickening agent accordingly.
Can I use a store-bought pie crust for this easy fruit pie recipe?
Absolutely! Using a pre-made pie crust significantly simplifies the process, making it even easier for beginners. Ensure it's a refrigerated pie crust for optimal results.
What is the best way to prevent a soggy bottom crust in this easy fruit pie recipe?
Blind-baking the crust, or using a pre-baked pie crust helps. Another tip is to brush the bottom crust with egg wash before filling to create a barrier.
How do I know when my easy fruit pie recipe is done?
The crust should be golden brown, and the filling should be bubbling around the edges. Insert a toothpick into the filling; it should come out with slightly thickened juices, not runny.
Final Reflection: The Sweetness of Simple Beginnings
Baking a fruit pie, even a simple one, is more than just following a recipe; it's a journey of discovery, a testament to the power of accessible creativity. This guide aimed to demystify the process, proving that anyone, regardless of baking experience, can create a delicious and beautiful fruit pie. The ease of the recipe presented here makes it a perfect entry point for aspiring bakers, fostering a love for the craft that can blossom into more complex endeavors.
The enduring appeal of homemade baked goods lies in their ability to connect us to simpler times, to the comforting rituals of family and shared meals. The act of creating something tangible and delicious from scratch is deeply satisfying, a small act of rebellion against the fast-paced, often impersonal nature of modern life. The best things in life are the simple things.
This sentiment rings especially true when considering the joy derived from sharing a slice of homemade pie with loved ones. The recipe's simplicity allows for personalization and experimentation, further strengthening this connection between baker and recipient.
Now, I invite you to roll up your sleeves, gather your ingredients, and embark on your own pie-making adventure. Don't be afraid to experiment with different fruits, spices, and crust variations. Let this simple recipe be a springboard for your culinary creativity. Remember the satisfaction of creating something beautiful and delicious with your own two hands – a feeling far sweeter than any store-bought pie. The journey of a thousand pies begins with one simple, perfect slice.
Unleash Your Inner Baker: Craft Your First Delicious Pie!
Thanks for joining us on this baking adventure! We hope you've gained the confidence to tackle your very first fruit pie. Now it's time to put your newfound skills to the test.
- Bake your masterpiece! Gather your ingredients and follow the recipe – you've got this! Don't be afraid to experiment with different fruits or spices.
- Share your creation! Post a picture of your finished pie on social media and tag us – we'd love to see it!
- Explore more delicious recipes on BakeWithEase.com – we've got a whole world of baking adventures waiting for you!
What's your favorite fruit to use in a pie, and what exciting flavor combinations are you planning to try next?