
Prevent Soggy Bottoms: Baking Tips for Juicy Fruits

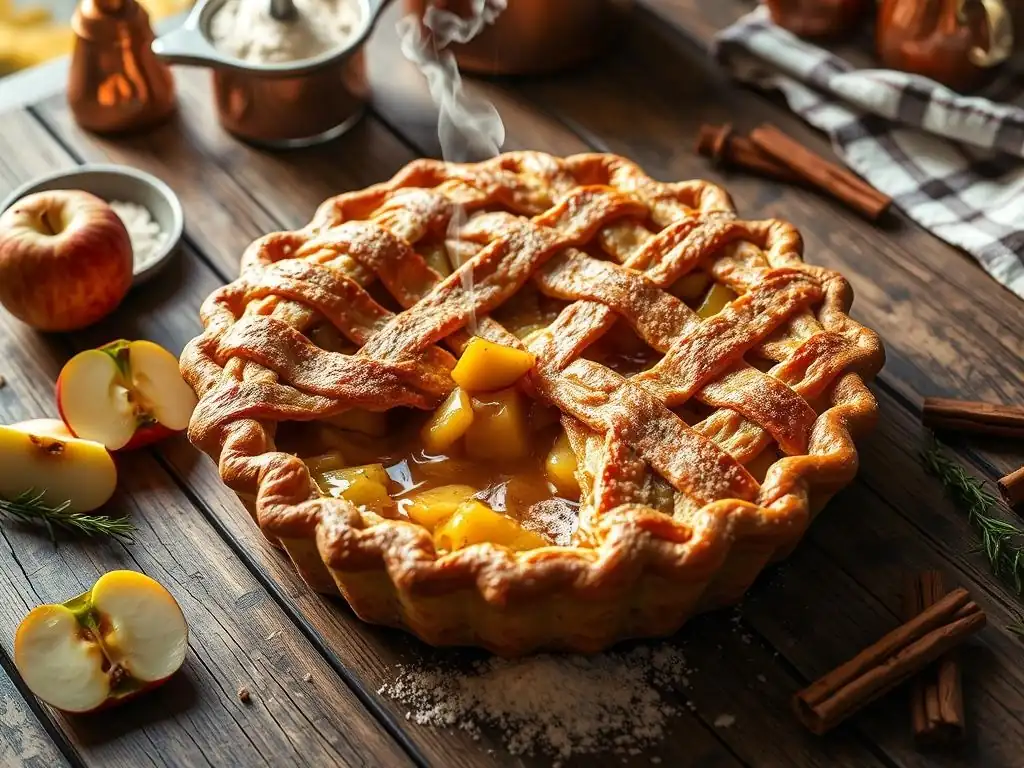
Welcome to BakeWithEase, your trusted guide to baking bliss!
Are you tired of soggy fruit pies ruining your baking dreams? Fear not! We delve deep into the sweet science of baking with fruit, offering expert tips and tricks to ensure a perfectly crisp crust every time. Unlock the secrets to preventing those dreaded soggy bottoms and discover how to bake pies bursting with flavour. Ready to elevate your fruit pie game? Let's get started!
- Introduction: Achieving the Perfect Fruit Pie Crust with BakeWithEase
-
Key Techniques to Avoid a Soggy Fruit Pie Crust
- 1. Mastering the Pre-Bake: Blind Baking for a Crisper Crust
- 2. The Power of Starch: Using Thickening Agents Effectively
- 3. Sugar Smart: How Sugar Affects Fruit Pie Consistency
- 4. Fruit Preparation is Key: Macerating and Draining Techniques
- 5. Sealing the Deal: Creating a Moisture Barrier
- 6. Oven Temperature and Placement: Ensuring Even Baking
- Fruit-Specific Baking Tips for Preventing Soggy Crusts
- Advanced Soggy Fruit Pie Tips and Tricks
- Troubleshooting: What to Do If Your Fruit Pie Bottom is Still Soggy
- Conclusion: Baking Perfect Fruit Pies with Confidence
-
Frequently Asked Questions
- How can I prevent my fruit pie crust from becoming soggy when using juicy fruits?
- What are some good thickening agents to use in a fruit pie filling to avoid a soggy crust?
- Should I pre-bake my pie crust before adding the fruit filling?
- What type of fruit works best for preventing a soggy pie bottom?
- Is there a specific oven temperature that helps prevent soggy pie crusts?
- Final Reflection: The Sweet Science of Preventing Soggy Bottoms
- Unlock Juicy Fruit Secrets: Bake Brilliantly!
Introduction: Achieving the Perfect Fruit Pie Crust with BakeWithEase
Welcome, fellow bakers, to BakeWithEase! We all dream of that perfect fruit pie: a bubbling, flavourful filling encased in a golden, flaky crust. But sometimes, despite our best efforts, we encounter a baker's nemesis: the dreaded soggy bottom. This isn't just a minor inconvenience; a soggy bottom can ruin the texture and overall enjoyment of an otherwise delicious pie. It's a common challenge when working with juicy fruits, but with the right techniques and soggy fruit pie tips, you can achieve a beautifully crisp crust every time.
Mastering fruit pies requires understanding the interplay between wet fillings and delicate pastry. The natural moisture released from fruits as they cook is the primary culprit behind a soggy bottom. Fortunately, there are several effective strategies you can employ to create a barrier, manage moisture, and ensure your bottom crust bakes through to a delightful crispness. Let's dive into the essential soggy fruit pie tips that will transform your baking results.
Why Soggy Bottoms Happen: Understanding Fruit Pie Challenges
Soggy bottoms in fruit pies primarily occur because the moisture released from the fruit during baking seeps into the bottom crust before it has a chance to fully bake and set. Fruits are naturally high in water content – a ripe strawberry can be over 90% water, and even apples hover around 85%. As the pie bakes, the heat causes the water within the fruit to turn to steam and also draws out juices. This liquid pools at the bottom of the pie, directly contacting the uncooked or partially cooked pastry.
Pie dough is essentially fat (like butter or shortening) and flour. The fat creates flaky layers, but it also makes the dough hydrophobic – it repels water initially. However, if exposed to moisture for too long before the flour proteins can set in the heat of the oven, the fat melts away, and the dough becomes saturated.
Instead of crisping up, the bottom crust steams in the trapped moisture, resulting in a dense, unpleasantly soggy layer. The type and ripeness of the fruit, the amount of sugar used (which draws out more moisture), and even the thickness of your crust can all contribute to this issue.
Key Techniques to Avoid a Soggy Fruit Pie Crust
1. Mastering the Pre-Bake: Blind Baking for a Crisper Crust
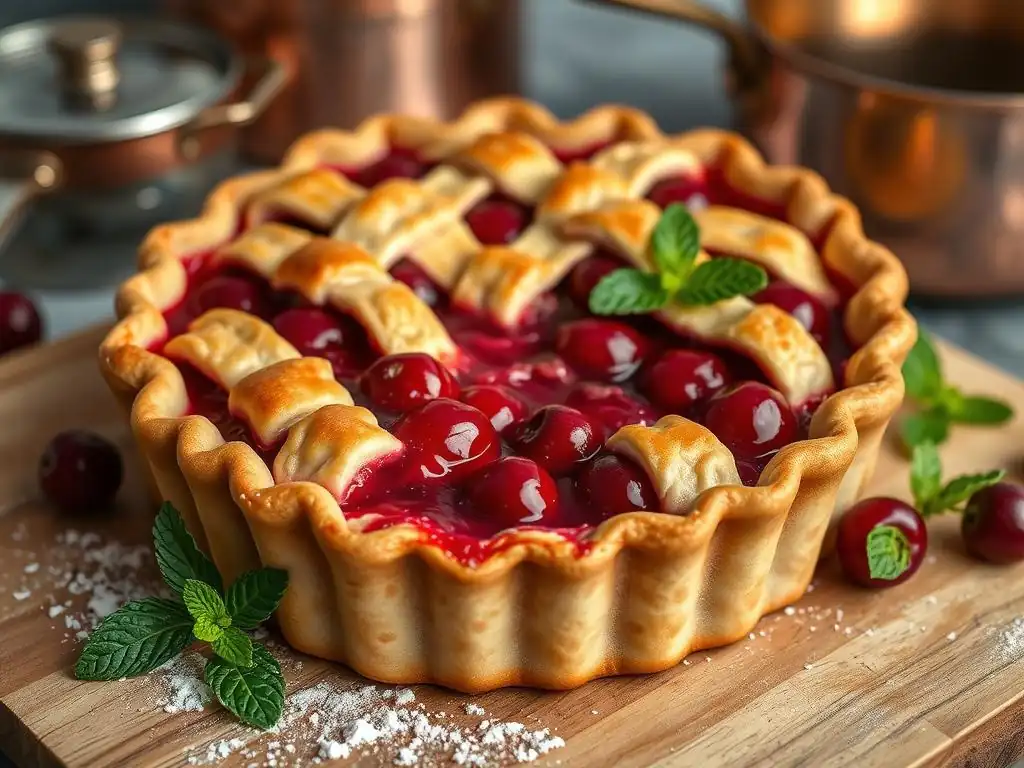
Blind baking, or pre-baking the bottom crust before adding the filling, is one of the most effective soggy fruit pie tips, especially for pies with very wet fillings like berry or cherry. This technique gives the bottom crust a head start, allowing it to set and partially crisp up before the moist fruit filling is introduced. By the time the fruit starts releasing its juices, the crust has already developed a structure that is more resistant to absorbing excess liquid.
Blind baking involves lining your pie plate with dough, covering it with parchment paper, filling it with pie weights (like ceramic beads, dried beans, or rice) to prevent shrinkage and bubbling, and baking it partway or completely before adding the filling. For most fruit pies, a partial blind bake is sufficient – baking until the crust looks dry and opaque, but not necessarily golden brown. This sets the structure without fully cooking the base, allowing it to finish baking alongside the filling.
Blind Baking Step-by-Step: A BakeWithEase Guide
Here's a simple guide for a partial blind bake, perfect for many fruit pies:
- Preheat your oven to 375°F (190°C).
- Fit your pie dough into your pie plate. Crimp or flute the edges as desired.
- Prick the bottom of the crust all over with a fork. This helps prevent large air bubbles.
- Line the dough with parchment paper or foil, pressing it gently into the corners and up the sides.
- Fill the lined crust with pie weights, dried beans, or rice, distributing them evenly to cover the bottom and sides. Use enough to fill the crust almost to the top edge.
- Bake for 15-20 minutes, or until the edges are lightly golden and the bottom appears dry and set. The exact time depends on your oven and crust thickness.
- Carefully remove the weights and parchment/foil.
- If the recipe calls for a fully baked crust, continue baking for another 5-10 minutes until golden brown. For fruit pies, usually removing the weights is enough before adding the filling.
This partial bake sets the foundation, making your bottom crust significantly more resilient against moisture from the fruit. It's a fundamental technique in our soggy fruit pie tips arsenal.
2. The Power of Starch: Using Thickening Agents Effectively
Thickening agents are crucial for turning the juicy liquid released by fruit into a cohesive, sauce-like filling rather than a watery pool. By binding with the moisture, these starches help prevent the juices from soaking into the bottom crust. Using the correct type and amount of thickener is key to achieving the perfect filling consistency – not too runny, but also not gummy or overly stiff.
Different starches behave differently when heated with fruit juices. Factors like acidity, temperature, and the type of fruit influence their effectiveness. Understanding these differences allows you to select the best thickener for your specific pie recipe and fruit combination, ensuring a well-set filling that contributes to a crisp bottom crust.
Choosing the Right Starch: Cornstarch, Tapioca, or Flour?
- Cornstarch: A common and effective thickener, cornstarch creates a clear, glossy filling. It requires high heat to activate its thickening power and can break down if overcooked or exposed to high acidity for prolonged periods (though usually fine in a pie). It works well for most fruit pies but can sometimes result in a slightly "slippery" texture. You might typically use 2-4 tablespoons per 6 cups of fruit.
- Tapioca Starch (Granulated or Pearl): Tapioca is excellent for fruit pies, especially those that will be frozen and reheated, as it doesn't break down. It creates a slightly less clear but very stable gel. Pearl tapioca needs to be soaked first, while instant or granulated tapioca can be added directly to the fruit. It handles acidity well. Use about 2-3 tablespoons of instant tapioca per 6 cups of fruit.
- All-Purpose Flour: Flour provides a more opaque, cloudier filling compared to cornstarch or tapioca. It requires longer cooking time to eliminate a raw flour taste and doesn't thicken as powerfully as the others. It's often used in apple pies, sometimes in combination with other starches. You might need 3-5 tablespoons per 6 cups of fruit.
Many bakers prefer a blend of thickeners for optimal results. For instance, combining cornstarch and tapioca can offer the best of both worlds: clarity and stability.
Starch Measurement Guide for Different Fruits
The amount of starch needed varies significantly depending on the fruit's natural juiciness and ripeness. Here's a general guideline per 6 cups of sliced or whole fruit:
- Less Juicy Fruits (Apples, Pears, Peaches, Blueberries): Start with 2-3 tablespoons of cornstarch or instant tapioca, or 3-4 tablespoons of flour.
- Medium Juicy Fruits (Cherries, Raspberries, Blackberries): Use 3-4 tablespoons of cornstarch or instant tapioca, or 4-5 tablespoons of flour.
- Very Juicy Fruits (Strawberries, Rhubarb): You might need 4-5 tablespoons of cornstarch or instant tapioca, or 5-6 tablespoons of flour.
Always mix the starch with the sugar and sometimes a pinch of salt before tossing it with the fruit. This helps distribute the starch evenly and prevents clumping. These measurements are approximate; adjust based on how juicy your specific fruit batch is.
3. Sugar Smart: How Sugar Affects Fruit Pie Consistency
Sugar is essential for flavour in fruit pies, balancing the tartness of the fruit. However, sugar is also hygroscopic, meaning it attracts and holds onto water. When sugar is mixed with fruit, it draws out moisture through osmosis, creating more juice in your filling. While this adds to the flavour, it also increases the risk of a soggy bottom.
Managing the amount of sugar you add can directly impact the volume of liquid in your pie. Using less sugar will result in less juice being drawn out from the fruit. However, significantly reducing sugar can affect the overall taste and texture of the filling, as sugar also contributes to the filling's set and caramelization. It's a balance between sweetness, flavour, and moisture control.
Reducing Sugar for Less Moisture Release
If you're using particularly ripe and sweet fruit, or if you simply prefer a less sweet pie, slightly reducing the sugar can help minimize moisture release. For example, if a recipe calls for 3/4 cup of sugar for an apple pie, you might try reducing it to 1/2 cup, especially if using sweeter apple varieties like Honeycrisp or Fuji compared to tart Granny Smiths.
Be mindful that reducing sugar too much can make the pie taste bland and might affect the texture of the filling, making it less likely to set properly even with thickeners. A gradual reduction over time, based on your specific recipe and fruit, is the best approach. This is one of the subtler soggy fruit pie tips, focusing on prevention at the ingredient level.
Using Sugar Substitutes: Considerations for Fruit Pies
Using sugar substitutes can be tricky in fruit pies. Some artificial sweeteners do not behave like sugar in terms of drawing out moisture or contributing to texture and browning. Bulk sweeteners like erythritol or xylitol (use with caution around pets) can sometimes be used, but they may require adjustments to thickener amounts as they don't draw out moisture in the same way as sugar, potentially leaving the fruit wetter internally.
Natural sweeteners like maple syrup or honey add liquid to the filling, which can exacerbate the soggy bottom problem unless compensated for by increasing the thickener. If using liquid sweeteners, consider reducing other liquids in the recipe or increasing your chosen starch slightly. Experimentation is key when using sugar substitutes in fruit pies to find the right balance for both sweetness and texture.
4. Fruit Preparation is Key: Macerating and Draining Techniques
Beyond choosing the right thickener, how you prepare your fruit is paramount in controlling moisture. Simply tossing fruit with sugar and starch and putting it straight into the pie shell can lead to a very wet filling. Macerating the fruit first is a powerful technique to draw out excess moisture before baking.
Macerating involves mixing the cut fruit with sugar (and sometimes other flavourings like lemon juice or spices) and letting it sit for a period. The sugar draws out the fruit's natural juices, creating a pool of liquid. The crucial next step is to drain this liquid off before adding the fruit to the pie shell.
Macerating Fruit: Enhancing Flavor and Reducing Moisture
To macerate fruit for a pie, slice or chop your fruit (like peaches, berries, or cherries) and place it in a bowl. Toss it with the amount of sugar specified in your recipe, or slightly less if you are also using other sweeteners. You can also add lemon juice, which helps preserve the fruit's colour and adds brightness, and spices like cinnamon or nutmeg.
Let the fruit sit at room temperature for 30 minutes to an hour, or even longer in the refrigerator if preparing ahead. You will notice a significant amount of liquid accumulating at the bottom of the bowl. This liquid contains dissolved sugar and fruit flavour.
Draining Macerated Fruit: A Crucial Step for Dry Crusts
After macerating, the most important step is to drain the fruit. Place a colander over a bowl and pour the fruit mixture into the colander. Let it sit for 10-15 minutes, gently stirring occasionally, to allow as much juice as possible to drain away. You will be surprised by how much liquid collects in the bowl below.
You can discard this juice, or better yet, reduce it in a saucepan over medium heat until it thickens into a syrup. This concentrated syrup can then be added back to the drained fruit along with your chosen starch just before filling the pie shell. This method allows you to retain the fruit's flavour while removing excess water, significantly reducing the risk of a soggy bottom. This is one of the most effective soggy fruit pie tips for managing moisture upfront.
5. Sealing the Deal: Creating a Moisture Barrier
Creating a physical barrier between the wet fruit filling and the bottom crust is another excellent strategy among soggy fruit pie tips. This layer acts as a shield, preventing the fruit juices from soaking directly into the pastry during baking. Several common kitchen ingredients can serve this purpose effectively.
The goal is to apply a thin coating to the bottom of the blind-baked or raw pie shell before adding the fruit filling. This barrier sets or hardens in the oven, providing a waterproof layer that protects the pastry.
Egg Wash: A Simple and Effective Crust Seal
A simple egg wash can create a surprisingly effective moisture barrier. Beat an egg with a tablespoon of milk or water. Brush a thin layer of this wash onto the bottom and sides of your partially blind-baked pie crust immediately after removing the weights and parchment paper, while the crust is still warm.
Return the crust to the oven for just a few minutes (3-5 minutes) until the egg wash looks dry and set. This creates a thin, protein-based seal that helps repel moisture from the filling. It's a quick and easy technique that adds an extra layer of protection.
Melted Chocolate: An Unexpected Soggy Bottom Solution
For chocolate lovers, a thin layer of melted chocolate can serve as a delicious and effective moisture barrier, particularly in pies with complementary fruit flavours like cherry or raspberry. Melt about 1/4 cup of chocolate chips (dark, milk, or white, depending on your flavour profile).
Pour the melted chocolate into the partially blind-baked pie shell and spread it evenly over the bottom using a spatula or brush. Let it set for a few minutes until firm before adding the fruit filling. White chocolate is a great option as it won't discolour lighter fillings but still provides a barrier. This is a creative addition to our soggy fruit pie tips!
Jam or Jelly Glaze: Adding Flavor and Protection
A thin layer of jam or jelly, warmed and strained if necessary, can also act as a moisture barrier while adding an extra layer of flavour. Apricot, apple, or berry jam works well, depending on the fruit in your pie.
Warm about 1/4 cup of jam or jelly in a small saucepan or microwave until melted and brushable. Strain it through a fine-mesh sieve if it has large pieces of fruit. Brush a thin layer onto the bottom of your partially blind-baked crust. Let it set slightly before adding the filling. This method adds a touch of sweetness and flavour while helping to seal the crust.
6. Oven Temperature and Placement: Ensuring Even Baking
The way you bake your pie is just as important as the preparation steps. Proper oven temperature and the correct placement of your pie within the oven can significantly influence whether your bottom crust bakes through or becomes soggy. Uneven heat distribution is a common culprit for undercooked bottoms.
Ensuring the bottom crust receives sufficient heat to cook and crisp up before being overwhelmed by moisture is critical. This involves utilizing the hottest part of your oven and potentially using tools that enhance bottom heat.
Optimal Oven Temperature for Fruit Pies
Many bakers recommend starting fruit pies at a higher temperature for the first 15-20 minutes of baking (e.g., 400-425°F or 200-220°C). This initial blast of high heat helps to quickly set the bottom crust and activate the thickener in the filling before the fruit releases too much juice.
After the initial high-heat period, reduce the oven temperature to a moderate level (e.g., 375°F or 190°C) for the remainder of the baking time. This allows the pie to cook through evenly without the crust burning and gives the filling time to bubble and thicken properly.
Using a Baking Stone for a Crisper Bottom Crust
Placing your pie directly onto a preheated baking stone or steel in the oven is an excellent way to ensure intense heat is transferred directly to the bottom of the pie plate. Stone or steel holds and radiates heat very effectively.
Preheat the stone or steel in your oven while it comes up to temperature. Place your pie plate directly onto the hot surface. This direct contact with high heat helps the bottom crust bake quickly and become crisp before moisture has a chance to penetrate. This is one of the most reliable soggy fruit pie tips for bottom crust crispness.
Rack Placement: Where to Bake Your Fruit Pie
For fruit pies, the best rack placement is typically the lowest rack in your oven. Heat rises, so placing the pie lower down exposes the bottom of the pie plate to more direct heat from the heating element.
Combine this with a preheated baking stone or steel on the lowest rack for maximum bottom crust crisping power. Avoid placing the pie on the top rack, as this will primarily cook the top crust and leave the bottom vulnerable to sogginess.
Fruit-Specific Baking Tips for Preventing Soggy Crusts
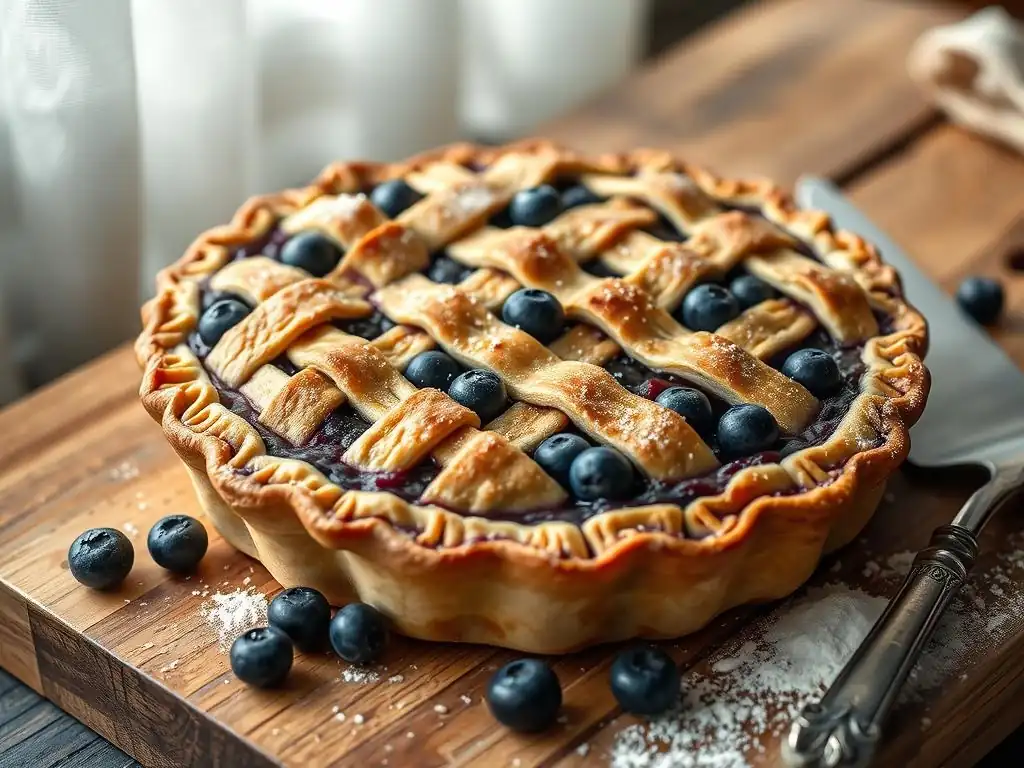
Different fruits present unique challenges due to their varying water content and texture. Tailoring your approach based on the fruit you're using is essential for preventing soggy bottoms and achieving the best results. These soggy fruit pie tips are specific to common pie fruits.
Understanding how each fruit behaves when heated allows you to select the most appropriate thickening agent, preparation method, and baking strategy.
Baking with Berries: Maintaining Texture and Preventing Runniness
Berries, especially strawberries and raspberries, are notoriously juicy. They collapse significantly when heated, releasing a large volume of liquid.
- Thickening: Use a robust thickener like tapioca starch or a combination of tapioca and cornstarch. You'll generally need more thickener for berries than for apples. For 6 cups of mixed berries, 4-5 tablespoons of instant tapioca is often necessary.
- Preparation: Consider macerating berries with sugar and a bit of lemon juice, then thoroughly draining the released juices before mixing with the thickener and filling. Some bakers even slightly pre-cook berry fillings on the stovetop to reduce moisture before baking.
- Blind Baking: A partial blind bake of the bottom crust is highly recommended when baking with berries to give the crust a fighting chance against the deluge of juice.
Working with Stone Fruits: Peach, Plum, and Cherry Considerations
Stone fruits like peaches, plums, and cherries also release a good amount of moisture, though generally less than berries. Peaches and plums benefit from careful preparation.
- Peeling: While optional, peeling peaches and some plums can reduce overall moisture slightly and improve filling texture. Briefly blanching the fruit in boiling water (30-60 seconds) and then shocking in ice water makes peeling easy.
- Slicing: Slice peaches and plums to a consistent thickness (around 1/2 inch) to ensure even cooking.
- Thickening: Cornstarch or tapioca starch work well. For 6 cups of sliced peaches, you might use 3-4 tablespoons of cornstarch or tapioca. Cherries often need slightly more thickener than peaches.
- Maceration: Macerating stone fruits with sugar and draining the juices is also an effective strategy for controlling moisture.
Apple and Pear Pies: Controlling Moisture in Classic Recipes
Apple and pear pies are classics, but even they can suffer from soggy bottoms if not handled correctly. The type of apple or pear used significantly impacts moisture level and texture.
- Apple Variety: Choose baking apples that hold their shape and don't release excessive moisture, such as Granny Smith, Honeycrisp, Fuji, or Braeburn. Using a mix of varieties (e.g., tart Granny Smiths with sweeter Honeycrisps) provides complexity of flavour and texture. Avoid apples like Red Delicious or McIntosh, which break down and become mushy.
- Thickening: Flour is traditionally used in apple pies, often combined with sugar and spices. However, using cornstarch or tapioca can result in a clearer, less cloudy filling and more reliable thickening. For 6 cups of sliced apples, 3-4 tablespoons of flour or 2-3 tablespoons of cornstarch/tapioca is a common starting point.
- Preparation: Some bakers prefer to briefly pre-cook apple fillings on the stovetop until slightly softened and some juice is released, then drain and proceed. This reduces baking time and initial moisture in the pie.
Advanced Soggy Fruit Pie Tips and Tricks
Beyond the fundamental techniques, a few more advanced soggy fruit pie tips can further enhance your success and offer alternative approaches to moisture management.
These strategies focus on crust design, alternative toppings, and dough handling.
Lattice Crust Strategies: Ensuring Airflow and Crispness
While a solid top crust looks classic, a lattice top offers a significant advantage in preventing soggy bottoms: airflow. The gaps between the lattice strips allow steam from the bubbling fruit filling to escape freely during baking.
This ventilation prevents moisture from building up under the top crust and potentially condensing back onto the bottom crust. A lattice top also tends to bake up crispier itself compared to a solid top crust, which can sometimes become dense. Ensure your lattice openings are reasonably sized to allow for good steam release.
Using a Crumble Topping: A Soggy-Proof Alternative
If you frequently struggle with soggy bottoms, consider ditching the double crust entirely and opting for a crumble or streusel topping instead. A crumble topping, made from flour, sugar, butter, and sometimes oats or nuts, is baked directly on top of the fruit filling.
Since there's no top pastry crust enclosing the pie, steam escapes easily from the surface of the filling. The crumble topping itself becomes delightfully crisp and crumbly during baking, offering a different but equally satisfying texture contrast to the soft fruit filling without contributing to bottom crust sogginess.
Refrigerating the Dough: Preventing Shrinkage and Soggy Crusts
Keeping your pie dough cold is crucial for flakiness, but it also helps prevent issues that can lead to sogginess. Cold dough is firmer and holds its shape better during the initial stages of baking.
A well-chilled bottom crust is less likely to slump down the sides of the pie plate or shrink excessively, which can create gaps where moisture can collect. Cold dough also takes slightly longer to heat up, potentially allowing the oven's heat to start setting the bottom before the fruit begins releasing significant moisture. Always start with cold dough and chill the assembled pie (or just the blind-baked shell) for 15-30 minutes before baking.
Troubleshooting: What to Do If Your Fruit Pie Bottom is Still Soggy
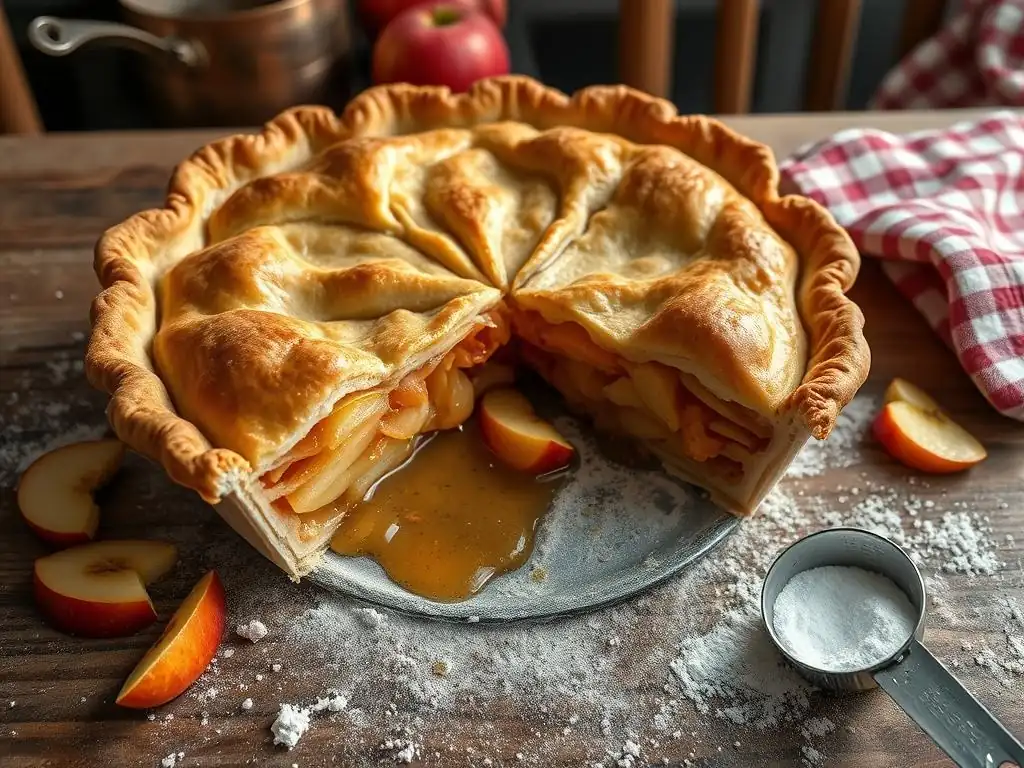
Even with the best soggy fruit pie tips, sometimes things don't go perfectly. If you've baked your pie and suspect the bottom crust isn't as crisp as you'd hoped, there might be a few rescue remedies you can attempt.
These are not guaranteed fixes, but they can sometimes improve the situation after the pie has finished its main bake.
Rescue Remedies: Reviving a Slightly Soggy Crust
If your pie is out of the oven and the bottom looks pale and feels soft, you can try these methods:
- Low-Temperature Bake: If the top crust is already perfectly golden, you can try returning the pie to a relatively low oven (around 300-325°F or 150-160°C) for an additional 10-20 minutes. This low, slow heat might help dry out the bottom crust without burning the top. You might need to loosely tent the top with foil.
- Bottom Heat Boost: Place the pie directly on a preheated baking stone or steel on the lowest oven rack and bake at a moderate temperature (350°F or 175°C) for 10-15 minutes. The direct heat transfer can sometimes help crisp the bottom.
- Brief Broiler (Use with Extreme Caution!): As a last resort, you could try placing the pie on the lowest rack and turning on the broiler for just 1-2 minutes, watching it constantly. The goal is to direct intense heat to the bottom. This method is risky and can easily burn the top crust or filling. Use only if desperate and monitor continuously.
Remember, these are best for slightly soggy bottoms. A completely raw, doughy bottom is very difficult to fix post-baking. Prevention is always the best strategy!
Conclusion: Baking Perfect Fruit Pies with Confidence
Achieving a perfect fruit pie with a crisp bottom crust is a rewarding baking goal. By understanding why soggy bottoms happen – primarily due to moisture from the fruit – you can implement effective strategies to combat it. From preparing your dough correctly to managing fruit moisture and optimizing your baking process, each step plays a vital role.
Don't be discouraged if your first few attempts aren't perfect. Baking is a journey of learning and practice. By applying these soggy fruit pie tips from BakeWithEase, you'll be well on your way to baking beautiful pies that are crisp on the bottom, bubbling with flavourful fruit on the inside, and delightful in every bite. Keep baking, keep experimenting, and enjoy the delicious results!
Recap of Soggy Fruit Pie Tips for BakeWithEase Bakers
Here's a quick summary of the key soggy fruit pie tips to remember:
- Consider Blind Baking: Partially pre-bake your bottom crust, especially for very juicy fillings.
- Use the Right Thickener: Choose cornstarch, tapioca, or flour based on the fruit, and use the correct amount (e.g., 2-5 tablespoons per 6 cups fruit, depending on starch and fruit juiciness).
- Be Smart with Sugar: Sugar draws out moisture; adjust amounts for very sweet fruit or try reducing slightly.
- Prepare Your Fruit: Macerate fruit with sugar and always drain the released juices before filling.
- Create a Barrier: Brush the bottom crust with egg wash, melted chocolate, or jam/jelly.
- Optimize Baking: Start at a higher temperature (400-425°F) for 15-20 mins, then reduce to 375°F. Use a baking stone and place the pie on the lowest rack.
- Fruit-Specific Approach: Adjust thickener and preparation based on fruit type (berries need more starch, choose firm apples).
- Advanced Options: Use a lattice top or crumble topping for better steam release. Ensure dough is well-chilled.
- Troubleshooting: For slightly soggy bottoms, try a low, slow bake or direct bottom heat after the main bake.
Armed with these soggy fruit pie tips, you're ready to tackle your next fruit pie with confidence and achieve that coveted crisp bottom crust! Happy Baking!
Frequently Asked Questions
How can I prevent my fruit pie crust from becoming soggy when using juicy fruits?
The key is to minimize moisture contact. Try pre-baking the bottom crust or using a thickening agent like cornstarch or tapioca.
What are some good thickening agents to use in a fruit pie filling to avoid a soggy crust?
Besides cornstarch, you can use tapioca starch, flour, or even a small amount of instant pudding mix. Experiment to find the perfect consistency.
Should I pre-bake my pie crust before adding the fruit filling?
Pre-baking, or blind baking, the bottom crust creates a protective barrier against the fruit juices, resulting in a crisper crust.
What type of fruit works best for preventing a soggy pie bottom?
Fruits with less moisture, such as apples or berries, naturally contribute less to sogginess. Consider draining excess juice from very juicy fruits.
Is there a specific oven temperature that helps prevent soggy pie crusts?
Baking at a slightly higher temperature initially can help the crust set quickly, forming a barrier against moisture. Monitor closely to avoid burning.
Final Reflection: The Sweet Science of Preventing Soggy Bottoms
The quest for the perfect fruit pie, free from the dreaded soggy bottom, is a timeless pursuit, and one that resonates deeply with bakers of all levels today. The seemingly simple act of baking a fruit pie reveals a complex interplay of ingredients, techniques, and timing, all crucial to achieving that delicate balance between a juicy filling and a crisp, flawlessly browned crust. Mastering these elements isn't just about avoiding a culinary catastrophe; it's about unlocking the potential for truly exceptional baking.
The struggle against the soggy bottom has shaped my own baking journey, teaching me patience, precision, and the importance of understanding the fundamental principles of pastry. It's a lesson in embracing imperfection, learning from mistakes, and celebrating the small victories – like that first perfectly crisp crust. The best things in life are worth waiting for,
and a truly magnificent fruit pie, with its flawlessly golden crust and bursting fruit filling, is certainly one of them.
Now, armed with these tips and tricks, I invite you to embark on your own baking adventure. Don't be afraid to experiment, to tweak the recipes to your liking, and most importantly, to enjoy the process. The journey towards mastering the art of pie-making is as rewarding as the delicious results. Remember the lessons learned here, and let the sweet aroma of baking fill your kitchen with joy and the promise of a perfectly delightful, soggy-bottom-free pie.
Unlock Juicy Fruit Secrets: Bake Brilliantly!
Thanks for taking the time to explore our baking tips for perfectly juicy fruits! We hope you gained some valuable insights to elevate your baking game. Ready to put your newfound knowledge into action?
- Try the recipe: Put your new skills to the test! Choose your favorite fruit and bake a masterpiece using the techniques we discussed. Share a photo of your creation – we'd love to see it!
- Experiment with variations: Don't be afraid to get creative! Try substituting different fruits or adjusting the baking time to find what works best for you. What unique flavor combinations will you try?
- Leave a comment: Share your baking experiences, tips, and questions below. Let's create a vibrant community of fruit-loving bakers!
What's your go-to fruit for baking, and what's your secret to keeping it perfectly juicy?