
Baking Time Secrets for Beginner Classic Cookies

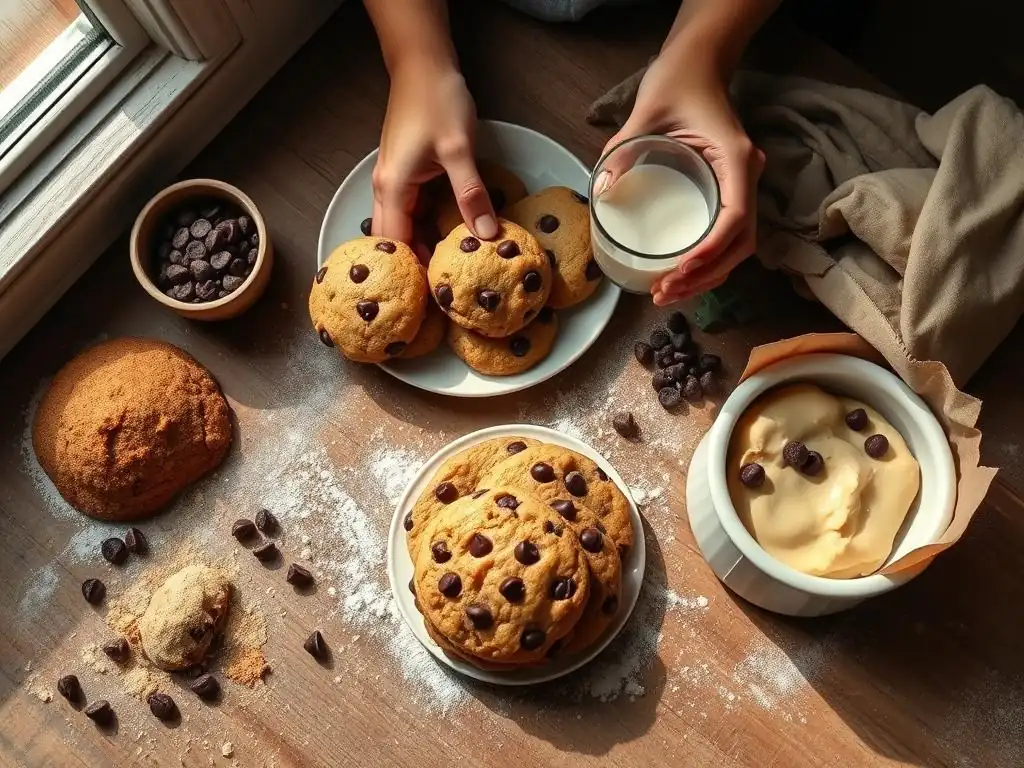
Welcome to BakeWithEase, your culinary launchpad into the delightful world of baking! Ever dreamed of effortlessly whipping up those perfect, melt-in-your-mouth classic cookies? You're in the right place. Unlock the secrets to easy beginner classic cookie recipes and discover how simple it truly is to create bakery-worthy treats in your own kitchen. Get ready to preheat your oven and embark on a sweet adventure – the delicious results might just surprise you!
- Baking Time Secrets for Beginner Classic Cookies - BakeWithEase
- Mastering Baking Time for Easy Beginner Classic Cookie Recipes
- Essential Tools for Baking Classic Cookies at Home
- Easy Beginner Classic Cookie Recipes: Time and Temperature Guide
- Troubleshooting Common Baking Time Issues in Classic Cookies
- Advanced Baking Time Techniques for Classic Cookies
- Expert Tips for Perfect Baking Time Every Time
- Beyond Baking Time: Other Factors for Great Classic Cookies
-
Frequently Asked Questions
- What makes a cookie recipe "easy" for beginners?
- What are some "classic" cookies suitable for beginners?
- What are some common mistakes beginners make when baking cookies, and how can I avoid them?
- How important is the quality of ingredients when baking beginner cookies?
- Where can I find more "Easy beginner classic cookie recipes" and helpful baking tips?
- Final Reflection: The Sweetness of Mastery, One Cookie at a Time
- Unlock Your Inner Cookie Master!
Getting the baking time just right is one of the most critical steps when making easy beginner classic cookie recipes. It's the difference between a perfectly chewy or crisp cookie and one that's burnt or undercooked. For anyone starting out in the kitchen, understanding how to manage baking time is a fundamental skill that unlocks consistent success with simple classic cookie baking. It's not just about following a recipe blindly; it's about knowing what to look for and how variables can affect the outcome.
Baking time isn't a fixed number carved in stone; it's a guideline. Factors like your oven's calibration, the type of cookie sheet you use, and even the size and thickness of your cookie dough drops can all influence how long your easy beginner classic cookies need in the heat. Learning to read the signs of doneness is paramount.
You'll often hear advice like "bake until edges are golden brown," but even that can vary depending on the specific recipe and your desired texture. This section will demystify the clock and help you bake perfect simple classic cookie recipes every time.
Baking time directly impacts the texture, flavor, and appearance of your classic cookies. Too little time, and your cookies might be pale, doughy, and potentially unsafe to eat if they contain raw egg. Too much time, and they can become hard, dry, or even burnt, developing bitter flavors. For easy beginner classic cookie recipes, where the goal is often a satisfyingly familiar result, precision in baking time is key to achieving that desired chewiness, crispness, or tenderness.
Consider a simple sugar cookie. If baked for the recommended 8-10 minutes at 350°F (175°C), they typically come out slightly soft in the center, firming up as they cool. However, baking them for just 6 minutes might leave them too fragile and underdone, while 12 minutes could result in hard, brittle discs. Similarly, chocolate chip cookies baked for 9 minutes might have gooey centers, while 11 minutes could yield a more uniformly firm cookie. The difference of even one or two minutes can drastically alter the final product's appeal.
Oven temperature works hand-in-hand with baking time. Most easy beginner classic cookie recipes call for temperatures between 325°F (160°C) and 375°F (190°C). A lower temperature generally means a longer baking time, resulting in cookies that spread more and are often crispier. A higher temperature means a shorter baking time, which can lead to cookies that spread less, bake faster on the edges, and may remain softer in the center.
However, oven thermostats are notoriously inaccurate. An oven set to 350°F might actually be heating to 330°F or 370°F. This variance directly affects the optimal baking time. If your oven runs hot, your cookies will bake faster than the recipe suggests, potentially burning or becoming too dry if you follow the time exactly.
Conversely, a cool oven will require more time, and cookies might not brown properly or achieve the right structure within the stated duration. Using an oven thermometer is a simple way to check your oven's true temperature and adjust baking time accordingly for your easy beginner classic cookie recipes. For instance, if your oven reads 325°F when set to 350°F, you might need to add 1-3 minutes to the baking time specified in a recipe calibrated for 350°F.
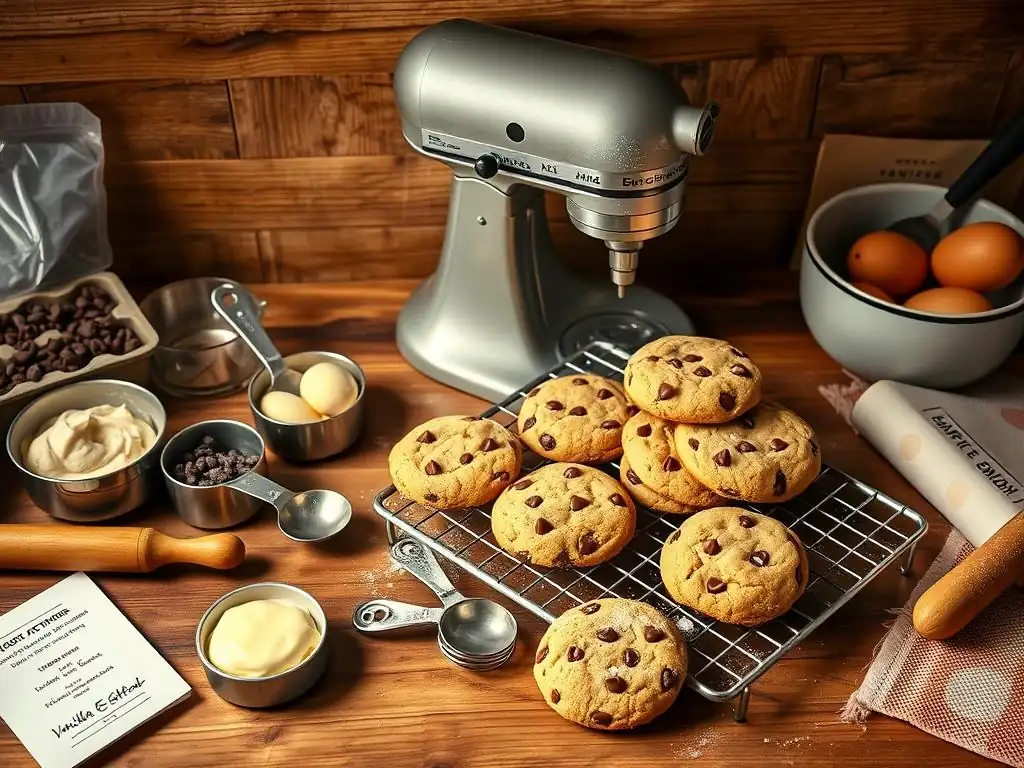
Having the right tools can significantly improve your baking consistency, especially when focusing on baking time for easy beginner classic cookie recipes. While you don't need a professional kitchen setup, a few key items make the process smoother and help ensure even baking. These tools aren't just gadgets; they play a role in how heat is transferred to your dough and how uniformly your cookies cook.
From the surface your cookies bake on to the implement you use to portion the dough, each tool contributes to the overall baking environment. Using the correct equipment minimizes variables that can throw off your baking time and helps you achieve reliable results every time you bake simple classic cookie recipes. Let's look at some essentials.
Cookie sheets come in various materials, finishes, and colors, all of which affect how heat is conducted and reflected. For easy beginner classic cookie recipes, light-colored, heavy-gauge aluminum sheets are generally recommended. These sheets reflect heat, leading to more even baking and less chance of burnt bottoms compared to dark-colored or thin metal sheets, which absorb and distribute heat more quickly and intensely.
For example, baking chocolate chip cookies on a dark, thin sheet might require reducing the baking time by 1-2 minutes compared to a light-colored, thicker sheet to prevent the bottoms from burning before the centers are done. Insulated cookie sheets, which have two layers of metal with air in between, are designed to prevent burnt bottoms altogether, though they often result in cookies that spread less and take slightly longer to bake. Understanding your sheet's properties helps you anticipate how it might affect your baking time.
Lining your cookie sheets with parchment paper or silicone baking mats provides a non-stick surface, makes cleanup easier, and can influence baking time and spread. Both are excellent options for easy beginner classic cookie recipes, but they function slightly differently. Parchment paper is disposable and offers a slightly grippy surface that can sometimes help cookies spread a little less. Silicone mats, like Silpat, are reusable and provide a very smooth, non-stick surface.
Silicone mats tend to insulate the bottom of the cookie more than parchment paper, which can mean slightly longer baking times (perhaps 1-2 minutes extra) to achieve the same level of browning on the bottom. However, they are excellent for preventing sticking, especially with delicate doughs. Parchment paper is convenient as you can tear off just what you need, but isn't reusable. For consistent baking time, choose one method and stick with it, noting any adjustments needed for your specific simple classic cookie recipes.
Using a cookie scoop (also known as a disher) is a simple yet effective way to ensure all your cookies are the same size. Uniformly sized cookies bake more evenly and predictably. If you drop cookies of different sizes onto the same sheet, the smaller ones will bake faster and potentially burn while the larger ones are still undercooked.
A standard-sized cookie scoop (often a #40 or #50, yielding cookies about 1.5 to 2 inches in diameter) is ideal for most easy beginner classic cookie recipes. Using a scoop ensures each cookie dough portion has roughly the same mass and surface area, meaning they will all require approximately the same amount of time in the oven to reach the desired doneness. This eliminates a major variable that can lead to inconsistent baking results across a single batch.
Let's dive into some specific easy beginner classic cookie recipes and discuss typical baking times and temperatures. While precise times can vary based on the factors discussed above, these guidelines provide a solid starting point. The temperatures listed are standard recommendations, usually for a conventional oven on a metal baking sheet.
Remember that visual cues are just as important as the clock. For many simple classic cookie recipes, you're looking for edges that are set and lightly golden, while the center might still look slightly soft or pale. The cookies will continue to cook slightly on the hot baking sheet after being removed from the oven.
Most classic chocolate chip cookie recipes call for baking at 350°F (175°C) for 8 to 12 minutes. The exact time depends heavily on the size of the cookies and your desired texture. For a chewier cookie with slightly gooey centers, aim for the lower end of the time range, maybe 8-10 minutes for a standard 2-inch cookie. The edges should be set and lightly golden, but the center might still look slightly underbaked.
If you prefer a firmer, crispier cookie, you might bake for 11-12 minutes. At this point, the edges will be more deeply golden, and the centers will appear set. Baking smaller cookies (e.g., 1 inch) will require less time, perhaps 7-9 minutes, while larger cookies (3-4 inches) could need 12-15 minutes. Always start checking at the minimum recommended time and add minutes as needed based on appearance.
Simple sugar cookies, especially cut-out varieties, are often baked at a slightly lower temperature, around 325°F to 350°F (160°C to 175°C), for 8 to 11 minutes. The lower temperature helps prevent excessive spreading and keeps the edges from browning too quickly, allowing the cookie to bake through evenly.
For soft sugar cookies, bake until the edges are just barely set and the centers still look pale and slightly puffy, usually around 8-9 minutes at 350°F. They should not have significant browning. For crispier sugar cookies, bake for 10-11 minutes until the edges are lightly golden. With cut-out cookies, the thickness also matters; thicker cookies will require more time than thinner ones. Checking a test cookie from the first batch is always a good strategy for these easy beginner classic cookie recipes.
Peanut butter cookies, often recognized by their signature fork-pressed crosshatch pattern, are typically baked at 350°F (175°C) for 10 to 14 minutes. Achieving a soft and chewy texture depends on not overbaking them. Look for edges that are set and lightly golden brown, while the center still appears slightly soft.
For a standard-sized peanut butter cookie (about 2-2.5 inches in diameter before pressing), 10-12 minutes is often sufficient for a soft interior. If you bake them until they are uniformly golden brown and appear completely set throughout, they will likely be crunchy rather than chewy. The fat content from the peanut butter means they can burn easily, so keep a close eye on them, especially towards the end of the baking time.
Oatmeal raisin cookies often bake at 350°F (175°C) for 10 to 13 minutes. The oats and raisins contribute to their unique texture, and getting the baking time right is key to balancing chewiness and structure. For a chewy cookie, bake until the edges are lightly browned and the center still looks moist and slightly soft.
Around 10-11 minutes is often the sweet spot for a chewy oatmeal raisin cookie of standard size. If you prefer a crispier cookie, bake for 12-13 minutes until the edges are more deeply golden and the cookie appears more set throughout. Because of the oats, they can look less "done" than a flour-based cookie when they are actually ready, so trust the visual cues of the edges.
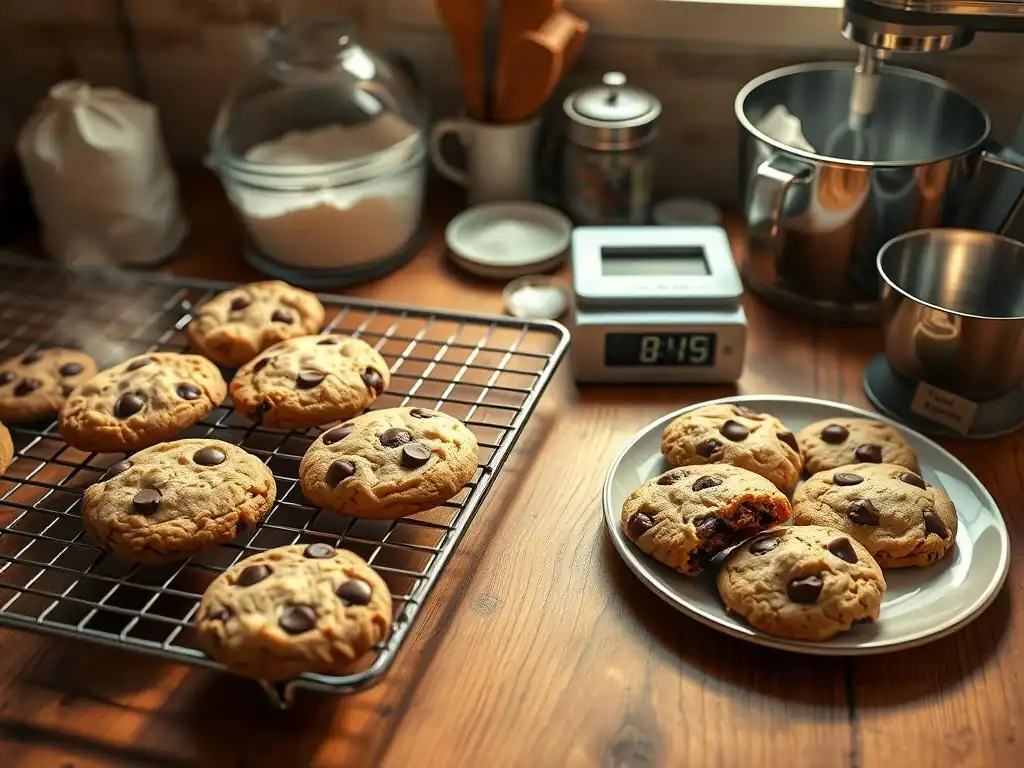
Even with careful planning, sometimes easy beginner classic cookie recipes don't bake quite as expected. Understanding common problems related to baking time and how to address them is crucial for improving your results. Don't get discouraged if your first batch isn't perfect; troubleshooting is part of the learning process in simple classic cookie baking.
These issues often stem from a combination of oven temperature, baking time, and sometimes dough consistency or pan choice. Let's look at some frequent culprits and their fixes.
If your cookies spread excessively and become very thin during baking, it's often a sign that the dough was too warm, the oven temperature was too low, or the baking sheet was too hot from a previous batch. Excessive spread means the cookies bake very quickly on the surface, potentially burning the thin edges before the center has a chance to set.
- Potential Causes & Solutions:
- Warm Dough: Ensure your dough is properly chilled before baking. Chilling solidifies the fats, which helps the cookies hold their shape longer in the oven. Try chilling for at least 30 minutes.
- Low Oven Temp: Use an oven thermometer to verify your oven's temperature. If it's running low, increase the set temperature by 10-25°F (5-15°C). You might also need to slightly increase baking time if the temperature adjustment isn't enough to compensate.
- Hot Baking Sheet: Always place dough on a cool or room-temperature baking sheet. Using a hot sheet causes the fat in the dough to melt immediately, leading to excessive spread. Have multiple sheets ready or cool sheets between batches.
- Incorrect Ingredients/Measurements: Too much butter or sugar can also cause excessive spread. Double-check your ingredient measurements, especially for fats and sweeteners.
Burnt bottoms are a common frustration, particularly when the tops look perfectly baked. This usually indicates that the bottom surface of the cookie is getting too much direct heat too quickly. This is especially prevalent with dark-colored cookie sheets or if the oven heating element is primarily at the bottom and the rack is too low.
- Potential Causes & Solutions:
- Dark or Thin Baking Sheet: Switch to a light-colored, heavy-gauge aluminum baking sheet. If you must use a dark sheet, reduce the oven temperature by 25°F (15°C) and potentially increase baking time slightly.
- Oven Rack Position: Move your oven rack to the middle position. This provides the most even heat distribution from both the top and bottom elements.
- Hot Spots in Oven: Ovens can have hot spots. Try rotating your cookie sheet halfway through the baking time to ensure even exposure to heat across the entire sheet.
- No Parchment or Silicone Mat: Using parchment paper or a silicone mat provides a layer of insulation that can help prevent bottoms from burning.
Cookies that are done on the outside but raw or doughy in the center are often a result of baking at too high a temperature or for too short a time. The outside cooks and sets before the heat has penetrated to the center of the cookie dough. This is a common issue with thicker cookies or when trying to achieve a crisp exterior and soft interior.
- Potential Causes & Solutions:
- Too High Temp / Too Short Time: If the recipe calls for a high temperature (e.g., 375°F or 190°C) and short time (e.g., 8 minutes) but your cookies are consistently raw in the middle, try slightly reducing the temperature (by 10-15°F or 5-8°C) and increasing the baking time (by 1-3 minutes). This allows the cookie to bake more slowly and evenly from edge to center.
- Cookie Size/Thickness: If you've made your cookies significantly larger or thicker than the recipe intended (e.g., using a larger scoop), you will need to increase the baking time accordingly. A cookie double the diameter might need 50-100% more baking time.
- Overcrowding the Sheet: Placing too many cookies on a single sheet can lower the temperature around them and impede air circulation, leading to uneven and incomplete baking. Leave adequate space (at least 2 inches) between cookies.
Once you've mastered the basics of baking time for easy beginner classic cookie recipes, you can explore some more advanced techniques to fine-tune your results. These methods give you greater control and help ensure consistent quality across batches.
These techniques move beyond simply setting a timer and involve understanding the subtle cues of doneness and how post-bake treatment affects the final texture.
While not a standard practice for all cookies, using an instant-read thermometer can be surprisingly helpful for certain types, particularly those meant to be soft or slightly underbaked, like gooey chocolate chip cookies. The internal temperature can be a reliable indicator of doneness, complementing visual cues.
For many soft-baked cookies, an internal temperature around 175°F to 180°F (80°C to 82°C) indicates they are cooked through but still soft. Cookies baked to be crispier will reach a higher internal temperature, perhaps closer to 200°F (93°C). This method provides a more objective measure than just looking at color, which can be misleading depending on ingredients (like molasses or brown sugar). While not strictly necessary for every simple classic cookie recipe, it's a technique that offers precision for those aiming for a very specific texture.
The Importance of Cooling Time After Baking
Baking time doesn't end when the cookies come out of the oven. The time they spend cooling on the hot baking sheet is a crucial part of the baking process. Cookies continue to cook from the residual heat of the pan. Removing them too soon can result in cookies that fall apart or are too soft, while leaving them too long can lead to overbaking on the bottom or difficulty removing them from the pan.
For most easy beginner classic cookie recipes, letting them cool on the baking sheet for 5-10 minutes before transferring them to a wire rack is ideal. This allows them to set up enough to be moved without breaking but prevents them from overcooking. Delicate or very soft cookies might need the full 10 minutes on the sheet, while firmer cookies might be ready to move after 5.
Proper storage is essential for maintaining the texture achieved through careful baking time. An airtight container is the best choice for most classic cookies. Storing different types of cookies together can alter their textures – crisp cookies can soften if stored with soft cookies.
- Storage Tips:
- Crisp Cookies: Store in an airtight container at room temperature. If they soften, you can briefly re-bake them at a low temperature (around 300°F or 150°C) for a few minutes to crisp them up again.
- Soft/Chewy Cookies: Store in an airtight container at room temperature. Adding a slice of bread to the container can help maintain softness by providing moisture, though replace the bread every couple of days.
- Separation: Avoid storing crisp and soft cookies in the same container.
- Cool Completely: Always ensure cookies are completely cool before storing them. Storing warm cookies creates condensation, which can make them soggy or lead to spoilage.
Expert Tips for Perfect Baking Time Every Time
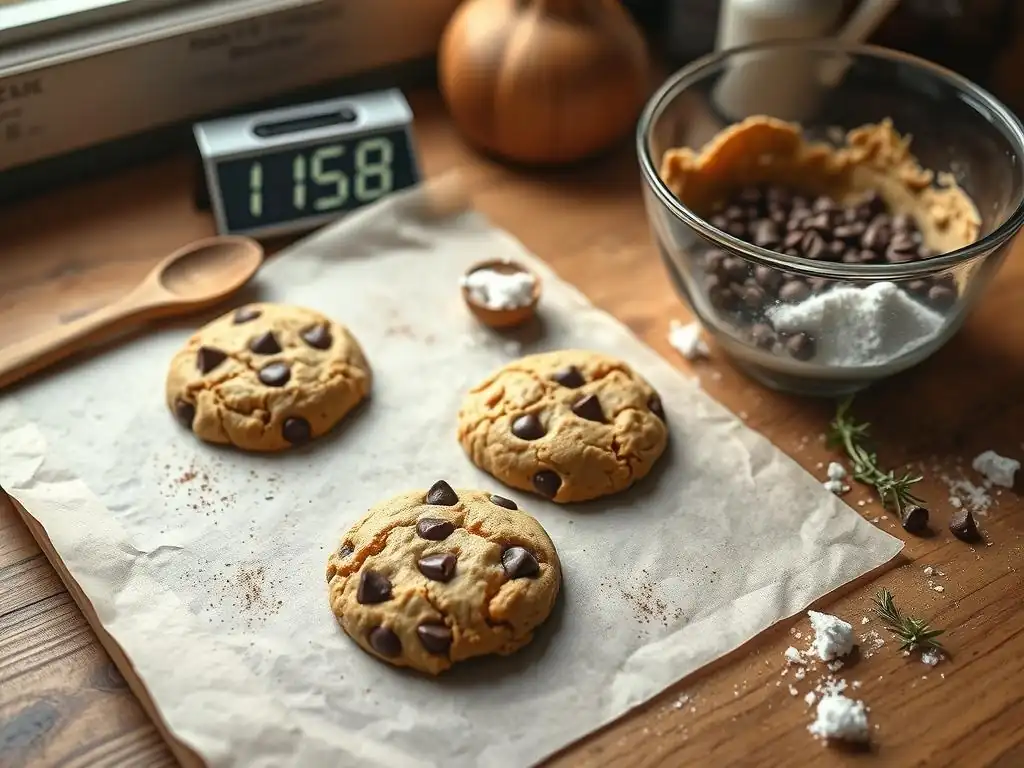
Achieving perfect baking time consistently for your easy beginner classic cookie recipes involves more than just watching the clock. It requires attention to detail and understanding how your specific oven and environment affect the process. These expert tips can help you minimize variables and bake reliable batches.
Incorporating these practices into your simple classic cookie baking routine will lead to more consistent results and help you confidently adjust baking times as needed.
Preheating Your Oven Properly for Consistent Results
One of the most overlooked steps, proper oven preheating, is fundamental to achieving correct baking time. When you set your oven to a temperature, it often signals that it has reached that point within 10-15 minutes. However, the internal temperature can fluctuate, and the oven walls and racks may not be fully heated yet.
For consistent baking time, it's best to preheat your oven for at least 20-30 minutes after it indicates it has reached the set temperature. This allows the heat to stabilize throughout the oven cavity, ensuring that when you place your cookies inside, they are exposed to a steady, accurate temperature from the start. This prevents the need to significantly extend baking time because the oven wasn't truly ready.
Even well-calibrated ovens can have slight temperature variations in different areas. For the most even baking of your easy beginner classic cookie recipes, rotate your cookie sheet halfway through the baking time. This ensures that cookies on the side that might be slightly cooler or hotter get moved to a different position, promoting uniform doneness across the entire sheet.
For instance, if your recipe calls for 10 minutes of baking, rotate the sheet after 5 minutes. Simply turn the sheet 180 degrees. If you're using multiple sheets on different racks, you might also swap their positions from top to bottom rack, in addition to rotating each sheet. This simple step can significantly reduce the number of cookies that are over or under-baked on a single sheet.
Adjusting Baking Time Based on Altitude
Altitude significantly affects baking, primarily due to lower atmospheric pressure and lower boiling points of liquids. At higher altitudes (generally above 3,000 feet or about 900 meters), liquids evaporate faster, and leavening gases expand more quickly. This can cause cookies to spread more, dry out faster, and potentially require adjustments to baking time and temperature.
While specific adjustments vary, a common approach for cookies at high altitude is to increase the baking temperature slightly (by 15-25°F or 8-15°C) and decrease the baking time slightly. The higher temperature helps set the structure of the cookie before it spreads too much. You may need to start checking your easy beginner classic cookie recipes a minute or two earlier than the recipe suggests. For example, a cookie normally baked at 350°F for 10 minutes might be baked at 365°F for 8-9 minutes at high altitude. Experimentation is key to finding the right balance for your location.
While baking time is a central focus, it's part of a larger ecosystem that contributes to perfect easy beginner classic cookie recipes. Other factors play significant roles and can influence how your cookies bake and how long they need in the oven. Ignoring these elements means even perfect timing might not yield the desired results.
Understanding the impact of ingredients, mixing methods, and measurement accuracy provides a holistic view of simple classic cookie baking and helps you troubleshoot issues that might seem related to time but originate elsewhere.
Ingredient Quality and Its Effect on Baking
The quality and type of your ingredients absolutely matter. Using stale flour, expired leavening agents (baking soda or baking powder), or low-quality fats can affect how your cookie dough behaves and bakes. Fresh ingredients perform as expected, reacting properly to heat and interacting with each other to create the desired texture and structure within the recipe's typical baking time.
For example, using butter that is too soft or melted when creaming with sugar can lead to cookies that spread too much, requiring adjustments to baking time or temperature to prevent them from becoming overly thin and crisp. Using old baking soda might result in cookies that don't spread or rise properly, leading to denser cookies that might need a longer baking time to cook through.
Ensure your leavening is active (check by mixing a pinch with hot water for baking soda, or warm water for baking powder – it should bubble) and use fresh ingredients whenever possible for reliable results with your easy beginner classic cookie recipes.
How you mix your cookie dough affects gluten development and the incorporation of air, both of which impact texture and, consequently, baking time. Overmixing can develop too much gluten, leading to tough cookies that might bake faster on the outside but remain dense inside. Undermixing might leave ingredients unevenly distributed, causing inconsistent baking.
- Key Mixing Points:
- Creaming Butter and Sugar: This step is crucial for incorporating air, which provides lift and contributes to spread. Creaming for the recommended time (often 2-3 minutes until light and fluffy for easy beginner classic cookie recipes) is important. Over-creaming can incorporate too much air, leading to excessive spread and potentially shorter baking times.
- Adding Dry Ingredients: Once flour is added, mix just until combined. Streaks of flour are okay; they will disappear during baking. Overmixing develops gluten, which is undesirable in tender cookies. Gentle mixing ensures a tender crumb and predictable baking.
The Importance of Accurate Measurements
Baking is often described as a science, and precise measurements are fundamental. Using too much or too little of an ingredient, especially flour, sugar, or fat, can drastically alter the dough's consistency and how it reacts to heat, directly impacting the optimal baking time for your simple classic cookie recipes.
For instance, using too much flour (a common mistake when scooping directly from the bag without leveling) can result in a dry, stiff dough that doesn't spread enough and might need a longer baking time to cook through. Using too little flour can lead to excessive spread and thin cookies that bake very quickly. Weighing ingredients, especially flour, is the most accurate method (1 cup of all-purpose flour is typically around 120-130 grams, depending on packing). Volume measurements (cups, spoons) should be level. Accurate measurements lay the foundation for predictable baking time.
[ ] Preheat oven properly
[ ] Use an oven thermometer to verify temperature
[ ] Use a light-colored baking sheet
[ ] Line sheet with parchment paper or silicone mat
[ ] Use a cookie scoop for uniform size
[ ] Chill dough if recipe recommends
[ ] Rotate cookie sheet halfway through baking
[ ] Check for visual cues of doneness (edges set, center slightly soft)
[ ] Use a timer but check cookies visually as well
[ ] Allow cookies to cool on the sheet before transferring
[ ] Store cookies properly in an airtight container
Frequently Asked Questions
An easy recipe uses simple techniques, readily available ingredients, and clear, step-by-step instructions that are easy to follow. It usually avoids complicated processes or specialized equipment.
Classic beginner cookies include chocolate chip cookies, sugar cookies, and peanut butter cookies. These recipes are well-established and generally forgiving, making them ideal for new bakers.
Common mistakes include overmixing the dough, inaccurate measurements, and incorrect oven temperature. Careful reading of the recipe and using a kitchen scale can help avoid these issues.
While you don't need the most expensive ingredients, using fresh and good-quality ingredients does significantly impact the flavor and texture of your cookies.
Websites like BakeWithEase.com provide a wealth of information. Look for step-by-step guides and video tutorials for visual learners and detailed explanations of baking techniques.
The simple act of baking a classic cookie, once mastered, unlocks a world of creativity and confidence in the kitchen. It's more than just following a recipe; it's about understanding the fundamental principles of baking, and how those principles translate into delicious, perfectly-baked treats. This knowledge empowers you to experiment, adapt, and ultimately, create your own signature cookie.
The journey from hesitant beginner to confident baker is a deeply satisfying one. It's about more than just the end result; it's about the process, the subtle changes in texture and taste that come with understanding the "why" behind each step. The best things in life are homemade.
This sentiment rings especially true when it comes to the comforting aroma and taste of freshly baked cookies, a simple pleasure that connects us to tradition and personal accomplishment.
Now, it's your turn. Don't be afraid to experiment with different flours, extracts, and add-ins. Embrace the occasional mishap – they're valuable learning experiences! The next time you're craving a sweet treat, remember the power you hold to create something delicious and comforting, all from the simple act of following a recipe and letting your passion guide you. The world of baking awaits – go forth and create your own cookie masterpiece!
Thanks for joining us on this delicious journey into the world of classic cookies! We hope you've picked up some baking secrets to help you create perfectly golden, melt-in-your-mouth treats. Now it's time to put your newfound knowledge into practice.
- Bake a batch of your favorite cookies today! Use what you learned to create your own masterpiece, experimenting with different flavors and techniques.
- Share your baking adventure on social media using #BakeWithEase and tag us – we’d love to see your creations!
- Explore our other baking guides for more delicious inspiration; you might discover your next favorite recipe!
Ready to transform your kitchen into a sweet haven? What flavor combination will you try first?