
Why Your Pie Crust Shrinks (And Simple Fixes)

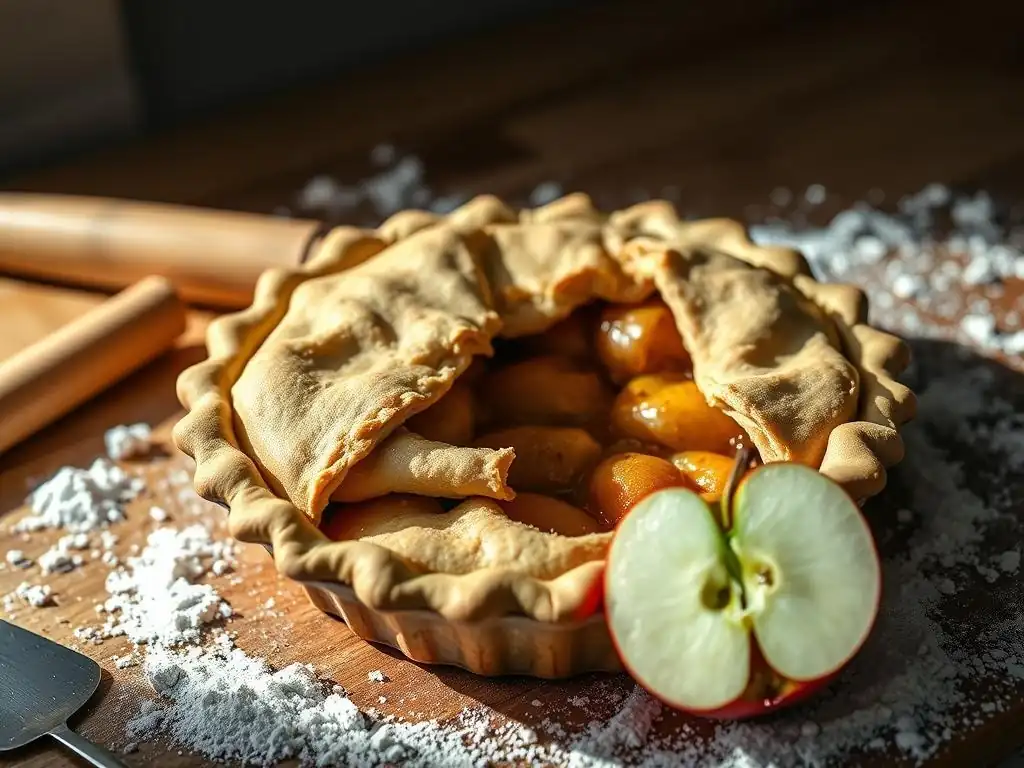
Welcome to BakeWithEase, your partner in creating delectable baked goods! Ever wondered why your pie crust shrinks during baking, leaving you with a sad, uneven edge? You're not alone! This article delves into the common culprits behind shrinking pie crusts and offers simple, foolproof solutions. Discover the secrets to a perfectly formed pie, every time, and elevate your pastry game with our expert tips. Ready to bake with confidence? Let's get started!
- Why Your Pie Crust Shrinks (And Simple Fixes) - BakeWithEase.com
- Introduction: Understanding Pie Crust Shrinkage
- Common Reasons for Pie Crust Shrinkage
- Simple Fixes to Prevent Pie Crust Shrinkage
- Step-by-Step Guide: Preventing Shrinkage from Start to Finish
- Beyond the Basics: Advanced Tips for Perfect Pie Crusts
- Conclusion: Achieving the Perfect, Shrink-Free Pie Crust
- Frequently Asked Questions
- Final Reflection: The Humble Pie Crust and the Pursuit of Perfection
- Unlock Your Perfect Pie Crust: Master the Shrinkage!
Why Your Pie Crust Shrinks (And Simple Fixes) - BakeWithEase.com
Introduction: Understanding Pie Crust Shrinkage
The Frustration of Shrinking Pie Crust: A Common Baking Problem
Few baking frustrations are as disheartening as pulling a beautiful pie from the oven, only to find the crust has dramatically pulled away from the edges of the pan. This common issue, often leaving a gap between the filling and the pastry, affects bakers of all skill levels. It can ruin the aesthetic appeal of your pie and, in some cases, compromise the structure, especially for fruit pies where juices might escape. Understanding why pie crust shrinks is the first step to preventing it and achieving that perfect, flaky edge you've worked so hard for.
Shrinkage isn't just a cosmetic problem; it's a sign that something fundamental in the dough preparation or handling went awry. Whether you're making a classic apple pie or a delicate quiche, a shrinking crust means the dough wasn't allowed to relax properly or was overworked. Tackling this issue involves mastering a few simple techniques that are cornerstones of great pastry making.
BakeWithEase: Your Guide to Perfect Pie Crusts
At BakeWithEase, we believe that achieving a perfect, shrink-free pie crust is entirely within your reach. We're here to demystify the science behind why pie crust shrinks and provide you with actionable, easy-to-follow tips to overcome this challenge. Our goal is to empower you with the knowledge and confidence to create consistently beautiful and delicious pies every time.
This guide will walk you through the main culprits behind pie crust shrinkage, from the hidden dangers of gluten development to the critical importance of temperature and rest. We'll then provide simple, effective fixes you can implement in your baking routine. Think of us as your friendly baking coach, ready to help you turn frustrating mishaps into baking triumphs. Let's get started on the path to your best pie crusts yet!
Common Reasons for Pie Crust Shrinkage
1. Gluten Overdevelopment: The Main Culprit
Overmixing Pie Dough and Gluten Formation
Gluten is a protein network that develops when flour is mixed with water. While essential for the structure in bread, too much gluten development in pie crust leads to toughness and, crucially, shrinkage. When you mix pie dough vigorously or for too long, you encourage these gluten strands to form strong, elastic bonds. This elasticity is what causes the dough to spring back when rolled and contract (shrink) during baking. Think of it like stretching a rubber band – it wants to snap back to its original size.
A classic flaky pie crust relies on keeping gluten development to a minimum. The goal is to hydrate the flour just enough to bring the dough together, not to create a smooth, elastic mass like bread dough. Overmixing is perhaps the most common reason why pie crust shrinks, especially for new bakers who might be used to the more forgiving nature of cake batter or cookie dough.
How Gluten Impacts Pie Crust Shape
During baking, as the water in the dough evaporates and the fat melts, the gluten network tightens. If this network is overly developed, it contracts significantly under the heat of the oven. This contraction pulls the edges of the dough inwards, away from the sides of the pie plate. A highly developed gluten network also results in a tough, less tender crust, which is the opposite of the desired flaky, melt-in-your-mouth texture.
Consider two identical pieces of dough, one mixed minimally and one overmixed. When baked, the minimally mixed dough will hold its shape relatively well, expanding slightly due to steam. The overmixed dough, however, will visibly pull away from the edges of whatever container it's in, demonstrating the powerful contractile force of the overdeveloped gluten. This is the primary mechanism behind why pie crust shrinks when not handled gently.
2. Lack of Relaxation: Stressing the Dough
Why Resting Pie Dough is Crucial
After mixing and handling, pie dough needs time to rest and relax. This resting period, typically in the refrigerator, allows the gluten strands that did form to relax and become less elastic. It also gives the fat within the dough time to firm up again, which is essential for creating flaky layers. Skipping this crucial step or rushing the process is a major contributor to shrinkage.
Think of dough handling as a workout for the gluten network. Just like muscles need rest after exercise, gluten needs time to recover and lose its tension. A well-rested dough will be much easier to roll out and shape, and it will hold its form better during baking. Without adequate rest, the dough remains tense and springy, eager to contract when heated.
Insufficient Dough Relaxation Time: A Shrinkage Trigger
If you mix your dough and immediately try to roll it out, you'll notice it resists rolling and keeps snapping back. This resistance is the gluten protesting! Forcing the dough into shape when it's tense simply builds more stress into the pastry. When this stressed dough hits the hot oven, the pent-up tension is released, causing it to dramatically shrink inwards.
A chilling period of at least 30 minutes, and ideally 60 minutes or longer, is often recommended before rolling out the dough. After shaping the crust in the pan, another brief chill (15-30 minutes) is also beneficial to relax the dough one last time before baking. Insufficient rest means the dough is still "stressed" from mixing and handling, making it highly susceptible to shrinkage in the heat. This is a key factor in why pie crust shrinks unexpectedly.
3. Incorrect Dough Handling: The Temperature Factor
Warm Dough: Difficult to Handle and Prone to Shrinkage
Temperature plays a critical role in pie crust success. Warm dough is sticky, difficult to roll without adding excessive flour (which makes it tough), and the fat within it is soft or melted. When the fat is soft, it gets incorporated into the flour instead of remaining in distinct pieces. These distinct pieces are what create the flaky layers as they melt and create steam pockets during baking.
Moreover, handling warm dough encourages overworking, as you struggle to shape it, further developing gluten. Warm dough is also more likely to stick to surfaces, requiring more manipulation, which again, builds gluten and stress. Working with cold dough is paramount for ease of handling and preventing the issues that lead to why pie crust shrinks.
Maintaining Cold Dough Temperature During Preparation
Keeping ingredients and the dough cold throughout the process is vital. This means using ice water, very cold butter (cut into pieces), and chilling the dough frequently. If your kitchen is warm, consider chilling your flour and mixing bowl beforehand. Work quickly once the dough is out of the refrigerator. If the dough becomes soft or sticky while rolling, stop and chill it again for 10-15 minutes.
A typical target temperature for the fat and liquid when making pie dough is around 35-40°F (2-4°C). The final dough should feel cool to the touch. Maintaining this cold temperature ensures the fat remains in solid pieces, minimizes gluten development during mixing and handling, and keeps the dough manageable, reducing the likelihood of shrinkage.
4. Improper Shaping and Fitting: A Gap in the Pan
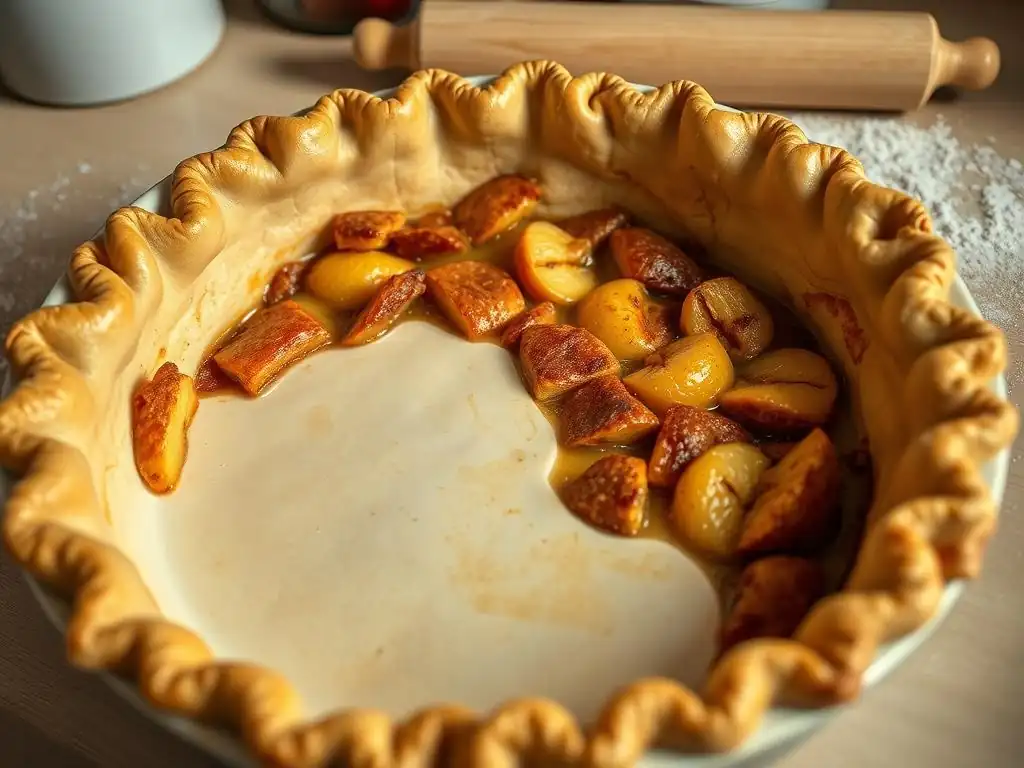
Stretching vs. Lifting: Correct Dough Placement
One of the most common mistakes when fitting the rolled-out dough into the pie plate is stretching it to fit. If the rolled dough isn't quite large enough, or if you try to pull it into the corners, you are creating tension in the dough. As with gluten development and lack of rest, this tension will cause the dough to pull back during baking.
The correct method is to gently lift and ease the dough into the pan, pressing it lightly into the corners and sides without pulling. Ensure the dough isn't taut across the bottom or up the sides. It should sit comfortably in the plate, with some slack. This allows the dough to relax into the shape of the pan rather than being forced into it.
Ensuring a Snug Fit in the Pie Plate
After easing the dough into the pan, gently press it against the bottom and sides, ensuring there are no air pockets trapped underneath. Pay particular attention to pressing it into the angle where the bottom meets the sides. This snug fit, achieved without stretching, gives the crust support during baking and minimizes its ability to pull away.
Leaving a generous overhang (typically 1/2 to 1 inch) beyond the rim of the pie plate is also important. This excess dough provides material for crimping and helps weigh down the edges, further preventing them from shrinking down the sides of the pan. A well-fitted crust that hasn't been stretched is far less likely to shrink when exposed to oven heat.
5. Baking Issues: Oven Temperature and Blind Baking
Oven Temperature Fluctuations and Their Effect
An oven that isn't properly preheated or has fluctuating temperatures can also contribute to pie crust shrinkage. If the oven is too cool initially, the fat in the crust may melt and run out before the gluten structure (minimal as it should be) sets. A sudden blast of high heat can also cause the dough to contract rapidly.
Baking at the correct, consistent temperature is important for the crust to set properly and hold its shape. Most pie crusts start baking at a relatively high temperature (often 400-425°F or 200-220°C) for the first 15-20 minutes to help set the structure and promote flakiness, before potentially lowering the temperature to finish baking the filling. Inconsistent heat prevents this proper setting.
The Importance of Blind Baking for Certain Pies
Blind baking (pre-baking the crust before adding the filling) is often necessary for pies with wet fillings or those that aren't baked for very long, like quiches or cream pies. During blind baking, the crust is particularly vulnerable to shrinkage because there's no filling to help hold it in place.
Properly supporting the crust during blind baking using pie weights, dried beans, or even crumpled parchment paper is crucial. This weight holds the dough against the sides of the pan as it bakes and sets, significantly reducing the tendency for the edges to slump or shrink. Skipping this step when a recipe calls for it is a frequent cause of a shrunken blind-baked crust.
Simple Fixes to Prevent Pie Crust Shrinkage
1. Mastering Gluten Control: Gentle Mixing Techniques
Pulse, Don't Process: Minimizing Gluten Development
When using a food processor (a great tool for pie dough), use the pulse function in short bursts rather than letting it run continuously. Add the cold butter or fat and pulse until it's cut into pea-sized or slightly larger pieces. Then, add the ice water a tablespoon at a time, pulsing just until the dough just starts to come together. It should look shaggy and not form a cohesive ball in the processor. This minimal mixing prevents the development of the elastic gluten network responsible for why pie crust shrinks.
If mixing by hand or with a stand mixer, be equally gentle. Cut the fat into the flour using a pastry blender, forks, or your fingertips until you have a mixture resembling coarse meal with some larger pea-sized pieces of fat. Stir in the ice water with a fork or spatula until the dough is just moist enough to clump together when squeezed. Avoid kneading or overworking the dough once the liquid is added.
Using Cold Fats: Limiting Gluten Hydration
Keeping your fat (butter, shortening, or a mix) and liquid (ice water) very cold is another key strategy for limiting gluten development. Cold fat particles are coated in flour and create a barrier that prevents the water from fully hydrating all the flour particles. This limits the formation of gluten strands. As the fat melts during baking, it leaves gaps, creating flakiness.
Aim for butter that is straight from the refrigerator, ideally cut into small cubes or pieces. Some bakers even freeze their butter briefly before cutting it in. Use ice water; you can even add a few ice cubes to the water and measure from that once it's chilled. The colder the ingredients, the less likely you are to overwork the dough trying to incorporate them, and the less gluten will develop.
2. Adequate Dough Resting Time: The Key to Relaxation
Chill Time: How Long is Enough?
A minimum chilling time of 30 minutes is often sufficient for the dough to relax slightly and the fat to firm up. However, for optimal results and to truly combat why pie crust shrinks, a rest of 60 minutes to 2 hours is even better. This longer rest allows the gluten strands ample time to relax, making the dough pliable and easy to roll without resistance.
Wrap the dough disc tightly in plastic wrap before chilling to prevent it from drying out. You can even make pie dough a day or two in advance and store it in the refrigerator; the longer rest can actually improve the texture. Just let it sit at room temperature for 10-15 minutes before rolling if it's excessively hard.
Multiple Resting Periods for Optimal Results
Consider adding a second chilling period after you've fitted the dough into the pie plate. A quick 15-30 minute chill in the refrigerator (or even the freezer for 10-15 minutes) before adding the filling or blind baking allows the shaped dough to relax in the pan. This helps it settle into the corners and reduces the tension that causes it to pull away from the sides during baking.
This two-step chilling process – once after mixing and again after shaping – is a highly effective technique used by professional bakers to ensure the dough is completely relaxed before it hits the heat of the oven. It significantly minimizes the potential for shrinkage.
3. Maintaining Cold Dough: A Baker's Best Friend
Working Quickly and Efficiently
Once your dough is chilled and ready to roll, work as quickly and efficiently as possible. The longer the dough sits at room temperature, especially in a warm kitchen, the softer the fat becomes and the more difficult the dough is to handle. Have your workspace prepared, your rolling pin ready, and your pie plate nearby.
Minimize the amount of time you spend handling the dough with warm hands. If your hands are naturally warm, try running them under cold water before you start. Rolling the dough between two sheets of parchment paper or plastic wrap can also help keep it cold and prevent sticking, reducing the need for excess flour.
Using Cold Ingredients: Butter and Water
As mentioned earlier, starting with very cold ingredients is foundational. The butter should be firm, almost hard, when you cut it into the flour. The water should be ice water – literally water with ice cubes in it. Some recipes even suggest freezing a portion of the flour.
Maintaining cold temperatures throughout the process ensures the fat stays in distinct pieces, which is crucial for flakiness, and keeps gluten development to a minimum. If at any point the dough feels soft, greasy, or difficult to handle, don't hesitate to stop and pop it back into the refrigerator for 10-15 minutes. A cold dough is a happy dough, and a happy dough is less likely to shrink.
4. Proper Shaping and Fitting Techniques: No Stretching Allowed
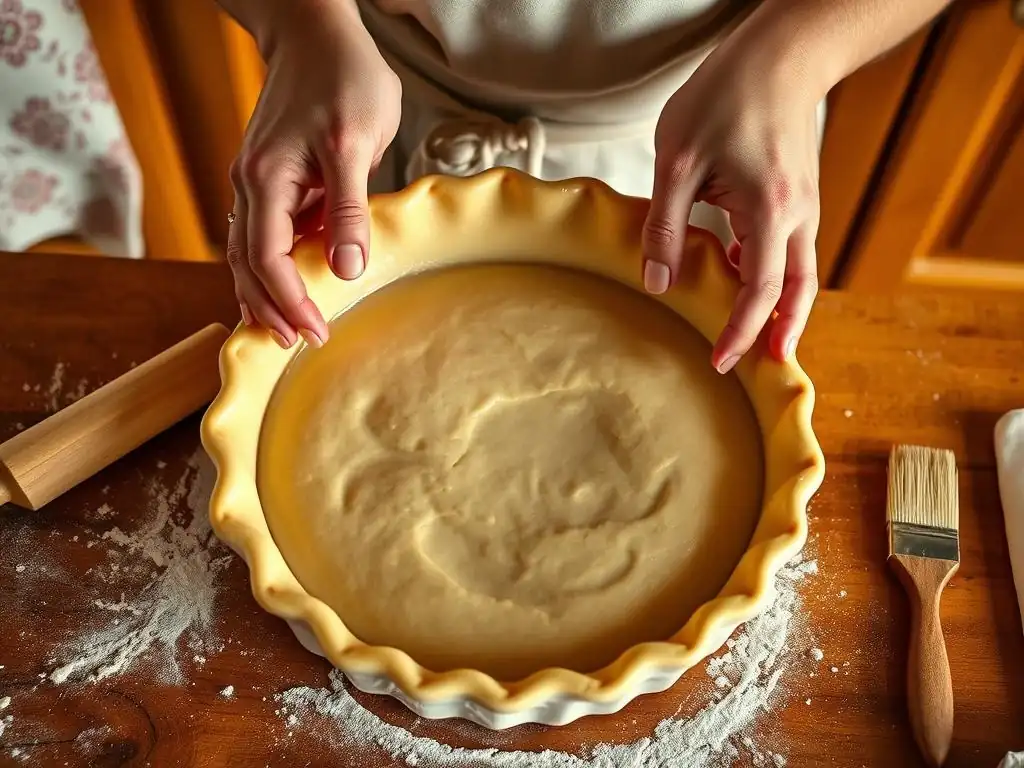
Lifting and Pressing: A Gentle Approach
When transferring your rolled-out dough to the pie plate, avoid the temptation to stretch it. Gently roll the dough around your rolling pin and then unfurl it over the pie plate. Alternatively, you can fold the dough into quarters and then unfold it in the center of the pan.
Once the dough is centered, gently lift the edges and ease the dough down into the contours of the plate. Use your fingertips to lightly press the dough against the bottom and up the sides, making sure it settles into the angle at the bottom edge. Ensure there are no air bubbles trapped underneath. The goal is for the dough to lie naturally in the pan, not to be pulled taut.
Overhang and Crimping: Techniques to Secure the Crust
Leave a generous overhang of dough – at least 1/2 inch, but often 1 inch or more – beyond the rim of the pie plate. This excess dough provides material for a sturdy crimped edge. The crimped edge serves several purposes: it looks beautiful, it helps seal a two-crust pie, and it helps anchor the crust to the rim of the pan, reducing the likelihood of it shrinking down the sides.
Fold the overhang under itself so the fold is flush with the rim of the pie plate. Then, crimp the edge firmly using your fingers or a fork. This creates a thicker, more stable edge that is less prone to slumping or shrinking. Some bakers even press the dough firmly against the rim of the pan with a fork after crimping for extra security.
5. Optimizing Baking Techniques: Temperature and Support
Preheating and Consistent Oven Temperature
Always preheat your oven fully before putting your pie in. An oven thermostat can be off by as much as 25-50°F (15-30°C), so using an oven thermometer is highly recommended to ensure accuracy. Baking at the correct initial temperature (often 400-425°F or 200-220°C) helps the fat melt quickly and create steam, setting the structure of the crust before significant shrinkage can occur.
Avoid opening the oven door frequently, as this causes temperature fluctuations. A consistent, steady heat allows the crust to bake evenly and set properly in its shaped form. If your oven tends to have hot or cool spots, rotating the pie halfway through baking can help ensure even cooking.
Using Pie Weights or Beans During Blind Baking
When blind baking, supporting the crust is non-negotiable if you want to prevent shrinkage and slumping. Line the chilled, shaped crust with parchment paper or foil, pressing it gently into the corners and up the sides. Fill the lined crust with pie weights, dried beans, or even uncooked rice, filling it right up to the rim. This weight holds the dough against the sides of the pan as it bakes.
Bake with the weights for the time specified in your recipe (typically 15-20 minutes) until the edges are set and lightly colored. Then, carefully remove the weights and liner and continue baking if the recipe calls for a fully baked crust. This support is one of the most effective ways to prevent why pie crust shrinks during blind baking.
Step-by-Step Guide: Preventing Shrinkage from Start to Finish
Preparing the Dough: A Shrinkage-Free Approach
Here’s a quick checklist for making dough that resists shrinkage:
- [ ] Use very cold butter (cut into small pieces) and ice water.
- [ ] Combine flour and salt. Cut in the cold fat until mixture resembles coarse meal with some pea-sized pieces.
- [ ] Add ice water a tablespoon at a time, mixing just until dough clumps together. Do not overmix.
- [ ] Gather dough, divide if necessary, and gently shape into discs. Do not knead.
- [ ] Wrap discs tightly in plastic wrap and chill for at least 60 minutes (or up to 2 days).
Following these steps minimizes gluten development and ensures the fat is properly distributed, setting the stage for a tender, flaky crust that holds its shape.
Shaping and Fitting: Securing the Crust in the Pan
Putting the dough into the pan correctly is vital:
- [ ] Let chilled dough sit at room temperature for 10-15 minutes if too hard to roll.
- [ ] On a lightly floured surface (or between parchment), roll dough evenly to about 1/8 inch thick, large enough to fit your pan with generous overhang.
- [ ] Gently transfer dough to the pie plate using a rolling pin or by folding/unfolding.
- [ ] Ease the dough into the pan, pressing gently into the bottom and sides without stretching.
- [ ] Trim overhang, leaving 1/2 to 1 inch excess. Fold overhang under itself.
- [ ] Crimp the edges firmly against the rim of the pan.
- [ ] Chill the shaped crust in the pan for 15-30 minutes before filling or baking.
This careful handling and chilling in the pan helps the dough relax into its final shape before it's exposed to heat.
Baking for Success: Temperature and Techniques
The final steps in the oven:
- [ ] Preheat oven fully to the temperature specified in your recipe (often 400-425°F / 200-220°C). Use an oven thermometer to verify.
- [ ] If blind baking, line crust with parchment/foil and fill with pie weights/beans up to the rim.
- [ ] Bake as directed, supporting the crust during blind baking.
- [ ] Avoid opening the oven door unnecessarily during the crucial initial baking period (first 15-20 minutes).
- [ ] If edges brown too quickly, cover them loosely with foil strips or a pie shield.
Proper temperature and support ensure the crust sets quickly and maintains its form, successfully combating why pie crust shrinks during baking.
Beyond the Basics: Advanced Tips for Perfect Pie Crusts
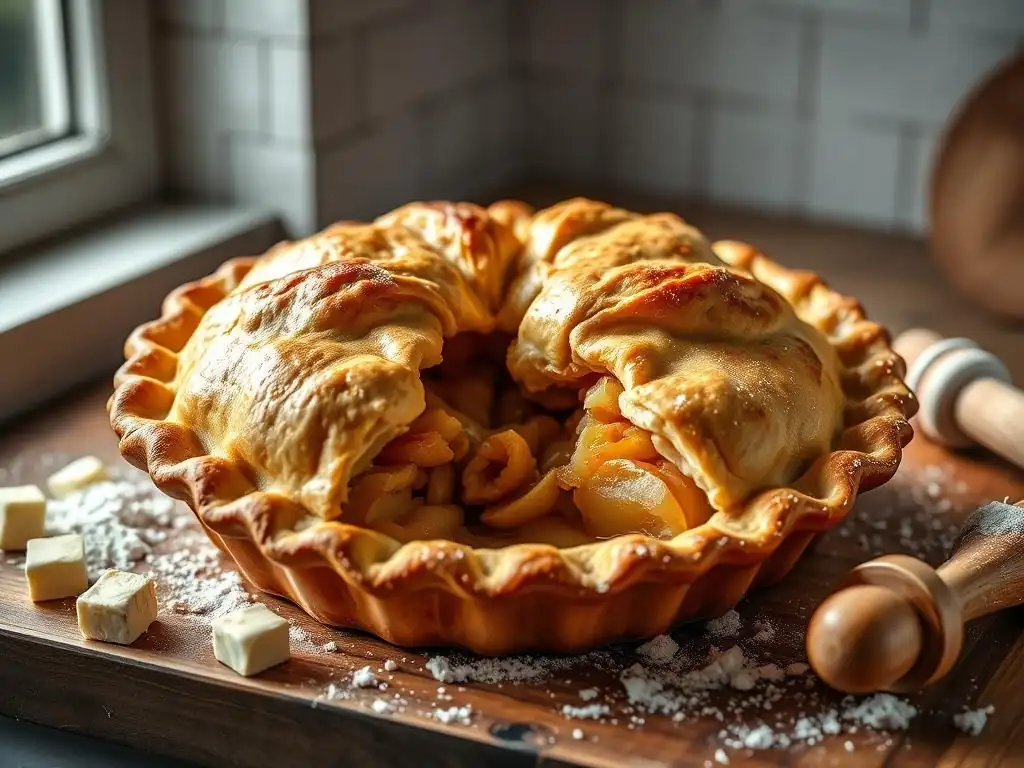
Different Types of Flour and Their Impact on Shrinkage
The type of flour you use can affect gluten development and thus, shrinkage. All-purpose flour is standard for pie crusts, containing a moderate protein level (around 10-12%). Using a lower-protein pastry flour (around 8-9%) can result in a more tender crust with less potential for gluten development and shrinkage. Conversely, using high-protein bread flour would make it much harder to control gluten and increase the risk of shrinkage.
Some bakers experiment with adding a small percentage of cake flour or even a non-wheat flour like rice flour (which contains no gluten) to their mix to further inhibit gluten formation. For instance, replacing 1/4 cup of all-purpose flour with cake flour in a standard recipe can make a noticeable difference in tenderness and reduce shrinkage tendencies. Understanding your flour's protein content helps you anticipate how it might behave.
Experimenting with Fat Ratios for Stability
While cold fat is key to flakiness, the ratio of fat to flour can also influence shrinkage. A recipe with a higher fat ratio tends to be more tender and less prone to developing a strong gluten network because the fat coats more of the flour particles. Standard flaky crusts often use a fat-to-flour ratio of around 1:2 by weight (e.g., 8 ounces of butter to 16 ounces of flour).
Recipes with less fat might require even more diligent handling to prevent toughness and shrinkage. Experimenting with slightly higher fat percentages (while maintaining cold temperatures) can sometimes yield a more stable crust that resists pulling away from the pan edges. However, too much fat can make the dough difficult to handle and greasy. Finding the right balance for your preferred texture and handling ability is part of the baking journey.
Troubleshooting Common Pie Crust Problems
- Crust is tough: Likely caused by overmixing or using too much water, leading to excessive gluten development. Ensure ingredients are cold and mix minimally.
- Crust is crumbly: Not enough liquid or fat, or fat pieces were too large. Ensure you add just enough ice water for the dough to hold together when squeezed.
- Crust shrank significantly: Primary reasons are overdeveloped gluten, insufficient rest, warm dough handling, stretching when fitting, or lack of support during blind baking. Review the fixes discussed in this article.
- Edges slumped: Often due to insufficient chilling of the shaped crust, lack of proper crimping/anchoring, or not using weights during blind baking.
Addressing these common issues helps solidify your understanding of pie crust mechanics and leads to more consistent results.
Conclusion: Achieving the Perfect, Shrink-Free Pie Crust
BakeWithEase: Your Partner in Baking Perfection
Mastering pie crust takes practice, but by understanding the fundamental reasons why pie crust shrinks – primarily gluten development, lack of rest, temperature issues, and improper handling – you are well on your way to success. At BakeWithEase, we aim to provide you with the clear explanations and practical tips you need to tackle these challenges with confidence.
We've covered the key culprits and provided simple, effective fixes, from gentle mixing and using cold ingredients to crucial chilling times and proper pan fitting. Remember that patience and temperature control are your best allies in creating a beautiful, flaky, and perfectly shaped crust.
Enjoy Baking Delicious, Beautiful Pies!
Don't let past shrinking experiences discourage you. Each pie is a learning opportunity. Apply the techniques discussed here, and you'll find your pie crusts becoming more consistent, more beautiful, and wonderfully shrink-free. The joy of pulling a perfect pie from the oven, with its golden, flaky edges holding firm, is incredibly rewarding.
So go ahead, grab your cold butter and ice water. Experiment with these tips on why pie crust shrinks and how to fix it. You're now equipped with the knowledge to bake delicious pies that look just as good as they taste. Happy baking!
Frequently Asked Questions
Why does my pie crust shrink during baking?
Pie crust shrinkage is primarily due to gluten development and fat melting during the baking process. If gluten overdevelops, it tightens when heated, causing the crust to pull back.
How can I prevent gluten overdevelopment in my pie crust?
Avoid overmixing the dough. Use cold ingredients, and work quickly to minimize gluten formation. Let the dough rest in the refrigerator before rolling.
What role does fat play in pie crust shrinkage?
Fat provides tenderness and prevents gluten development. If the fat melts too quickly during baking, the crust can shrink before it sets. Ensure the oven is preheated properly to avoid this.
Does the type of flour I use affect pie crust shrinkage?
Yes, flour with higher protein content (bread flour) will develop more gluten and is more prone to shrinkage. Opt for pastry flour or all-purpose flour for a more tender crust.
How does docking the pie crust help prevent shrinkage?
Docking involves piercing the crust with a fork before baking. This releases steam and prevents the crust from puffing up unevenly, which can contribute to shrinkage. It also helps maintain the crust's shape.
Final Reflection: The Humble Pie Crust and the Pursuit of Perfection
The seemingly simple act of making a pie crust is, in reality, a microcosm of the challenges we face in pursuing perfection. A shrunken crust, a symbol of culinary frustration for many, represents a far larger struggle: the tension between expectation and reality, the delicate balance between control and acceptance. This seemingly minor baking issue speaks volumes about our approach to problem-solving and our relationship with the creative process.
The quest for the perfect pie crust, free from shrinkage, reflects our broader societal desire for flawless outcomes. We strive for perfection in all aspects of our lives, often overlooking the beauty in imperfection. The subtle cracks, the slightly uneven edges – these are not flaws, but rather the hallmarks of a handmade creation, imbued with a unique character. The most beautiful things are not perfect, they are beautiful because they are imperfect.
This sentiment, while applicable to many things, resonates deeply with the experience of baking, and particularly with the often-elusive perfect pie crust.
Consider the lessons learned within these pages. You've explored the science behind shrinkage, discovered practical solutions to prevent it, and perhaps even gained a new appreciation for the artistry involved in creating something from scratch. Now, I invite you to apply this newfound understanding not just to your baking, but to your life.
Embrace the imperfections, learn from your mistakes, and remember that the journey, with all its challenges and triumphs, is just as important as the final result. The next time you face a seemingly insurmountable obstacle, remember the resilience of the humble pie crust – and rise to the occasion.
Unlock Your Perfect Pie Crust: Master the Shrinkage!
Thanks for joining us on this pie-crust journey! You now have the knowledge to conquer that pesky shrinkage and create flawlessly flaky pies. Ready to put your new skills to the test?
- Bake a masterpiece: Try out one of the techniques we discussed – blind baking, chilling the dough longer, or adjusting your water ratio – and see the difference it makes in your next pie. This is your chance to shine!
- Share your success (or your struggles!): Let's build a community of pie-making pros! Share your baking experiences and photos in the comments below.
- Explore our other baking guides: Discover more tips and tricks to elevate your baking game on BakeWithEase.com (While not strictly needed given the instructions, this would be a great inclusion for a real article).
Ready to share your perfectly formed pie crust with the world? What's your favorite pie filling to showcase your new skills?