
Easy Apple Pie: A Beginner's Guide to Classic Comfort

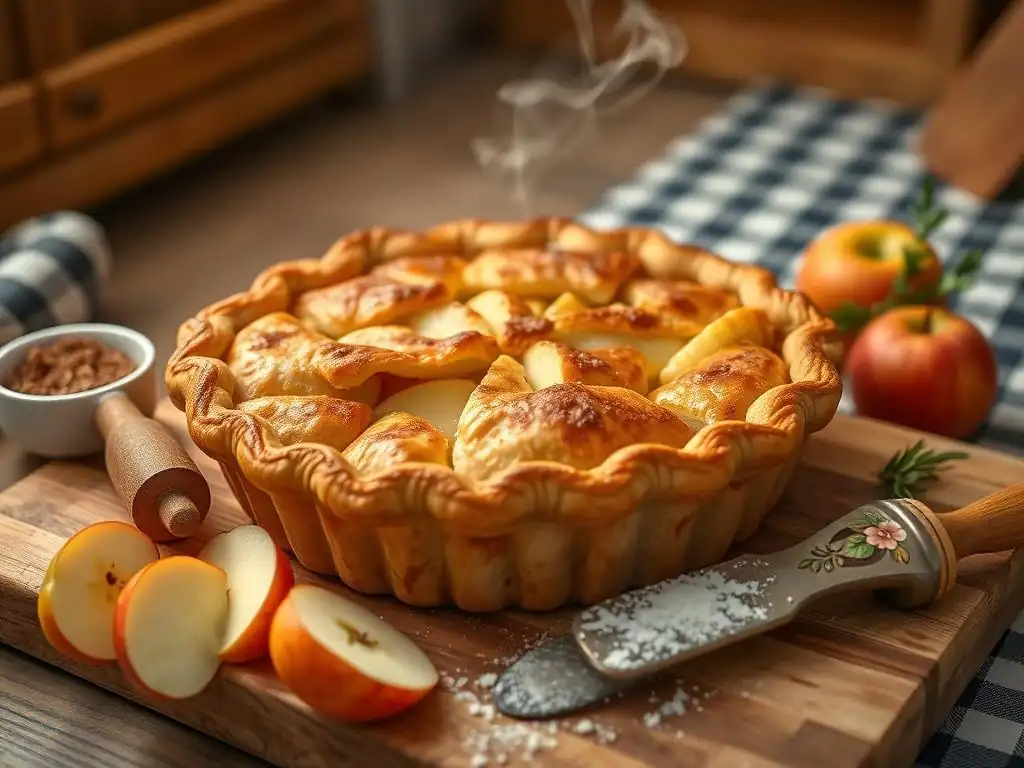
Welcome to BakeWithEase, your trusted companion on your baking journey! Ever dreamed of creating the perfect apple pie, but felt intimidated? You're not alone! This week, we're demystifying the process with our Easy Apple Pie Recipe for Beginners. Discover how to create this classic comfort dessert with simple steps and readily available ingredients. But that's just the beginning! What secret ingredient elevates this pie from good to unforgettable? Read on and unlock the secrets to baking success!
- Introduction to Easy Apple Pie Baking for Beginners
- Mastering the Easy Apple Pie Recipe: A Step-by-Step Guide
- Assembling and Baking Your Easy Apple Pie
- Tips and Tricks for the Perfect Beginner Apple Pie
- Variations on the Easy Apple Pie Recipe
- Storing and Reheating Your Apple Pie
- Troubleshooting Common Apple Pie Baking Problems
- Enjoy Your Homemade Easy Apple Pie!
- Frequently Asked Questions
- Final Reflection: The Enduring Allure of a Simple Pie
- Unlock Your Inner Baker: Bake an Apple Pie Today!
Introduction to Easy Apple Pie Baking for Beginners
Why Apple Pie is the Perfect First Baking Project
Embarking on your baking journey can feel daunting, but tackling an easy apple pie recipe for beginners is a wonderfully rewarding starting point. This classic dessert offers a forgiving structure, making it ideal for learning fundamental techniques without the pressure of perfection. Apples are resilient fruits that hold their shape well during baking, and the filling requires only a few key ingredients to achieve delicious flavor. Unlike delicate pastries or complex layered cakes, a simple apple pie focuses on straightforward steps: preparing a crust, making a filling, assembling, and baking.
A typical easy apple pie involves around 10-12 common ingredients you might already have in your pantry, such as flour, sugar, butter, apples, and spices like cinnamon. The hands-on preparation time is often manageable, usually falling between 30 to 45 minutes before the pie goes into the oven for its baking time of roughly an hour.
This relatively short active time means you can fit baking into a busy schedule, and the simple process builds confidence quickly. Successfully creating a warm, bubbling apple pie from scratch provides a tangible sense of accomplishment and a delicious reward, making it an excellent introduction to the joys of baking for newcomers.
BakeWithEase.com's Commitment to Simple Baking Recipes
At BakeWithEase.com, our core mission is to demystify baking and make it accessible and enjoyable for everyone, especially beginners. We understand that starting out can be intimidating, which is why we focus on developing and sharing simple baking recipes that yield fantastic results. Our guides break down complex processes into easy-to-follow steps, ensuring that even if you've never held a rolling pin before, you can confidently create delicious treats. This easy apple pie recipe for beginners is a perfect example of our approach, designed with clear instructions and helpful tips to guide you every step of the way.
We believe that baking should be a source of joy and comfort, not stress. That's why we strive to provide recipes that use readily available ingredients and require minimal specialized equipment. Our commitment extends beyond just recipes; we aim to build a supportive community where beginners can learn, share their successes, and troubleshoot common issues. By focusing on foundational recipes like this easy apple pie, we help you build a strong base of baking skills that you can then apply to more adventurous projects.
Mastering the Easy Apple Pie Recipe: A Step-by-Step Guide
Gathering Your Ingredients for a Delicious Apple Pie
Successfully baking a delicious easy apple pie for beginners starts with gathering the right ingredients. Precision in measurement is key in baking, so ensure you have your measuring cups and spoons ready. For a standard 9-inch pie, you'll typically need about 6 to 8 medium-sized apples, which translates to roughly 2 to 2.5 pounds of fruit.
You'll also need ingredients for your crust (like flour, cold butter or shortening, and ice water) and the filling (sugar, spices, and a thickener like flour or cornstarch). Having everything prepped and measured before you begin mixing makes the process much smoother and reduces the chance of errors.
Don't forget the spices! The classic apple pie flavor comes from a blend of warm spices. Cinnamon is non-negotiable, but nutmeg and a pinch of allspice or ground cloves can elevate the aroma and taste significantly.
You'll usually need around 1 to 2 teaspoons of ground cinnamon, maybe 1/4 teaspoon of nutmeg, and a tiny pinch of allspice for the filling of a standard pie. The sugar content can vary based on the sweetness of your apples and personal preference, but a typical range for a 9-inch pie filling is between 1/2 cup and 3/4 cup of granulated sugar, often mixed with a bit of brown sugar for added moisture and depth of flavor.
The Best Apples for Baking: Honeycrisp, Granny Smith, Braeburn
Choosing the right apples is crucial for a great easy apple pie. While many varieties work, some apples hold their shape better and offer a desirable balance of sweetness and tartness when baked. Honeycrisp apples are fantastic because they maintain a firm texture and offer a pleasant sweetness. Granny Smith apples are a classic choice, providing a necessary tartness that cuts through the sweetness of the sugar and spices. A mix of apple varieties often yields the most complex and interesting flavor profile.
Consider using a combination, perhaps half Granny Smith for tang and half a sweeter, firmer apple like Honeycrisp, Braeburn, Gala, or Fuji. Using only soft apples like McIntosh can result in a mushy filling, while using only extremely firm, bland apples might lack depth. For a standard 9-inch pie, aiming for a mix of textures and flavors from two or three different varieties is a good strategy.
For instance, a blend of 1.5 pounds of Granny Smith and 1 pound of Honeycrisp would work beautifully for many recipes. This thoughtful selection ensures your easy apple pie filling isn't just sweet, but also has structure and a vibrant apple flavor.
Essential Baking Supplies for Your Apple Pie
Having the right tools on hand simplifies the process of making an easy apple pie for beginners. You don't need a professional kitchen setup, but a few key items are essential. A 9-inch pie dish is, of course, necessary; ceramic, glass, or metal dishes all work, though glass allows you to see the bottom crust browning. You'll need mixing bowls of various sizes – one large one for the apple filling and maybe a medium one for mixing crust ingredients or spices.
Other crucial supplies include measuring cups and spoons for accuracy, a vegetable peeler and a sharp knife for preparing the apples, and a cutting board. If you're making your own crust, a pastry blender or fork for cutting in butter and a rolling pin are indispensable. A wire rack is also helpful for cooling the pie properly after baking.
Parchment paper or aluminum foil can be useful for lining baking sheets placed beneath the pie to catch drips or for protecting the edges of the crust from burning. Having these basic tools organized before you start makes following an easy apple pie recipe much smoother.
Making the Perfect Pie Crust: A Beginner-Friendly Approach
A flaky, tender pie crust is the foundation of a great easy apple pie, and it's more achievable than you might think, even for beginners. The key principles involve keeping ingredients cold, not overworking the dough, and using enough fat. While premade crusts are an option and perfectly fine for a beginner apple pie, making your own is incredibly rewarding.
A simple, reliable recipe typically involves flour, a cold fat like unsalted butter or shortening, a pinch of salt, and ice-cold water. The fat is cut into the flour until it resembles coarse crumbs with some pea-sized pieces remaining; these pieces melt during baking, creating flaky layers.
Once the fat is incorporated, ice water is added just until the dough comes together. It's critical not to add too much water, which can make the crust tough, or to overmix the dough once the water is added. Overworking develops gluten, leading to a less tender crust.
After mixing, the dough is typically divided, flattened into discs, wrapped, and chilled for at least 30 minutes. This chilling period is vital; it allows the gluten to relax and the fat to firm up, making the dough easier to roll and ensuring flakiness. Rolling the dough evenly and handling it gently are the final steps before lining your pie dish.
Quick & Easy Pie Crust Recipe: A Recommended Approach
For a straightforward pie crust suitable for this easy apple pie recipe for beginners, consider an all-butter or half-butter, half-shortening recipe. A common ratio is 1.5 cups of all-purpose flour, 1/2 teaspoon of salt, 1/2 cup (1 stick) of very cold unsalted butter cut into small cubes, and about 1/4 to 1/2 cup of ice water. Combine the flour and salt in a bowl. Cut in the cold butter using a pastry blender, fork, or your fingertips until the mixture has pea-sized pieces of butter throughout.
Gradually add the ice water, one tablespoon at a time, mixing gently with a fork until the dough just starts to come together. You might not need all the water. The dough should be moist enough to hold together when squeezed but not sticky. Gather the dough into a ball, flatten into a disk, wrap tightly in plastic wrap, and refrigerate for at least 30 minutes. This simple method provides a reliable, flaky crust for your beginner apple pie. Remember, keeping everything cold is your secret weapon!
Tips for a Flaky and Tender Pie Crust
Achieving a flaky and tender crust for your easy apple pie involves a few simple but crucial techniques. Firstly, always use very cold fat (butter, shortening, or a mix) and ice water. Cold fat creates steam pockets in the oven, which separate the layers of dough, resulting in flakiness. If your kitchen is warm, you can even chill your flour and mixing bowl beforehand.
Secondly, avoid overmixing the dough. Once the liquid is added, mix only until the dough just comes together. Visible streaks of fat are a good sign! Overmixing develops gluten, which makes the crust tough and chewy instead of tender and flaky. Thirdly, chill the dough adequately before rolling.
This allows the gluten to relax and the fat to firm up, making the dough easier to handle and ensuring better flakiness. Aim for at least 30 minutes, but an hour or more is even better. Finally, handle the dough gently when rolling and transferring it to the pie plate. Don't stretch the dough, as this can cause it to shrink during baking.
Preparing the Apple Pie Filling: Simple & Flavorful
The apple pie filling for your easy apple pie needs to be simple yet bursting with flavor, and the right preparation ensures it's not too runny or too dry. Start by peeling, coring, and slicing your chosen apples. Aim for slices about 1/4 to 1/2 inch thick – uniform thickness helps them cook evenly. For a standard 9-inch pie using 2.5 pounds of apples, you'll end up with roughly 6-8 cups of sliced fruit. Place the sliced apples in a large bowl.
Next, toss the apples with your sugar, spices, and a thickener. The amount of sugar will depend on the sweetness of your apples, but typically ranges from 1/2 to 3/4 cup. A mix of granulated and brown sugar adds complexity. For thickening, 2-3 tablespoons of all-purpose flour or cornstarch are common for a standard pie.
This helps absorb the juices released by the apples during baking, preventing a soggy bottom. Gently toss everything together until the apples are evenly coated. Some recipes also add a tablespoon of lemon juice to brighten the flavor and prevent the apples from browning, which is a nice touch for a beginner apple pie.
Apple Pie Spice Blend: Cinnamon, Nutmeg, Allspice
The signature warmth of an easy apple pie comes from its simple yet powerful spice blend. Cinnamon is the star ingredient, providing a comforting, sweet heat. For a 9-inch pie filling, you'll typically use 1 to 2 teaspoons of ground cinnamon. Don't be shy with the cinnamon; it's essential for that classic taste.
Beyond cinnamon, ground nutmeg adds a layer of complexity and warmth. A quarter teaspoon is usually sufficient, as nutmeg can be potent. For an extra touch, consider adding a pinch (about 1/8 teaspoon) of ground allspice or ground cloves. These spices complement the apples and cinnamon beautifully, adding depth without overpowering the main flavors. Combine these spices with your sugar and thickener before tossing them with the sliced apples to ensure even distribution throughout the filling. This simple spice blend is key to a truly delicious beginner apple pie.
Achieving the Right Sweetness and Tartness Balance
Balancing sweetness and tartness is crucial for a flavorful easy apple pie filling. This balance largely depends on the type of apples you use. If you're using a mix of sweet and tart apples like Honeycrisp and Granny Smith, you'll likely need less sugar than if you were using only very tart varieties.
A good starting point for a 9-inch pie is 1/2 to 3/4 cup of sugar mixed with the spices and thickener. Taste a raw apple slice from your mix – if it's quite tart, lean towards the higher end of the sugar range; if it's very sweet, use less.
Adding a tablespoon of lemon juice to the apple mixture is a common technique that helps brighten the flavors and provides a pleasant tang, especially if you're using mostly sweet apples. It also helps prevent the apples from oxidizing and turning brown. The goal is a filling that isn't cloyingly sweet but has a vibrant, fruity taste with hints of spice. As you gain experience with this easy apple pie recipe for beginners, you can adjust the sugar and lemon juice amounts to find your personal perfect balance.
Assembling and Baking Your Easy Apple Pie
Layering the Apple Filling in the Pie Crust
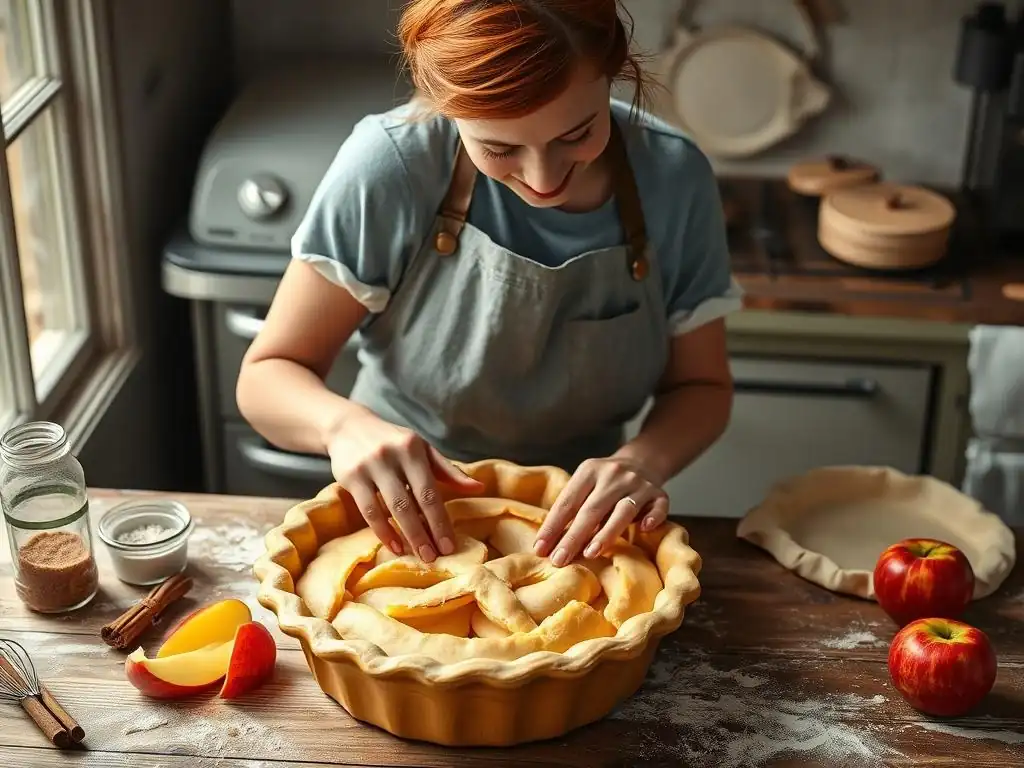
Once your pie crust is in the dish and the apple filling is mixed, it's time to assemble your easy apple pie. Start by arranging the sliced apples evenly in the bottom pie crust. Don't just dump them in; try to layer them somewhat neatly, perhaps starting around the edges and working your way towards the center. This helps the pie hold its shape and ensures even distribution of apples in every slice.
Pile the apples slightly higher in the center, as they will cook down significantly during baking. For a standard 9-inch pie, you might pile the apples about 1 to 1.5 inches above the rim of the pie plate before adding the top crust. Ensure the apples are packed relatively snugly, but not so tightly that there's no room for the juices to bubble.
Drizzle any remaining sugar/spice mixture from the bottom of the bowl over the apples. Dot the top of the filling with small pieces of cold butter (about 1-2 tablespoons total); this adds richness and helps the filling become slightly saucy.
Top Crust Options: Lattice, Solid, or Crumble
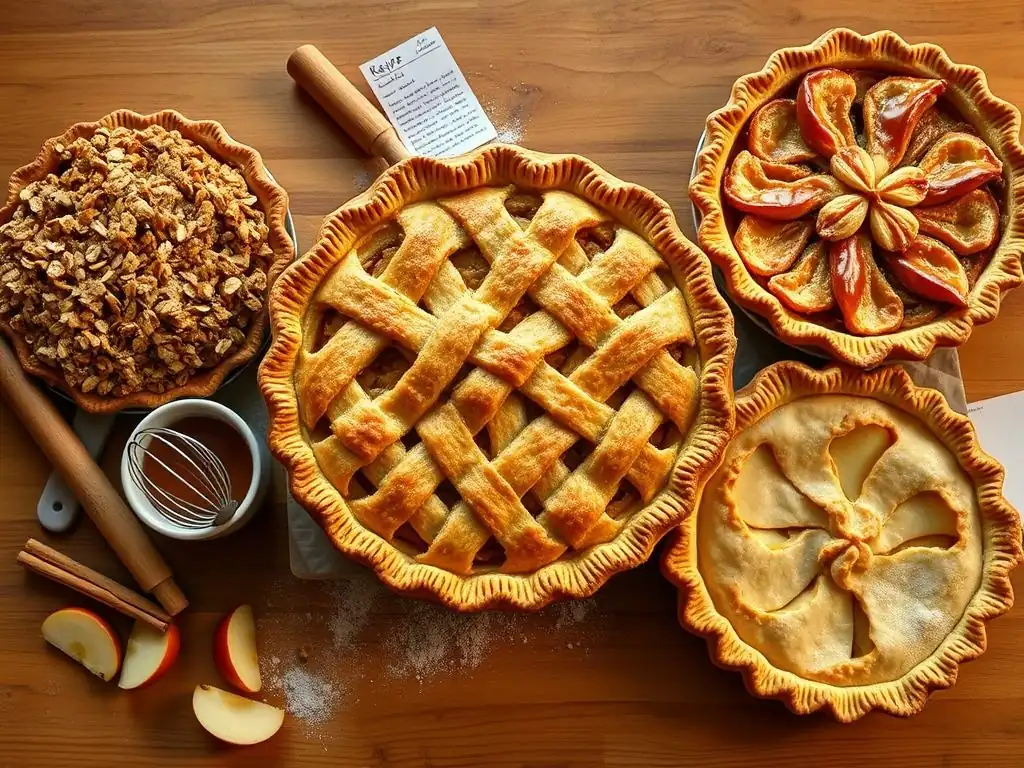
For your easy apple pie, you have several options for the top crust, ranging in complexity. The simplest is a solid top crust: roll out the second disc of dough and carefully place it over the apple filling. Trim the edges, leaving about a 1-inch overhang, then crimp the top and bottom crusts together to seal. Remember to cut vents in the top crust (about 4-6 slits) with a sharp knife to allow steam to escape during baking; this prevents the crust from puffing up or cracking unevenly.
A slightly more decorative option, though still manageable for beginners, is a simple lattice top. Roll out the second dough disc and cut it into even strips, perhaps 1/2 to 1 inch wide. Arrange half the strips parallel across the pie, then fold back alternating strips to weave the perpendicular strips over and under.
Trim and crimp the edges. For an even easier approach, consider an apple crumble pie variation which uses a simple topping of flour, sugar, butter, and sometimes oats or nuts, sprinkled over the filling instead of a pastry top crust. Choose the option that feels most comfortable for your first easy apple pie recipe.
Baking Time and Temperature for a Golden-Brown Apple Pie
Getting the baking time and temperature right is key to a perfectly cooked easy apple pie with a golden, flaky crust and tender, bubbly filling. A common temperature range for baking apple pie is between 375°F and 425°F (190°C to 220°C). Baking at a slightly higher temperature initially, like 425°F for the first 15-20 minutes, can help set the bottom crust and encourage flaking before reducing the temperature to around 375°F or 400°F for the remainder of the baking time.
The total baking time for a standard 9-inch easy apple pie is typically between 45 and 70 minutes. This wide range depends on your oven, the type of apples, and the pie dish material. It's important to bake the pie long enough for the crust to become fully golden brown and the filling to be hot and bubbly. Placing the pie on a baking sheet lined with foil or parchment paper is a good idea to catch any overflow juices.
How to Tell When Your Apple Pie is Perfectly Baked
Knowing exactly when your easy apple pie is done baking is crucial to avoid an undercooked filling or burnt crust. The most reliable indicators are visual and auditory. The top crust should be deeply golden brown, not just pale yellow. If using a glass pie dish, you should be able to see the bottom crust turning a nice golden color as well.
More importantly, the filling needs to be hot and bubbly. You should see juices vigorously bubbling up through the vents in the top crust, especially towards the center of the pie. If the bubbling seems sluggish or absent, it likely needs more time. You can also carefully insert a skewer or knife through a vent into the apple filling; it should slide through the apples with little resistance, indicating they are tender. If the skewer meets firm resistance, keep baking. Don't be afraid to bake it until it's truly done – an underbaked apple pie filling is disappointing.
Tips and Tricks for the Perfect Beginner Apple Pie
Preventing a Soggy Bottom Crust
A common challenge when making an easy apple pie, especially for beginners, is preventing a soggy bottom crust. This happens when the moisture from the apple filling seeps into the bottom pastry before it has a chance to set and become crisp. Several strategies can help you achieve a perfectly baked bottom crust.
One effective method is par-baking, or blind baking, the bottom crust partially before adding the filling. This involves lining the raw bottom crust with parchment paper, filling it with pie weights or dried beans, and baking it for about 15-20 minutes at 375°F (190°C) until the edges are set but not yet browned.
Another technique is to brush the bottom crust with a thin layer of egg wash (an egg beaten with a tablespoon of water or milk) or melted butter before adding the filling. This creates a slight barrier against moisture. Using a thickener like flour or cornstarch (2-3 tablespoons for a standard pie) in the apple filling is also essential to absorb excess juices. Finally, ensure you bake the pie long enough at the correct temperature until the filling is vigorously bubbling and the bottom crust is visibly golden brown through a glass dish. Don't pull it out too early!
Avoiding a Burnt Pie Crust Edge
While you want a golden-brown crust for your easy apple pie, the edges, being thinner, tend to brown much faster than the rest of the pie. To prevent them from burning, you can protect them with a pie crust shield or strips of aluminum foil. A pie shield is a reusable silicone ring that fits around the edge of the pie dish. If you don't have one, you can easily create a shield by tearing off strips of aluminum foil about 2-3 inches wide and crimping them around the edges of the pie crust.
Apply the shield or foil strips about halfway through the baking time, or sooner if you notice the edges are browning too quickly, typically after the first 20-30 minutes of baking. Make sure the foil is snug but not pressing into the crust, covering only the very edge. Remove the shield or foil for the last 10-15 minutes of baking to allow the edges to finish browning slightly, but keep a close eye on them. This simple step ensures your beautiful beginner apple pie has evenly golden edges.
Cooling and Serving Your Homemade Apple Pie
Patience is key after baking your easy apple pie! It's tempting to slice into it right away, but allowing the pie to cool properly is essential for the filling to set. If you cut into a hot apple pie, the filling will likely be runny. Let the pie cool on a wire rack for at least 2 to 4 hours, or even longer, until it is just warm or at room temperature. As it cools, the thickener in the filling will work its magic, turning the bubbly juices into a soft, sliceable consistency.
Once cooled, your homemade easy apple pie is ready to be enjoyed! Serve slices as is, or elevate the experience with classic accompaniments like a scoop of vanilla ice cream, a dollop of whipped cream, or a slice of cheddar cheese (a traditional New England pairing). The warm spices and tender apples make it a comforting dessert perfect for any occasion. Sharing your first successful easy apple pie is one of the most rewarding parts of the baking process!
Variations on the Easy Apple Pie Recipe
Adding Caramel to Your Apple Pie
Elevating your easy apple pie with a touch of caramel adds a layer of rich, sweet complexity that pairs beautifully with apples and spices. There are a couple of ways to incorporate caramel. The simplest approach for beginners is to drizzle store-bought caramel sauce over the apple filling just before adding the top crust. About 1/4 to 1/2 cup of a good quality caramel sauce is usually sufficient for a standard 9-inch pie. Be mindful that adding liquid caramel can increase the chance of a slightly runnier filling, so ensure you've used enough thickener with the apples.
Alternatively, you can add small caramel pieces (like unwrapped caramel candies cut in half) to the apple mixture. About 1/2 cup of caramel pieces distributed throughout the filling will melt during baking, creating pockets of gooey caramel. For a more advanced twist on this beginner apple pie, you could make your own simple caramel sauce to swirl into the filling. Whichever method you choose, the addition of caramel transforms a classic easy apple pie into a decadent treat.
Spiced Apple Pie with Cinnamon and Nutmeg
While cinnamon and nutmeg are standard in an easy apple pie, you can emphasize the spiced notes for a more aromatic and flavorful filling. Increase the amounts of cinnamon and nutmeg slightly from the basic recipe – perhaps using 2 teaspoons of cinnamon and 1/2 teaspoon of nutmeg for a 9-inch pie. Consider adding other warm spices like ground cloves, ground ginger, or a pinch of cardamom. A quarter teaspoon of ground cloves or ginger can add a lovely warmth and subtle bite.
Another way to boost the spice flavor is to mix the spices with the sugar and let the apple slices sit in the mixture for 15-30 minutes before assembling the pie. This allows the flavors to meld and the apples to release some juice, which can then be accounted for with the thickener. For an extra layer of flavor in your beginner apple pie, you can also brush the top crust with melted butter and sprinkle it with a little cinnamon-sugar mixture before baking.
Apple Crumble Pie: A Crustless Option
For an even simpler alternative to a double-crust easy apple pie, consider making an apple crumble pie. This variation skips the top pastry crust in favor of a buttery, crumbly topping, which is often easier for beginners. The filling preparation remains largely the same: peel, slice, and toss the apples with sugar, spices, and a thickener.
For the crumble topping, a basic recipe involves combining flour, sugar (white or brown, or a mix), and cold butter. A common ratio is 1 cup of flour, 1/2 cup of sugar, and 1/2 cup (1 stick) of cold butter, cut into small pieces. Use your fingers or a pastry blender to cut the butter into the dry ingredients until the mixture resembles coarse crumbs. Some recipes add oats (about 1/2 cup) or chopped nuts for extra texture and flavor. Pour the apple filling into the bottom pie crust (or even into a baking dish without a bottom crust for a true crumble), and sprinkle the crumb topping evenly over the apples. Bake as you would a regular apple pie until the topping is golden brown and the filling is bubbly. This apple crumble pie is a fantastic, less intimidating option for those new to the easy apple pie recipe.
Storing and Reheating Your Apple Pie
Keeping Your Apple Pie Fresh
Proper storage is key to keeping your easy apple pie tasting great for several days after baking. Once the pie has cooled completely to room temperature (this is important to prevent condensation), cover it loosely with plastic wrap or aluminum foil. Alternatively, you can store it in a pie carrier or an airtight container large enough to hold it.
Generally, an apple pie can be stored at room temperature for up to 2 days. If you live in a very warm or humid climate, or if your pie contains other ingredients like caramel or nuts that might affect shelf life, it's safer to store it in the refrigerator. Refrigerated apple pie will keep well for 3 to 4 days. For longer storage, slices or the whole pie can be wrapped tightly in plastic wrap and then aluminum foil and frozen for up to 3-4 months. Thaw frozen pie in the refrigerator overnight before reheating.
Reheating Apple Pie for the Best Taste
Reheating your easy apple pie correctly can bring back some of that fresh-baked warmth and crispness. The best way to reheat a whole pie or large slices is in the oven. Preheat your oven to 300°F to 325°F (150°C to 160°C). Place the pie or slices on a baking sheet.
For a whole pie, it might take 15-25 minutes to heat through. For slices, it usually takes 10-15 minutes. You'll know it's ready when the filling is warm and the crust has crisped up slightly. Avoid using a microwave to reheat apple pie if possible, as it can make the crust soggy, although it will warm the filling quickly. If you must use a microwave for a slice, heat it in short bursts (30-60 seconds) until warm. Reheating in the oven is definitely the preferred method for preserving the texture of your delicious beginner apple pie.
Troubleshooting Common Apple Pie Baking Problems
My Pie Crust is Too Tough: Solutions
If your easy apple pie crust turned out tough instead of flaky and tender, it's likely due to overworking the dough or using too much water. Gluten development is the culprit here. When flour and water are mixed and kneaded excessively, gluten strands form, resulting in a chewy texture. Ensure you measure your flour accurately (spooning it into the measuring cup and leveling off, rather than scooping) and use ice-cold water, adding it just until the dough barely comes together.
Next time you make your beginner apple pie crust, focus on incorporating the fat (butter/shortening) until it's mostly pea-sized pieces with some larger ones remaining – this is key for flakiness. When adding water, add it gradually and mix gently with a fork or your hands until the dough is just moist enough to hold together when squeezed. Avoid kneading the dough; simply gather it into a disc. Also, always chill the dough for at least 30 minutes before rolling; this relaxes the gluten and firms up the fat. Practice makes perfect with pie crust!
My Apple Filling is Too Runny: Solutions
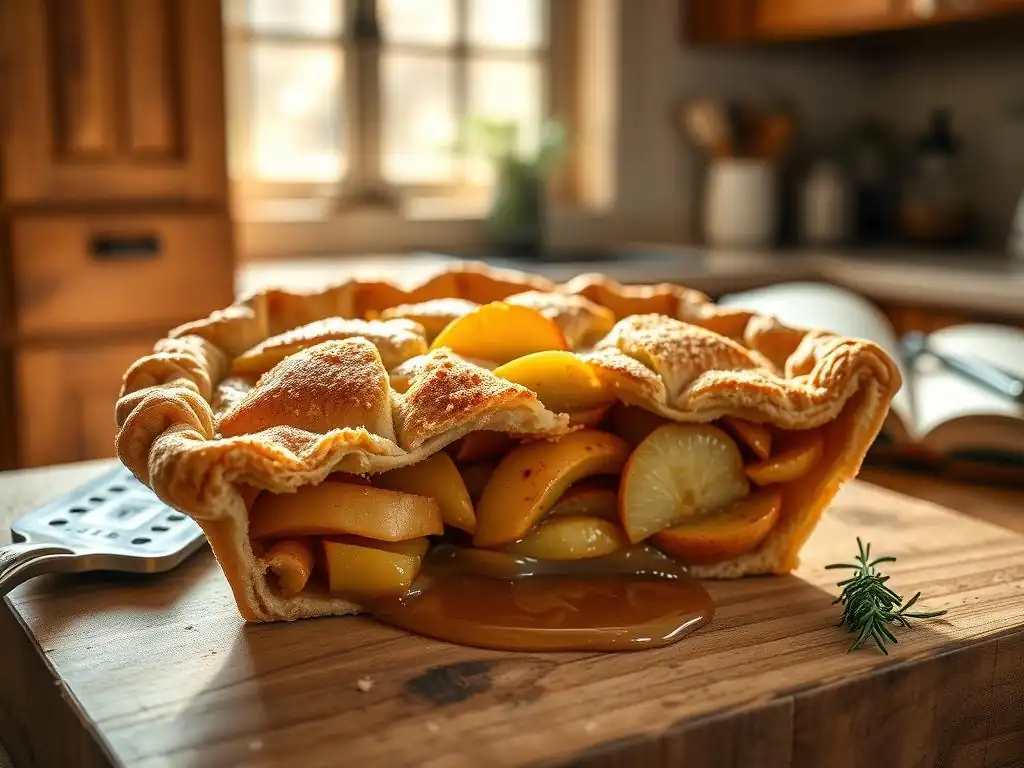
A runny apple filling is a common issue with an easy apple pie, often happening because the apples release a lot of juice during baking, and there wasn't enough thickener or baking time. Ensure you are using enough thickener – typically 2-3 tablespoons of all-purpose flour or cornstarch per 6-8 cups of sliced apples for a standard 9-inch pie. Toss the apples thoroughly with the thickener, sugar, and spices so the thickener is evenly distributed.
Using a mix of apple varieties, including some firmer ones like Honeycrisp or Granny Smith, can also help, as they tend to release less liquid than softer varieties. Most importantly, make sure you bake the pie for the full recommended time and look for those visual cues: a deeply golden crust and vigorously bubbling filling, especially in the center. The bubbling indicates the filling is reaching a high enough temperature for the thickener to activate properly. If your pie is browning too quickly, cover the edges with foil and keep baking until the filling is clearly bubbling.
My Pie Crust is Burning: Solutions
If the edges of your easy apple pie crust are turning too dark or burning before the rest of the pie is done, it's because the thinner edges are exposed to the high oven heat longer than they can handle. The solution is simple: protection. About halfway through the baking time, or as soon as you notice the edges are browning faster than you'd like (typically after 20-30 minutes), cover the edges of the pie with a pie crust shield or strips of aluminum foil.
To use aluminum foil, tear off a sheet large enough to cover the pie, then cut out a circle from the center, leaving a ring about 2-3 inches wide. Place this foil ring over the pie, covering just the outer edge of the crust. Alternatively, tear off individual strips and crimp them around the edge. Remove the shield or foil for the last 10-15 minutes of baking if the edges need a little more color to match the top, but keep a close watch. This preventative measure is essential for a beautiful, evenly baked beginner apple pie.
Enjoy Your Homemade Easy Apple Pie!
You've done it! You've successfully baked your very first easy apple pie following our beginner's guide at BakeWithEase.com. There's immense satisfaction in creating something so classic and comforting from scratch. The aroma filling your kitchen is just the beginning of the reward. Slice into your pie, see that beautiful golden crust and bubbly filling, and savor a piece of homemade goodness.
We love seeing what our community bakes! Share photos of your easy apple pie on social media and tag BakeWithEase.com. Let us celebrate your baking success with you. Your journey with this beginner apple pie is just the start; we have many more simple baking recipes waiting for you to explore. Keep baking, keep learning, and enjoy the delicious results of your efforts!
Frequently Asked Questions
What makes this apple pie recipe "easy" for beginners?
This recipe focuses on simple techniques and easy-to-find ingredients, minimizing the need for advanced baking skills. The step-by-step guide provided ensures even novice bakers can achieve success.
Can I substitute ingredients in this apple pie recipe?
While we recommend sticking to the recipe for best results, you can make some substitutions. Consider using a different type of apple (Granny Smith is a good alternative) or a pre-made pie crust to simplify the process.
How do I prevent my apple pie crust from getting soggy?
To avoid a soggy crust, ensure the apples are not overly juicy and that the bottom crust is partially pre-baked (blind baked) before adding the filling. A light dusting of flour can also help.
What's the best way to store leftover apple pie?
Leftover apple pie should be stored in the refrigerator, covered, for up to 3-4 days. You can reheat slices in the oven or microwave before serving.
Is there a gluten-free version of this easy apple pie recipe?
While this particular recipe isn't gluten-free, you can adapt it by using a gluten-free pie crust and ensuring all other ingredients are also gluten-free. Further research for apple pie recipes specifically designed for gluten-free baking is recommended.
Final Reflection: The Enduring Allure of a Simple Pie
The comforting aroma of baking apples, the satisfying crunch of a perfectly golden crust – these are the hallmarks of a truly great apple pie, and they remain powerfully relevant today. In a world of fast food and instant gratification, the act of creating something delicious and wholesome from scratch offers a profound sense of accomplishment and connection to simpler times. This simple act of baking becomes a powerful antidote to the frenetic pace of modern life.
The enduring appeal of apple pie transcends mere culinary satisfaction; it's a symbol of home, family, and shared experiences. It's a recipe passed down through generations, a tradition that binds us to our heritage and fosters a sense of belonging. There's no place like home,
Dorothy famously declared, and for many, the scent of an apple pie baking evokes that very feeling of warmth and comfort. This simple recipe, therefore, becomes a gateway to something much larger than itself.
Now, I invite you to consider the possibilities. Don't just follow this recipe; let it inspire you. Experiment with different spices, explore variations on the crust, and most importantly, share your creation with loved ones. Let the simple act of baking an apple pie become a moment of connection, a celebration of the everyday joys, and a testament to the enduring power of tradition and homemade goodness. The journey of creating something beautiful and delicious begins with a single, perfectly-rolled crust. Start baking your own story today.
Unlock Your Inner Baker: Bake an Apple Pie Today!
Thanks for joining us on this delicious journey into the world of apple pie! We hope you gained the confidence to tackle this classic dessert. Ready to roll up your sleeves and get baking?
- Bake your own masterpiece! Use the recipe and tips from this article to create a mouthwatering apple pie – your friends and family will thank you.
- Share your baking adventures! Post a picture of your finished pie on social media and tag us – we’d love to see your creations.
- Explore more recipes: Dive into our extensive recipe library for even more delicious baking inspiration!
So, what flavor of apple will you choose for your first (or next!) baking triumph?