
Foolproof Fruit Tart Shell: Your Guide to No Cracks

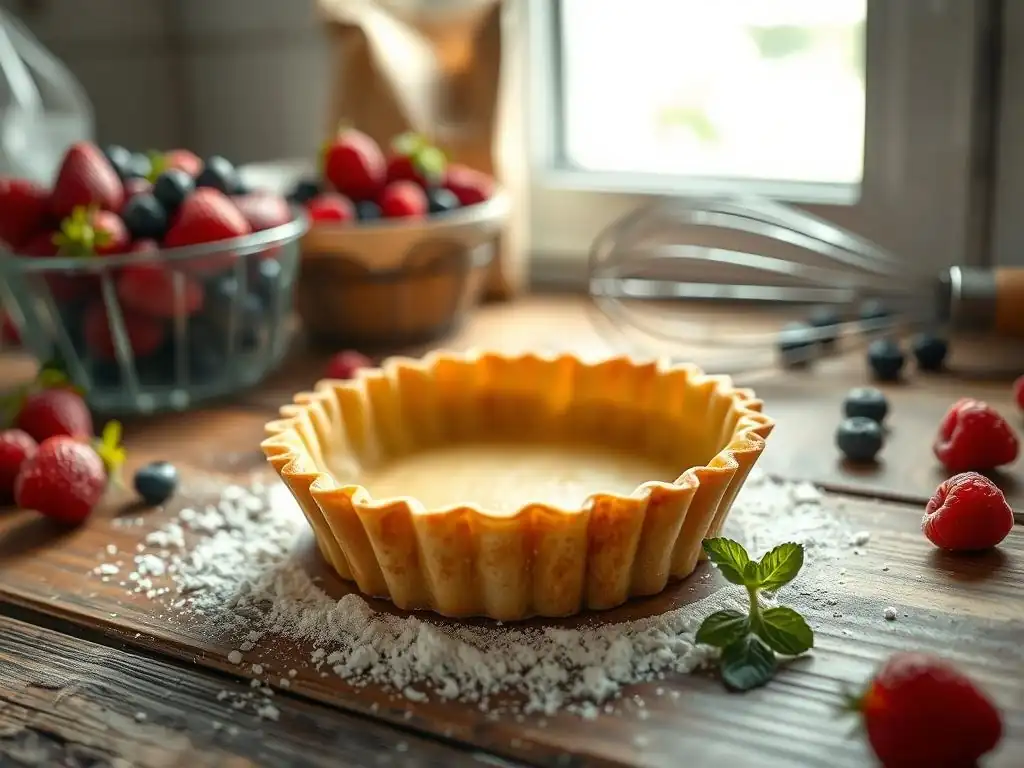
Welcome to BakeWithEase, your trusted companion on your baking journey! Are you tired of cracked and crumbly tart shells? Unlock the secret to a perfectly golden and structurally sound base with our guide to an easy fruit tart shell recipe. Discover foolproof techniques and tips that will transform your pastry game, leading to flawless fruit tarts every time. Ready to bake with confidence? Let's get started!
- Mastering Shortcrust Pastry: A Guide to Perfect Tart Shells - Baker's Corner
- The Ultimate Guide to a Reliable Shortcrust Pastry Recipe
- Why Your Pastry Shrinks (and How to Prevent It)
- The Baker's Corner Secret: Our Go-To Shortcrust Pastry Recipe
- Step-by-Step: Mastering the Shortcrust Pastry Recipe
- Tips and Tricks for a Flawless Pastry Every Time
- Delicious Filling Ideas to Showcase Your Perfect Crust
- Troubleshooting Common Pastry Problems
- Enjoy Your Homemade Tart!
- Frequently Asked Questions
- Final Reflection: Mastering the Art of the Perfect Fruit Tart Shell
- Unlock Your Perfect Tart Shell: No More Cracks!
Mastering Shortcrust Pastry: A Guide to Perfect Tart Shells - Baker's Corner
The Ultimate Guide to a Reliable Shortcrust Pastry Recipe
Achieve Pastry Perfection: Tender and Flaky!
Creating a truly tender and flaky shortcrust pastry is the foundation for countless delicious tarts, both sweet and savory. This desirable texture is achieved through the careful handling of fat and flour. When cold butter (or other fat) is cut into the flour, it creates small pockets. As the pastry bakes, the water in the butter turns to steam, puffing up these pockets and separating the layers of dough, resulting in that characteristic flakiness. The goal is to distribute the fat evenly without fully incorporating it.
Tenderness, on the other hand, comes from minimizing gluten development. Gluten forms when flour is mixed with water and agitated. Too much mixing or kneading encourages gluten strands to lengthen and strengthen, leading to a tough, bread-like crust instead of a delicate one. By using cold ingredients, adding just enough ice water to bring the dough together, and handling the dough as little as possible, we inhibit gluten formation, ensuring a melt-in-your-mouth texture for your easy fruit tart shell recipe.
Why Your Pastry Shrinks (and How to Prevent It)
Understanding Gluten Development and Pastry Shrinkage
One of the most frustrating issues bakers face is pastry shrinkage during baking. This phenomenon is primarily linked to gluten development. When flour is combined with water, glutenin and gliadin proteins hydrate and form gluten. The more the dough is mixed or worked, the more these gluten strands develop and strengthen, creating an elastic network. This elasticity is what causes the dough to spring back when rolled and, crucially, contract or shrink when exposed to the heat of the oven.
Proper chilling is vital to combat shrinkage. Chilling the dough allows the gluten strands that did form to relax. It also solidifies the fat, making the dough easier to handle and roll without becoming sticky or requiring excessive flour (which can also toughen the dough). A minimum of 30 minutes of chilling is often recommended, but longer periods, even up to 2 hours or overnight, can significantly improve the dough's stability and reduce the likelihood of shrinkage during baking, ensuring your easy fruit tart shell recipe holds its shape perfectly.
Common Mistakes That Lead to Shrinkage and Toughness
Several missteps can contribute to pastry shrinkage and a tough texture. Overworking the dough is perhaps the most common culprit; mixing beyond the point where the dough just comes together rapidly develops gluten. Adding too much liquid is another issue, as excess water encourages more gluten formation and can make the dough sticky, leading to more flour being added and further handling. Using warm ingredients, especially warm butter or water, also hinders achieving that flaky texture and makes the dough harder to manage without overworking it.
Rolling the dough too thin in certain spots while thicker in others, or stretching the dough to fit the tart pan instead of gently easing it in, are also major contributors to shrinkage. When stretched dough bakes, it attempts to return to its relaxed state, pulling away from the sides of the pan. Not chilling the dough sufficiently before rolling and baking means the gluten hasn't had time to relax, making shrinkage almost inevitable. Addressing these points is key to mastering an easy fruit tart shell recipe.
The Baker's Corner Secret: Our Go-To Shortcrust Pastry Recipe
Ingredients for a Perfect, Tender Pastry
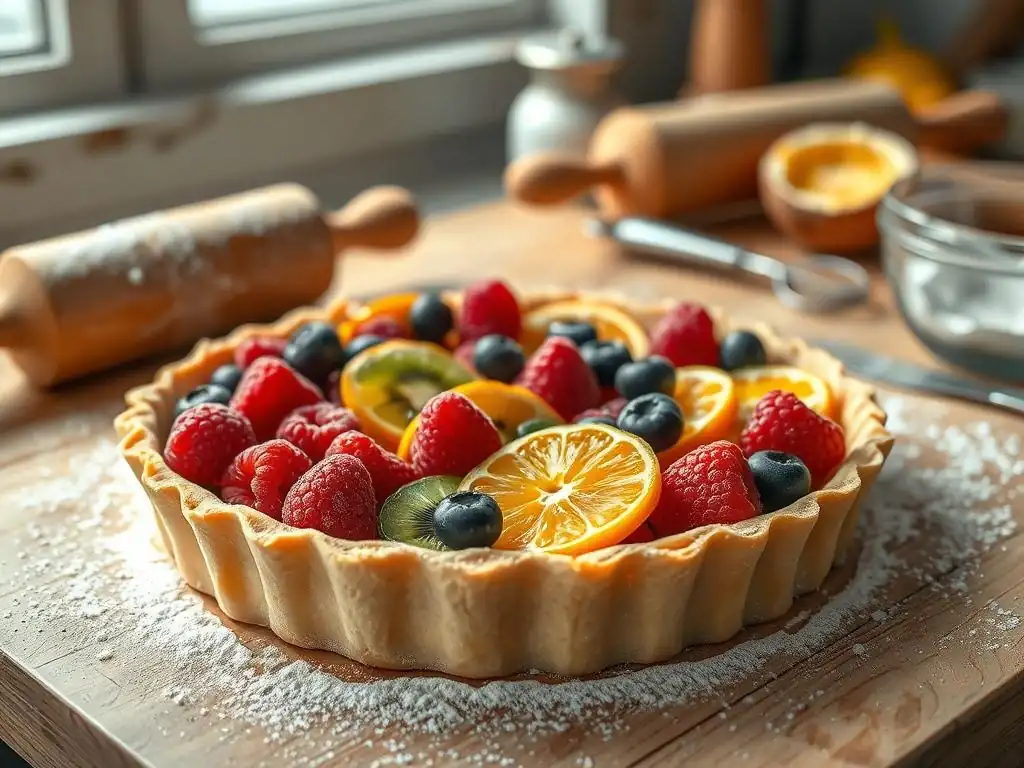
Our reliable shortcrust pastry recipe starts with simple, high-quality ingredients, always kept cold. You'll need 250 grams (about 2 cups) of all-purpose flour, 125 grams (about 1/2 cup plus 1 tablespoon) of unsalted butter, very cold and cut into small cubes, 1 to 2 tablespoons of granulated sugar (depending on whether it's a sweet or savory tart, 1 tablespoon for savory, 2 for sweet), a pinch of salt, and approximately 60-80 ml (about 1/4 to 1/3 cup) of ice water.
The exact amount of water can vary slightly depending on the flour and humidity, so it's best to add it gradually.
The key to this easy fruit tart shell recipe's success lies in the temperature of the ingredients, particularly the butter and water. Ensure the butter is straight from the refrigerator and cut into small cubes (about 1/2 inch or 1 cm). Some bakers even recommend chilling the flour briefly. Using ice water is non-negotiable; the cold helps keep the fat solid and limits gluten development. This specific ratio of fat to flour (roughly 1:2 by weight) is classic for a tender, flaky crust.
Equipment You'll Need for the Best Shortcrust Pastry
Having the right tools can make the process of creating this easy fruit tart shell recipe much smoother and help prevent common pitfalls. A food processor is excellent for quickly cutting the cold butter into the flour, achieving that crucial pea-sized consistency with minimal handling. Alternatively, a pastry blender or even two forks can be used, though it requires a bit more effort and care to keep ingredients cold. A large mixing bowl is essential if using a pastry blender or forks.
You will also need a rolling pin, ideally one that is heavy and smooth. Parchment paper is invaluable for rolling out the dough; rolling between two sheets prevents sticking and reduces the need for excess flour. A tart pan, preferably one with a removable bottom for easy serving, is necessary. For blind baking, you'll need parchment paper or foil to line the shell and pie weights, dried beans, or rice to fill it and prevent puffing. A wire rack for cooling is also helpful.
Step-by-Step: Mastering the Shortcrust Pastry Recipe
Step 1: Preparing the Dough - The Key to a Tender Result
Keeping Ingredients Cold: Why It's Crucial
As highlighted earlier, maintaining cold temperatures is paramount for a flaky pastry. The cold butter remains in distinct pieces within the flour mixture. During baking, these cold fat pieces melt, creating steam pockets that separate the layers of dough. If the butter is warm and fully incorporated, you lose this layering effect, resulting in a dense, cookie-like crust rather than a light and flaky one. Ensure your butter is straight from the fridge and cube it just before using.
Even the flour and mixing bowl can benefit from being cool, especially on a warm day. If using a food processor, pulse the flour, sugar, and salt together first to chill them slightly before adding the cold butter cubes. When adding the ice water, measure it out and add an ice cube or two to keep it frigid until you're ready to use it. This attention to temperature throughout step 1 is fundamental to an easy fruit tart shell recipe that's truly foolproof.
Properly Combining Ingredients for Minimal Gluten Development
The goal when combining ingredients is to mix just until the dough barely comes together, avoiding any vigorous kneading or mixing that develops gluten. If using a food processor, pulse the flour, sugar, and salt a couple of times. Add the cold butter cubes and pulse in short bursts (5-10 pulses) until the mixture resembles coarse meal with some pea-sized pieces of butter remaining. Add the ice water a tablespoon at a time, pulsing just until the dough starts to clump together. Stop as soon as it looks shaggy and holds when squeezed.
If mixing by hand, whisk the dry ingredients together. Cut in the cold butter using a pastry blender or your fingertips until the mixture resembles coarse crumbs with some larger, pea-sized butter pieces. Drizzle in the ice water gradually, mixing with a fork or your hands until the dough just starts to come together. Turn the dough out onto a clean surface, gently bring it together into a disc, wrap tightly in plastic wrap, and chill for at least 30 minutes, preferably 1-2 hours. This minimal handling is essential for a tender easy fruit tart shell recipe.
Step 2: Rolling Out the Pastry
Achieving the Desired Thickness
Proper rolling technique is crucial for an evenly baked and sturdy tart shell. Aim for a consistent thickness of about 1/8 to 1/4 inch (approximately 3-5 mm). Rolling too thin can cause the pastry to tear easily when lining the pan and result in a fragile, potentially burnt crust. Rolling too thick can lead to a doughy, underbaked base. Start rolling from the center outwards, rotating the dough frequently to prevent sticking and ensure an even thickness.
Using parchment paper makes this much easier. Place the chilled dough disc between two sheets of parchment paper. This allows you to roll without adding excess flour, which can toughen the dough. Roll outwards from the center, applying even pressure. Check the thickness periodically. Roll the dough into a circle large enough to fit your tart pan with about an inch or two (2.5-5 cm) overhang around the edges – typically a 12-13 inch (30-33 cm) circle for a standard 9-inch tart pan.
Minimizing Handling to Prevent Toughness
Excessive handling warms the butter and develops gluten, leading to a tough crust. When rolling, work relatively quickly. If the dough becomes too soft or sticky, pop it back into the refrigerator for 10-15 minutes to firm up. Lift and rotate the dough frequently (if not using parchment) to prevent it from sticking to the surface, using only a minimal amount of flour if absolutely necessary – a light dusting is all that's needed.
Avoid rerolling scraps multiple times, as this overworks the dough. If you have scraps, gently press them together into a disc, chill briefly, and then roll once more. For an easy fruit tart shell recipe, less is truly more when it comes to touching the dough. The goal is to roll it once, line the pan, and chill again before baking.
Step 3: Lining the Tart Pan
Ensuring a Snug Fit
Transferring the rolled dough to the tart pan requires care to avoid stretching. If you rolled between parchment, simply peel off the top layer, invert the dough and bottom parchment layer over the tart pan, center it, and peel off the second parchment sheet. Alternatively, you can gently roll the dough onto your rolling pin and then unroll it over the tart pan. Once centered, gently ease the dough into the corners and up the sides of the pan.
The key is to press the dough gently into the flutes and against the sides of the pan using your fingers, rather than stretching it. Stretching will cause the dough to contract when baked, leading to shrinkage. Ensure the dough is snugly fitted against the bottom and sides without tension. For a standard 9-inch tart pan, the dough should extend slightly above the rim.
Trimming the Edges for a Professional Look
Once the dough is fitted into the pan, trim the excess pastry from the edges. The easiest way to do this is to gently roll your rolling pin over the top of the tart pan, allowing the edge of the pan to cut the dough cleanly. Alternatively, you can use a sharp knife to trim the dough flush with the top edge of the pan.
After trimming, press the dough gently against the sides again to ensure it's well-seated. For extra security against shrinkage and a crisp edge, chill the lined tart shell for at least 30 minutes (or up to several days) before blind baking. This step helps the pastry hold its shape during the initial bake. This chilling step is a small but mighty secret for a perfect easy fruit tart shell recipe.
Step 4: Blind Baking Your Tart Shell
The Importance of Blind Baking for a Crisp Base
Blind baking, or pre-baking the tart shell before adding the filling, is a critical step, especially for tarts with wet fillings like quiche, lemon curd, or fruit fillings. Baking the crust partially or fully ensures the base is cooked through and crisp, preventing the dreaded soggy bottom that can ruin an otherwise perfect tart. For a classic fruit tart shell recipe, blind baking is almost always necessary.
Blind baking also helps set the shape of the crust and prevents the sides from slumping down during baking. By lining the crust with parchment and filling it with weights, you provide support and ensure the base bakes evenly without puffing up in the center.
How to Prevent the Crust from Puffing Up Unevenly
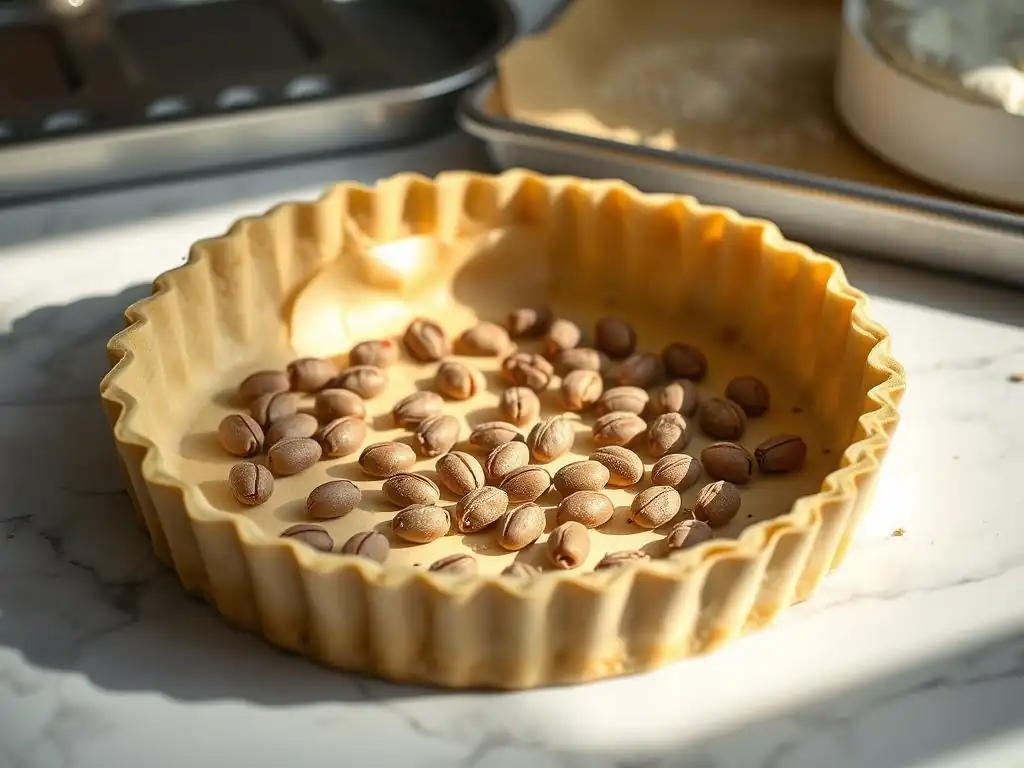
To prevent the base of the tart shell from puffing up unevenly during blind baking, you need to weigh it down. After the lined tart shell has been thoroughly chilled, prick the bottom all over with a fork (this allows steam to escape, also preventing puffing). Line the inside of the pastry shell with parchment paper, pressing it gently against the sides. Fill the cavity completely with pie weights, dried beans, or uncooked rice, ensuring the weights go right up to the rim of the pastry. This even distribution of weight keeps the bottom flat and the sides upright.
Bake the weighted shell according to the recipe instructions (see below for specific times and temperatures). Once the initial baking time with weights is complete, carefully remove the parchment and weights. The crust should look dry and set. If the recipe calls for a fully baked shell, return the shell to the oven for a few more minutes to brown the base.
Baking Times and Temperatures for a Golden-Brown Finish
For a standard 9-inch tart shell made with our easy fruit tart shell recipe dough, blind baking typically involves baking in a preheated oven at 375°F (190°C). Bake with the weights for about 15-20 minutes, or until the edges of the pastry are lightly golden and the base looks dry under the parchment.
Carefully remove the parchment and weights. Return the tart shell to the oven for another 10-15 minutes, or until the base is golden brown and looks fully baked. The exact time will depend on your oven and how golden you want the base to be. For tarts that will be baked again with a filling (like quiche), you might bake it slightly less the second time (partially blind baked), aiming for a pale golden color. For tarts with no-bake fillings (like pastry cream and fruit), bake until fully golden brown.
Step 5: Cooling and Preparing for Filling
Gradual Cooling Techniques to Maintain Shape
Once your tart shell is perfectly blind baked, it's important to let it cool properly. Do not attempt to remove it from the pan immediately. Allow the tart shell to cool in the pan set on a wire rack. The wire rack allows air circulation, promoting even cooling and preventing condensation that could make the bottom soggy.
Cooling gradually in the pan helps the pastry maintain its shape as it transitions from hot to room temperature. Attempting to remove a hot or warm tart shell from the pan risks breakage, especially with a delicate shortcrust pastry. Let it cool for at least 20-30 minutes before attempting to handle it or remove it from the pan.
Sealing the Crust [Optional: Chocolate Coating]
For tarts with very wet fillings, such as fresh fruit tarts with pastry cream or lemon curd, an optional sealing step can provide an extra layer of protection against a soggy bottom. Once the blind-baked shell has cooled, you can brush the inside surface lightly with a beaten egg white and return it to a warm oven for a few minutes until the egg white is set and forms a thin glaze. This creates a barrier.
Another delicious and effective sealing method, especially for sweet tarts, is to brush the cooled, blind-baked shell with a thin layer of melted chocolate or cocoa butter. White chocolate is often used for fruit tarts as its color is less visible. Melt the chocolate or cocoa butter gently, then use a pastry brush to coat the inside bottom and sides of the cooled shell. Let the chocolate set completely before adding your filling. This adds flavor and a robust moisture barrier to your easy fruit tart shell recipe.
Tips and Tricks for a Flawless Pastry Every Time
Working with Different Types of Fat for Pastry Crusts
While our easy fruit tart shell recipe focuses on butter, other fats can be used, each contributing different qualities. All-butter crusts offer superior flavor and flakiness but can be trickier to work with, especially in warm conditions, as butter melts easily. Shortening (like Crisco) is 100% fat and has a higher melting point than butter, making it easier to handle and resulting in a very tender, slightly less flaky crust. It also helps prevent shrinkage.
Lard, traditional in some regions, produces incredibly tender and flaky crusts due to its crystalline structure and high melting point, but it has a distinct flavor some may not prefer. Many bakers find a combination of butter and shortening (e.g., half butter, half shortening) offers the best of both worlds: good flavor from the butter and ease of handling and tenderness from the shortening. Experimenting with different fats can help you find your perfect easy fruit tart shell recipe.
Adjusting the Recipe for Different Sweetness Levels
The amount of sugar in a shortcrust pastry recipe is typically small, primarily affecting tenderness and browning rather than significant sweetness, particularly in an easy fruit tart shell recipe designed for sweet fillings. Our base recipe includes 1-2 tablespoons of sugar. For a purely savory tart shell (like for quiche), you can omit the sugar entirely or use just 1 teaspoon for a touch of tenderness.
For a sweeter crust intended for desserts, you can increase the sugar slightly, up to 3-4 tablespoons for 250g of flour. Be aware that more sugar can make the dough a little more delicate and cause it to brown faster during baking, so keep a close eye on it, especially during the second stage of blind baking. Powdered sugar can also be used and integrates smoothly without requiring extra mixing.
How to Store Your Unbaked and Baked Pastry Shells
Proper storage is key if you're not using your pastry immediately. Unbaked dough discs, tightly wrapped in plastic wrap, can be stored in the refrigerator for 2-3 days. The flavor can even improve slightly as the flour hydrates fully. For longer storage, unbaked dough can be frozen for up to 3 months. Thaw overnight in the refrigerator before rolling.
Unbaked tart shells that have been lined in the pan can also be chilled for 1-2 days, well-wrapped. For longer storage, freeze the lined shell in the pan until solid (about 1-2 hours), then wrap the entire pan tightly in plastic wrap and foil. Bake directly from frozen, adding a few minutes to the blind baking time. Fully baked and cooled tart shells can be stored at room temperature for 1-2 days, loosely covered, or frozen for up to 1 month, wrapped carefully to prevent breakage.
Delicious Filling Ideas to Showcase Your Perfect Crust
Savory Tart Filling Combinations
Your perfectly baked shortcrust pastry shell is the ideal vessel for a variety of savory fillings, making for elegant appetizers or main courses. Classic quiche fillings, combining eggs, cream, cheese, and ingredients like spinach, mushrooms, caramelized onions, or bacon (Quiche Lorraine), are always a hit. Simply pour the filling into a partially blind-baked shell and bake until set.
Other popular savory ideas include tarts filled with roasted vegetables and goat cheese, sautéed leeks and Gruyère, or even a simple tomato and basil filling in the summer. The sturdy, crisp base provided by your easy fruit tart shell recipe technique stands up beautifully to these moist fillings.
Sweet Tart Filling Ideas
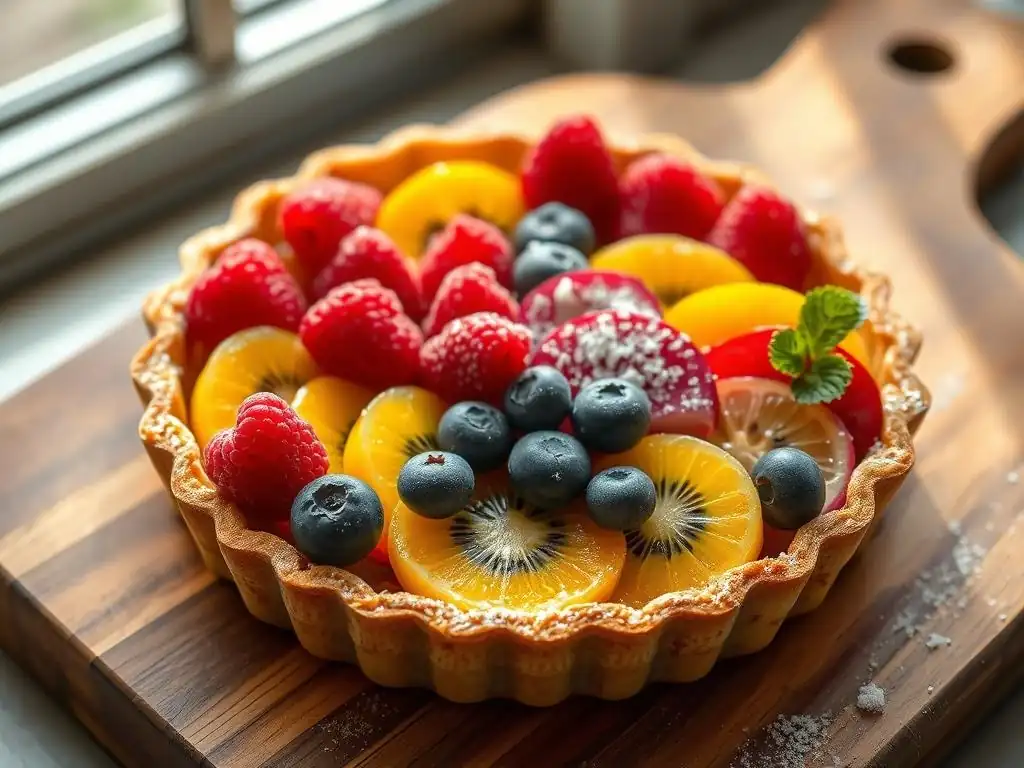
This easy fruit tart shell recipe is truly designed to shine when filled with luscious sweet creations. Classic sweet fillings include smooth lemon curd, rich chocolate ganache, or velvety pastry cream topped with fresh berries and glazed fruit – a quintessential fruit tart. A frangipane filling (almond cream) baked inside the shell, sometimes topped with fruit like pears or berries, is another delightful option.
Warm fillings like apple, cherry, or peach filling can also be baked directly in a partially blind-baked shell, resulting in a comforting pie-like tart. The tender, flaky crust provides the perfect contrast to the soft, sweet filling, making every bite a delight.
Troubleshooting Common Pastry Problems
My Pastry Sank During Baking: What Went Wrong?
If your pastry sank during blind baking, the most likely culprits are insufficient chilling, stretching the dough into the pan, or not using enough pie weights (or pricking the base if not using weights). If the dough wasn't cold and relaxed when it went into the oven, the gluten structure contracted. If you stretched it into the pan, it tried to shrink back. If you didn't use enough weights, the sides didn't have enough support.
To mitigate this, ensure your dough is chilled for at least 1-2 hours after lining the pan. Gently press the dough into the pan without stretching. Use plenty of pie weights, filling the cavity right up to the rim. Prick the base generously before adding weights to allow steam to escape.
The Crust is Too Tough: How to Fix It
A tough crust is almost always a result of overworking the dough or adding too much liquid, which develops too much gluten. If your dough felt sticky and required a lot of flour during rolling, or if you kneaded it like bread, toughness is likely. Unfortunately, once the gluten is developed, it's hard to reverse.
For a future batch of your easy fruit tart shell recipe, focus on mixing just until the dough comes together. Add water sparingly, only enough to hydrate the dry bits. Handle the dough as little as possible when rolling and lining the pan. If your current crust is already baked and tough, consider using it for a rustic tart where the texture might be less noticeable, or even crumbling it for a parfait base.
My Pastry is Still Shrinking: Next Steps
If you've followed all the tips – chilling, gentle handling, using weights – and your pastry is still shrinking noticeably, there might be a few other factors at play. Ensure your oven temperature is accurate; an oven that's too hot can cause rapid shrinkage. Using a small amount of shortening mixed with butter can also help stabilize the dough due to shortening's higher melting point.
Sometimes, rolling the dough slightly thicker (closer to 1/4 inch) can provide a bit more structure to resist shrinking. Double-check that you are truly pressing the dough into the pan's corners and sides without stretching. As a last resort, some bakers swear by chilling the lined tart shell in the freezer for 15-20 minutes just before blind baking.
Enjoy Your Homemade Tart!
You've put in the effort to master the easy fruit tart shell recipe, and now it's time to enjoy the fruits (or other fillings!) of your labor. The satisfaction of slicing into a tart with a perfectly tender, flaky crust is truly rewarding. Whether you've made a classic apple tart, a vibrant berry tart with pastry cream, or a savory quiche, your homemade creation is sure to impress.
We love seeing what our community bakes! Don't hesitate to share photos of your beautiful tarts made with this foolproof shortcrust pastry recipe. Tag Baker's Corner on social media or share your stories on our website forums. Your success can inspire other bakers on their journey to mastering the perfect easy fruit tart shell recipe! Happy baking!
Frequently Asked Questions
What makes this fruit tart shell recipe "easy"?
This recipe focuses on simple ingredients and clear, step-by-step instructions, minimizing complexity for bakers of all skill levels. We prioritize techniques that reduce the risk of common baking errors.
How does this recipe prevent cracks in the tart shell?
The recipe emphasizes proper dough handling, including chilling the dough adequately and using gentle pressure when pressing it into the tart pan. These steps minimize shrinking and cracking during baking.
Can I use different types of fruit with this tart shell?
Absolutely! This tart shell is a versatile base that pairs well with a wide variety of fruits. Consider berries, stone fruits, or even tropical fruits depending on your preference.
What kind of flour is best for this fruit tart shell?
We recommend using all-purpose flour for this recipe. It strikes a good balance between tenderness and structure, resulting in a delicious and sturdy tart shell.
Can I make this tart shell ahead of time?
Yes, you can! The baked tart shell can be stored in an airtight container at room temperature for up to two days. This makes it convenient for preparing ahead of time.
Final Reflection: Mastering the Art of the Perfect Fruit Tart Shell
The pursuit of the flawlessly crisp, crack-free fruit tart shell is more than just a culinary quest; it's a testament to the power of precision and patience in baking. This seemingly simple pastry presents a surprisingly complex challenge, one that many home bakers face with trepidation. Yet, as we've explored, mastering this technique unlocks a world of delicious possibilities, transforming a potentially frustrating experience into a rewarding one.
The journey to the perfect fruit tart shell has profoundly impacted my own baking philosophy. It's taught me the importance of understanding the fundamental principles of pastry making, from the precise ratio of ingredients to the delicate balance of chilling and handling. The secret to good baking is in the details.
This simple quote resonates deeply, highlighting the subtle nuances that separate a good tart shell from a truly exceptional one. The impact extends beyond the kitchen; the meticulous attention to detail required translates to other aspects of life, emphasizing the importance of careful planning and execution in achieving any goal.
Now, it's your turn. Don't be intimidated by the seemingly daunting task of creating a perfect fruit tart shell. Embrace the challenge, experiment with the techniques outlined in this guide, and discover the joy of crafting a beautiful and delicious dessert from scratch. The satisfaction of presenting a flawlessly golden, crack-free tart shell to your loved ones is a reward in itself, a testament to your dedication and skill. So, gather your ingredients, embrace the process, and let the journey begin!
Unlock Your Perfect Tart Shell: No More Cracks!
Thanks for joining me on this journey to flawlessly flaky fruit tarts! You now have the knowledge to conquer those pesky cracks and create stunning desserts. Ready to put your new skills to the test?
- Bake your dream tart: Grab your ingredients and try the recipe – I’m confident you’ll be amazed by the results! This is your chance to show off your baking prowess.
- Share your success: Post a picture of your masterpiece on social media and tag #BakeWithEase – let's inspire other bakers!
- Challenge yourself with a new fruit filling: What flavor combination will you create next?
What creative fruit fillings will you experiment with next to elevate your tart game?