
Mastering the Fruit Tart Shell: Simple Techniques for Success

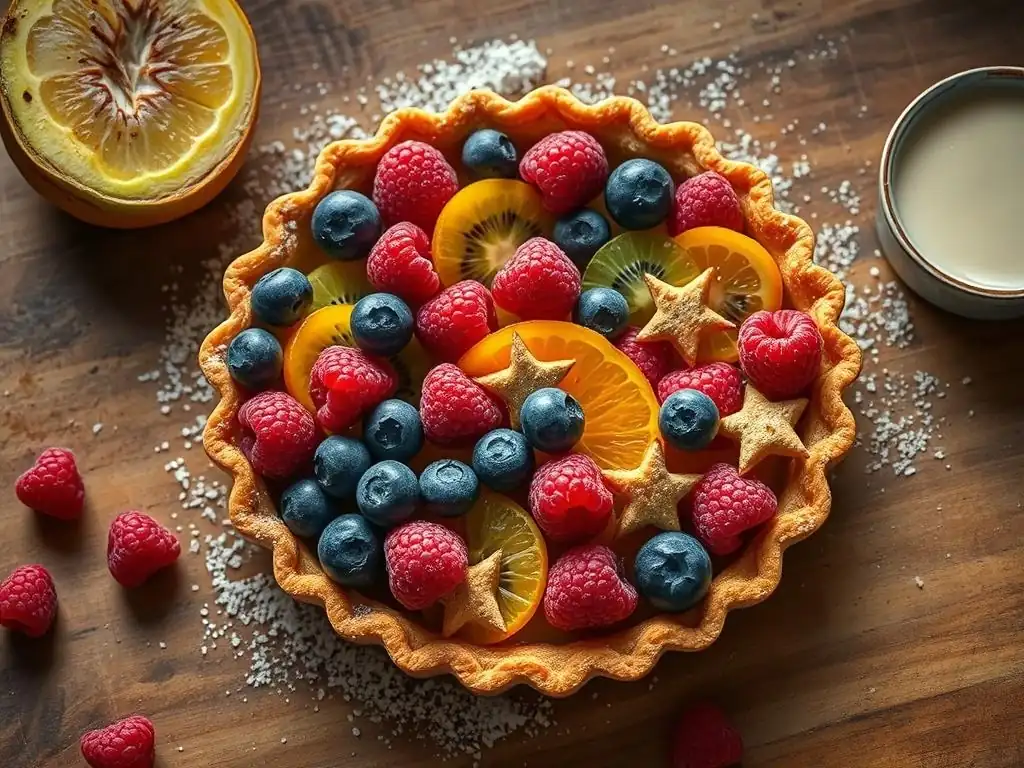
Welcome to BakeWithEase, your trusted guide to delicious homemade baking! Ever dreamt of creating a picture-perfect fruit tart? Then you're in the right place. This week, we're diving into the secrets of the perfect easy fruit tart shell. Discover simple techniques and tips that will have you crafting flawless, buttery shells in no time. Ready to unlock the secrets? Let's get baking!
- BakeWithEase' Guide to Perfect Fruit Tart Shells
- Easy Fruit Tart Shell Recipe: A Step-by-Step Guide
- Troubleshooting Common Tart Shell Problems
- Tips and Tricks for a Superior Fruit Tart Shell
- Variations on the Classic Tart Shell Recipe
- Storing Your Baked Tart Shell
- Serving and Presentation Ideas
- The Ultimate Guide to Fruit Tart Shells: Conclusion
-
Frequently Asked Questions
- How can I ensure my easy fruit tart shell doesn't shrink during baking?
- What's the best type of flour to use for an easy fruit tart shell?
- Can I make an easy fruit tart shell ahead of time?
- What are some common fillings I can use in my easy fruit tart shell?
- How do I prevent my easy fruit tart shell from becoming soggy after adding the filling?
- Final Reflection: The Sweetness of Mastery, the Simplicity of Success
- Unlock Your Inner Pastry Chef: Master the Perfect Fruit Tart Shell!
BakeWithEase' Guide to Perfect Fruit Tart Shells
Understanding the Importance of a Great Tart Shell
The tart shell is the fundamental building block of any fruit tart. It provides the structure that holds the filling and fruit together, preventing leaks and making the dessert easy to serve. A well-made shell offers a crucial textural contrast – a crisp, buttery bite against the soft, often creamy filling and tender fruit. Without a sturdy, properly baked shell, even the most beautiful fruit arrangement and delicious filling can result in a disappointing dessert.
Beyond structure, the tart shell contributes significantly to the overall flavor profile. A simple fruit tart shell made with quality butter provides a rich, slightly salty or sweet counterpoint that enhances the freshness and sweetness of the fruit. Think of it as the frame around a masterpiece; a beautiful frame elevates the art. A bland, tough, or soggy crust, on the other hand, can detract from the entire experience, turning a potential showstopper into something forgettable. Mastering this basic technique is key to creating stunning and delicious fruit tarts.
The Secret to a Flaky and Delicious Tart Crust
The primary secret to achieving a flaky and delicious tart crust lies in the temperature of your ingredients, specifically the fat, and how you handle the dough. Using very cold butter is paramount. When cold butter is cut into the flour, it creates tiny pockets of fat distributed throughout the dough.
As the tart bakes in the hot oven, the water within these cold butter pieces turns to steam, which expands and pushes the layers of dough apart, resulting in those desirable flaky layers. Aim to have your butter cut into small cubes (about ½ inch) and kept well chilled, ideally around 40°F (4°C), before incorporating it.
Another critical factor is minimizing gluten development through gentle handling and chilling. Overworking the dough activates gluten strands in the flour, leading to a tough, bread-like texture rather than a tender, flaky one. Mix the dough just until it comes together. After mixing and before rolling, chilling the dough for at least 30-60 minutes in the refrigerator serves a dual purpose: it solidifies the fat, maintaining those crucial pockets, and it allows the gluten to relax, making the dough easier to roll out without shrinking excessively and ensuring a more tender final crust.
Easy Fruit Tart Shell Recipe: A Step-by-Step Guide
Ingredients for the Perfect Tart Dough
Essential Ingredients for a Crispy Tart Crust
To create a simple fruit tart shell that is both crispy and flavorful, you'll need a few basic ingredients. All-purpose flour provides the structure. Cold, unsalted butter is essential for flakiness and rich flavor – ensure it's cubed and very cold.
A small amount of granulated sugar (or powdered sugar for a sweeter, more tender crust) adds a touch of sweetness and aids in browning. Salt balances the flavors. Finally, ice water is necessary to bring the dough together without melting the butter; you'll typically need only a few tablespoons, perhaps 2 to 4 tablespoons for a standard 9-inch tart shell recipe using about 1 ½ cups of flour.
Ingredient Substitutions and Variations
While the classic combination is best for a basic fruit tart shell, you can explore variations. For increased flakiness, some bakers use a mix of cold butter and cold shortening (e.g., half and half). Shortening has a higher melting point and contains no water, creating even more distinct fat pockets.
For a richer, more tender dough, often called Pâte Sucrée or sweet pastry dough, an egg yolk is sometimes included in addition to less water and more sugar, often powdered sugar. For savory tarts, omit the sugar and perhaps add a pinch of black pepper or dried herbs to the flour mixture before cutting in the fat.
Equipment You'll Need
Recommended Tools for Baking Tart Shells
Having the right tools makes crafting an easy fruit tart shell much smoother. A tart pan with a removable bottom is indispensable, typically 9 or 10 inches in diameter with fluted edges. This design allows for easy removal of the finished shell. A rolling pin is necessary for flattening the dough evenly. You'll also need measuring cups and spoons, mixing bowls (or a food processor for a quicker method), a pastry blender or fork for cutting in the butter, and parchment paper for blind baking.
For the crucial step of blind baking, you'll need pie weights. These can be ceramic baking weights, dried beans, or uncooked rice. You'll need enough weights to completely fill the cavity of the tart shell to support the sides and prevent the bottom from puffing up during baking. Approximately 1.5 to 2 pounds of weights are usually sufficient for a standard 9-inch tart pan. A wire cooling rack is also essential for cooling the baked shell properly.
Step-by-Step Instructions for Making Your Tart Shell
Preparing the Dough: The Initial Steps
Start by whisking together your dry ingredients: the flour, sugar, and salt in a large mixing bowl. If using a food processor, pulse them briefly. Add the very cold, cubed butter to the dry ingredients. Using a pastry blender, two forks, or your fingertips (working quickly! ), cut the butter into the flour mixture until it resembles coarse meal with some visible pea-sized pieces of butter remaining. If using a food processor, pulse in short bursts until the mixture reaches this consistency, typically 10-15 pulses.
Next, gradually add the ice water, one tablespoon at a time, mixing with a fork or your hands (or pulsing in the food processor) until the dough just begins to come together. The dough should appear shaggy but hold together when you press a small amount between your fingers.
Be careful not to add too much water, as this can make the dough tough. Gather the dough, form it into a flat disc about 1 inch thick, wrap it tightly in plastic wrap, and chill in the refrigerator for at least 1 hour (or up to 2 days) to allow the butter to firm up and the gluten to relax.
Rolling Out the Dough: Achieving the Perfect Thickness
Once the dough is well-chilled, remove it from the refrigerator and let it sit at room temperature for 5-10 minutes to soften slightly, making it easier to roll without cracking, especially for a simple fruit tart shell. Lightly flour a clean work surface and your rolling pin. Place the dough disc on the floured surface and begin rolling from the center outwards, rotating the dough frequently to prevent sticking and ensure an even thickness.
Continue rolling until the dough is a uniform thickness of about 1/8 inch (about 3-4 mm). The rolled circle should be large enough to fit your tart pan with some overhang – for a 9-inch tart pan, you'll need a circle approximately 11-12 inches in diameter. To transfer the dough to the pan, you can gently roll it loosely around your rolling pin, then unroll it over the tart pan, or carefully fold the dough into quarters and lift it into the pan.
Fitting the Dough into the Tart Pan: Avoiding Tears and Cracks
Carefully ease the rolled dough into the tart pan, pressing it gently into the bottom corners and up the fluted sides. It's crucial not to stretch the dough as you fit it, as stretching will cause it to shrink back significantly during baking. Instead, lift and ease the dough, allowing it to fall into place naturally. Ensure the dough is pressed firmly against the sides of the pan to define the fluted edge.
Once the dough is snugly fitted, trim the excess dough from the edges. You can do this by rolling the rolling pin over the top of the pan or using a sharp knife. Some bakers like to leave a small overhang (about ½ inch) and then fold it inwards, pressing it against the rim of the pan to create a slightly thicker, sturdier edge.
Finally, prick the bottom of the dough all over with a fork (this is called docking) to create small vents that prevent the crust from puffing up unevenly during blind baking. Chill the fitted tart shell in the freezer for at least 30 minutes (or refrigerator for 1 hour) before blind baking.
Blind Baking: Preventing a Soggy Bottom
Blind baking is a critical step for an easy fruit tart shell, especially one that will be filled with a wet or creamy filling that isn't baked. This process partially or fully bakes the crust before adding the filling, ensuring a crisp bottom and preventing sogginess. Preheat your oven to the recommended temperature, typically around 375°F (190°C). Remove the chilled tart shell from the freezer/refrigerator.
Line the chilled shell with parchment paper, pressing it gently into the corners and sides. Fill the shell completely with pie weights, distributing them evenly and pressing them gently against the sides to support the crust. Bake for the initial blind bake period, usually 15-20 minutes, until the edges of the crust appear set and lightly colored. Carefully remove the pie weights and parchment paper. Return the shell to the oven for a second bake, often 5-10 minutes, to allow the bottom to dry out and set further.
Finishing the Tart Shell: Achieving a Golden Brown Color
After the initial blind bake with weights and the second bake without weights, the easy fruit tart shell may need a final few minutes to achieve a beautiful golden brown color and ensure it's fully baked and crisp, especially if your filling is not baked. This final baking time typically takes an additional 5-10 minutes after removing the weights, depending on your oven and desired level of doneness. The bottom of the crust should look dry and lightly golden.
If your filling requires further baking, you may only need to partially blind bake the shell until the bottom is set and opaque, then add the filling and continue baking. For fillings that are not baked (like pastry cream or fresh fruit), ensure the shell is fully baked to a deep golden color. A fully baked shell will be sturdy enough to hold the filling without becoming soggy and will have a satisfying crispness. Allow the shell to cool completely in the pan on a wire rack before filling.
Troubleshooting Common Tart Shell Problems
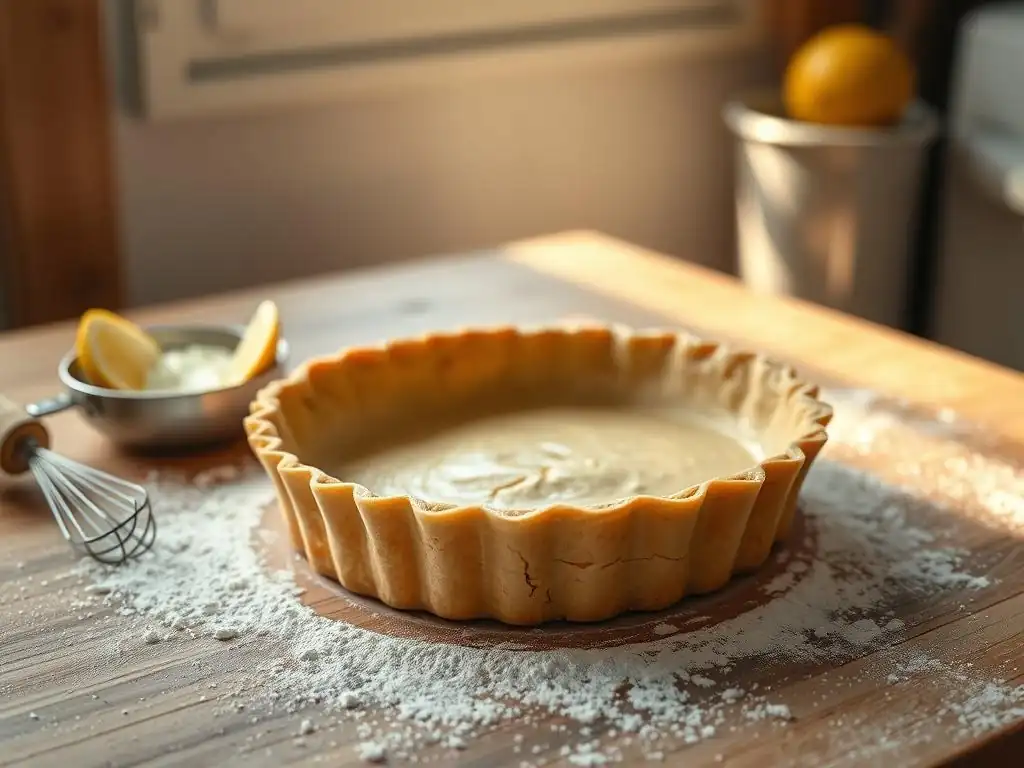
Why is My Tart Shell Soggy?
A soggy tart shell, particularly on the bottom, is a very common problem when making fruit tarts. This usually occurs when the crust isn't properly baked before a wet filling is added. The moisture from the filling seeps into the underbaked dough, turning it soft and unpleasant. Blind baking, as described earlier, is the primary defense against a soggy bottom, but it must be done correctly and for sufficient time.
Solutions for a Soggy Tart Crust
To prevent a soggy fruit tart shell, ensure you blind bake the crust until the bottom is not just set, but actually looks dry and is lightly colored, especially if your filling is liquid or very moist and won't be baked. After the initial blind bake with weights (e.g., 15-20 minutes), remove the weights and bake for an additional 10-15 minutes or until the bottom is golden brown.
For extra insurance, you can brush the hot, partially baked shell with a thin layer of egg white, melted butter, or even melted chocolate (for chocolate fillings) and bake for a minute or two longer to seal the surface before adding the filling. This creates a barrier against moisture.
Why is My Tart Shell Cracking?
Cracking in a tart shell can happen at various stages: while rolling out the dough, fitting it into the pan, or during baking. Common culprits include overworking the dough, which develops too much gluten and makes it less pliable, or using dough that is too cold and stiff when trying to roll or shape it. Insufficient chilling time after fitting the dough into the pan can also lead to cracks as the dough shrinks during baking.
Preventing and Fixing Cracking in Tart Shells
To prevent cracks in your easy fruit tart shell, avoid overmixing the dough; mix only until it just comes together. Ensure the dough is chilled but allowed to sit at room temperature for 5-10 minutes before rolling so it's pliable. When fitting the dough into the pan, gently ease it in without stretching.
After fitting and trimming, chill the shell again for at least 30 minutes to allow the dough to firm up and relax before blind baking. If small cracks appear during baking, you can often patch them immediately with small scraps of raw dough moistened with a little water, pressing them gently into the crack before the crust fully sets.
Why is My Tart Shell Shrinking?
Shrinkage during baking is another frustrating issue. This happens primarily when the dough is stretched into the tart pan rather than being gently fitted, causing the gluten to be under tension. As the dough bakes, the gluten relaxes and contracts, pulling the sides of the shell down. Insufficient chilling time after fitting the dough can also contribute, as the dough hasn't had enough time to firm up and hold its shape before hitting the heat of the oven.
Avoiding Tart Shell Shrinkage During Baking
To avoid shrinkage in your simple fruit tart shell, focus on fitting the dough into the pan without stretching. Let the dough relax into the corners and up the sides naturally. Ensure you leave a slight overhang when trimming, folding it inwards and pressing it against the rim of the pan to create a sturdy edge that helps anchor the dough.
Most importantly, chill the fitted tart shell thoroughly in the freezer for at least 30 minutes (or refrigerator for 1 hour) before blind baking. This cold rest is crucial for the dough to set and the gluten to relax, minimizing shrinkage during baking. Using plenty of pie weights during the initial blind bake also helps support the sides and prevent them from collapsing.
Tips and Tricks for a Superior Fruit Tart Shell
The Importance of Cold Ingredients
As highlighted earlier, maintaining cold temperatures for your fat and liquid is paramount for a flaky, easy fruit tart shell. Cold butter creates those crucial steam pockets, and using ice water helps keep the butter cold during the mixing process. If your kitchen is warm, you can even chill your flour and tools like your mixing bowl and pastry blender before starting.
Working with cold ingredients ensures that the butter remains in distinct pieces within the dough until it hits the heat of the oven. This separation is what leads to the beautiful layers and tender texture characteristic of a perfect flaky crust. If the butter melts into the flour during mixing, you'll end up with a tough, cookie-like dough rather than a flaky one.
Working Quickly and Efficiently
Speed is your friend when making tart dough. The less time you spend handling the dough, the less the butter will warm up and melt. From cutting in the butter to bringing the dough together and rolling it out, aim to work efficiently. Don't knead the dough; simply gather it and form the disc.
Having all your ingredients measured and ready before you start will help you work quickly. If at any point the dough feels too warm or soft during the process, don't hesitate to pop it back into the refrigerator or freezer for a few minutes to firm up. This brief chill can save your dough from becoming greasy and unworkable.
Using Tart Weights Effectively
Using pie weights correctly during blind baking is non-negotiable for preventing a soggy bottom and maintaining the shape of your easy fruit tart shell. After lining the chilled shell with parchment paper, fill the cavity completely with weights. Don't be sparse; you need enough weight to press the dough firmly against the bottom and sides of the pan.
Distribute the weights evenly, making sure they go all the way up the sides to prevent them from collapsing or shrinking down. The weights hold the dough in place as it sets in the heat. After the initial bake, carefully lift the parchment and weights out – they will be hot! Return the shell to the oven to finish baking and crisp the bottom.
Cooling the Tart Shell Properly
Patience is required once your easy fruit tart shell is perfectly baked. It's essential to let the shell cool completely in the tart pan placed on a wire rack before attempting to remove it or add any filling. A warm crust is fragile and prone to breaking or cracking when handled or filled.
Allowing the shell to cool fully, which can take an hour or more depending on room temperature, allows its structure to firm up and become sturdy. Attempting to lift a warm shell out of the pan or pouring a filling into it too soon can lead to disaster, causing the shell to crumble or crack under the weight and moisture of the filling.
Variations on the Classic Tart Shell Recipe
Sweet Tart Dough for Fruit Tarts
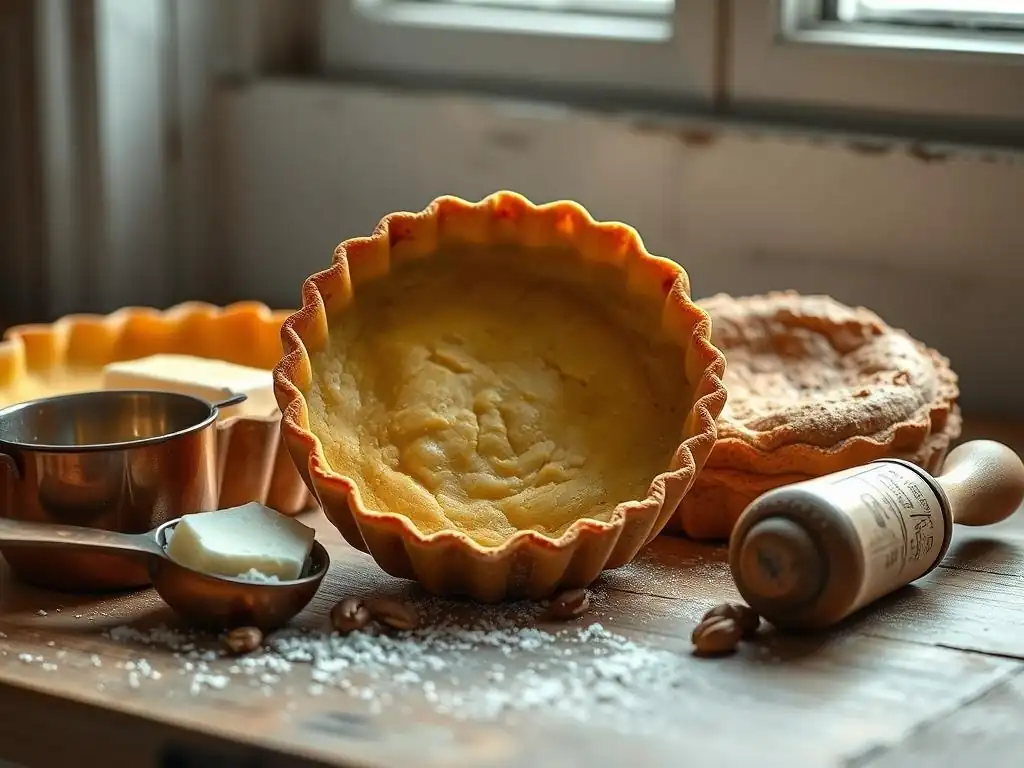
A sweet tart dough, often known as Pâte Sucrée, is a fantastic variation for fruit tarts, especially those filled with creams or curds. This dough typically contains a higher ratio of sugar, often powdered sugar, and sometimes includes an egg yolk. The result is a dough that is less flaky than a classic pastry dough but is more tender, crumbly, and cookie-like.
This type of dough is often easier to handle and less prone to shrinkage than flaky dough, making it a good option for beginners seeking an easy fruit tart shell. The added sugar contributes to a beautiful golden-brown color during baking, and the richness from the egg yolk (if used) creates a delicious, sturdy base that pairs wonderfully with sweet fillings and fresh fruit.
Savory Tart Dough Options
While this article focuses on fruit tarts, the basic principles of tart shell making apply to savory variations as well. A savory tart dough, or Pâte Brisée, typically contains less or no sugar and often includes a pinch of salt and sometimes other seasonings like black pepper or dried herbs mixed into the flour.
This dough provides a sturdy, flavorful base for quiches, vegetable tarts, or meat fillings. It's made using the same method of cutting cold butter into flour and adding just enough ice water to bring it together. Blind baking is still essential for many savory fillings, especially those that are liquid-based, to prevent a soggy bottom.
Chocolate Tart Shell for Rich Desserts
For a decadent twist on the classic easy fruit tart shell, consider making a chocolate version. This involves substituting a small amount of the all-purpose flour with unsweetened cocoa powder, typically replacing about ¼ cup of flour per 1 ½ cups total flour. This simple substitution infuses the crust with rich chocolate flavor.
A chocolate tart shell pairs exceptionally well with fillings like chocolate ganache, caramel, or even bright berries like raspberries or strawberries. When blind baking a chocolate shell, keep a close eye on it as the cocoa powder can make it appear darker than a plain crust, and it can potentially burn more easily. You might need to bake it at a slightly lower temperature or for a shorter duration.
Storing Your Baked Tart Shell
How to Keep Your Tart Shell Fresh
Once you've successfully baked your easy fruit tart shell, proper storage is key if you're not filling it immediately. Ensure the shell is completely cooled on a wire rack before storing. A fully cooled shell can be stored at room temperature for 2-3 days.
To keep it fresh and prevent it from absorbing moisture or odors, wrap the cooled shell tightly in plastic wrap. For extra protection, especially if storing for more than a day, wrap the plastic-wrapped shell again in aluminum foil or place it inside an airtight container. Stored this way, it can last for up to a week in the refrigerator.
Freezing Tart Shells for Future Use
Baked tart shells freeze exceptionally well, making them perfect for meal prep or having a head start on dessert. Once the easy fruit tart shell is completely cooled, wrap it very tightly in plastic wrap, ensuring no surface is exposed. Then, wrap it again securely in aluminum foil or place it in a freezer-safe bag or container.
Label the package with the date. Frozen baked tart shells can be stored for 1 to 2 months. When you're ready to use it, thaw the shell at room temperature for several hours. If the shell seems a little soft after thawing, you can crisp it up in a preheated oven at around 350°F (175°C) for 5-10 minutes before filling.
Serving and Presentation Ideas
Creative Ways to Fill Your Tart Shell
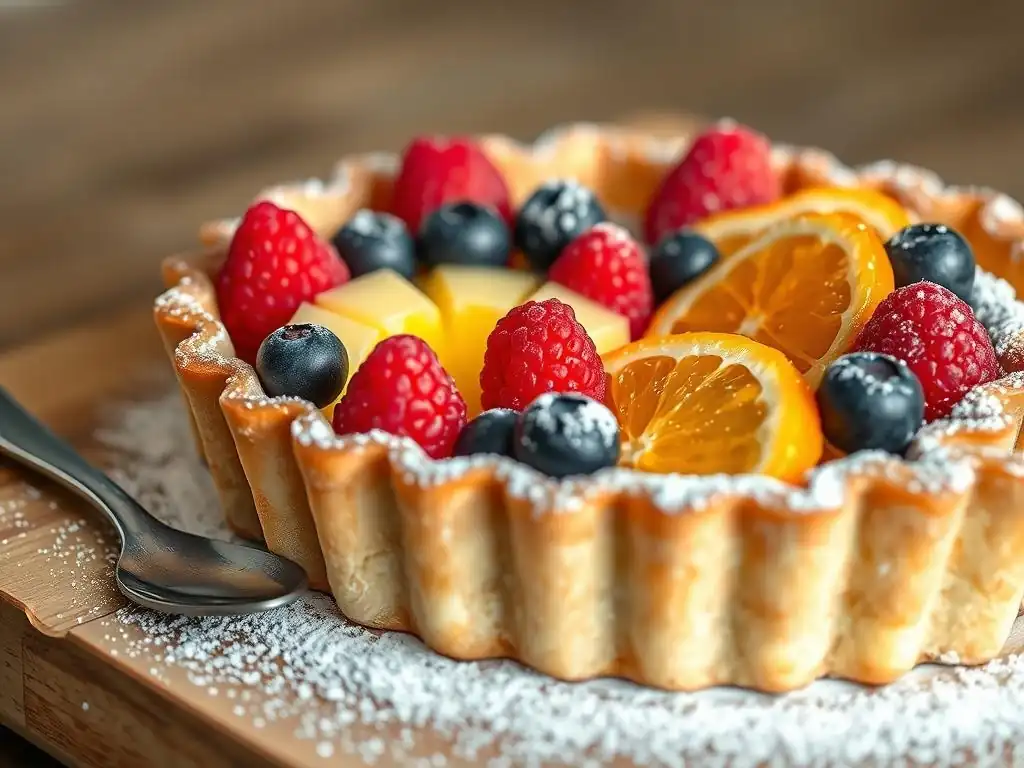
An easy fruit tart shell is a versatile canvas for countless delicious fillings. A classic choice is a smooth pastry cream (crème pâtissière) topped with a colorful array of fresh mixed berries, sliced kiwi, or segments of citrus. Lemon curd or lime curd provides a bright, tangy contrast to the buttery crust.
For richer desserts, consider filling the shell with chocolate ganache, a light chocolate mousse, or a classic frangipane (almond cream) that bakes along with the shell. A simple layer of good quality jam, such as raspberry or apricot, can also serve as a base before arranging fresh fruit on top. Always ensure fillings are cooled before adding them to a pre-baked shell to maintain its crispness.
Garnishing Your Fruit Tart for a Stunning Display
Presentation is key to making your fruit tart truly shine. Once filled and topped with fruit, a simple dusting of powdered sugar over the edges adds an elegant touch. For a glossy, professional finish on the fruit, gently warm some apricot jam or a clear fruit glaze and brush it lightly over the fruit using a pastry brush. This adds shine and helps prevent the fruit from drying out.
Fresh garnishes can also elevate the look. A few fresh mint leaves scattered over the fruit add a pop of color. Edible flowers can contribute beauty and whimsy. For tarts with creamy or chocolate fillings, a drizzle of complementary sauce, such as raspberry coulis or melted chocolate, around the edge of the tart or on the serving plate can add an extra layer of visual appeal and flavor.
The Ultimate Guide to Fruit Tart Shells: Conclusion
Mastering the easy fruit tart shell is a rewarding step in any baker's journey. By understanding the critical role of cold ingredients, handling the dough gently, ensuring adequate chilling time, and utilizing the essential technique of blind baking, you can consistently produce crisp, flaky, and delicious tart shells. Troubleshooting common issues like sogginess, cracking, and shrinkage becomes much simpler once you understand the underlying principles. With practice and attention to these details, your simple fruit tart shells will be the perfect foundation for stunning and delightful fruit tarts, impressing everyone who takes a bite.
Frequently Asked Questions
How can I ensure my easy fruit tart shell doesn't shrink during baking?
Prevent shrinking by chilling the dough thoroughly before baking. Also, use pie weights or dried beans inside the shell during blind baking to maintain its shape.
What's the best type of flour to use for an easy fruit tart shell?
For a tender, flaky crust, use all-purpose flour or pastry flour. Avoid over-mixing the dough, as this can develop too much gluten.
Can I make an easy fruit tart shell ahead of time?
Yes, you can! The unbaked shell can be stored in the refrigerator for up to two days or frozen for up to a month. Thaw completely before baking.
What are some common fillings I can use in my easy fruit tart shell?
Popular fillings include pastry cream, lemon curd, or a simple vanilla cream. Top with your favorite fresh fruits for a beautiful and delicious tart.
How do I prevent my easy fruit tart shell from becoming soggy after adding the filling?
Brush the baked shell with melted chocolate or egg wash before adding the filling. This creates a moisture barrier and keeps the crust crisp.
Final Reflection: The Sweetness of Mastery, the Simplicity of Success
Mastering the fruit tart shell isn't just about baking a beautiful pastry; it's about unlocking a gateway to culinary creativity. The seemingly simple act of creating a perfect tart shell opens doors to countless flavor combinations and artistic expressions. This seemingly small skill empowers home bakers to create impressive desserts, transforming ordinary ingredients into extraordinary experiences.
The enduring appeal of the fruit tart lies not only in its deliciousness, but in its ability to evoke feelings of nostalgia and celebration. It's a dessert that transcends generations, connecting us to cherished memories and traditions. The best things in life are simple,
a sentiment perfectly captured by the elegance and ease of a well-made tart shell. This simplicity, however, belies the skill and precision required to achieve true mastery, a journey that continues to inspire and challenge me.
Now, it's your turn. Don't be intimidated by the seemingly complex world of pastry. Take the techniques outlined in this article, experiment with different flours and fillings, and most importantly, embrace the process. The satisfaction of creating a flawlessly golden, crisp tart shell, brimming with your favorite fruits, is a reward worth savoring. Let the journey of mastering the fruit tart shell be a testament to your own culinary potential – a sweet success story waiting to be written.
Unlock Your Inner Pastry Chef: Master the Perfect Fruit Tart Shell!
Thanks for joining us on this delicious journey into the world of fruit tarts! We hope you gained valuable tips and tricks to elevate your baking skills. Now it's time to put your newfound knowledge into practice.
- Bake your dream tart: Gather your ingredients and try making a beautiful fruit tart shell today! Experiment with different fillings and share your creations.
- Share your success (or even your struggles!): Join our BakeWithEase community on social media and share photos of your tarts—let's inspire each other!
- Explore other BakeWithEase recipes: Discover even more delicious recipes and baking techniques on our website.
Ready to transform your kitchen into a pastry paradise? What unique twist will you add to your next fruit tart creation?