
Simple Summer Fruit Tart with an Easy Crust

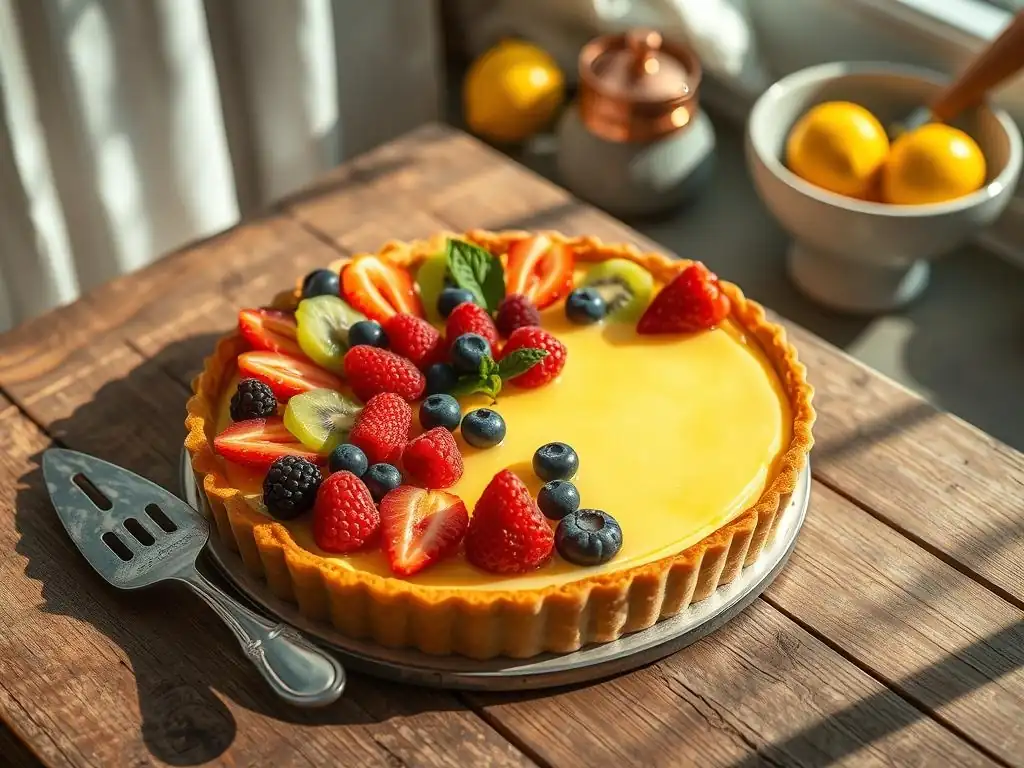
Welcome to BakeWithEase, where baking becomes a delightful adventure! Are you dreaming of a show-stopping dessert that's surprisingly simple to create? Dive into our Easy Summer Fruit Tart recipe and discover the secrets to a perfectly crisp crust and a vibrant, seasonal filling. But what if we told you that creating a bakery-worthy tart could be easier than you think? Keep reading to unlock the secrets and impress your friends and family with this stunning treat!
- Easy Summer Fruit Tart with a Shortbread Crust: A BakeWithEase Recipe
- Introduction to Easy Summer Fruit Tart Baking
- Mastering the Shortbread Tart Crust: A Step-by-Step Guide
- Assembling the Easy Summer Fruit Tart: A Flavorful Filling
- Arranging the Fruit on Your Summer Tart: A Visual Guide
- Glazing and Finishing Your Easy Summer Fruit Tart
- Tips and Tricks for the Best Summer Fruit Tart
- Serving Your Delightful Easy Summer Fruit Tart
- Troubleshooting Your Easy Summer Fruit Tart
- Frequently Asked Questions
- Final Reflection: Savor the Simplicity, Share the Joy
- Unlock Your Inner Pastry Chef: Bake This Tart Today!
Easy Summer Fruit Tart with a Shortbread Crust: A BakeWithEase Recipe
Introduction to Easy Summer Fruit Tart Baking
Welcome to BakeWithEase: Your Guide to Effortless Baking
At BakeWithEase, our mission is to demystify baking, making it accessible and enjoyable for everyone, regardless of their experience level. We believe that creating delicious baked goods shouldn't require a culinary degree or complex techniques. Our focus is on simple, reliable recipes that deliver fantastic results every time, transforming baking from a daunting task into a relaxing and rewarding hobby. This easy summer fruit tart recipe embodies our philosophy, offering a straightforward path to a stunning and delicious dessert that's perfect for any summer occasion.
We provide step-by-step guidance, breaking down each process into manageable steps. Whether you're tackling your first pie crust or perfecting a delicate pastry cream, our resources are designed to build your confidence in the kitchen. We aim to equip you with the fundamental skills and knowledge needed to not only follow our recipes but also to understand why certain techniques work, empowering you to adapt and create your own baking adventures. Get ready to discover the joy of baking something beautiful and tasty with minimal stress.
Why This Easy Summer Fruit Tart Recipe is Perfect for Beginners
This easy summer fruit tart recipe is specifically designed with the novice baker in mind. Unlike traditional tarts that might require temperamental puff pastry or complex fillings, this recipe utilizes a simple press-in shortbread crust. This eliminates the need for rolling dough, a common hurdle for beginners, and significantly reduces preparation time. The crust comes together quickly with just a few basic ingredients like butter, sugar, and flour, and its forgiving nature makes it difficult to fail.
Furthermore, the filling is often a simple pastry cream or even a pre-made pudding base, simplifying the cooking process compared to custards that require precise temperature control. The beauty of this easy summer fruit tart lies in its flexibility; you can use any combination of fresh, seasonal fruits, requiring minimal preparation beyond washing and slicing. This allows beginners to focus on the assembly and decoration, building confidence as they create a visually stunning dessert with relatively little effort, achieving bakery-quality results at home.
Mastering the Shortbread Tart Crust: A Step-by-Step Guide
Ingredients for the Shortbread Tart Crust
Creating a perfect, buttery shortbread crust for your easy summer fruit tart requires just a few pantry staples. You'll need approximately 1 cup (2 sticks or 225g) of unsalted butter, softened to room temperature. Using unsalted butter allows you to control the salt level in your crust. Granulated sugar is next, about 1/2 cup (100g), which provides sweetness and contributes to the tender texture. Finally, all-purpose flour, around 2 cups (250g), forms the structure of the crust.
Optional additions can enhance the flavor profile. A pinch of salt, perhaps 1/4 teaspoon, balances the sweetness and brings out the butter flavor. For a hint of warmth, consider adding 1 teaspoon of vanilla extract or 1/2 teaspoon of almond extract. Some recipes might also call for a tablespoon or two of ice water, though a good shortbread dough often comes together without it when the butter is at the right consistency. Using cold water, if needed, helps keep the butter firm, contributing to flakiness if you choose to roll (though for this press-in method, it's less critical).
Equipment Needed for the Shortbread Crust
You don't need a professional bakery setup to make this easy summer fruit tart crust. Basic kitchen tools are sufficient. A large mixing bowl is essential for combining the ingredients. For incorporating the butter into the dry ingredients, a pastry blender, two forks, or even just your fingertips will work perfectly. A stand mixer fitted with a paddle attachment or a hand mixer can also make the process even quicker, but it's not strictly necessary.
To form the crust, you will need a tart pan, preferably one with a removable bottom, which makes serving significantly easier. A 9-inch or 10-inch tart pan is a standard size and works well for this recipe. Parchment paper or aluminum foil and pie weights (or dried beans or rice) will be needed for blind baking, which helps prevent the crust from puffing up or shrinking during the initial bake. Measuring cups and spoons are also required for accurate ingredient proportions.
Preparing the Dough: A Simple Method
Preparing the dough for this easy summer fruit tart crust is incredibly simple, relying on the "cut-in" method or creaming method depending on how soft your butter is. If using softened butter, you can cream it with the sugar until light and fluffy using a mixer or wooden spoon, which takes about 2-3 minutes.
Then, gradually add the flour and salt (if using), mixing on low speed or stirring with a spoon until the mixture is crumbly and just begins to come together into large clumps. Avoid overmixing, as this can develop the gluten and result in a tough crust instead of a tender, shortbread texture.
Alternatively, if starting with slightly firmer butter (though still pliable), you can cut the cold butter into small cubes and use a pastry blender or your fingers to work it into the flour and sugar mixture until it resembles coarse crumbs. This method is often used for flakier crusts but works here too for a tender result. Once the dough is crumbly, gather it gently with your hands and press it into a ball. It should hold together without being sticky.
Wrap the dough ball tightly in plastic wrap and refrigerate for at least 30 minutes. This chilling period is crucial; it firms up the butter, making the dough easier to handle and press into the pan, and helps the crust hold its shape during baking. A chilled dough is less likely to shrink excessively.
Blind Baking the Perfect Tart Shell
Blind baking is a vital step in preparing the crust for your easy summer fruit tart, especially since the filling is often no-bake or requires minimal cooking. This process partially or fully bakes the crust before the filling is added, ensuring a crisp bottom that won't become soggy from the moisture in the filling or fruit. To blind bake, first press your chilled dough evenly into the tart pan, pushing it up the sides.
Ensure the thickness is relatively uniform, about 1/4 inch. Use the bottom of a glass or a flat measuring cup to help press the dough firmly into the base and up the fluted sides for a neat edge. Prick the bottom of the dough all over with a fork; this creates small vents that prevent the crust from puffing up unevenly.
After shaping and pricking, chill the lined tart shell in the freezer for another 15-20 minutes. This helps the butter solidify again, providing structure for the initial bake. Preheat your oven to 375°F (190°C).
Line the chilled crust with parchment paper or aluminum foil, pressing it gently against the sides. Fill the liner with pie weights, dried beans, or rice, distributing the weight evenly across the bottom and sides. Bake for 15-20 minutes, or until the edges are just starting to look dry and set.
Carefully remove the weights and liner. If the recipe calls for a fully baked crust, return the shell to the oven for another 5-10 minutes, or until the bottom is lightly golden brown. For this easy summer fruit tart, a partially baked crust (just until set) is often sufficient as it will finish baking slightly with the filling (if the filling is baked) or hold up well against a no-bake filling after cooling.
Assembling the Easy Summer Fruit Tart: A Flavorful Filling
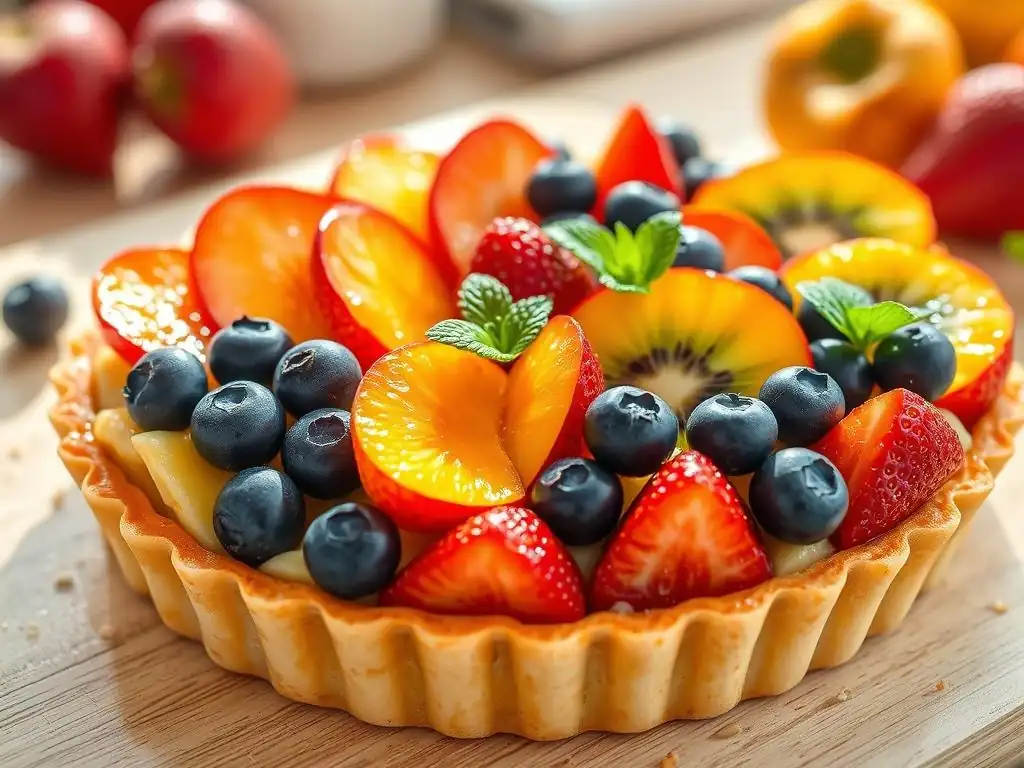
The Secret to a Delicious Tart Filling: Pastry Cream
A classic filling for an easy summer fruit tart is a smooth, rich pastry cream (Crème Pâtissière). While it sounds fancy, it's surprisingly straightforward to make. The basic ingredients include milk (whole milk yields the richest result), sugar, egg yolks (which provide richness and act as a thickener), and a starch like cornstarch or flour to stabilize it.
Vanilla is a common flavoring, often added in the form of an extract or a vanilla bean scraped into the milk. A typical recipe might call for 4-6 egg yolks, 1/2 cup of sugar, 1/4 cup of cornstarch, and 2 cups of milk.
The process involves gently heating the milk, whisking the egg yolks with sugar and starch until pale, tempering the hot milk into the egg mixture gradually, then returning the mixture to the saucepan and cooking over medium heat, whisking constantly, until it thickens considerably – usually just a few minutes after it comes to a simmer. It's crucial to cook it long enough to cook out the starchy taste and reach a thick, pudding-like consistency, but not so long that the eggs curdle.
Once thickened, it's often strained for smoothness, a knob of butter is sometimes whisked in for glossiness, and it's cooled completely, usually covered with plastic wrap pressed directly onto the surface to prevent a skin from forming. This creamy base provides a wonderful contrast to the fresh, bright flavors of the summer fruits.
Selecting the Best Summer Fruits for Your Tart
The beauty of an easy summer fruit tart lies in showcasing the vibrant bounty of the season. The best fruits to use are those that are ripe, flavorful, and readily available during the summer months. Berries are a perennial favorite: strawberries, blueberries, raspberries, and blackberries offer a mix of sweetness and slight tartness, and their varied colors create a stunning visual display. A 9-inch tart can easily accommodate 3-4 cups of mixed berries.
Other excellent choices include stone fruits like peaches, plums, and nectarines, which become incredibly sweet and juicy when ripe. These are often sliced or diced. Tropical fruits like kiwi or mango can also work, adding a different dimension of flavor and color.
Consider the texture and juiciness; firmer fruits hold their shape well, while very juicy fruits might need careful placement or a slightly thicker glaze to prevent sogginess. Aim for a variety of colors and shapes for the most appealing presentation – think bright red strawberries, deep blue blueberries, vibrant green kiwi slices, and sunny yellow peach segments. Using approximately 4-5 cups of prepared fruit is usually sufficient to generously cover a 9-10 inch tart.
Preparing the Fruit for a Stunning Tart Display
Properly preparing the fruit is key to both the taste and the visual appeal of your easy summer fruit tart. Begin by gently washing all the fruit under cool water. For berries, pat them dry thoroughly with paper towels; excess moisture can make the tart soggy. Hull strawberries and slice them if they are large; smaller berries like blueberries or raspberries can be left whole.
Stone fruits like peaches or plums need to be pitted and then sliced or cut into wedges or chunks, depending on your desired arrangement pattern. Peeling peaches is optional but often preferred for a smoother texture; you can easily peel them by briefly dipping them in boiling water for 30 seconds, then transferring them to an ice bath. Fruits like kiwi should be peeled and sliced.
Aim for relatively uniform piece sizes for a neat look, but don't be afraid to experiment with different cuts. Prepare all your fruit before you begin assembling the tart, keeping different types separate if you plan a specific color pattern. Having everything ready makes the assembly process much smoother and quicker.
Arranging the Fruit on Your Summer Tart: A Visual Guide
Simple Fruit Arrangement Techniques for an Elegant Tart
Arranging the fruit on your easy summer fruit tart is where you can let your creativity shine. Even simple techniques can result in an elegant and professional-looking dessert. One straightforward method is concentric circles. Start with one type of fruit around the outer edge, perhaps overlapping slices slightly, then move inward with different fruits or shapes, ending with a focal point in the center, like a cluster of berries or a single large strawberry. This provides a sense of order and makes the tart look full and abundant.
Another easy technique is arranging fruit in wedges or spokes, radiating out from the center. You could use slices of one fruit, like peaches or kiwis, laid out like pie slices, or alternate different types of fruit in each wedge section. For a more rustic or casual look, simply scatter a colorful mix of berries and smaller fruit pieces artfully over the surface of the pastry cream.
The key is to cover the entire surface evenly so that every slice of the tart gets a good amount of fruit. Don't be afraid to gently press the fruit pieces into the pastry cream slightly to help them stay in place, especially if the tart will be transported.
Creating a Colorful and Appealing Fruit Pattern
A colorful fruit pattern significantly enhances the appeal of your easy summer fruit tart. Think about complementary colors and how they look together. Combining red strawberries, blue blueberries, and green kiwi creates a vibrant, classic summer palette. You could arrange these in alternating rings or sections. For a warmer scheme, pair yellow peaches with red raspberries.
Consider the different shapes and sizes of your prepared fruit. Large strawberry slices can form the outer ring, followed by lines of smaller raspberries or blueberries. Wedges of stone fruit can be alternated with clusters of berries. Don't just layer the fruit flat; add some dimension by slightly overlapping slices or piling smaller berries in gentle mounds.
A central design element, like a spiral of fruit or a contrasting color, can draw the eye. Aim for a balance of colors across the tart so that each slice is visually appealing. Practice different layouts on a plate before placing the fruit on the tart if you're unsure. Remember, even a simple mix artfully scattered looks beautiful on a creamy background.
Glazing and Finishing Your Easy Summer Fruit Tart
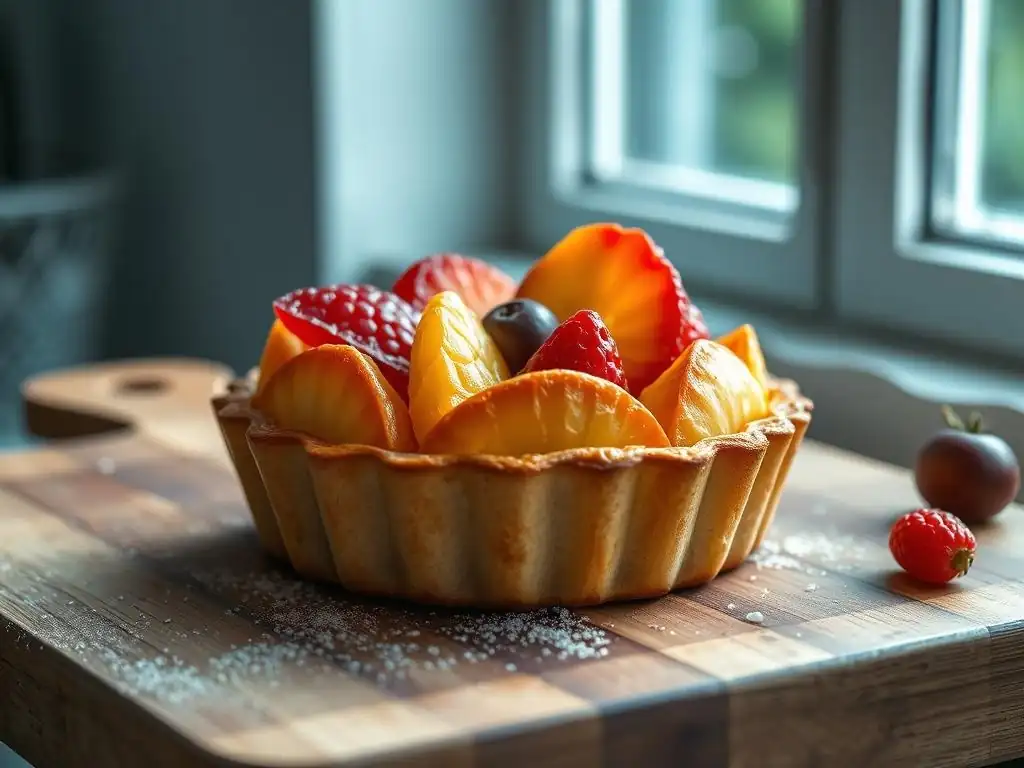
Making a Simple Fruit Tart Glaze: Apricot Jam Glaze
A simple yet effective glaze is essential for giving your easy summer fruit tart a professional finish and preserving the fruit's fresh appearance. One of the easiest glazes to make at home uses apricot jam. Apricot jam has a neutral, slightly sweet flavor that complements most fruits without overpowering them, and it melts down to a beautiful, clear glaze. You'll typically need about 1/4 to 1/2 cup of apricot jam, depending on how much fruit you have and how thick you want the glaze.
To make the glaze, place the apricot jam in a small saucepan over low heat. Stir constantly until the jam is melted and smooth. It should be liquid but still have some body. For a thinner, more pourable glaze, you can add a tablespoon or two of water, orange juice, or a clear fruit juice like apple juice and stir until combined and heated through. Some recipes suggest straining the melted jam through a fine-mesh sieve to remove any fruit chunks, resulting in a perfectly smooth glaze. Once melted and potentially thinned/strained, the glaze is ready to be applied.
Adding Shine and Preserving Freshness with the Glaze
Applying the apricot jam glaze to your easy summer fruit tart serves two main purposes: it adds a beautiful, glossy shine that makes the fruit look incredibly appealing, and it helps to protect the fruit from drying out or oxidizing (turning brown), thus preserving its fresh appearance for longer. Once your fruit is arranged on the cooled pastry cream, gently brush or spoon the warm, melted apricot glaze over the surface of the fruit.
Ensure you cover all the fruit pieces evenly. A pastry brush works well for this, allowing you to get into crevices and coat each piece thoroughly. Work carefully to avoid disturbing the fruit arrangement. The glaze will set as it cools, creating a thin, protective layer. This not only enhances the visual appeal by making the colors pop but also seals in moisture, keeping the fruit looking vibrant and fresh for serving. This simple step elevates your homemade easy summer fruit tart from tasty to absolutely stunning.
Tips and Tricks for the Best Summer Fruit Tart
Preventing a Soggy Tart Crust
A common frustration with fruit tarts is a soggy bottom crust. For this easy summer fruit tart with a shortbread crust, several steps help prevent this. First and foremost, blind baking the crust is crucial. Fully baking the crust until golden brown before adding the filling creates a barrier against moisture. Ensure the crust is completely cooled before adding the pastry cream and fruit; putting filling into a warm crust creates steam, which leads to sogginess.
Using a relatively thick pastry cream layer also helps absorb some moisture. Additionally, consider brushing the inside of the fully baked and cooled tart shell with a thin layer of melted white chocolate or a simple egg white wash (beaten egg white brushed on and baked for a few minutes until set) before adding the filling. This creates an extra waterproof barrier. Lastly, add the fruit and glaze as close to serving time as possible, ideally within a few hours, especially with very juicy fruits like berries or peaches, to minimize the time moisture has to penetrate the crust.
Storing Your Easy Summer Fruit Tart for Optimal Freshness
To keep your easy summer fruit tart looking and tasting its best, proper storage is essential. Once assembled and glazed, the tart should be refrigerated. Loosely cover the tart with plastic wrap or place it in a large airtight container. This protects it from absorbing odors from the refrigerator and helps maintain the freshness of the fruit and cream.
When stored correctly in the refrigerator, an easy summer fruit tart is typically best enjoyed within 2-3 days. The crust will gradually soften over time, but the flavors should remain good. For optimal texture, especially the crispness of the crust, serve the tart the same day it's assembled if possible. Avoid leaving the tart at room temperature for extended periods, as the pastry cream is perishable and the fruit can start to wilt. If you need to transport it, keep it chilled in a cooler.
Variations and Adaptations: Berry Medley Tart
This easy summer fruit tart recipe is incredibly versatile and can be adapted using various fruit combinations and flavor profiles. A popular and simple variation is a Berry Medley Tart. Instead of a mix of different fruit types, focus solely on the abundance of summer berries – strawberries, blueberries, raspberries, and blackberries. Use roughly equal parts or vary the proportions based on your favorites.
For this variation, the preparation is minimal: wash and dry the berries, hulling and slicing only the larger strawberries. The pastry cream base remains the same, offering a creamy contrast to the vibrant, slightly tart berries. Arrange the mixed berries artfully over the cream, perhaps creating swirls or clusters of different colors.
Glaze with the standard apricot jam glaze or a raspberry jam glaze for an extra berry boost. This Berry Medley Tart is a celebration of summer's most beloved fruits, offering a burst of flavor in every bite and making for a truly easy summer fruit tart experience focused purely on berries.
Serving Your Delightful Easy Summer Fruit Tart
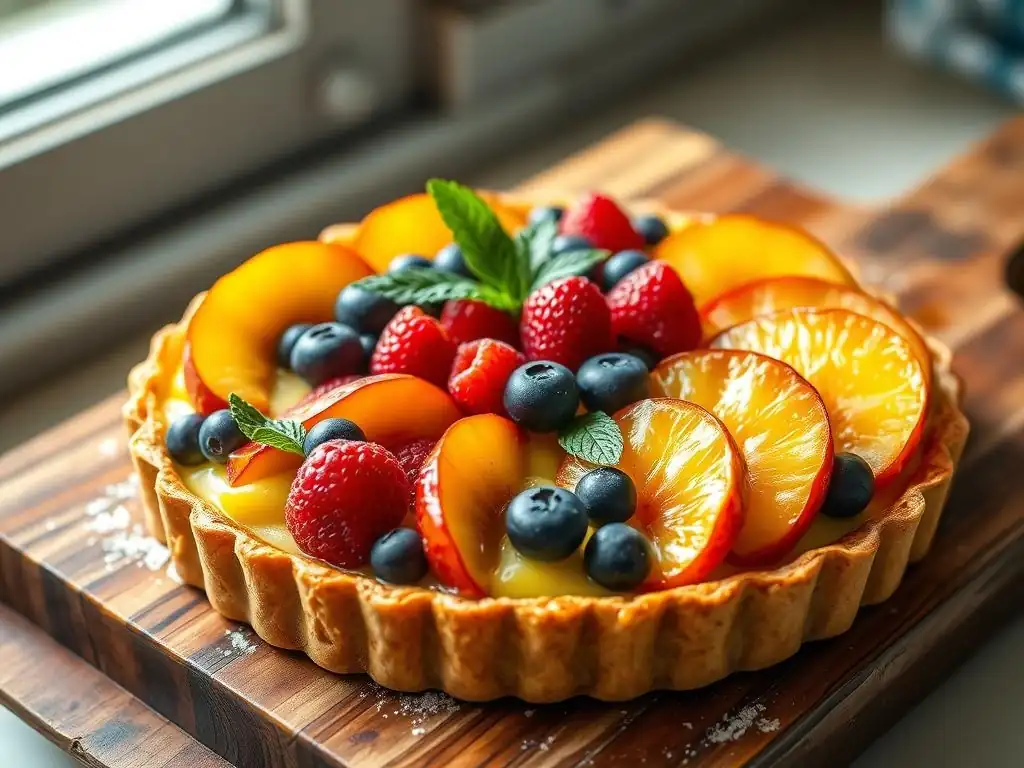
Perfect Pairings for Your Summer Tart: Vanilla Ice Cream
Serving your homemade easy summer fruit tart is the culmination of your baking efforts! While it's absolutely delicious on its own, pairing it with a simple accompaniment can elevate the experience. A scoop of high-quality vanilla ice cream is a classic and perfect pairing. The cool, creamy richness of the ice cream provides a wonderful contrast in temperature and texture to the crisp crust, smooth pastry cream, and fresh fruit. The pure vanilla flavor complements the sweetness and tartness of the fruit without competing with it.
Other excellent pairings include a dollop of freshly whipped cream or a drizzle of crème fraîche for a slightly tangy counterpoint. For coffee lovers, a hot cup of coffee or espresso makes a lovely accompaniment, with the bitterness balancing the sweetness of the tart. On a warm summer day, a glass of chilled sparkling wine or prosecco can also be a delightful match, adding a festive touch. Consider serving individual slices on dessert plates to showcase the beautiful fruit arrangement you created.
Enjoying the Fruits of Your Labor: A BakeWithEase Success!
Congratulations! You've successfully created a stunning and delicious easy summer fruit tart using our BakeWithEase recipe. Take a moment to appreciate the vibrant colors and inviting aroma of your creation. This easy fruit tart is more than just a dessert; it's a testament to how simple techniques and fresh ingredients can come together to produce something truly special.
Sharing this tart with friends and family is one of the most rewarding parts of baking. Watch their faces light up as they admire the beautiful presentation and savor the delightful combination of the buttery shortbread crust, smooth pastry cream, and luscious summer fruits. You've mastered a classic dessert without the stress, proving that easy summer fruit tart baking is well within your reach. We hope this experience encourages you to explore more recipes and continue your baking journey with BakeWithEase!
Troubleshooting Your Easy Summer Fruit Tart
Common Baking Problems and How to Solve Them
Even with an easy recipe, occasional hiccups can occur. One common issue with tart crusts is shrinkage during baking. This can happen if the dough wasn't chilled enough, was overworked (developing gluten), or if the sides weren't pressed firmly enough into the pan.
To mitigate this, ensure adequate chilling time (at least 30-60 minutes), handle the dough gently, and press it firmly into the pan, ensuring the sides are well-supported. Using pie weights during blind baking is also critical for preventing shrinkage and puffing. If you notice significant shrinkage during blind baking, you can sometimes gently press the hot crust back up the sides with the back of a spoon or a heatproof tool, but this is best avoided by proper chilling and weighting initially.
Another potential problem is a runny pastry cream. This usually indicates it wasn't cooked long enough or at a high enough temperature to fully activate the starch thickener. Ensure you bring the mixture to a gentle boil (small bubbles should break the surface) and cook, whisking constantly, for at least 1-2 minutes after it thickens to ensure the starch is fully hydrated and the thickening is stable.
Make sure to measure your starch accurately; too little will result in a loose cream. If your cream is slightly thin after cooling, you can sometimes whisk in a bit of softened butter or cream cheese, or gently reheat it with a teaspoon more cornstarch mixed with a tablespoon of milk, cooking again until thickened, then cooling completely.
Achieving Tart Perfection: A BakeWithEase Guide to Success
Achieving tart perfection with your easy summer fruit tart is about paying attention to a few key details. Start with quality ingredients – good butter makes a significant difference in the shortbread crust, and using ripe, in-season fruit ensures the best flavor. Precision in measuring ingredients, especially for the pastry cream where ratios of starch, sugar, and liquid are important, contributes to a consistent result.
Follow the instructions regarding chilling times; chilling the dough is not an optional step but a crucial one for handling and texture. Don't rush the blind baking process; a properly baked crust is the foundation of a non-soggy tart. When assembling, ensure the pastry cream is completely cooled before adding it to the crust, and the fruit is dry after washing.
Finally, don't skip the glaze; it adds that professional touch and helps keep the fruit looking its best. By focusing on these elements, you'll consistently create a beautiful and delicious easy summer fruit tart that looks and tastes like it came from a high-end patisserie.
Frequently Asked Questions
What makes this summer fruit tart easy to make?
The recipe focuses on simple techniques and uses easily accessible ingredients. The crust is designed to be quick and forgiving, perfect for beginner bakers.
Can I substitute different fruits in the tart?
Absolutely! Feel free to use any seasonal fruit you enjoy. Berries, stone fruits like peaches or plums, and even kiwi work wonderfully.
How long does the tart need to chill before serving?
It's best to chill the tart for at least 2 hours to allow the filling to set properly. This also enhances the flavors and makes it easier to slice.
What if I don't have a tart pan?
You can use a pie dish instead, or even a baking sheet lined with parchment paper to create a free-form galette. Just adjust the baking time accordingly.
How do I prevent the crust from getting soggy?
Blind baking the crust before adding the filling helps to prevent sogginess. Also, a thin layer of melted chocolate or jam on the bottom crust can act as a barrier.
The ease of crafting a beautiful and delicious summer fruit tart belies its profound ability to connect us to the season's bounty and to each other. This simple recipe, designed for even the most novice baker, transcends its practical application; it becomes a vehicle for creating cherished memories and savoring the fleeting sweetness of summer. The vibrant colors and fresh flavors are a testament to nature's artistry, readily accessible to anyone willing to try.
The impact of simple pleasures like baking a fruit tart extends far beyond the immediate gratification of a taste bud. It's a practice that fosters connection – sharing a slice with loved ones, creating a centerpiece for a gathering, or simply enjoying a quiet moment of self-care. The best things in life are simple.
This sentiment rings truer than ever when considering the joy derived from such a seemingly small act as baking a tart, filled with the sun-kissed flavors of summer. The process itself, from selecting the perfect fruits to the satisfying crumble of the crust, is a meditative experience that allows for a mindful connection with both the ingredients and oneself.
Now, I invite you to consider the possibilities. Don't just bake this tart; experience it. Embrace the simplicity of the recipe, allowing yourself to be present in the process. Share the fruits of your labor with those you cherish, and let the sweet taste of summer linger long after the last slice is gone. Let this recipe be a reminder to find joy in the simple things, to connect with nature, and to savor the moments that truly matter.
Unlock Your Inner Pastry Chef: Bake This Tart Today!
Thanks for taking the time to explore this simple summer fruit tart recipe! We hope you gained some confidence in your baking abilities and discovered a new favorite dessert. Now it's time to put your newfound skills to the test.
- Bake your own delicious tart: Gather your ingredients and get baking! The recipe is designed to be easily adaptable to your favorite fruits.
- Share your creation: Snap a photo of your finished tart and share it on social media using #BakeWithEaseSummerTart – we’d love to see your masterpiece!
- Experiment with flavors: What unique fruit combinations will you try next? Let your creativity shine!
Ready to transform your kitchen into a summery paradise? What's your favorite seasonal fruit to feature in a tart?