
Foolproof Mini Apple Pies: Simple Steps for Success

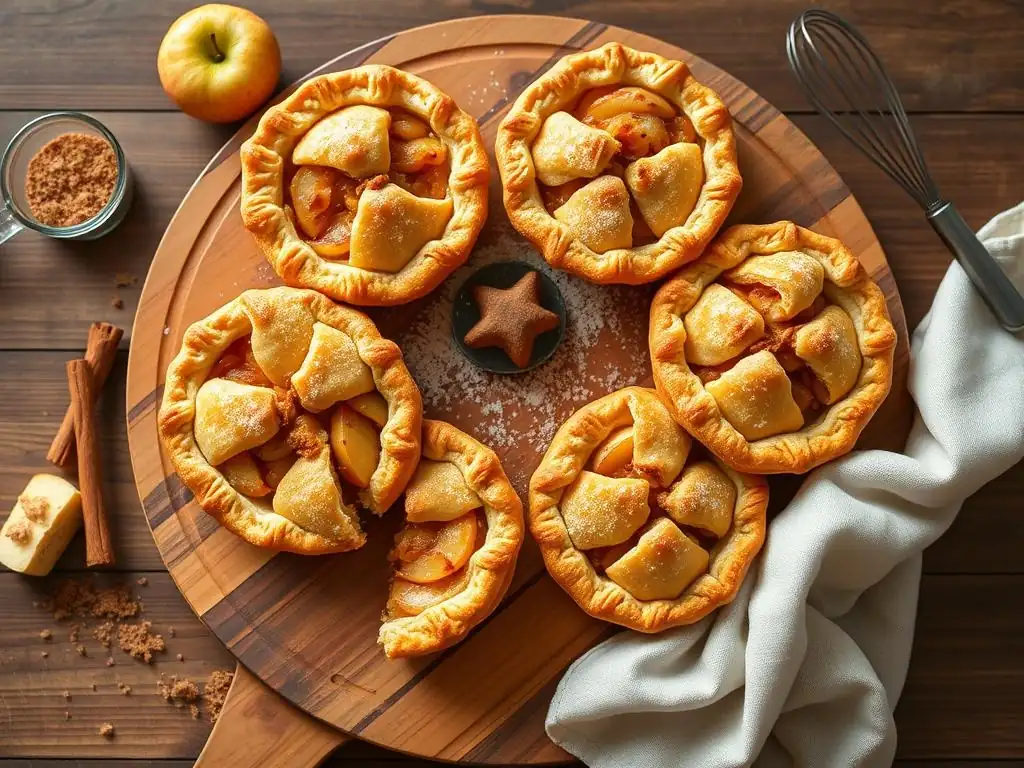
Welcome to BakeWithEase, your trusted companion on your baking journey! Ever dreamed of creating perfectly portioned, irresistible treats? Well, you're in the right place. Get ready to unlock the secrets to our Foolproof Mini Apple Pie recipe – a delightful introduction to the world of pastry and desserts that's surprisingly simple. Intrigued? Discover the easy-to-follow steps that will have you baking like a pro in no time... keep reading to learn more!
- BakeWithEase' Guide to Perfect Mini Apple Pies
- Why Mini Apple Pies Are the Perfect Dessert
- Essential Ingredients for Foolproof Mini Apple Pies
- Step-by-Step Instructions: Baking Your Mini Apple Pies
- Tips and Tricks for Foolproof Mini Apple Pies
- Serving Suggestions for Your Delicious Mini Apple Pies
- Variations on the Classic Mini Apple Pie Recipe
- Enjoy Your Homemade Mini Apple Pies!
- Frequently Asked Questions
- Final Reflection: The Sweetness of Simplicity and Success
- Unlock Your Inner Pie Master!
BakeWithEase' Guide to Perfect Mini Apple Pies
Discover the Secret to Easy and Delicious Mini Apple Pies
Making a classic apple pie can sometimes feel daunting, especially for those new to baking. However, scaling down the recipe to create individual mini apple pies transforms the process into a much more manageable and, dare we say, foolproof endeavor. The smaller size means faster baking times and less risk of an unevenly cooked crust or a runny filling in the center. It's a fantastic way to build confidence in pie making while producing adorable, delicious results.
This guide will walk you through each step, emphasizing techniques that minimize common pitfalls. Whether you're using homemade pastry or store-bought, selecting the right apples, or mastering the perfect bake time, our aim is to make your experience crafting a batch of foolproof mini apple pies enjoyable and successful. Get ready to impress yourself and your loved ones with these delightful individual treats!
Why Mini Apple Pies Are the Perfect Dessert
Portion Control: Enjoying Apple Pie in Moderation
One of the significant advantages of baking foolproof mini apple pies is the inherent portion control they offer. Instead of facing a large pie and the temptation to cut overly generous slices, each mini pie is a single, pre-portioned serving. This makes it much easier to enjoy a sweet treat responsibly, satisfying your craving without overindulging.
For instance, a typical slice of apple pie can range from 300 to over 500 calories depending on ingredients and size. A mini apple pie, using standard muffin tin dimensions (approx. 2.5-3 inches in diameter), generally falls into a more modest range, perhaps between 200 and 350 calories. This allows you to enjoy the comforting flavors of apple pie as a delightful individual dessert without the guesswork of portioning.
Perfect for Parties: Individual Apple Pie Delights
Foolproof mini apple pies are an absolute hit at any gathering, from casual potlucks to more formal celebrations. Their individual size eliminates the need for plates and forks for slicing, making them incredibly convenient for guests to grab and enjoy. Imagine a dessert table where each guest can pick up their own perfectly formed, golden-brown pie – it’s both charming and practical.
Furthermore, mini pies offer a beautiful presentation opportunity. They can be arranged on platters, stacked pyramid-style, or even presented in individual boxes or wrappers for party favors. Compared to slicing a large pie, which can sometimes result in messy, collapsing pieces, mini pies maintain their structural integrity beautifully, ensuring every guest receives a picture-perfect dessert.
Beginner-Friendly Baking: Mastering Apple Pie Basics
If you're new to baking or specifically new to pie making, tackling a full-sized pie can feel intimidating. There's a lot of dough to handle, a large filling to manage, and a bigger surface area to bake evenly. Foolproof mini apple pies simplify these challenges significantly, making them an excellent starting point for beginners.
Working with smaller amounts of dough is less cumbersome and easier to handle without tearing or becoming overworked. Filling mini pie shells requires less volume, reducing the risk of a soggy bottom crust from excessive liquid. The shorter baking time in a muffin tin or mini pie pan also means you're less likely to underbake the center or burn the edges. It's a low-stakes way to practice essential pie techniques like rolling dough, creating edges, and achieving a perfectly baked crust.
Essential Ingredients for Foolproof Mini Apple Pies
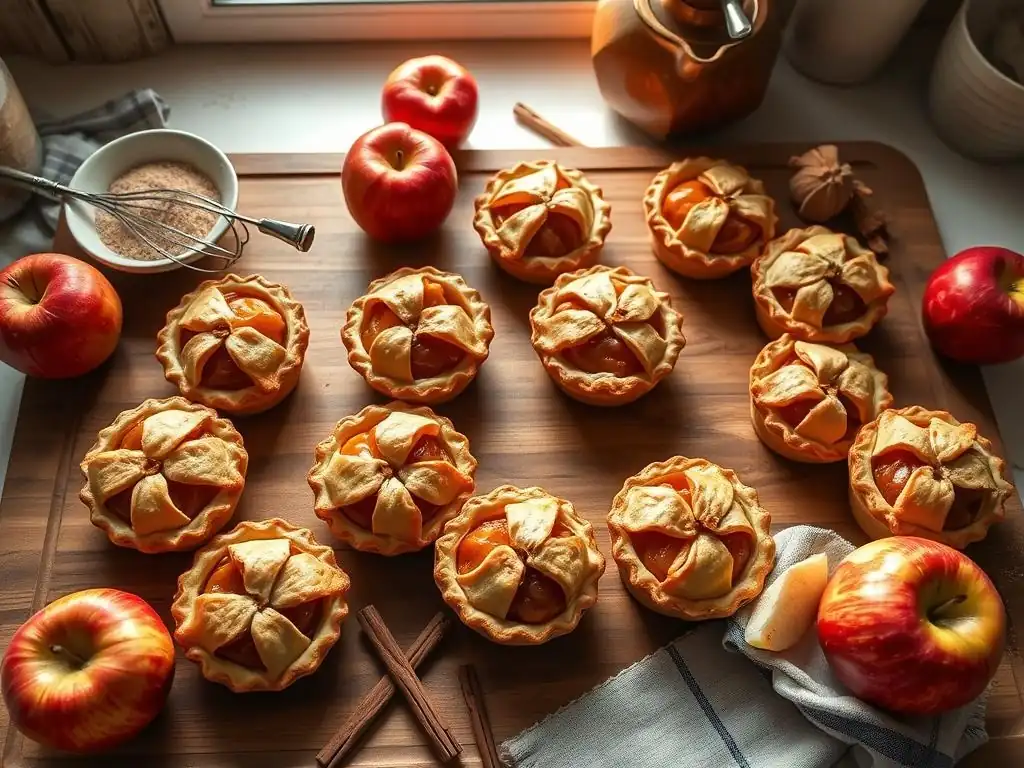
The Best Apples for Mini Apple Pies: Honeycrisp, Gala, and Granny Smith
The type of apple you choose is crucial for the success of your foolproof mini apple pies. You want apples that hold their shape reasonably well when baked but still become tender, and offer a balanced flavor profile. A single variety can work, but a mix often provides the best results, combining sweetness, tartness, and texture.
Honeycrisp apples are a fantastic choice because they remain somewhat firm and crisp after baking, preventing a mushy filling. Gala apples offer a pleasant sweetness and soften nicely. Granny Smith apples are a classic for their tartness, which provides a much-needed counterpoint to the sweetness of the sugar and spices in the filling. Using a blend, perhaps two parts sweet/mild (like Honeycrisp or Gala) to one part tart (Granny Smith), creates a complex and delicious foolproof mini apple pie filling.
Choosing the Right Pie Crust: Homemade vs. Store-Bought
When aiming for a foolproof mini apple pie, your choice of pie crust can significantly impact the ease of the process. Homemade pie crust offers superior flavor and texture – buttery, flaky layers that are truly rewarding. However, it requires time, practice, and can be sensitive to temperature and handling, posing a potential challenge for beginners.
Store-bought pie crust, whether refrigerated rolls or frozen sheets, offers unparalleled convenience and reliability. While the flavor may not be as rich as homemade, modern store-bought options are quite good and are specifically designed to be easy to work with. For a truly foolproof mini apple pie, especially if you're new to baking, using quality store-bought crust is a perfectly acceptable and recommended approach to ensure success with the assembly and baking steps.
Key Spices for Authentic Apple Pie Flavor: Cinnamon, Nutmeg, and Allspice
The warm, comforting aroma and taste of apple pie are largely due to its signature spice blend. Cinnamon is the cornerstone, providing sweetness and warmth. Ground nutmeg adds a slightly nutty, pungent depth that complements the apple beautifully. Allspice, with its notes of clove, cinnamon, and nutmeg, ties the flavors together and adds complexity.
A typical ratio for apple pie filling might involve 1 to 1.5 teaspoons of cinnamon, 1/4 to 1/2 teaspoon of nutmeg, and a pinch (around 1/8 teaspoon) of allspice per 6-8 medium apples (roughly 2 pounds). Adjust these amounts to your preference. Using fresh, potent spices is key to achieving that authentic, irresistible apple pie flavor in your foolproof mini apple pies.
Step-by-Step Instructions: Baking Your Mini Apple Pies
Preparing the Apple Filling: A Detailed Guide
Peeling and Dicing the Apples for Optimal Texture
Start by peeling, coring, and dicing your chosen apples. The size of the dice matters for even cooking. Aim for pieces roughly 1/2 inch to 3/4 inch in size. If the pieces are too large, they may not soften sufficiently during the relatively short baking time of mini pies. If they are too small, they can turn mushy.
Using an apple peeler/corer machine can significantly speed up this process, especially if you are making a large batch of foolproof mini apple pies. Otherwise, a sharp vegetable peeler and a paring knife work perfectly well. Ensure all tough core remnants are removed before dicing evenly.
Creating the Perfect Spice Blend for Apple Pie
In a large bowl, combine your diced apples with sugar (granulated or brown sugar, or a mix), the spice blend (cinnamon, nutmeg, allspice), a pinch of salt (enhances sweetness), and a thickening agent like all-purpose flour, cornstarch, or tapioca starch. For approximately 6-8 medium apples, you might use 1/4 to 1/2 cup of sugar and 2-3 tablespoons of flour or starch.
Toss everything gently to coat the apple pieces evenly. Adding a splash of lemon juice (about 1-2 teaspoons) at this stage can brighten the apple flavor and prevent browning, contributing to a more vibrant foolproof mini apple pie filling.
Cooking the Apple Filling: Achieving the Right Consistency
While some recipes add the apple filling raw to the crust, pre-cooking the filling slightly is a great technique for foolproof mini apple pies. This helps to soften the apples slightly, allowing them to pack more densely into the small pie shells and reduces the amount of juice that cooks out during baking, which can lead to a soggy bottom crust.
Heat the apple mixture in a saucepan over medium heat for about 5-10 minutes, stirring occasionally, until the apples have softened slightly and the juices have thickened into a light syrup. Don't cook them until they are fully soft; they will finish cooking in the oven. Let the filling cool slightly before assembling the pies.
Assembling the Mini Apple Pies: A Visual Walkthrough
Preparing the Pie Crust: Rolling and Cutting Techniques
If using refrigerated pie crusts, let them sit at room temperature for 10-15 minutes to become pliable. For frozen crusts, thaw according to package directions. Gently unroll the crust. For mini pies baked in standard muffin tins, you'll need circles of dough large enough to line the cavity and have some overhang. A common size is 4-5 inches in diameter.
Use a round cookie cutter or a sharp knife to cut out your circles. You'll need one circle per mini pie for the bottom crust. For the tops, you can cut out smaller circles, strips for a lattice, or decorative shapes using small cookie cutters. Handle the dough gently to keep it tender, which is essential for a foolproof mini apple pie crust.
Filling the Mini Pie Crusts: Preventing Overflow
Carefully press each dough circle into the cavity of a greased muffin tin, molding it to fit the bottom and sides. Ensure there are no air bubbles trapped underneath. Trim any excessive overhang, leaving about 1/2 inch around the top edge.
Spoon the prepared apple filling into each crust-lined cavity. Fill them generously but avoid overfilling, which can cause the filling to bubble over during baking. Leave a small amount of space (about 1/4 inch) at the top to allow for expansion. This is a key step in making sure your foolproof mini apple pies bake up neatly.
Creating Decorative Pie Crust Tops: Lattice, Cutouts, or Streusel
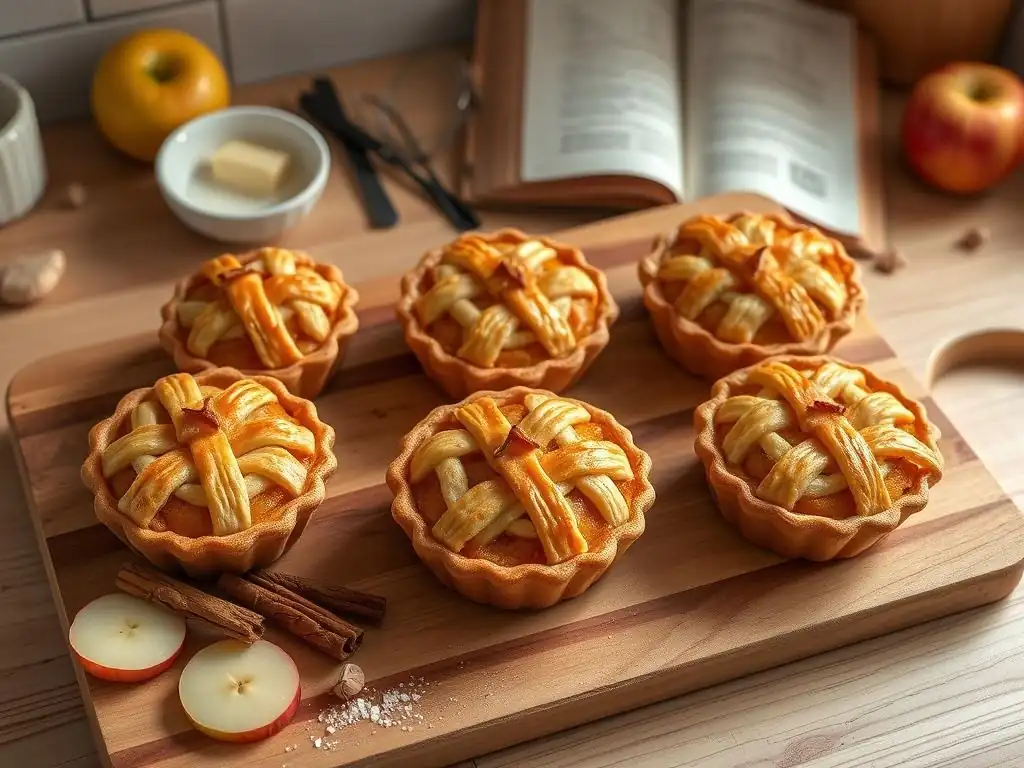
Now, add your pie tops. If using a second crust, place a dough circle over the filling, crimping the edges with the bottom crust overhang to seal. Cut small vents in the top crust with a knife to allow steam to escape. For a lattice top, weave strips of dough over the filling and crimp the edges. Alternatively, place decorative cutouts on top of the filling (no need to vent if using cutouts).
Another popular option for a foolproof mini apple pie top is a streusel or crumb topping. This is made by combining flour, sugar, spices, and cold butter until crumbly, then sprinkling it generously over the apple filling before baking. This eliminates the need for a top crust entirely and adds a delightful texture.
Baking Your Mini Apple Pies to Golden Perfection
Oven Temperature and Baking Time: Avoiding Common Mistakes
Preheat your oven to the correct temperature, typically between 375°F and 400°F (190°C to 200°C). This temperature range helps ensure the crust bakes through and becomes golden before the filling overcooks. Baking time for foolproof mini apple pies is significantly shorter than for a large pie, usually ranging from 20 to 30 minutes.
Common mistakes include not preheating the oven fully or guessing the baking time. Always allow the oven to reach the set temperature before putting the pies in. Start checking for doneness around the 20-minute mark. The pies are ready when the crust is golden brown and you can see the filling bubbling slightly through any vents or along the edges.
Achieving a Golden-Brown Crust: Tips and Tricks
For a beautiful, golden-brown finish on your foolproof mini apple pies, consider applying an egg wash or milk wash to the top crust before baking. Whisk one egg with a tablespoon of water or milk and lightly brush it over the dough. This promotes browning and adds a slight sheen.
If you notice the edges of your mini pies browning too quickly while the center is still pale, you can loosely tent the muffin tin with aluminum foil. This reflects heat away from the edges, allowing the rest of the crust to catch up. Rotating the baking sheet halfway through the baking time also helps ensure even browning.
Cooling and Storing Your Mini Apple Pies: Preserving Freshness
Once your foolproof mini apple pies are baked to golden perfection, remove the muffin tin from the oven. It's crucial to let them cool in the tin for at least 10-15 minutes before attempting to remove them. This allows the filling to set slightly and the crust to firm up, making them easier to handle without breaking.
After the initial cooling in the tin, carefully transfer the mini pies to a wire rack to cool completely. Store cooled mini apple pies at room temperature for 1-2 days, covered loosely. For longer storage, refrigerate for up to 4-5 days. For best texture, gently reheat refrigerated pies in a warm oven (around 300°F or 150°C) for 5-10 minutes before serving.
Tips and Tricks for Foolproof Mini Apple Pies
Preventing Soggy Crust: A Baker's Secret
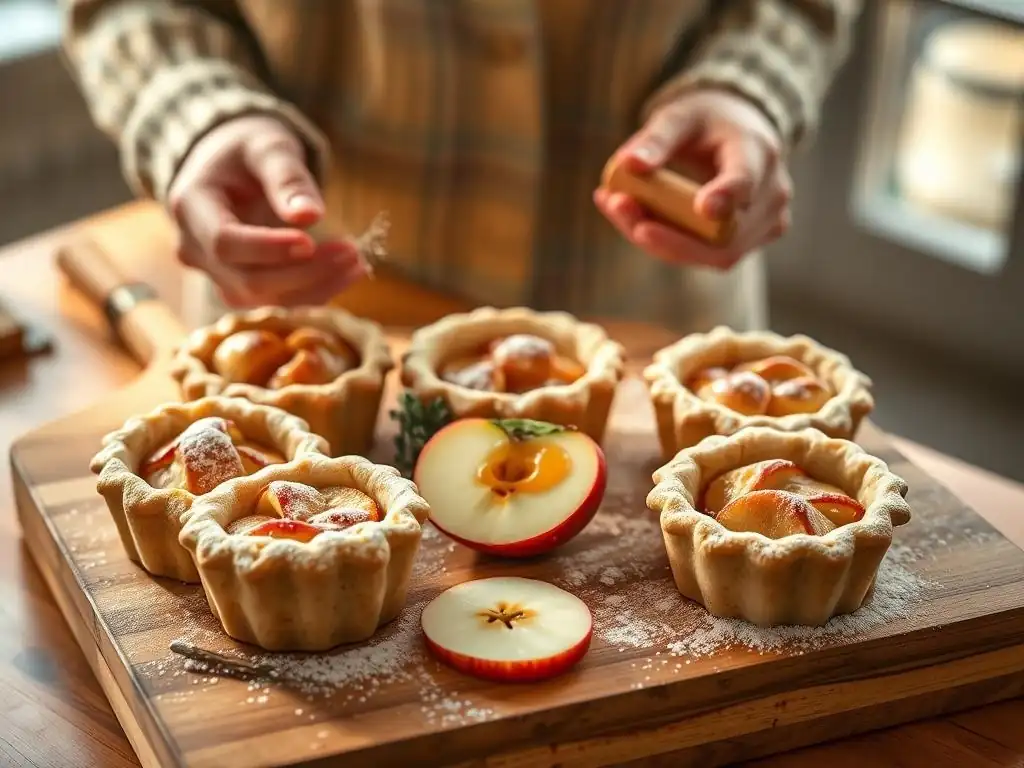
A soggy bottom crust is a common frustration in pie baking, but there are several effective strategies to prevent it in your foolproof mini apple pies. One method is to partially blind bake the bottom crusts before adding the filling. Line the dough-lined muffin cavities with parchment paper or foil, fill with pie weights or dried beans, and bake for about 8-10 minutes until the edges are set. Remove weights and paper and continue with filling.
Another technique is to brush the bottom crust with a thin layer of melted butter or lightly beaten egg white before adding the apple filling. This creates a barrier that helps seal the dough and prevent moisture from the filling from making it soggy. Using a thickening agent like tapioca starch (which thickens at a lower temperature than flour or cornstarch) or slightly pre-cooking the filling also significantly reduces excess moisture, contributing to a foolproof mini apple pie crust.
Enhancing the Apple Flavor: Lemon Juice, Vanilla Extract, or Bourbon
While apples and spices provide the core flavor, a few additions can elevate your foolproof mini apple pies to the next level. A small amount of acid, like a squeeze of fresh lemon juice (1-2 teaspoons per batch), brightens the flavor profile and balances the sweetness.
Vanilla extract, added to the apple filling mixture (about 1 teaspoon), provides a lovely aromatic depth that complements the warm spices beautifully. For a more sophisticated note, a splash of bourbon or dark rum (1-2 tablespoons) can add warmth and complexity to the filling. Ensure any alcohol is cooked off if pre-cooking the filling. These small additions can make a big difference in the overall taste of your foolproof mini apple pies.
Troubleshooting Common Baking Problems: Filling Too Runny, Crust Burning
Even with a foolproof mini apple pie recipe, occasional issues can arise. If your filling is consistently too runny, it likely needs more thickening agent. Next time, increase the amount of flour, cornstarch, or tapioca starch by 1-2 teaspoons. Ensure the starch is evenly distributed throughout the apples. Pre-cooking the filling slightly can also help reduce excess liquid before it even goes into the oven.
If your crust is burning before the filling is bubbly or the pies are fully baked, the oven temperature might be too high, or the pies are placed too close to a heating element. Reduce the oven temperature slightly (e.g., from 400°F to 375°F) and bake for a bit longer. As mentioned earlier, loosely tenting the pies with aluminum foil during the latter part of baking is an effective way to protect the crust edges from over-browning while the rest of the pie finishes baking.
Serving Suggestions for Your Delicious Mini Apple Pies
Pairing Your Mini Apple Pies with Ice Cream
Serving warm foolproof mini apple pies with a scoop of ice cream is a classic and utterly delightful combination. The contrast between the warm, spiced apple filling and the cold, creamy ice cream is simply irresistible.
Vanilla bean ice cream is the traditional choice, its pure flavor allowing the apple pie to shine. However, don't hesitate to experiment! Cinnamon, caramel, or even a good quality plain dairy or non-dairy ice cream can pair wonderfully with your homemade foolproof mini apple pies.
Adding a Caramel Drizzle for Extra Indulgence
For an extra layer of sweetness and decadence, drizzle warm caramel sauce over your foolproof mini apple pies just before serving. The rich, buttery notes of caramel complement the apples and spices beautifully.
You can use store-bought caramel sauce for convenience or make your own. Gently warm the caramel sauce in a small saucepan or the microwave until it's pourable. A zigzag pattern over the top of the pie or alongside a scoop of ice cream adds visual appeal and a burst of flavor.
Garnish Ideas for a Stunning Presentation
Making your foolproof mini apple pies look as good as they taste is part of the fun! Simple garnishes can elevate their presentation. A dusting of powdered sugar or a sprinkle of cinnamon on top of the crust adds a touch of elegance.
A dollop of freshly whipped cream or a swirl of cool whip on the side or directly on top of the pie is always a welcome addition. For a more sophisticated look, you could add a small mint sprig or a thinly sliced fan of fresh apple next to the pie. These small touches make your foolproof mini apple pies visually stunning.
Variations on the Classic Mini Apple Pie Recipe
Caramel Apple Mini Pies: A Sweet Twist
Adding caramel directly into the apple filling creates a richer, sweeter version of the classic foolproof mini apple pie. You can stir in a few tablespoons of thick caramel sauce into the apple mixture before filling the crusts.
Alternatively, place a small dollop of thick caramel sauce (like dulce de leche or a firm caramel) in the bottom of the pie shell before adding the apple filling, or dot pieces of caramel candy within the apple mixture. This creates pockets of gooey caramel throughout the pie as it bakes, resulting in delicious caramel apple mini pies.
Crumb Topping Mini Apple Pies: Adding Texture and Flavor
Switching from a double crust to a crumb topping offers a delightful textural contrast and simplifies the assembly process, making your foolproof mini apple pies even easier. A standard crumb topping is made by cutting cold butter into a mixture of flour, sugar (white, brown, or a mix), and spices (like cinnamon).
The mixture should resemble coarse crumbs. Simply spoon the apple filling into the bottom crusts and then generously sprinkle the crumb topping over the top, ensuring it covers the apples completely. Bake as directed; the crumb topping will turn golden brown and crispy.
Gluten-Free Mini Apple Pies: A Recipe for Dietary Needs
Adapting the foolproof mini apple pie recipe for gluten-free diets is straightforward. The apple filling itself is naturally gluten-free, provided you use a gluten-free thickening agent like cornstarch or tapioca starch instead of wheat flour.
The key is using a reliable gluten-free pie crust. Many excellent store-bought gluten-free pie crust mixes or ready-to-roll crusts are available. Follow the package instructions for preparing and handling the gluten-free dough, as it can sometimes be more delicate than traditional pastry. With a good gluten-free crust, you can follow the rest of the steps to create delicious foolproof mini apple pies suitable for those with gluten sensitivities.
Enjoy Your Homemade Mini Apple Pies!
You've done it! You've successfully baked a batch of foolproof mini apple pies. Take a moment to appreciate your accomplishment and, more importantly, enjoy the delicious fruits of your labor. These individual pies are perfect for treating yourself, sharing with family, or bringing to any occasion.
We at BakeWithEase love seeing your creations! We encourage you to share photos of your beautiful foolproof mini apple pies on social media and tag us. Your success stories inspire other bakers in our community. Don't hesitate to leave a comment on our website with your experience or any questions you might have. Happy baking!
Frequently Asked Questions
What makes these mini apple pies "foolproof"?
These mini pies are foolproof because the recipe utilizes simplified techniques and readily available ingredients, making them easy for bakers of any skill level to create delicious results.
What type of apples are best for these mini apple pies?
For the best flavor and texture, use a combination of apples. Firm apples, such as Granny Smith or Honeycrisp, hold their shape well during baking, while softer varieties add moisture and sweetness.
Can I use store-bought pie crust for this recipe?
Yes, absolutely! Using store-bought pie crust is a great time-saver. Just be sure to thaw it properly before using and follow the instructions for crimping and baking.
How do I prevent the pie crust from getting soggy?
To prevent a soggy crust, blind bake the crust partially before adding the filling. Also, ensure the apple filling isn't overly moist and brush the crust with an egg wash before baking.
How long can I store the leftover mini apple pies?
Leftover mini apple pies can be stored in an airtight container at room temperature for up to two days or in the refrigerator for up to five days. Reheat them gently for the best taste.
Final Reflection: The Sweetness of Simplicity and Success
The pursuit of the perfect mini apple pie, once a seemingly daunting task, is now within everyone's reach. This article has demonstrated that with a few simple, carefully chosen steps, even the most novice baker can achieve flawlessly delicious results. The joy of baking shouldn't be reserved for experts; it's a pleasure meant to be shared and enjoyed by all.
The enduring appeal of the apple pie, a classic dessert across cultures, lies in its comforting familiarity and the sheer satisfaction of creating something beautiful and delicious from scratch. A pie is a love letter to the earth.
This sentiment, though not directly about mini apple pies, perfectly captures the essence of baking – a connection to tradition, ingredients, and the simple act of creation. The mini format, in particular, adds a modern twist, making this classic treat even more accessible and appealing for today's busy lifestyles.
Now, I invite you to roll up your sleeves, gather your ingredients, and embark on your own mini apple pie adventure. Don't be afraid to experiment, to personalize the recipe, and to savor the sweet rewards of your labor. Remember the simple steps outlined in this article, and let the joy of baking fill your kitchen with warmth and the delightful aroma of perfectly spiced apples. The perfect mini apple pie awaits – and so does the satisfaction of creating it yourself.
Unlock Your Inner Pie Master!
Thanks for joining us on this delicious journey into the world of mini apple pies! We hope you've gained the confidence to create these delightful treats with ease. Now it's time to put your newfound skills to the test.
- Bake a batch of mini apple pies this week! Use our recipe as a starting point, and feel free to experiment with different spices or fillings.
- Share your creations with us on social media! Use #BakeWithEaseMiniPies to inspire others and showcase your baking prowess.
- Consider trying a variation of the recipe—perhaps a blueberry or cherry mini pie, using the same simple techniques!
What unique twist will you add to your mini apple pie masterpiece? Let us know in the comments below!