
Classic Cherry Pie Recipe: Easy Steps for a Perfect Filling

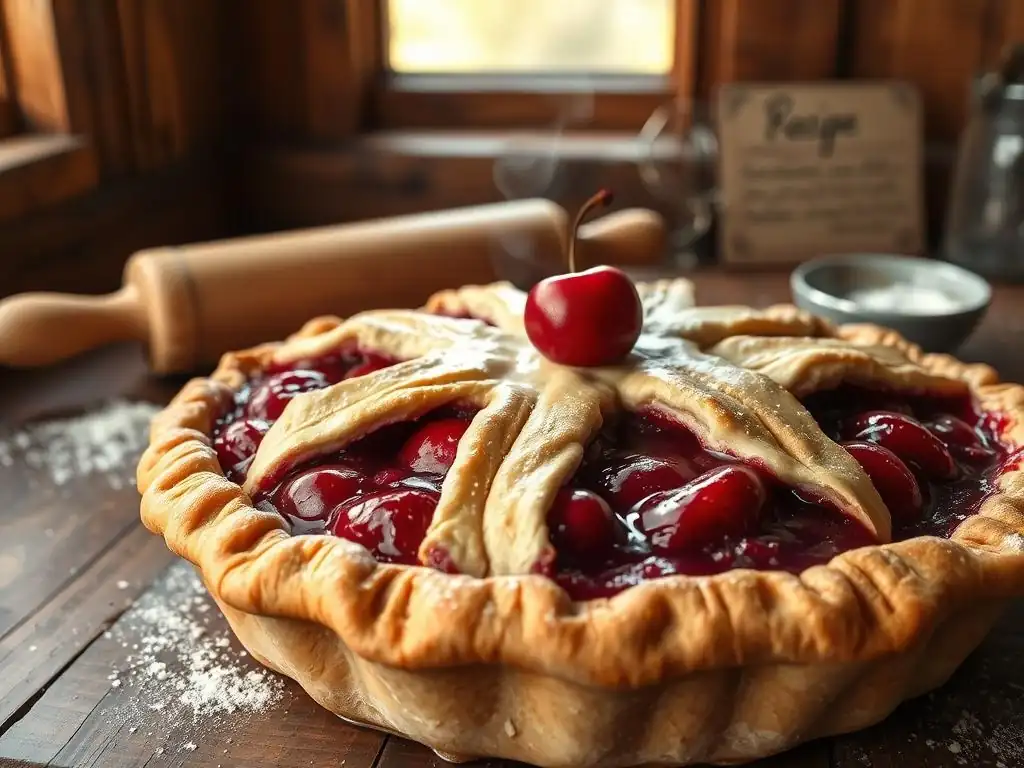
Welcome to BakeWithEase, your companion in the delightful world of baking! Are you ready to impress with a homemade dessert, but intimidated by complex recipes? Look no further.
Get ready to discover our easy cherry pie recipe, a guaranteed crowd-pleaser that's surprisingly simple to create. Intrigued? Let's unlock the secrets to that perfect, juicy filling and a flaky crust that will have everyone begging for more. Read on to bake with ease!
- Perfect Cherry Pie Recipe: Simple Steps for a Delicious Filling
- Introduction to Cherry Pie Baking
- Gathering Your Cherry Pie Essentials: Ingredients and Equipment
- Step-by-Step Guide to Baking a Delicious Cherry Pie
- Tips and Tricks for a Perfect Cherry Pie
- Exploring Cherry Pie Variations
- Storing and Serving Your Homemade Cherry Pie
- Conclusion: Enjoying Your Delicious Cherry Pie
- Frequently Asked Questions
- Final Reflection: The Enduring Allure of a Perfect Pie
- Unlock Your Inner Baker: Make This Cherry Pie a Reality!
Perfect Cherry Pie Recipe: Simple Steps for a Delicious Filling
Introduction to Cherry Pie Baking
The Joy of Homemade Cherry Pie
There's something truly special about a homemade cherry pie. The aroma of warm cherries and flaky crust filling your kitchen is an experience in itself, evoking feelings of comfort and nostalgia. It’s a classic dessert that brings people together, whether it’s served warm with a scoop of ice cream on a summer evening or enjoyed as a comforting treat on a chilly day. Baking a pie from scratch, especially one as beloved as cherry pie, offers a sense of accomplishment and the simple pleasure of creating something delicious with your own hands.
Beyond the delightful sensory experience, making your own cherry pie allows you complete control over the ingredients. You can choose the freshest cherries, adjust the sweetness to your preference, and ensure the crust is baked to golden perfection. This control results in a pie that tastes far superior to anything store-bought, offering a vibrant, natural cherry flavor that shines through. It’s a rewarding process that culminates in a stunning dessert ready to be shared and savored.
Why This Cherry Pie Recipe is a Great Choice
This particular easy cherry pie recipe is designed with simplicity and success in mind, making it an excellent option for bakers of all levels, especially those new to fruit pies. It breaks down the process into manageable steps, focusing on creating a flavorful filling and achieving a beautiful, flaky crust without unnecessary complexity. The instructions are clear and straightforward, ensuring you can follow along with confidence and achieve delicious results on your first try.
What sets this recipe apart is its reliability and focus on fundamental techniques that guarantee a tasty outcome. We prioritize readily available ingredients and provide helpful tips to navigate common pie-baking challenges, such as preventing a soggy bottom crust or getting that perfect golden-brown finish. By following this simple cherry pie recipe, you'll build essential baking skills while creating a genuinely delightful dessert that tastes like it took hours of effort.
Gathering Your Cherry Pie Essentials: Ingredients and Equipment
Key Ingredients for a Flavorful Cherry Pie Filling
Tart Cherries: The Ideal Choice
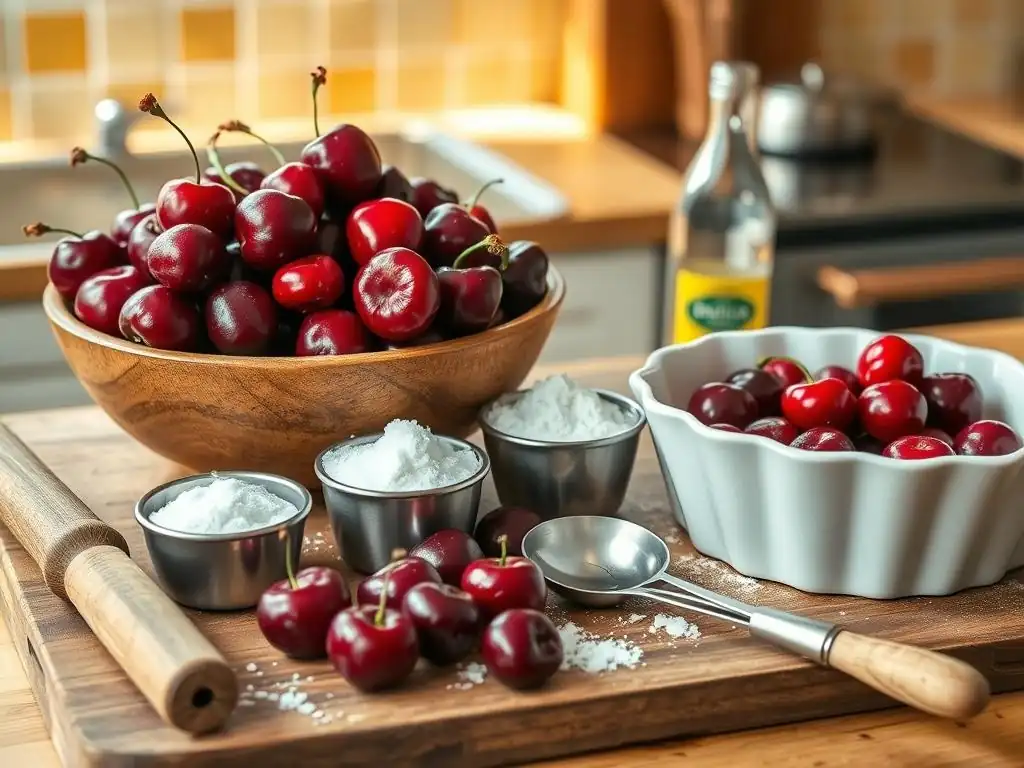
The heart of any great cherry pie is, of course, the cherries themselves. For the most balanced and vibrant flavor, tart cherries (like Montmorency or Morello) are highly recommended. Their natural acidity provides a perfect counterpoint to the sweetness of the sugar, preventing the filling from becoming cloyingly sweet and allowing the true cherry flavor to shine.
You'll need a generous amount, roughly 6 to 7 cups, which translates to about 2 to 2.5 pounds if using fresh or frozen. If using frozen tart cherries, ensure they are fully thawed and drained well to avoid excess liquid in the filling. Canned tart cherries packed in water or juice can also be used; drain them thoroughly and adjust sugar slightly if needed based on their sweetness.
Using tart cherries ensures that the final pie has that classic sweet-tart profile that is so desirable. While sweet cherries can be used, they often result in a much sweeter pie that can lack the bright, tangy complexity. Whichever type you choose, the quality of the cherries is paramount to the success of your filling. Fresh cherries require pitting, which can be a bit tedious but is well worth the effort for their superior texture and flavor. Frozen or canned options offer convenience without sacrificing too much on taste, making this easy cherry pie recipe accessible year-round.
Sugar, Cornstarch, and Almond Extract: Flavor Enhancers
Beyond the cherries, a few key ingredients work together to create the perfect filling consistency and flavor. Sugar is essential to sweeten the tart cherries, balancing their acidity. The exact amount can be adjusted slightly based on the sweetness of your cherries and personal preference, but typically around 1 to 1.5 cups is a good starting point for tart varieties.
Cornstarch acts as the primary thickening agent, crucial for transforming the juicy cherries into a sliceable filling that doesn't run everywhere when cut. You'll likely need about 1/3 to 1/2 cup of cornstarch, depending on the juiciness of your cherries and whether they were fresh, frozen, or canned.
Almond extract is a secret weapon in many cherry pie recipes, adding a subtle yet distinct flavor that beautifully complements the cherries. Just a teaspoon or so enhances the fruit's natural notes and adds a layer of complexity that elevates the filling. A pinch of salt can also be included to help balance the sweetness. These ingredients, when combined with the cherries, create a filling that is not only properly thickened but also rich and aromatic, making this easy cherry pie recipe truly stand out.
Essential Equipment for Successful Baking
Pie Dish and Rolling Pin: Must-Have Tools
Having the right tools makes the pie-baking process much smoother and contributes to a better final product. A standard 9-inch pie dish is fundamental; ceramic, glass, or metal dishes all work well, though glass allows you to see the bottom crust browning. Ensure your dish is deep enough to hold a generous amount of cherry filling. A rolling pin is indispensable if you're making your pie crust from scratch or even if you need to roll out store-bought dough slightly. Various types exist, from classic wooden pins to marble or non-stick options. Choose one you find comfortable to use.
While not strictly essential for this easy cherry pie recipe specifically, having other basic baking tools like mixing bowls (medium and large), measuring cups and spoons, a whisk (for combining dry filling ingredients), and a cherry pitter (if using fresh cherries) will significantly streamline your preparation. A pastry blender or food processor is helpful for making scratch crust, and a cooling rack is necessary for allowing the finished pie to cool properly. These tools, combined with your ingredients, set the stage for a successful baking experience.
Step-by-Step Guide to Baking a Delicious Cherry Pie
Preparing the Perfect Pie Crust: The Foundation
Making Pie Dough From Scratch: A Detailed Guide
Crafting your own pie dough from scratch provides the most control over texture and flavor, resulting in that coveted flaky crust. While it might seem daunting, the basic process is quite simple. You typically combine flour, salt, and cold fat (like butter or shortening, or a mix) using a pastry blender, fork, or food processor until the mixture resembles coarse crumbs with some pea-sized pieces of fat remaining. This is crucial for flakiness. Then, gradually add ice water, mixing just until the dough comes together. Overmixing develops gluten, leading to a tough crust.
Once the dough forms, divide it in half, flatten each half into a disc, wrap tightly in plastic wrap, and refrigerate for at least 30 minutes, or preferably an hour or two. Chilling the dough is essential; it allows the gluten to relax and the fat to firm up, making it easier to roll and contributing to a flakier texture when baked.
When ready to assemble, roll out one disc on a lightly floured surface to a size large enough to fit your pie dish, gently transfer it to the dish, and trim any excess, leaving about a 1-inch overhang. This foundation is key to a truly homemade easy cherry pie recipe.
Using Store-Bought Pie Crust: A Convenient Option
For an even easier cherry pie recipe, using store-bought pie crust is a perfectly acceptable and time-saving alternative. Many high-quality refrigerated or frozen pie crusts are available that bake up beautifully flaky. This option significantly reduces preparation time, allowing you to focus more on the delicious cherry filling. If using refrigerated crusts that are already rolled, simply unroll and fit into your pie dish according to package directions.
If using frozen crusts, allow them to thaw slightly before attempting to unfold or fit them into the dish to prevent cracking. Follow the package instructions for any necessary pre-baking (blind baking) steps, although for a fruit pie like this easy cherry pie recipe, blind baking the bottom crust is sometimes optional but recommended for preventing sogginess, especially with juicy fillings. Using store-bought crust is a fantastic way to enjoy homemade taste with minimal effort, making your easy cherry pie recipe even more accessible.
Creating the Cherry Pie Filling: A Simple Method
Combining Cherries and Filling Ingredients
Making the cherry pie filling is perhaps the easiest part of this process. In a large bowl, combine your prepared cherries (pitted fresh, thawed and drained frozen, or drained canned) with the sugar, cornstarch (or other thickener like flour or tapioca), and any optional flavorings like almond extract or a pinch of salt. Gently toss everything together using a spoon or spatula until the cherries are evenly coated with the dry ingredients. The sugar will start to draw juice out of the cherries almost immediately, creating a syrupy mixture.
Ensure the cornstarch is well distributed to avoid pockets of unthickened liquid or lumps. The measurements provided earlier (around 1 to 1.5 cups sugar, 1/3 to 1/2 cup cornstarch per 6-7 cups of cherries) are good starting points, but you can adjust based on the sweetness of your cherries and your desired filling consistency. A common ratio is roughly 1/3 to 1/2 cup thickener per 4-5 cups of fruit, so for 6-7 cups of cherries, slightly more thickener is appropriate for a firm set. This simple mixing step is the core of your easy cherry pie filling.
Achieving the Right Filling Consistency
The goal for a perfect cherry pie filling is for it to be thick and sliceable once cooled, not a runny mess. The cornstarch is key here; it needs heat and time to properly activate and thicken the cherry juices. As the pie bakes, the filling will bubble and simmer, which is when the cornstarch does its work. You'll know the filling is adequately thickened when you see thick bubbles slowly erupting through the vents in the top crust. This bubbling indicates the filling inside has reached a high enough temperature for the starch to gelatinize.
Under-baking is a common cause of runny pie filling. Even if the crust looks done, the filling might not have gotten hot enough for long enough. Ensure the pie bakes until the filling is visibly bubbling thickly in the center, not just around the edges. Allowing the pie to cool completely before slicing is also absolutely crucial. As the pie cools, the filling continues to thicken and set. Patience during the cooling phase is just as important as getting the right ratio of cherries to thickener for your easy cherry pie recipe.
Assembling and Baking Your Cherry Pie
Filling the Pie Crust and Adding the Top Crust
With your bottom pie crust fitted into the dish and your cherry filling prepared, it's time to assemble the pie. Pour the cherry mixture evenly into the prepared bottom crust. If the cherries have released a lot of liquid after sitting, you can choose to leave a small amount of the excess liquid behind if you're worried about a runny pie, though the cornstarch should handle it if measured correctly. Dot the top of the filling with small pieces of butter (about 2-3 tablespoons total) for added richness and flavor as it melts into the fruit.
Next, prepare your top crust. If using a full top crust, roll out the second disc of dough (or use the second store-bought crust) and carefully place it over the filling. Trim the edges, leaving about a 1-inch overhang.
Crimp or seal the edges of the top and bottom crusts together to create a tight seal, which prevents the filling from bubbling out excessively during baking. Don't forget to cut vents in the top crust using a knife or pastry wheel; these vents allow steam to escape, preventing the crust from puffing up and helping the filling to thicken properly.
Baking to Golden Perfection: Time and Temperature
Baking is where the magic happens, transforming your assembled pie into a golden, bubbly masterpiece. Preheat your oven to a relatively high temperature, typically around 400°F (200°C). This initial high heat helps the crust set quickly and encourages flakiness. Place the pie on a baking sheet (to catch any drips) and bake for about 15-20 minutes at this temperature.
After the initial high-heat period, reduce the oven temperature to a lower setting, usually around 350°F (175°C), and continue baking for another 30-40 minutes, or until the crust is deeply golden brown and the filling is visibly bubbling thickly through the vents in the center. If the edges of the crust start browning too quickly, you can loosely cover them with strips of aluminum foil or use silicone pie shields. Baking time can vary based on your oven and the pie dish material, so watch for those visual cues of golden crust and thick, bubbly filling.
Tips and Tricks for a Perfect Cherry Pie
Preventing a Soggy Bottom Crust: Expert Techniques
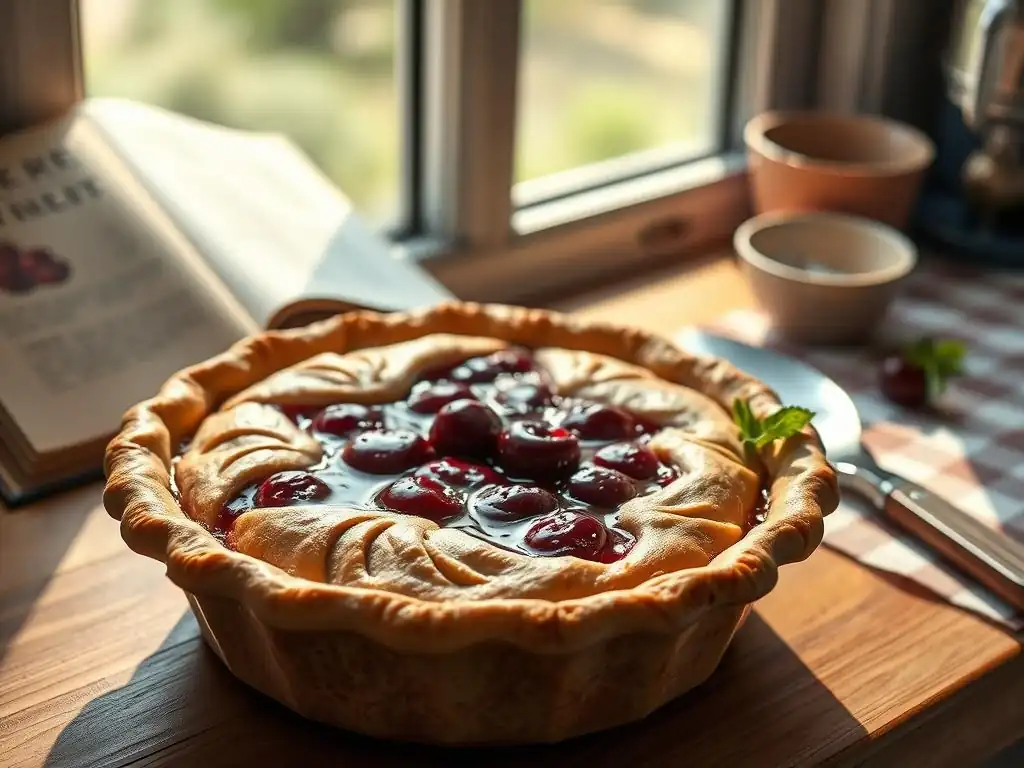
A soggy bottom crust is a common frustration in pie baking, but there are several effective techniques to combat it, ensuring your easy cherry pie recipe results in a perfectly cooked crust all the way through. One method is blind baking the bottom crust before adding the filling. This involves partially baking the empty bottom crust, often lined with parchment paper and filled with pie weights, dried beans, or rice, until it's set and lightly colored. Remove the weights and parchment, and bake for a few more minutes until the bottom looks dry.
Another helpful tip is to brush the bottom crust with a thin layer of egg wash (an egg beaten with a tablespoon of water or milk) or melted butter before adding the filling. This creates a slight barrier that helps protect the crust from the moisture of the cherries. Finally, baking the pie on a preheated baking sheet placed on the lowest rack of your oven ensures direct heat hits the bottom of the pie dish, promoting even cooking and browning of the bottom crust.
Achieving a Beautiful Golden-Brown Crust: Proven Tips
A visually appealing, golden-brown crust is the crowning glory of a perfect cherry pie. To achieve this, an egg wash is your best friend. Before baking, lightly brush the top crust (or lattice/streusel topping) with an egg wash (one egg whisked with a tablespoon of water or milk). This encourages even browning and gives the crust a lovely sheen. For a less shiny but still golden finish, you can use milk or cream instead of egg wash.
Sprinkling a little sugar (granulated or coarse) over the top crust after applying the egg wash adds sparkle and a touch of sweetness, while also helping with browning. As mentioned earlier, monitor the crust during baking. If the edges start to brown too quickly while the center is still pale, cover the edges loosely with strips of aluminum foil or use a pie crust shield. This protects the edges from burning while allowing the rest of the crust and the filling to finish baking.
Troubleshooting Common Cherry Pie Issues
Filling Too Runny? Adjusting Cornstarch
If your cherry pie filling turns out too runny after cooling, it's usually due to one of two reasons: either not enough thickener was used, or the pie wasn't baked long enough for the thickener to activate properly. For future pies, slightly increase the amount of cornstarch (or other thickener) you use, perhaps by a tablespoon or two, especially if your cherries were particularly juicy.
More often, the issue is insufficient baking time at a high enough temperature. Ensure your pie bakes until you see the filling actively bubbling in the center vents, and let it bubble for a few minutes before taking it out. The filling needs to reach a certain temperature for the starch to fully gelatinize. Also, remember that the filling continues to thicken significantly as it cools, so allow the pie to cool completely on a wire rack, ideally for several hours, before slicing.
Crust Burning Too Quickly? Shielding and Temperature Control
A rapidly browning or burning crust is a common problem, often happening before the filling is fully cooked. The easiest fix is to protect the crust edges. As soon as you notice the edges are browning faster than the rest of the pie, loosely cover them with strips of aluminum foil. You can crimp the foil around the rim of the pie dish. Reusable silicone pie crust shields are also available and work very well.
If the entire top crust is browning too fast, you can loosely tent the entire pie with aluminum foil for the remainder of the baking time after the initial browning has occurred. Additionally, ensure your oven temperature is accurate. If you suspect your oven runs hot, you might need to slightly lower the temperature (e.g., bake at 375°F instead of 400°F initially, then reduce to 325°F). Using a pie stone or baking steel can also help regulate oven temperature and ensure even heat distribution.
Exploring Cherry Pie Variations
Adding Lemon Zest or Other Flavor Enhancements
While a classic easy cherry pie recipe is wonderful on its own, adding subtle flavor enhancements can elevate the filling even further. Lemon zest is a popular addition; the bright, citrusy notes of about a teaspoon or two of finely grated lemon zest complement the cherries beautifully and add a layer of freshness to the filling. You can also squeeze in a little lemon juice, though be mindful that this adds more liquid, which might require a slight adjustment to your thickener amount.
Other spices can also work well with cherries. A pinch of cinnamon, nutmeg, or even a tiny amount of ground cloves can add warmth and complexity. Just be careful not to overpower the delicate cherry flavor. Experiment with small amounts to find your preferred balance. A dash of vanilla extract can also enhance the overall sweetness and aroma of the filling. These small additions can customize your easy cherry pie recipe to your liking.
Creating a Lattice Top or Streusel Topping
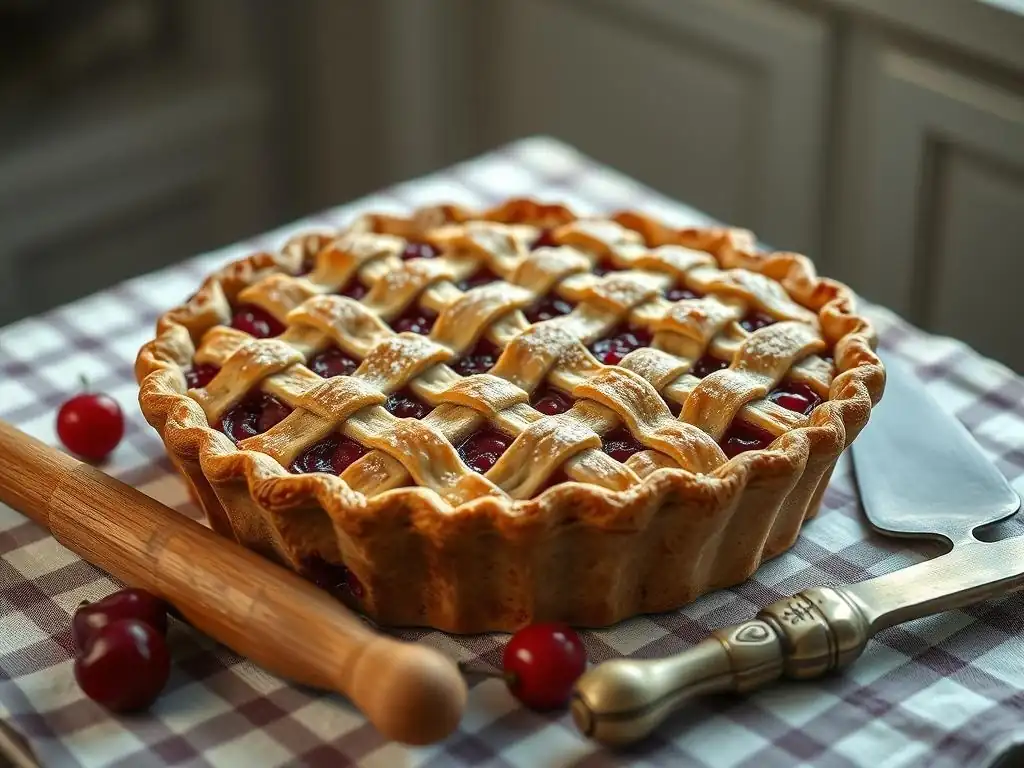
Instead of a solid top crust, you can explore alternative toppings that offer a different look and texture. A lattice top is a classic and elegant option for cherry pie. It involves cutting the top pie dough into strips and weaving them over the filling. This exposes more of the beautiful red filling and allows steam to escape freely. It requires a bit more dexterity than a solid top but is very rewarding visually.
Alternatively, a streusel or crumble topping offers a delightful textural contrast. This topping is typically made from a mixture of flour, sugar (often brown sugar), butter, and sometimes oats or nuts, which is crumbled over the cherry filling before baking. A cherry crumble pie is quicker to assemble than a double-crust pie and provides a wonderful buttery, crumbly topping that pairs perfectly with the soft, warm fruit. It's another excellent option for an easy cherry pie recipe variation.
Cherry Pie with a Twist: Cherry Crumble Pie
As mentioned, a cherry crumble pie is a fantastic variation on the classic double-crust version, offering a different texture and often being even simpler to make. Instead of preparing and rolling out a top pie crust, you create a crumbly topping. This topping is typically a mixture of flour, sugar (white or brown), and cold butter cut into small pieces, just like the initial steps for pie dough, but without adding water. Some recipes include rolled oats or chopped nuts for extra crunch.
The process for the filling remains the same: combine cherries with sugar, cornstarch, and flavorings. Pour this filling into the bottom pie crust. Then, instead of adding a second crust, simply sprinkle the prepared crumble topping evenly over the cherry filling. Bake as directed for a double-crust pie, though you may need to tent the top sooner if the crumble browns very quickly. The result is a pie with a delightful contrast between the tender, juicy cherry filling and the buttery, crisp crumble topping, making it a wonderfully easy cherry pie recipe alternative.
Storing and Serving Your Homemade Cherry Pie
Optimal Storage Techniques for Freshness
Once your perfect cherry pie has baked and cooled, proper storage is key to maintaining its freshness and quality. Allow the pie to cool completely on a wire rack before storing. This is crucial for the filling to set properly and prevents condensation from making the crust soggy. A fruit pie, especially one made with a thickener like cornstarch, can typically be left at room temperature, loosely covered, for up to 24 hours.
For longer storage, or if your kitchen is warm, it's best to refrigerate the pie. Cover it loosely with plastic wrap or aluminum foil, or store slices in an airtight container. Refrigerated pie will keep well for 3-4 days. If you need to store it for an extended period, you can freeze baked cherry pie. Wrap the cooled pie tightly in plastic wrap, then in aluminum foil, or place slices in a freezer-safe container. Frozen pie can last for up to 3-4 months. Thaw overnight in the refrigerator and gently reheat if desired.
Serving Suggestions: Toppings and Pairings
Serving your homemade cherry pie is the culmination of your baking efforts! While delicious on its own, pairing it with classic accompaniments elevates the experience. The most popular choice is a scoop of vanilla ice cream, which melts slightly into the warm pie, creating a delightful contrast of temperatures and textures. A dollop of freshly whipped cream is another heavenly option, adding lightness and richness.
For a slightly more sophisticated touch, consider serving your cherry pie with crème fraîche or Greek yogurt, which offer a tangy counterpoint to the sweet-tart filling. A sprinkle of powdered sugar or a drizzle of a simple glaze made from powdered sugar and milk can also add a nice finish. Enjoy your easy cherry pie recipe creation slightly warm for the best flavor and texture, or at room temperature.
Conclusion: Enjoying Your Delicious Cherry Pie
Baking Success: A Rewarding Experience
Baking a delicious cherry pie from scratch, especially following an easy cherry pie recipe like this one, is a truly rewarding experience. From the simple act of combining ingredients to the anticipation as it bakes and the final moment of slicing into that beautiful, bubbly pie, each step offers its own satisfaction. It's a testament to the joy of creating something wonderful in your own kitchen, a skill that brings warmth and happiness to both the baker and those who get to enjoy the results.
This easy cherry pie recipe is designed to guide you to success, providing clear instructions and helpful tips to ensure you achieve a perfectly baked pie with a flavorful, well-set filling and a golden, flaky crust. Don't be discouraged by minor imperfections; every bake is a learning experience. The most important part is the process and the delicious outcome you've created with your own hands.
We hope this simple cherry pie recipe inspires you to get baking! Pie is meant to be shared, so gather your friends and family and enjoy the fruits of your labor. There's nothing quite like sharing a slice of warm, homemade cherry pie.
If you try this easy cherry pie recipe, we'd love to hear about your experience! Share your thoughts, tips, or even photos of your beautiful pie. Happy baking!
Frequently Asked Questions
What makes this cherry pie recipe "easy"?
This recipe focuses on simplified steps and easy-to-find ingredients. The goal is to make a delicious cherry pie even for beginner bakers.
Can I use frozen cherries instead of fresh ones?
Yes, you can! Just be sure to thaw the frozen cherries and drain any excess liquid before using them in the filling.
What's the secret to preventing a soggy pie crust?
Blind baking the crust for a short period and using a thickener like cornstarch are key to a crisp crust. Also, ensure the filling isn't too watery.
How long does it take to bake this cherry pie?
The baking time is usually around 45-55 minutes, or until the crust is golden brown and the filling is bubbly.
What's the best way to store leftover cherry pie?
Store leftover cherry pie in the refrigerator, covered, for up to 3-4 days. This helps maintain the pie's freshness and prevents spoilage.
Final Reflection: The Enduring Allure of a Perfect Pie
The simple act of baking a cherry pie, once a commonplace domestic skill, remains a powerful symbol of comfort, connection, and the enduring appeal of homemade goodness. In a world increasingly dominated by convenience and pre-packaged goods, the effort involved in creating something from scratch, something as seemingly simple as a cherry pie, offers a profound counterpoint. This recipe, designed for ease of execution, aims to bring this joy back to the forefront, reminding us of the tangible rewards of slowing down and engaging in a time-honored tradition.
The scent of warm cherries baking, the satisfying crackle of the crust, the sheer delight of sharing a slice with loved ones – these are the sensory experiences that transcend mere culinary accomplishment. They speak to a deeper human need for connection and the satisfaction derived from creating something beautiful and delicious with our own hands. As Julia Child famously said, Find something you're passionate about and keep tremendously interested in it.
For many, that passion lies in the kitchen, and a perfect cherry pie is a testament to that dedication.
Now, I invite you to consider this: What simple pleasure, what seemingly mundane task, holds the potential to bring you the same sense of accomplishment and joy? Perhaps it's not baking a pie, but tending a garden, painting a picture, or simply writing a heartfelt letter.
Whatever it may be, I encourage you to embrace it, to find the time and space to engage in those activities that nourish your soul and connect you to something larger than yourself. The journey to a perfect cherry pie is just the beginning; the real reward lies in the rediscovery of simple pleasures and the enduring power of creation.
Unlock Your Inner Baker: Make This Cherry Pie a Reality!
Thanks for joining us on this delicious journey to cherry pie perfection! You've just learned the secrets to a flawlessly filled, classic pie. Ready to put your new skills to the test?
- Bake your own masterpiece: Grab your ingredients and follow the recipe – we know you can do it! The taste will be well worth the effort.
- Share your success: Post a picture of your creation on social media and tag us @BakeWithEase – we'd love to see your delicious results!
- Explore other recipes: Dive into our collection of easy pie recipes on BakeWithEase.com – you might discover your next favorite!
What’s your favorite pie filling, and are you ready to take on this cherry pie challenge today?