
Easy Steps for a Juicy Fruit Pie Every Time

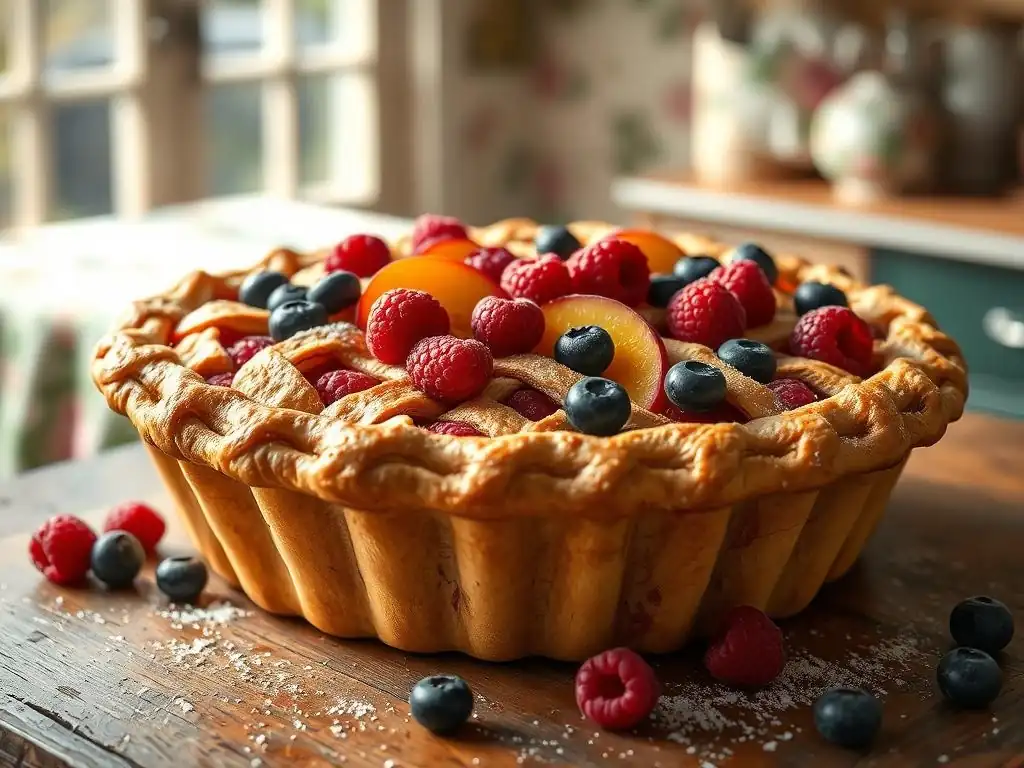
Welcome to BakeWithEase, your companion on the journey to baking brilliance! Ever dream of creating the perfect fruit pie, bursting with flavor and boasting a flaky, golden crust? Our juicy fruit pie recipe unlocks the secrets to achieving precisely that. Intrigued? Discover the simple steps and pro tips that will elevate your pie game and leave everyone wanting more. Let's get baking!
- BakeWithEase Presents: Mastering the Juicy Fruit Pie Recipe
- Preparing for Baking the Perfect Juicy Fruit Pie
- Step-by-Step Guide to a Delicious Juicy Fruit Pie
- Tips and Tricks for a Consistently Juicy and Delicious Fruit Pie
- Troubleshooting Common Fruit Pie Problems
- Variations on the Classic Juicy Fruit Pie
- Storing and Reheating Your Leftover Fruit Pie
- Enjoy Your Homemade Juicy Fruit Pie!
- Frequently Asked Questions
- Final Reflection: The Enduring Allure of a Perfect Juicy Fruit Pie
- Unlock Your Inner Pie Master!
BakeWithEase Presents: Mastering the Juicy Fruit Pie Recipe
Welcome to BakeWithEase! We know the joy of pulling a warm, bubbling pie from the oven, its aroma filling your kitchen. But achieving that perfect balance – a flaky crust cradling a filling that's bursting with fruit flavor and just the right amount of glorious juice, without being watery – can sometimes feel like a challenge.
That's why we've put together this comprehensive guide to help you master the juicy fruit pie recipe and bake a winner every single time. Whether you're a seasoned baker or attempting your first pie, these steps and tips will set you up for success.
Creating a truly juicy fruit pie isn't just about throwing fruit into a crust and baking it. It involves understanding the science of fruit, the technique of crust-making, and the art of balancing flavors and textures. From selecting the ripest berries to ensuring your bottom crust stays crisp, every step plays a crucial role in the final outcome. Follow along as we break down the process, offering practical advice and insider tips to elevate your homemade juicy fruit pie recipe from good to absolutely unforgettable.
Preparing for Baking the Perfect Juicy Fruit Pie
Gathering Your Ingredients for a Fruit Pie Bursting with Flavor
The foundation of any great pie is quality ingredients. For a juicy fruit pie recipe, this means starting with excellent fruit, of course, but also having the right flour, sugar, fat, and thickeners on hand. For a standard 9-inch pie, you'll typically need about 2 to 2.5 pounds of fresh or frozen fruit.
This amount ensures a generous filling that won't shrink excessively during baking. You'll also need ingredients for your pie crust, which usually includes 2.5 cups of all-purpose flour, 1 teaspoon of salt, 1 cup (2 sticks) of very cold unsalted butter or shortening, and about 1/2 cup of ice water.
Beyond the basics, don't forget the supporting players that enhance your juicy fruit pie recipe. Granulated sugar is standard, but you might also consider a tablespoon or two of brown sugar for depth of flavor, especially with apples or peaches. A squeeze of lemon juice can brighten the fruit's natural taste and balance sweetness. Spices like cinnamon, nutmeg, or allspice are classic additions. And critically, you'll need a thickener – about 1/4 to 1/2 cup, depending on the fruit, of options like all-purpose flour, cornstarch, tapioca starch, or even instant pudding mix (check labels for suitability).
Essential Baking Tools for a Flawless Fruit Pie
Having the right tools makes the juicy fruit pie recipe process much smoother and contributes to better results. A sturdy rolling pin is indispensable for achieving an evenly thick pie crust. You'll also need a large mixing bowl for preparing the fruit filling and a separate bowl for making the dough. Measuring cups and spoons are crucial for accuracy – baking is a science! A pastry blender or food processor can make incorporating the fat into the flour for the crust much easier, ensuring that flaky texture.
For assembling and baking your juicy fruit pie, a 9-inch pie plate is essential. Ceramic, glass, or metal plates all work, though glass allows you to see the bottom crust browning. A baking sheet placed on the oven rack below the pie is a must-have; it catches any drips from that delicious, bubbling juicy fruit pie filling, saving you from oven cleanup headaches.
Parchment paper or a silicone baking mat can line this sheet for extra protection. Lastly, a pie shield or aluminum foil strips are helpful for protecting the edges of your crust from burning while the center bakes thoroughly.
Tips for Choosing the Best Fruit for Your Pie Filling
Selecting the right fruit is paramount for a truly juicy fruit pie. The best fruits for pies are those that hold their shape reasonably well when baked and release a good amount of juice without becoming mushy. Classic choices include apples (like Granny Smith, Honeycrisp, or Gala), berries (blueberries, raspberries, blackberries, strawberries), cherries, peaches, plums, and rhubarb. Using a mix of fruits can add complexity and balance; for example, combining sweet berries with tart rhubarb creates a wonderful dynamic. Aim for fruit that is ripe but still firm – overripe fruit can turn to mush.
Consider the moisture content of your fruit when planning your juicy fruit pie recipe. Fruits like berries and cherries release a significant amount of liquid when heated, which is key to a juicy fruit pie but also poses the risk of a runny filling. Apples and peaches release less liquid and may need a bit more help from your chosen thickener.
If using frozen fruit, do not thaw it completely before mixing with sugar and thickener; using it partially frozen helps control the juice release during the initial baking phase. Remember, the goal is juicy, not soupy, so fruit selection and preparation are critical first steps.
Step-by-Step Guide to a Delicious Juicy Fruit Pie
Step 1: Making the Perfect Pie Crust for a Fruit Pie
The Classic Pie Crust Recipe: BakeWithEase Edition
A tender, flaky crust is the perfect vessel for a juicy fruit pie. Our classic recipe starts with 2.5 cups of all-purpose flour and 1 teaspoon of salt whisked together in a large bowl. Cut in 1 cup (2 sticks) of very cold unsalted butter, cut into 1/2-inch cubes, or a combination of butter and shortening.
Use a pastry blender, your fingertips, or a food processor to work the fat into the flour until the mixture resembles coarse meal with some pea-sized pieces of fat still visible. These larger pieces of fat are key to creating flakiness as they melt during baking, leaving layers behind.
Next, gradually add about 1/2 cup of ice water, one tablespoon at a time, mixing gently with a fork or your hands until the dough just comes together. Avoid overmixing, as this develops gluten and can lead to a tough crust. The dough should be moist enough to hold together when squeezed, but not wet or sticky.
Divide the dough in half, flatten each half into a disc, wrap tightly in plastic wrap, and refrigerate for at least 30 minutes (or up to 2 days). This chilling period is essential; it allows the gluten to relax, making the dough easier to roll, and re-hardens the fat, which is vital for flakiness in your juicy fruit pie crust.
Tips for a Flaky and Tender Pie Crust
Achieving that coveted flaky and tender crust for your juicy fruit pie relies heavily on keeping ingredients cold and handling the dough minimally. Cold fat (butter, shortening, or lard) is non-negotiable. As the pie bakes, these cold pieces of fat melt and create steam, which puffs up the layers of dough, resulting in flakiness. Using ice water instead of just cold water helps maintain the low temperature of the dough throughout the mixing process.
Overworking the dough is the enemy of tenderness. Each time you handle the dough, you develop gluten. Too much gluten makes the crust tough and bread-like rather than tender and crumbly. Mix the dough just until it comes together, and handle it gently when rolling.
Roll the dough from the center outwards, rotating it frequently to prevent sticking and to ensure an even thickness, ideally about 1/8 inch. If the dough becomes too warm and sticky while rolling, pop it back in the refrigerator for a few minutes. This patience pays off with a beautifully textured crust for your juicy fruit pie recipe.
Blind Baking Your Pie Crust: Preventing a Soggy Bottom
A common pitfall when baking a juicy fruit pie is a soggy bottom crust. This happens because the moisture from the fruit filling seeps into the raw dough before it has a chance to firm up in the heat. Blind baking, or pre-baking, the bottom crust is the most effective way to prevent this.
To blind bake, fit your rolled-out bottom crust into the pie plate, crimp the edges, and then line it with parchment paper or foil. Fill the lined crust with pie weights, dried beans, or uncooked rice, distributing them evenly up the sides to prevent the crust from shrinking.
Bake the weighted crust in a preheated oven, typically at 375°F to 400°F (190°C to 200°C), for about 15-20 minutes, or until the edges are set and lightly golden. Remove the weights and the parchment/foil. If your juicy fruit pie recipe has a particularly wet filling, you might want to bake the crust for another 5-10 minutes until the bottom is lightly golden and appears dry. This creates a barrier that significantly reduces the likelihood of a soggy bottom, ensuring your juicy fruit pie has a wonderfully crisp base.
Step 2: Crafting the Juicy Fruit Pie Filling
Combining Your Chosen Fruits for Optimal Flavor
The heart of any juicy fruit pie recipe is the filling, and combining fruits can create layers of flavor and texture. When mixing fruits, consider their sweetness, tartness, and texture. For example, combining sweet blueberries with tart raspberries or blackberries adds complexity. Pairing firm apples with softer pears creates interesting textural contrast. Aim for a total weight of about 2 to 2.5 pounds of prepared fruit (peeled, cored, pitted, or stemmed). Cut larger fruits like apples or peaches into roughly uniform pieces, about 1/2 to 3/4 inch, so they cook evenly.
Gently mix the prepared fruit in a large bowl with your sugar, thickener, lemon juice, and any desired spices. The amount of sugar needed depends heavily on the sweetness of your fruit; a good starting point is 1/2 to 3/4 cup for 2 pounds of fruit, but taste a small piece of fruit and adjust accordingly. Let the mixture sit for 10-15 minutes; this allows the sugar to start drawing juice out of the fruit, which helps activate the thickener and gives you a better idea of how much liquid you're working with for your juicy fruit pie.
Achieving the Perfect Sweetness and Tartness Balance
Balancing sweetness and tartness is key to a vibrant juicy fruit pie. Fruit sweetness varies greatly depending on ripeness and variety. A squeeze of fresh lemon juice is often the secret weapon for balancing sweetness, especially with naturally sweet fruits like ripe peaches or blueberries. For tart fruits like cherries or rhubarb, you'll likely need more sugar. Don't be afraid to taste a small piece of the raw fruit mixture before adding it to the pie – this is your best guide for adjusting the sugar and lemon juice.
Consider adding a pinch of salt to the fruit filling as well. Just like in savory cooking, a little salt can enhance the overall flavor profile and make the fruit taste brighter. Spices also play a role in balancing flavors; cinnamon pairs beautifully with apples, nutmeg with peaches, and a touch of ginger can liven up berry fillings. Experiment with small amounts until you find your ideal balance for your specific juicy fruit pie recipe. Remember, the flavors will concentrate slightly as the pie bakes.
Thickening the Fruit Pie Filling: Avoiding a Runny Pie
A juicy fruit pie is wonderful, but a runny pie is disappointing. Choosing the right thickener and using the correct amount is crucial. Common thickeners include all-purpose flour, cornstarch, tapioca starch, and instant tapioca. Flour is a reliable, inexpensive option, but it can sometimes make the filling slightly cloudy. Cornstarch provides a clear, glossy filling but can break down if overcooked or frozen and thawed. Tapioca starch (or instant tapioca) creates a very clear, glossy filling and is more stable than cornstarch.
The amount of thickener needed depends on the fruit's juiciness. For 2 pounds of fruit, you might use 1/4 cup of flour, or 2-3 tablespoons of cornstarch or tapioca starch. Berry pies, which release a lot of juice, often require the higher end of these ranges.
Mix the thickener thoroughly with the sugar and spices before adding them to the fruit; this prevents lumps. If using instant tapioca, let the fruit mixture sit for about 15 minutes after mixing to give the tapioca time to absorb some juice before baking. This step significantly helps in achieving a perfectly thickened, juicy fruit pie.
Step 3: Assembling and Baking Your Fruit Pie
Layering the Fruit Filling into the Pie Crust
Once your crust is blind-baked (if you chose that route) and your fruit filling is prepared, it's time to assemble your juicy fruit pie. Carefully pour or spoon the fruit filling into the prepared bottom pie crust. Distribute the fruit evenly, ensuring there are no large gaps.
If your fruit mixture has released a lot of liquid at the bottom of the bowl, you can choose to leave some of this liquid out, especially with very juicy fruits like berries, to further guard against a soggy bottom and overly runny filling. However, don't discard all the liquid, as you still want a juicy fruit pie.
Mound the fruit slightly in the center – it will settle as it bakes. Adding a few small dots of butter (about 1 tablespoon total, cut into tiny pieces) over the top of the fruit filling is a classic trick that adds richness and helps create a glossy, bubbling surface as the pie bakes. If you're using a top crust, moisten the edge of the bottom crust with a little water or egg wash before adding the top crust; this helps the two crusts adhere and seal in that wonderful juicy fruit pie filling.
Creating a Decorative Pie Crust Top (Optional)
While a simple double crust is perfectly fine for a delicious juicy fruit pie, creating a decorative top can add a beautiful touch. You can use a solid top crust, cutting vents in it with a knife or cookie cutters to allow steam to escape. These vents are crucial; without them, the steam from the hot juicy fruit pie filling can build up pressure and cause the crust to crack or the filling to erupt messily. Aim for at least 4-5 generous vents.
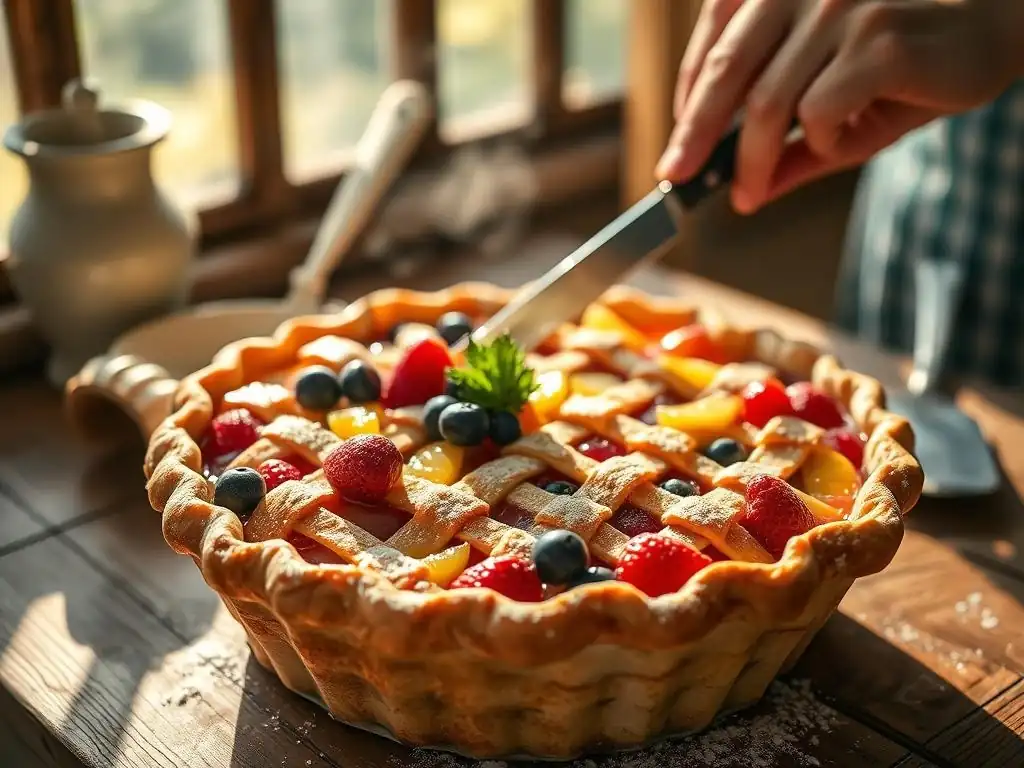
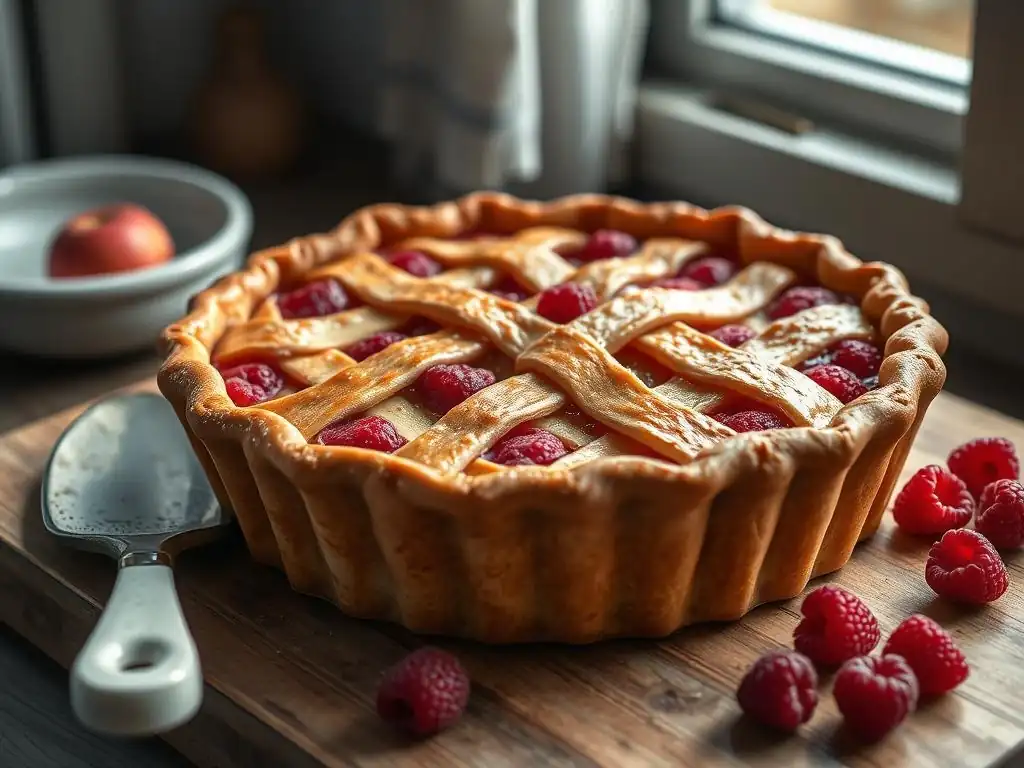
Alternatively, you can create a lattice top by cutting the second disc of dough into strips (about 1/2 to 1 inch wide) and weaving them over the fruit filling. This allows more of the beautiful juicy fruit pie filling to show through and creates an elegant look.
Brush the top crust (whether solid or lattice) with an egg wash (one egg beaten with a tablespoon of water or milk) and sprinkle with coarse sugar for a golden, sparkling finish. This step not only adds visual appeal but also contributes to a lovely crispy texture on the surface of your juicy fruit pie.
Baking Temperatures and Times for a Golden-Brown Fruit Pie
Baking your juicy fruit pie at the correct temperature and for the right amount of time is vital for ensuring the crust is golden and the filling is bubbling and cooked through. A common technique is to start with a higher temperature to help set the bottom crust quickly, then lower the temperature to ensure the filling cooks evenly without the top crust burning. A typical range is starting at 425°F (220°C) for 15-20 minutes, then reducing the temperature to 375°F (190°C) for another 35-45 minutes.
The total baking time for a 9-inch juicy fruit pie is usually between 50 and 70 minutes, depending on the fruit and your oven. You know your pie is done when the crust is deeply golden brown and you can see the filling bubbling vigorously through the vents or lattice. The bubbling indicates that the thickener has activated and the juices are hot enough.
If the crust edges start to brown too quickly, cover them loosely with aluminum foil or a pie shield. Letting the pie bake until the filling is actively bubbling is key to ensuring the thickener works properly and you don't end up with a runny juicy fruit pie.
Tips and Tricks for a Consistently Juicy and Delicious Fruit Pie
Preventing a Soggy Bottom Crust: Expert Advice
Preventing a soggy bottom is arguably the most challenging part of baking a juicy fruit pie. Beyond blind baking, several other techniques can help. Ensure your pie plate is not cold when you put the assembled pie in the oven; starting in a hot oven helps the bottom crust set faster. Some bakers swear by brushing the bottom crust with a thin layer of egg white or melted butter before adding the filling; this creates a slight barrier.
Another effective method is to pre-cook the fruit filling slightly, especially for very wet fruits like berries. Gently simmering the fruit with sugar and thickener on the stovetop for a few minutes until it just starts to thicken reduces the amount of excess liquid before it even goes into the pie shell. This dramatically decreases the moisture interacting with the bottom crust during the crucial initial baking phase, significantly improving your chances of a crisp bottom for your juicy fruit pie.
Achieving a Beautiful Golden-Brown Crust: Baking Secrets
A golden-brown crust is visually appealing and also indicates that the crust is fully baked and crisp. Ensure your oven is accurately calibrated; an oven thermometer is a worthwhile investment. Using an egg wash (egg beaten with a little water or milk) brushed over the top crust before baking promotes browning and adds a lovely sheen. Sprinkling coarse sugar (like turbinado or sanding sugar) over the egg wash adds sparkle and a delightful crunch.
If your crust is browning too fast while the filling isn't bubbling yet, loosely tent the entire pie with aluminum foil. If only the edges are browning too quickly, use a pie shield or strips of foil to cover just the edges. Don't be afraid to bake your juicy fruit pie until the crust is a deep golden color, not just pale blonde. This ensures the crust is fully cooked and crisp, providing a wonderful contrast to the soft, juicy fruit pie filling inside.
Cooling and Serving Your Homemade Fruit Pie
Patience is a virtue, especially after you've baked a beautiful juicy fruit pie. It's absolutely crucial to let the pie cool completely, or at least until it's just warm, before slicing. As the pie cools, the thickener in the filling continues to set, and the juices thicken. Slicing into a hot pie, while tempting, will almost certainly result in a runny, collapsed slice because the filling hasn't had time to stabilize.
Allow a standard 9-inch fruit pie to cool on a wire rack for at least 2-4 hours, or even longer for very juicy fillings like berry or cherry. The pie is ready to slice when the center no longer jiggles excessively when gently nudged. Serving the juicy fruit pie slightly warm is ideal, perhaps with a scoop of vanilla ice cream or a dollop of whipped cream. This cooling period is non-negotiable for achieving neat slices and appreciating the full, juicy fruit pie experience.
Troubleshooting Common Fruit Pie Problems
My Fruit Pie Filling is Too Runny: Solutions
A runny juicy fruit pie filling is a common frustration, but it's usually fixable or preventable next time. If you discover your filling is too runny after baking and cooling, unfortunately, there's not much you can do to thicken the entire pie. However, you can embrace it! Serve it in bowls rather than trying to get perfect slices, and call it a "fruit cobbler in a crust."
For your next juicy fruit pie recipe, focus on the thickener. Ensure you used the correct type and amount for the specific fruit. Fruits like berries require more thickener than apples. Make sure you mixed the thickener thoroughly with the sugar before adding it to the fruit.
Most importantly, ensure you baked the pie long enough. The filling needs to reach a high enough temperature (usually over 200°F or 93°C) for the thickener to activate properly. The filling should be visibly bubbling vigorously in the center, not just around the edges, for several minutes before you take it out of the oven.
My Pie Crust is Burning: Prevention and Remedies
If your juicy fruit pie crust is browning too quickly while the filling still needs time to cook, intervention is needed. The most common place for burning is the crimped edge of the crust. These thin edges are exposed and cook faster than the rest of the pie. Invest in a reusable silicone pie edge protector or create your own shield using aluminum foil strips crimped around the edge of the pie plate. Apply the shield as soon as the edges reach your desired level of golden brown, usually about halfway through the total baking time.
If the entire top crust is browning too fast, loosely tent the entire pie with a sheet of aluminum foil. Make sure the foil is tented high enough not to touch the crust, which could cause sticking. Check the pie periodically. If you've caught the burning early, the shield or foil will prevent further darkening and allow the rest of the pie (including that critical juicy fruit pie filling) to finish baking properly.
My Pie Crust is Soggy: How to Fix It
A soggy bottom crust is a disheartening outcome for a juicy fruit pie. If you've already baked the pie and discovered a soggy bottom, unfortunately, it's difficult to fix completely. You can try placing the pie directly on the bottom rack of the oven for a few minutes at a slightly higher temperature (like 400°F or 200°C) to see if that crisps up the bottom, but watch it constantly to prevent burning the top.
To prevent a soggy bottom in your next juicy fruit pie recipe, implement the preventative measures discussed earlier: blind baking the bottom crust is highly recommended, especially for juicy fillings. Ensure your filling isn't excessively wet – draining off some extra liquid from very juicy fruits before adding the filling can help.
Make sure your oven is preheated properly and bake the pie on the lower rack or on a preheated baking sheet to maximize direct heat to the bottom crust. Baking until the filling is truly bubbling also helps ensure the bottom crust gets enough time in the oven to crisp up.
Variations on the Classic Juicy Fruit Pie
Adding Spices and Extracts for Enhanced Flavor
Elevating your juicy fruit pie recipe is easy with the addition of spices and extracts. While cinnamon is a classic pairing for apples and peaches, don't stop there. Nutmeg, allspice, cloves, cardamom, and ginger can add warmth and complexity. A pinch of fresh-grated nutmeg over a berry pie is delightful. Cardamom pairs surprisingly well with stone fruits like plums or apricots. For a 9-inch pie, start with 1/2 to 1 teaspoon of a primary spice like cinnamon and add smaller amounts (1/4 teaspoon or less) of complementary spices.
Extracts offer another layer of flavor. A teaspoon of vanilla extract enhances almost any fruit filling. Almond extract pairs beautifully with cherry, apple, or stone fruit pies, adding a subtle nutty depth. A splash of bourbon or rum can also add sophisticated flavor notes, particularly with apple or pecan fillings (though use sparingly, perhaps just a tablespoon or two). Experiment with small amounts to find your favorite combinations for your juicy fruit pie.
Exploring Different Fruit Combinations: Inspiration from BakeWithEase
The world of juicy fruit pie is vast and exciting when you start combining different fruits. Think about fruits that ripen seasonally together – apple and cranberry in the fall, strawberry and rhubarb in the spring, mixed berries in the summer. A classic combination is apple and cherry, offering a balance of firmness and juiciness, sweetness and tartness. Peach and raspberry is another winning pair, with the delicate flavor of peaches complemented by the bright tang of raspberries.
Don't be afraid to mix textures. Firm apple slices with softer blueberries create an interesting contrast. Pears and cranberries offer a sweet and tart dynamic with different cooking times, requiring careful cutting of the pears to ensure they soften adequately. Consider adding dried fruits, like raisins or dried cranberries, to apple fillings for chewy texture and concentrated sweetness. Explore the produce aisle and imagine the possibilities for your next juicy fruit pie recipe adventure!
Gluten-Free Fruit Pie Options for Dietary Needs
Creating a juicy fruit pie that accommodates dietary needs, such as being gluten-free, is entirely possible. The main adjustment is the crust. Gluten-free pie crust recipes are widely available, using a blend of gluten-free flours (like rice flour, almond flour, or a commercial gluten-free blend) combined with butter or shortening and ice water, similar to traditional pastry methods. Ensure your chosen gluten-free flour blend is suitable for pastry.
The fruit filling itself is naturally gluten-free, provided you use a gluten-free thickener. Cornstarch, tapioca starch, and instant tapioca are all excellent, naturally gluten-free options for thickening your juicy fruit pie filling. Ensure any added spices or extracts are also certified gluten-free if cross-contamination is a concern. With a good gluten-free crust recipe and careful selection of thickeners, you can enjoy a delicious, juicy fruit pie regardless of dietary restrictions.
Storing and Reheating Your Leftover Fruit Pie
Proper Storage Techniques for Maintaining Freshness
Once your glorious juicy fruit pie has cooled, proper storage is key to keeping it fresh and delicious. If the pie will be eaten within 1-2 days, it can generally be stored at room temperature, uncovered or loosely covered with foil or plastic wrap. Covering too tightly can trap moisture, making the crust soggy. However, for pies containing delicate fruits like berries or those made in warm, humid conditions, refrigeration is the safer option to prevent spoilage.
For longer storage, or if your pie contains dairy or eggs in the filling (though less common in standard fruit pies), refrigeration is necessary. Wrap the cooled pie tightly in plastic wrap and then in foil, or place slices in an airtight container. A juicy fruit pie can last for 3-4 days in the refrigerator. For even longer storage, fruit pies freeze exceptionally well. Freeze the cooled, wrapped pie (or individual slices) for up to 3-4 months. Thaw overnight in the refrigerator before reheating.
Reheating Tips for a Warm and Delicious Slice
There's nothing quite like a warm slice of juicy fruit pie. To reheat a whole pie or large sections, the oven is the best method for reviving the crust's crispness. Preheat your oven to 300°F (150°C). Place the pie directly on the oven rack or on a baking sheet. Reheat a whole pie for 15-25 minutes, or until the filling is warm and the crust is crisp again. Watch it closely to prevent burning, especially if it was stored refrigerated or frozen.
For individual slices of juicy fruit pie, the oven is still preferred for best results, taking about 10-15 minutes at 300°F (150°C). Alternatively, you can use a toaster oven. The microwave is the quickest option for a single slice (30-60 seconds), but it will soften the crust significantly. If you prioritize a crisp crust, stick to the oven or toaster oven for reheating your delicious, juicy fruit pie.
Enjoy Your Homemade Juicy Fruit Pie!
Frequently Asked Questions
What makes a fruit pie filling juicy instead of dry?
The key is the right ratio of fruit to thickener. Using too much thickener results in a dry pie, while too little leads to a watery mess. Properly cooked fruit also releases its juices naturally.
Can I use frozen fruit in this juicy fruit pie recipe?
Yes, you can! However, thaw the fruit first and drain off excess liquid before using. This prevents the pie from becoming too watery and ensures a juicier, not soggy, filling.
What type of thickener works best for a juicy fruit pie?
Cornstarch, tapioca starch, and flour are common thickeners. Tapioca starch is often preferred for its clear finish and ability to create a glossy, juicy filling.
How do I prevent the crust from getting soggy in a juicy fruit pie recipe?
Blind baking the bottom crust before adding the filling helps. Also, brushing the bottom crust with egg white creates a barrier. Ensure the fruit filling isn't overly juicy before baking.
What fruits work best in a juicy fruit pie?
Almost any fruit can be used! Berries, apples, peaches, and cherries are popular choices. You can also mix different fruits for a complex and juicy flavor profile.
Final Reflection: The Enduring Allure of a Perfect Juicy Fruit Pie
The pursuit of the perfect juicy fruit pie transcends mere culinary skill; it's a testament to the power of simple ingredients transformed into something extraordinary. This article has explored a straightforward method for achieving that juicy, flavorful perfection, addressing common pitfalls and offering tips for consistent success. But the recipe itself is only half the story.
The enduring appeal of pie, particularly a fruit pie bursting with flavor, lies in its ability to connect us to cherished memories and traditions. It's a dish that evokes feelings of warmth, comfort, and shared experiences. A pie is a love letter to the stomach.
– Unknown. This sentiment perfectly captures the emotional resonance of baking and sharing a pie, a sentiment amplified by the vibrant, juicy filling of our focus. The simple act of creating something delicious from scratch fosters a sense of accomplishment and connection, a feeling increasingly valuable in our fast-paced world.
Now, I invite you to roll up your sleeves, gather your ingredients, and embark on your own juicy fruit pie adventure. Don't be intimidated by the process; embrace the journey. Let the aroma of baking fruit fill your kitchen, and savor the satisfaction of creating something beautiful and delicious to share with loved ones. The perfect juicy fruit pie awaits – and so does the joy of creating it.
Unlock Your Inner Pie Master!
Thanks for joining us on this delicious journey into the world of fruit pies! We hope you've gained the confidence to create a truly juicy and unforgettable dessert. Ready to take your baking skills to the next level?
- Bake your masterpiece today! Grab your ingredients and follow the recipe again – this time, experiment with your favorite fruit combination.
- Share your fruity creation with friends and family – and don’t forget to tag us on social media! We'd love to see your stunning pies.
- Consider exploring other recipes on BakeWithEase.com for more baking inspiration.
What unique twist will you add to your next juicy fruit pie? Let us know in the comments below!