
Simple Plum Tart Recipe: A Late Summer Treat

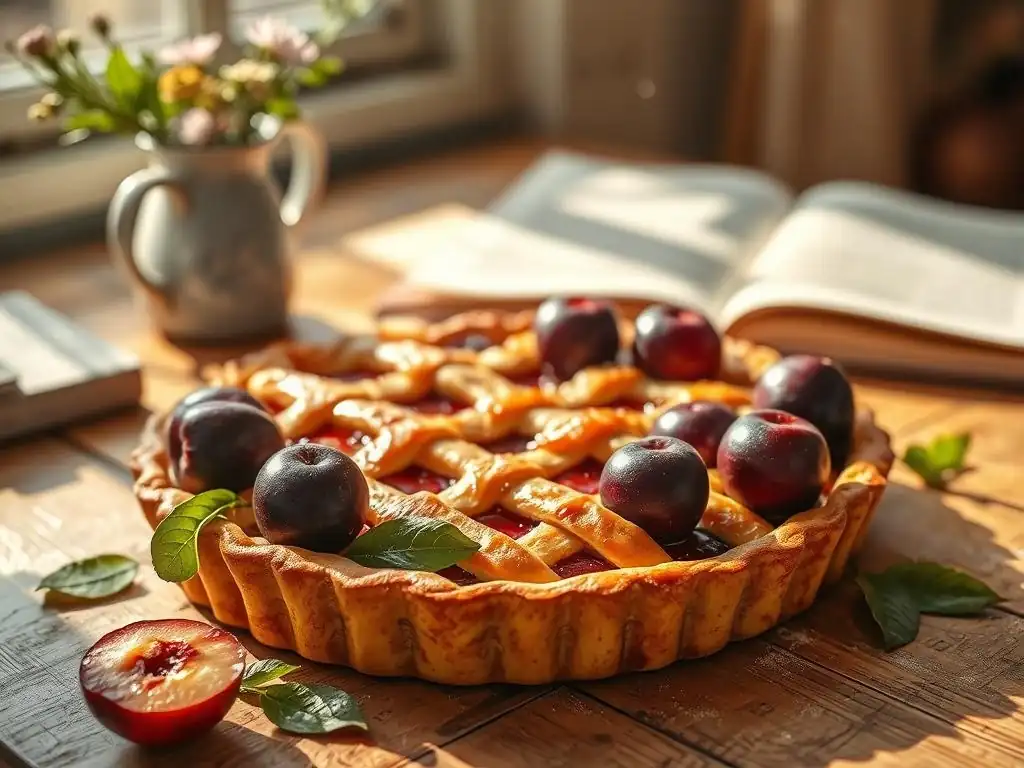
Welcome to BakeWithEase, your haven for unlocking the joy of baking! Are you ready to transform late-summer plums into a stunning and effortless dessert? Dive in and discover our Easy Plum Tart Recipe, a guaranteed crowd-pleaser that proves delicious baking doesn't have to be complicated. What's the secret to that perfect, flaky crust and juicy plum filling? Keep reading to find out!
- Simple Plum Tart Recipe: A Late Summer Treat - BakeWithEase
- Introduction to Easy Plum Tart Baking
- Preparing Your Homemade Plum Tart
- Step-by-Step Guide to Baking the Perfect Plum Tart
- Serving and Storing Your Delicious Plum Tart
- Troubleshooting Common Plum Tart Baking Issues
- Variations on the Basic Plum Tart Recipe
- Mastering Fruit Pies & Tarts: Next Steps on BakeWithEase
- Conclusion: Enjoy Your Homemade Easy Plum Tart
-
Frequently Asked Questions
- How easy is the Simple Plum Tart Recipe really?
- What kind of plums work best in this Easy Plum Tart Recipe?
- Can I substitute any ingredients in the Simple Plum Tart Recipe?
- How long does it take to make the Easy Plum Tart Recipe from start to finish?
- What are some tips for preventing the crust from getting soggy in the Easy Plum Tart Recipe?
- Final Reflection: The Enduring Sweetness of Simple Pleasures
- Unleash Your Inner Baker: Make This Plum Tart Today!
Simple Plum Tart Recipe: A Late Summer Treat - BakeWithEase
Introduction to Easy Plum Tart Baking
Welcome to BakeWithEase: Your Baking Journey Starts Here
Welcome to BakeWithEase, where we believe that baking should be a joyful and accessible experience for everyone! Whether you're just starting out or looking to refine your skills, our goal is to provide clear, simple recipes and helpful techniques. We cover everything from rustic loaves of sourdough to delicate pastries, all designed to build your confidence in the kitchen. This site is built on the principle that delicious, homemade treats are within reach, no matter your skill level.
Our community is passionate about sharing the simple pleasures of baking. We understand that sometimes the most intimidating part is just getting started, which is why we focus on breaking down recipes into manageable steps. From choosing the right ingredients to mastering basic techniques, we're here to guide you. Let's embark on this delicious journey together, starting with a truly delightful and surprisingly easy plum tart recipe perfect for the season.
Why This Easy Plum Tart Recipe is Perfect for Late Summer
Late summer brings a bounty of ripe, juicy plums, and there's no better way to celebrate this seasonal treasure than with a simple plum tart recipe. This particular recipe focuses on highlighting the natural sweetness and slight tang of fresh plums, encased in a buttery, flaky crust. It's less complex than many other fruit tarts, requiring minimal fuss but delivering maximum flavor. The warmth of the baked plums combined with a crisp pastry is the quintessential taste of late summer.
Furthermore, an easy plum tart recipe is ideal for those looking for a dessert that feels special without demanding hours of complicated work. The ingredients are straightforward – flour, butter, sugar, and plums – and the steps are designed to be intuitive. It's a perfect baking project for a warm afternoon, resulting in a beautiful tart that's wonderful served slightly warm, perhaps with a dollop of cream. It truly captures the essence of simple, seasonal baking.
Preparing Your Homemade Plum Tart
Ingredients for the Simple Plum Tart Recipe
To create this delightful easy plum tart recipe, you'll need a few key ingredients. For the sweet shortcrust pastry (pâte sucrée), you'll typically require about 250 grams of all-purpose flour, 125 grams of cold unsalted butter cut into cubes, 50 grams of granulated sugar, a pinch of salt, and usually one large egg yolk plus a tablespoon or two of ice water. The quality of your butter is particularly important here, as it contributes significantly to the pastry's flavor and texture. Using cold ingredients helps create flaky layers.
For the filling, you'll need approximately 500-600 grams of fresh plums. The exact amount can vary slightly depending on the size of your plums and how tightly you arrange them. You'll also need about 50-75 grams of granulated sugar (adjust to the sweetness of your plums), 1-2 tablespoons of a thickener like cornstarch or flour, and optional flavorings such as a teaspoon of ground cinnamon or a hint of vanilla extract. A tablespoon of lemon juice can also brighten the flavor profile.
Essential Baking Tools for a Perfect Plum Tart
Having the right tools can make the process of baking an easy plum tart recipe even smoother. A food processor is incredibly helpful for quickly making the pastry dough, cutting the cold butter into the flour efficiently. Alternatively, you can use a pastry blender or even your fingertips, but a food processor is a time-saver. You will also need a large mixing bowl for combining ingredients and chilling the dough.
Other essential tools include a rolling pin for shaping the pastry, a 9 or 10-inch tart pan (preferably with a removable bottom for easy serving), parchment paper and pie weights or dried beans for blind baking, and a sharp knife for slicing the plums. Measuring cups and spoons are, of course, crucial for accuracy. An oven thermometer can also be useful to ensure your oven is preheated to the correct temperature, which is vital for even baking.
Step-by-Step Guide to Baking the Perfect Plum Tart
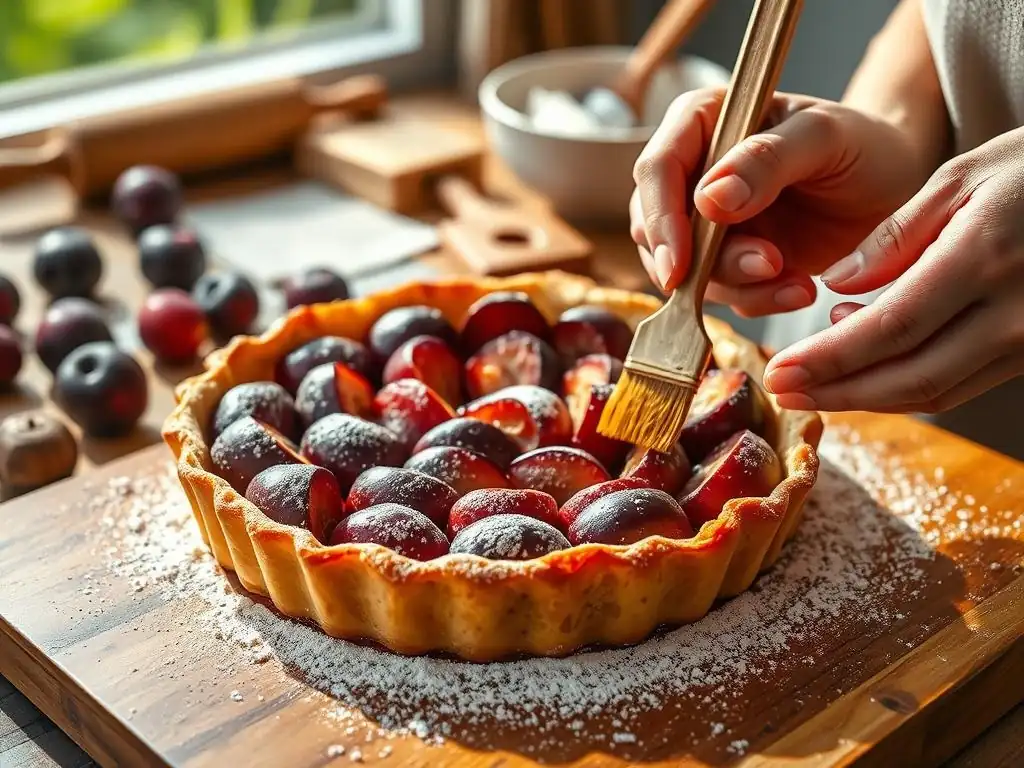
Step 1: Making the Sweet Shortcrust Pastry (Pâte Sucrée)
Begin by making the sweet shortcrust pastry. In a food processor, pulse the flour, sugar, and salt a few times to combine. Add the cold, cubed butter and pulse until the mixture resembles coarse crumbs, with some pea-sized pieces of butter remaining. This texture is key for flakiness. In a separate small bowl, whisk the egg yolk with a tablespoon of ice water. Add this liquid to the flour mixture and pulse just until the dough starts to come together. Be careful not to overmix.
Turn the dough out onto a lightly floured surface and gently bring it together into a disc. Wrap the disc tightly in plastic wrap and refrigerate for at least 30 minutes, or up to 2 days. Chilling the dough allows the gluten to relax and the butter to firm up, making it much easier to roll out and resulting in a tender, flaky crust for your easy plum tart recipe.
Tips for Achieving a Flaky Shortcrust
- Keep Ingredients Cold: This is paramount. Cold butter creates steam pockets in the oven, resulting in flaky layers.
- Don't Overwork the Dough: Overmixing develops gluten, leading to a tough crust. Mix only until the dough just comes together.
- Chill Thoroughly: Chilling before rolling and after placing in the pan helps the pastry hold its shape and prevents shrinkage.
- Handle Gently: Roll out the dough with light, even pressure. Avoid stretching it when fitting it into the tart pan.
Step 2: Preparing the Plum Filling
While the pastry is chilling, prepare the plum filling. Wash the plums, then halve them and remove the pits. Depending on the size of your plums and desired presentation, you can slice them into quarters or even eighths. Aim for slices about 1/2 inch thick. Place the sliced plums in a medium bowl.
Add the sugar (start with 50g and taste a plum slice to see if more is needed), your chosen thickener (cornstarch or flour), and any optional flavorings like cinnamon or a splash of lemon juice. Gently toss everything together to coat the plums evenly. The sugar will start to draw out juices from the plums, which the thickener will help manage during baking, preventing a watery filling in your easy plum tart recipe.
Choosing the Best Plums for Your Tart: Italian Prune Plums & Elephant Heart Plums
For a plum tart, certain varieties work better than others. Italian Prune Plums are often considered ideal because they have a relatively firm texture, a good balance of sweetness and tartness, and their pits are easy to remove. They hold their shape well when baked, resulting in distinct plum pieces in the tart.
Another excellent choice is the Elephant Heart plum. These are larger, heart-shaped plums with beautiful dark red flesh. They are very juicy and sweet with a slightly tangy skin. While juicier than prune plums, they still bake up nicely and offer a rich, deep flavor that complements the buttery crust of an easy plum tart recipe beautifully. Avoid overly soft or mushy plums, as they will break down too much during baking.
Enhancing the Plum Flavor: Cinnamon & Star Anise
To elevate the natural taste of the plums in your easy plum tart recipe, consider adding warm spices. Ground cinnamon is a classic pairing with plums, providing a comforting, slightly sweet spice note that enhances the fruit's flavor without overpowering it. Just a teaspoon or two tossed with the plums is usually sufficient.
For a more unique flavor, a pinch of ground star anise or a whole star anise pod (removed before baking) can add a subtle licorice-like warmth and complexity. Other spices like a grating of fresh nutmeg, a pinch of cardamom, or even a touch of ginger can also work wonderfully. Experiment with small amounts to find your preferred combination.
Step 3: Assembling the Plum Tart
Once the pastry is chilled, roll it out on a lightly floured surface into a circle about 12 inches in diameter and roughly 1/8 inch thick. Carefully transfer the rolled pastry to your 9 or 10-inch tart pan. Gently press the dough into the bottom and up the sides of the pan, trimming any excess dough from the edges. Patch any small tears with dough scraps. Prick the bottom of the crust all over with a fork.
Place the prepared tart shell back into the refrigerator for at least 15-20 minutes to chill again before blind baking. This re-chilling step is important for preventing the pastry from shrinking too much during the initial bake and helps ensure a crisp bottom crust for your easy plum tart recipe.
Blind Baking the Tart Crust: A Crucial Step
Blind baking, or partially baking the tart crust before adding the filling, is a crucial step for preventing a soggy bottom, especially with juicy fruit fillings like plums. Line the chilled tart shell with parchment paper, pressing it against the sides, and fill it with pie weights, dried beans, or even uncooked rice, distributing them evenly to weigh down the bottom and sides.
Bake in a preheated oven at 375°F (190°C) for about 15-20 minutes, or until the edges are set and lightly golden. Carefully remove the parchment paper and weights. If the bottom crust looks wet or underbaked, you can bake it for another 5-10 minutes until it appears dry and opaque, but not necessarily browned. Some recipes suggest brushing the base with egg white after removing weights and baking for a few more minutes to seal it further.
Arranging the Plums for an Appealing Tart
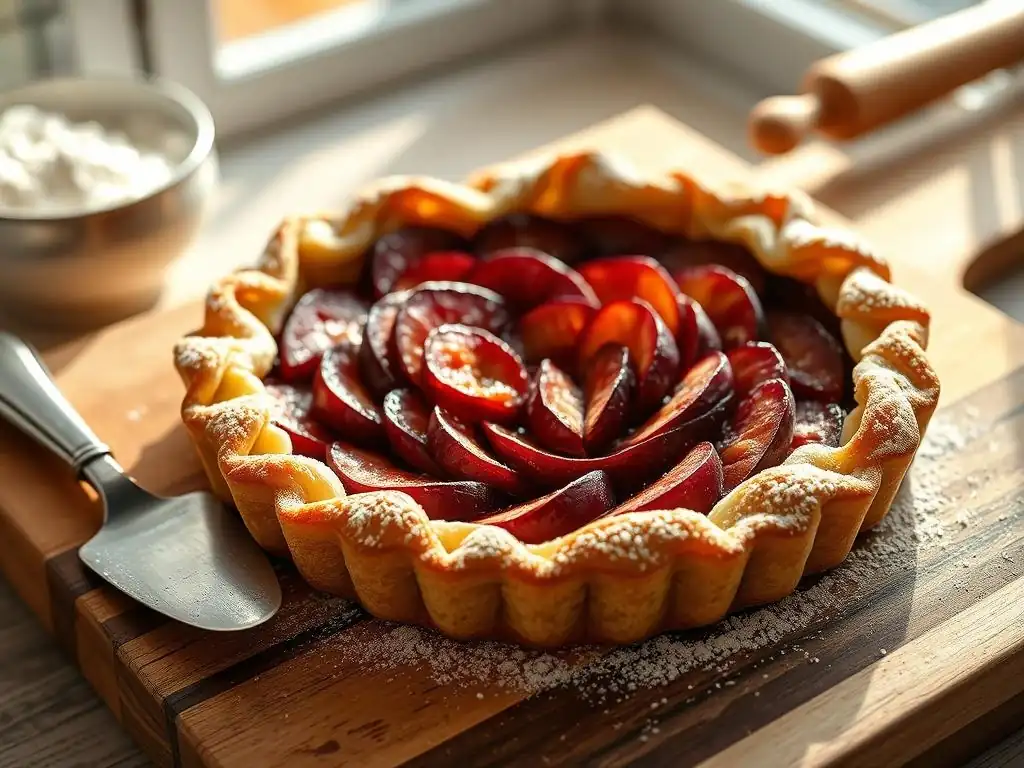
After blind baking the crust, it's time to arrange the plum filling. Drain any excess liquid that may have accumulated in the bowl with the plums, as too much liquid can still lead to a watery filling despite the thickener. Arrange the plum slices in the blind-baked tart shell. You can layer them flat in concentric circles for a neat, classic look, or simply mound them slightly in the center.
Aim to distribute the plums evenly so that each slice is supported and they aren't piled too high, which could cause them to steam rather than bake properly. A slight overlap is fine, but avoid dense clumps. The visual appeal of an easy plum tart recipe is part of its charm, so take a moment to make the arrangement pleasing to the eye.
Step 4: Baking Your Easy Plum Tart
With the plums arranged in the blind-baked crust, your tart is ready for its final bake. Place the assembled tart carefully back into the preheated oven. The baking time will vary depending on your oven and the juiciness of the plums, but it typically takes between 35 to 50 minutes.
The tart is ready when the crust is deeply golden brown, and the plum filling is bubbling around the edges and appears soft and cooked through. You might see some delicious plum juices bubbling up, which is a good sign. For extra shine, you can brush the plums with a little warmed apricot jam towards the end of the baking time.
Oven Temperature and Baking Time for Optimal Results
For this easy plum tart recipe, a common baking temperature is 375°F (190°C). This temperature allows the crust to continue browning and crisping while ensuring the plums soften and release their juices, which then thicken with the added starch. Baking at a temperature that's too low can result in a pale, soggy crust, while too high can burn the edges before the filling is cooked.
The baking time is usually in the range of 35 to 50 minutes. Start checking around the 35-minute mark. If the crust edges are browning too quickly, you can loosely tent the tart with aluminum foil. The goal is to achieve a uniformly golden-brown crust and a visibly cooked filling.
Monitoring the Tart's Progress: Crust Golden Brown & Filling Bubbling
Keeping an eye on your easy plum tart recipe as it bakes is key to success. After the initial 30-35 minutes, peek into the oven. The crust around the edges should be turning a lovely golden brown. If it's still pale, continue baking. The center will likely take longer to brown.
Look for signs that the filling is cooked: the plums should look soft and slightly collapsed, and you should see juices bubbling up through the fruit, particularly around the edges. This bubbling indicates that the thickener is working and the fruit is releasing its moisture. If the crust looks perfect but the filling isn't bubbling, you may need a few more minutes. A gentle jiggle of the pan will show if the center is still liquid or mostly set.
Serving and Storing Your Delicious Plum Tart
Serving Suggestions: Vanilla Ice Cream & Whipped Cream
Once your easy plum tart recipe is baked to perfection, allow it to cool on a wire rack for at least 30-60 minutes before slicing. This allows the filling to set slightly, making for cleaner cuts. While delicious on its own, serving plum tart warm with a topping elevates the experience.
A scoop of high-quality vanilla ice cream is a classic pairing. The cool, creamy sweetness contrasts beautifully with the warm, slightly tart plums and crisp pastry. Alternatively, a generous dollop of freshly whipped cream adds a light, airy richness. You could even infuse the whipped cream with a hint of vanilla or almond extract to complement the tart's flavors.
Storing Leftover Plum Tart: Keeping it Fresh
If you're lucky enough to have leftovers from your easy plum tart recipe, proper storage will keep it tasting delicious. Once the tart has cooled completely to room temperature, cover it loosely with plastic wrap or aluminum foil, or store it in an airtight container.
The tart can be stored at room temperature for up to 1-2 days. For longer storage, or in warmer climates, it's best to refrigerate it. Refrigerated plum tart will keep for 3-4 days. The crust may lose some of its crispness when refrigerated, but you can often revive it slightly by gently warming slices in a toaster oven.
Troubleshooting Common Plum Tart Baking Issues
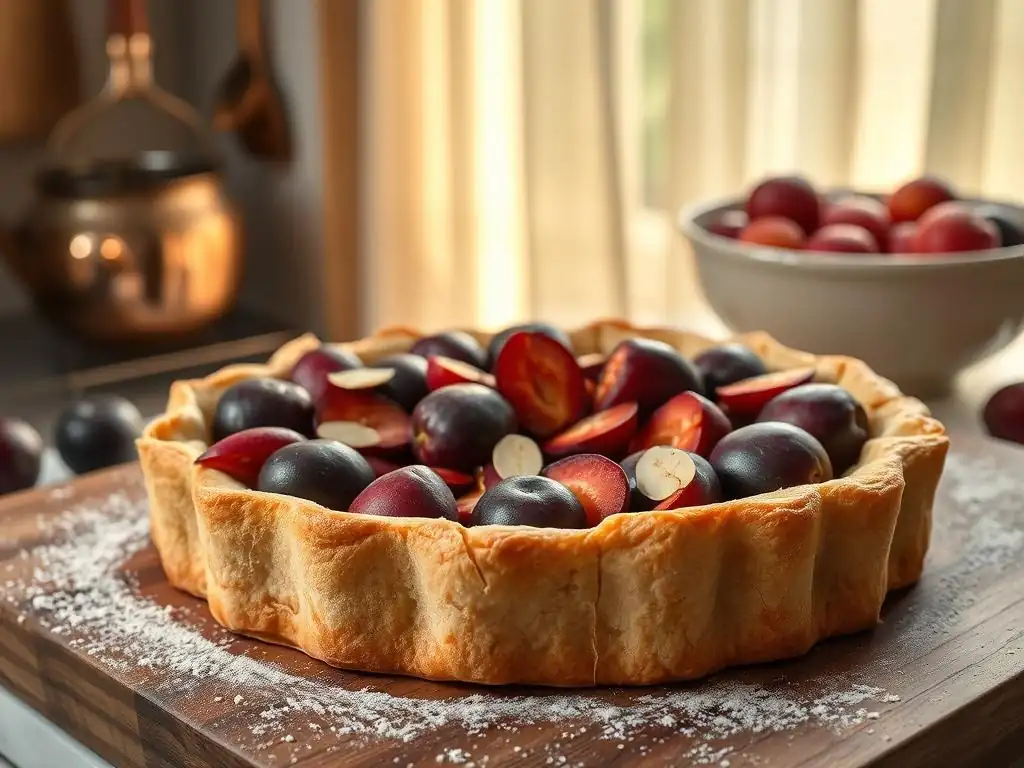
Avoiding a Soggy Bottom Crust
A soggy bottom crust is a common frustration with fruit tarts, but it's preventable in an easy plum tart recipe. The primary culprit is moisture from the fruit seeping into the uncooked pastry base. This is why blind baking is so important. Partially baking the crust creates a barrier.
Ensure you blind bake the crust until the base looks dry and opaque, not just the edges. Another technique is to brush the partially blind-baked crust with a thin layer of egg white or melted butter and bake for another few minutes; this creates a seal. Also, make sure you toss the plums with enough thickener (like cornstarch or flour) to absorb excess juices. Draining any liquid that collects in the plum bowl before filling the tart is also helpful.
Preventing the Plum Filling from Becoming Too Watery
Plums naturally release a lot of juice when heated, which can lead to a watery filling if not managed. Using a thickener is essential in an easy plum tart recipe. Cornstarch, flour, or tapioca starch are common choices. The amount needed depends on the juiciness of your plums, but typically 1-2 tablespoons per 500-600g of fruit is a good starting point.
Toss the plums with the sugar and thickener and let them sit for 10-15 minutes before filling the tart. If a significant amount of liquid pools at the bottom of the bowl, carefully drain off the excess before adding the plums to the blind-baked crust. Baking the tart until the filling is visibly bubbling ensures the thickener has activated and done its job.
Fixing a Cracked Tart Crust
Sometimes, despite your best efforts, the tart crust might crack when you're transferring it to the pan or during blind baking. Don't despair! A cracked crust is usually easy to fix before or even during baking.
If the crack happens before baking, simply moisten your finger with a little water and gently press the dough edges together to seal the crack. For larger cracks or tears, you can use a small piece of dough scrap (kept cold) to patch the area, pressing it firmly into place. If you notice a crack during blind baking, you can often patch it with a dough scrap, press it in, and continue baking. The patched area might be visible, but it will seal the crust and prevent leaks.
Variations on the Basic Plum Tart Recipe
Adding Almond Flour to the Crust: A Nutty Twist
Adding almond flour to your sweet shortcrust pastry is a simple way to introduce a delightful nutty flavor and a slightly tender crumb to your easy plum tart recipe. You can replace a portion of the all-purpose flour with almond flour, perhaps substituting 25-50 grams of the total flour amount with finely ground almond flour.
This substitution works best when the almond flour is finely milled. The higher fat content of almond flour makes the dough a little more delicate to handle, so ensure it's well-chilled. The resulting crust will have a subtle almond flavor that pairs wonderfully with plums and will likely be a bit more tender than a crust made with 100% wheat flour.
Creating a Frangipane Plum Tart
Elevate your easy plum tart recipe by adding a layer of frangipane beneath the plums. Frangipane is a creamy almond filling made from butter, sugar, eggs, and almond flour. It bakes up into a soft, cake-like layer that provides a rich contrast to the tart plums and crisp pastry.
To make a frangipane plum tart, prepare the sweet shortcrust pastry and blind bake it as usual. While it cools slightly, prepare the frangipane (a typical ratio is 100g softened butter, 100g sugar, 100g almond flour, 1 large egg, and a splash of almond extract). Spread the frangipane evenly over the bottom of the blind-baked crust, then arrange the plum slices on top of the frangipane before baking.
Making a Gluten-Free Plum Tart: Almond & Rice Flour Blend
Adapting an easy plum tart recipe to be gluten-free is achievable with the right blend of flours. A combination of almond flour and a gluten-free all-purpose blend (often containing rice flour, potato starch, and tapioca starch) works well for creating a tender, flaky gluten-free pastry.
You might start with a blend that is specifically designed as a 1:1 replacement for wheat flour, or create your own mix, perhaps using equal parts almond flour and a rice/tapioca/potato starch blend. You'll still need cold butter, sugar, and a binder like xanthan gum (often included in GF blends or added separately, perhaps 1/4 teaspoon per cup of flour mix) to provide structure. The process of making the dough and blind baking remains similar, though GF doughs can sometimes be more delicate.
Mastering Fruit Pies & Tarts: Next Steps on BakeWithEase
Exploring Other Fruit Tart Recipes: Apple Tart & Pear Tart
Once you've mastered this easy plum tart recipe, a world of other fruit tarts awaits! The techniques learned here, such as making a sweet shortcrust pastry and blind baking, are fundamental to many other recipes. For instance, an Apple Tart uses similar principles but requires different considerations for apple varieties (like Granny Smith or Honeycrisp) and slicing techniques to prevent excess moisture.
Pear tarts are another delightful option, often paired with flavors like almond or ginger. Each fruit presents unique challenges and rewards. Exploring these variations helps you understand how different fruits behave when baked and how to adjust sweetness and thickeners accordingly, building your overall fruit tart expertise on BakeWithEase.
Advanced Pastry Techniques: Laminated Dough & Pate a Choux
Ready to go beyond the simple shortcrust? BakeWithEase offers resources on more advanced pastry techniques. Learning to create laminated dough, like puff pastry or croissant dough, opens the door to incredibly flaky tarts and pastries, though it requires patience and precise temperature control.
Pâte à choux, the dough used for éclairs and cream puffs, is another fundamental technique. While not typically used for a base in an easy plum tart recipe, mastering choux pastry allows you to create impressive desserts like Paris-Brest or religieuses, often filled with creams or mousses that could complement fruit. Expanding your pastry repertoire allows you to tackle increasingly complex and rewarding baking projects.
Conclusion: Enjoy Your Homemade Easy Plum Tart
You've successfully baked a beautiful and delicious easy plum tart recipe! From preparing the simple sweet shortcrust pastry to arranging the vibrant plums and achieving that perfect golden-brown crust, you've created a wonderful late summer treat. This recipe is a testament to how simple, seasonal ingredients can yield truly spectacular results with just a little guidance.
We hope this step-by-step guide on BakeWithEase has made baking this easy plum tart recipe accessible and enjoyable. Don't hesitate to experiment with different plum varieties or add your own spice variations next time. Share your creation with friends and family, and savor the sweet, slightly tart flavors of late summer in every bite. Happy Baking!
Frequently Asked Questions
How easy is the Simple Plum Tart Recipe really?
The recipe is designed for bakers of all levels, featuring simple instructions and readily available ingredients. It focuses on an easy-to-follow method for a delicious result.
What kind of plums work best in this Easy Plum Tart Recipe?
While any plum can technically be used, the recipe recommends using slightly firm, ripe plums like Italian plums or Santa Rosa plums. These hold their shape well during baking.
Can I substitute any ingredients in the Simple Plum Tart Recipe?
Yes, some substitutions are possible. For example, you could use a different type of fruit if plums are not available, or a different type of flour in the crust.
How long does it take to make the Easy Plum Tart Recipe from start to finish?
The total time is approximately 1 hour, including preparation, baking, and a short cooling period. The active time is considerably shorter, making it a quick dessert option.
What are some tips for preventing the crust from getting soggy in the Easy Plum Tart Recipe?
Blind baking the crust before adding the plum filling can help, as can using a low-moisture filling. Also, ensure the oven is properly preheated.
Final Reflection: The Enduring Sweetness of Simple Pleasures
The humble plum tart, a seemingly simple dessert, speaks volumes about the power of mindful creation and the joy found in uncomplicated recipes. In a world obsessed with complex culinary techniques and elaborate presentations, this recipe offers a refreshing counterpoint: a testament to the beauty of using fresh, seasonal ingredients to create something delicious and deeply satisfying. It's a reminder that sometimes, the most rewarding experiences are the simplest ones.
The act of baking, particularly a recipe as straightforward as this plum tart, is a meditative practice. It connects us to the rhythm of the seasons, the bounty of nature, and the satisfaction of creating something beautiful with our own hands. The best things in life are simple.
This adage rings especially true when considering the enduring appeal of this classic dessert. The tart's simplicity allows for personal expression; each baker can infuse their own unique touch, whether it's a sprinkle of cinnamon or a dollop of cream.
Now, I invite you to consider the lessons woven into this simple recipe. Think about how you can incorporate the principles of mindful creation and appreciation for simple pleasures into your own life. Perhaps it's slowing down to savor a moment, appreciating the beauty of a sunset, or taking the time to bake a treat for someone you love. Let the enduring sweetness of this plum tart inspire you to find joy in the everyday, and remember the power of simplicity in a world that often feels overwhelmingly complex.
Unleash Your Inner Baker: Make This Plum Tart Today!
Thanks for joining us on this delicious journey into the world of plum tarts! We hope you've gained the confidence to tackle this seemingly complex dessert. Now it's time to put your newfound skills to the test.
- Bake your own masterpiece: Gather your ingredients and follow the recipe – you might be surprised how easily this stunning tart comes together!
- Share your creation: Snap a photo of your finished plum tart and share it on social media using #BakeWithEasePlumTart. We’d love to see your baking triumphs!
- Explore more late-summer recipes: Head over to our recipe section for more seasonal delights – you might discover your new favorite dessert!
Ready to transform your kitchen into a fragrant haven of plum perfection? What's your favorite part of the baking process?