
Easy Lattice Pie Crust Tutorial: StepbyStep Guide

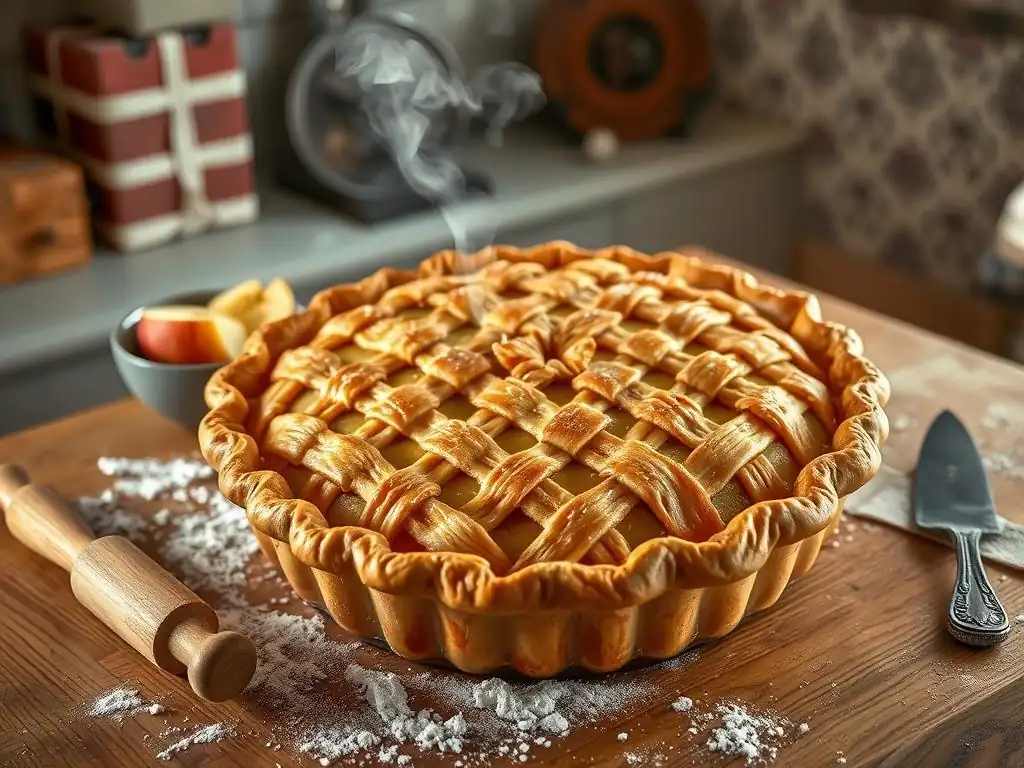
Welcome to BakeWithEase!
Ever dreamt of creating a picture-perfect lattice pie crust but felt intimidated? Fear not! This Easy Lattice Pie Crust Tutorial unlocks the secrets to achieving bakery-worthy results, even if you're a beginner. Discover simple techniques and step-by-step instructions that will transform your pies from ordinary to extraordinary. Ready to impress your friends and family? Let's get baking and learn how to weave your way to pie perfection!
- Perfect Apple Lattice Pie: A Step-by-Step Guide
- Introduction to Lattice Pie Crusts: A Visually Stunning Dessert
-
Step-by-Step: Crafting Your Apple Lattice Pie
- Step 1: Preparing the Pie Dough - The Foundation of Your Pie
- Step 2: Rolling Out the Dough for the Pie Crust
- Step 3: Making the Lattice Strips - The Art of Weaving
- Step 4: Weaving the Lattice: A Simple Technique
- Step 5: Finishing the Crust: Edges and Details
- Step 6: Baking Your Lattice Pie to Perfection
- Troubleshooting Common Lattice Pie Crust Problems
- Lattice Pie Crust Variations and Creative Ideas
- Perfect Pie Fillings to Pair with Your Lattice Crust
- Tips for Storing and Serving Your Lattice Pie
- Conclusion: Mastering the Apple Lattice Pie
-
Frequently Asked Questions
- How difficult is it to make a lattice pie crust using this tutorial?
- What are the key ingredients I'll need for this easy lattice pie crust tutorial?
- How long does it take to make the lattice crust from start to finish?
- Can I use a pre-made pie crust for this lattice technique?
- What are some common mistakes to avoid when making a lattice pie crust?
- Final Reflection: Mastering the Art of the Easy Lattice Pie Crust
- Unleash Your Inner Baker: Craft the Perfect Lattice Crust!
Perfect Apple Lattice Pie: A Step-by-Step Guide
Introduction to Lattice Pie Crusts: A Visually Stunning Dessert
Creating a beautiful pie is often just as rewarding as eating it. Among the many ways to top a fruit pie, the lattice crust stands out as a timeless classic. Its intricate woven pattern not only adds a touch of elegance and artistry to your dessert but also serves practical purposes in achieving a perfectly baked pie. This easy lattice pie crust tutorial will guide you through the process, making this seemingly complex technique accessible for bakers of all levels.
Mastering the lattice requires patience and a few simple tricks, but the result is a stunning top crust that allows glimpses of the vibrant fruit filling beneath. Whether you're aiming for a rustic charm or a more polished look, the lattice provides a fantastic canvas. Let's dive into how you can create this eye-catching finish for your next apple pie.
Why Choose a Lattice Pie Crust? (Aesthetics, Ventilation, and Filling Display)
Choosing a lattice pie crust goes beyond just making your pie look pretty; it offers significant advantages in the baking process. Aesthetically, the woven design is undeniably appealing, elevating a simple fruit pie into a centerpiece dessert. It showcases your baking skill and adds a professional touch that delights guests before they even take a bite. The pattern can be classic, with evenly spaced strips, or more complex, using varying widths or weaving techniques, allowing for creative expression in your baking.
Practically, the lattice structure provides essential ventilation for the pie filling as it bakes. As the fruit cooks, it releases steam and bubbles. The gaps in the lattice allow this steam to escape, preventing the crust from becoming soggy and ensuring the filling thickens properly. This ventilation is crucial for achieving a crisp bottom crust and a perfectly set filling, avoiding the dreaded "soupy" pie. Furthermore, the open design allows you to see the filling as it bubbles, giving you a visual cue for when your pie is perfectly baked and the filling is hot and ready.
Essential Tools and Ingredients for a Flaky Lattice Pie
To embark on this easy lattice pie crust tutorial, you'll need a few key tools and the right ingredients to ensure success. Essential tools include a rolling pin, a sharp knife or pastry wheel for cutting strips, a pastry blender or food processor for making the dough, and a 9-inch pie dish. A ruler can be helpful for cutting uniform strips, and parchment paper is invaluable for handling the delicate dough strips before weaving. Keeping everything cold is paramount, so having space in your refrigerator and possibly freezer is necessary.
For the ingredients, a classic flaky pie dough requires all-purpose flour, cold unsalted butter, a pinch of salt, and ice water. Using cold butter cut into small pieces (about 1/2 inch cubes) is critical, as it creates pockets of steam during baking, resulting in a flaky texture. Some recipes also call for a small amount of shortening or lard for added tenderness and flakiness. Ensure your water is ice-cold, as warm water can develop the gluten too much, leading to a tough crust. For an egg wash, you'll need one egg mixed with a tablespoon of milk or water, and Turbinado sugar adds a lovely sparkle and crunch to the finished crust.
Step-by-Step: Crafting Your Apple Lattice Pie
Creating a stunning apple lattice pie involves several key steps, each contributing to the final, delicious result. This easy lattice pie crust tutorial breaks down the process, making it manageable and fun. We'll start with the foundation: the dough itself.
Following these steps carefully will help you achieve a beautiful, golden-brown lattice top that perfectly complements your sweet apple filling. Remember that practice makes perfect, and even if your first lattice isn't flawless, it will still be homemade and delicious!
Step 1: Preparing the Pie Dough - The Foundation of Your Pie
The journey to a perfect lattice pie begins with a well-made, flaky pie dough. This recipe typically yields enough dough for a double-crust pie, providing both the bottom shell and the strips for your lattice. Start with about 2 1/2 cups of all-purpose flour and a teaspoon of salt in a large bowl or food processor.
Next, cut in 1 cup of very cold, unsalted butter (and optionally 1/4 cup cold shortening) using a pastry blender, fork, or pulse in a food processor until the mixture resembles coarse crumbs with some pea-sized pieces of fat remaining. This is crucial for flakiness. Gradually add 4-6 tablespoons of ice water, one tablespoon at a time, mixing until the dough just comes together. Be careful not to overmix. Divide the dough in half, shape each half into a disc, wrap tightly in plastic wrap, and refrigerate for at least 30 minutes, or preferably 1-2 hours, to allow the gluten to relax and the fat to firm up.
Mixing Flour, Butter, Salt, and Ice Water for a Flaky Pie Dough
The specific ratio of ingredients and the method of combining them are key to achieving a flaky texture. Begin by combining the dry ingredients: 2 1/2 cups all-purpose flour and 1 teaspoon fine salt. Whisk them together briefly to ensure even distribution. The fat component is where the magic happens for flakiness. Use 1 cup (which is two sticks) of very cold, unsalted butter, cut into small cubes. Some bakers prefer to use a combination, like 3/4 cup butter and 1/4 cup shortening, as shortening has a higher melting point and can contribute to an even flakier crust.
Cut the cold fat into the flour mixture. You can use a pastry blender, two forks, or your fingertips, working quickly to prevent the butter from warming up. The goal is to break the fat into pieces ranging from pea-sized down to coarse meal. These pieces of cold fat will melt during baking, creating steam pockets that push apart the layers of dough, resulting in those desirable flaky layers. Finally, drizzle in 4-6 tablespoons of ice water, adding just enough until the dough holds together when squeezed, but isn't sticky. Use a fork or your hands to mix, stopping as soon as it forms a cohesive mass.
Chilling the Dough: Relaxing the Gluten for Tenderness
Chilling the dough is a non-negotiable step in this easy lattice pie crust tutorial. After mixing, the dough needs time to rest and cool down. Divide the dough into two equal portions, typically one slightly larger for the bottom crust and one for the lattice top. Shape each portion into a flat disc, about an inch thick. This shape makes it easier to roll out later. Wrap each disc tightly in plastic wrap, pressing out any air.
Refrigerate the dough for a minimum of 30 minutes. An hour or even two is better. This chilling period serves two primary purposes: first, it allows the gluten, which was developed slightly during mixing, to relax. Relaxed gluten results in a more tender crust that is easier to roll out without shrinking back excessively. Second, it firms up the butter or other fat, making the dough less sticky and easier to handle. Cold dough is crucial for cutting clean strips for your lattice and preventing them from sticking together before you begin weaving.
Step 2: Rolling Out the Dough for the Pie Crust
With your dough properly chilled, it's time to roll it out. This step requires a lightly floured surface and a rolling pin. Work with one disc of dough at a time, keeping the other chilled.
Roll from the center outwards, rotating the dough occasionally and adding just enough flour to prevent sticking. The goal is to achieve a uniform thickness and a size large enough to fit your pie dish with some overhang.
Achieving 1/8 Inch Thickness for a Crisp Crust
Rolling the dough to the correct thickness is vital for a crisp, evenly baked pie crust. Aim for a thickness of approximately 1/8 inch. If the dough is too thick, the crust can be dense and doughy. If it's too thin, it may tear easily during transfer and can become overly crisp or even burn in spots.
To check the thickness, you can use a ruler or rely on feel and experience. The rolled-out circle should be large enough to fit into your 9-inch pie dish, reaching up the sides and having about a 1-inch overhang around the edge. This usually means rolling a circle about 12 inches in diameter for a standard 9-inch pie plate. Keep your rolling surface and rolling pin lightly floured, but avoid using excessive flour, which can make the crust tough.
Transferring the Dough to a 9-inch Pie Dish
Transferring the rolled-out dough can be a delicate step, but there are simple techniques to make it easy. Once your dough circle is the desired size and thickness (around 12 inches in diameter for a 9-inch pie dish), gently roll it loosely around your rolling pin.
Position the rolling pin over your pie dish and gently unroll the dough into the dish, allowing it to settle into the bottom and up the sides. Carefully press the dough into the contours of the dish, making sure there are no air pockets trapped underneath. Leave the 1-inch overhang for now; you'll trim and crimp it later. Place the pie dish with the bottom crust back in the refrigerator while you prepare the lattice strips and the filling.
Step 3: Making the Lattice Strips - The Art of Weaving
Now comes the fun part – creating the strips that will form your lattice top. This step requires precision in cutting and careful handling.
Work with the second disc of chilled dough. Lightly flour your surface and roll the dough out to the same 1/8 inch thickness as the bottom crust. It should be roughly the same size or slightly smaller than the bottom crust disc, around 10-11 inches in diameter.
Cutting 1-inch Wide Strips for a Classic Look
For a classic lattice pattern, cutting uniform strips is key. Using a sharp knife or a fluted pastry wheel for decorative edges, cut the rolled-out dough into strips. A common width for a classic lattice is 1 inch. You can use a ruler as a guide to ensure your strips are consistent in width.
Cut strips running parallel to each other. You will need roughly 8-10 strips, depending on the size of your pie and how closely you space the lattice. For a standard 9-inch pie, 9 strips of 1 inch width usually suffice. Carefully separate the strips.
Using Parchment Paper to Prevent Sticking
Handling the delicate dough strips can be tricky, as they can stick to your work surface or break easily. A fantastic tip in this easy lattice pie crust tutorial is to use parchment paper. Roll out your dough directly on a sheet of parchment paper.
After cutting your strips on the parchment, you can easily slide the entire piece of parchment with the strips onto a baking sheet and chill them in the refrigerator or freezer for 10-15 minutes. This firms them up, making them much easier to lift and weave without stretching or breaking.
Step 4: Weaving the Lattice: A Simple Technique
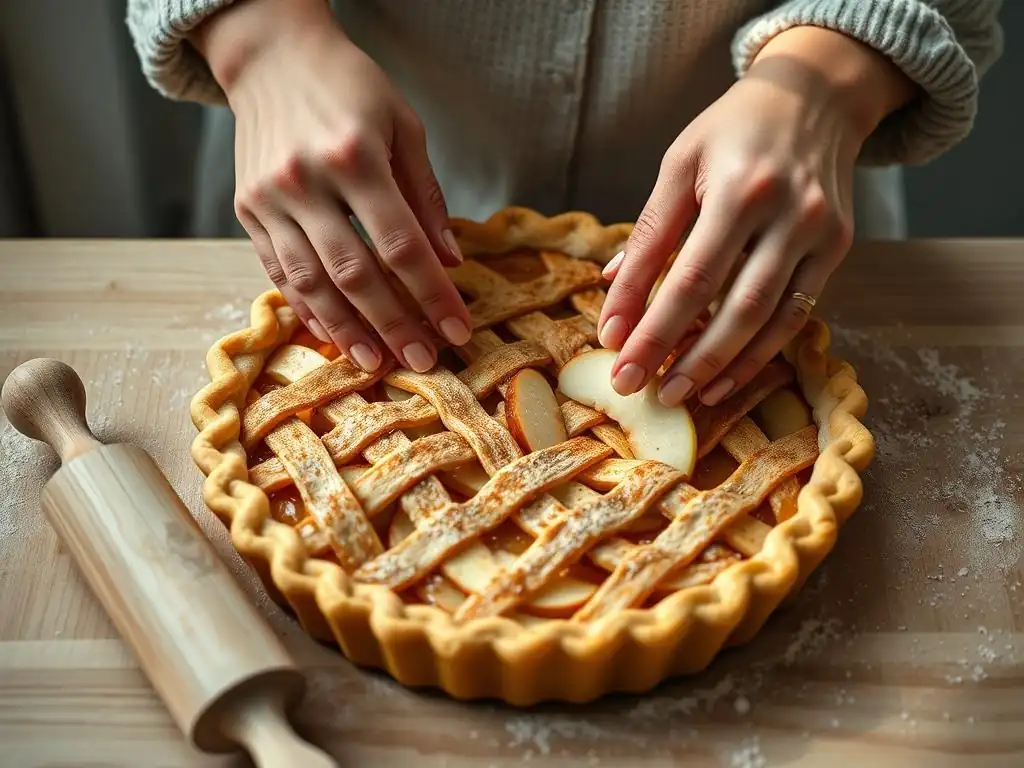
Weaving the lattice is the most visually impressive part, but it's simpler than it looks. This technique involves laying strips in one direction and then weaving perpendicular strips over and under.
Have your pie dish with the filling ready and chilled dough strips on parchment paper nearby. Work quickly to keep the dough cold.
Laying the First Set of Parallel Strips
Begin by placing the longest dough strips across the center of the pie in one direction (e.g., vertically). Start with a strip directly in the middle. Then, place additional strips parallel to the first, spacing them out evenly towards the edges of the pie. For a 9-inch pie with 1-inch strips, you might place strips about 1 inch apart.
Lay down about half of your strips in this initial direction. Don't worry about the ends yet; they will be trimmed and crimped later. Ensure the strips are relatively straight and evenly spaced for a neat look.
Folding Back and Weaving the Interlocking Strips
Now, it's time to weave. Take the center strip of the parallel strips you just laid down. Gently fold it back about halfway onto itself. Take a perpendicular strip (one you haven't laid down yet) and lay it across the pie, perpendicular to the parallel strips, resting it against the fold you just made.
Unfold the original parallel strip back over the perpendicular strip. Now, take the next adjacent parallel strip (the one next to the center one) and fold it back. Lay another perpendicular strip across, parallel to the first perpendicular strip you laid down. Unfold the parallel strip. Continue this process, alternating which parallel strips you fold back (e.g., fold back the odd-numbered parallel strips for the first perpendicular strip, then the even-numbered ones for the second perpendicular strip, and so on) until the entire pie is covered with a woven pattern.
Step 5: Finishing the Crust: Edges and Details
Once your lattice is woven, the final touches make a big difference in appearance and help seal the pie.
Trim the excess dough from both the lattice strips and the bottom crust overhang, leaving about a 1/2 inch overhang.
Crimping the Edges with a Fork for a Rustic Finish
Crimping the edge seals the top lattice to the bottom crust and creates a decorative border. Fold the 1/2 inch overhang of the bottom crust up and over the ends of the lattice strips, pressing them together to seal.
For a simple, rustic finish, use the tines of a fork to press firmly around the entire edge of the pie dish. This creates a classic crimped pattern and ensures the edges are well-sealed, preventing the filling from bubbling out during baking. Alternatively, you can use your fingers to create a fluted edge by pinching the dough between your thumb and index finger.
Egg Wash and Turbinado Sugar: Adding Shine and Crunch
To give your lattice pie crust a beautiful golden-brown color and a lovely sheen, apply an egg wash. Whisk one egg with 1 tablespoon of milk or water until well combined. Gently brush this mixture over the entire lattice top and crimped edges using a pastry brush.
For added sparkle and a hint of sweetness and crunch, sprinkle Turbinado sugar (also known as raw sugar) generously over the egg-washed crust. The larger crystals of Turbinado sugar hold their shape during baking and provide a delightful texture contrast to the flaky crust. This simple step elevates the visual appeal significantly.
Step 6: Baking Your Lattice Pie to Perfection
Baking is the final step in this easy lattice pie crust tutorial. Getting the temperature and time right ensures a golden, flaky crust and a perfectly cooked filling.
Preheat your oven and prepare your pie for baking. Place the pie on a baking sheet to catch any potential drips.
Oven Temperature at 375°F and Baking Time of 45-50 Minutes
For most fruit pies, a baking temperature of 375°F (190°C) is a good starting point after an initial higher temperature blast (optional, but some bakers start at 400-425°F for 15-20 mins before reducing). Bake the pie at 375°F for approximately 45-50 minutes. The exact time will vary depending on your oven and the filling.
The pie is done when the crust is deeply golden brown, and the filling is bubbling visibly through the lattice gaps. The bubbling filling indicates that the starches have thickened properly. If the crust browns too quickly, you may need to cover the edges.
Preventing Burning: Using a Pie Shield
One common challenge when baking pies is preventing the edges of the crust from burning before the rest of the pie is done. Pie dough edges are thinner and more exposed, making them prone to over-browning.
A simple and effective solution is to use a pie shield. These are silicone or aluminum foil rings specifically designed to protect the pie edges. Once the edges reach your desired golden color (usually after about 20-30 minutes of baking), carefully place a pie shield around the perimeter of the pie. If you don't have a pie shield, you can fashion one from aluminum foil by tearing off a large sheet, folding it into a ring, and gently placing it over the edges.
Troubleshooting Common Lattice Pie Crust Problems
Even with a detailed easy lattice pie crust tutorial, you might encounter a few hiccups. Knowing how to troubleshoot common issues can save your pie.
Don't be discouraged if your first attempt isn't perfect; baking is a learning process!
Dough Too Sticky or Dry? Adjusting Liquid and Flour Ratios
If your pie dough feels too sticky after mixing, it likely has too much liquid. This can make it difficult to handle and roll out, and the resulting crust might be tough. You can try incorporating a little more flour, adding just a tablespoon at a time, until the dough is workable but still soft. Be cautious not to add too much, as excessive flour can also lead to toughness.
Conversely, if your dough is too dry and crumbly, it lacks sufficient moisture to hold together. This makes it hard to form a cohesive disc and can result in a brittle crust that breaks easily. Add a teaspoon of ice water at a time, mixing gently, until the dough just comes together. Remember, it's easier to add more water than to take it away, so add incrementally.
Lattice Breaking or Shrinking? Keeping Dough Cold
Lattice strips can be prone to breaking during handling or shrinking excessively in the oven if the dough isn't kept cold enough. Warm dough is soft, sticky, and the gluten is relaxed, making it stretch and tear easily.
Ensure your dough is well-chilled before rolling and cutting strips (at least 30 minutes in the fridge). After cutting the strips, chilling them on parchment paper for 10-15 minutes in the refrigerator or freezer makes them much firmer and easier to transfer and weave without stretching or breaking. If you're working in a warm kitchen, consider chilling your pie dish with the bottom crust and filling before adding the lattice, and work quickly. If strips break while weaving, you can often gently piece them back together.
Uneven Baking: Rotating the Pie During Baking
Sometimes, despite using a pie shield, you might notice that one side of your pie crust is browning faster than the other, or the filling isn't bubbling evenly. This is often due to hot spots in your oven.
To promote even baking, rotate the pie 180 degrees halfway through the baking time. For example, if your total baking time is 50 minutes, rotate the pie around the 25-minute mark. This exposes all sides of the pie to different areas of the oven, helping to ensure a uniformly golden crust and evenly cooked filling. Also, make sure your oven is fully preheated before putting the pie in.
Lattice Pie Crust Variations and Creative Ideas
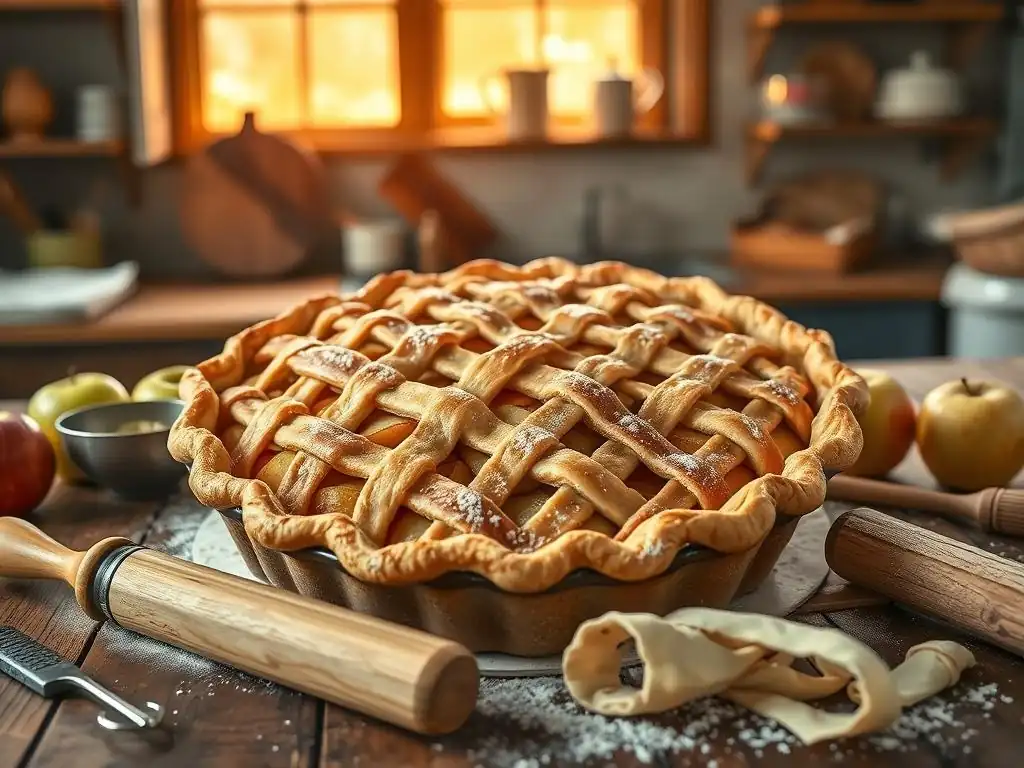
This easy lattice pie crust tutorial provides the foundation for a classic look, but the lattice offers plenty of room for creativity. Once you've mastered the basic weave, you can experiment with different patterns and flavors to customize your pie.
These variations can add extra flair and flavor to your already beautiful lattice-topped pie.
Herringbone and Diamond Weaving Patterns
Beyond the standard straight-strip lattice, you can try more intricate weaving patterns. The herringbone pattern uses strips of varying lengths and angles to create a V-shaped design. This requires more careful cutting and placement but results in a sophisticated look.
Another popular variation is the diamond lattice. This is achieved by cutting strips and placing them diagonally across the pie rather than straight across. You can then weave them in the same over-and-under fashion as a standard lattice, creating diamond-shaped openings. Both herringbone and diamond patterns require slightly more dough and attention to detail but are well worth the effort for a stunning presentation.
Adding Cinnamon and Nutmeg to Your Pie Crust
While a classic pie crust is simple, you can infuse it with flavor to complement your filling. For an apple pie, adding warm spices like cinnamon and nutmeg to the dough is a wonderful idea.
Whisk 1/2 teaspoon ground cinnamon and 1/4 teaspoon ground nutmeg (or other spices like cardamom or ginger) into the dry flour mixture before cutting in the butter. This adds a subtle hint of spice directly into the crust, enhancing the overall flavor profile of the apple pie. The spices also give the crust a lovely, warm color.
Almond Flour Lattice Pie Crust Option
For those looking for a slight variation in texture and flavor, or perhaps a gluten-friendly option (though traditional lattice requires gluten for structure), incorporating almond flour can be interesting. While a 100% almond flour crust requires specific binders, you can replace a portion of the all-purpose flour with almond flour in a traditional recipe.
Substituting up to 1/4 cup of the all-purpose flour with almond flour can add a subtle nutty flavor and a slightly more tender texture to the crust. This works well with fruit fillings like apple or cherry. Be aware that almond flour absorbs liquid differently, so you might need minor adjustments to the ice water amount. This variation adds a gourmet touch to your easy lattice pie crust tutorial journey.
Perfect Pie Fillings to Pair with Your Lattice Crust
The beautiful lattice crust is designed to showcase a delicious filling. While this tutorial focuses on apple, the lattice is versatile and pairs well with many fruit fillings.
Choosing the right filling is key to a successful pie. The filling should be flavorful and thicken properly during baking.
Apple Pie Filling: Granny Smith, Cinnamon, and Brown Sugar
The classic pairing for a lattice crust is apple pie. For the best results, use a mix of apples, such as tart Granny Smith combined with sweeter varieties like Honeycrisp or Gala. About 6-8 cups of sliced apples are needed for a 9-inch pie.
Toss the sliced apples with 1/2 to 3/4 cup granulated sugar (depending on apple sweetness), 1/4 cup brown sugar, 2 tablespoons all-purpose flour or cornstarch (as a thickener), 1 teaspoon ground cinnamon, 1/4 teaspoon ground nutmeg, a pinch of salt, and a squeeze of lemon juice (to prevent browning and brighten flavor). Make sure the apples are evenly coated. This mixture is then spooned into the chilled bottom pie crust before adding the lattice top.
Other Compatible Pie Fillings: Blueberry, Peach, Cherry
Beyond apple, many other fruit fillings work wonderfully with an easy lattice pie crust. Blueberry pie is a vibrant choice; use 5-6 cups fresh or frozen blueberries, thickened with flour or cornstarch, sugar, and a touch of lemon juice.
Peach pie, especially in the summer when peaches are ripe, is another excellent option. Use about 6 cups sliced peaches, combined with sugar, thickener, and perhaps a hint of almond extract. Cherry pie, whether made with sweet or tart cherries, is also stunning under a lattice top. Use about 5-6 cups of pitted cherries, thickened with cornstarch or tapioca starch, sugar, and a touch of almond extract. These fillings benefit greatly from the ventilation provided by the lattice.
Tips for Storing and Serving Your Lattice Pie
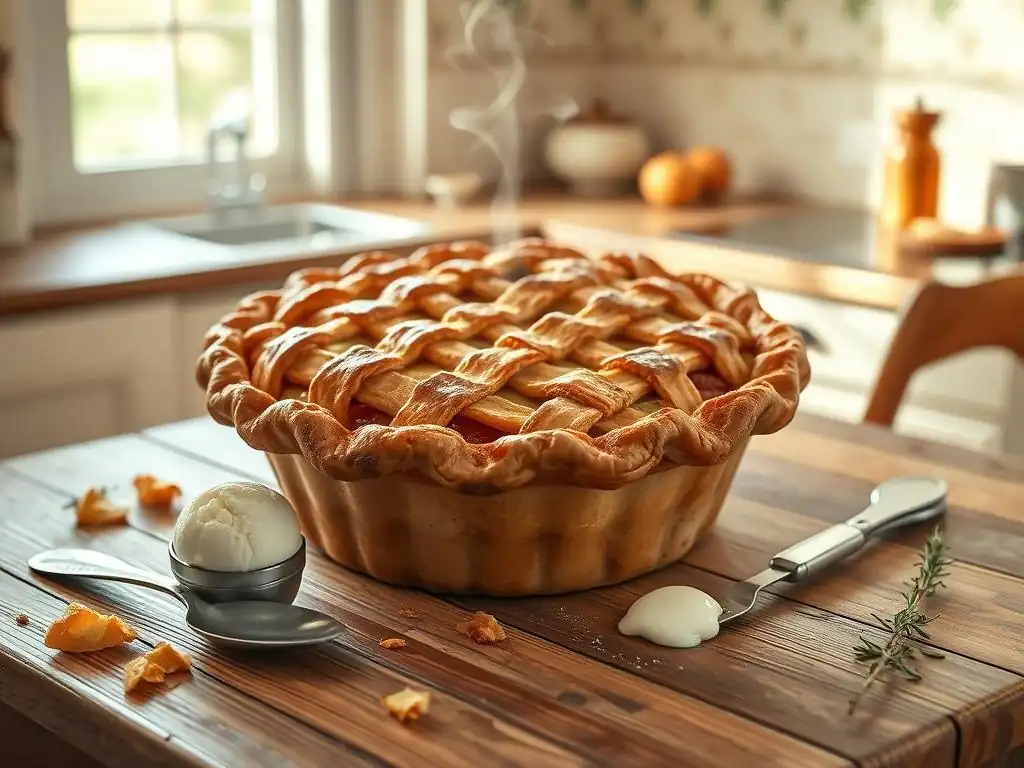
Once your beautiful apple lattice pie is baked and cooled, knowing how to properly store and serve it ensures maximum enjoyment.
Allowing the pie to cool completely is crucial before slicing, especially for fruit pies, as this allows the filling to set properly.
Storing in the Refrigerator for Up to 3 Days
Fruit pies, particularly those made with a lattice top that allows air circulation, are best stored at room temperature for the first day if they contain sugar as a preservative. However, for longer storage or in warmer climates, refrigeration is recommended.
Cover the cooled pie loosely with plastic wrap or aluminum foil. It can be stored in the refrigerator for up to 3 days. While the crust may lose some of its crispness in the fridge, the filling will remain fresh and safe to eat. For the best texture, bring refrigerated pie slices to room temperature or gently reheat them before serving.
Reheating in a 350°F Oven for 10-15 Minutes
If you prefer warm pie or are serving leftovers from the refrigerator, reheating is simple. Preheat your oven to 350°F (175°C).
Place the pie (or individual slices) on a baking sheet. Reheat a whole pie for about 15-20 minutes or individual slices for 10-15 minutes, or until the filling is warm and bubbly and the crust is slightly crisped up again. Be careful not to overheat, which can dry out the crust or cause the filling to spill over. Enjoy your perfectly reheated, flaky lattice pie!
Conclusion: Mastering the Apple Lattice Pie
You've successfully completed this easy lattice pie crust tutorial! From preparing the perfect flaky dough to weaving the intricate top and baking it to golden perfection, you now have the skills to create a truly impressive dessert. The lattice pie crust, while appearing complex, is achievable with patience and attention to detail, offering both beauty and functional benefits for your fruit pies.
Creating a beautiful lattice top is a rewarding baking project that elevates any fruit pie. The steps outlined provide a clear path to success, turning simple ingredients into a work of edible art. Practice refines your technique, making each subsequent lattice even more stunning.
Enjoy Your Homemade Apple Lattice Pie!
Now that your beautiful apple lattice pie is baked, cooled, and ready, it's time for the best part: enjoying the fruits of your labor. The combination of the sweet, spiced apple filling and the flaky, golden lattice crust is a classic for a reason.
Slice into your masterpiece and serve it warm, perhaps with a scoop of vanilla ice cream or a dollop of whipped cream. Sharing a homemade pie, especially one with a stunning lattice top you crafted yourself using this easy lattice pie crust tutorial, is a wonderful way to connect with friends and family. Celebrate your baking achievement and savor every delicious bite!
Frequently Asked Questions
How difficult is it to make a lattice pie crust using this tutorial?
This tutorial is designed for all skill levels, focusing on easy-to-follow steps and clear instructions. Even beginners can achieve a beautiful lattice crust!
What are the key ingredients I'll need for this easy lattice pie crust tutorial?
You'll need standard pie crust ingredients: flour, cold butter, shortening (optional), ice water, and a bit of salt and sugar. The tutorial emphasizes simple, accessible ingredients.
How long does it take to make the lattice crust from start to finish?
The entire process, including chilling the dough, takes approximately 1-2 hours, but hands-on time is significantly less. The tutorial breaks down the process into manageable segments.
Can I use a pre-made pie crust for this lattice technique?
While the tutorial focuses on making the crust from scratch, you can use a store-bought pie crust and still follow the lattice weaving instructions.
What are some common mistakes to avoid when making a lattice pie crust?
Avoid overworking the dough, ensure your butter is very cold, and don't skip the chilling steps. The tutorial includes tips for preventing common pitfalls and achieving a perfect lattice.
Final Reflection: Mastering the Art of the Easy Lattice Pie Crust
The pursuit of the perfect pie crust, once a daunting culinary challenge, is now within everyone's reach. This simple, step-by-step guide demystifies the lattice technique, proving that creating beautiful and delicious pies is achievable, regardless of baking experience. No longer is a flawlessly woven lattice the exclusive domain of seasoned bakers; it's a skill waiting to be unlocked by anyone with a little patience and the right instructions.
The impact of mastering even a seemingly small culinary skill like lattice pie crust weaving extends far beyond the kitchen. It fosters a sense of accomplishment and confidence, reminding us that with practice and clear guidance, we can achieve seemingly complex tasks. This resonates with a broader cultural shift towards embracing DIY projects and finding joy in creating something beautiful with our own hands. The best things in life are homemade,
a sentiment that rings truer than ever in our increasingly fast-paced world.
Now, I invite you to take this newfound knowledge and apply it. Don't be afraid to experiment, to try different variations, and to personalize your lattice pie crust. The next time you're craving a homemade pie, remember the ease and satisfaction of this technique. Let the aroma of freshly baked pie fill your home, a testament to your own culinary creativity and the joy of mastering a classic skill. Go forth and bake!
Unleash Your Inner Baker: Craft the Perfect Lattice Crust!
Thanks for taking the time to learn how to make a stunning lattice pie crust! We hope you gained valuable skills and confidence in your baking abilities. Ready to put your new knowledge into practice?
- Bake your dream pie: Use this technique to create your most beautiful pie yet! Don't be afraid to experiment with different fillings and flavor combinations.
- Share your creation: Show off your impressive lattice work on social media using #BakeWithEaseLattice. Let's inspire other bakers!
- Challenge yourself: Try a more intricate lattice pattern or explore different pie crust designs. What unique twist will you add?
What delicious filling will you showcase with your perfectly crafted lattice crust?