
Master Vanilla Buttercream: The Silky Smooth Recipe

Welcome to BakeWithEase!
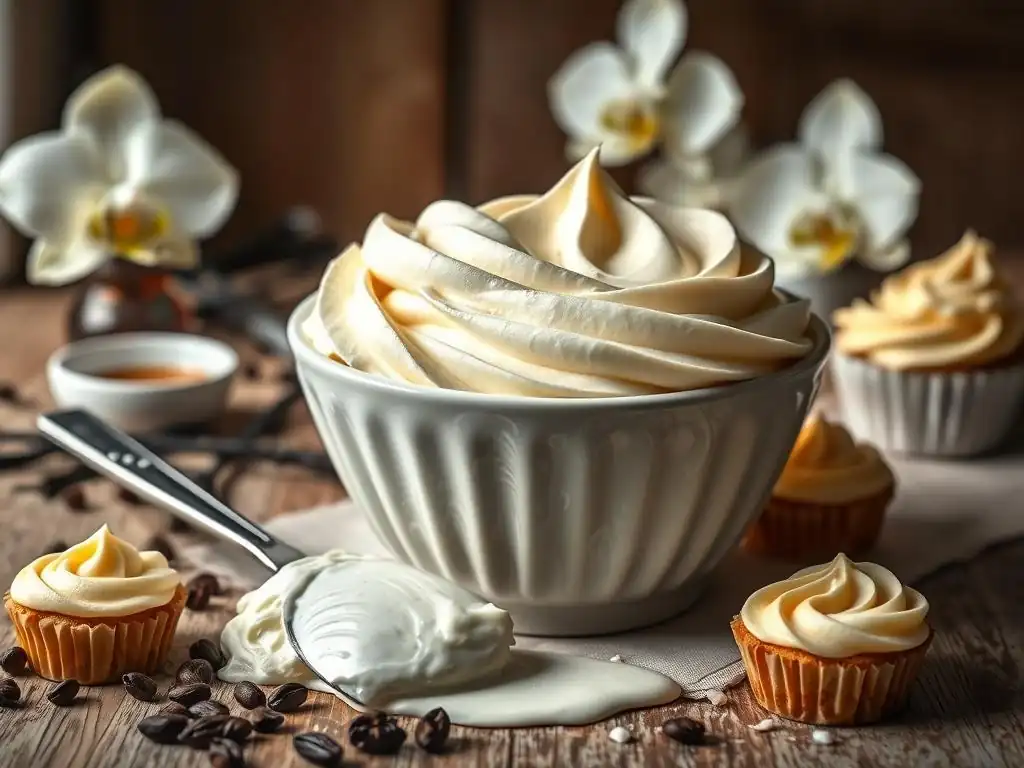
Ever dream of creating a silky smooth vanilla buttercream that's the envy of every baker? You've come to the right place. Forget grainy, lumpy frostings; we're about to unlock the secrets to achieving buttercream perfection. Discover the techniques and tips that will transform your desserts, and leave everyone wondering what your secret ingredient is. Intrigued? Keep reading to discover the ultimate vanilla buttercream recipe and elevate your baking game!
- Classic Vanilla Buttercream: A Smooth & Stable Recipe
- Introduction: Achieving Perfect Vanilla Buttercream
- Ingredients for Classic Vanilla Buttercream
- Step-by-Step Guide to Making Classic Vanilla Buttercream
- Tips and Tricks for Vanilla Buttercream
- Variations on Classic Vanilla Buttercream
- Using Vanilla Buttercream
- Troubleshooting Common Vanilla Buttercream Problems
- Conclusion: Enjoy Your Perfect Vanilla Buttercream
-
Frequently Asked Questions
- How do I achieve a truly silky smooth texture in my vanilla buttercream?
- What kind of butter is best for vanilla buttercream?
- Can I use a stand mixer or is a hand mixer sufficient for this recipe?
- What vanilla extract should I use for the most intense vanilla flavor?
- How long can I store vanilla buttercream, and how should I store it?
- Final Reflection: The Enduring Allure of Silky Smooth Perfection
- Unlock Your Inner Pastry Chef: Master the Art of Buttercream!
Classic Vanilla Buttercream: A Smooth & Stable Recipe
Introduction: Achieving Perfect Vanilla Buttercream
Why Smooth Buttercream Matters for Cake Decorating
Achieving a truly silky smooth vanilla buttercream is the cornerstone of professional-looking cake decorating. A grainy or lumpy frosting not only detracts from the visual appeal of a beautifully baked cake or cupcake but also impacts the overall eating experience. Imagine piping delicate rosettes or spreading a flawless layer beneath fondant – a smooth texture is absolutely essential for clean lines, sharp edges, and an even finish. It allows for intricate piping work, smooth crumb coating, and a delightful melt-in-your-mouth texture that complements your baked goods perfectly.
Beyond aesthetics, the texture of your vanilla buttercream significantly affects its stability and handling. A properly mixed, silky smooth vanilla buttercream is less likely to crack when chilled and is easier to spread evenly without tearing the cake. It holds its shape better when piped, whether you're creating simple swirls on cupcakes or elaborate designs on a multi-tiered cake. Mastering this foundational skill ensures your decorative efforts are successful and your desserts are not only delicious but also visually stunning.
A Guide to Perfect Vanilla Buttercream
Welcome to your comprehensive guide to creating the ultimate silky smooth vanilla buttercream. This classic recipe, often referred to as American buttercream, is beloved for its simplicity and rich flavor. While straightforward, achieving that coveted smooth texture requires attention to detail and specific techniques. We'll walk you through selecting the right ingredients, understanding their role, and mastering the mixing process to eliminate graininess and achieve a light, airy consistency.
This guide goes beyond just listing ingredients and steps. We'll delve into the 'why' behind each stage, offering tips for troubleshooting common issues like curdling or graininess. Whether you're frosting your first batch of cupcakes or looking to perfect your cake decorating skills, this detailed approach will equip you with the knowledge to consistently produce a flawless, silky smooth vanilla buttercream that everyone will rave about. Get ready to transform your baking creations with this essential frosting recipe!
Ingredients for Classic Vanilla Buttercream
Unsalted Butter: The Base for Flavor and Texture
Unsalted butter is the star ingredient in classic vanilla buttercream, forming the essential base for its structure, flavor, and texture. Using unsalted butter gives you complete control over the saltiness of your frosting. Different brands of salted butter can vary significantly in their salt content, leading to unpredictable results. For a standard batch using 1 cup (2 sticks or 227g) of butter, the difference between unsalted and salted can be noticeable in the final taste profile.
The temperature of your unsalted butter is critically important. It should be softened but still cool to the touch – typically around 65-68°F (18-20°C). Butter that is too cold won't cream properly, resulting in a lumpy texture, while butter that is too warm will become greasy and won't emulsify correctly with the sugar. Softened butter incorporates air more effectively during the creaming process, which is key to achieving a light and fluffy, silky smooth vanilla buttercream.
Powdered Sugar: Providing Structure and Sweetness
Powdered sugar, also known as confectioners' sugar or icing sugar, is the primary sweetener and provides the necessary structure for vanilla buttercream. Its fine, powdery consistency allows it to dissolve more readily than granulated sugar, contributing to a smoother texture. Standard powdered sugar contains a small amount of cornstarch (typically around 3%) which helps prevent clumping and adds stability to the frosting, allowing it to hold its shape for piping and spreading.
The quantity of powdered sugar directly impacts the consistency and sweetness. A common ratio for a stable buttercream is about 3-4 cups (around 360-480g) of powdered sugar per cup of butter. Using less sugar will result in a softer, less stable frosting, while more sugar creates a very stiff, sweet buttercream. Sifting the powdered sugar before adding it is a crucial step often recommended to remove any lumps and ensure a truly silky smooth vanilla buttercream.
Vanilla Extract: Enhancing the Flavor
Vanilla extract is essential for imparting the signature flavor to vanilla buttercream. High-quality pure vanilla extract offers a complex, aromatic profile that artificial vanilla simply cannot replicate. The volatile compounds in pure vanilla beans, extracted typically using alcohol, provide depth and warmth to the sweet base of butter and sugar. For a rich flavor, aim for a good quality extract, possibly even vanilla bean paste for visible vanilla specks.
The amount of vanilla extract can be adjusted to personal preference, but typically 1 to 2 teaspoons per cup of butter is a good starting point. Adding the vanilla towards the end of the mixing process helps preserve its delicate flavor, as prolonged beating can sometimes diminish the aroma. Ensure the extract is fully incorporated to distribute the flavor evenly throughout the silky smooth vanilla buttercream.
Milk or Cream: Adjusting the Consistency
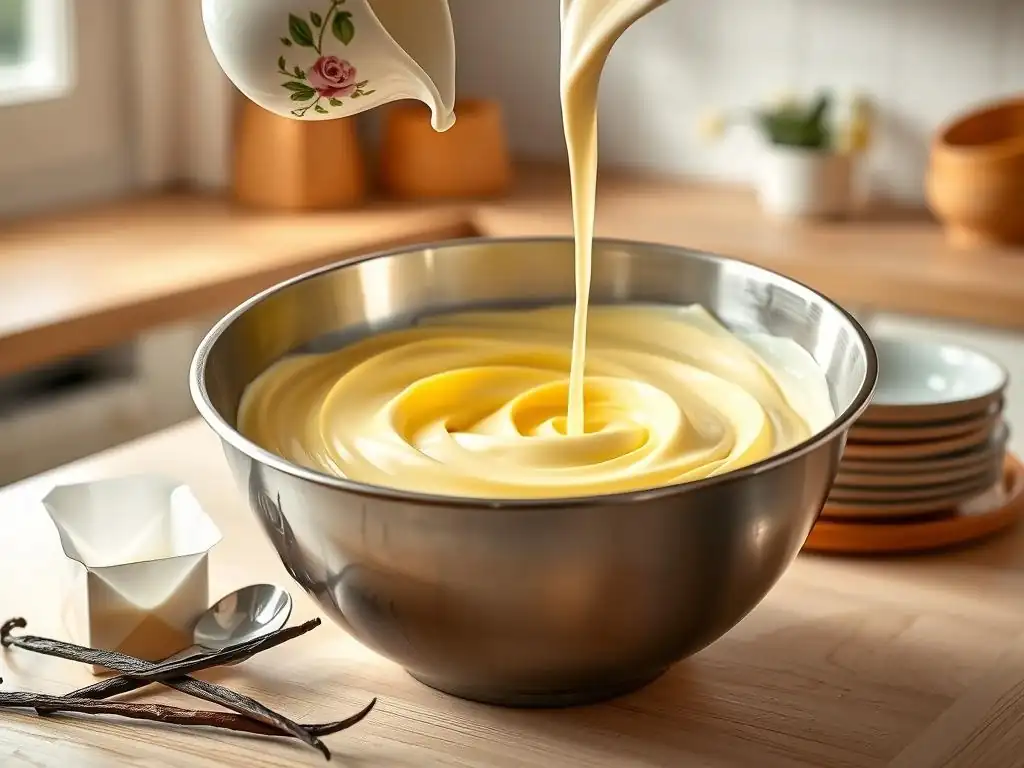
Milk or cream is the liquid component used to adjust the consistency of classic vanilla buttercream. Adding a small amount of liquid transforms the thick mixture of butter and powdered sugar into a smooth, spreadable, or pipeable consistency. Whole milk is a common choice, but heavy cream or even half-and-half can be used for a richer texture. The fat content in cream contributes to a creamier mouthfeel.
The amount needed varies depending on factors like the humidity, the dryness of the powdered sugar, and personal preference for frosting thickness. Start with 1-2 tablespoons and add more, just a teaspoon at a time, until the desired consistency is reached. Too much liquid will result in a runny buttercream that won't hold its shape, while too little will leave it too stiff and difficult to work with. This step is key to achieving that perfect silky smooth vanilla buttercream texture.
Optional Ingredients: Salt
While unsalted butter is the base, a small pinch of salt can significantly enhance the overall flavor of vanilla buttercream. Salt acts as a flavor enhancer, balancing the sweetness of the powdered sugar and bringing out the rich notes of the butter and vanilla. Just a quarter teaspoon of fine salt per cup of butter can make a noticeable difference, preventing the buttercream from tasting one-dimensionally sweet.
Using fine salt ensures it dissolves easily into the mixture, preventing any gritty texture. Add it along with the powdered sugar or vanilla extract. Taste and adjust as needed, but remember that a little goes a long way. This small addition can elevate your classic vanilla buttercream from good to truly exceptional, highlighting the deliciousness of the silky smooth vanilla buttercream base.
Step-by-Step Guide to Making Classic Vanilla Buttercream
Step 1: Creaming the Butter
The first crucial step in creating a silky smooth vanilla buttercream is properly creaming the softened unsalted butter. Place the butter, cut into pieces, into the bowl of a stand mixer fitted with the paddle attachment (or use a hand mixer). Beat the butter on medium speed for 3-5 minutes, scraping down the sides of the bowl occasionally. During this process, the butter will transform from a dense, yellow mass into a pale, light, and fluffy consistency.
This creaming process is vital because it incorporates air into the butter. The tiny air pockets trapped within the fat molecules contribute significantly to the lightness and volume of the finished buttercream. Properly creamed butter lays the foundation for a stable, airy texture that will easily blend with the sugar to create that desirable silky smooth vanilla buttercream. Don't rush this step; it's key to preventing a dense or greasy frosting.
Achieve Light and Fluffy Butter
To truly achieve light and fluffy butter, ensure your butter is at the correct temperature, around 65-68°F (18-20°C). If it's too cold, it won't aerate; if it's too warm, it will melt and become greasy. Beat it for the full 3-5 minutes, or even slightly longer, until it visibly lightens in color and texture. Scrape down the bowl frequently – every minute or so – to ensure all the butter is evenly creamed and no uncreamed pockets remain at the bottom or sides.
Observing the butter's transformation is important. It should look almost whipped, significantly increased in volume compared to when you started. This stage is critical for the final texture. Skipping or shortening this step often results in a heavier, less airy buttercream that is harder to make truly silky smooth. A well-creamed base is the secret handshake to perfect vanilla buttercream.
Step 2: Gradually Adding the Powdered Sugar
Once the butter is light and fluffy, it's time to incorporate the powdered sugar. Add the sifted powdered sugar gradually, about 1 cup (120g) at a time, on low speed. This is essential for two main reasons: preventing a cloud of sugar from engulfing your kitchen and allowing the sugar to incorporate evenly without overwhelming the butter. Mix on low speed until each addition is mostly combined before adding the next.
After all the powdered sugar has been added, the mixture will be very thick and perhaps look a bit crumbly. Increase the speed to medium-low for another 1-2 minutes, scraping down the bowl as needed. This helps to further combine the sugar and butter, breaking down any small clumps of sugar. This careful, gradual addition is a crucial step towards achieving a silky smooth vanilla buttercream, minimizing lumps from the start.
Prevent Powdered Sugar Clouds and Lumps
Adding powdered sugar on low speed is your best defense against creating a sugary dust storm. Start the mixer on the lowest setting before adding the first cup, then turn it off briefly to add the next. Keeping the speed low until a significant amount of sugar is incorporated prevents the fine powder from flying out of the bowl. Once half or more of the sugar is in, you can increase the speed slightly to medium-low.
To prevent lumps, ensure you are adding the sugar gradually and allowing each batch to incorporate before adding more. Sifting the powdered sugar beforehand is the most effective way to remove any existing lumps. If you notice small pockets of dry sugar adhering to the side of the bowl, stop the mixer and scrape them down thoroughly. Proper incorporation at this stage is key to a smooth vanilla buttercream texture later on.
Step 3: Incorporating Vanilla Extract and Milk
With the butter and sugar combined, it's time to add the flavor and adjust the consistency. Add the vanilla extract first, mixing on low speed until just combined. This ensures the vanilla flavor is evenly distributed throughout the thick mixture. Typically, 1.5 teaspoons of quality vanilla extract works well for a batch made with 1 cup of butter and 3-4 cups of sugar.
Next, begin adding the milk or cream, 1 tablespoon at a time, with the mixer running on low. Allow each tablespoon to incorporate fully before adding the next. Observe the consistency as you add the liquid. You are looking for a smooth, spreadable texture that is easy to work with but still holds its shape. For a standard piping consistency, you might need 2-4 tablespoons of liquid. This step is where the mixture starts to loosen and transition towards a silky smooth vanilla buttercream.
Achieve the Perfect Vanilla Flavor Balance
Balancing the sweetness of the sugar with the distinct flavor of vanilla is key to a delicious buttercream. Start with the recommended amount of vanilla extract, typically 1.5 teaspoons for a batch using 1 cup of butter. Once the buttercream is fully mixed and smooth, taste a small amount. If you prefer a stronger vanilla presence, add another half teaspoon of extract and mix briefly to incorporate.
Using pure vanilla extract versus artificial vanilla makes a significant difference in the depth and quality of the flavor. Consider using vanilla bean paste for a more intense flavor and visual appeal with the tiny vanilla specks. Adding the vanilla after the powdered sugar is mostly incorporated helps prevent the alcohol in the extract from potentially interfering with the initial sugar-butter emulsification, ensuring a better chance at a smooth vanilla buttercream.
Step 4: Achieving a Smooth Texture: The Mixing Process
Once all ingredients are in the bowl, the final mixing stage is crucial for achieving a truly silky smooth vanilla buttercream. With all the powdered sugar, vanilla, and initial liquid added, increase the mixer speed to medium-high. Let the buttercream beat for 3-5 minutes. This longer mixing time does several things: it whips air into the frosting, further smooths out any remaining tiny sugar granules (aided by the liquid), and creates a light, airy texture.
During this mixing, the buttercream will become noticeably lighter in color and significantly smoother. It should pull away from the sides of the bowl slightly and have a fluffy, almost whipped appearance. Scrape down the bowl at least once during this phase to ensure everything is evenly mixed. This extended beating is the secret weapon for transforming the mixture into that coveted smooth vanilla buttercream consistency.
The Secret to a Lump-Free Buttercream
The primary secret to a lump-free buttercream lies in a combination of proper ingredient preparation and sufficient mixing time. First, ensure your butter is softened correctly and creamed thoroughly in Step 1. Second, sift your powdered sugar to remove any existing lumps before adding it. Third, add the powdered sugar gradually on low speed in Step 2.
Finally, and perhaps most importantly for achieving a truly silky smooth vanilla buttercream, is the final beating phase (Step 4). Beating the fully combined mixture on medium-high speed for 3-5 minutes allows the liquid to dissolve any minuscule sugar particles that weren't removed by sifting and incorporates enough air to create a uniform, smooth texture. Don't skip this step; it's where the magic happens for a lump-free finish.
Step 5: Adjusting Consistency
After the main mixing phase, your vanilla buttercream should be quite smooth, but you may need to fine-tune the consistency depending on its intended use. For frosting cakes or cupcakes, you want a spreadable consistency. For piping intricate details, you'll need a slightly stiffer buttercream that holds its shape. For filling macarons, a much stiffer consistency is usually required.
To thicken the buttercream, add more sifted powdered sugar, about a quarter cup (30g) at a time, mixing on low speed until incorporated. To thin it, add more milk or cream, just 1 teaspoon at a time, mixing on low speed until the desired consistency is reached. Always add liquids very gradually, as it's easy to overshoot and make the buttercream too thin. This final adjustment step ensures your silky smooth vanilla buttercream is perfect for your specific application.
Troubleshooting: Too Thick or Too Thin Buttercream
- Too Thick: If your buttercream is too stiff and difficult to spread or pipe, it needs more liquid. Add milk or cream, starting with just 1 teaspoon. Mix on low speed until fully incorporated. Assess the consistency and add another teaspoon if needed. Repeat until it reaches the desired texture. Be patient and add slowly – you can always add more, but you can't easily take it away.
- Too Thin: If your buttercream is too soft, runny, or doesn't hold its shape, it needs to be thickened. Add sifted powdered sugar, starting with a quarter cup (30g). Mix on low speed until fully incorporated. If still too thin, add another quarter cup. Continue adding sugar gradually until it reaches the desired stiffness. Alternatively, if it's just slightly too soft, chilling it in the refrigerator for 15-30 minutes can help firm it up.
Tips and Tricks for Vanilla Buttercream
Achieving the Right Temperature for Mixing
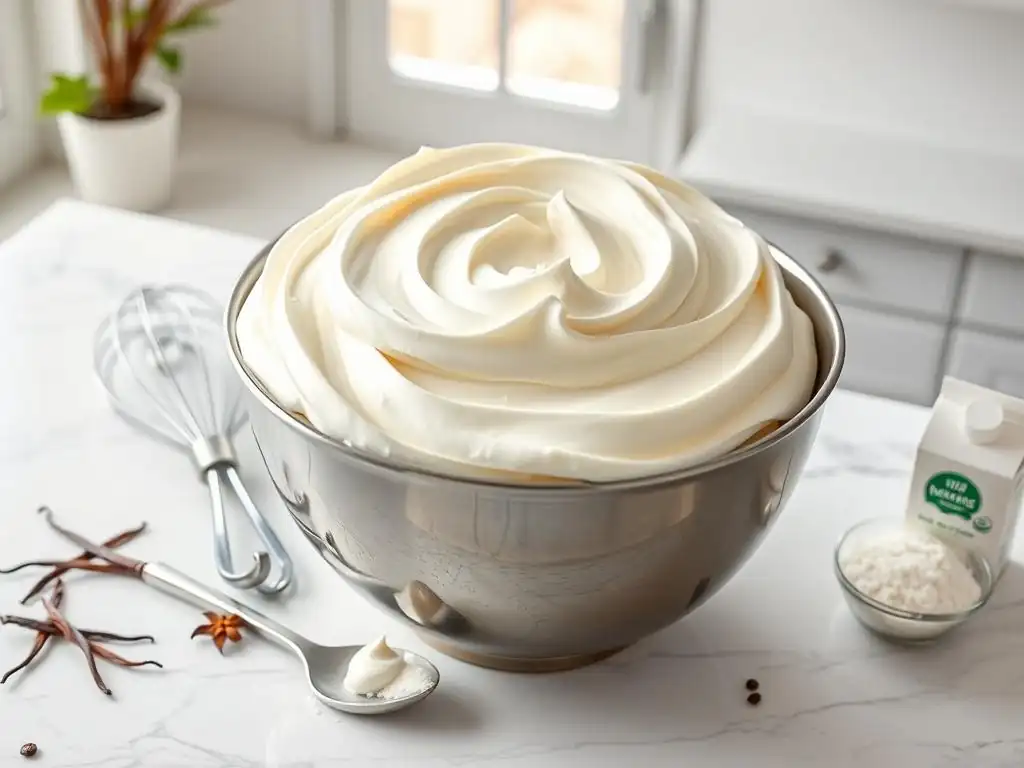
The temperature of your ingredients, particularly the butter, is paramount for a successful silky smooth vanilla buttercream. As mentioned earlier, the butter should be softened to around 65-68°F (18-20°C). This is cool to the touch but yields slightly when pressed. If your kitchen is cold, you might need to leave the butter out for 1-2 hours. If your kitchen is warm, it might only take 30-45 minutes. Avoid using the microwave to soften butter, as it often softens unevenly, leading to greasy patches.
Similarly, ensure your milk or cream is at room temperature or slightly warmer, not cold from the fridge. Cold liquid can shock the mixture and sometimes lead to a slightly curdled appearance initially. Letting the liquid sit out for 15-20 minutes before use is usually sufficient. Consistent ingredient temperature throughout the process helps ensure smooth emulsification and contributes greatly to a silky smooth vanilla buttercream.
Preventing a Grainy Texture
Preventing a grainy texture in vanilla buttercream starts with using very fine powdered sugar and ideally sifting it. However, the most effective way to dissolve any remaining sugar crystals and ensure a silky smooth vanilla buttercream is through adequate mixing time, particularly during the final beating phase (Step 4). Beating the fully combined mixture on medium-high speed for 3-5 minutes allows the small amount of liquid present to dissolve any remaining sugar particles.
If you've followed the steps and your buttercream still feels slightly grainy, you can try beating it for another minute or two on medium-high speed. Sometimes, adding another teaspoon of liquid (milk or cream) can help facilitate the dissolution of sugar crystals, followed by more beating. Ensuring your butter is properly softened also helps, as it allows the sugar to incorporate more smoothly from the beginning.
Fixing a Curdled Buttercream
Sometimes, despite best efforts, vanilla buttercream can look curdled or separated, resembling cottage cheese. This often happens if the ingredients are at different temperatures or if the fat and liquid components haven't emulsified properly. Don't panic – it's usually fixable!
To fix curdled buttercream, you can try one of two methods. First, try beating it on medium-high speed for several minutes. The friction from the mixer can sometimes warm the mixture slightly and help it come back together. If that doesn't work, take out about half a cup of the curdled buttercream and gently warm it in a microwave-safe bowl for 5-10 seconds until it's just slightly melted around the edges (do not fully melt).
Add the warmed portion back into the main bowl of buttercream with the mixer running on medium speed. Beat until it becomes smooth and emulsified. This often provides just enough warmth to bring the whole batch together into a silky smooth vanilla buttercream.
Storing Vanilla Buttercream
Classic vanilla buttercream can be stored for future use. Place the buttercream in an airtight container. It can be stored at room temperature for 1-2 days, provided your kitchen is not excessively warm (below 70°F or 21°C). For longer storage, refrigerate it for up to 1-2 weeks.
When storing in the refrigerator, the buttercream will become very firm. Before using, let it come back to room temperature for several hours until it's softened. Then, place it back in your mixer bowl and beat it on medium speed for a few minutes until it becomes smooth and pliable again, regaining its silky smooth vanilla buttercream texture.
You may need to add a tiny splash of milk or cream if it seems too stiff after re-beating. For even longer storage, you can freeze vanilla buttercream for up to 3 months. Thaw it overnight in the refrigerator, then bring to room temperature and re-beat as described above.
Variations on Classic Vanilla Buttercream
Swiss Meringue Vanilla Buttercream
Swiss meringue buttercream is a more stable and less sweet alternative to classic American vanilla buttercream, known for its incredibly silky smooth texture. It's made by gently heating egg whites and sugar over a double boiler until the sugar dissolves, then whipping this mixture into a glossy, stiff meringue. Softened butter is then gradually added to the meringue, resulting in a light, airy, and very smooth frosting.
This type of buttercream is less prone to crusting than American buttercream and holds up better in warmer temperatures. Its smooth, satiny finish makes it ideal for covering cakes and piping intricate designs that require sharp definition. While it requires a few more steps and a thermometer, the resulting silky smooth vanilla buttercream has a luxurious mouthfeel and a less intensely sweet flavor profile, preferred by many for elegant cakes.
American Buttercream vs. Swiss Meringue Buttercream: A Comparison
| Feature | Classic American Vanilla Buttercream | Swiss Meringue Vanilla Buttercream |
|---|---|---|
| Main Ingredients | Butter, Powdered Sugar, Vanilla, Milk/Cream | Butter, Egg Whites, Granulated Sugar, Vanilla |
| Sweetness | Very Sweet | Moderately Sweet |
| Texture | Denser, can be silky smooth if made correctly | Lighter, airier, consistently silky smooth |
| Crusting | Forms a crust when exposed to air | Does not crust |
| Stability | Less stable in heat | More stable in heat |
| Ease of Making | Easier, fewer steps | More technical, involves cooking sugar/egg whites |
| Primary Use | Cupcakes, simple cakes, fillings | Elegant cakes, piping, smooth finishes |
Choosing between the two depends on your desired sweetness level, texture preference, the complexity you're willing to undertake, and the climate in which your dessert will be served. Both can result in delicious vanilla buttercream, but the Swiss meringue offers a premium, silky smooth finish and greater stability.
Adding Flavors and Colors to Vanilla Buttercream
Classic vanilla buttercream is a versatile base that readily accepts additional flavors and colors. To add liquid extracts or flavorings (like almond extract or citrus zest), incorporate them with the vanilla extract or during the final mixing stage. Start with a small amount, perhaps half a teaspoon for a standard batch, and taste before adding more. For stronger flavors like coffee or chocolate, you might incorporate dissolved instant coffee powder or melted, cooled chocolate.
To color vanilla buttercream, use gel food coloring, as liquid colors can thin the frosting too much. Add coloring gradually using a toothpick, mixing on low speed until the desired shade is achieved. Gel colors are highly concentrated, so start with just a tiny amount. Mix thoroughly to ensure uniform color distribution throughout the silky smooth vanilla buttercream.
Lemon Buttercream
Transforming classic vanilla buttercream into a vibrant lemon buttercream is simple and adds a refreshing citrus twist. Once your silky smooth vanilla buttercream is made, add 1-2 tablespoons of fresh lemon juice and the zest of one large lemon. Mix on low speed until fully incorporated. The acid in the lemon juice might slightly thin the buttercream; if it becomes too soft, add a tablespoon or two of sifted powdered sugar and re-beat briefly until the desired consistency is restored.
The combination of lemon zest and juice provides a bright, tangy flavor that beautifully complements the sweetness of the buttercream. This variation is perfect for lemon cakes, blueberry muffins, or as a filling for tarts. The base techniques for achieving a silky smooth vanilla buttercream remain the same, simply enhanced with the addition of fresh lemon.
Using Vanilla Buttercream
Frosting Cakes and Cupcakes
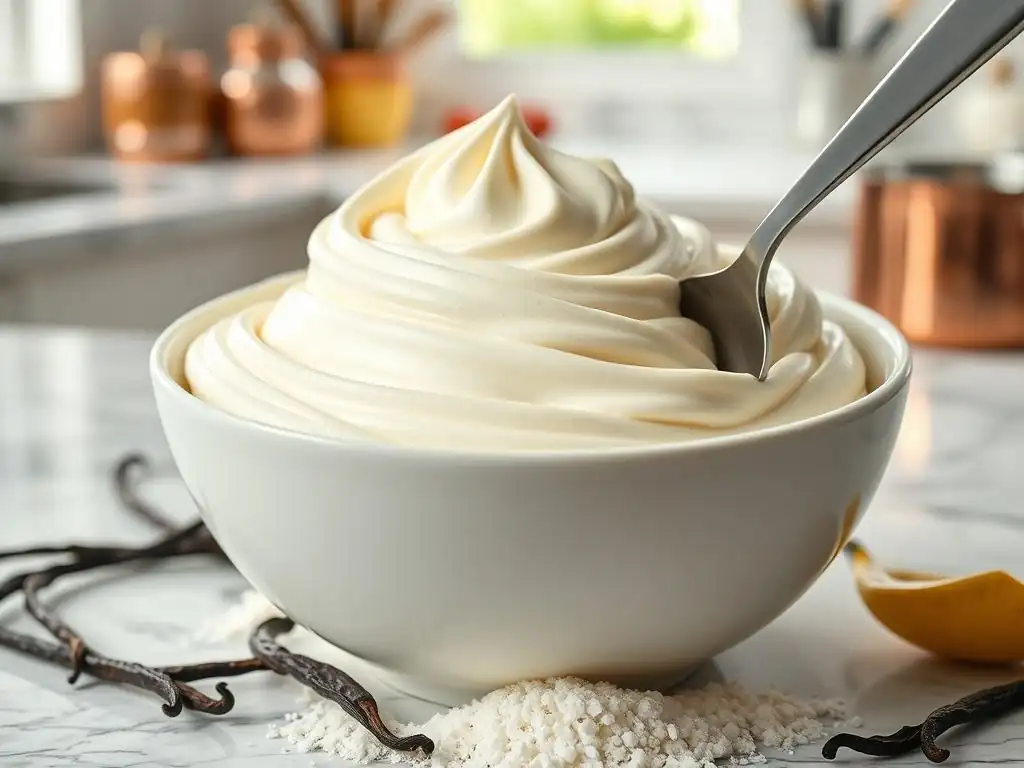
Using silky smooth vanilla buttercream to frost cakes and cupcakes is one of its most common applications. For cakes, apply a thin layer first as a "crumb coat" to trap any loose crumbs. Chill the cake for 15-30 minutes until the crumb coat is firm, then apply a thicker, final layer of buttercream, smoothing it with an offset spatula or bench scraper. The smooth texture of the buttercream makes achieving clean sides and a flat top much easier.
For cupcakes, you can simply spread the buttercream on top with a knife or spatula, or use a piping bag fitted with a nozzle for a more decorative finish. A standard batch using 1 cup of butter will typically frost 12-18 standard cupcakes or a two-layer 8 or 9-inch cake. Ensure the cakes or cupcakes are completely cool before frosting, as warm baked goods will melt the buttercream.
Piping Techniques
Silky smooth vanilla buttercream is excellent for piping various decorative elements onto cakes and cupcakes. Its ability to hold shape is key to creating defined swirls, rosettes, stars, and borders. For successful piping, the buttercream consistency is important – it should be firm enough to hold its shape but soft enough to pass through a piping tip without excessive force. Adjust consistency with powdered sugar or liquid as needed.
Fill a piping bag fitted with your desired tip, being careful not to overfill it (usually no more than two-thirds full). Gently squeeze the bag from the top, applying even pressure as you pipe. Practice on a piece of parchment paper first to get a feel for the pressure required and the pattern created by the tip. The smooth texture of the vanilla buttercream ensures clean lines and defined shapes in your piping work.
Vanilla Buttercream as a Filling for Macarons
While Swiss meringue buttercream is often the preferred filling for macarons due to its stability and lower sweetness, classic silky smooth vanilla buttercream can also be used, particularly if a sweeter, richer filling is desired. For a macaron filling, the buttercream needs to be significantly stiffer than frosting consistency to prevent it from squeezing out too much when the macaron shells are assembled.
To achieve a stiff consistency suitable for macarons, add more sifted powdered sugar to your standard vanilla buttercream recipe, likely needing 4.5 to 5 cups (around 540-600g) per cup of butter, and use minimal liquid (perhaps only 1-2 teaspoons). The resulting mixture will be very thick. Pipe a small amount onto one macaron shell and gently press the second shell on top. The stiffness ensures the filling stays put. The rich, sweet flavor profile of the vanilla buttercream pairs wonderfully with the delicate macaron shells.
Troubleshooting Common Vanilla Buttercream Problems
Why is My Buttercream Grainy?
A grainy texture in vanilla buttercream is most often caused by undissolved powdered sugar. This can happen if the sugar wasn't sifted, if it wasn't added gradually, or most commonly, if the buttercream wasn't mixed for a sufficient amount of time after all ingredients were combined. The small amount of liquid (milk or cream) needs time and agitation to dissolve the fine sugar particles.
To fix grainy buttercream, beat it on medium-high speed for an additional 3-5 minutes. Scrape down the bowl frequently. If it's still grainy after extended beating, you can try adding another teaspoon of liquid (milk or cream) and beating again for a few minutes. The extra liquid can help facilitate the dissolution of the sugar crystals, helping you achieve that silky smooth vanilla buttercream texture.
Why is My Buttercream Too Soft?
Buttercream that is too soft and won't hold its shape is usually due to being too warm or having too much liquid (milk or cream). If your kitchen is warm, the butter may have become too soft during mixing. If you added too much liquid when adjusting consistency, this will also result in a soft buttercream.
To fix soft buttercream, try chilling it in the refrigerator for 15-30 minutes. This will firm up the butter and help the buttercream hold its shape. After chilling, you may need to beat it briefly to restore its smooth texture. If it's still too soft after chilling, add more sifted powdered sugar, a quarter cup (30g) at a time, mixing on low speed until the desired stiffness is achieved. This adds structure and absorbs excess liquid.
Why is My Buttercream Curdled?
Curdled buttercream, which looks separated or like cottage cheese, typically occurs when the ingredients are at significantly different temperatures, or the fat (butter) and liquid haven't emulsified correctly. It can happen if cold liquid is added to the butter-sugar mixture or if the butter was too cold or too warm to begin with.
As detailed in the "Fixing a Curdled Buttercream" section, the best way to fix this is usually by warming a small portion and re-incorporating it, or simply beating the mixture on medium-high speed for several minutes. The friction from the mixer can generate enough warmth to bring the mixture back together into a smooth emulsion. Patience and consistent temperature are key to preventing this issue and ensuring a silky smooth vanilla buttercream.
Conclusion: Enjoy Your Perfect Vanilla Buttercream
You've done it! By following these steps, you should now have a batch of classic, silky smooth vanilla buttercream ready to transform your baked goods. From properly creaming the butter to gradually incorporating the sugar and beating for that final smooth texture, each step plays a vital role in achieving frosting perfection. This versatile recipe is a fundamental skill for any baker and provides a delicious canvas for countless decorating possibilities.
Whether you're spreading it generously on a birthday cake, piping elegant swirls on cupcakes, or using it as a sweet filling, the effort put into achieving a silky smooth vanilla buttercream will be evident in both its appearance and taste. Take pride in your accomplishment and get ready to impress your friends and family with your beautifully frosted creations.
We love seeing what our community creates! Once you've made your perfect silky smooth vanilla buttercream and used it to decorate your cakes, cupcakes, or other desserts, we encourage you to share your masterpieces. Documenting your journey, from the smooth texture of the buttercream in the bowl to the finished decorated treat, can inspire other bakers.
Sharing your creations not only showcases your skills but also allows you to connect with fellow baking enthusiasts. Describe how you achieved that silky smooth vanilla buttercream finish, what flavor variations you tried, or any tips you discovered along the way. Your successful application of this classic vanilla buttercream recipe is a testament to mastering a fundamental baking technique!
Frequently Asked Questions
How do I achieve a truly silky smooth texture in my vanilla buttercream?
The key is to cream the butter and sugar for an extended period, ensuring the sugar is fully dissolved. Using powdered sugar instead of granulated can also help.
What kind of butter is best for vanilla buttercream?
Unsalted butter is generally recommended, allowing you to control the overall saltiness of your buttercream. Make sure it's at room temperature for easy creaming.
Can I use a stand mixer or is a hand mixer sufficient for this recipe?
Both work well! A stand mixer makes it easier to achieve a consistent texture over a longer period, but a hand mixer is perfectly fine for smaller batches.
What vanilla extract should I use for the most intense vanilla flavor?
High-quality pure vanilla extract is best. You can also use vanilla bean paste for more intense flavor and visible vanilla bean specks, but adjust the quantity accordingly.
How long can I store vanilla buttercream, and how should I store it?
Vanilla buttercream can be stored in an airtight container in the refrigerator for up to a week. You can also freeze it for up to three months. Be sure to rewhip it before using.
Final Reflection: The Enduring Allure of Silky Smooth Perfection
The pursuit of the perfect vanilla buttercream is more than just a culinary quest; it's a reflection of our desire for simple pleasures executed with precision and passion. In a world often characterized by complexity and fleeting trends, the enduring appeal of a flawlessly smooth, delicately flavored buttercream frosting speaks volumes about our appreciation for timeless elegance and handcrafted quality. This seemingly simple recipe holds a power far beyond its ingredients.
The impact of a truly exceptional buttercream extends far beyond the plate. It's the centerpiece of countless celebrations, a symbol of joy and shared moments, a testament to the power of simple ingredients transformed by skill and care. The best things in life are simple,
a phrase often repeated, rings especially true when considering the satisfaction derived from creating something beautiful and delicious from scratch. This recipe, I hope, has empowered you to experience that satisfaction firsthand, to understand the nuances of texture and flavor that elevate a simple frosting into an unforgettable experience.
Now, I invite you to consider your own pursuit of perfection. What seemingly simple tasks in your life hold a similar potential for joy and fulfillment? Perhaps it's the meticulous care you put into a garden, the dedication you pour into a creative project, or the simple act of baking a cake for a loved one. Embrace the process, appreciate the details, and discover the profound satisfaction that comes from mastering the art of the seemingly simple. Let the silky smooth perfection of this buttercream inspire you to strive for excellence in all that you do.
Unlock Your Inner Pastry Chef: Master the Art of Buttercream!
Thanks for taking the time to explore the world of silky smooth vanilla buttercream with us! We hope you’ve gained the confidence to create delicious frosting that will impress. Ready to put your newfound skills to the test?
- Whip up your dream cake: Try our recipe today – the results will be truly amazing! Don't be afraid to experiment with flavors.
- Share your creations: Tag us on social media with your buttercream masterpieces – we'd love to see what you bake!
- Challenge yourself: Try adapting the recipe to create a different flavor profile – chocolate, strawberry, or even coffee buttercream!
What flavor buttercream will you conquer next? Let us know in the comments!