
The Secret to the Flakiest Pie Crust for Thanksgiving Pies

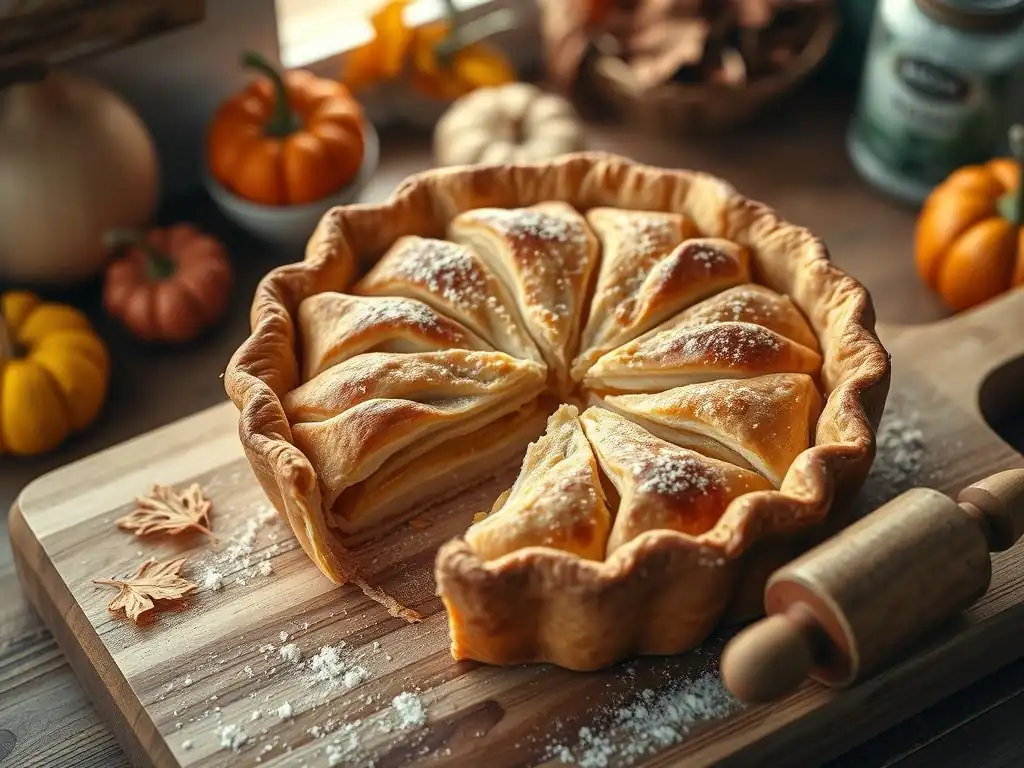
Welcome to BakeWithEase, your kitchen companion for all things baking!
Ever dream of wowing your Thanksgiving guests with a pie so delicious, they'll ask for seconds (and thirds!)? Unlock the secret to the flakiest pie crust imaginable with our step-by-step guide. We'll walk you through every detail, ensuring your Thanksgiving pie recipe is a resounding success. Ready to create baking magic? Let's get started...
- Achieving the Perfect Apple Pie Crust for Thanksgiving - BakeWithEase
- Introduction to Apple Pie Crust for Thanksgiving
- Understanding the Science Behind a Tender Crust
- BakeWithEase's Apple Pie Crust Recipe
- Tips and Tricks for a Consistently Tender Crust
- Troubleshooting Common Pie Crust Problems
- Apple Pie Recipes Using Your Tender Pie Crust
- Storing and Freezing Your Pie Crust
- Conclusion: Mastering the Art of Apple Pie Crust for a Memorable Thanksgiving
-
Frequently Asked Questions
- What makes a pie crust "flaky," and why is it important for Thanksgiving pies?
- What are the key ingredients for achieving a flaky pie crust?
- Can I use different types of fat, like oil or margarine, for my pie crust?
- What are some common mistakes people make when making pie crust, and how can I avoid them?
- How far in advance can I make my pie crust for Thanksgiving?
- Final Reflection: The Enduring Legacy of a Perfect Pie Crust
- Unleash Your Inner Pie Master!
Achieving the Perfect Apple Pie Crust for Thanksgiving - BakeWithEase
Introduction to Apple Pie Crust for Thanksgiving
Thanksgiving dinner is a feast for the senses, and at the heart of many tables sits a glorious apple pie. While the filling is undoubtedly important, the crust is often what elevates a good pie to a truly memorable one. A perfectly flaky pie crust provides a delicate, crisp counterpoint to the soft, sweet apple filling, creating a harmonious balance of textures and flavors that is simply irresistible.
This guide will walk you through the process of creating a flaky pie crust Thanksgiving recipe that will impress your guests. We'll delve into the science behind achieving that coveted flaky texture, provide a detailed recipe with step-by-step instructions, and share essential tips and troubleshooting advice. Get ready to master the art of pie crust making and make your Thanksgiving apple pie the star of the dessert table.
Why a Great Crust Elevates Your Apple Pie
A truly exceptional pie crust is more than just a vessel for the filling; it's an integral part of the dessert experience. Think of the contrast between a light, airy crust that shatters slightly with each bite and a dense, tough one that feels heavy. The flaky pie crust provides a crucial textural element, offering a delightful crispness that complements the tender, cooked apples within.
Furthermore, a well-made crust contributes significantly to the overall flavor profile. Using high-quality fat, like butter, imparts a rich, buttery taste that enhances the sweetness of the fruit. A perfectly baked crust also develops subtle nutty notes from the flour, adding another layer of complexity. Achieving this level of quality requires understanding the fundamental principles behind a flaky pie crust Thanksgiving recipe.
The Ultimate Guide to a Delicious Apple Pie Crust
Crafting a delicious apple pie crust doesn't have to be intimidating. With the right techniques and a bit of patience, you can achieve consistent success. This guide is designed for bakers of all levels, breaking down the process into manageable steps. We'll cover everything from selecting the best ingredients to handling the dough with care.
Our goal is to demystify the process and empower you to create a flaky pie crust that is both beautiful and delicious. We'll share insights into the science of baking, explaining why certain steps are crucial for achieving that desirable texture. By the end of this guide, you'll have the knowledge and confidence to bake a Thanksgiving apple pie with a crust that will be the talk of the holiday table.
Understanding the Science Behind a Tender Crust
Creating a tender and flaky pie crust relies on understanding a few key scientific principles related to ingredients and technique. It's not magic, but rather a careful manipulation of fat, flour, and water. The goal is to prevent the flour from developing too much gluten and to create layers of fat within the dough that melt during baking, resulting in flaky pockets.
Mastering the science behind a flaky pie crust Thanksgiving recipe is the first step towards consistent success. By understanding why certain steps are important, you can adapt techniques and troubleshoot issues more effectively. Let's delve into the crucial roles that fat, gluten, and temperature play in achieving that perfect texture.
The Role of Fat in Creating a Tender Texture
Fat, typically butter, shortening, or a combination, is the cornerstone of a flaky pie crust. When fat is cut into the flour, it creates small, discrete pieces coated in flour. As the dough bakes, these pieces of fat melt, releasing steam. This steam causes the surrounding layers of dough to puff up slightly, creating those characteristic flaky layers.
The type of fat used significantly impacts the texture. Butter provides excellent flavor but has a lower melting point and contains water, which helps with steam. Shortening, with its higher melting point and zero water content, is often lauded for creating very distinct, tall flakes. A common ratio for a very flaky crust is 60-70% fat by weight relative to the flour, often utilizing a mix of butter and shortening for both flavor and flakiness. For example, a recipe using 250g of flour might call for 150-175g of combined fat.
Gluten Development: Keeping it Minimal
Gluten is a protein network formed when flour is mixed with water and agitated. While essential for the structure of bread, excessive gluten development in pie crust leads to toughness. Our aim is to minimize this process. Using a low-protein flour (like pastry flour, though all-purpose works well too if handled gently) and adding just enough water to bring the dough together are critical steps.
Overworking the dough is the primary culprit behind tough crusts. Each time you mix, knead, or re-roll the dough, you encourage gluten strands to strengthen and lengthen. This is why many flaky pie crust Thanksgiving recipes emphasize minimal handling. The goal is to hydrate the flour just enough for the dough to hold together, not to develop elasticity.
The Importance of Cold Ingredients
Temperature is paramount when making a flaky pie crust. Both the fat (butter or shortening) and the water used must be very cold. Cold fat is essential because it stays in solid pieces when cut into the flour. If the fat is soft or warm, it will smear into the flour, coating it completely and preventing the formation of distinct layers that create flakiness.
Cold water further helps to keep the fat cold and also slows down gluten development. Using ice water ensures the dough remains cool during mixing, giving you more control and less risk of melting the fat prematurely. This is why many recipes specify "ice water" and suggest using just enough to barely bring the dough together. The colder the ingredients and the dough are kept until baking, the greater the potential for a truly flaky texture. Chilling the dough before rolling is also critical for relaxing any developed gluten and firming up the fat.
BakeWithEase's Apple Pie Crust Recipe
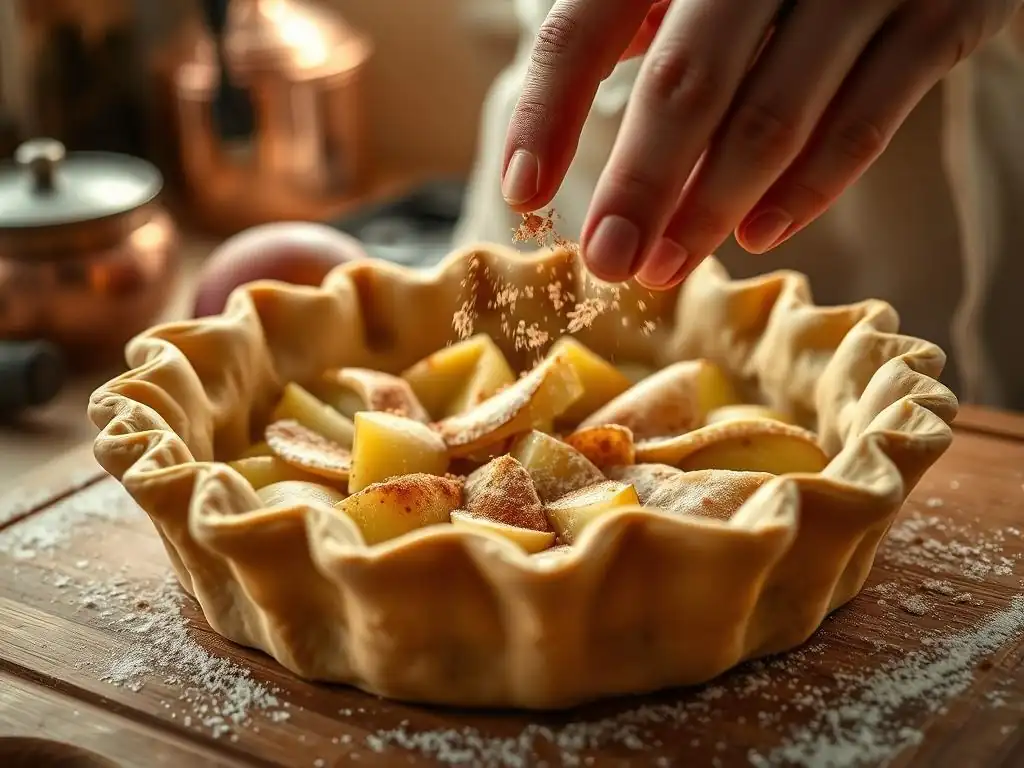
Creating a delicious and flaky pie crust for your Thanksgiving apple pie is easier than you think with our tested recipe. This recipe focuses on simple techniques and quality ingredients to ensure a tender, buttery, and perfectly flaky result every time. Follow these steps closely, and you'll be well on your way to pie perfection.
This flaky pie crust Thanksgiving recipe is designed for two crusts – one for the bottom and one for the top of a standard 9-inch pie plate. It yields a dough that is easy to work with, provided you keep your ingredients cold and handle it gently. Let's gather our simple ingredients and get started on this essential Thanksgiving bake.
Ingredients for the Perfect Apple Pie Crust
Here are the ingredients you'll need for our flaky pie crust Thanksgiving recipe:
- [ ] 2 ½ cups (315g) All-Purpose Flour, plus more for dusting
- [ ] 1 teaspoon Salt
- [ ] 1 cup (2 sticks or 226g) Unsalted Butter, very cold, cut into ½-inch cubes
- [ ] ½ cup (120ml) Ice Water (you may not use all of it)
Note: Some bakers prefer a mix of butter and shortening for maximum flakiness. You could substitute up to half of the butter with cold, solid vegetable shortening.
Step-by-Step Instructions for a Tender Crust
Follow these steps carefully to ensure your flaky pie crust comes out perfectly tender and flaky for your Thanksgiving pie.
Step 1: Combining Dry Ingredients
In a large bowl, whisk together the 2 ½ cups of All-Purpose Flour and 1 teaspoon of Salt. Ensure they are well combined. Using a larger bowl gives you more room to work the butter into the flour without making a mess.
Step 2: Cutting in the Butter
Add the very cold, cubed butter to the flour mixture. Using a pastry blender, your fingertips, or a food processor, cut the butter into the flour until the mixture resembles coarse crumbs with some larger, pea-sized pieces of butter remaining. These larger pieces are key to creating flakiness. Avoid overworking; the goal is not a uniform texture.
Step 3: Adding the Ice Water
Gradually add the ice water, one tablespoon at a time, mixing gently with a fork or your hands until the dough just begins to come together. You may not need all of the water. The dough should be moist enough to hold together when squeezed, but not sticky or wet. Be cautious not to add too much water, as this can make the crust tough.
Step 4: Forming the Dough
Turn the dough out onto a lightly floured surface. Divide the dough in half. Gently gather each half into a disc shape. Do not knead the dough; simply press it together lightly. Keeping the handling minimal is crucial for a flaky pie crust.
Step 5: Chilling the Dough
Wrap each dough disc tightly in plastic wrap. Flatten the discs slightly to make rolling easier later. Refrigerate the dough for at least 1 hour, or up to 2 days. Chilling allows the gluten to relax and the fat to firm up, which is essential for rolling and creating a flaky pie crust Thanksgiving recipe.
Step 6: Rolling Out the Dough
On a lightly floured surface, take one disc of dough from the refrigerator. If it's very hard, let it sit for a few minutes to soften slightly. Roll the dough from the center outwards into a circle about 12 inches in diameter and about 1/8 inch thick. Lift and rotate the dough occasionally, adding a little more flour underneath if needed, to prevent sticking.
Step 7: Transferring to the Pie Plate
Carefully transfer the rolled dough to a 9-inch pie plate. You can gently roll it onto your rolling pin and then unroll it over the plate, or fold it in half or quarters and unfold it into the plate. Gently press the dough into the bottom and sides of the plate, ensuring there are no air bubbles. Trim any excess dough, leaving about a 1-inch overhang.
Step 8: Crimping the Edges
For the top crust (if using a double crust pie), prepare the second disc of dough similarly. Place the filling in the bottom crust. Cover with the top crust (vented with slits or cutouts) or lattice strips. Crimp the edges of the top and bottom crusts together to seal. This not only looks nice but also helps prevent the filling from bubbling out during baking. For a single crust pie, simply crimp the edges of the bottom crust. Return the assembled pie to the refrigerator for at least 15-30 minutes before baking.
Tips and Tricks for a Consistently Tender Crust
Achieving a consistently tender and flaky pie crust requires attention to detail and a few smart techniques. Beyond the basic steps, these tips can help you refine your process and avoid common pitfalls, ensuring your flaky pie crust Thanksgiving recipe is a success every time you bake.
Incorporating these tips into your baking routine will significantly improve the texture and quality of your pie crusts. From selecting the right ingredients to handling the dough with care, each small step contributes to the final, delicious result.
Using the Right Flour: All-Purpose vs. Pastry Flour
While all-purpose flour is widely available and works well for a flaky pie crust when handled correctly, understanding flour protein content is helpful. All-purpose flour typically has a protein content of around 10-12%. Pastry flour, on the other hand, has a lower protein content, usually 8-9%. Lower protein means less potential for gluten development, resulting in a more tender crust.
If you have access to pastry flour, it can give you an edge in achieving tenderness. However, proper technique (minimal handling, cold ingredients) is far more critical than the specific type of flour when using all-purpose. Some bakers even use a mix of all-purpose and cake flour (which has even lower protein) for an extra tender crust.
The Importance of Cold Butter
We've mentioned it before, but it bears repeating: cold butter is non-negotiable for a flaky pie crust. The butter should be straight from the refrigerator, and ideally, you should work quickly so it doesn't warm up too much from the heat of your hands or the room temperature. If your kitchen is warm, you might consider chilling your mixing bowl or even your flour beforehand.
The distinct pieces of cold butter are what create the steam pockets during baking. If the butter melts and incorporates too fully into the flour before baking, you'll end up with a more cookie-like, crumbly texture rather than distinct, flaky layers. Aim for visible pieces of butter, ranging from pea-sized to even slightly larger, distributed throughout the dough mixture after cutting the fat in.
Adding Lemon Juice for Extra Tenderness
A less common but effective tip for a tender crust is adding a small amount of acid, such as lemon juice or vinegar, to the ice water. A typical amount might be 1-2 teaspoons per ½ cup of water. The acid inhibits gluten development by interfering with the formation of gluten strands.
Adding acid is an extra layer of insurance against toughness, especially if you are new to making pie crusts or prone to overworking the dough slightly. It won't noticeably alter the flavor of the crust in such small quantities, but it can make a subtle difference in tenderness, helping you achieve that desirable flaky pie crust Thanksgiving recipe result.
Proper Dough Handling
Gentle, minimal handling is perhaps the most crucial technique for a tender crust. From cutting in the fat to forming the discs and rolling them out, every touch should be deliberate and light. Overworking develops gluten, leading to a tough, chewy crust instead of a light, flaky one.
When mixing in the water, stop as soon as the dough just comes together. It's better to have a few dry spots that you gently press together when forming the disc than to have a uniformly moist, sticky dough. When rolling, use firm but not heavy pressure, and lift and rotate the dough frequently to prevent sticking rather than forcing it. If the dough resists rolling, cover it and let it rest in the refrigerator for 10-15 minutes; this allows the gluten to relax.
Troubleshooting Common Pie Crust Problems
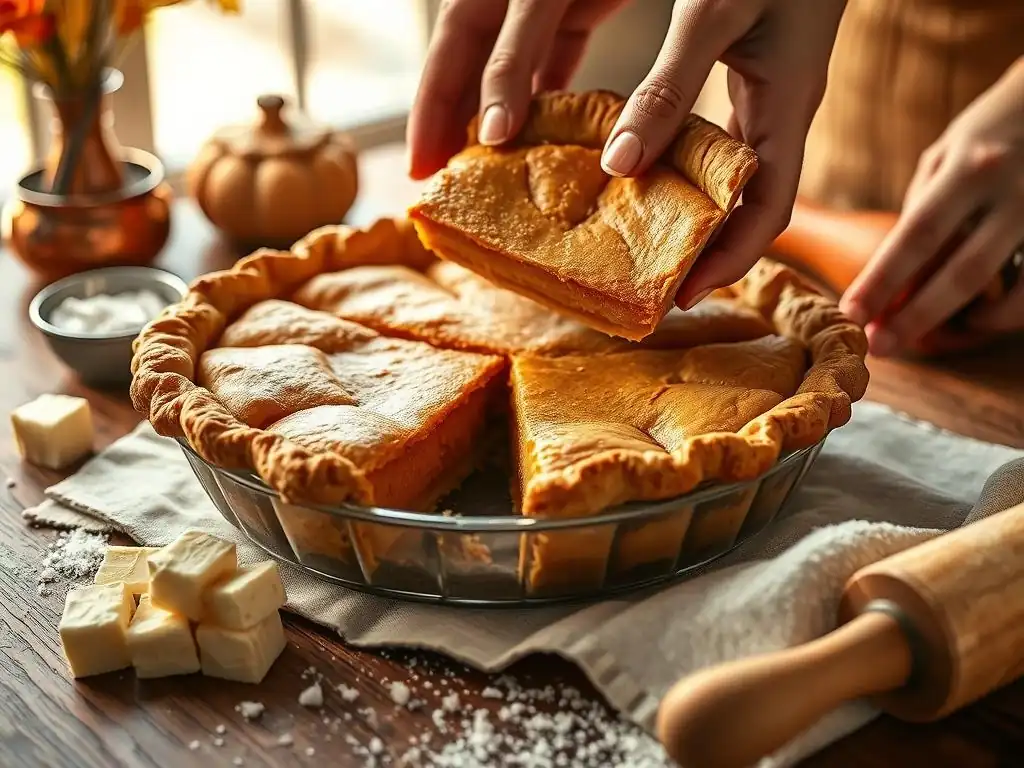
Even experienced bakers encounter issues with pie crust from time to time. Understanding common problems and their solutions is key to mastering your flaky pie crust Thanksgiving recipe. Don't be discouraged by setbacks; they are part of the learning process.
Here, we address some of the most frequent complaints about pie crust and provide practical advice to help you prevent or fix them. Armed with this knowledge, you'll be better equipped to handle whatever challenges arise in your quest for the perfect flaky pie crust.
Soggy Bottom Crust: Prevention Techniques
A soggy bottom crust is one of the most disappointing outcomes for any pie, especially a double-crust apple pie with its juicy filling. The primary cause is the moisture from the filling or steam created during baking penetrating the bottom crust before it has a chance to set and crisp up.
Several techniques can help prevent this:
- Blind Baking: Partially baking the bottom crust before adding the filling. This gives the crust a head start on crisping. For a double-crust pie, you might blind bake for 15-20 minutes at 375-400°F (190-200°C) with pie weights or dried beans to prevent shrinking, then remove the weights and bake for another 5-10 minutes until lightly golden.
- Hot Baking Surface: Placing the pie on a preheated baking sheet or pizza stone in the oven. This transfers heat quickly to the bottom of the pie plate, helping the crust set faster.
- Egg Wash/Butter Layer: Brushing the bottom crust with a thin layer of egg wash (egg mixed with a little water or milk) or melted butter before adding the filling. This creates a moisture barrier.
- Thickening the Filling: Ensuring your apple filling isn't excessively watery. Using a thickener like flour, cornstarch, or tapioca starch is essential.
Tough Crust: Avoiding Over-Working
A tough crust is almost always the result of over-developing the gluten. This happens when the dough is mixed too much, handled too roughly, or too much water is added. The protein strands in the flour link up and become elastic and chewy.
To avoid a tough crust:
- Use cold ingredients.
- Add water gradually and stop as soon as the dough comes together.
- Mix with a fork or your hands lightly, not a stand mixer unless specifically instructed for a particular method.
- Handle the dough minimally when forming discs and rolling.
- Allow the dough to chill adequately (at least 1 hour) before rolling to relax any gluten that may have developed.
- If the dough is resisting rolling, let it rest in the fridge for 10-15 minutes.
Shrinking Crust: Solutions
Pie crust shrinking during baking is a common frustration. This often happens if the dough is not adequately chilled or if it's stretched too tightly into the pie plate. When the dough warms up in the oven, the fat melts, and if the gluten hasn't been relaxed, the dough can pull back from the sides of the plate.
To prevent shrinking:
- Chill the dough discs thoroughly for at least 1 hour, ideally longer, before rolling.
- After transferring the rolled dough to the pie plate, gently ease it into the corners without stretching it. Let it relax in the plate.
- Trim the overhang generously (at least 1 inch) to allow for some shrinkage without pulling away from the edge.
- Chill the assembled pie (with filling) in the refrigerator for 15-30 minutes before baking. This firms up the fat and relaxes the dough one last time.
Burnt Edges: Protection Methods
The edges of a pie crust, being thinner and more exposed, tend to brown faster than the rest of the crust. Preventing them from burning while the center bakes is important for a beautiful and evenly baked pie.
The most common method is to protect the edges with foil or a silicone pie crust shield.
- Foil Strips: Tear or cut long strips of aluminum foil (about 2-3 inches wide). Crimp them gently around the edge of the pie crust once the edges have reached your desired level of golden brown (usually about halfway through the baking time).
- Silicone Shield: These reusable rings are placed directly onto the pie edge, typically halfway through baking. They are convenient and effective.
Remove the foil or shield for the last 10-15 minutes of baking if you want the edges to brown a little further, or leave them on if they are already perfectly golden.
Apple Pie Recipes Using Your Tender Pie Crust
Now that you've mastered the art of making a flaky pie crust using our flaky pie crust Thanksgiving recipe, it's time to fill it! This versatile crust pairs beautifully with a variety of apple pie fillings. Here are a few classic and popular options to consider for your Thanksgiving feast.
Using your homemade, tender, and flaky pie crust will elevate these classic desserts to new heights. Choose your favorite apple variety, prepare your filling, and assemble a pie that showcases your crust-making skills.
Classic Apple Pie Recipe
A timeless favorite, the classic apple pie filling is simple yet satisfying.
- Ingredients: Sliced apples (a mix of varieties like Granny Smith, Honeycrisp, and Fuji works well for balanced flavor and texture), sugar, flour or cornstarch (for thickening), cinnamon, nutmeg, a pinch of salt, and a squeeze of lemon juice.
- Method: Toss the apple slices with the dry ingredients and lemon juice. Pile high into your prepared bottom crust. Top with a second crust (vented) or a lattice. Bake according to standard pie baking instructions (often starting at a higher temperature like 425°F for 15-20 minutes, then reducing to 375°F until the crust is golden brown and the filling is bubbly). This classic filling is perfect for highlighting your flaky pie crust Thanksgiving recipe.
Caramel Apple Pie Recipe
For those who love a richer, sweeter pie, adding caramel is a delightful twist.
- Ingredients: Classic apple pie filling ingredients, plus homemade or store-bought caramel sauce.
- Method: Prepare the apple filling as usual. You can either drizzle caramel sauce directly into the apple mixture before putting it in the crust, or layer apple filling and caramel sauce in the bottom crust. Top with a crust or crumble topping. The caramel adds moisture, so ensuring your bottom crust is well-protected (like blind baking) is extra important here. This indulgent filling is a fantastic partner for your flaky pie crust.
Dutch Apple Pie Recipe
Dutch apple pie, also known as crumble or streusel top pie, skips the top pastry crust in favor of a buttery, crumbly topping.
- Ingredients: Classic apple pie filling ingredients, plus ingredients for the crumble topping (flour, sugar, butter, often oats or nuts).
- Method: Prepare the bottom crust and apple filling. Pour the filling into the bottom crust. Prepare the crumble topping by cutting cold butter into the dry ingredients until coarse crumbs form. Sprinkle evenly over the apple filling. Bake until the bottom crust is golden, the filling is bubbly, and the crumble topping is golden brown. This style highlights the bottom flaky pie crust beautifully.
Storing and Freezing Your Pie Crust
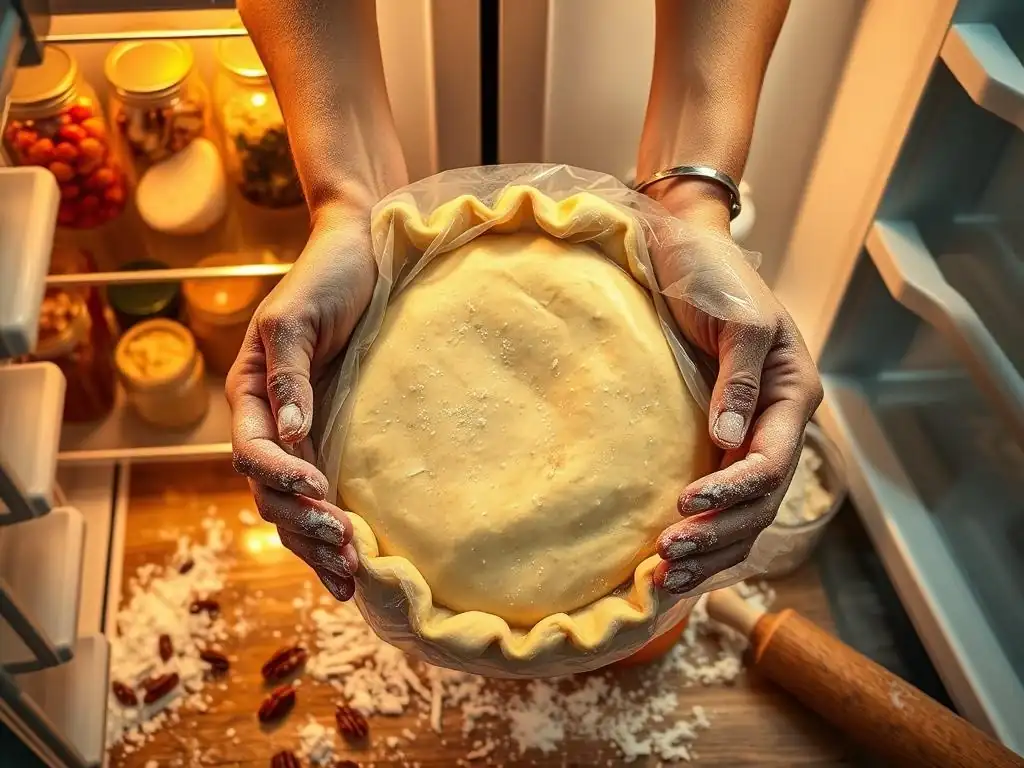
Planning ahead is a great way to reduce stress, especially during busy holidays like Thanksgiving. Your homemade flaky pie crust dough can be made in advance and stored in the refrigerator or freezer. This allows you to spread out your holiday baking tasks and have dough ready when you need it.
Proper storage ensures that the quality and texture of your flaky pie crust are preserved. Whether you're making dough a day ahead or freezing it for weeks, these guidelines will help you keep your crust in perfect condition.
Storing Unbaked Pie Dough
Once you have formed your pie dough into discs and wrapped them tightly in plastic wrap, they can be stored in the refrigerator for up to 2 days. Storing the dough allows the gluten to relax further, which can actually improve the tenderness and make the dough easier to roll.
Ensure the plastic wrap is snug to prevent the dough from drying out or absorbing odors from the refrigerator. If storing for more than a day, you might consider placing the plastic-wrapped discs into a resealable bag for extra protection. When you're ready to use the dough, let it sit at room temperature for 10-20 minutes if it's too hard to roll right away, but keep it cool.
Freezing Pie Crust for Later Use
Freezing is an excellent option if you want to make your flaky pie crust dough well in advance. Properly wrapped dough can be frozen for up to 3-4 months without significant loss of quality. Freezing allows the fat to remain solid, preserving the potential for flakiness.
To freeze, wrap the chilled dough discs tightly in plastic wrap, then wrap them again in aluminum foil or place them in a freezer-safe bag. Label with the date. To thaw, transfer the frozen dough disc to the refrigerator and let it thaw overnight (about 8-12 hours). Avoid thawing at room temperature, as this can cause the fat to soften too much. Once thawed, the dough should be used within 1-2 days.
Baking from Frozen: Best Practices
While it's generally best to thaw pie dough in the refrigerator before rolling, you can sometimes bake a pie directly from frozen if it was assembled before freezing. This is common practice for whole, unbaked pies.
If baking an assembled but unbaked frozen pie:
- Do not thaw the pie.
- Wrap the edges loosely with foil right from the start to prevent burning.
- Bake in a preheated oven at a slightly lower temperature (e.g., 375°F / 190°C) for a longer time than specified for a fresh pie. A frozen pie might take 1.5 to 2 hours to bake fully.
- Remove the foil for the last 20-30 minutes to allow the edges to brown. The pie is done when the crust is golden brown, and the filling is bubbly in the center. Using a baking sheet underneath is recommended to catch any drips. Baking from frozen is a convenient way to use your prepared flaky pie crust Thanksgiving recipe ahead of time.
Conclusion: Mastering the Art of Apple Pie Crust for a Memorable Thanksgiving
Crafting a truly flaky pie crust for your Thanksgiving apple pie is a rewarding endeavor that elevates this classic dessert from good to unforgettable. By understanding the science behind ingredients like cold butter and minimal gluten development, and by following careful techniques, you can consistently achieve a tender, buttery, and beautifully layered crust.
This flaky pie crust Thanksgiving recipe provides a solid foundation, and the tips and troubleshooting advice empower you to tackle common challenges with confidence. Whether you choose a classic filling or a variation like caramel or crumble, your homemade crust will be the perfect complement, showcasing your skill and dedication to holiday baking. Practice makes perfect, and each pie you bake will bring you closer to mastering this essential skill.
Happy Baking this Thanksgiving!
May your kitchen be filled with the warm, comforting aroma of baking apple pie this Thanksgiving. We hope this guide helps you achieve the perfect flaky pie crust and contributes to a memorable and delicious holiday celebration. Enjoy the process, share your creations, and savor every flaky bite!
Frequently Asked Questions
What makes a pie crust "flaky," and why is it important for Thanksgiving pies?
A flaky pie crust is characterized by distinct, thin layers of dough separated by pockets of fat. This texture is crucial for a pleasant eating experience and complements the filling of Thanksgiving pies like pumpkin or apple.
What are the key ingredients for achieving a flaky pie crust?
The key ingredients are flour, cold fat (usually butter or shortening), ice water, and salt. Maintaining the cold temperature of the fat is paramount for a flaky result.
Can I use different types of fat, like oil or margarine, for my pie crust?
While you can use other fats, butter and shortening are generally recommended for the best flakiness. Oil may result in a less tender crust, and margarine can sometimes have a higher water content, affecting the texture.
What are some common mistakes people make when making pie crust, and how can I avoid them?
Common mistakes include overmixing the dough, using warm ingredients, and not chilling the dough enough. Avoid overmixing, ensure all ingredients are cold, and allow ample chilling time for the gluten to relax.
How far in advance can I make my pie crust for Thanksgiving?
You can make pie crust several days in advance and store it in the refrigerator, tightly wrapped. You can also freeze it for longer storage, just be sure to thaw it properly before using.
Final Reflection: The Enduring Legacy of a Perfect Pie Crust
The pursuit of the perfect flaky pie crust transcends mere culinary skill; it's a testament to the enduring power of tradition and the joy of shared experiences during Thanksgiving. This quest, explored throughout this article, remains incredibly relevant today, as more and more people seek to recapture the warmth and comfort associated with homemade holiday treats in a world increasingly dominated by convenience. The desire for a truly exceptional pie crust, a symbol of care and dedication, is a powerful counterpoint to the fast-paced modern lifestyle.
The impact of a flawlessly flaky pie crust extends far beyond the Thanksgiving table. It represents a connection to generations past, a legacy passed down through families, each baker adding their own subtle nuances to the recipe. The simple act of creating something beautiful and delicious from scratch fosters a sense of accomplishment and pride. The best things in life are homemade,
a sentiment echoed across cultures and generations, perfectly encapsulates the enduring appeal of a lovingly crafted pie crust. This isn't just about a recipe; it's about the memories created, the traditions upheld, and the love shared around a table laden with this culinary masterpiece.
This Thanksgiving, as you gather with loved ones, I encourage you to consider the journey behind your pie crust. Don't just follow a recipe; feel the process, appreciate the subtle nuances of the ingredients, and savor the satisfaction of creating something truly special. Embrace the imperfections, learn from each attempt, and remember that the most important ingredient isn't listed in any recipe: it's the love you pour into your creation. Let the flaky layers of your pie crust symbolize the layers of connection and joy that make Thanksgiving so meaningful. Go forth and bake!
Unleash Your Inner Pie Master!
Thanks for joining us on this delicious journey to the flakiest pie crust! We hope you’ve picked up some invaluable tips and tricks. Now it’s time to put your newfound knowledge to the test!
- Bake your dream pie! Put your new techniques into practice and create a pie crust that will impress even the most discerning pie connoisseur. Don’t be afraid to experiment – that’s where the magic happens!
- Share your masterpiece! Show off your baking prowess on social media using #BakeWithEasePieCrust and inspire others with your success.
- Try a new pie recipe! Feeling adventurous? Explore the many delicious pie recipes available on BakeWithEase and challenge yourself to create something truly unforgettable.
So, what incredible pie filling are you dreaming up for your next baking adventure?