
Juicy Apple Pie Every Time: Thanksgiving Baking Secrets Revealed

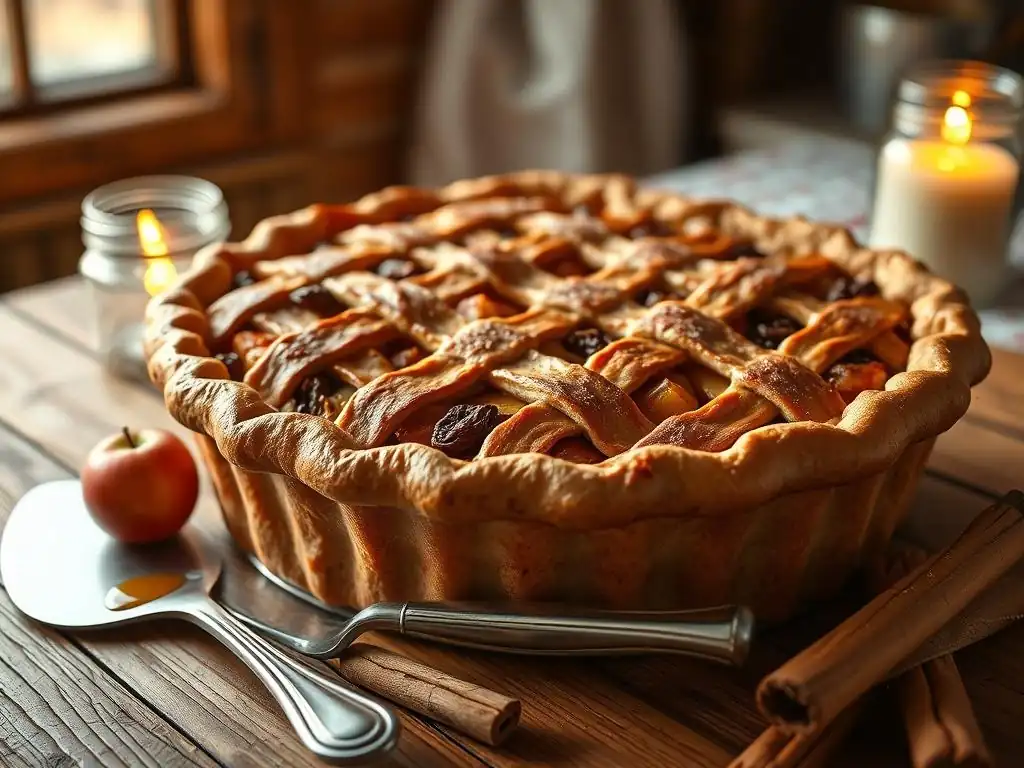
Welcome to BakeWithEase, your companion on the journey to baking brilliance! Ever dreamt of a perfect apple pie that's the star of Thanksgiving? We're unveiling the secrets to a juicy, flavorful masterpiece, guaranteed to impress. But that's just the beginning – discover a world of easy-to-follow pastry and dessert recipes designed to elevate your baking game. Intrigued? Let's dive in and unlock the secrets to baking success!
- Your Guide to a Perfect Apple Pie
- The Ultimate Apple Pie Recipe: A Thanksgiving Showstopper
- Choosing the Right Apples for Your Pie
- Creating the Perfect Pie Crust
- The Apple Pie Filling: Flavor and Consistency
- Assembling the Apple Pie: Step-by-Step Guide
- Baking Your Apple Pie: Temperature and Timing
- Cooling and Serving: Final Touches
- Troubleshooting Apple Pie Issues
- Expand Your Baking Repertoire
- Share Your Baking Success
-
Frequently Asked Questions
- How can I prevent my apple pie from having a soggy bottom crust?
- What are the best apple varieties to use for a juicy apple pie?
- How do I ensure my apple pie filling is perfectly juicy, not watery?
- What's the secret to achieving a golden brown and flaky pie crust?
- Can I prepare the apple pie ahead of time for Thanksgiving?
- Final Reflection: The Enduring Allure of the Perfect Apple Pie
- Unlock Your Inner Pie Master!
Your Guide to a Perfect Apple Pie
Introduction to Apple Pie Perfection
Achieving the ultimate apple pie is a quintessential goal for many home bakers, especially as the Thanksgiving season approaches. The aroma of cinnamon and baked apples filling your kitchen is a hallmark of the holidays. While it might seem daunting to create a pie that's perfectly flaky, wonderfully spiced, and bursting with tender, not mushy, apples, it's entirely within reach with the right techniques and attention to detail. This guide is designed to demystify the process, transforming a potentially challenging bake into a consistently successful one, bringing you closer to perfecting apple pie recipe techniques with every attempt.
Mastering the art of the perfect apple pie recipe involves understanding the science behind the ingredients and the steps. It's about more than just combining apples and crust; it's about managing moisture, balancing flavors, and achieving the ideal texture in both the filling and the pastry. We'll explore everything from selecting the best apple varieties to preventing the dreaded soggy bottom, ensuring your Thanksgiving centerpiece is a triumph. By following these detailed steps and tips, you'll gain the confidence to bake a truly memorable apple pie that earns rave reviews from family and friends.
The Ultimate Apple Pie Recipe: A Thanksgiving Showstopper
What Makes This Apple Pie Recipe Unique
This perfect apple pie recipe stands out because it focuses on balancing classic techniques with smart strategies to overcome common baking pitfalls. We emphasize using a blend of apple varieties for complex flavor and texture, ensuring the filling isn't one-dimensional. Furthermore, our approach to moisture control is key, preventing the pie from becoming a watery mess while still keeping the apples juicy. It's a recipe designed for reliability, aiming for that ideal state where the crust is golden and crisp, and the filling is thick enough to slice beautifully without gushing liquid.
What truly elevates this recipe for perfecting apple pie is the attention to detail in each step, from the initial apple preparation to the final baking temperature. We incorporate steps like pre-cooking a portion of the filling or using specific thickeners in precise amounts to guarantee consistency. The crust method focuses on maximizing flakiness through cold ingredients and minimal handling. This isn't just a list of ingredients and steps; it's a comprehensive guide built on principles that ensure success, making your Thanksgiving apple pie the star of the dessert table year after year.
Achieving Ideal Apple Pie Texture
The texture of an apple pie is arguably as important as its flavor. You want tender, yielding slices of apple, not mushy pulp or crunchy, undercooked chunks. This recipe aims for that sweet spot by recommending specific apple cuts (often 1/4 to 1/2-inch slices or chunks) and managing the cooking time both in the filling preparation and during baking. The goal is for the apples to soften just enough to be easily pierced with a fork but still hold their shape.
Achieving the perfect texture in the filling also involves the careful use of thickeners. Too little, and you get a runny pie; too much, and it can become gummy. This recipe typically calls for a specific amount of cornstarch or tapioca starch (often 2-4 tablespoons per pie, depending on the apple volume and juiciness) added to the apple mixture. This ensures the juices that release during baking thicken into a luscious, glossy sauce that coats the apples beautifully, providing structure without being gluey, a vital part of perfecting apple pie recipe outcomes.
Choosing the Right Apples for Your Pie
Best Apple Varieties for Baking
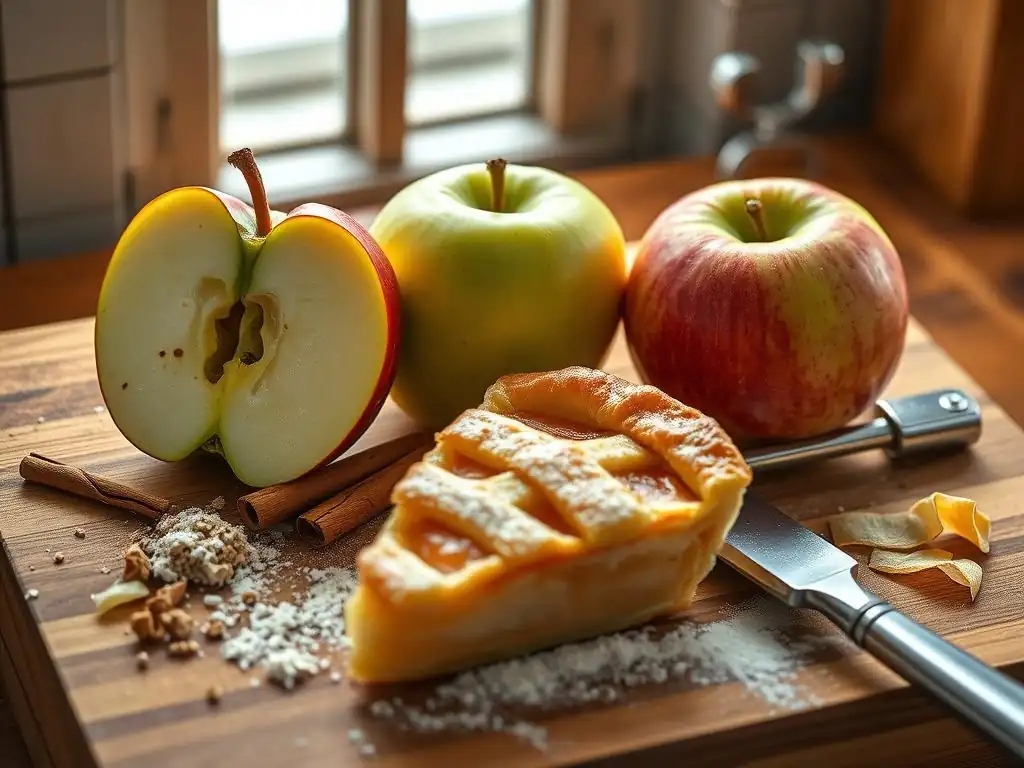
Selecting the right apples is perhaps the most critical step in perfecting apple pie recipe results. Not all apples bake equally well. You need varieties that hold their shape and don't turn to complete mush under heat, while also offering a good balance of sweetness and tartness. Excellent choices often include Granny Smith (tart and firm), Honeycrisp (sweet, crisp, holds shape well), Fuji (sweet, crisp), Gala (sweet, less tart), and Braeburn (sweet-tart, good texture). Using just one variety can be fine, but a blend often yields a more complex and interesting flavor profile.
For example, Granny Smith apples are a classic choice due to their tartness, which balances the sweetness of the other ingredients, and their ability to maintain structure when baked. However, a pie made solely with Granny Smiths can be overly tart for some. Combining them with a sweeter, firmer apple like Honeycrisp or Fuji provides a delightful contrast in both flavor and texture, ensuring your pie isn't just sweet or just tart, but a harmonious blend. Aim for apples that are firm and free of bruises for the best results.
Blending Apple Varieties for Depth of Flavor
Using a mix of apple varieties is a secret weapon for achieving a truly exceptional apple pie. A common strategy involves combining apples with different characteristics: some that are more tart, some that are sweeter, and some that hold their shape exceptionally well. A popular blend might be a 50/50 mix of Granny Smith and Honeycrisp, or perhaps one-third Granny Smith, one-third Fuji, and one-third Braeburn. This creates layers of flavor that a single-variety pie simply can't replicate.
Consider the flavor profiles you enjoy. If you prefer a tangier pie, lean more towards Granny Smith or Braeburn. For a sweeter pie, increase the proportion of Honeycrisp, Fuji, or Gala. The interplay between tart and sweet apples, combined with the spices, creates a more dynamic and satisfying filling. Experimentation is key to finding your personal favorite combination, but starting with a blend of at least two distinct varieties is highly recommended for perfecting apple pie recipe complexity.
Sourcing Fresh, Local Apples
The freshness of your apples significantly impacts the final pie quality. Apples that are fresh from the orchard or a local market tend to have better flavor, firmer texture, and less mealiness than those that have been stored for extended periods. Visiting a local farm stand or farmers market during apple season (typically late summer through fall) is an excellent way to get the best possible fruit for your baking.
Buying apples in season and locally also often means you have access to a wider variety of heirloom or less common types that might be perfect for baking. Ask the growers for recommendations – they often know which of their varieties perform best in pies. Using apples at their peak freshness ensures maximum flavor and the desired texture in your filling, contributing significantly to your efforts in perfecting apple pie recipe excellence.
Creating the Perfect Pie Crust
The All-Butter Crust: Achieving Flakiness
An all-butter pie crust is the gold standard for many bakers seeking maximum flakiness and rich flavor. The key to achieving those desirable layers lies in keeping the butter very cold and incorporating it into the flour in such a way that pea-sized or slightly larger pieces of butter remain intact. As the crust bakes, the water in these butter pieces turns to steam, creating pockets that separate the layers of dough, resulting in that signature flaky texture.
Using high-quality, unsalted butter is recommended, as it allows you to control the salt content in the dough. The process involves cutting the cold butter into the flour using a pastry blender, forks, or a food processor until the mixture resembles coarse meal with visible chunks of butter. Handling the dough minimally after adding the liquid is crucial to avoid developing too much gluten, which can lead to a tough crust instead of a tender, flaky one, essential for perfecting apple pie recipe outcomes.
Butter vs. Shortening: Impact on Texture
While an all-butter crust offers superior flavor and flakiness, using a combination of butter and shortening, or even all shortening, can impact the texture differently. Shortening, being 100% fat (compared to butter's roughly 80% fat and 18% water), has a higher melting point and can create an exceptionally tender and slightly more crumbly crust. It's also easier to work with as it stays solid at warmer temperatures than butter.
A crust made with a mix, say half butter and half shortening, aims to combine the best of both worlds: some of the flavor and flakiness from the butter, and the tenderness and ease of handling from the shortening. An all-shortening crust will be very tender and easy to roll but lacks the rich flavor and distinct layers of an all-butter version. For many bakers, the all-butter crust is preferred for its flavor and superior flakiness, making it the top choice when perfecting apple pie recipe crusts.
The Cold Water Secret: Ensuring Tenderness
The temperature of the water used to bind the pie dough is another critical factor for tenderness. Ice-cold water is essential. Just like with the butter, keeping the dough ingredients as cold as possible prevents the butter from melting prematurely and inhibits excessive gluten development. Gluten develops when flour and water are mixed and kneaded; too much gluten makes the crust tough.
Adding just enough ice water (usually a few tablespoons at a time) until the dough just comes together is key. Overmixing or adding too much water will activate too much gluten. The goal is a shaggy dough that barely holds together when squeezed. After mixing, the dough must be chilled for at least 30-60 minutes before rolling. This resting period allows the gluten to relax and the fat to firm up again, making the dough easier to handle and contributing to a tender, flaky baked crust – a non-negotiable step when perfecting apple pie recipe pastry.
Blind Baking: Preventing a Soggy Crust
A common issue with fruit pies, especially those with juicy fillings like apple, is a soggy bottom crust. Blind baking (or par-baking) the bottom crust before adding the filling is a highly effective technique to combat this. This involves partially baking the empty pie shell, often lined with parchment paper and filled with pie weights, dried beans, or rice, until it is set and lightly golden.
The process typically involves chilling the formed crust, then lining it with parchment and filling it with weights. It's baked at a relatively high temperature (around 375-400°F or 190-200°C) for 15-20 minutes until the edges are set. Then, the weights and parchment are removed, and the crust is baked for another 5-10 minutes until the bottom looks dry and slightly colored. This head start creates a barrier that resists the moisture from the apple filling during the final bake, ensuring a crisp bottom crust, vital for perfecting apple pie recipe texture.
The Apple Pie Filling: Flavor and Consistency
Preventing a Soggy Filling
A soggy filling is often caused by the release of too much liquid from the apples during baking. Several strategies can prevent this. One effective method is to pre-cook a portion of the apple filling. Sautéing about one-third of the sliced apples with some of the sugar and spices for a few minutes helps release some of their juice before they go into the pie. This released juice can then be thickened separately and combined with the raw apples, or the mixture can be cooled slightly before assembly.
Another technique is to let the sliced apples sit with the sugar, spices, and thickener for 15-30 minutes before assembling the pie. This draws out some liquid. You can then drain off some of this excess liquid before adding the apples to the crust, or simply add the thickened mixture and hope the thickener handles the released juice. Using the right amount and type of thickener is also paramount, ensuring any released liquid turns into a pleasant, thick sauce rather than a watery pool. These steps are crucial for perfecting apple pie recipe fillings.
Spices That Enhance Apple Flavor
While cinnamon is the undeniable star of apple pie spices, a thoughtful blend can significantly enhance and complement the natural apple flavor. Common additions include nutmeg, allspice, cloves, and ginger. A typical spice mix might be 2 teaspoons of ground cinnamon, 1/2 teaspoon of ground nutmeg, 1/4 teaspoon of ground allspice, and a pinch of ground cloves or ginger for a standard 9-inch pie using about 6-8 cups of sliced apples.
The specific ratios can be adjusted to personal preference. Some people love a prominent clove flavor, while others prefer just cinnamon and nutmeg. Freshly ground spices offer the most potent flavor compared to pre-ground spices that have been sitting on a shelf for a long time. Toasting whole spices lightly before grinding them can also intensify their aroma and taste, contributing to a richer, more complex filling profile, a key element in perfecting apple pie recipe flavor.
Controlling Moisture Content
Controlling moisture is perhaps the biggest challenge in perfecting apple pie recipe fillings. Beyond pre-cooking or draining apples, the amount of sugar used plays a role; sugar draws moisture out of fruit. Using slightly less sugar or balancing it with a thickener is important. The ripeness and type of apples also affect moisture levels; juicier apples require more vigilant moisture management.
Ensure your thickener is evenly distributed throughout the apple slices. Gently tossing the apples with the sugar, spices, and thickener ensures that as the apples release juice, the thickener is right there to absorb and thicken it. Avoid overfilling the pie, as this can lead to spillage and uneven cooking, potentially trapping excess moisture. Proper moisture control ensures your filling sets up beautifully and isn't a watery mess when sliced.
Choosing the Right Thickener
Several thickeners work well in apple pie, each with slightly different properties. Flour is a common, easily accessible option, but it can sometimes give the filling a slightly cloudy or pasty look. Cornstarch is another popular choice; it creates a glossy, clear filling but can break down if overcooked or frozen and thawed. Tapioca starch (or instant tapioca) is often favored by professional bakers because it thickens reliably, creates a clear, slightly gel-like sauce, and holds up well to freezing and reheating.
The amount of thickener needed depends on the juiciness of your apples and the desired consistency. A good starting point for a 9-inch pie with roughly 6-8 cups of sliced apples is 2-3 tablespoons of cornstarch or 3-4 tablespoons of flour or tapioca. If using instant tapioca, let the apple mixture sit for 15 minutes before filling the pie to allow the tapioca granules to soften and begin absorbing liquid. Choosing the right thickener and using it correctly is fundamental to perfecting apple pie recipe consistency.
Assembling the Apple Pie: Step-by-Step Guide
Layering Apples for Even Cooking
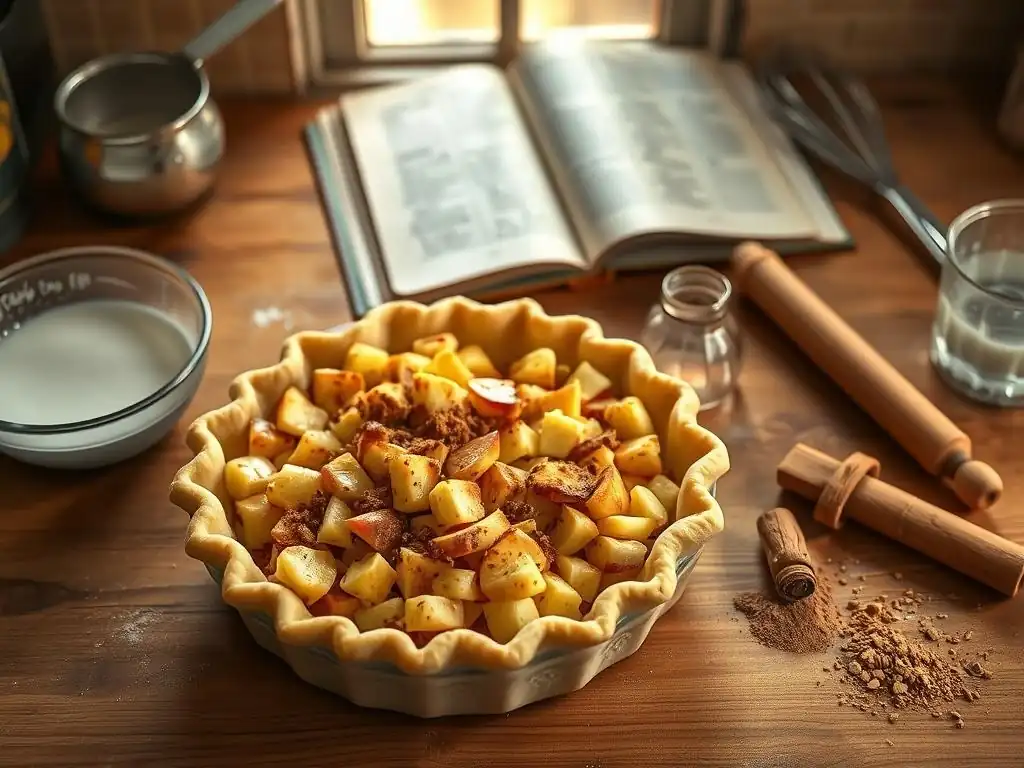
Properly arranging the apple slices in the pie shell is more than just aesthetics; it helps ensure even cooking and prevents the pie from sinking excessively in the center. Start by layering the apples relatively flat in the bottom of the crust. You can stack them slightly, but avoid creating large air pockets.
As you fill the crust, pile the apples slightly higher in the center. Apples shrink as they cook, and mounding them slightly compensates for this shrinkage, resulting in a fuller, more appealing pie slice. Ensure the apples are evenly coated with the sugar, spice, and thickener mixture before layering them in. This uniform coating helps with consistent flavor and thickening throughout the filling.
Creating a Decorative Pie Top
The top crust offers a fantastic opportunity for creativity. A classic double crust involves simply placing a second rolled-out circle of dough over the filling and crimping the edges. For a more decorative look, you can cut the top crust into strips to create a lattice pattern. Lattice tops not only look beautiful but also allow steam to escape, which is beneficial for preventing a soggy top crust and ensuring the filling thickens properly.
Other options include using cookie cutters to create shapes (like leaves or stars) from the top dough to arrange decoratively on top of the filling, or making a solid top crust and cutting vents into it in a pattern. Whichever design you choose, ensure there are openings for steam to escape during baking. Brush the top crust with an egg wash (an egg beaten with a tablespoon of water or milk) for a golden, shiny finish, and consider sprinkling it with coarse sugar for extra sparkle and crunch.
Crimping the Edges to Seal
Crimping the edges of the pie crust is essential for sealing the filling inside and creating a professional-looking finish. If you're using a double crust or a lattice top, ensure the top and bottom crust edges are firmly joined together. Trim any excess dough, leaving about a 1-inch overhang. Fold this overhang under the bottom crust edge, creating a sturdy rim.
To crimp, you can use your fingers or a fork. For a classic finger crimp, place the index finger of one hand on the inside of the rim and use the thumb and index finger of your other hand to pinch the dough around it. Repeat this motion around the entire edge. For a fork crimp, simply press the tines of a fork firmly around the edge. A well-crimped edge prevents the filling from bubbling out during baking and adds a beautiful, finished look to your perfect apple pie recipe.
Baking Your Apple Pie: Temperature and Timing
Optimal Oven Temperature
Baking temperature is crucial for achieving a perfectly cooked pie crust and a bubbly, thick filling. Many bakers start apple pies at a higher temperature to help set the bottom crust quickly and encourage flaking, then reduce the heat for the remainder of the baking time. A common method is to bake at 400-425°F (200-220°C) for the first 15-20 minutes, then reduce the temperature to 375°F (190°C) for the remaining 30-45 minutes.
The initial high heat helps brown the crust and sets the structure before the filling gets too hot and starts bubbling excessively. Reducing the temperature allows the interior of the pie to cook thoroughly and the apples to soften without the crust becoming too dark or burning. Always place the pie on a baking sheet to catch any potential drips, making cleanup easier.
Visual Cues for Doneness
Knowing when your apple pie is perfectly baked requires observing visual cues. The crust should be deeply golden brown, not just pale yellow. This indicates it is fully baked and crisp. The filling should be visibly bubbling through the vents in the top crust or around the edges. These bubbles should appear thick and syrupy, not watery.
You can also gently insert a knife or skewer through a vent in the top crust to check the tenderness of the apples. It should meet little resistance. If the crust is browning too quickly before the filling is ready, loosely tent the pie with aluminum foil. Baking times can vary based on your oven and the specific pie size and depth, but generally, a 9-inch apple pie takes between 45 and 65 minutes total baking time.
Preventing a Burnt Crust
A beautiful golden crust can quickly turn burnt if not monitored carefully. If you notice the edges of your pie crust browning too quickly during baking, especially during the initial high-temperature phase, protect them. Silicone pie crust protectors are an easy solution; they fit snugly around the edge of the pie dish.
Alternatively, you can create a shield using aluminum foil. Tear off a square of foil, fold it in half, then in half again to make a smaller square. Cut a circle from the center, then unfold the foil to create a ring that covers just the outer edge of the crust.
Place this foil ring over the pie edge once it's reached your desired level of goldenness. This simple step can save your crust from burning while the filling finishes cooking, ensuring a perfectly baked pie from edge to center, a key part of perfecting apple pie recipe aesthetics and taste.
Cooling and Serving: Final Touches
The Importance of Cooling
Patience is a virtue, especially when it comes to apple pie. Allowing the pie to cool properly after baking is absolutely essential for the filling to set up correctly. If you cut into a hot apple pie, the filling will likely be runny because the thickeners haven't had time to fully gel and firm up as the temperature drops.
Let your baked apple pie cool on a wire rack for at least 2-3 hours, or preferably longer, sometimes even up to 4 hours or until it is just warm or at room temperature. During this time, the steam dissipates, and the starches in the thickener complete their work, transforming the bubbly liquid into a stable, sliceable filling. Skipping this step is a common mistake that leads to disappointing, messy slices, hindering your goal of perfecting apple pie recipe presentation.
Serving Suggestions and Pairings
A slice of warm apple pie is delightful on its own, but traditional pairings elevate the experience. A scoop of vanilla ice cream is a classic for a reason – the cold, creamy sweetness contrasts beautifully with the warm, spiced apples. Sharp cheddar cheese is another traditional pairing in some regions; the salty, tangy cheese offers a surprising but delicious counterpoint to the sweet fruit.
Other serving suggestions include a dollop of freshly whipped cream, a drizzle of caramel sauce, or a sprinkle of extra cinnamon. For a Thanksgiving feast, serve slices slightly warm after the main meal. The comforting flavors and aromas are the perfect end to a festive gathering. Consider offering a few different toppings so guests can customize their perfect slice.
Storing Leftover Pie
Proper storage keeps leftover apple pie fresh and delicious. Once completely cooled, cover the pie loosely with plastic wrap or aluminum foil. It can be stored at room temperature for up to 2 days. For longer storage, refrigerate the pie; it will keep well in the refrigerator for 3-4 days.
To reheat a slice, you can use a microwave for a quick warm-up (though this can sometimes make the crust slightly soft) or reheat slices in a toaster oven or conventional oven at a low temperature (around 300-325°F or 150-160°C) for 10-15 minutes until warmed through. This oven method helps re-crisp the crust. For longer-term storage, whole pies or individual slices can be frozen for up to 3-4 months, tightly wrapped. Thaw in the refrigerator overnight before reheating.
Troubleshooting Apple Pie Issues
Preventing a Soggy Bottom
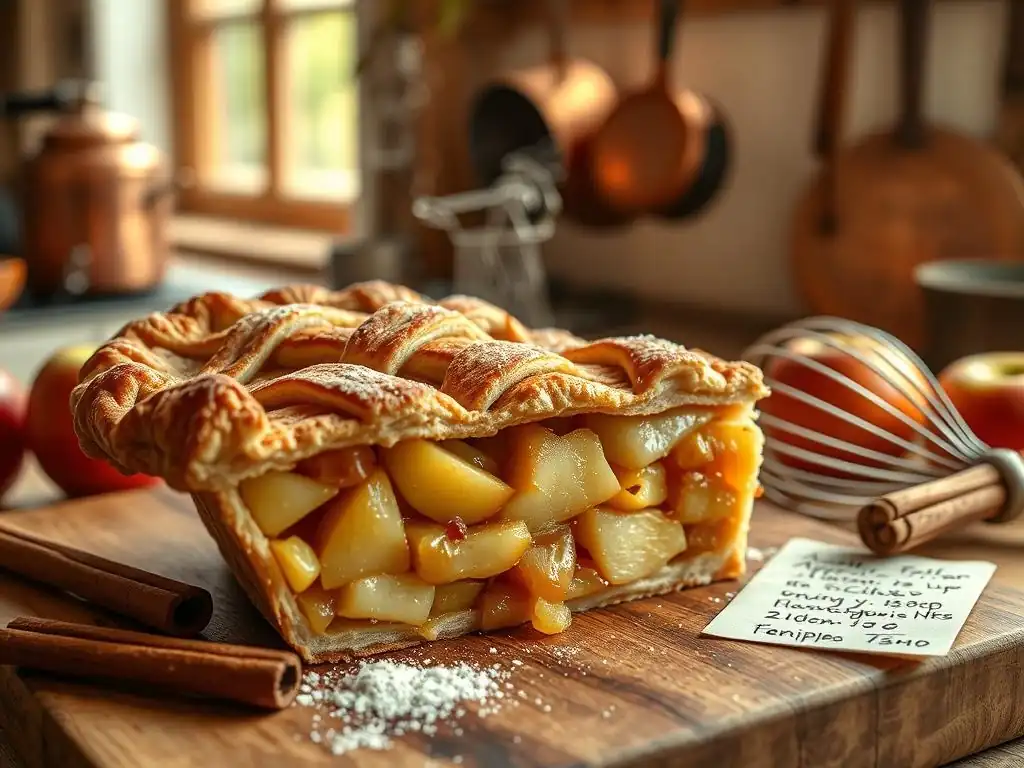
The dreaded soggy bottom is perhaps the most common apple pie problem. As previously discussed, blind baking the bottom crust is the most effective preventative measure. Ensure your bottom crust is fully baked and lightly colored before adding the filling.
Another tip is to use a metal or glass pie plate, which conducts heat more efficiently than ceramic, helping the bottom crust cook through. Baking the pie on the lowest rack of your oven, sometimes even on a preheated pizza stone or baking steel, can also help direct more heat to the bottom crust. Finally, adequate cooling time is vital; cutting too soon traps steam that can make the bottom crust soggy after the fact.
Thickening a Runny Filling
If you cut into your cooled pie and find the filling is too runny, you might not have used enough thickener, or the apples were exceptionally juicy. While you can't fully fix a runny baked pie, you can mitigate it for serving. Spoon out slices carefully, perhaps serving them in bowls rather than on plates.
For future pies, increase the amount of thickener slightly (e.g., from 3 tablespoons cornstarch to 4), or try one of the pre-cooking or draining methods mentioned earlier. Ensuring the filling bubbles vigorously during the final minutes of baking indicates the thickener has activated properly. A quick fix for a slightly runny slice is often to just add a scoop of ice cream, which doesn't technically thicken it but makes the texture less noticeable and still delicious.
Avoiding a Burnt Crust
Protecting the pie crust edges with foil or silicone shields is the primary way to prevent burning while ensuring the center bakes through. Start using the shield as soon as the edges reach your desired golden brown color, which might be as early as 20-30 minutes into the bake.
Also, pay attention to your oven's hot spots. If one side of the crust consistently browns faster, rotate the pie halfway through the baking time. If the top crust is browning too fast but the filling isn't bubbling thickly yet, loosely tent the entire pie with foil for the remainder of the baking time. Monitoring closely and acting quickly when you see the crust reaching the perfect color are key to preventing a burnt disaster.
Expand Your Baking Repertoire
[Link to Related Recipes]
We hope this detailed guide helps you in perfecting apple pie recipe techniques and brings you confidence in the kitchen. Baking a beautiful and delicious apple pie is a rewarding experience. We'd love to hear about your pie-baking adventures!
Frequently Asked Questions
How can I prevent my apple pie from having a soggy bottom crust?
To avoid a soggy bottom crust, try blind baking the crust partially before adding the filling. Also, use a lower rack in the oven for better heat distribution, and consider using a metal pie pan.
What are the best apple varieties to use for a juicy apple pie?
A mix of apple varieties is ideal for a balanced flavor and texture. Popular choices include Granny Smith for tartness, Honeycrisp for sweetness, and Braeburn for a firmer texture that holds its shape.
How do I ensure my apple pie filling is perfectly juicy, not watery?
The key is to thicken the filling adequately. Use ingredients like cornstarch or tapioca starch. Also, cook the apples slightly before adding them to the crust to release excess moisture.
What's the secret to achieving a golden brown and flaky pie crust?
Use cold ingredients, especially the butter or shortening. Avoid overworking the dough, and consider brushing the crust with egg wash or milk before baking for a beautiful golden color.
Can I prepare the apple pie ahead of time for Thanksgiving?
Yes, you can! You can assemble the pie and refrigerate it (unbaked) a day or two in advance. Alternatively, you can bake the pie and freeze it for longer storage. Reheat it before serving for that fresh-baked taste.
Final Reflection: The Enduring Allure of the Perfect Apple Pie
The pursuit of the perfect apple pie transcends mere culinary skill; it's a quest for comforting tradition, a celebration of autumn's bounty, and a testament to the power of shared experience. This article explored the nuances of crafting an exceptional apple pie, from selecting the ideal apples to mastering the art of the perfect crust. But beyond the specific techniques, we uncovered a deeper truth: the magic lies not just in the recipe, but in the intention and care poured into the process.
The enduring appeal of apple pie is woven into the fabric of our cultural heritage. It's a dish that evokes memories of family gatherings, cozy kitchens, and the simple pleasures of life. Home is where the apple pie is.
This sentiment, though simple, encapsulates the emotional resonance of this seemingly humble dessert. The act of baking, and sharing the results, fosters connection and creates lasting memories, far surpassing the fleeting satisfaction of a single bite. The recipes shared here are more than just instructions; they are pathways to creating those cherished moments.
Now, as you consider your own approach to baking, I invite you to embrace the spirit of experimentation and the joy of imperfection. Don't be afraid to deviate from the recipe, to add your own personal touch, and to savor the process as much as the final product.
The perfect apple pie isn't a destination, but a journey – a journey of discovery, connection, and the enduring magic of creating something delicious and meaningful to share with those you love. So, gather your ingredients, preheat your oven, and embark on your own adventure in perfecting the art of the apple pie.
Unlock Your Inner Pie Master!
Thanks for diving into the world of perfect apple pie! We hope you've picked up some delicious secrets to make this Thanksgiving's dessert truly unforgettable. Ready to put your new skills to the test?
- Bake your masterpiece! Use our tips to create an apple pie that will impress even the most discerning pie critic. Don't forget to share a picture of your creation with us on social media – we love seeing your baking triumphs!
- Experiment with different apple varieties – the possibilities are endless! What unique flavor combination will you discover?
- Share this article with your friends and family so they can bake amazing pies too. Let's spread the joy of baking!
So, what’s your favorite apple pie filling secret? Share it in the comments below!