
Easy Techniques for Adding Color to Your Frosting

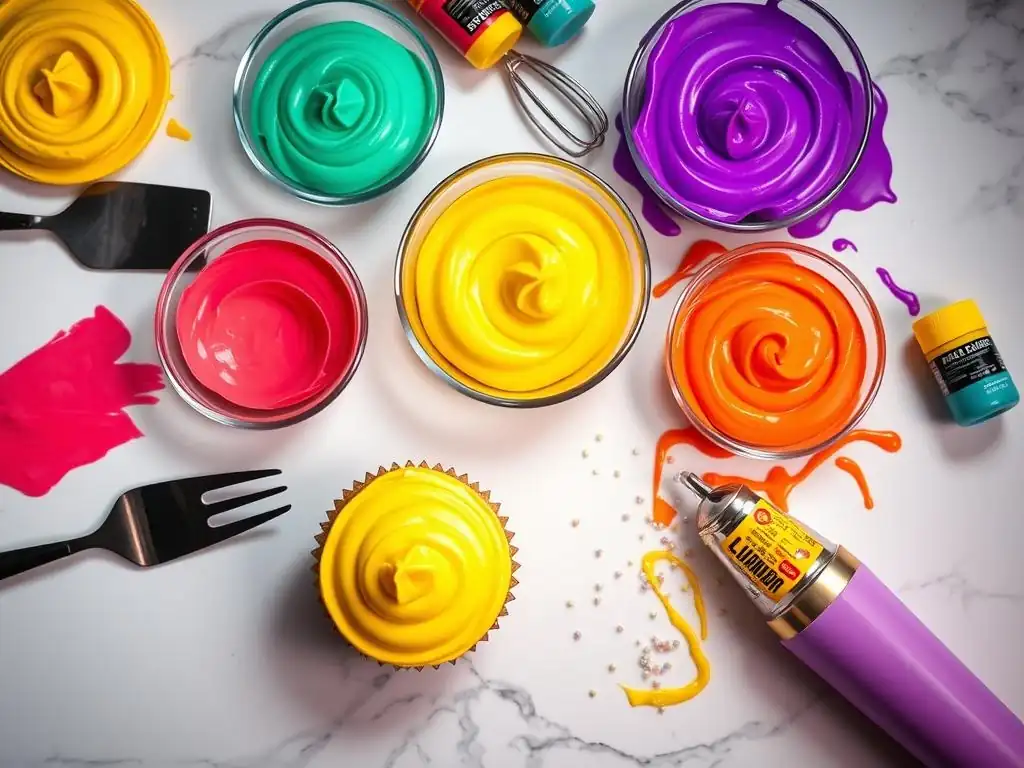
Welcome to BakeWithEase, your haven for all things baking! Ever wondered how to achieve that perfect pastel hue or vibrant pop of color on your cakes and cookies? Our latest guide unveils easy techniques for how to color frosting like a pro. Prepare to unlock the secrets to beautifully vibrant and delicious desserts, and discover how simple it truly is to elevate your baking creations. Let's get started!
- Introduction: Mastering the Art of Buttercream Color
- Choosing the Right Food Coloring for Buttercream
- Essential Tools for Coloring Buttercream
- Step-by-Step Guide: How to Color Buttercream Like a Pro
- Advanced Buttercream Coloring Techniques
- Tips for Maintaining Buttercream Color Integrity
- Color Mixing Chart for Buttercream
- Common Mistakes to Avoid When Coloring Buttercream
- Conclusion: Unleash Your Creativity with Colorful Buttercream
- Frequently Asked Questions
- Final Reflection: The Unexpected Joy of Colorful Frosting
- Unleash Your Inner Rainbow: Frosting Color Made Easy!
Introduction: Mastering the Art of Buttercream Color
Why Coloring Your Buttercream Matters for Beautiful Cakes
Adding vibrant or subtle colors to your buttercream frosting is one of the most impactful ways to transform a simple cake into a stunning centerpiece. Color allows you to match a theme, celebrate a holiday, reflect personal preferences, or simply add a touch of whimsy and fun to your baked creations. Think of a child's birthday cake adorned with bright, cheerful hues or an elegant wedding cake featuring soft, romantic pastels.
The visual appeal is undeniable, making the cake not just a dessert, but a work of art that tells a story and enhances the overall celebratory experience. Mastering how to color frosting effectively opens up a world of creative possibilities in your baking journey.
Beyond aesthetics, using color strategically can highlight different elements of your cake design. For example, a deep red buttercream can make piped roses look incredibly realistic, while shades of blue and green can evoke serene landscapes or underwater scenes. Uniform, streak-free color indicates a skilled hand and attention to detail, elevating the perceived quality of your baked goods. Learning how to color frosting is a fundamental skill for anyone looking to move beyond basic cake decorating and create memorable, visually striking desserts that impress friends, family, and clients alike.
Overview of Simple Buttercream Coloring Techniques
The process of adding color to buttercream doesn't have to be complicated. At its core, it involves selecting the right type of food coloring and incorporating it into your frosting base. The most common method is to add drops or gel amounts of color to finished buttercream and mix until the desired shade is achieved.
This simple approach is perfect for beginners and allows for easy adjustment of color intensity. You can start with a small amount of color and gradually add more, testing the shade as you go, until you get exactly what you envision. This iterative process helps prevent over-coloring, which can be difficult to correct.
While simple mixing is the foundation, there are various techniques to explore depending on the desired effect. For instance, using different types of food coloring – like gels versus liquids – will yield different results in terms of vibrancy and consistency. We'll delve into these options, along with methods for creating multi-colored effects like ombre or marble patterns. Understanding the basics of how to color frosting efficiently and effectively is key to achieving professional-looking results without frustration.
Choosing the Right Food Coloring for Buttercream
Gel Food Coloring: The Baker's Best Friend for Vibrant Colors
Gel food coloring is widely considered the best option for coloring buttercream, and for good reason. These concentrated colors are made with a glycerin or corn syrup base, which means they are much thicker and more potent than traditional liquid colors. You need only a small amount to achieve rich, vibrant hues without significantly altering the consistency of your buttercream.
For example, just a tiny drop of a quality gel color can turn a cup of white buttercream into a deep, saturated shade of red or blue, colors that are notoriously difficult to achieve with less concentrated options. This potency also means the small containers last a long time.
The viscosity of gel colors makes them easy to work with. They don't add excess moisture to the fat-based buttercream, preventing the frosting from becoming runny or breaking. This is crucial when piping intricate details, as maintaining the buttercream's structure is essential. Popular brands offer a vast spectrum of colors, from basic primaries and secondaries to unique shades like teal, coral, or deep burgundy. When learning how to color frosting with intensity, gel colors are the go-to choice for most professional and home bakers alike due to their superior performance and color payoff.
Liquid Food Coloring: When to Use and How to Avoid Problems
Traditional liquid food coloring, typically found in small squeeze bottles at supermarkets, is made with a water base. While readily available and inexpensive, it is less concentrated than gel colors. This means you need to add a larger quantity to achieve a noticeable color, especially for deep or bright shades.
Adding too much liquid color can introduce excess water into your buttercream, potentially causing it to separate, become greasy, or lose its desired firmness. For instance, trying to get a deep red with liquid coloring might require half a bottle or more for a standard batch of frosting, significantly impacting the texture.
Liquid colors are best suited for achieving very pale, pastel shades where only a few drops are needed. They are also convenient for quick, simple projects where precise color intensity isn't critical. To minimize potential issues when using liquid colors, add them very gradually, drop by drop, and mix thoroughly after each addition.
If your buttercream starts to look slightly broken or greasy, you can sometimes salvage it by mixing vigorously or adding a tiny amount of powdered sugar or cornstarch to absorb excess moisture, but this is not always effective. Understanding these limitations is key when deciding how to color frosting based on your project needs and available ingredients.
Natural Food Coloring Options for Subtle Hues
For bakers seeking alternatives to artificial dyes, natural food coloring derived from plants, fruits, and vegetables offers a solution, though often resulting in more subtle or earthy tones. Beet powder can produce pink or red shades, albeit often with a slight earthy undertone. Spinach powder or spirulina can yield greens, turmeric creates yellows, and butterfly pea flower powder provides blues and purples. These natural options are often less vibrant and can sometimes impart a faint flavor depending on the source and concentration used. For example, a strong beet powder might give a slight sweetness or earthiness to the frosting.
Working with natural colorings often requires using larger quantities compared to gel colors, which can affect buttercream consistency. Some natural colorings are available in liquid extracts, while others come in powder form.
Powdered natural colorings should ideally be dissolved in a tiny amount of liquid (like milk or water) or fat (like melted butter or oil, depending on your buttercream base) before adding to the frosting to ensure even distribution and prevent speckling. While achieving vibrant, electric colors is challenging with natural options, they are excellent for creating beautiful, muted palettes and cater to those prioritizing natural ingredients when deciding how to color frosting.
Understanding Food Coloring Pigments and Color Mixing
Food coloring works because it contains pigments that absorb and reflect light, just like paint. Understanding basic color theory can significantly improve your ability to create custom shades for your buttercream. Primary colors (red, blue, yellow) are the foundation; they cannot be created by mixing other colors. Secondary colors (green, orange, purple) are made by mixing two primary colors. Tertiary colors are made by mixing a primary and a secondary color. For example, mixing blue and yellow gel color will produce green buttercream.
When mixing colors, it's always best to start with your base color (like blue) and add the secondary color (like yellow) in very small increments until you achieve the desired shade of green. Keep a record of the ratios you use for successful mixes, especially for large projects requiring multiple batches of the same color. Remember that colors can deepen slightly as they sit, particularly with gel colors.
Always mix a small test batch first if you're trying to match a specific shade precisely. Learning the principles of color mixing empowers you to create virtually any hue imaginable when figuring out how to color frosting.
Essential Tools for Coloring Buttercream
Bowls and Spatulas: Ensuring Even Color Distribution
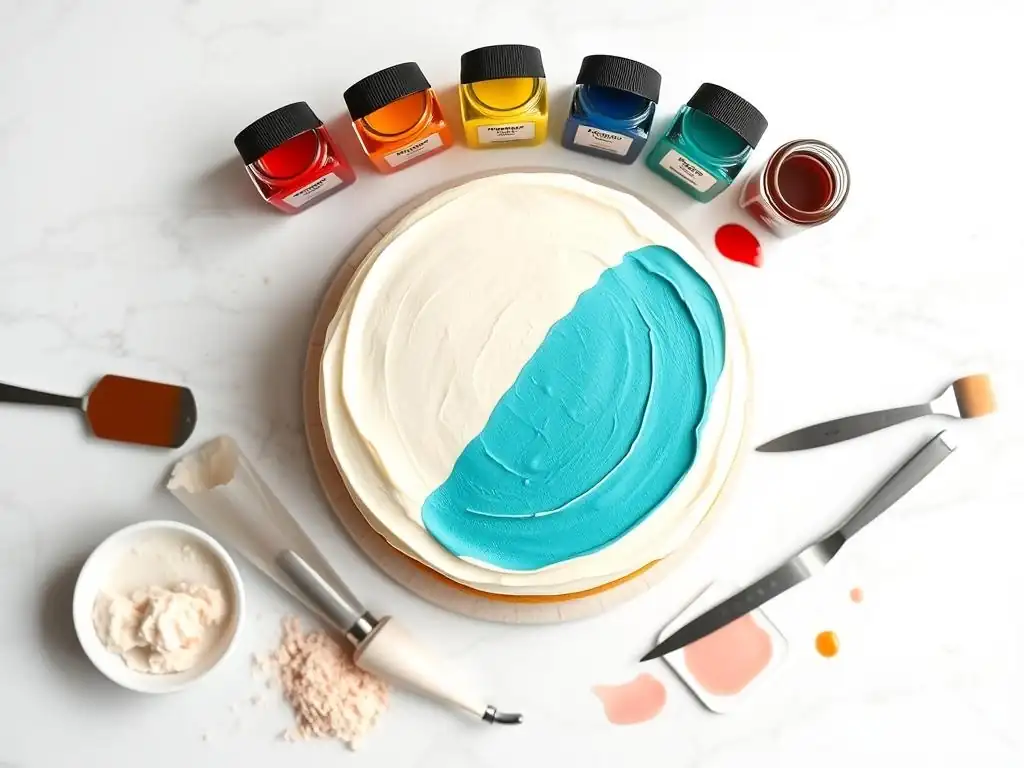
Having multiple bowls and spatulas is incredibly useful when coloring buttercream, especially if you need several different colors for a single project. Instead of coloring an entire batch of frosting one color, you can divide your plain buttercream base into separate bowls. This allows you to mix each color individually without contaminating the others and gives you more control over the amount of each color you create.
Using a flexible rubber or silicone spatula is essential for thoroughly incorporating the color into the buttercream. The spatula allows you to scrape the sides and bottom of the bowl effectively, ensuring no streaks of uncolored frosting remain.
For larger quantities of buttercream, using a stand mixer with the paddle attachment on a low speed can help distribute color quickly and evenly, but be careful not to overmix (more on that later). However, for smaller amounts or when adding the final touches of color, hand-mixing with a spatula in a bowl provides better control. Having a dedicated set of bowls and spatulas specifically for coloring can also prevent color transfer between different batches, ensuring clean, true colors every time you tackle the task of how to color frosting.
Toothpicks: Precise Color Application for Custom Shades
Toothpicks are surprisingly indispensable tools when working with concentrated gel food colorings. Instead of dipping a measuring spoon directly into the color jar (which can lead to adding too much color at once and contaminating the color jar itself), you can use a clean toothpick to pick up a tiny amount of gel color. A single dip of a toothpick tip into a vibrant gel color can be enough to tint a small amount of buttercream a pale shade. For deeper colors, you can use a fresh toothpick or add multiple "toothpick-dips" of color.
This method allows for extremely precise control over the amount of color you add, making it much easier to achieve specific shades and preventing the common mistake of over-coloring. When mixing custom colors, like a specific shade of purple or teal, using toothpicks for adding tiny amounts of primary or secondary colors (like a dip of blue and half a dip of red for purple) allows you to fine-tune the hue incrementally. This precision is key to mastering how to color frosting with confidence and accuracy.
Measuring Spoons: Maintaining Color Consistency
While toothpicks are great for adding small amounts and fine-tuning, measuring spoons are crucial when you need to replicate a specific color or tint larger quantities of buttercream. If you've developed a formula for a particular shade – for example, "1/4 teaspoon of royal blue gel color per 2 cups of buttercream" – using measuring spoons ensures you can achieve that exact shade consistently across multiple batches. This is particularly important for tiered cakes or large orders where color matching is essential.
Using clean measuring spoons for each color addition helps maintain accuracy. Dip the spoon into the buttercream after adding color to check the shade, rather than using the same spoon to scoop more color, which can lead to cross-contamination of your color jars. For liquid colorings, measuring spoons are often the primary tool, though the "drop" method is also common. Regardless of the coloring type, incorporating measuring spoons into your process for how to color frosting helps bring a level of scientific accuracy to the artistic process.
Step-by-Step Guide: How to Color Buttercream Like a Pro
Step 1: Preparing Your Buttercream Base [American Buttercream]
Start with your prepared batch of American buttercream. This type of buttercream, made from butter, powdered sugar, milk (or cream), and vanilla, is an excellent base for coloring due to its stable, opaque nature. Ensure your buttercream is smooth, lump-free, and at a good consistency for spreading or piping. If it's too stiff, add a tiny splash of milk or cream; if too soft, add a little more powdered sugar or chill it slightly. Aim for a consistency that holds its shape but is still easy to stir.
Before adding color, give the buttercream a good stir with a spatula or briefly beat it on low speed in your mixer. This helps remove any air bubbles and ensures a uniform texture, which is essential for even color distribution. Having a well-prepared base makes the coloring process much smoother and contributes significantly to the final appearance when learning how to color frosting perfectly.
Step 2: Selecting Your Desired Buttercream Color
Decide on the specific color or colors you want to achieve. Consider the theme of your cake, the occasion, and the overall aesthetic you are aiming for. Do you need a vibrant primary color, a soft pastel, or a complex custom shade? Having a clear idea of the end goal will guide your choice of food coloring and the amount you use. It can be helpful to have a color swatch or a picture as a reference if you're trying to match a specific hue.
If you're aiming for multiple colors, divide your base buttercream into separate bowls now. For example, if you have 6 cups of buttercream and need three colors equally, divide it into three bowls of 2 cups each. This planning step prevents waste and ensures you have enough of each color. Thinking ahead about your color palette is a crucial part of the process when figuring out how to color frosting for a specific project.
Step 3: Adding Food Coloring Gradually and Mixing Well
This is the most important step for achieving the right shade. Using your chosen food coloring (gel is recommended), add a very small amount to the buttercream. For gel colors, start with a toothpick dip or a tiny drop. For liquid colors, start with just a few drops. Resist the urge to add a large amount at once, even if you want a deep color. You can always add more, but it's very difficult to lighten a color that's become too dark without adding significantly more plain buttercream (which increases your overall quantity).
Mix the color into the buttercream thoroughly. Use a spatula to fold and stir, ensuring the color is evenly distributed throughout the bowl. Scrape down the sides and bottom to catch any uncolored streaks. Continue mixing until the color appears uniform. This might take a minute or two of consistent stirring. Proper mixing is non-negotiable for achieving beautiful, streak-free results when mastering how to color frosting.
Step 4: Achieving the Perfect Buttercream Color Depth
After mixing in the initial amount of color, assess the shade. Is it the color you want? Is it dark enough? If not, add another tiny amount of food coloring and mix again. Repeat this process – add a little color, mix thoroughly, assess – until you reach the desired depth and intensity. Remember that colors can deepen slightly over time, especially gel colors, so it's often wise to aim for a shade just shy of your target, allowing it to develop.
For very deep colors like black or red, this gradual process is even more critical. These colors require a significant amount of pigment, but adding it incrementally helps prevent the color from becoming muddy or overwhelming the buttercream. Some bakers also find that using a specific "super red" or "super black" gel color formulated for intense shades reduces the amount needed. Patience in this step is key to successful how to color frosting outcomes.
Step 5: Troubleshooting Common Coloring Mistakes [Uneven Color, Too Dark]
Encountering issues is part of the learning process when figuring out how to color frosting. If your buttercream has streaks of uncolored white or lighter shades, it simply means you haven't mixed enough. Keep stirring and scraping the bowl until the color is completely uniform. You can also briefly use a hand mixer or stand mixer on low speed for 30 seconds to a minute to help incorporate the color fully, then finish with a spatula.
If your color becomes too dark, lightening it is tricky. The most effective way is to add more plain, uncolored buttercream to the mixture and mix well. This will dilute the color, but it also increases the total amount of frosting. If you don't have more plain buttercream, you can try adding a tiny amount of white food coloring (yes, white food coloring exists, often made from titanium dioxide) to brighten and lighten, but this works best for slightly-too-dark shades, not drastically over-colored ones. Learning to troubleshoot makes you a more confident baker tackling how to color frosting.
Advanced Buttercream Coloring Techniques
Creating Ombre Buttercream Effects
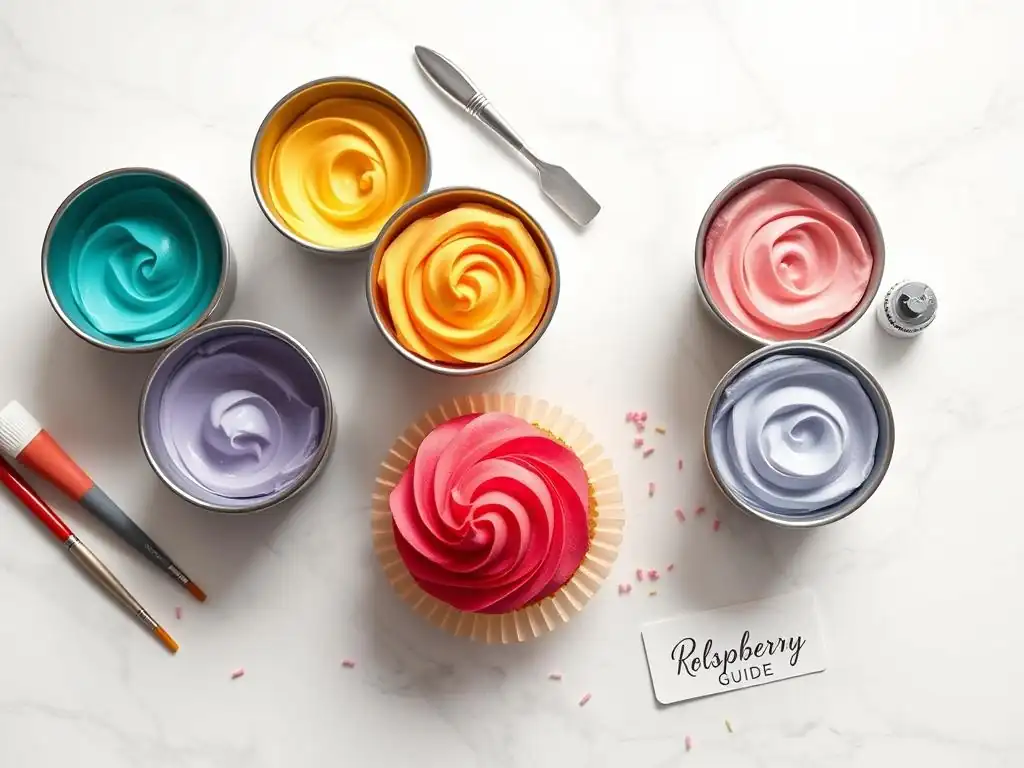
Ombre, the gradual blending of one color hue to another, usually from light to dark, is a popular technique for decorating cakes. To create an ombre effect with buttercream, you start by dividing your colored buttercream into several portions. You'll need one portion for the lightest shade (often the base color with just a hint of dye), one for the darkest shade, and several portions in between for the transitional colors. For example, for a blue ombre, you might have five bowls: very pale blue, light blue, medium blue, dark blue, and very dark blue.
Begin with your base color batch, adding the smallest amount of coloring. Then, take a portion of that lightly colored buttercream and add slightly more color for the next shade, and so on, progressively adding more color to subsequent portions. You can then apply these different shades to the cake using piping bags or by applying bands of color with a spatula and smoothing them together.
The key to a smooth ombre is blending the edges of each color transition on the cake surface using a bench scraper or offset spatula. Mastering this adds a sophisticated touch when considering how to color frosting creatively.
Marble Buttercream: Swirling Colors for a Unique Look
Marble buttercream creates a beautiful, organic swirled effect, perfect for a unique cake finish. This technique involves briefly swirling two or more colors of buttercream together without fully mixing them. Start by preparing your buttercream in the desired colors. You can use two contrasting colors, different shades of the same color, or even several colors for a rainbow marble effect. For example, a classic marble uses white buttercream and a darker color like grey, black, or navy.
To create the marble effect, dollop spoonfuls of each color randomly onto plastic wrap or directly into a piping bag. Alternatively, you can spread stripes of different colors side-by-side on a piece of plastic wrap, then roll the plastic wrap into a log. Place this log into a piping bag fitted with a large round tip.
As you pipe the buttercream onto the cake, the colors will swirl together, creating the marble pattern. Avoid over-swirling in the bag, as this will cause the colors to blend completely instead of marbling. This technique offers a dynamic way to approach how to color frosting for a visually striking result.
Painting with Food Coloring on Buttercream
Once your buttercream is applied smoothly to a cake, you can use food coloring as a paint to add details, patterns, or even intricate designs. This technique requires gel or powdered food coloring mixed with a liquid medium like clear extract (like lemon or vanilla) or food-grade alcohol (like vodka). The alcohol or extract evaporates quickly, leaving the color behind without making the buttercream wet or sticky. Mix small amounts of color with the liquid on a palette (a small dish or even plastic wrap works).
Use food-safe paintbrushes (keep a separate set just for food decorating) to apply the colored mixture directly onto the chilled buttercream surface. Chilling the cake first provides a firm surface to paint on without damaging the frosting. You can paint simple strokes, intricate patterns, or even abstract designs. This method allows for fine details that are difficult to achieve with piping. Experiment with different consistencies of your "paint" – more liquid for washes, thicker for opaque lines. Painting offers an artistic dimension to how to color frosting and decorate cakes.
Airbrushing Buttercream for Professional Results
Airbrushing provides a smooth, even layer of color over a buttercream surface, creating gradients, shading, and professional-looking finishes. This technique requires a specialized airbrush kit and liquid airbrush food colors (which are thinner than gel colors). The airbrush sprays a fine mist of color onto the cake surface. You can use stencils to create patterns or freehand shading effects.
Airbrushing works best on a smooth, chilled buttercream surface. Apply the color in light, even coats, building up the intensity gradually to avoid drips or oversaturation. You can create seamless color transitions, realistic shading on fondant details placed on buttercream, or cover large areas quickly and uniformly. While it requires specific equipment, airbrushing offers a level of precision and finish that is difficult to achieve with other coloring methods, representing a more advanced approach to how to color frosting and cakes.
Tips for Maintaining Buttercream Color Integrity
Preventing Color Bleeding in Buttercream
Color bleeding occurs when the dye from one color of buttercream migrates into an adjacent color, blurring the lines and ruining the clean design. This is particularly common with dark or vibrant colors next to white or light colors, and it often happens in humid conditions or when cakes are stored improperly. To minimize bleeding, ensure your buttercream is properly chilled before stacking layers or applying different colors next to each other. A firm, cold surface is less likely to absorb migrating dye.
Using high-quality, concentrated gel colors can also help, as less quantity is needed to achieve the desired shade. Some bakers also report success by adding a tiny amount of cornstarch or meringue powder to very dark colors, which can help stabilize the pigment. If creating a design with stark contrast (like black and white stripes), consider piping a thin barrier line of white buttercream between the colors or chilling each color layer thoroughly before applying the next. Taking these precautions is essential for preserving sharp designs when learning how to color frosting for complex patterns.
Storing Colored Buttercream Properly
Proper storage is key to maintaining the vibrant color and quality of your colored buttercream. Store colored buttercream in airtight containers at room temperature for up to 2-3 days if made with butter and sugar. For longer storage, refrigerate for up to 2 weeks or freeze for up to 3 months. When refrigerating or freezing, press a piece of plastic wrap directly onto the surface of the buttercream before sealing the container. This prevents a crust from forming and helps maintain the color's freshness.
When thawing frozen buttercream, move it to the refrigerator overnight, then let it come to room temperature before re-whipping. Colored buttercream can sometimes develop a slightly deeper or altered shade after refrigeration or freezing due to the pigments settling or reacting over time. Always re-whip thawed or chilled buttercream thoroughly before use to restore its smooth consistency and check the color, adjusting if necessary by adding a tiny amount more dye. Understanding storage is part of the complete picture of how to color frosting and use it effectively.
Adjusting Buttercream Consistency After Coloring
Adding food coloring, especially liquid colors or large amounts of gel colors, can sometimes slightly alter the consistency of your buttercream. Liquid colors add moisture, potentially making the buttercream too soft or even greasy. Gel colors, while less impactful, can still slightly stiffen the frosting if used in very large quantities due to their concentrated nature. After you've achieved your desired color and mixed it in, assess the consistency.
If the buttercream has become too soft or loose, you can stiffen it by adding a tablespoon or two of sifted powdered sugar and re-mixing. Alternatively, chilling the buttercream in the refrigerator for 15-30 minutes will firm it up. If it has become too stiff, add a tiny splash (start with half a teaspoon) of milk, cream, or even water and mix until it loosens to the desired piping or spreading consistency. Making these small adjustments ensures your beautifully colored buttercream is also perfectly textured, completing your mastery of how to color frosting.
Color Mixing Chart for Buttercream
Achieving Popular Colors: Red, Blue, Green, Yellow
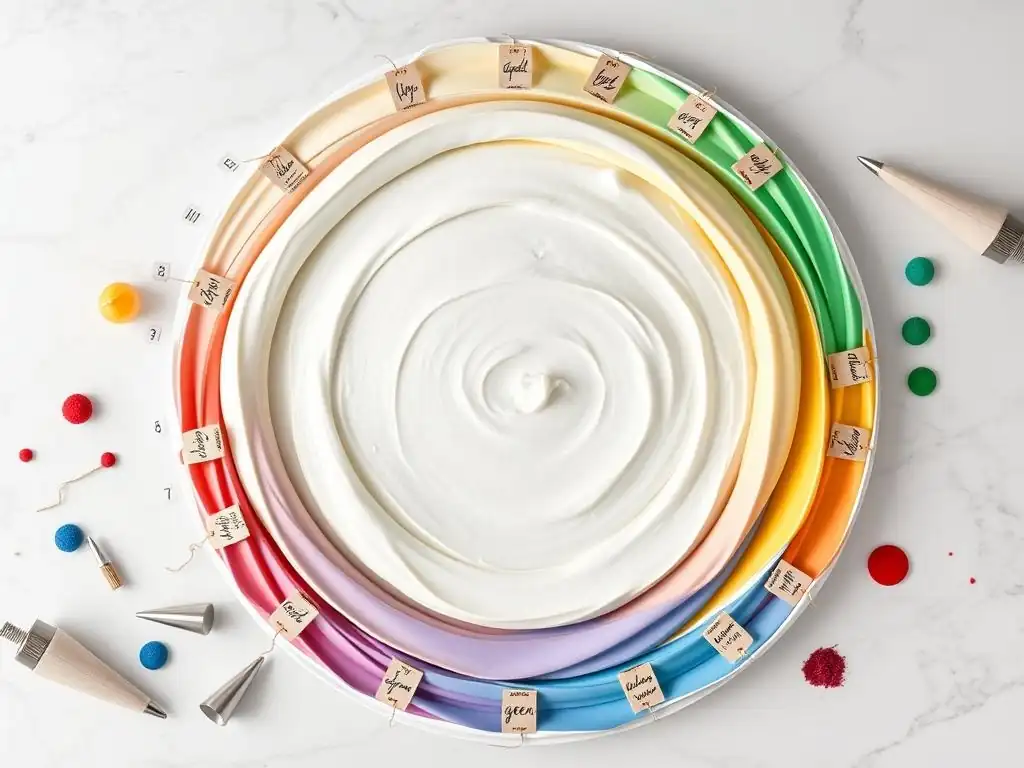
Achieving true, vibrant primary and secondary colors is fundamental when learning how to color frosting.
- Red: Often the most challenging. Use a high-quality "super red" gel color. Add it gradually to white buttercream. Some bakers start with a base of pink before adding more red to help achieve depth. It might require a significant amount of color.
- Blue: Relatively easy. Use a royal blue or sky blue gel color. Start with a small amount for pale blue and add more for deeper shades. Navy blue can be achieved by adding a tiny amount of black or purple to royal blue.
- Green: Mix blue and yellow gel colors. Start with your desired base color (e.g., more blue for a teal-green, more yellow for a lime green) and add the other color incrementally. You can also buy pre-mixed green gel colors in various shades like leaf green or forest green.
- Yellow: Use lemon yellow or egg yellow gel color. A small amount goes a long way for a bright yellow. Be cautious, as too much can sometimes impart a slight taste or make the buttercream appear greasy if using liquid dyes.
Practice with small amounts of buttercream and color to get a feel for the ratios needed with your specific brand of food coloring.
Creating Pastel Buttercream Colors
Pastel colors are achieved by adding a very small amount of concentrated food coloring to a large quantity of white buttercream. The key is to start with just a toothpick tip or a single small drop of color and mix thoroughly. For instance, for a pastel pink, use a tiny amount of red or deep pink gel color. For a pastel blue, use a tiny amount of royal or sky blue.
To ensure even lighter, softer shades, you can also add a tiny amount of white food coloring (titanium dioxide) to your very lightly tinted buttercream. This helps brighten and soften the hue. When mixing multiple pastel shades for a project, color the lightest shade first, then take a portion of that and add slightly more color for the next shade, building up the intensity gradually across your bowls. This technique ensures a harmonious pastel palette when learning how to color frosting in soft tones.
Mixing Neutral and Earth Tone Buttercream Colors
Beyond bright and pastel shades, you might need neutral or earth tones like grey, brown, or ivory for rustic or sophisticated cake designs.
- Grey: Add a tiny amount of black gel color to white buttercream. Add incrementally, as black is very potent. For a warmer grey, add a minuscule amount of brown or purple.
- Brown: Use a brown gel color, or mix red, blue, and yellow (the primary colors) in roughly equal parts, adjusting the ratios until you get the desired brown shade. Adding a tiny amount of black or green can deepen it. Cocoa powder also colors buttercream brown, but it changes the flavor and texture.
- Ivory/Off-White: Add a tiny, tiny amount of yellow or brown gel color to white buttercream. Be extremely sparing; you want just a hint of warmth, not a distinct yellow or brown color. This is often achieved with less than a toothpick's worth of color for a standard batch.
Experimentation is key with these less common shades. Keep notes on your successful mixes to replicate them later. Learning how to color frosting in a full spectrum, including neutrals, expands your design capabilities.
Common Mistakes to Avoid When Coloring Buttercream
Over-Mixing the Buttercream
While thorough mixing is necessary to distribute color evenly, over-mixing buttercream after adding color can cause problems, particularly with American buttercream. American buttercream is essentially an emulsion of fat (butter) and sugar. Excessive mixing can incorporate too much air, leading to a light, airy texture that doesn't hold sharp edges well for piping. More critically, over-mixing can sometimes cause the emulsion to break, resulting in a greasy, separated appearance.
Mix just until the color is uniform and streak-free. Use a spatula for the final mixing to have better control and feel the consistency. If you use a mixer, keep it on a low speed and mix only for 30-60 seconds after adding the color, then finish by hand. Avoiding over-mixing ensures your colored buttercream has the perfect texture for decorating, a vital detail when mastering how to color frosting.
Adding Too Much Food Coloring
This is arguably the most common mistake when coloring buttercream. Adding too much food coloring, especially dark or vibrant shades, has several negative consequences. Firstly, it can make the color too intense or dark, which is difficult to correct without adding more plain buttercream. Secondly, using excessive amounts of certain dyes (particularly reds and blues) can impart a bitter or unpleasant chemical taste to the frosting, especially noticeable in large quantities.
Furthermore, overloading buttercream with color can sometimes affect its texture, making it slightly thinner or, in the case of powdered pigments, grainy if not properly dissolved. Always start with a small amount of color and add incrementally, mixing well and checking the shade as you go. Remember that the color can deepen slightly over time. Patience here saves you from wasting ingredients and ensures your beautifully colored frosting tastes as good as it looks, a key aspect of how to color frosting successfully.
Using Expired Food Coloring
Food coloring, especially liquid and gel varieties, can expire or lose potency over time. While they might not necessarily become harmful, expired colors can yield dull, faded results or fail to mix properly. Gel colors can dry out and become clumpy, making them difficult to incorporate smoothly into buttercream. Liquid colors might separate or develop an odd odor.
Check the expiration dates on your food coloring bottles and jars. If they look or smell off, or if you're using an old jar that seems less vibrant than usual, it's best to replace them. Using fresh, potent food coloring ensures you achieve the true, vibrant colors intended and makes the coloring process much smoother and more predictable. Don't let old dyes compromise your beautiful buttercream creations when you're learning how to color frosting.
Conclusion: Unleash Your Creativity with Colorful Buttercream
Final Thoughts on Perfecting Your Buttercream Coloring Skills
Mastering how to color frosting is a skill that significantly enhances your ability to create stunning and personalized cakes. It's a blend of art and science, requiring an understanding of color theory, the properties of different food colorings, and careful execution. Start with simple techniques, like coloring a single batch a solid color, and gradually experiment with more advanced methods like ombre or marbling as you gain confidence. Don't be afraid to experiment and learn from mistakes – every batch that isn't quite right is a step towards perfection.
Remember the key takeaways: use high-quality gel colors for best results, add color gradually, mix thoroughly, and pay attention to how the color develops. The right tools, like toothpicks for precision and spatulas for even mixing, make a big difference. With practice, you'll develop an intuition for how much color is needed and how to achieve specific shades consistently. Your cakes will transform from delicious treats into visual masterpieces, bringing extra joy to any celebration.
Resources for Further Learning About Cake Decorating and Buttercream Techniques
To continue refining your skills in how to color frosting and overall cake decorating, explore various resources available. Online baking blogs and websites (like BakeWithEase!) offer countless tutorials, videos, and articles dedicated to specific techniques, from making different types of buttercream to advanced piping and decorating. Many professional cake decorators offer online classes or workshops that provide in-depth instruction and personalized tips.
Cookbooks focused on cake decorating are another excellent resource, often featuring detailed step-by-step photos and color mixing guides. Practice is paramount; the more you bake and decorate, the more comfortable and skilled you will become. Don't hesitate to try new colors, experiment with different techniques, and seek inspiration from other bakers' work. Happy coloring, and enjoy the process of bringing your sweetest visions to life!
Frequently Asked Questions
How can I achieve vibrant frosting colors?
To get vibrant colors, use gel food coloring instead of liquid. Gel coloring is more concentrated and won't change the frosting's consistency. Remember to add color gradually.
What's the best way to avoid a bitter taste in my frosting from food coloring?
Overusing food coloring can lead to a bitter taste. Use high-quality gel colors sparingly and allow the color to develop for a few hours, which may intensify the shade.
Can I use natural food coloring for frosting?
Yes, you can use natural food coloring, but the colors may be less vibrant and more pastel. Be aware that some natural colorings can alter the flavor of the frosting.
How do I fix frosting that's too runny after adding food coloring?
If your frosting becomes too runny, add powdered sugar in small increments until it reaches the desired consistency. Be sure to mix well after each addition.
What are some techniques for creating ombre frosting effects?
To create an ombre effect, divide your frosting into several bowls. Add a different amount of food coloring to each bowl to create varying shades of the same color. Then, apply the shades in gradual layers on your cake.
Final Reflection: The Unexpected Joy of Colorful Frosting
The vibrant hues of expertly colored frosting aren't just about aesthetics; they're a powerful tool for expressing creativity and adding a touch of magic to any occasion. From simple birthday cakes to elaborate wedding creations, the ability to perfectly tint frosting elevates the baking experience from functional to truly artistic. This seemingly small detail can transform a simple treat into a memorable masterpiece.
The impact of color on our perception of food is undeniable. It's a subtle yet potent influence, capable of sparking joy, excitement, and even appetite. Color is a power which directly influences the soul.
– Wassily Kandinsky. This quote, while referring to art in general, perfectly encapsulates the emotional resonance that carefully chosen frosting colors can evoke. The techniques explored in this article, from using gel pastes to natural food coloring, are not just about achieving the perfect shade; they're about unlocking the potential for self-expression and adding a personal touch to every creation.
Now, it's your turn. Consider the next cake, cupcake, or cookie you bake. Don't just reach for the standard white frosting; experiment! Try a bold new color, a subtle pastel shade, or even a vibrant ombre effect. Let the joy of color infuse your baking, and watch as your creations become not just delicious, but truly unforgettable. Embrace the artistry, and let your frosting tell a story.
Unleash Your Inner Rainbow: Frosting Color Made Easy!
Thanks for taking the time to explore the vibrant world of colored frosting! We hope you discovered some new techniques to elevate your baking. Now it's time to put your newfound knowledge into practice.
- Try out your favorite new technique: Grab your piping bags and experiment with the method that most excites you. Don't be afraid to get creative! Which color combination will you try first?
- Share your colorful creations: Show off your beautiful, vibrant frosting on social media and inspire others! Use #BakeWithEaseRainbow to connect with our community.
- Explore advanced frosting techniques: Ready for a challenge? Consider learning more about airbrushing or using natural food coloring for even more unique results.
Ready to transform your cakes into edible masterpieces? What's your next baking adventure?