
Layer Cake Decoration Ideas for Every Skill Level

Welcome to BakeWithEase, your haven for all things baking! Ever dreamt of creating a show-stopping layer cake without the stress? This guide unlocks the secrets to easy layer cake decorating, transforming simple ingredients into edible masterpieces. Whether you're a novice or a seasoned pro, discover inspiring techniques and achievable designs that will leave everyone saying "Wow!" Ready to elevate your cake game? Let's dive in and explore the delicious world of layer cake artistry...
- Baking Bliss: Mastering Layer Cake Decorating
- Beginner-Friendly Layer Cake Decorating Techniques
- Intermediate Layer Cake Decorating Projects
- Advanced Layer Cake Decoration Techniques
- Layer Cake Decorating Ideas by Theme
- Essential Tools for Layer Cake Decorating
- Tips for Achieving a Professional Finish on Your Layer Cakes
- Troubleshooting Common Layer Cake Decorating Problems
- Showcase: Inspiring Layer Cake Decoration Examples [Include Visuals]
-
Frequently Asked Questions
- What are some easy layer cake decorating ideas for beginners?
- How can I achieve a professional-looking drip cake without advanced skills?
- What are some unique and affordable decorations I can use on a layer cake?
- What kind of frosting is easiest to work with when decorating a layer cake?
- How do I prevent my layer cake from drying out during the decorating process?
- Final Reflection: The Sweet Art of Layered Success
- Unleash Your Inner Cake Artist!
Baking Bliss: Mastering Layer Cake Decorating
Creating a beautiful layer cake is a rewarding experience, and the decoration is often the most exciting part! It's where you transform simple baked layers into a stunning centerpiece. Whether you're aiming for elegant simplicity or a show-stopping design, mastering layer cake decorating allows you to express your creativity and tailor cakes for any occasion. Don't feel intimidated; many impressive looks are surprisingly achievable, even for beginners. The journey of learning easy layer cake decorating techniques opens up a world of possibilities, making every cake a unique work of art.
The process begins with well-baked, cooled layers, a delicious frosting, and a vision. From there, it's about applying techniques step-by-step. Building confidence starts with simple methods like a basic crumb coat and smooth final layer of frosting. As you become more comfortable, you can explore adding swirls, textures, or even simple drips. The key is practice and patience. Each cake you decorate builds your skill set, making even complex designs feel more manageable over time. Embrace the process, have fun, and enjoy the edible masterpiece you create!
Beginner-Friendly Layer Cake Decorating Techniques
Starting your layer cake decorating journey doesn't require fancy tools or intricate skills. There are numerous techniques perfect for beginners that yield beautiful and satisfying results. These methods focus on simplicity and ease of execution, building a strong foundation for more complex decorations down the line. Learning these easy layer cake decorating basics is the perfect first step towards crafting impressive cakes.
Simple Buttercream Swirls for Layer Cakes
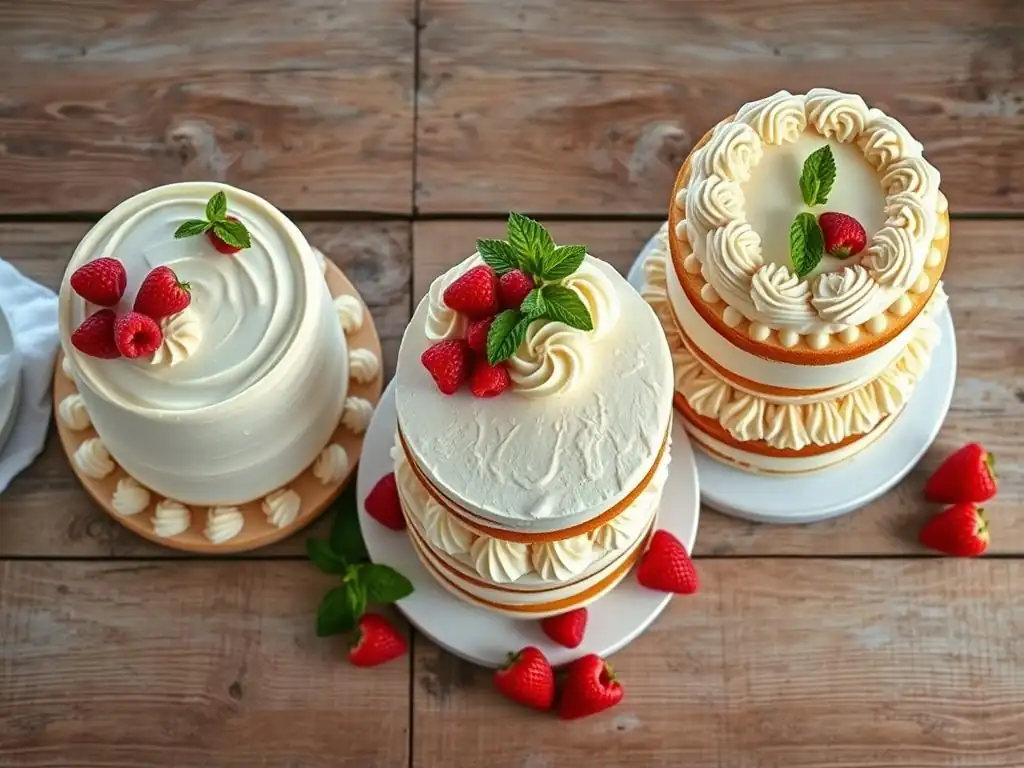
One of the most classic and forgiving ways to decorate a layer cake is with simple buttercream swirls. This technique requires just a piping bag fitted with a large open star tip, like a Wilton 1M or Ateco 826. Fill your piping bag about two-thirds full with buttercream. Starting from the outside edge of the cake top, apply even pressure while moving your hand in a circular motion towards the center. Release pressure when you reach the middle or the desired end point of your swirl.
These swirls can cover the entire top of the cake or be placed around the edge for a decorative border. For an 8-inch two-layer cake, you might use roughly 2-3 cups of buttercream for frosting the sides and a generous amount for the top swirls. Practicing on a piece of parchment paper first can help you get a feel for the pressure needed and the size of the swirls before you apply them to the actual cake. It's a quick way to add volume and visual appeal without needing perfect smoothing skills.
Easy Sprinkles and Drip Cakes: A Beginner's Guide
Sprinkles are a beginner's best friend! They instantly add color and festivity to any cake. After frosting your layer cake smoothly or with a simple texture, you can press sprinkles into the sides using your hand or an offset spatula. For the top, simply scatter them generously or arrange them in patterns. A typical 8-inch cake might use anywhere from a few tablespoons to half a cup or more of sprinkles, depending on how much coverage you want.
A simple drip effect is also surprisingly accessible. You can create a basic drip using melted chocolate chips mixed with a tiny bit of oil or butter for fluidity, or a simple ganache (equal parts chocolate and warm cream by weight). Let the melted mixture cool slightly until it's warm but not hot – too hot and it will melt your frosting; too cool and it won't drip smoothly.
Use a spoon or a piping bag with a small round tip to carefully push small amounts of the mixture over the edge of the cake, allowing gravity to create the drips. A small amount, perhaps 2-3 ounces of chocolate, is often sufficient for a delicate drip around the top edge of a standard cake.
Decorating Layer Cakes with Fresh Berries: A Simple Touch
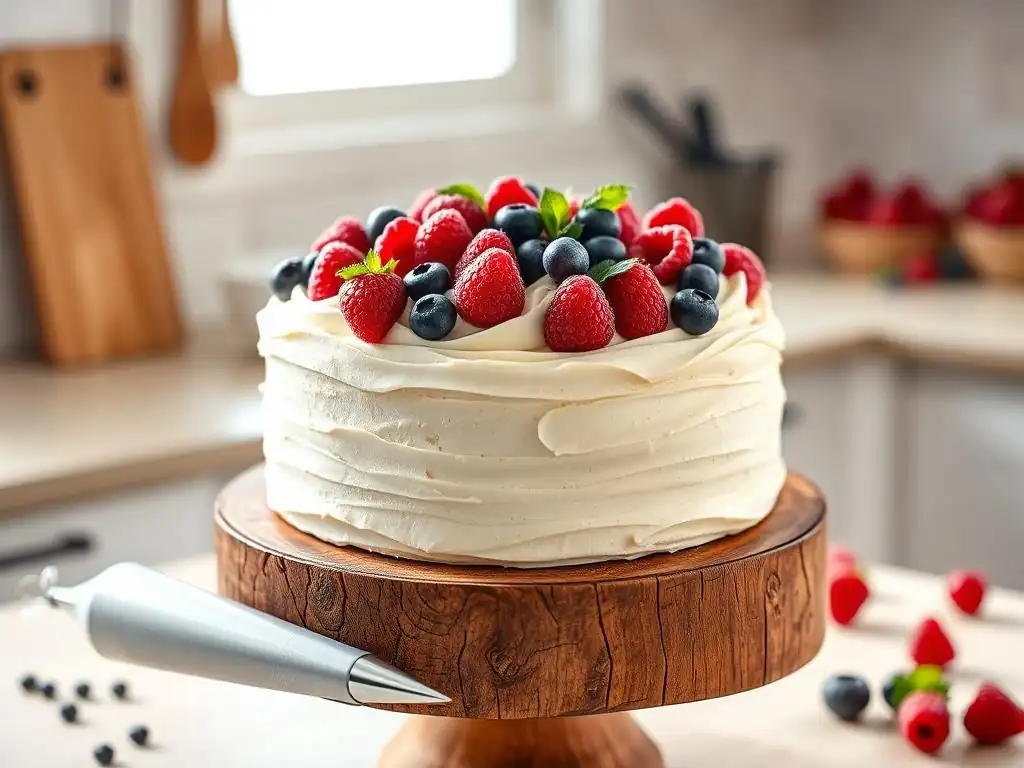
Using fresh berries is one of the easiest and most elegant ways to decorate a layer cake. It requires no special techniques, just an eye for arrangement. After frosting your cake, simply arrange washed and dried berries on top. You can cover the entire surface, create a border, or place them strategically around swirls or other features. Strawberries, raspberries, blueberries, and blackberries all work beautifully and add a burst of natural color and freshness.
For an 8-inch cake, a single pint of strawberries, a half-pint of raspberries, and a half-pint of blueberries might be enough to create a lovely arrangement covering most of the top surface. Consider slicing larger berries like strawberries for different visual textures. Arranging them around the base of the cake is another simple option that adds a touch of natural beauty. This method is perfect for those seeking beautiful results with minimal effort, truly embodying the spirit of easy layer cake decorating.
Intermediate Layer Cake Decorating Projects
Once you've mastered the basics, you might be ready to explore techniques that add more flair and complexity to your layer cakes. These intermediate projects require a bit more practice and precision than beginner methods but are still well within reach for enthusiastic home bakers. They allow for more sophisticated designs and finishes, taking your layer cake decorating skills to the next level.
Mastering Ombre Cakes: An Intermediate Layer Cake Design
Creating an ombre or gradient effect on a layer cake involves transitioning through shades of a single color or related colors. This is typically done with buttercream. Start by dividing your buttercream into several bowls (at least three, but four or five is better for a smooth transition). Leave one bowl white or the lightest shade. Add a small amount of food coloring to the next bowl for the lightest tint, slightly more to the next for a medium shade, and the most to the last bowl for the deepest color.
To apply, you can either frost each layer of the cake with a different shade (darkest at the bottom, lightest at the top) or apply stripes of each color vertically around the sides of the cake. If applying vertically, use an offset spatula to spread the colors roughly, then use a clean bench scraper held against the side of the cake while rotating the turntable to blend the colors smoothly.
Achieving a seamless blend requires practice and patience, often necessitating several passes with the scraper, cleaning it between passes. For a 3-layer 8-inch cake, you might need about 5-6 cups of buttercream total to achieve good coverage and blending for an ombre effect.
Creating Textured Buttercream Finishes on Layer Cakes
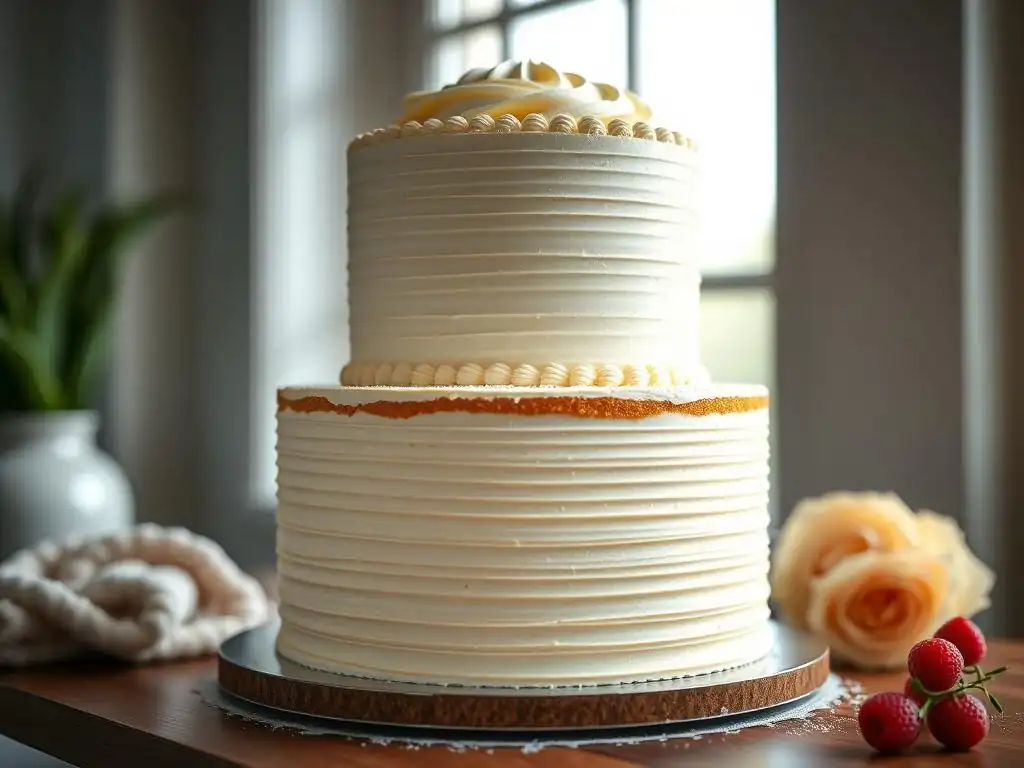
Moving beyond smooth finishes, adding texture to your buttercream can hide minor imperfections and create visually interesting designs. Techniques include rustic swirls made with an offset spatula, horizontal or vertical lines created with a bench scraper or comb, or even a stucco-like finish applied with a palette knife. These methods are faster than trying to achieve a perfectly smooth surface and offer unique aesthetic appeal.
For a simple textured look, apply a generous layer of buttercream to the cake sides and top. Then, using an offset spatula or the back of a spoon, make swirling or sweeping motions in the frosting. For lined textures, apply frosting evenly, then hold a decorating comb or the edge of a bench scraper against the side and slowly rotate the cake on a turntable, applying even pressure.
Different combs have different patterns (waves, stripes). Experimenting with various tools and motions on a practice board (like a cake dummy or even a large glass) is a great way to see the effects you can achieve before working on the actual cake.
Introduction to Chocolate Ganache Drips for Layer Cake Decoration
While a simple melted chocolate drip is beginner-friendly, a proper ganache drip offers better control and a richer finish. Ganache is made by pouring hot cream over chopped chocolate and stirring until smooth. A common ratio for a drip is 1 part heavy cream to 1 part chocolate by weight (e.g., 4 ounces cream to 4 ounces chopped chocolate). Heat the cream just until it simmers, pour it over the chocolate in a heatproof bowl, let it sit for a minute, then stir gently from the center outwards until fully combined and smooth.
The key to a successful ganache drip is the temperature and consistency. It should be warm but not hot, thick enough to control but fluid enough to drip. Test the consistency by letting a small amount drip from a spoon.
If it runs too fast, let it cool slightly; if too slow, warm it gently over a double boiler or in the microwave for a few seconds. Apply the ganache using a piping bag with a small round tip, a squeeze bottle, or a spoon, letting it flow naturally down the sides. For a controlled drip, push small amounts over the edge; for a fuller drip, use slightly more ganache at each point.
Simple Fondant Cutouts for Layer Cakes
Working with fondant can seem daunting, but starting with simple cutouts is an excellent intermediate step. Fondant provides a smooth, clay-like medium that can be colored and shaped. Roll out fondant thinly (about 1/8 inch thick) on a surface dusted with powdered sugar or cornstarch to prevent sticking. Use cookie cutters, pastry wheels, or even a sharp knife with a template to cut out shapes like stars, hearts, circles, or simple letters.
Once cut, these shapes can be attached to a buttercream-frosted cake. A little bit of water brushed on the back of the fondant shape acts as a glue, helping it adhere to the buttercream. For better adhesion, especially on the sides, you can use edible glue or a tiny amount of shortening. Fondant cutouts add clean, defined shapes and colors to your cake design with relatively straightforward techniques. A standard 20-ounce package of fondant is usually more than enough to create numerous cutouts for one or two cakes.
Advanced Layer Cake Decoration Techniques
For those looking to push their skills further, advanced layer cake decorating techniques offer the opportunity to create truly intricate and professional-looking designs. These methods require precision, patience, and often specialized tools, but the results can be incredibly rewarding. Mastering these skills opens up a world of complex patterns, realistic sugar elements, and flawless finishes.
Intricate Piping Designs for Layer Cakes
Intricate piping goes beyond simple swirls or borders, involving detailed patterns, complex rosettes, basketweave, or even piped figures. This requires proficiency with a variety of piping tips (e.g., small round tips for dots and lines, petal tips for ruffles and flowers, leaf tips for foliage) and consistent pressure control. Practicing different techniques on parchment paper is crucial before attempting them on the cake.
Building muscle memory for consistent piping pressure and speed is key. For instance, creating a detailed lace pattern around an 8-inch cake's circumference might require 1-2 cups of buttercream and significant time dedicated to careful, steady piping. Mastering techniques like shell borders, elaborate swags, or delicate filigree work elevates your cake's appearance significantly. Using the correct consistency of buttercream is also vital; it needs to hold its shape without being too stiff to pipe smoothly.
Working with Multiple Frosting Colors for Stunning Effects
Using multiple colors of buttercream in sophisticated ways allows for vibrant and dynamic designs. Techniques include creating sharp color blocks, marble effects within the frosting, or using multiple colors simultaneously in a single piping bag for striped or rainbow effects. This requires careful planning, precise coloring, and clean application to prevent colors from muddying.
For a striped effect, you can apply stripes of different colored buttercream vertically around the cake sides using piping bags or spatulas, then smooth with a bench scraper. Alternatively, place stripes of colored buttercream onto plastic wrap, roll it up, and insert it into a piping bag for multi-colored swirls or rosettes. Achieving crisp lines between colors or smooth transitions in marbled effects takes practice. For a vibrant multi-colored cake, you might divide 4-5 cups of buttercream into several portions and color each intensely, requiring several drops or more of gel food coloring per portion to achieve rich hues.
Mastering Sharp Edges on Layer Cakes
Achieving perfectly sharp edges on a buttercream cake is a hallmark of professional decoration. This technique involves applying an excess amount of buttercream to the top and sides of a well-chilled, crumb-coated cake, then using a long bench scraper and an offset spatula to smooth and level the frosting. The cold cake helps the buttercream set quickly, making it easier to scrape cleanly.
Apply a thick, even layer of buttercream to the sides, then apply a generous mound to the top, spreading it slightly over the edge. Hold a bench scraper perpendicular to the cake side and parallel to the turntable, scraping away excess buttercream while rotating the cake. Clean the scraper often.
For the top edge, use an offset spatula held parallel to the cake top to gently pull the excess buttercream from the top edge towards the center, cleaning the spatula frequently. Repeat these steps, chilling the cake as needed, until the sides are straight and the top edge is crisp. This process can add 15-30 minutes or more to the frosting time compared to a rustic finish.
Modeling Fondant Flowers: Advanced Techniques
Creating realistic or stylized flowers from fondant or gum paste (a dough specifically designed for modeling that dries firmer) is an advanced skill. This involves rolling the paste very thinly, cutting out individual petals or leaves using specialized cutters, thinning the edges with ball tools, adding veins with veining tools or mats, and assembling the pieces using edible glue or water. Flowers often require drying time, sometimes on foam formers or in shaped cups, to hold their shape.
Tools like celpins (rolling pins specifically for fondant), ball tools, veining tools, flower cutters (rose, peony, daisy sets), and dusting powders for coloring are essential. A single realistic sugar rose can take anywhere from 15 minutes to an hour or more to create, depending on complexity, and might use a few ounces of gum paste. Creating a cascade of flowers for a cake requires significant time, skill, and patience, often spanning several days to allow components to dry properly before assembly on the cake.
Layer Cake Decorating Ideas by Theme
Decorating a layer cake for a specific theme adds a personal touch and makes the celebration even more special. Tailoring your easy layer cake decorating techniques to holidays, birthdays, or special events like weddings allows you to create cakes that are not only delicious but also perfectly suited to the occasion.
Birthday Layer Cake Decorating Ideas
Birthday cakes are a canvas for fun and personality! Easy ideas include using bright, cheerful buttercream colors, adding lots of sprinkles, or creating a simple drip effect in the birthday person's favorite color. You can pipe simple messages like "Happy Birthday" using a small round tip (like a Wilton #3 or #4). For a slightly more elaborate but still manageable design, use cookie cutters to make fondant shapes relevant to hobbies or interests – stars, hearts, or simple silhouettes.
Consider a popular color scheme, like pastels for a child's party or bold metallics for an adult's milestone birthday. A classic design involves frosting the cake smoothly and adding a festive border using a star tip, then covering the top with sprinkles or candies. For instance, an 8-inch birthday cake could feature bright blue buttercream, a yellow star border piped around the top and bottom edges (using about 1 cup of yellow buttercream), and be finished with a generous shower of rainbow jimmies (perhaps a quarter cup) over the top.
Holiday Layer Cake Decoration Inspiration
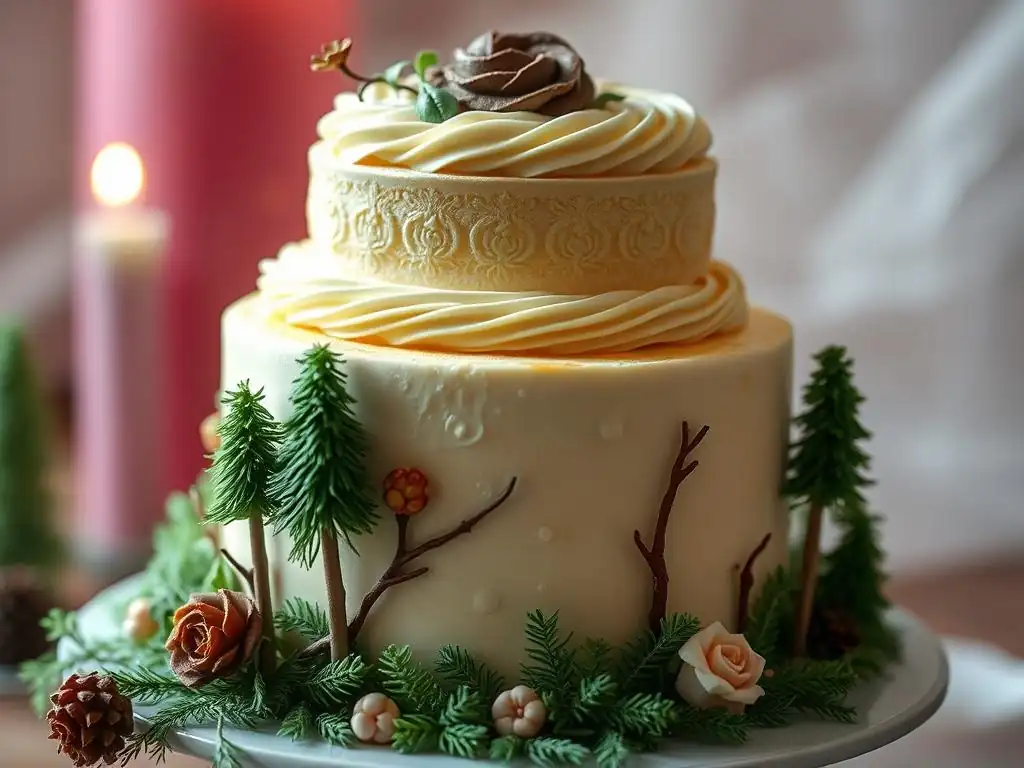
Holidays offer fantastic inspiration for layer cake decorating. For Christmas, think red and green buttercream, piped snowflakes (using a small round tip and white buttercream), or edible glitter. An easy approach is to frost the cake white and create a simple wreath of green buttercream leaves (using a leaf tip) and red berry dots (using a small round tip). For Halloween, use orange and black frosting, pipe simple spiderwebs (black lines on orange), or add candy pumpkins and ghosts.
Easter cakes can feature pastel colors, piped grass (using a multi-opening grass tip), and edible eggs or bunnies. Valentine's Day calls for pink and red, with piped hearts or simple heart-shaped sprinkles. A simple technique is to frost a cake in a holiday color (e.g., green for St. Patrick's Day) and use a contrasting color (white) to pipe simple, iconic shapes (shamrocks) on top. Using holiday-themed sprinkle mixes is another effortless way to add festive cheer.
Wedding Layer Cake: Elegant and Simple Designs
While elaborate tiered wedding cakes are common, many couples opt for simpler, elegant layer cakes. A beautiful, smooth buttercream finish is a classic choice. Achieving sharp edges (as discussed in intermediate techniques) adds a touch of sophistication. Simple decorations include fresh flowers (ensure they are food-safe or properly prepared), delicate piping details like dots or pearls around the base of each tier (using a small round tip like #2 or #3), or a subtle textured finish.
A single-tier or two-tier wedding cake can look stunning with just a smooth white or ivory buttercream coating and a simple arrangement of fresh roses or peonies on top or cascading down one side. Alternatively, a clean, minimalist look with sharp edges can be enhanced by a delicate piped border or a light scattering of edible pearls or glitter. For a small, two-tier wedding cake (e.g., 6-inch top, 8-inch bottom), you might need about 6-8 cups of buttercream total for a smooth finish and minimal decoration. The focus is often on flawless execution of simple elements rather than complexity.
Essential Tools for Layer Cake Decorating
Having the right tools makes the layer cake decorating process smoother and more enjoyable, regardless of your skill level. Investing in a few key pieces of equipment can significantly improve the look and ease of decorating your cakes. You don't need everything at once, but building a collection of essential tools is helpful.
Must-Have Decorating Tools for Beginners
For easy layer cake decorating, a few basic tools are indispensable. An offset spatula (both small and large) is crucial for spreading frosting smoothly and applying crumb coats. A cake turntable is a game-changer for frosting sides evenly and adding borders or textures while rotating the cake. Piping bags (disposable or reusable) and a basic set of piping tips (at least a large open star like 1M and a medium round tip like #12) are essential for swirls, borders, and writing.
A bench scraper is very useful for achieving smooth sides, even with simple techniques. Measuring cups and spoons are necessary for precise frosting ingredients, and a rubber spatula or scraper helps get all the frosting out of the bowl. A cake leveler or a long serrated knife is needed to trim cake layers flat. These tools provide the foundation for most beginner-friendly layer cake decorating techniques and are relatively inexpensive to acquire.
Upgrading Your Layer Cake Decorating Toolkit
As you advance your skills, you might want to add more specialized tools to your collection. A wider variety of piping tips (including petal tips, leaf tips, basketweave tips, and small round tips for detail work) allows for more intricate designs. Decorating combs with different patterns are great for textured finishes. Fondant tools, such as a fondant roller, smoothing tools, and various cutters or modeling tools, become necessary if you want to work with fondant beyond simple cutouts.
Additional tools might include an airbrush kit for gradient effects (though this is a bigger investment), specific cake carriers for transport, stencils for applying patterns with buttercream or powdered sugar, and specialized spatulas for palette knife painting effects. Investing in good quality tools, like stainless steel spatulas and sturdy piping bags, can make a noticeable difference in the ease and quality of your layer cake decorating work.
Tips for Achieving a Professional Finish on Your Layer Cakes
Even with easy layer cake decorating techniques, a few key tips can elevate your results from homemade to professional-looking. Paying attention to details like cake preparation and frosting consistency makes a significant difference in the final appearance of your decorated layer cake.
Leveling Your Layer Cakes for Perfect Decoration
Uneven cake layers are one of the biggest hindrances to a professional-looking decorated cake. Domes on top of baked layers make stacking difficult and lead to a lopsided cake. Always cool your cake layers completely before attempting to level them. Chilling the cakes in the refrigerator or freezer for 15-30 minutes makes them firmer and easier to slice cleanly.
Use a long serrated knife or a dedicated cake leveler. Place the cake on a flat surface and, using a gentle sawing motion, carefully slice off the dome to create a flat top. If using a leveler, adjust it to the desired height and guide it through the cake. This step ensures that when you stack your layers, they sit flat and stable, providing a level surface to work on for frosting and decorating.
Achieving Smooth Buttercream: Techniques and Tips
Smooth buttercream is essential for many polished decorating styles, from sharp edges to clean surfaces for piping. Start by sifting your powdered sugar to remove lumps. Beat the buttercream thoroughly at medium-high speed for several minutes (5-8 minutes for American buttercream) after all ingredients are incorporated. This incorporates air, making it lighter and smoother. If it seems too stiff, add a tiny amount of milk or cream (a teaspoon at a time) while beating on low speed. If too soft, add a tablespoon of sifted powdered sugar.
For final smoothing on the cake, apply slightly more frosting than you think you need. Use a warm offset spatula or bench scraper. You can dip your spatula in hot water, wipe it dry, and use the warmth to smooth the buttercream. For sides, hold the bench scraper against the cake and rotate the turntable, scraping away excess frosting. Wipe the scraper clean often. Patience is key; achieving a perfectly smooth finish takes time and repeated passes.
Preventing Common Layer Cake Decorating Mistakes
Awareness of common pitfalls can help you avoid frustration when decorating layer cakes. One frequent mistake is not doing a crumb coat. A thin layer of frosting applied first and chilled traps loose crumbs, preventing them from getting into your final layer of frosting. Not chilling cake layers before frosting can also make them too fragile or soft to handle easily, leading to tears or collapses.
Another mistake is using buttercream that is too warm or too cold. Warm buttercream can melt or become greasy, while cold buttercream is stiff and difficult to spread or pipe smoothly. Ensure your buttercream is at the right consistency for the technique you are using. Don't overwork the buttercream once it's on the cake, especially when trying to achieve a smooth finish, as this can introduce more air bubbles or melt the frosting with the heat from your hands.
Troubleshooting Common Layer Cake Decorating Problems
Even experienced bakers encounter issues during layer cake decorating. Knowing how to troubleshoot common problems can save your cake and your sanity. Many issues with easy layer cake decorating can be fixed with simple adjustments or techniques.
Fixing Uneven Frosting
If your frosting looks uneven after applying it, don't panic. If the unevenness is minor, you can often go back with a warm offset spatula or bench scraper (as described in the smoothing tips) to gently smooth it out. If the frosting is very uneven or patchy, it might be best to scrape off the affected area (or even the whole layer of frosting if necessary), give the cake a quick chill, and reapply the frosting more carefully.
Alternatively, you can embrace the unevenness and opt for a textured finish instead of a smooth one. Techniques like rustic swirls, peaks, or a stucco effect can easily hide imperfections in the underlying frosting layer. Sometimes, adding decorations like sprinkles, piped borders, or strategically placed berries can also distract from or cover up minor uneven areas.
Preventing Buttercream from Melting
Buttercream melting is a common problem, especially in warm environments. Ensure your kitchen is as cool as possible when decorating. If your buttercream seems too soft, chill it in the refrigerator for 10-15 minutes, then re-whip it briefly. For stability, ensure you are using a recipe appropriate for the temperature; buttercreams made with more butter will soften faster than those with shortening or meringue-based frostings like Swiss or Italian meringue buttercream, which are more stable in warmer conditions.
Chill your crumb-coated cake thoroughly before applying the final layer of frosting. Working on a cold surface helps the buttercream set quickly. If you're working on a large or complex cake, consider chilling it periodically between decorating steps (e.g., after frosting a section, after piping a border) to keep everything firm.
Dealing with Crumbly Layer Cakes
Crumbly cakes are difficult to frost smoothly because crumbs constantly mix into the buttercream. The most effective way to deal with a crumbly cake is with a thorough crumb coat. Apply a very thin layer of frosting all over the cake, pressing down slightly to trap all the loose crumbs. Don't worry about making it look neat. Once the crumb coat is applied, chill the cake in the refrigerator for at least 30 minutes (or freezer for 15 minutes) until the frosting is firm.
Once the crumb coat is firm, you can apply your final layer of frosting over the sealed surface. The crumbs will be locked into the first layer, allowing you to spread the second layer smoothly without picking up more crumbs. If the cake is excessively crumbly, consider chilling the layers even before the crumb coat to make them less fragile to handle.
Showcase: Inspiring Layer Cake Decoration Examples [Include Visuals]
Layer cake decorating offers endless creative possibilities. While we cannot include actual images here, imagining different examples can provide inspiration for your next baking project. These conceptual examples illustrate how various techniques can transform a simple baked cake into a stunning creation, highlighting the power of easy layer cake decorating methods and more advanced skills.
Layer Cake Decoration Transformations
Consider a basic two-layer vanilla cake frosted with plain white buttercream.
- Beginner Transformation: Add a simple border of buttercream swirls around the top edge using a star tip, then scatter rainbow sprinkles generously over the top surface. This easy technique instantly adds color and texture.
- Intermediate Transformation: Frost the cake with an ombre effect, transitioning from a deep blue at the bottom to a light sky blue at the top. Add a controlled white chocolate ganache drip around the top edge, letting it run down the sides over the blue gradient.
- Advanced Transformation: Frost the cake with perfectly smooth, sharp edges using white buttercream. Pipe intricate lace-like patterns around the sides using a small round tip. Finish with a few delicate, realistic sugar flowers placed elegantly on top.
These examples show how different levels of technique, from the simplest sprinkle application to detailed piping and sugar work, can dramatically change the look and feel of a layer cake, proving that there's a layer cake decorating idea for every skill level and occasion.
Frequently Asked Questions
What are some easy layer cake decorating ideas for beginners?
Beginner-friendly options include simple frosting swirls using a piping bag, applying sprinkles, or using fresh fruit for a natural and elegant look. Don't underestimate the power of a smooth buttercream finish.
How can I achieve a professional-looking drip cake without advanced skills?
Use a pre-made ganache or chocolate glaze, ensuring it's the right consistency (not too hot or cold). Apply the drip along the edge of the cake with a spoon or piping bag for a controlled cascade. Practice on a smaller cake first.
What are some unique and affordable decorations I can use on a layer cake?
Consider using edible flowers, store-bought macarons, or even creating a simple stencil with powdered sugar. These are budget-friendly and add a personalized touch.
What kind of frosting is easiest to work with when decorating a layer cake?
American buttercream is often recommended for its ease of use and forgiving texture. It's stable, holds its shape well, and is relatively simple to make.
How do I prevent my layer cake from drying out during the decorating process?
Wrap the cake layers in plastic wrap after baking and cooling completely. Brush the layers with simple syrup before frosting to add moisture and prevent dryness.
Final Reflection: The Sweet Art of Layered Success
The simple act of layering a cake, once mastered, unlocks a world of creative possibilities, proving that stunning desserts aren't reserved for professional bakers. From a beginner's first tentative frosting swirl to a seasoned decorator's intricate piping, the journey of cake decorating is a testament to the power of practice and personal expression.
The enduring appeal of layer cakes lies not just in their deliciousness, but in their inherent adaptability. They are a blank canvas, inviting experimentation and self-discovery. The best things in life are the simple things.
This sentiment perfectly captures the joy of creating a beautiful cake, regardless of skill level. The process itself, from carefully assembling the layers to the final flourish of decoration, is a meditative and rewarding experience that transcends the final product.
Now, it's your turn. Don't be intimidated by the seemingly complex designs you see online. Start small, experiment with different techniques, and most importantly, have fun! Embrace the imperfections, learn from each attempt, and watch your confidence—and your cake decorating skills—grow with every layer. The sweetest creations often come from the most unexpected beginnings.
Unleash Your Inner Cake Artist!
Thanks for joining us on this delicious journey into the world of layer cake decorating! We hope you've found inspiration and new techniques to elevate your baking game. Ready to take the next step?
- Master a new frosting technique: Try out the swirl method or the ombre effect we discussed – practice makes perfect! You'll be amazed at the results!
- Share your creations: Show off your stunning layer cakes on social media using #BakeWithEase and tag us! We'd love to see your masterpieces.
- Explore advanced designs: Dive deeper into cake decorating with our upcoming workshop on advanced piping techniques – details coming soon!
What’s your favorite element of layer cake decorating, and what technique are you most excited to try?