
Simple Swirls and Peaks: Easy Frosting Techniques

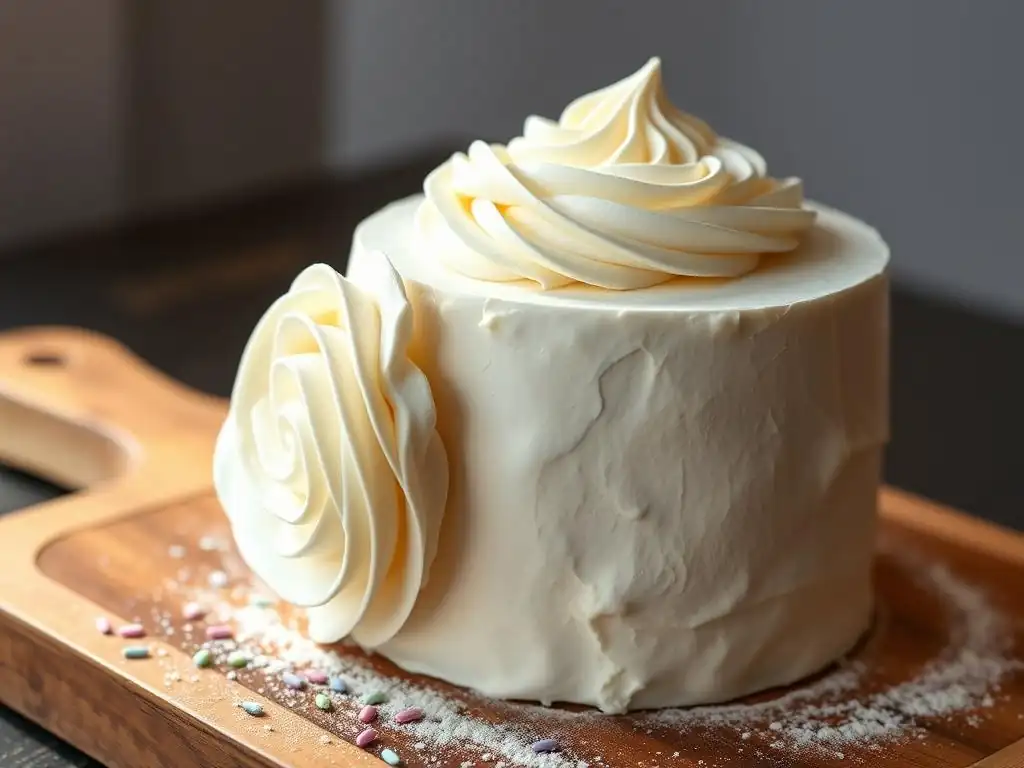
Welcome to BakeWithEase, where delicious baking is within everyone's reach! Ever dreamed of creating picture-perfect pastries? Dive into our guide on easy buttercream frosting techniques for beginners and discover how to achieve stunning swirls and peaks with minimal effort. Ready to transform your desserts from simple to sensational? Keep reading to unlock the secrets!
- Mastering Cake Decorating: Beginner-Friendly Frosting Techniques
- Introduction to Foundation Frosting Techniques
- Essential Tools and Ingredients for Successful Frosting
- Foundation Frosting Techniques: A Step-by-Step Guide
- Frosting Troubleshooting: Common Challenges and Solutions
- Enhancing Your Foundation Frosting: Simple Decorative Elements
- Expanding Your Frosting Skills (Next Steps)
- Conclusion: Building Confidence with Foundation Frosting Techniques
-
Frequently Asked Questions
- What makes a buttercream frosting "easy" for beginners?
- What are some basic tools needed for easy buttercream frosting?
- Can I achieve different frosting textures with easy techniques?
- How do I troubleshoot common buttercream frosting problems like lumps or a grainy texture?
- Where can I find step-by-step visual guides for easy buttercream frosting techniques?
- Final Reflection: The Sweet Simplicity of Mastering Frosting
- Unleash Your Inner Pastry Chef!
Mastering Cake Decorating: Beginner-Friendly Frosting Techniques
Introduction to Foundation Frosting Techniques
Why Master Foundation Frosting Techniques?
Learning how to frost a cake smoothly and evenly is a fundamental skill for anyone venturing into cake decorating. It's the canvas upon which all other decorations are built. Without a solid foundation layer of frosting, even the most intricate piping or delicate sugar flowers can look messy and unprofessional. Mastering these initial steps builds confidence and ensures your beautiful cake designs have the perfect backdrop. For beginners, focusing on these core techniques transforms a simple baked cake into a polished centerpiece, making the entire process less intimidating and much more rewarding.
Beyond just aesthetics, a well-applied foundation layer serves practical purposes. It helps to seal in moisture, keeping your cake layers soft and delicious. It also acts as a crumb coat, trapping loose crumbs before the final, visible layer of frosting is applied, ensuring a clean finish.
Understanding how to prepare your cake and your frosting correctly before you even start spreading is crucial for achieving those smooth, picture-perfect results that look like they came from a professional bakery. These foundational techniques are the bedrock of all successful cake decorating endeavors, especially when working with easy buttercream frosting techniques beginners can confidently tackle.
BakeWithEase: Your Guide to Confident Cake Decorating
At BakeWithEase, we believe that cake decorating should be a joyful and accessible experience for everyone, regardless of skill level. Our mission is to break down seemingly complex techniques into simple, manageable steps that empower you to create beautiful and delicious cakes right in your own kitchen. We focus on providing clear instructions, helpful tips, and encouragement to help you overcome common challenges and build your confidence with every swirl and spread of frosting.
We understand that starting out can feel overwhelming, especially when faced with elaborate cake designs online. That's why we specialize in easy buttercream frosting techniques beginners can master quickly, setting you up for success from your very first decorated cake.
Think of BakeWithEase as your friendly guide, walking you through each step, explaining the 'why' behind certain actions, and offering practical advice to ensure your frosting journey is smooth, fun, and ultimately, successful. We're here to help you discover the simple joys of transforming a baked cake into a work of art with just a few basic tools and techniques.
Essential Tools and Ingredients for Successful Frosting
The Right Frosting: Choosing Your Base Frosting
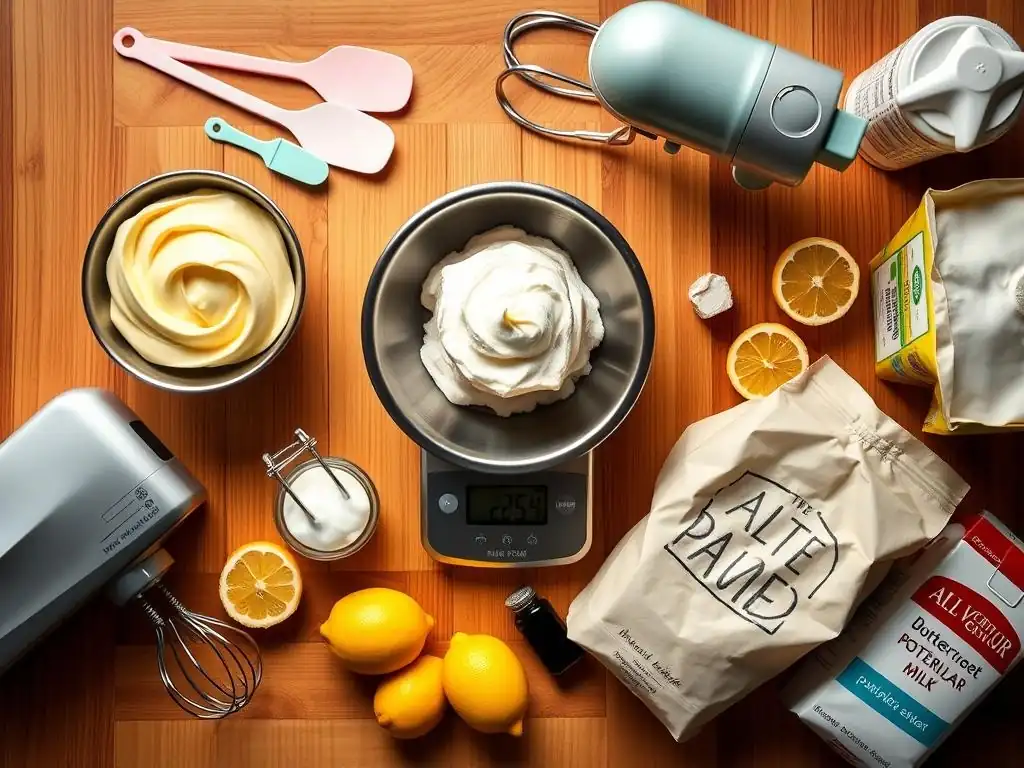
The type of frosting you use is paramount to achieving a smooth, spreadable finish. While many frostings exist, a classic American buttercream is often the go-to for beginners due to its stability, ease of making, and forgiving nature. It's typically made from butter, powdered sugar, a liquid (like milk or cream), and vanilla extract.
The key is ensuring your butter is at room temperature – soft enough to cream easily but not melted – and sifting your powdered sugar to avoid lumps. This combination yields a frosting that is sturdy enough to hold its shape yet soft enough to spread smoothly across your cake layers without tearing them.
However, other easy buttercream frosting techniques beginners might explore include stabilized whipped cream (using gelatin or cornstarch) or a simple cream cheese frosting. Each has a different texture and flavor profile, affecting the final look and feel of your decorated cake. For instance, cream cheese frosting is softer and tangier, making it perfect for red velvet or carrot cakes but potentially trickier to get a perfectly smooth finish on tall cakes.
Regardless of the type chosen, ensuring the frosting is at the correct consistency is vital – not too runny, not too stiff. A well-made base frosting is the first and most critical step in successful cake decoration.
Must-Have Frosting Tools for Effective Decorating
Having the correct tools makes a significant difference in the ease and quality of your frosting application. While you can technically frost a cake with just a butter knife, a few specialized tools elevate your results dramatically and make the process much more enjoyable, especially when practicing easy buttercream frosting techniques beginners aim to master. These tools are relatively inexpensive and widely available, making them excellent investments for anyone serious about improving their cake decorating skills.
Offset Spatula: Your Primary Tool
An offset spatula is indispensable for spreading frosting smoothly and evenly. Its angled blade keeps your hand elevated and away from the cake surface, allowing for a flatter, more controlled application. Available in various sizes, a medium-sized one (around 8-10 inches) is versatile for most cake sizes. Use it to scoop, spread, and smooth the frosting on both the top and sides of the cake. The flexibility of the blade helps in achieving a smooth, consistent layer without digging into the cake itself.
Piping Bags and Tips: Expanding Your Design Options
Piping bags (either disposable or reusable) and a basic set of piping tips are essential for creating borders, swirls, and other decorative elements. For beginners, a few basic tips like a round tip (for dots or lines) and a star tip (for shells or rosettes) are great starting points. Piping allows for precise application and is key for creating defined edges or adding decorative flair that goes beyond a simple smooth finish. Using a piping bag to apply frosting to the sides of the cake before smoothing can also make achieving an even layer much easier.
Cake Turntable: Achieving Professional Finishes
A cake turntable allows you to rotate the cake smoothly while you work on it. This simple tool dramatically improves your ability to frost the sides of the cake evenly and apply borders seamlessly. It enables you to stand in one place and turn the cake to access all sides, ensuring a consistent thickness of frosting and a level top. While not strictly necessary for every technique, using a turntable makes achieving professional-looking smooth finishes or textured sides significantly easier and less awkward.
Foundation Frosting Techniques: A Step-by-Step Guide
Technique 1: The Smooth Finish - A Classic Base
Achieving a smooth frosting finish is a hallmark of elegant cake decorating and a fundamental skill for easy buttercream frosting techniques beginners should learn. It requires patience and practice, but the result is a beautiful, clean surface perfect for minimal decoration or as a base for more complex designs. The process involves applying enough frosting to cover the cake completely and then systematically smoothing it out.
How to Create a Smooth Frosting Layer
Start by applying a crumb coat: a very thin layer of frosting spread all over the cake using an offset spatula. This traps any loose crumbs. Chill the cake in the refrigerator for 15-30 minutes until the crumb coat is firm. Once chilled, apply a generous amount of frosting to the top of the cake, spreading it outwards towards the edges.
Then, apply frosting to the sides, working from the bottom up. Use your offset spatula to smooth the top by holding the blade parallel to the surface and rotating the turntable. For the sides, hold the spatula perpendicular to the cake and gently smooth as you rotate, removing excess frosting. Dip your spatula in warm water and dry it for an extra smooth finish on the final pass.
Tips for Avoiding Crumbs in Your Frosting
The crumb coat is your best friend here. Ensure it's thin but fully covers the cake. Chill the cake thoroughly after the crumb coat; this hardens the frosting and glues down any crumbs. When applying the final layer, use plenty of frosting.
Don't skimp! Applying a thick layer allows you to smooth it without the spatula dragging on the cake surface underneath, which is where crumbs live. If you do pick up a crumb in your final layer, gently lift the spatula, wipe the crumb off, add a little more frosting to that spot, and re-smooth. Avoid overworking the frosting once it's on the cake.
Technique 2: The Palette Knife Texture - Modern and Artistic
Creating texture with a palette knife (often the same as an offset spatula, or sometimes a smaller, straight knife) is a quick and easy way to give your cake a rustic, modern, or artistic look without needing perfect smoothness. This technique is incredibly forgiving and allows for a lot of creativity, making it a great option for easy buttercream frosting techniques beginners can experiment with.
Creating Texture with a Palette Knife
After applying a base layer of frosting (a crumb coat is still recommended), apply a generous final layer. Instead of focusing on smoothing perfectly, use your offset or palette knife to create patterns. You can make swirls by pressing the knife gently into the frosting and rotating the turntable, lifting the knife slightly as you go. For a more abstract look, make short, choppy strokes all over the cake. You can also create vertical or horizontal lines by dragging the edge of the knife through the frosting. The key is to embrace the imperfections and the handmade look.
Experimenting with Different Palette Knife Techniques
Try holding the knife at different angles to create varying depths of texture. A nearly flat angle will create subtle lines, while a steeper angle will create deeper grooves or peaks. You can also try combining techniques – smooth the top but texture the sides, or create distinct patterns like waves or scallops. Don't be afraid to scrape off frosting and try again if you don't like the result. This technique is all about experimentation and finding a texture that you love. It's one of the most versatile easy buttercream frosting techniques beginners can add to their repertoire.
Technique 3: The Simple Border - Adding Definition
Adding a border to your cake provides a neat finish and helps define the edges, giving your cake a polished look. Piping borders is a classic easy buttercream frosting technique beginners can learn using just a piping bag and a basic tip. Borders can be placed around the top edge, the bottom edge, or both.
Creating Basic Borders with Piping Tips
Load your piping bag fitted with your chosen tip (a star tip like a 1M or 2D is popular for simple borders, or a round tip for beads). Hold the bag at a consistent angle (usually 45 degrees for shell borders, 90 degrees for dots) and apply steady, even pressure. For a shell border, press to create a base, then release pressure as you pull the bag towards you, letting the frosting tail off.
Repeat, overlapping the tail of the previous shell with the head of the next. For a bead border, hold the bag perpendicular to the cake and just squeeze, releasing pressure quickly to form a dot. Practice on a piece of parchment paper first to get the feel of the pressure and movement.
Border Variations: Shell, Rope, and Bead
The shell border is perhaps the most common beginner border, creating a classic decorative edge. The rope border requires slightly more coordination, involving overlapping curved lines piped in a spiral motion. The bead border is simply a series of evenly spaced dots around the edge of the cake. Experiment with different tip sizes and styles (open star, closed star, round) to see how they change the look of the border. Piping borders is an easy buttercream frosting technique beginners can master quickly, adding a professional touch to their cakes.
Frosting Troubleshooting: Common Challenges and Solutions
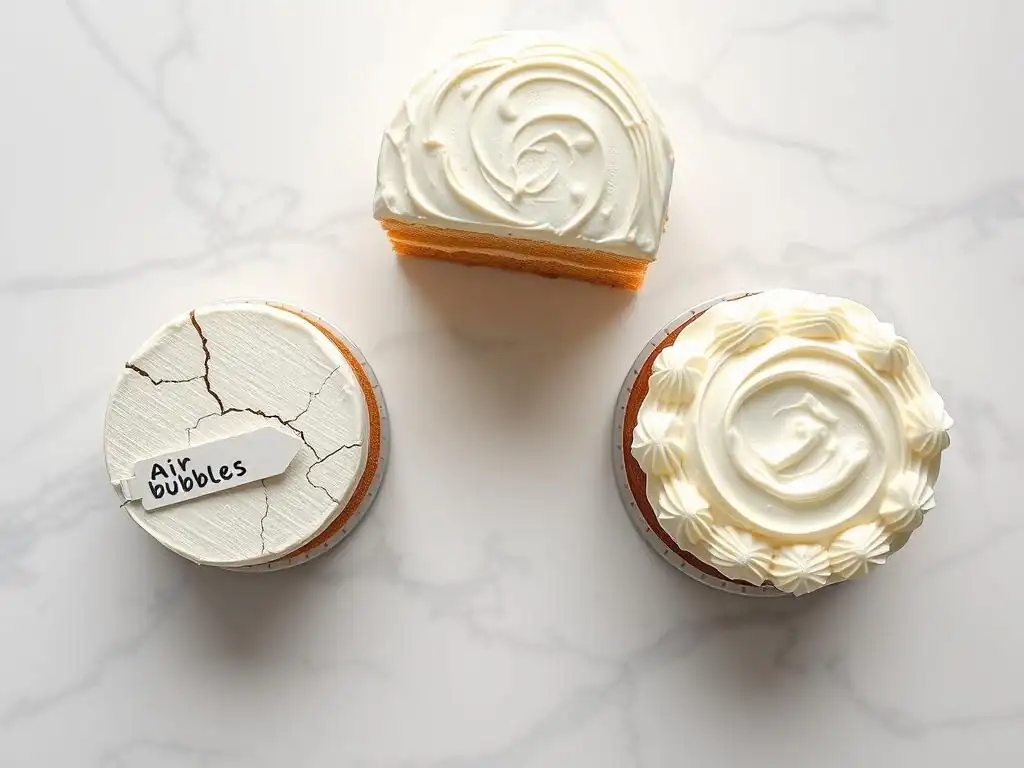
Even with the best preparation, you might encounter issues when frosting. Knowing how to troubleshoot common problems is part of mastering easy buttercream frosting techniques beginners face.
Preventing Air Bubbles in Frosting
Air bubbles can appear in frosting from overmixing or incorporating too much air while mixing. To minimize them, mix your buttercream on low speed for several minutes after it's fully combined; this helps push air out. Before putting frosting in your piping bag, press it firmly against the side of the bowl with your spatula to release trapped air. When filling a piping bag, fill it slowly and gently, avoiding scooping air pockets into the bag. If you spot a large bubble while piping or spreading, simply pop it with a spatula or toothpick and smooth over the area.
Adjusting Frosting Consistency: Too Soft or Too Stiff
Frosting consistency is key to successful application. If your frosting is too soft (perhaps from warm temperatures or too much liquid), it won't hold its shape or spread smoothly without sliding. You can thicken it by adding more sifted powdered sugar, a tablespoon at a time, mixing until incorporated. If it's too stiff (difficult to spread or pipe), add a very small amount of liquid (milk, cream, or water), about half a teaspoon at a time, mixing thoroughly until you reach the desired spreadable consistency. Always add ingredients gradually; you can add more, but you can't easily take away.
Achieving the Ideal Frosting Texture
The ideal texture for spreading is smooth and creamy, like peanut butter, while for piping, it needs to be slightly firmer to hold peaks. Temperature plays a huge role. Buttercream softens in warm conditions and stiffens when cold.
If your kitchen is warm, your frosting might become too soft; chilling it for 10-15 minutes can help. If it's too firm, let it sit at room temperature for a bit or gently warm a small portion and mix it back in. Sometimes, simply remixing the frosting for a few minutes can improve its texture by making it smoother and more pliable.
Enhancing Your Foundation Frosting: Simple Decorative Elements
Once you have your foundation frosting technique down, adding simple decorative elements is the next step to making your cake pop. These additions are easy ways to add visual interest and flavor, complementing the easy buttercream frosting techniques beginners have already learned.
Sprinkles and Edible Accents: Adding Visual Interest
Sprinkles are the quickest and easiest way to add color and fun to a frosted cake. Jimmies, nonpareils, sanding sugar, or edible glitter can be pressed into the sides of a freshly frosted cake or sprinkled over the top. Other edible accents like mini chocolate chips, chopped nuts, or shredded coconut can also add texture and flavor. Apply them while the frosting is still soft so they adhere. For precise placement, roll the side of the cake in a tray filled with sprinkles or gently press them on by hand.
Fresh Fruit: A Natural and Elegant Decoration
Fresh fruit provides a beautiful, natural, and often healthier way to decorate a cake. Sliced strawberries, raspberries, blueberries, or segments of citrus can be arranged artistically on top of a smooth or textured frosting layer. Fruit adds vibrant color and a burst of freshness that pairs well with many cake and frosting flavors. Consider brushing fruit like berries with a little warmed jam or edible glaze to give them a lovely sheen and help preserve their freshness slightly.
Chocolate Drizzle: A Rich and Flavorful Detail
A simple chocolate drizzle adds a touch of elegance and rich flavor. Melt chocolate (chips or chopped bar chocolate) with a tiny bit of butter or oil until smooth. Let it cool slightly so it's still pourable but not hot enough to melt the frosting.
You can drizzle it randomly over the top and let it drip down the sides using a spoon, a piping bag with the tip snipped off, or a squeeze bottle. For more control, practice your drizzle pattern on parchment paper first. A chocolate drizzle works beautifully over easy buttercream frosting techniques beginners use for a quick yet impressive finish.
Expanding Your Frosting Skills (Next Steps)
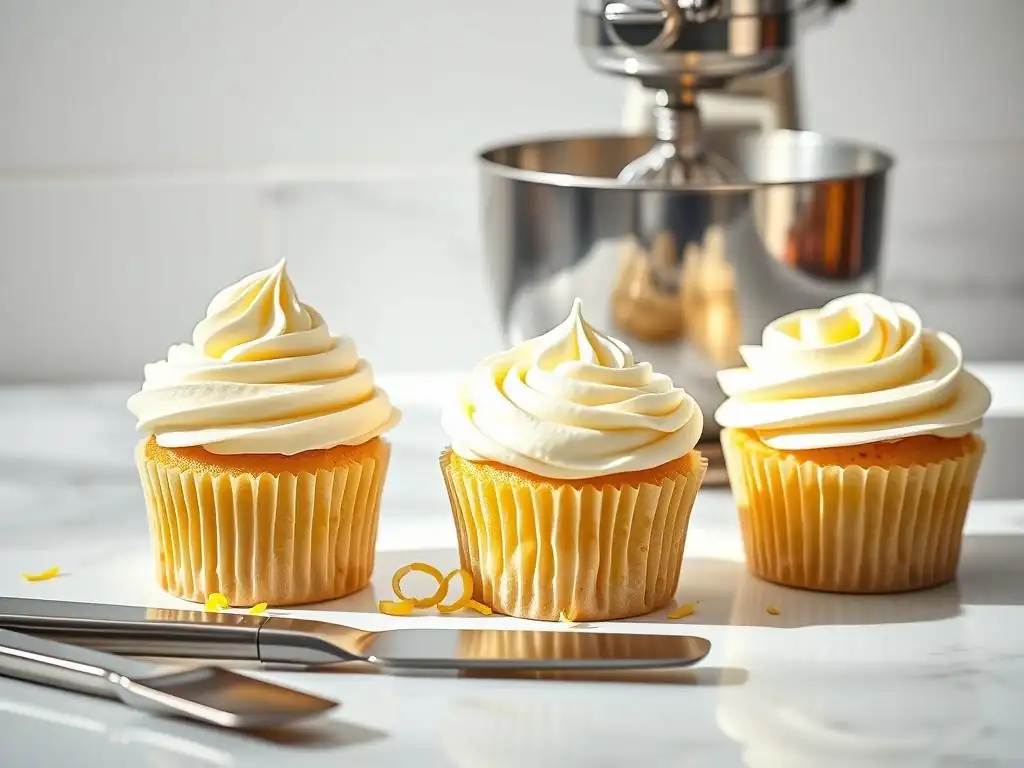
Mastering these foundational techniques is a fantastic achievement! You now have the skills to create beautiful, well-frosted cakes. But the world of cake decorating is vast and full of exciting possibilities.
Introduction to Advanced Frosting Techniques
Ready to take your skills further? Once you're comfortable with smooth finishes, textures, and simple borders, you might explore more advanced techniques. These include intricate piping designs like rosettes, swags, or complex floral patterns using specialized tips. You could also delve into different types of frosting, like Swiss meringue or Italian meringue buttercream, which have different consistencies and handling properties. Learning to cover a cake with fondant is another step that builds upon the smooth frosting base you've mastered. These advanced techniques offer new challenges and opportunities to create even more stunning cake designs.
Continued Practice and Skill Development
Like any skill, cake decorating improves with practice. Don't be discouraged if your first attempts aren't perfect. Every cake you frost is a learning opportunity. Try new techniques on cupcakes before attempting them on a full cake. Experiment with different frosting consistencies and temperatures. Watch tutorials and read guides to pick up new tips and tricks. The more you practice easy buttercream frosting techniques beginners learn, the more intuitive they become, and the more confident you'll feel tackling more complex projects.
Conclusion: Building Confidence with Foundation Frosting Techniques
You've taken significant steps towards becoming a confident cake decorator by focusing on these easy buttercream frosting techniques beginners can successfully implement. From achieving that coveted smooth finish to adding simple yet effective decorative elements, you now have a solid foundation. Remember that patience and practice are your greatest allies on this journey. Don't strive for perfection immediately; celebrate your progress and enjoy the creative process.
BakeWithEase: Sharing Your Cake Creations
We love seeing what you create! Share your frosted cakes with the BakeWithEase community. Connecting with other bakers is a great way to get inspiration, receive feedback, and share your own tips and successes. Seeing your beautiful cakes, frosted using the easy buttercream frosting techniques beginners learned here, brings us immense joy. Don't hesitate to show off your hard work!
Final Thoughts on Cake Decorating for Beginners
Cake decorating is meant to be fun! It's a delicious way to express creativity and celebrate special moments. Start with simple goals, use the right tools, and don't be afraid to experiment. The easy buttercream frosting techniques beginners learn first are the building blocks for everything else. With a little practice and the guidance from resources like BakeWithEase, you'll be swirling, spreading, and piping with confidence in no time. Happy decorating!
Frequently Asked Questions
What makes a buttercream frosting "easy" for beginners?
Easy buttercream frosting techniques focus on simple recipes with minimal ingredients and straightforward instructions, ensuring a smooth, manageable process for new bakers.
What are some basic tools needed for easy buttercream frosting?
You'll typically need a mixer (hand or stand), measuring cups and spoons, a spatula, a piping bag, and a few common piping tips to create simple designs.
Can I achieve different frosting textures with easy techniques?
Yes! Adjusting the butter-to-sugar ratio or incorporating ingredients like milk or cream can significantly alter the frosting's consistency for various applications.
How do I troubleshoot common buttercream frosting problems like lumps or a grainy texture?
Lumps can often be resolved by thorough mixing and ensuring the butter is at room temperature. A grainy texture might require adding a small amount of liquid and mixing again.
Where can I find step-by-step visual guides for easy buttercream frosting techniques?
BakeWithEase.com provides detailed guides and video tutorials demonstrating simple swirling and peaking methods, perfect for beginner bakers.
Final Reflection: The Sweet Simplicity of Mastering Frosting
The art of creating beautiful, delicious buttercream frosting is more accessible than you might think. This isn't just about achieving a perfectly smooth finish; it's about unlocking a creative outlet and adding a personal touch to your baking. The techniques explored in this article—from achieving the right consistency to mastering basic swirling and piping—empower even the most novice baker to elevate their creations.
The impact of simple, achievable baking skills extends far beyond the kitchen. It's about fostering a sense of accomplishment and joy in the process of creating something beautiful with your own hands. This resonates deeply with me, as I remember the immense satisfaction of mastering my first buttercream rose. It's a feeling of empowerment that transcends the simple act of frosting a cake. Baking is at once child's play and adult joy. And love, of course.
- Alma Flor Ada
Now, I invite you to take what you've learned and experiment! Don't be afraid to try different techniques, to get messy, and to embrace the imperfections. The journey of mastering buttercream frosting is as rewarding as the final product. So, grab your mixer, gather your ingredients, and let your creativity flow. The sweetest creations await!
Unleash Your Inner Pastry Chef!
Thanks for joining us on this sweet journey into frosting artistry! We hope you’ve gained some delicious inspiration and newfound confidence in your baking skills. Now it’s time to put your new knowledge into practice!
- Master the swirl: Try out the techniques we shared today on your next cake – you'll be amazed at how quickly you can create stunning designs. Experiment with different piping tips and pressure for unique results.
- Share your creations: Show us your frosted masterpieces! Tag us on social media with #BakeWithEaseFrosting and let’s inspire each other.
- Challenge a friend: Why not bake a cake together and test your frosting skills head-to-head? It's a fun and delicious way to share your newfound expertise.
Ready to transform your cakes from simple to spectacular? What's your favorite frosting tip to use now?