
Layer Cake Assembly Hacks for Busy Bakers

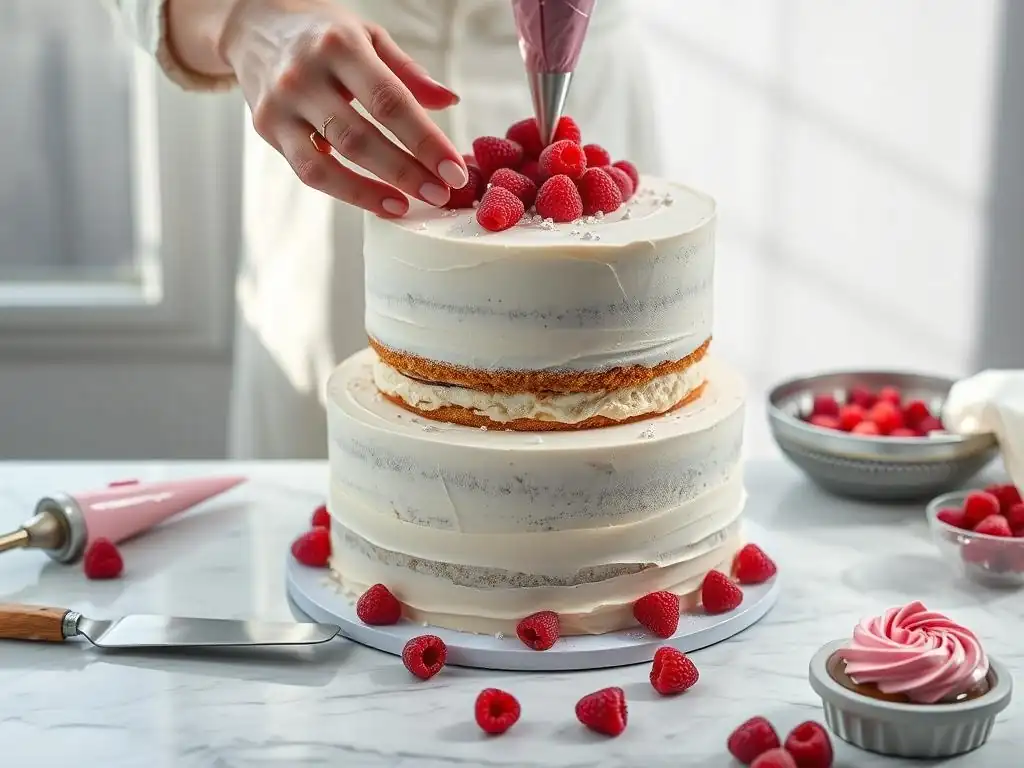
Welcome to BakeWithEase, your baking sanctuary! Ever dreamt of crafting a show-stopping layer cake without the stress? You're in the right place! We'll demystify the process and reveal the secrets to easy layer cake assembly, so even the busiest bakers can achieve picture-perfect results. Ready to discover game-changing hacks that will transform your cake-making experience? Let's get started!
- Easy Layer Cake Assembly Hacks for Busy Bakers: BakeWithEase Guide
- Introduction: Streamlining Layer Cake Assembly for Time-Crunched Bakers
- Understanding the Fundamentals of Layer Cake Construction
- Hack #1: Pre-Chill Your Cake Layers for Easier Handling
- Hack #2: Create a Stable Base with a Cardboard Cake Round
- Hack #3: Utilize a Simple Syrup Soak for Moist Cake Layers
- Hack #4: Employ a Piping Bag for Neat Frosting Application
- Hack #5: The Crumb Coat: Your Secret Weapon for a Flawless Finish
- Hack #6: Lazy Susan for Effortless Frosting and Decoration
- Hack #7: Simplify Decorations with Pre-Made Elements
- Hack #8: Use Cake Boards Between Layers For Transporting Tiered Cakes
- Troubleshooting Common Layer Cake Assembly Problems
- Conclusion: Mastering Easy Layer Cake Assembly with BakeWithEase
-
Frequently Asked Questions
- How can I prevent my cake layers from sliding during assembly?
- What's the best frosting consistency for easy layer cake assembly?
- How do I get perfectly even frosting between each layer of my cake?
- What's a quick way to chill my cake layers before frosting?
- What are some simple decorations I can use for a beginner-friendly layer cake?
- Final Reflection: Unlocking the Joy of Effortless Layer Cakes
- Unleash Your Inner Cake Boss: Effortless Layer Cake Assembly!
Easy Layer Cake Assembly Hacks for Busy Bakers: BakeWithEase Guide
Introduction: Streamlining Layer Cake Assembly for Time-Crunched Bakers
Why Easy Layer Cake Assembly Matters for Busy Bakers
Creating a beautiful layer cake can feel like a daunting task, especially when your schedule is packed. Busy bakers often juggle work, family, and other commitments, leaving limited time for intricate kitchen projects. Mastering easy layer cake assembly techniques significantly reduces stress and saves precious minutes, transforming a potentially overwhelming endeavor into a manageable and enjoyable activity. By employing simple yet effective strategies, you can achieve professional-looking results without spending hours meticulously stacking and frosting.
The ability to assemble a layer cake quickly and efficiently means you can bake for special occasions, last-minute gatherings, or simply satisfy a craving without sacrificing your entire evening. For instance, a busy parent might need to assemble a birthday cake after dinner, or a hobby baker might want to share treats with colleagues but only have an hour before heading out. Focusing on easy layer cake assembly allows these individuals to bake more frequently and confidently, making delicious homemade cakes a regular part of their lives rather than a rare luxury.
BakeWithEase's Commitment to Simple Baking Techniques
At BakeWithEase, our core mission is to make baking accessible and enjoyable for everyone, regardless of their experience level or available time. We believe that crafting delicious baked goods, including impressive layer cakes, should not require advanced degrees in pastry arts or hours of dedicated labor. Our guides and recipes are designed with simplicity and clarity in mind, breaking down complex processes into easy-to-follow steps.
We focus on practical tips, clever shortcuts, and reliable methods that deliver consistent results. From choosing the right ingredients to mastering fundamental techniques, BakeWithEase provides the tools and knowledge you need to bake with confidence and ease. This article on easy layer cake assembly is a perfect example of our approach, offering actionable hacks that busy bakers can implement immediately to streamline their cake-making process and achieve stunning outcomes with minimal fuss.
Understanding the Fundamentals of Layer Cake Construction
The Importance of Level Cake Layers for Easy Assembly
Achieving level cake layers is perhaps the most crucial step in ensuring easy layer cake assembly. Cakes that dome excessively or bake unevenly create unstable surfaces for stacking, leading to wobbly layers, uneven frosting application, and a finished product that leans or collapses. While minor imperfections can be smoothed over, significantly sloped layers require trimming, which can waste cake and create more crumbs to manage.
Level layers provide a flat, solid foundation for each subsequent layer and filling, making the entire assembly process smoother and more predictable. Using techniques like cake strips wrapped around the pans, lowering oven temperature slightly, or simply ensuring batter is evenly distributed before baking can help achieve flatter tops. Even if a slight dome occurs, a quick trim with a serrated knife is far easier to handle on a relatively level cake than a severely domed one.
Choosing the Right Cake Filling for Stability and Flavor
The filling between your cake layers plays a vital role in both the taste and structural integrity of your layer cake. A filling that is too soft, runny, or heavy can cause layers to slide or compress, undermining your easy layer cake assembly efforts. Buttercream, ganache, and firm cream cheese frostings are generally excellent choices as they provide good stability when chilled. Fruit curds or jams can also work but often benefit from being paired with a firmer border of frosting around the edge of the layer to contain them.
Consider the weight and texture of your cake layers when selecting a filling. A delicate sponge cake might be overwhelmed by a heavy filling, while a dense pound cake can support something richer. For best results in easy layer cake assembly, ensure your filling is at a spreadable consistency – not too stiff to damage the cake, but firm enough to hold its shape and support the weight of the layers above. Allowing the filling to set slightly in the refrigerator before final assembly can also enhance stability.
Essential Tools for Effortless Layer Cake Building
Having the right tools can make a significant difference in the ease and success of your layer cake assembly. While you don't need a professional kitchen setup, a few key items are incredibly helpful. A long, serrated knife is essential for leveling cake layers if needed. An offset spatula is indispensable for spreading fillings and frosting smoothly and evenly. A cake turntable or lazy Susan allows you to easily rotate the cake while frosting, ensuring a smooth finish without awkward maneuvering.
Other useful tools include a cake board (cardboard round) for the base, which makes moving the finished cake simple, and potentially a piping bag with a large round tip for applying frosting consistently between layers or for creating a frosting dam. While not strictly necessary for easy layer cake assembly, these tools minimize frustration and help achieve cleaner, more professional results, proving that a little investment in the right equipment pays off in saved time and effort.
Hack #1: Pre-Chill Your Cake Layers for Easier Handling
The Science Behind Chilling Cake Layers
Chilling cake layers is a simple yet incredibly effective hack for easy layer cake assembly. When cake layers are cooled thoroughly in the refrigerator or freezer, the fats within the cake solidify slightly. This makes the cake firmer and less prone to crumbling or tearing when you handle it, level it, or spread frosting on it. Warm or room-temperature cakes are much more delicate and can easily break apart, especially around the edges.
Furthermore, chilling helps settle the cake's structure after baking. Any residual heat is removed, preventing condensation from forming when you add frosting, which can lead to a watery mess. A chilled cake layer also provides a firm surface for the frosting to adhere to, making it easier to achieve a smooth, even coating without pulling crumbs into your frosting.
How to Chill Cake Layers Effectively: A Step-by-Step Guide
To effectively chill your cake layers for easy layer cake assembly, first ensure they are completely cooled to room temperature after baking. Attempting to chill warm cakes can create too much condensation. Once cool, wrap each layer individually and snugly in plastic wrap. For faster chilling, place them in the freezer for about 30-60 minutes. If you have more time, refrigerate them for at least 2-3 hours, or even overnight.
When you're ready to assemble, take out one layer at a time as needed. Keeping the others chilled until just before use maintains their firm texture. This simple step significantly improves handling, making leveling and frosting application much cleaner and less frustrating, which is key to easy layer cake assembly.
Benefits of Chilled Cake Layers in Assembly
The benefits of using chilled cake layers during assembly are numerous and directly contribute to a smoother, easier process. Chilled layers are much firmer, reducing the likelihood of breakage when you lift, move, or stack them. This is especially helpful with delicate or moist cake recipes. The firm surface also makes spreading frosting significantly easier; the frosting glides smoothly over the cold cake instead of tearing at it or picking up crumbs.
Moreover, working with chilled layers helps keep your frosting from melting, particularly if you're using a temperature-sensitive buttercream or cream cheese frosting. This allows you more time to work and achieve a neat finish. The reduction in crumbs picked up by the frosting also makes the crumb coat step (Hack #5) more effective and sometimes even allows you to skip it for simpler cakes, truly embodying the spirit of easy layer cake assembly.
Hack #2: Create a Stable Base with a Cardboard Cake Round
Why Use a Cardboard Cake Round?
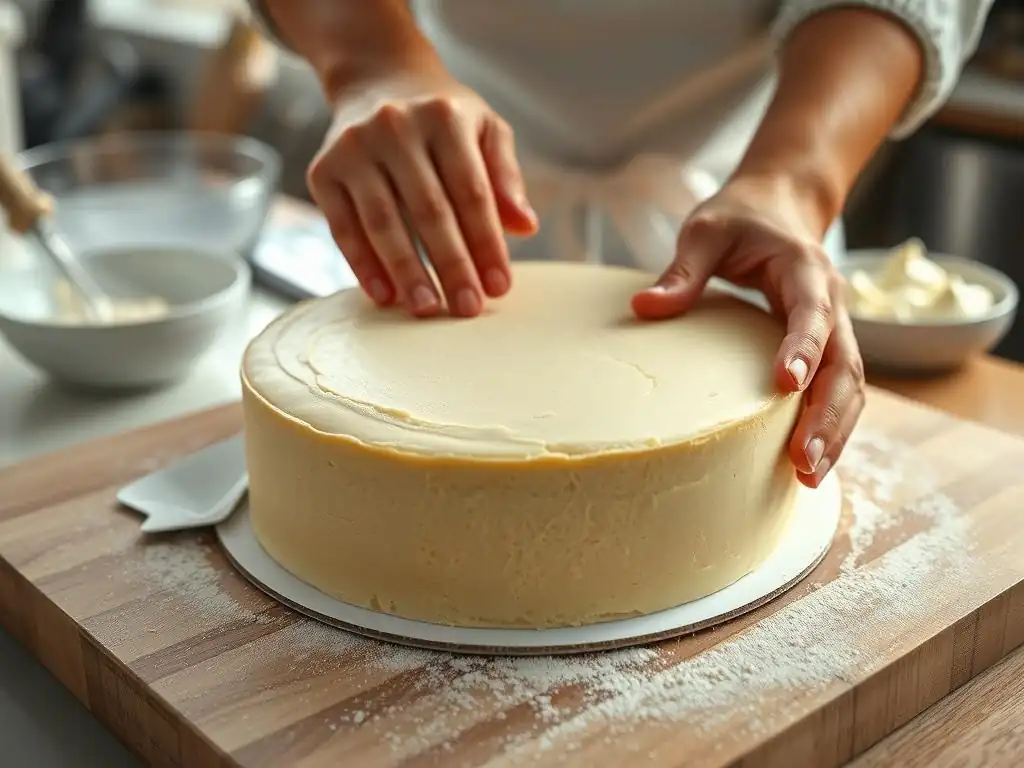
Using a cardboard cake round as the base for your layer cake is a simple yet incredibly practical hack that enhances stability and makes handling the finished cake much easier. Building your cake directly on the serving platter can make it difficult to rotate while frosting or move it later without risking damage. A cake round provides a sturdy, flat surface that supports the cake's weight and structure from the bottom up.
This stable base is particularly beneficial for tiered cakes or cakes that need to be transported. It allows you to easily lift and transfer the cake from your turntable to the serving stand or box without touching the cake itself. For easy layer cake assembly, starting on a cake round sets you up for success by providing a mobile and stable foundation throughout the entire process, from stacking to final decoration.
Selecting the Correct Size Cake Round
Choosing the right size cake round is important for both stability and aesthetics. The ideal size is typically the same diameter as your cake layers or just slightly larger – perhaps 1/4 to 1/2 inch wider in diameter. Using a cake round that is too small provides inadequate support, while one that is significantly larger can be visually distracting and make it harder to frost the sides cleanly down to the base.
For example, if you are baking an 8-inch layer cake, an 8-inch or 8.5-inch cake round would be suitable. Ensure the cake round is sturdy enough for the weight of your finished cake, especially for taller or heavier creations. Using the correct size ensures the cake has a secure foundation that is easy to work with during easy layer cake assembly and transport.
Securing the Cake to the Round for Easy Moving
To prevent your cake from sliding off the cardboard round during assembly, frosting, or transport, it's a good idea to secure the first layer to the round. A small dollop of frosting or a thin smear of melted chocolate works perfectly for this. Simply place a small amount in the center of the cake round before placing your first cake layer on top.
Gently press the first layer down onto the frosting/chocolate to adhere it to the board. This creates a non-slip bond between the cake and the base, providing essential stability. This simple step is crucial for ensuring that your easy layer cake assembly remains easy and that the cake stays put, especially when rotating it for frosting or moving it to its final destination.
Hack #3: Utilize a Simple Syrup Soak for Moist Cake Layers
The Purpose of Simple Syrup in Cake Assembly
Simple syrup, a liquid made from equal parts sugar and water heated until the sugar dissolves, is a secret weapon for achieving incredibly moist and flavorful layer cakes. While a well-baked cake should already be moist, a simple syrup soak adds an extra layer of hydration, ensuring the cake remains tender for days. This is particularly useful for cakes that might be slightly dry or for recipes that benefit from added moisture.
Beyond just adding moisture, simple syrup also acts as a carrier for flavor. You can infuse the syrup with extracts, liqueurs, fruit juices, or spices to complement or enhance the cake and filling flavors. This step is quick, inexpensive, and significantly elevates the texture and taste of your finished layer cake, contributing to a truly delightful eating experience after your easy layer cake assembly.
Making and Applying Simple Syrup: A Quick Recipe
Making simple syrup is incredibly straightforward. Combine equal volumes of granulated sugar and water in a small saucepan (e.g., 1 cup sugar and 1 cup water). Heat over medium heat, stirring occasionally, until the sugar is completely dissolved and the liquid is clear. Bring it just to a simmer, then remove from heat and let it cool completely before use. For a thicker syrup, use a 2:1 sugar-to-water ratio.
Once cooled, you can apply the syrup to your cake layers using a pastry brush or a squeeze bottle. Place a cake layer on your base (like the cake round from Hack #2) and gently brush or drizzle the syrup evenly over the top surface, focusing on the edges which tend to dry out faster. Don't oversaturate the cake; you want it moist, not soggy. A typical amount might be 2-4 tablespoons per 8-inch layer, depending on the cake's density and desired moisture level.
Flavor Variations for Simple Syrup
The beauty of simple syrup lies in its versatility for adding flavor. The basic sugar-water ratio provides moisture, but you can infuse it with almost anything. For a vanilla cake, add a splash of vanilla extract to the cooled syrup. For chocolate cake, try coffee or a coffee liqueur. Lemon or orange zest can brighten citrus-flavored cakes. You can even use fruit juices like raspberry or passion fruit for vibrant color and flavor.
Consider the overall flavor profile of your cake, filling, and frosting when choosing your simple syrup infusion. A lemon simple syrup on a lemon cake with raspberry filling is a classic combination. A coffee simple syrup on a chocolate cake with mocha buttercream is another popular choice. Experimenting with these variations adds an extra layer of deliciousness to your easy layer cake assembly.
Hack #4: Employ a Piping Bag for Neat Frosting Application
Piping vs. Spreading Frosting: Which is Easier?
While using an offset spatula to spread frosting is traditional, using a piping bag for applying frosting between layers and for the initial coat on the outside can be significantly easier and neater, especially for beginners or busy bakers aiming for easy layer cake assembly. When you spread frosting with a spatula, you risk pulling up crumbs, creating uneven layers of filling, and struggling to get a consistent thickness.
Piping allows you to lay down a uniform layer of frosting quickly and precisely. For filling layers, you can pipe a consistent border around the edge and fill the center. For the outside, you can pipe vertical lines of frosting all around the cake before smoothing them with a spatula. This method minimizes contact with the cake's surface, reducing crumb transfer and making the subsequent smoothing steps much faster and cleaner.
Choosing the Right Piping Tip for Layer Cake Assembly
You don't need fancy piping tips for easy layer cake assembly. A large round piping tip, such as an Ateco #808 or Wilton #1A, is ideal for applying frosting between layers and for the initial outer coat. The large opening allows the frosting to flow easily and quickly, laying down a generous, consistent amount.
If you don't have a large round tip, you can simply snip off a large portion of the end of the piping bag (about 1/2 to 3/4 inch opening). The goal is to create a wide, open channel for the frosting to pass through smoothly. Using a sturdy piping bag, whether reusable or disposable, filled properly, makes this step of easy layer cake assembly remarkably efficient.
Techniques for Even Frosting Distribution
Using a piping bag helps achieve even frosting distribution, which is key to a stable and aesthetically pleasing layer cake. For filling layers, pipe an even border of frosting around the perimeter of the first cake layer. This "dam" prevents softer fillings like curd or jam from squeezing out when the next layer is added. Then, fill the center with your chosen filling or more frosting, piping it evenly within the dam.
For the outside of the cake, fit your piping bag with the large round tip or use a cut bag. Starting at the bottom, pipe thick, vertical lines of frosting all the way around the cake, right up to the top edge. Then, pipe a thick layer of frosting on top. This provides a generous, even base that is easy to smooth with an offset spatula, making your easy layer cake assembly look professional without the usual struggle against crumbs and uneven spots.
Hack #5: The Crumb Coat: Your Secret Weapon for a Flawless Finish
Why a Crumb Coat is Essential
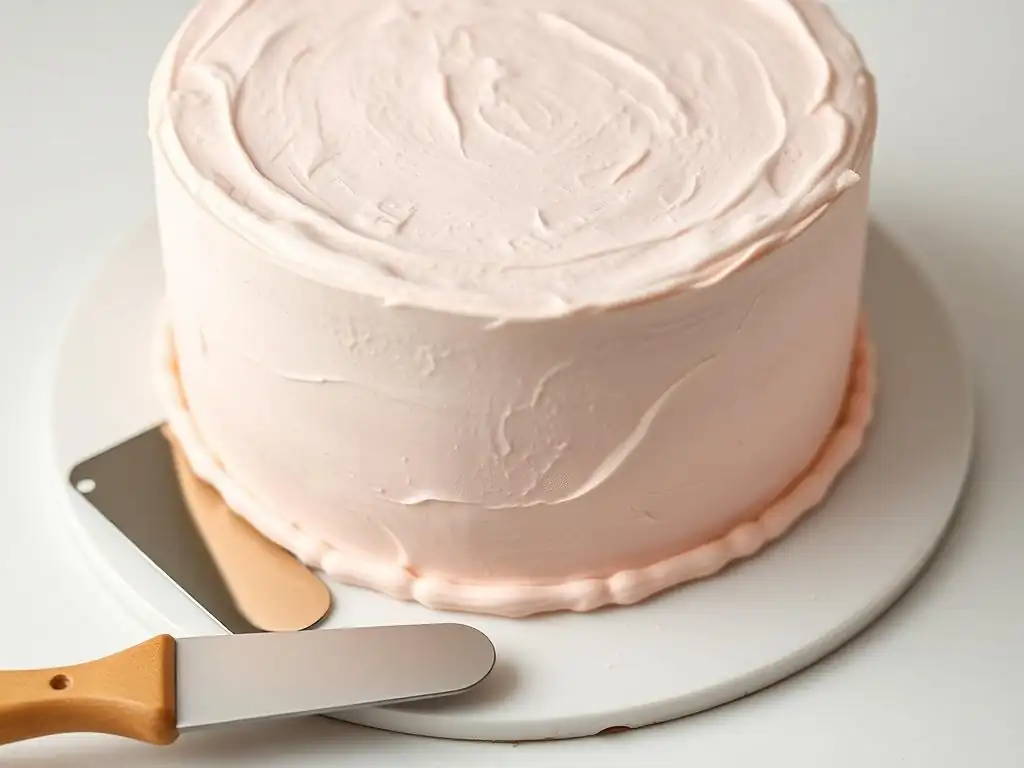
The crumb coat is a thin layer of frosting applied to the entire cake before the final, thicker layer of frosting. Its primary purpose is to trap any loose crumbs that come off the cake during assembly and the initial frosting application. Without a crumb coat, these crumbs would inevitably mix into your final layer of frosting, resulting in a messy, unprofessional appearance.
While it might seem like an extra step, applying and chilling a crumb coat actually saves time and frustration in the long run. It creates a stable, smooth surface for your final frosting layer, making it much easier to achieve a clean, flawless finish. It's a non-negotiable step for truly easy layer cake assembly that looks polished.
Applying the Crumb Coat: A Quick and Easy Method
Applying a crumb coat is simple and requires minimal frosting. Using an offset spatula, take a small amount of frosting and spread a very thin layer over the top and sides of the assembled cake. Don't worry about getting it perfectly smooth or opaque; the goal is just to cover the cake surface and trap crumbs.
Work quickly and use light pressure to avoid pulling up too many crumbs. If you encounter a particularly crumbly spot, dab the frosting on instead of spreading. Once the cake is covered in the thin layer, scrape off any excess frosting from your spatula back into the bowl, as it will contain crumbs.
Chilling the Crumb Coat for Maximum Stability
After applying the thin crumb coat, the next crucial step is to chill the cake. Place the crumb-coated cake in the refrigerator for at least 20-30 minutes, or until the frosting is firm to the touch. This chilling period allows the frosting to set and effectively lock in all those loose crumbs.
Once the crumb coat is firm, you have a stable, smooth surface to apply your final layer of frosting. This step makes applying the final coat significantly easier, as you're working on a solid foundation with no crumbs to contend with, leading to a much cleaner and more professional result in your easy layer cake assembly process.
Hack #6: Lazy Susan for Effortless Frosting and Decoration
Why a Lazy Susan is a Time-Saver
A cake turntable, often referred to as a lazy Susan in a baking context, is an invaluable tool for easy layer cake assembly and decoration. It allows you to smoothly rotate the cake 360 degrees while you stand in one place. This eliminates the need to constantly move around the cake or awkwardly maneuver it to frost and decorate all sides evenly.
Having the cake spin effortlessly in front of you makes applying frosting with an offset spatula or piping bag much more efficient. You can maintain a consistent angle and pressure, leading to smoother sides and tops. For busy bakers, this tool drastically cuts down on the time spent fiddling with positioning the cake, making the frosting process significantly faster and less tiring.
Using a Lazy Susan for Smooth Frosting
To use a lazy Susan for smooth frosting, place your cake (preferably on a cake round as discussed in Hack #2, and after the crumb coat has chilled) directly in the center of the turntable. Load your offset spatula with a good amount of frosting. While holding the spatula steady against the side or top of the cake, gently rotate the turntable with your other hand.
Allow the rotation to do the work of spreading the frosting evenly. For the sides, hold the spatula at a slight angle, allowing the excess frosting to build up in front of it as you spin. For the top, hold the spatula flat or at a slight angle from the center to the edge as you spin. This technique, practiced a few times, quickly leads to impressively smooth frosting results with minimal effort, contributing greatly to easy layer cake assembly.
Decorating Tips with a Rotating Cake Stand
A rotating cake stand isn't just for smooth frosting; it's also a game-changer for decoration. Whether you're piping borders, adding sprinkles, or creating intricate designs, being able to simply spin the cake makes the process much more controlled and precise. You can apply decoration continuously around the cake without stopping to reposition yourself or the cake.
For example, when piping a shell border, you can pipe, rotate slightly, pipe the next shell, and continue smoothly around the base or top edge. If you're covering the cake in sprinkles, you can hold a cup of sprinkles against the side while spinning the cake, ensuring even coverage. This ease of movement streamlines the entire decorating process, making even complex-looking finishes achievable within a busy schedule, enhancing your easy layer cake assembly skills.
Hack #7: Simplify Decorations with Pre-Made Elements
The Power of Pre-Made Decorations
For busy bakers, time is often the biggest constraint. While homemade decorations are lovely, relying on pre-made elements can save significant time and effort without sacrificing visual appeal. The market offers a vast array of high-quality, store-bought decorations that can instantly elevate a simple frosted cake.
Think about using pre-made sprinkles, edible glitter, chocolate shavings, candy melts, or even good-quality store-bought cookies or meringues as toppers or side decorations. These items require no preparation and can be applied quickly to a finished cake, allowing you to add flair and personality in minutes. Embracing pre-made decorations is a smart strategy for achieving beautiful results with easy layer cake assembly.
Ideas for Store-Bought Decorations that Look Homemade
Many store-bought decorations can be used in creative ways to give a cake a homemade feel. For example, instead of just scattering sprinkles, use different shapes and colors to create patterns or cover a specific area. Use chocolate shavings to completely coat the sides of a frosted cake for a rustic, elegant look. Edible flowers or sugar pearls can add a touch of sophistication with minimal effort.
Consider using edible markers on fondant or even directly on firm frosting to draw simple designs. Pre-made sugar paste flowers or leaves can be arranged artfully. Even simple items like crushed cookies or chopped nuts can be used effectively to add texture and visual interest. The key is thoughtful placement and combination rather than complex creation, fitting perfectly within the easy layer cake assembly philosophy.
Combining Pre-Made and Homemade Decorations
You don't have to choose exclusively between pre-made and homemade. Combining the two can often yield the best results for busy bakers aiming for easy layer cake assembly. Perhaps you make a simple homemade buttercream but use store-bought sprinkles and candy melts for decoration. Or maybe you bake the cake from scratch but use a pre-made chocolate ganache drip and store-bought edible glitter.
A simple homemade element, like a quick ganache or a few piped buttercream swirls on top, paired with elegant store-bought elements like edible pearls or a purchased cake topper, creates a balanced look that is both personal and time-efficient. This hybrid approach allows you to focus your limited time on the aspects you enjoy most or that make the biggest impact, while using ready-made items to fill in the gaps effortlessly.
Hack #8: Use Cake Boards Between Layers For Transporting Tiered Cakes
Maintaining Cake Stability During Transport
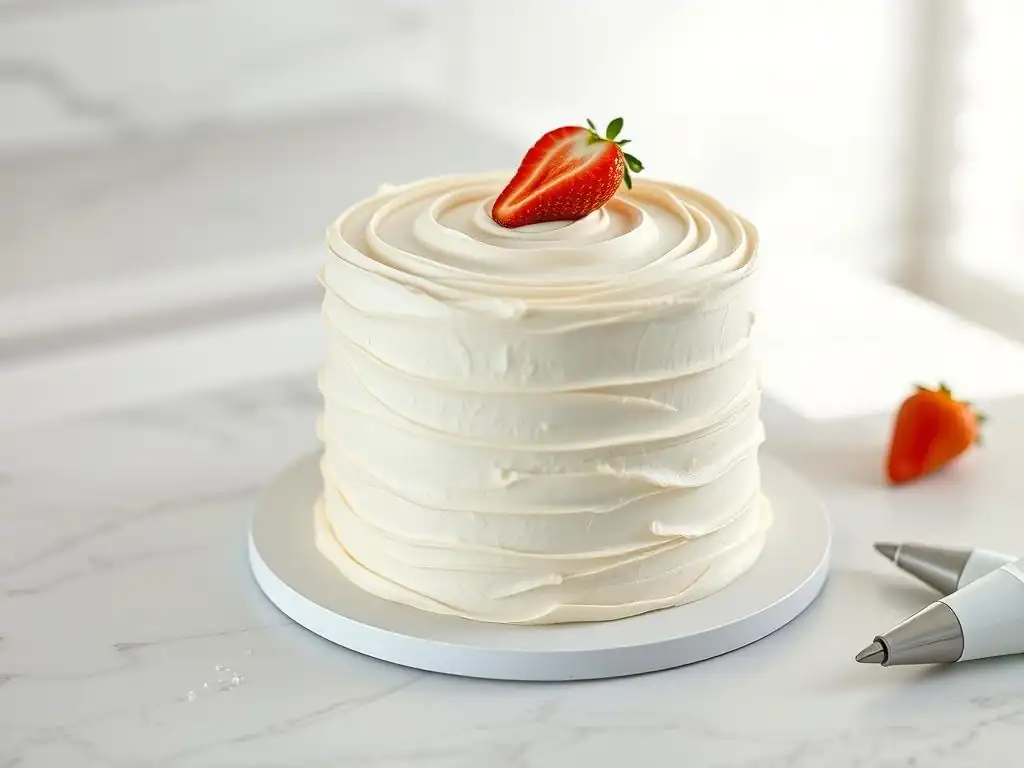
Transporting a multi-tiered cake can be nerve-wracking, as the weight of the upper layers can cause the lower layers to compress or even collapse. Using thin cardboard cake boards (the same diameter as the cake layers) between each tier, supported by internal dowels or straws, is essential for maintaining structural integrity during transport. This technique distributes the weight of each tier onto the dowels, bypassing the cake layer below it.
This hack isn't just for professional bakers; it's a critical step for any home baker attempting a tiered cake, making the daunting task of moving it much more manageable. By providing a stable base for each tier and ensuring weight is properly supported, you significantly reduce the risk of your beautiful creation shifting or collapsing on the way to its destination, ensuring your easy layer cake assembly efforts weren't in vain.
Step by Step guide on how to use cake boards between layers
- Bake and Chill Layers: Bake your cake layers and ensure they are completely cooled and preferably chilled (Hack #1).
- Prepare Base Tier: Place the largest cake layer on a sturdy cake drum or thicker cake board that will be the final base. Apply filling and the crumb coat (Hack #5).
- Insert Dowels: Once the crumb coat is chilled, insert food-safe dowels (plastic or wooden) or thick straws vertically into the base tier. The number of dowels depends on the size and weight of the tier above, but typically 3-5 for an 8-inch tier is a good starting point. Cut the dowels so they are flush with the top surface of the cake layer.
- Place Cake Board: Carefully place a thin cardboard cake board (the same diameter as the next tier) directly on top of the dowels on the base tier. The dowels should support the board evenly.
- Add Next Tier: Place the next cake layer (which should already be on its own same-sized cardboard round) directly on the cake board you just placed.
- Repeat for Additional Tiers: Repeat steps 3-5 for each subsequent tier.
- Frost and Decorate: Frost and decorate the cake. Each tier is now independently supported, making the overall structure stable for movement.
Troubleshooting Common Layer Cake Assembly Problems
Preventing Cake Slippage
Cake slippage is a common frustration during layer cake assembly. It often happens when the filling is too soft, the layers aren't level, or the cake isn't properly secured to its base. To prevent slippage, ensure your cake layers are level (trim if necessary) and well-chilled (Hack #1). Use a sturdy filling like buttercream or ganache that sets up firmly.
When stacking, apply a small amount of frosting or filling to the center of the layer below before adding the next layer – this acts as a light adhesive. Ensure the cake is centered on its base (Hack #2). If using a softer filling, pipe a firm frosting dam around the edge of each layer before adding the filling in the center (Hack #4). Chilling the cake after each few layers can also help stabilize the structure and prevent movement.
Fixing Uneven Layers
Uneven layers can throw off the entire look and stability of your cake. The best fix is prevention by baking level layers (see Understanding the Fundamentals). However, if you find yourself with uneven layers during assembly, you have a few options. For slightly uneven layers, you can use extra filling on the thinner side to help level it out.
For significantly domed or sloped layers, the most effective fix is to carefully trim the top of the layer flat using a long, serrated knife. Place the cake flat on a surface and hold the knife parallel to the counter, slowly rotating the cake while cutting off the dome. This creates a flat surface for stacking. While trimming creates crumbs, it's essential for a stable structure, making subsequent easy layer cake assembly steps much smoother.
Dealing with Soft or Crumbly Cakes
Soft or crumbly cakes can make assembly incredibly challenging, as they are difficult to handle and prone to breaking. Chilling the cake layers thoroughly (Hack #1) is the most effective way to combat softness and crumbliness, as it firms up the structure. Working with a chilled cake makes lifting, leveling, and frosting much easier.
If a cake is excessively crumbly, you can try brushing it generously with simple syrup (Hack #3) to add moisture and help bind the crumbs together. Apply the crumb coat (Hack #5) with extra care, dabbing the frosting on rather than spreading to avoid pulling up more crumbs. Once the crumb coat is chilled and firm, the cake will be much easier to handle for the final frosting layer. For very delicate cakes, consider assembling and frosting them while still partially frozen for maximum firmness.
Conclusion: Mastering Easy Layer Cake Assembly with BakeWithEase
Recap of Essential Hacks for Busy Bakers
We've explored several powerful hacks designed to make layer cake assembly simple and stress-free for busy bakers. Starting with chilled cake layers provides a firm foundation for handling and frosting, while using a sturdy cake round ensures stability from the base up. A simple syrup soak adds moisture and flavor effortlessly. Employing a piping bag for frosting application between layers and for the initial coat streamlines the process and minimizes crumbs.
The crumb coat is a vital step for trapping crumbs and creating a smooth surface for the final frosting layer. Utilizing a lazy Susan or cake turntable makes frosting and decorating significantly easier and faster. Finally, incorporating pre-made decorations saves valuable time, and using cake boards between tiers is crucial for transporting multi-layered creations safely. Implementing these techniques transforms layer cake assembly from a potential ordeal into an enjoyable and efficient task.
Further Resources for Layer Cake Perfection on BakeWithEase.com
Mastering easy layer cake assembly is just the beginning of your baking journey. At BakeWithEase.com, we offer a wealth of resources to help you perfect your layer cake skills and explore new techniques. You can find detailed recipes for various cake flavors, stable frosting recipes that work well for assembly, guides on different decorating methods, and tips for troubleshooting other common baking challenges.
Explore our sections on Pastry and Desserts, specifically focusing on Layer Cake Assembly & Decoration, for step-by-step tutorials and inspiration. Whether you want to learn how to make a specific type of buttercream, achieve a perfectly smooth finish, or try your hand at simple piping techniques, BakeWithEase.com is here to support you with clear, friendly, and practical advice. Happy baking!
Frequently Asked Questions
How can I prevent my cake layers from sliding during assembly?
To prevent sliding, use a small amount of frosting as a "glue" on the cake board before placing the first layer. You can also use cake dowels for added support, especially for taller cakes.
What's the best frosting consistency for easy layer cake assembly?
The ideal frosting consistency is spreadable but not too runny. A medium-thick frosting holds its shape and won't cause the layers to slide, giving you a stable base.
How do I get perfectly even frosting between each layer of my cake?
Use a piping bag or a large spoon to evenly distribute frosting. Then, use an offset spatula to smooth it out and ensure an even, consistent layer of frosting.
What's a quick way to chill my cake layers before frosting?
Wrap each layer individually in plastic wrap and chill in the freezer for 15-20 minutes. This makes them firmer and easier to handle, reducing crumb migration into the frosting.
What are some simple decorations I can use for a beginner-friendly layer cake?
Consider using sprinkles, fresh fruit, or a simple chocolate ganache drip. These are easy to apply and require minimal decorating skills, perfect for busy bakers.
Final Reflection: Unlocking the Joy of Effortless Layer Cakes
The pursuit of the perfect layer cake shouldn't be a marathon; it should be a delightful sprint. This article explored simple, time-saving techniques to assemble stunning layer cakes, proving that achieving bakery-quality results is entirely within reach, even for the busiest of bakers. We debunked common myths, shared practical tips, and offered alternative methods to streamline the process, making the entire experience more enjoyable.
The impact of accessible baking techniques extends far beyond the kitchen. It's about empowerment – the ability to create something beautiful and delicious without feeling overwhelmed. Baking, especially the seemingly daunting task of layer cake assembly, can be a powerful form of self-expression and a way to connect with loved ones. Baking is at once child's play and adult joy. And love, of course.
This quote perfectly captures the essence of what we've explored: the simple pleasure of creating something special, regardless of skill level.
Now, it's your turn. Consider the time you've saved and the joy you've gained by implementing even one of the techniques shared in this article. Imagine the possibilities: birthday celebrations made easier, special occasions elevated, and the simple satisfaction of creating something beautiful with your own hands. Don't let the perceived complexity of layer cakes hold you back. Embrace the hacks, experiment with flavors, and most importantly, enjoy the process. The perfect layer cake awaits.
Unleash Your Inner Cake Boss: Effortless Layer Cake Assembly!
Thanks for taking the time to explore our layer cake assembly hacks! We hope you've gained some valuable tips to make your baking journey smoother and more enjoyable. Ready to put these new skills into action?
- Master the perfect layer cake: Try out the techniques you learned today on your next baking project. Challenge yourself to create a stunning cake that will wow your friends and family!
- Share your creations: Show us your beautiful layered cakes! Tag us on social media and use #BakeWithEase to inspire other bakers.
- Experiment with different fillings and frostings: Use this opportunity to explore new flavor combinations and techniques—let your creativity shine!
What unique flavor combination will you try in your next layer cake masterpiece?