
How to Use a Cake Scraper for Smooth Sides

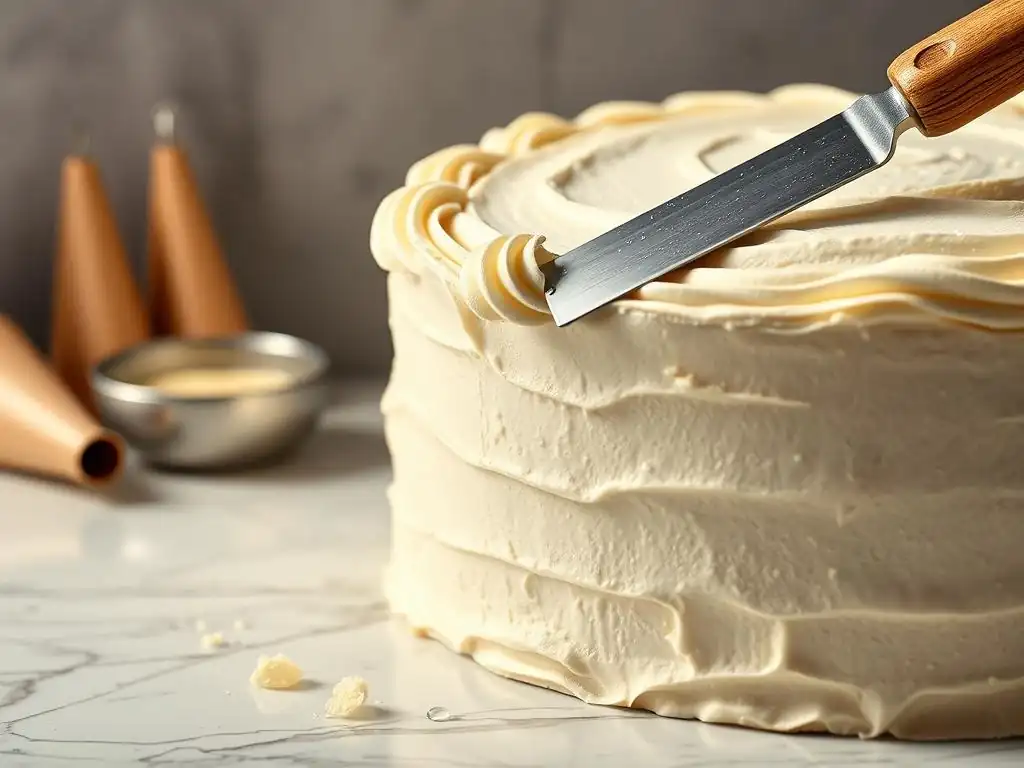
Welcome to BakeWithEase, your trusted companion on your baking journey! Ever wondered how professional bakers achieve those flawlessly smooth cake sides? Unlocking the secret is easier than you think! Dive into our comprehensive Cake Scraper Smoothing Techniques Guide and discover the simple steps to transform your cakes from rustic to refined. Prepare to be amazed at how easily you can master this essential skill and elevate your pastry creations!
- Cake Decorating: Achieving Smooth Cake Sides with Icing Smoothers
- Introduction to Icing Smoothers and Flawless Cake Finishes
- Essential Tools and Preparation for Icing Smoothness
-
Step-by-Step Guide: Achieving Smooth Cake Sides
- Step 1: Applying a Consistent Crumb Coat
- Step 2: Thoroughly Chilling the Crumb-Coated Cake
- Step 3: Applying the Final Layer of Icing Evenly
- Step 4: Proper Hand Placement and Smoother Technique
- Step 5: Rotating the Cake and Maintaining Consistent Pressure
- Step 6: Cleaning the Smoother for a Clean Finish
- Step 7: Creating Sharp Edges and Clean Lines
- Advanced Techniques and Pro Tips for Icing Smoothness
- Alternative Tools for Achieving Smooth Cake Sides
- Maintaining Your Icing Smoother for Longevity
- Conclusion: Elevating Your Cake Decorating with Smooth Icing
-
Frequently Asked Questions
- How important is the type of frosting when using a cake scraper?
- What size and type of cake scraper is best for a beginner?
- How do I prevent air bubbles from forming when smoothing with a cake scraper?
- What is the key to achieving sharp edges on a cake using a cake scraper?
- How do I clean my cake scraper after use?
- Final Reflection: The Art and Science of the Perfectly Smooth Cake
- Unlock Perfectly Smooth Cakes: Your Next Baking Adventure Starts Now!
Cake Decorating: Achieving Smooth Cake Sides with Icing Smoothers
Introduction to Icing Smoothers and Flawless Cake Finishes
The Impact of Smooth Cake Sides on Overall Cake Aesthetics
Achieving perfectly smooth cake sides is a hallmark of professional-looking cake decorating. It’s not just about neatness; smooth sides provide a pristine canvas for further decoration, whether you're adding drip effects, intricate piping, or edible art. A cake with smooth, sharp edges immediately elevates its perceived quality, making it look polished and expertly crafted, even if the rest of the decoration is simple.
Think of a classic buttercream cake for a wedding or birthday – the smooth finish is often the most striking element, conveying elegance and attention to detail. Without smooth sides, even the most beautiful toppers or intricate piping can look messy and detract from the overall presentation.
Consider a typical 8-inch round layer cake. If the sides are bumpy or uneven, it can visually shrink the cake and make it appear less substantial. Conversely, a perfectly smooth finish can make the same cake look taller and more impressive. It's estimated that a cake with a flawless finish can increase its perceived value by as much as 20-30% compared to one with a rough, uneven surface. Mastering the art of using a cake scraper for smoothing techniques is fundamental to achieving these stunning results and making your cakes truly stand out.
What is an Icing Smoother and Its Advantages?
An icing smoother, often called a cake scraper or bench scraper (though bench scrapers are typically sturdier and used for dough), is a simple tool, usually a flat piece of plastic, metal, or acrylic, designed specifically to smooth the sides and tops of iced cakes. While spatulas can apply icing, they are less effective at creating the perfectly flat, even surface that a smoother provides. The straight, rigid edge of the smoother allows you to scrape away excess icing while simultaneously filling in gaps, resulting in a consistently smooth finish across the entire cake side.
The advantages of using an icing smoother are numerous and significant for any baker aiming for a professional look. Firstly, it saves time compared to trying to achieve smoothness with just a spatula, which can require many passes and still leave imperfections. Secondly, it ensures uniformity; once you master the technique, you can achieve the same level of smoothness on every cake.
Thirdly, it helps create sharp, defined edges on the top of the cake, which is crucial for modern cake designs. Learning effective cake scraper smoothing techniques is perhaps the most impactful step you can take to improve your cake decorating skills.
Essential Tools and Preparation for Icing Smoothness
Choosing the Right Icing Smoother: Material and Size
Selecting the appropriate icing smoother is the first step toward achieving smooth cake sides. Smoothers come in various materials, each offering different benefits. Plastic smoothers are lightweight, affordable, and easy to handle, making them great for beginners.
Acrylic smoothers are often thicker and heavier, providing good stability, and their transparency can sometimes help you see the cake underneath. Metal smoothers, typically stainless steel, are durable, easy to clean, and can be heated for a hot smoother technique (more on that later), but they can be sharper and require a bit more care. For a standard layer cake, a smoother that is at least 8-10 inches tall is usually ideal to cover the full height of the cake in one pass.
The size of your smoother should generally be taller than the finished height of your cake layers combined. For example, if your stacked cake is 6 inches tall, a 7 or 8-inch smoother is sufficient. If you're working on a very tall cake, say 10-12 inches, you might need an extra-tall smoother or use a technique where you smooth the cake in sections.
Having a few different sizes on hand can be beneficial, especially if you work with varying cake heights. Experimenting with different materials and sizes will help you find the one that feels most comfortable and effective for your specific cake scraper smoothing techniques guide journey.
Preparing Your Cake: Leveling, Crumb Coating, and Chilling
Proper cake preparation is just as critical as the smoothing technique itself. Start with level cake layers. If your layers have domes, use a serrated knife or cake leveler to trim them flat. Uneven layers will make it incredibly difficult, if not impossible, to achieve straight, smooth sides. Once leveled, stack your cake layers with your chosen filling.
Next comes the crumb coat. This is a thin layer of icing applied all over the cake – top and sides – specifically to trap any loose crumbs. Use an offset spatula to apply a thin, even layer, ensuring all surfaces are covered. Don't worry about making it perfectly smooth at this stage; the goal is just to seal in the crumbs.
After applying the crumb coat, chill the cake thoroughly in the refrigerator for at least 20-30 minutes, or in the freezer for 10-15 minutes, until the crumb coat is firm to the touch. This firm base is absolutely essential for applying the final layer of icing smoothly without pulling up crumbs. This foundational step is crucial for effective cake scraper smoothing techniques.
The Role of Icing Consistency and Temperature
The consistency and temperature of your final icing layer are paramount to achieving smooth sides with a cake scraper. The icing should be smooth, pliable, and free of air bubbles. If it's too stiff, it will be difficult to spread evenly and will create drag when you try to smooth it. If it's too soft or runny, it won't hold its shape, and you'll struggle to get a clean, smooth finish. Buttercream, for instance, often needs to be beaten for several minutes on low speed after coloring or flavoring to remove air bubbles and achieve a silky texture.
The temperature of the icing is also important. Icing that is too cold will be stiff, while icing that is too warm will be too soft. Room temperature is often ideal for many buttercreams, allowing for easy spreading and smoothing.
However, this can vary depending on the specific icing recipe (e.g., Swiss meringue buttercream might be slightly different from American buttercream) and the ambient temperature of your kitchen. If your kitchen is warm, you might need to chill your icing slightly before use. Achieving the right balance in consistency and temperature is a key component of successful cake scraper smoothing techniques.
Step-by-Step Guide: Achieving Smooth Cake Sides
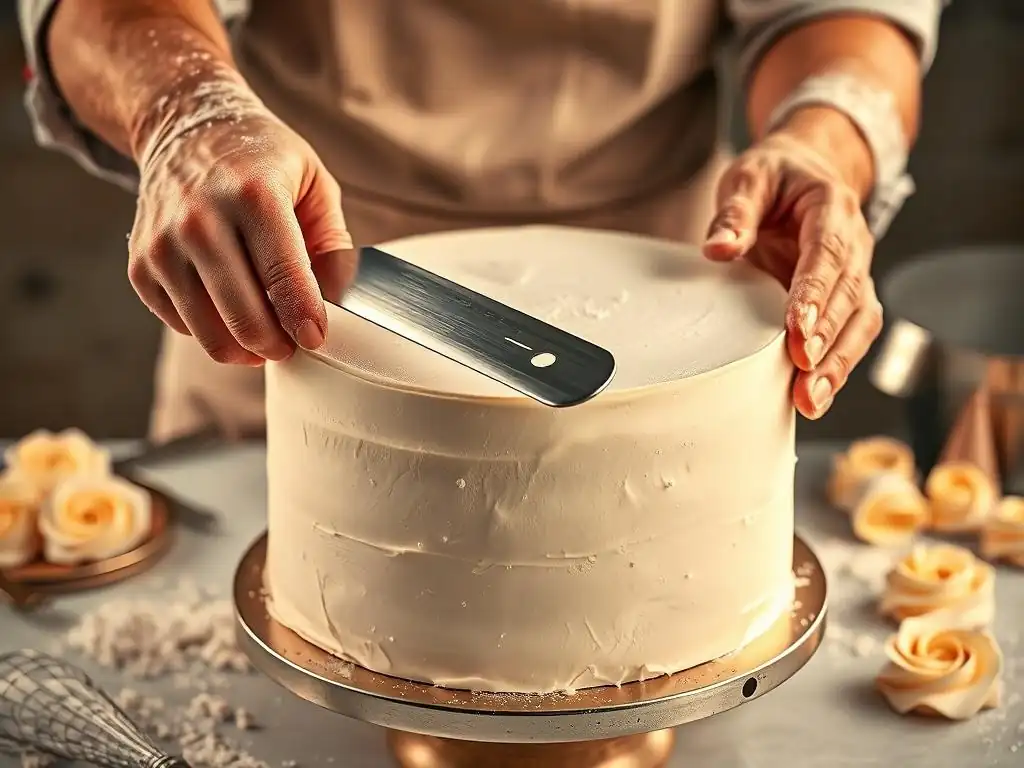
Step 1: Applying a Consistent Crumb Coat
As previously mentioned, the crumb coat is your foundation. After chilling your leveled and stacked cake, use an offset spatula to apply a thin layer of icing over the entire surface. Work from the top down, pushing the icing over the edge and down the sides. The goal here isn't thickness, but coverage – ensure every part of the cake's surface is coated to lock in all those stray crumbs. A thin layer, perhaps around 1/16 to 1/8 inch thick, is sufficient. Use the spatula to gently smooth it out as much as possible, but don't stress about perfection.
Once the crumb coat is applied, place the cake back in the refrigerator or freezer. Chilling is non-negotiable. A firm crumb coat provides a stable base for your final layer of icing, preventing crumbs from mixing into your beautiful outer layer. Aim for at least 20-30 minutes in the fridge or 10-15 minutes in the freezer until the icing feels firm and not sticky to the touch. This chilling period allows the icing to set up properly, creating a solid foundation for your subsequent cake scraper smoothing techniques.
Step 2: Thoroughly Chilling the Crumb-Coated Cake
Chilling the crumb-coated cake is a critical step that cannot be rushed. As detailed in the previous step, the purpose is to firm up that initial thin layer of icing, effectively gluing down any loose cake crumbs. This creates a clean, stable surface onto which you will apply your final, thicker layer of icing. If you skip this step or don't chill long enough, you risk dragging crumbs into your final smooth coat, resulting in a messy, unprofessional finish.
Place the crumb-coated cake uncovered in the refrigerator for at least 20-30 minutes. For faster chilling, the freezer works well for 10-15 minutes, but be careful not to freeze the cake solid if you plan to continue decorating immediately. The exact timing depends on the temperature of your fridge/freezer and the type of icing used. You'll know it's ready when you can lightly touch the crumb coat and it feels firm and doesn't leave a mark or feel sticky. A properly chilled crumb coat is the unsung hero of successful cake scraper smoothing techniques guide tutorials.
Step 3: Applying the Final Layer of Icing Evenly
With your cake properly crumb-coated and chilled, it's time to apply the final, thicker layer of icing. This layer should be generous – don't be afraid to apply more icing than you think you'll need. You can use an offset spatula to dollop large amounts of icing onto the top and sides of the cake. Then, use the spatula to spread it around, aiming for roughly the same thickness all over. You can apply it in sections, or work your way around the cake, ensuring full coverage.
A common method is to put a large amount of icing on the top and push it over the edges, then apply icing to the sides, working upwards to meet the icing coming down from the top. Aim for a thickness of about 1/4 to 1/2 inch of icing all around the cake.
This seemingly excessive amount provides enough material for the smoother to work with, allowing it to fill in gaps and create a truly smooth surface without exposing the cake underneath. An even application at this stage makes the subsequent cake scraper smoothing techniques much easier and more effective.
Step 4: Proper Hand Placement and Smoother Technique
Proper grip and angle are crucial when using the icing smoother. Hold the smoother with your dominant hand, keeping the flat edge perpendicular to the cake side (a 90-degree angle relative to the cake board or turntable). Your other hand should be used to rotate the cake turntable steadily. Place the bottom edge of the smoother gently on the cake board or turntable surface, or just slightly above it if you prefer a small bevel at the bottom.
The key is to keep the smoother stationary against the cake while you rotate the turntable. Apply light, consistent pressure. Too much pressure will scrape off too much icing and might expose the cake or crumb coat. Too little pressure won't effectively smooth the surface. The motion should be a smooth, continuous rotation of the turntable while holding the smoother steady against the icing. This simultaneous action is fundamental to effective cake scraper smoothing techniques.
Step 5: Rotating the Cake and Maintaining Consistent Pressure
As you hold the smoother against the cake, use your non-dominant hand to rotate the turntable smoothly and consistently. The speed of rotation should be steady – not too fast, not too slow. As the cake turns, the smoother will scrape away excess icing and fill in any small gaps or imperfections on the surface. Keep the pressure constant throughout the rotation. You'll see the excess icing gather on the edge of the smoother; this is normal.
Make several passes around the cake, cleaning the smoother frequently (see Step 6). After each pass, the sides should look progressively smoother. You might need 3-5 passes, or even more, depending on the icing consistency and how evenly you applied the final layer. Focus on maintaining that consistent pressure and a steady rotation for the best results. This synchronized movement between the smoother and the turntable is the core of successful cake scraper smoothing techniques.
Step 6: Cleaning the Smoother for a Clean Finish
Cleaning your icing smoother between passes is absolutely essential for achieving a truly smooth finish. As you scrape the cake, excess icing will build up on the edge of the smoother. If you continue smoothing with a dirty tool, this excess icing will drag across the surface, creating lines, ridges, or even pulling up the icing you just smoothed.
Keep a bowl of warm water or a clean damp cloth handy. After each full rotation around the cake (or even half a rotation on larger cakes), scrape the excess icing off your smoother into a separate bowl or waste bin. Then, dip the smoother in the warm water or wipe it clean with the damp cloth. Dry it thoroughly with a clean paper towel before making your next pass on the cake. A clean smoother is a happy smoother, and it's vital for mastering cake scraper smoothing techniques and getting that flawless look.
Step 7: Creating Sharp Edges and Clean Lines
Once the sides are smooth, the final touch is creating sharp edges on the top of the cake. As you smoothed the sides, excess icing likely built up slightly above the top edge of the cake. To create a sharp edge, hold your clean smoother or an offset spatula at a 45-degree angle, with the edge resting on the top surface of the cake, just where the side meets the top.
Using a steady hand, gently pull the smoother/spatula from the outer edge towards the center of the cake. This action pulls the excess icing inwards, creating a clean, sharp line at the top edge. Work your way around the entire circumference of the cake, cleaning your tool after every few pulls. Repeat this process until you have a crisp, defined edge all around. This finishing step perfects the results achieved through your cake scraper smoothing techniques.
Advanced Techniques and Pro Tips for Icing Smoothness
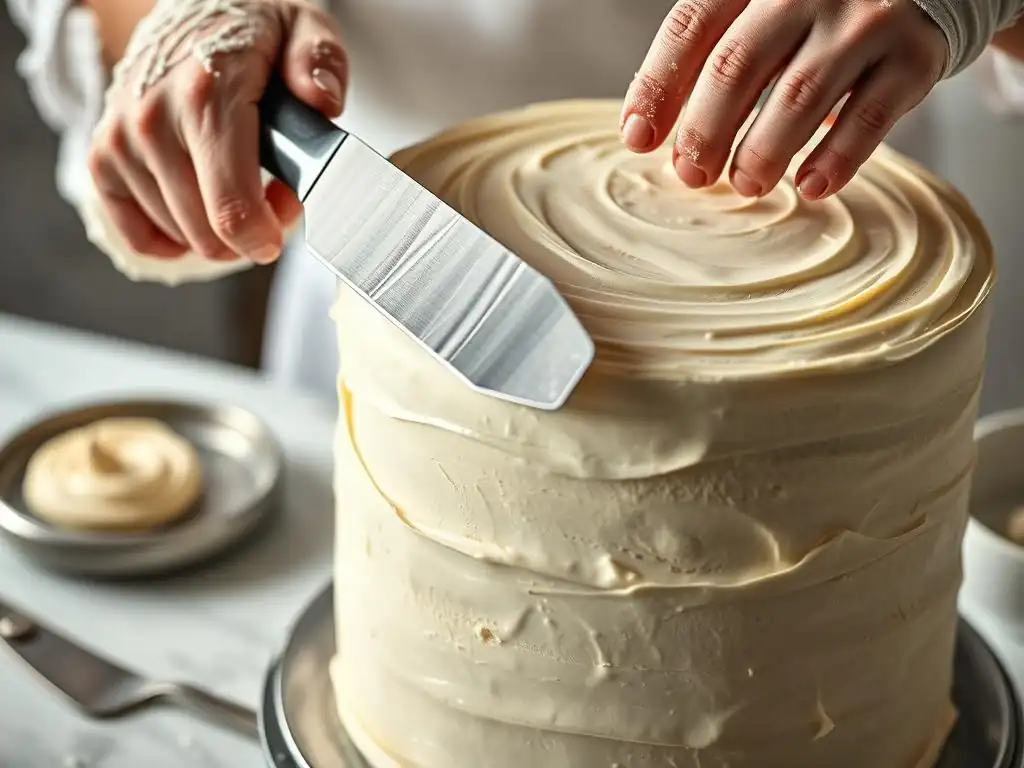
The Hot Smoother Technique for a Polished Finish
For an ultra-smooth, almost glass-like finish, especially with buttercreams that contain a good amount of butter, the hot smoother technique can be incredibly effective. This involves using a metal icing smoother (plastic or acrylic won't work here) that has been warmed. The warmth of the metal slightly melts the surface of the buttercream as you smooth it, creating a very polished look.
To perform this technique, fill a tall container (like a measuring cup or a tall glass) with hot water. Dip your clean metal smoother into the hot water for about 10-15 seconds. Remove it and dry it completely with a clean towel – water droplets will ruin your finish. Immediately use the warmed, dry smoother on your already mostly-smooth iced cake sides, rotating the turntable as usual.
The heat will help melt away any tiny imperfections or lines left from previous passes. This technique requires quick work before the smoother cools down. You'll need to reheat and dry the smoother frequently, perhaps after every half rotation or full rotation depending on the size of the cake. While it adds an extra step, it's a fantastic way to achieve a truly professional sheen using advanced cake scraper smoothing techniques.
Addressing Imperfections and Air Pockets
Even with careful application, you might encounter small imperfections or air pockets in the icing. Small air bubbles can often be smoothed out by gently pressing the smoother against the spot and continuing your rotation. For larger air pockets, you might need to carefully pop the bubble with a clean pin or the tip of a sharp knife. Gently press down on the area to release the trapped air, then apply a tiny bit of fresh icing over the spot if needed, and smooth over it again with your cleaner.
If you have a noticeable dent or uneven patch, you might need to apply a little more icing to that specific area using a small offset spatula. Feather the edges of the new icing into the surrounding area, then go back to smoothing with your cake scraper. Patience is key here; it might take a few touch-ups and passes with the smoother to get everything perfectly even. Troubleshooting is a normal part of mastering cake scraper smoothing techniques.
Working with Various Icing Types (Buttercream, Ganache, Fondant)
While the basic principles of using a cake scraper apply, different icing types require slight adjustments to your technique. Buttercream is the most common for smoothing sides and is very responsive to the techniques described. American buttercream often requires more cleaning of the smoother due to its sugar content, while meringue-based buttercreams are often silkier and easier to smooth.
Ganache, particularly if using a pourable ganache for a drip effect or covering, is often smoothed while it's still slightly warm and fluid, using a palette knife or bench scraper. For applying a thicker layer of ganache for smoothing, ensure it's at a spreadable consistency, similar to buttercream. Fondant is smoothed using specialized fondant smoothers, which are typically flat, rigid tools used to press the fondant against the cake rather than scraping.
The principles of a smooth base cake and even application still apply, but the smoothing tool and motion are different. Understanding these nuances is part of a comprehensive cake scraper smoothing techniques guide.
Troubleshooting Common Icing Problems
Even experienced bakers encounter issues. Here are some common problems and how to address them when using cake scraper smoothing techniques.
Icing Dragging or Tearing
This often happens if your icing is too stiff, the cake isn't chilled enough, or your smoother isn't clean.
- Solution: If icing is too stiff, warm it slightly by stirring vigorously or placing the bowl over a warm water bath for a few seconds. Ensure your crumb coat is firm. Clean your smoother frequently between passes.
Air Bubbles and Imperfections
Small bubbles often get trapped during mixing or application.
- Solution: Before icing, beat your buttercream on low speed for several minutes to remove air. For bubbles on the cake, pop large ones with a pin and smooth over. For small ones, gentle pressure with the smoother while rotating can often push them out.
Crumb Contamination
This is almost always due to an insufficient or improperly chilled crumb coat.
- Solution: Go back and apply a thorough crumb coat. Chill the cake until the crumb coat is completely firm before applying the final layer of icing. If crumbs appear in your final layer, you might need to scrape off the affected area, re-apply icing, and re-smooth after ensuring the underlying crumb coat is secure.
Alternative Tools for Achieving Smooth Cake Sides
While the dedicated icing smoother is highly effective, other tools can be used, sometimes in conjunction with or as alternatives to a standard smoother.
Using an Offset Spatula for Controlled Application
An offset spatula is essential for applying the initial layers of icing, including the crumb coat and the final generous layer. While it's less effective than a smoother for achieving perfectly flat sides over a large area, a skilled hand can use a large offset spatula to smooth sides, especially on smaller cakes or for touch-ups. Hold the straight edge of the spatula against the cake and rotate the turntable, similar to using a smoother, but you may need to make more passes and use shorter strokes.
The offset design allows you to keep your hand clear of the cake surface. Using an offset spatula for initial application helps ensure you have enough icing on the cake before you even bring out the dedicated smoother. It's a foundational tool that complements the cake scraper smoothing techniques.
Employing a Turntable for Even Rotation
A cake turntable is not an alternative tool for smoothing itself, but it is arguably the most crucial piece of equipment needed to effectively use an icing smoother. Trying to smooth a cake by moving the smoother around a stationary cake is incredibly difficult and rarely yields professional results. A good quality, smooth-rotating turntable allows you to hold the smoother steady in one position while the cake rotates against it.
Look for a turntable that rotates smoothly without wobbling. Heavier turntables, especially those with ball bearings, tend to provide the most stable and consistent rotation, which is essential for applying even pressure with your smoother. A non-slip base is also a plus. Investing in a good turntable significantly enhances your ability to execute precise cake scraper smoothing techniques.
Using Parchment Paper for a Smooth Finish
This technique is more for achieving a very polished surface, often used with ganache or firm buttercreams. Once your icing is mostly smooth, you can place a strip of parchment paper against the side of the cake. Using your clean smoother, gently press the parchment paper against the icing while rotating the cake. The smoother presses the paper against the icing, and when you peel the paper away, it can leave a very smooth, almost poreless surface.
This method works best with icings that aren't too sticky. It requires a bit of practice to avoid wrinkles in the parchment that can transfer to the icing. It's a technique that can be used after the initial smoothing with a standard scraper to achieve an extra level of polish, demonstrating the versatility you can achieve with various cake scraper smoothing techniques.
Maintaining Your Icing Smoother for Longevity
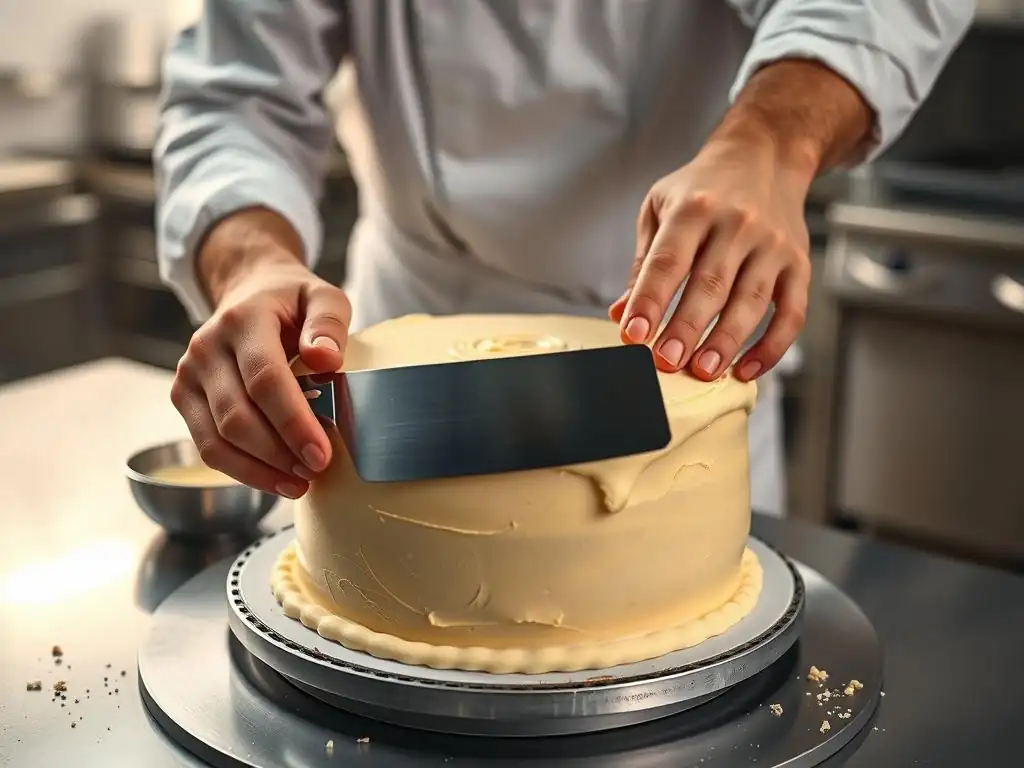
Proper care of your icing smoother ensures it remains effective and lasts for years.
Cleaning and Sanitizing Your Smoother
Clean your icing smoother immediately after use. Icing, especially buttercream with butter, can be difficult to remove once it dries and hardens. Wash your smoother in warm, soapy water. Use a sponge or cloth to remove all traces of icing. Pay attention to any edges or corners where icing might accumulate.
For proper sanitation, especially if you bake for others, you can use a food-safe sanitizing solution or run metal or some plastic smoothers through a dishwasher if they are dishwasher-safe. Always check the manufacturer's instructions. Thorough cleaning prevents the buildup of old icing residue, which can cause drag and imperfections the next time you use it, undermining your careful cake scraper smoothing techniques.
Storing Your Smoother to Prevent Damage
Store your icing smoothers carefully to prevent damage to their crucial straight edges. Avoid tossing them into a drawer with other tools like knives or whisks, which can scratch or nick the smoothing edge. Scratches or dents on the edge will transfer to your icing, making it impossible to achieve a perfectly smooth finish.
Store smoothers flat in a drawer, hang them on hooks, or place them in a container where the edges are protected. If you have multiple smoothers, consider storing them separately or with protective sleeves if they came with them. Proper storage ensures that the tool you rely on for flawless cake scraper smoothing techniques remains in optimal condition.
Conclusion: Elevating Your Cake Decorating with Smooth Icing
Summary of Key Icing Smoothing Techniques
Mastering the art of achieving smooth cake sides is a transformative skill in cake decorating. It begins with proper cake preparation, including leveling layers and applying a firm crumb coat. The consistency and temperature of your final icing are vital, as is choosing the right icing smoother for the task. The core technique involves holding the smoother steady at a 90-degree angle against the cake while rotating the turntable with consistent pressure, cleaning the smoother frequently between passes.
Finishing with sharp top edges completes the look. Advanced techniques like the hot smoother can provide an even higher level of polish. All these elements combine to form effective cake scraper smoothing techniques guide principles.
Continuous Practice and Experimentation
Like any skill, achieving perfectly smooth cake sides requires practice. Don't be discouraged if your first few attempts aren't flawless. Pay attention to what works and what doesn't. Experiment with different icing consistencies, smoother angles, and rotation speeds. Try different types of smoothers to see which you prefer. Each cake is an opportunity to refine your cake scraper smoothing techniques. With dedication and patience, you'll soon be creating cakes with beautifully smooth sides that look professionally finished and provide the perfect base for any decoration you envision. Happy baking and smoothing!
Frequently Asked Questions
How important is the type of frosting when using a cake scraper?
The type of frosting is very important. American buttercream and ganache are popular choices because they set well and are easy to smooth. Avoid frostings that are too soft or melt easily at room temperature.
What size and type of cake scraper is best for a beginner?
For beginners, a tall, metal cake scraper with a straight edge is recommended. It provides more surface area for smoothing and is easier to grip. Start with a simple, straight-edged scraper.
How do I prevent air bubbles from forming when smoothing with a cake scraper?
Air bubbles can be minimized by ensuring the frosting is properly mixed and by using a gentle, consistent pressure as you smooth. A hot water bath for your scraper can also help melt away surface bubbles.
What is the key to achieving sharp edges on a cake using a cake scraper?
Achieving sharp edges requires chilling the frosted cake between each scrape. This allows the frosting to set slightly, creating cleaner lines. Also, ensure you have sufficient frosting on top to pull over the edges.
How do I clean my cake scraper after use?
Clean your cake scraper immediately after use with warm, soapy water. This prevents frosting from hardening and sticking. A dishwasher may also be suitable depending on the material of your scraper.
Final Reflection: The Art and Science of the Perfectly Smooth Cake
The quest for the flawlessly smooth cake is far more than a simple aesthetic pursuit; it's a testament to precision, patience, and the power of the right tool. A perfectly smooth cake, achieved with the skillful application of a cake scraper, elevates the baking experience from a simple hobby to a true art form. This guide has explored various techniques, from the initial crumb coat to the final, elegant smoothing, demonstrating that even seemingly minor details can significantly impact the final result.
The impact of a beautifully frosted cake extends far beyond the visual. It represents a dedication to craftsmanship, a commitment to excellence, and a celebration of the joy found in creating something beautiful. It's a skill that transcends generations, passed down through family recipes and shared online, connecting bakers across cultures and experiences. The best things in life are homemade,
a sentiment perfectly encapsulated in the pride of presenting a cake flawlessly finished with a cake scraper.
Now, it's your turn. Don't just bake a cake; craft a cake. Experiment with the techniques outlined in this guide, find your own rhythm and style, and embrace the journey of mastering the cake scraper. The perfectly smooth sides are not just the end goal; they are a symbol of your dedication, your creativity, and the delicious satisfaction of a job well done. Go forth and create cakes that are as stunning as they are delicious!
Unlock Perfectly Smooth Cakes: Your Next Baking Adventure Starts Now!
Thanks for taking the time to level up your cake decorating skills! You've learned the secrets to flawlessly smooth cake sides – now it's time to put that knowledge into practice.
Ready to bake even more amazing cakes? Here's what you can do next:
- Bake your dream cake: Put your newfound scraper skills to the test! Try a new recipe, or perfect your favorite one with this technique.
- Share your success: Post a picture of your perfectly smooth creation on social media and tag us! We'd love to see your masterpiece. #BakeWithEase #CakeScraperSkills
- Challenge a friend: Nominate a fellow baking enthusiast to try this technique and share their results. Let's build a community of smooth-cake experts!
What's your next cake flavor challenge? Let's discuss your recipe ideas in the comments!