
The Ultimate Guide to Layer Cake Assembly Success

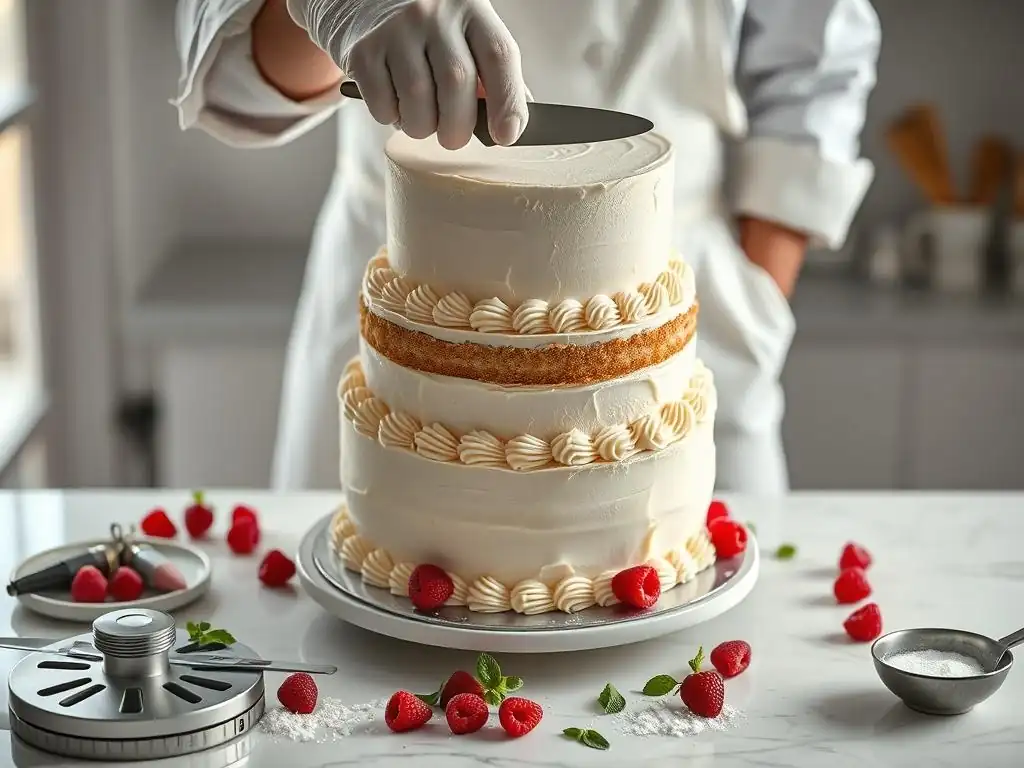
Welcome to BakeWithEase.com, your companion in the delightful world of baking!
Ever dreamt of creating a show-stopping layer cake but felt intimidated by the assembly process? You're not alone! Dive into our guide and discover easy layer cake assembly tips that will transform you from a nervous novice to a confident cake artist. Unlocking the secrets to perfectly stacked and stunningly decorated cakes is easier than you think. Keep reading to learn how!
- Layer Cake Assembly: A Baker's Guide to Stability and Style
- Mastering Layer Cake Assembly: From Foundation to Finish
- Essential Tools and Ingredients for Layer Cake Assembly
-
Step-by-Step Layer Cake Assembly: Techniques for Beginners
- Leveling Cake Layers: Achieving a Flat and Even Surface
- Applying Simple Syrup: Ensuring Consistent Moisture
- Frosting the First Layer: Creating a Solid Base
- Stacking and Filling: Even Frosting Distribution
- Crumb Coating: Sealing in Crumbs for a Smooth Finish
- Chilling the Crumb Coat: Preparing for the Final Frosting Layer
- Advanced Layer Cake Assembly Techniques
- Troubleshooting Layer Cake Assembly Issues
- Decorating Your Layer Cake: The Final Flourishes
- Layer Cake Assembly: Final Thoughts and Best Practices
- Frequently Asked Questions
- Final Reflection: Mastering the Art of the Layered Cake
- Unleash Your Inner Cake Artist!
Layer Cake Assembly: A Baker's Guide to Stability and Style
Mastering Layer Cake Assembly: From Foundation to Finish
Introduction: The Art and Science of Layer Cake Construction
Creating a stunning layer cake is one of baking's most rewarding experiences. It's a beautiful blend of art and science, where precise measurements meet creative expression. While baking the cake layers is a crucial first step, the assembly process is where the magic truly happens, transforming simple baked goods into a show-stopping dessert. Mastering easy layer cake assembly tips can elevate your baking from homemade treats to professional-looking masterpieces, ensuring stability and visual appeal.
Successful layer cake assembly isn't just about stacking cakes and spreading frosting; it involves careful planning, technique, and patience. From ensuring your layers are perfectly level to achieving smooth, even frosting, each step plays a vital role in the final outcome. This guide will walk you through the essential techniques, tools, and tips to make assembling a layer cake an enjoyable and stress-free process, whether you're a beginner or looking to refine your skills.
The Importance of Structure: Why Proper Assembly is Crucial
The structural integrity of a layer cake is paramount to its success, especially for taller or multi-tiered creations. A poorly assembled cake can lean, bulge, or even collapse, turning your hard work into a disappointing mess. Proper assembly techniques, such as careful leveling, consistent filling, and adequate chilling, provide the necessary support to hold the cake together, ensuring it stands tall and proud from the first slice to the last.
Beyond just preventing disaster, good structure contributes significantly to the cake's aesthetic appeal. Straight sides, sharp edges, and even layers are hallmarks of a beautifully assembled cake. These structural elements allow for cleaner frosting finishes and more intricate decoration, ultimately enhancing the overall presentation. Implementing easy layer cake assembly tips from the start sets you up for success and a cake you'll be proud to share.
Essential Tools and Ingredients for Layer Cake Assembly
Cake Layers: Recipe Selection and Preparation
Choosing the right cake recipe is the foundation of easy layer cake assembly. Look for recipes specifically designed for layer cakes, which often have a slightly denser crumb structure that holds up well to stacking and frosting. Recipes like a classic vanilla butter cake, chocolate fudge cake, or a sturdy red velvet are excellent choices. Ensure your layers are fully cooled before attempting assembly; warm cakes are prone to crumbling and melting frosting.
Preparation involves baking the layers evenly and allowing them to cool completely on wire racks. Some bakers even prefer to bake layers a day ahead and chill them, as cold cake layers are easier to handle, level, and frost without excessive crumbling. Wrap cooled layers tightly in plastic wrap before chilling to prevent them from drying out.
Frosting: Achieving the Ideal Texture for Layering
The consistency of your frosting is critical for successful layer cake assembly. It needs to be firm enough to hold its shape and support the weight of the layers above, but soft enough to spread smoothly without tearing the cake. Buttercream, whether American, Swiss meringue, or Italian meringue, is a popular choice. American buttercream is generally the firmest, while meringue-based frostings are lighter but can still work if slightly chilled.
To achieve the ideal texture, ensure your butter is at the correct temperature (usually room temperature for buttercreams, but check your recipe). Sift powdered sugar to prevent lumps. If the frosting is too stiff, add liquid (like milk or cream) one teaspoon at a time until it's spreadable. If it's too soft, add more sifted powdered sugar or chill it briefly in the refrigerator. Aim for a consistency similar to smooth peanut butter or firm Greek yogurt for best results.
Simple Syrup: Enhancing Moisture and Flavor
Simple syrup is a baker's secret weapon for adding moisture and flavor to cake layers, preventing them from drying out, especially if baked ahead of time or if the cake will sit for a while. A standard simple syrup is made by heating equal parts sugar and water until the sugar dissolves (e.g., 1 cup sugar to 1 cup water). You can infuse it with vanilla extract, citrus zest, coffee, or liqueurs to complement your cake and frosting flavors.
Applying simple syrup is an easy layer cake assembly tip that makes a big difference. Once your cake layers are cooled and leveled, gently brush or pour the simple syrup over the cut surface of each layer. Be careful not to oversaturate the cake; you want it moist, not soggy. Approximately 1-2 tablespoons of syrup per 8-inch layer is a good starting point, depending on the cake's density.
Essential Tools: Turntable, Leveler, Spatulas, and Cake Boards
Having the right tools makes assembling a layer cake significantly easier and helps achieve professional results. A rotating cake turntable is invaluable for smoothly frosting and decorating all sides of the cake without having to move it constantly. A cake leveler or a long serrated knife is essential for trimming cake domes and ensuring flat layers.
You'll need a variety of spatulas: an offset spatula (with a bent handle) is perfect for spreading frosting smoothly across the top and sides, while a straight spatula can be useful for scooping and initial spreading. Cake boards or cardboard rounds, slightly smaller than your cake layers, provide a stable base for each layer or tier, making handling and stacking much simpler.
Step-by-Step Layer Cake Assembly: Techniques for Beginners
Leveling Cake Layers: Achieving a Flat and Even Surface
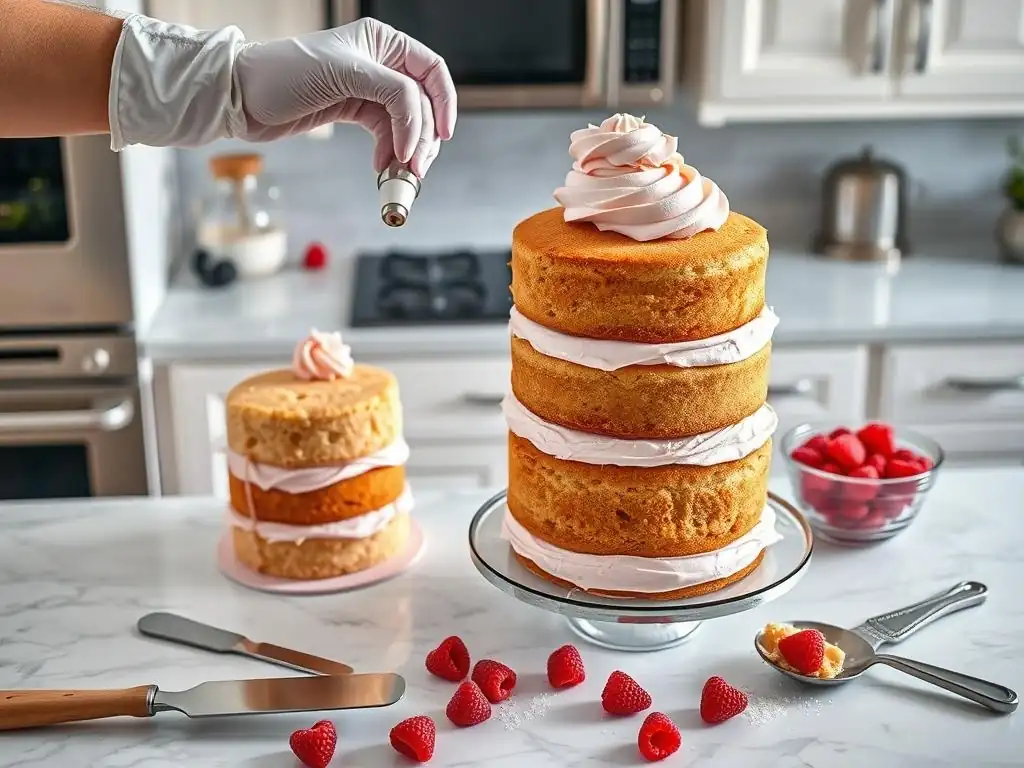
Leveling your cake layers is the critical first step in easy layer cake assembly. Domes are common, but they lead to unstable, uneven stacks. Once your cake layers are completely cooled, place one layer flat on your turntable or workspace. Using a long serrated knife or a specialized cake leveler, carefully slice off the dome to create a flat top surface.
Aim to remove just enough to make the top perfectly flat. You can save the cake scraps for cake pops or enjoy them as a baker's snack. Repeat this process for all your cake layers. Some bakers even flip the bottom layer upside down, as the bottom baked surface is naturally flat, providing a solid base.
Applying Simple Syrup: Ensuring Consistent Moisture
After leveling, prepare to add moisture with simple syrup. Place the first leveled cake layer (cut side up, or the flat bottom if using) on your cake board or serving plate. Using a pastry brush, generously but evenly apply the simple syrup across the entire top surface of the cake layer.
Allow the syrup a minute or two to soak in before proceeding. This step is especially important for cakes that might be prone to drying out, like vanilla or lemon cakes, or if you are assembling the cake ahead of time. It's one of the simplest layer cake assembly tips that guarantees a moist result.
Frosting the First Layer: Creating a Solid Base
With the simple syrup soaked in, it's time for the first layer of frosting. Scoop a generous amount of frosting onto the center of the first cake layer. Using your offset spatula, gently spread the frosting outwards towards the edges, creating an even layer.
Aim for a consistent thickness, usually between 1/4 and 1/2 inch, depending on your preference. This layer serves as both the adhesive for the next cake layer and the first filling layer. Ensure the frosting goes right to the edge to prevent gaps when the next layer is added.
Stacking and Filling: Even Frosting Distribution
Carefully place the second cake layer on top of the first frosted layer. If you leveled the layers, the cut side should face down onto the frosting. Press down gently and evenly to secure the layer and ensure it's level. Avoid pressing too hard, which can squeeze out too much frosting.
Repeat the frosting step on top of the second layer. For subsequent layers, ensure you stack them squarely on top of the layer below. Use your offset spatula to spread the frosting evenly, maintaining consistent thickness between all layers. This even distribution is key to a stable and visually appealing stack.
Crumb Coating: Sealing in Crumbs for a Smooth Finish
Once all your layers are stacked and filled, it's time for the crumb coat – a thin layer of frosting applied to the entire exterior of the cake. This layer traps any loose crumbs, preventing them from getting into your final, visible layer of frosting. It's a non-negotiable step for a smooth finish.
Apply a thin, even layer of frosting to the top and sides of the stacked cake using your offset spatula. Don't worry about making it perfect or opaque; its job is just to catch crumbs. Scrape off any excess frosting, leaving a thin, smooth layer.
Chilling the Crumb Coat: Preparing for the Final Frosting Layer
Chilling the crumb-coated cake is a vital step in easy layer cake assembly. Once the crumb coat is applied, place the cake in the refrigerator for at least 30 minutes, or until the frosting is firm to the touch. This allows the crumb coat to set, effectively sealing in all the crumbs.
A chilled crumb coat also provides a firm, stable surface for applying the final layer of frosting. It makes it much easier to achieve smooth sides and sharp edges without pulling up cake crumbs or disturbing the underlying structure. For complex designs or warmer environments, chilling for 1-2 hours is even better.
Advanced Layer Cake Assembly Techniques
Achieving Straight Sides: Tips for Professional Results
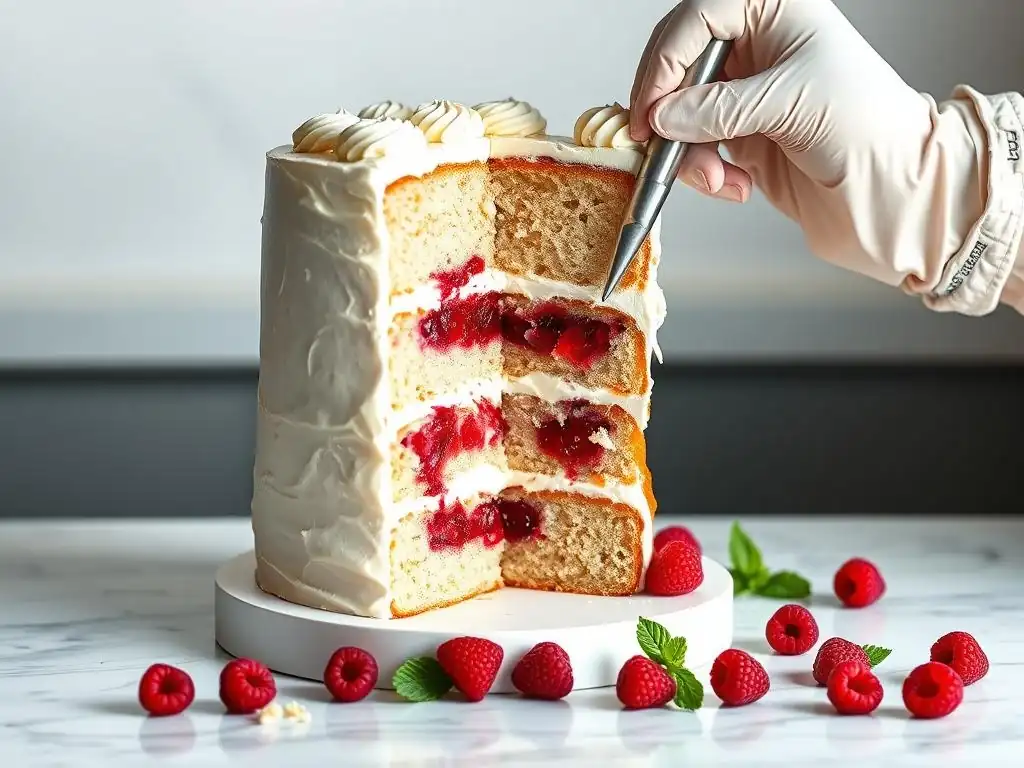
Achieving perfectly straight sides on your layer cake requires practice and a few key techniques. After applying the crumb coat and chilling, apply a generous amount of your final frosting layer to the top and sides of the cake. Use your offset spatula to spread the frosting, aiming for even coverage.
Once covered, use a bench scraper or a long, straight spatula held vertically against the side of the cake, perpendicular to the turntable. While rotating the turntable smoothly, hold the scraper still to remove excess frosting and create a smooth, straight side. Clean the scraper frequently between passes. For the top edge, use the offset spatula to gently pull the excess frosting from the side inwards towards the center of the top.
Preventing Bulging: Structural Support with Dowels and Boards
For cakes with three or more layers, or those intended for stacking tiers, structural support is crucial to prevent bulging or collapse. This is where dowels and cake boards come in. For a tall single cake, insert a few food-safe dowels (plastic or wooden) into the center of the cake, cutting them flush with the top surface of the final cake layer. These dowels bear the weight of the layers above them, relieving pressure on the frosting.
For multi-tiered cakes, each tier (except the top one) should sit on its own cake board, cut to the exact size of the cake layer. Dowels are inserted into the lower tier, and the upper tier (on its board) rests on these dowels. For example, a 3-tier cake might have 3-4 dowels in the bottom tier supporting the middle tier, and 3-4 dowels in the middle tier supporting the top tier. The top tier requires no dowels beneath it. This system ensures weight is distributed onto the dowels, not the cake layers below.
Working with Different Frostings: Stability and Application
Different types of frosting require slightly different handling during assembly. Buttercreams made with confectioners' sugar (like American buttercream) are generally very stable and forgiving, making them excellent for beginners practicing easy layer cake assembly tips. They crust slightly, providing a firm surface.
Meringue-based buttercreams (Swiss, Italian) are lighter and silkier but can be less stable in warm temperatures. They require more chilling time between steps. Cream cheese frosting is delicious but softer; ensuring it's well-chilled and potentially slightly thickened (with a touch more powdered sugar or cornstarch) helps it hold shape. Ganache, when set, provides excellent stability and a smooth finish but needs careful temperature control during application. Always ensure your chosen frosting is at the right temperature – usually slightly cool for stability but still spreadable.
Troubleshooting Layer Cake Assembly Issues
Preventing Cake Sliding: Ensuring Stability During Assembly
Cake sliding is a common frustration during assembly. The primary culprit is often an uneven layer or too much frosting that acts like a lubricant. To prevent sliding, ensure your cake layers are perfectly level. Use a small dollop of frosting to adhere the first cake layer to the cake board or serving plate before you start stacking.
When adding layers, press down gently but firmly to secure them into the frosting. Don't overload with too much filling, especially soft fillings like whipped cream or fruit compotes, unless contained within a frosting dam (a ring of firmer frosting piped around the edge of the layer before adding the softer filling). Adequate chilling between steps, especially after the crumb coat, significantly improves stability and reduces the risk of sliding.
Addressing Uneven Layers: Solutions for Height Discrepancies
Even with careful leveling, layers can sometimes be slightly uneven or bake up with different thicknesses. If the discrepancy is minor (less than 1/4 inch), you can often compensate slightly with the amount of frosting you add between layers, using a little more frosting on the thinner side to help even it out.
For more significant differences, it's best to trim the thicker layer down to match the others. If the cake is already assembled and you notice an uneven lean, you might be able to gently nudge layers back into place while the crumb coat is still soft. For severe unevenness in an assembled cake, especially after chilling, it might be necessary to carefully disassemble, re-level, and reassemble. Prevention through accurate leveling at the start is the easiest solution.
Resolving Frosting Issues: Consistency and Application Techniques
Frosting that is too stiff is hard to spread and tears the cake; frosting that is too soft won't hold shape and can lead to bulging or sliding. If your frosting is too stiff, beat in liquid (milk, cream, or even water) one teaspoon at a time until it reaches the right consistency. If it's too soft, chill it briefly or beat in a tablespoon or two of sifted powdered sugar (for buttercreams) or cornstarch (for cream cheese frosting) until it firms up.
Application technique also matters. Use your offset spatula at a slight angle (around 45 degrees) to spread smoothly. For sides, apply generous amounts and then use a bench scraper or long spatula to smooth, removing excess. Don't overwork the frosting, as this can incorporate too much air or melt the butter. Ensure your crumb coat is well-chilled before applying the final layer for the cleanest finish. These simple layer cake assembly tips for frosting management make a big difference.
Preventing a Leaning Cake: Ensuring Structural Integrity
A leaning cake is usually a symptom of underlying structural issues. The most common causes are uneven layers, inconsistent filling thickness, insufficient chilling between steps, or lack of internal support for taller cakes. Start with perfectly level layers and apply filling evenly across each layer.
Chill your cake after the crumb coat until the frosting is firm. For cakes over 3 layers or 8 inches tall, consider using internal supports like dowels placed strategically within the layers. Ensure the cake is assembled on a sturdy cake board, especially if it needs to be transported. If a lean develops during assembly, try to gently push the layers back into alignment while the frosting is still soft. For a chilled cake, you might need to stabilize it with a central dowel inserted all the way through the cake and board.
Decorating Your Layer Cake: The Final Flourishes
Simple Decoration Ideas: Beginner-Friendly Techniques
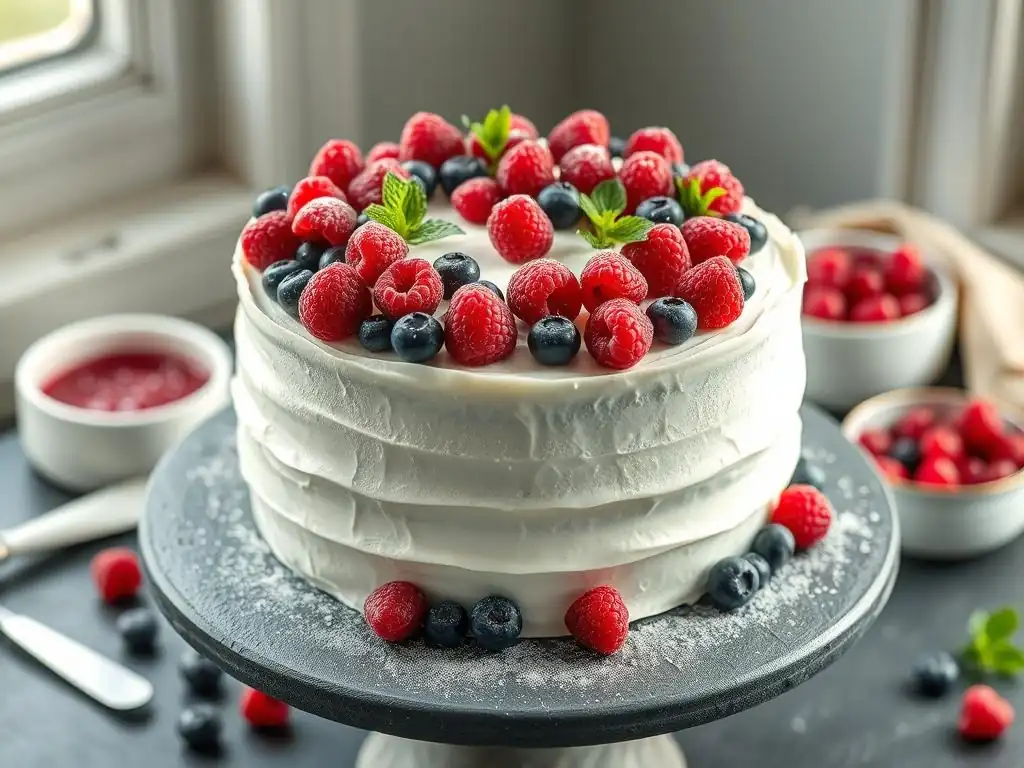
Once your layer cake is assembled, chilled, and has a smooth final coat of frosting, it's ready for decoration! For beginners, easy layer cake assembly tips extend to simple yet effective decorating techniques. A classic look is a smooth finish with a simple border piped around the top and bottom edges using a piping bag fitted with a star or round tip.
Another easy option is a rustic look: use your offset spatula or the back of a spoon to create swirls or texture in the frosting. Sprinkles, chocolate shavings, or chopped nuts pressed onto the sides are quick ways to add visual interest. Fresh berries or edible flowers placed on top create an elegant, simple finish that requires no special skills.
Advanced Cake Decorating: Elevating Your Cake's Aesthetics
With the solid foundation provided by proper layer cake assembly, you can explore more advanced decorating techniques. This includes achieving sharp frosting edges, covering the cake in fondant, or intricate piping designs like rosettes, basketweave, or detailed floral patterns.
Advanced decorators might also incorporate techniques like drip effects (chocolate or ganache drips down the sides), mirror glazes, or using stencils and airbrushing. The stable structure achieved through careful assembly is essential for these techniques, as they require a firm, smooth surface to work on. A well-assembled cake provides the perfect canvas for your creativity.
Layer Cake Assembly: Final Thoughts and Best Practices
Key Takeaways for Successful Cake Assembly
Mastering layer cake assembly is a journey that involves patience, practice, and attention to detail. Remember these key easy layer cake assembly tips: always start with fully cooled and leveled cake layers, use simple syrup for moisture, ensure your frosting is the right consistency, and never skip the crumb coat and chilling steps.
- Level your layers precisely.
- Use simple syrup for moisture.
- Ensure frosting is the correct consistency.
- Always apply a crumb coat.
- Chill the cake thoroughly after the crumb coat.
- Use a turntable and appropriate spatulas.
- Consider dowels for taller cakes.
Enjoy Your Beautifully Constructed Layer Cake!
Putting together a layer cake is a rewarding process, culminating in a delicious and beautiful dessert. By following these guidelines and practicing easy layer cake assembly tips, you'll build confidence and skill with each cake you create. Don't be discouraged by imperfections; every cake is a learning opportunity.
The most important step after all the assembly and decorating is to enjoy the fruits of your labor! Slice into your perfectly constructed cake and savor the layers, filling, and frosting. Share it with friends and family, and take pride in the stable, stylish creation you've made. Happy baking!
Frequently Asked Questions
How can I prevent my cake layers from sliding during assembly?
Ensure your cake layers are completely cool before handling. A simple trick is to use a small amount of frosting between the cake board and the first layer to secure it.
What's the best way to get even layers for my cake?
Using a cake leveler is the easiest method to achieve perfectly even layers. Alternatively, carefully use a serrated knife and a ruler as a guide.
How much frosting should I use between each layer of cake?
Aim for a consistent layer of frosting, typically about 1/2 to 3/4 inch thick. This ensures a balanced flavor and structure throughout the cake.
How do I keep my cake moist while assembling it?
Brush each cake layer with simple syrup before frosting to add moisture. Avoid over-soaking, which can make the cake unstable.
What are some tips for achieving a perfectly smooth frosting finish?
Use a bench scraper and a turntable to smooth the frosting. Chill the cake briefly between coats of frosting for easier application and a professional look.
Final Reflection: Mastering the Art of the Layered Cake
The seemingly simple act of assembling a layer cake holds a surprising power: the ability to transform ordinary ingredients into a celebration. From birthdays to anniversaries, the layered cake stands as a symbol of joy and shared moments, and mastering its assembly unlocks a world of creative possibilities. This guide has explored the crucial steps, from preparing the layers to achieving a flawlessly smooth finish, proving that even the most ambitious cake designs are within reach.
The enduring appeal of the layer cake lies not just in its deliciousness, but in its inherent symbolism of building something beautiful, layer by layer, much like life itself. A cake is a celebration of life, a symbol of joy, and a delicious way to share happiness with those you love.
This simple truth resonates deeply, reminding us that even the most complex endeavors can be broken down into manageable steps, leading to a rewarding outcome. The process of carefully layering, frosting, and decorating becomes a meditative act, a chance to focus and create something truly special.
Now, it's your turn. Consider the lessons learned here – the importance of preparation, the beauty of precision, and the satisfaction of creating something delicious and visually stunning. Don't be afraid to experiment, to try new techniques, and to embrace the occasional imperfection. The next time you face a challenge, remember the layered cake: break it down, build it up, and savor the sweet reward of your accomplishment. Go forth and create your masterpiece!
Unleash Your Inner Cake Artist!
Thanks for joining us on this delicious journey into layer cake perfection! You've now got the skills to create truly stunning and delicious cakes. Ready to put your newfound expertise to the test?
- Bake your dream cake today! Use the techniques you just learned to create your masterpiece. Don't be afraid to experiment with flavors and decorations.
- Share your creation! Post a picture of your finished cake on social media and tag us – we'd love to see your baking brilliance!
- Try a new frosting technique – challenge yourself to master a piping skill or try a unique flavor combination.
What innovative flavor combination will you try in your next layer cake creation?