
Learn Cake Fondant Techniques Online: Smooth Covering & Sculpting

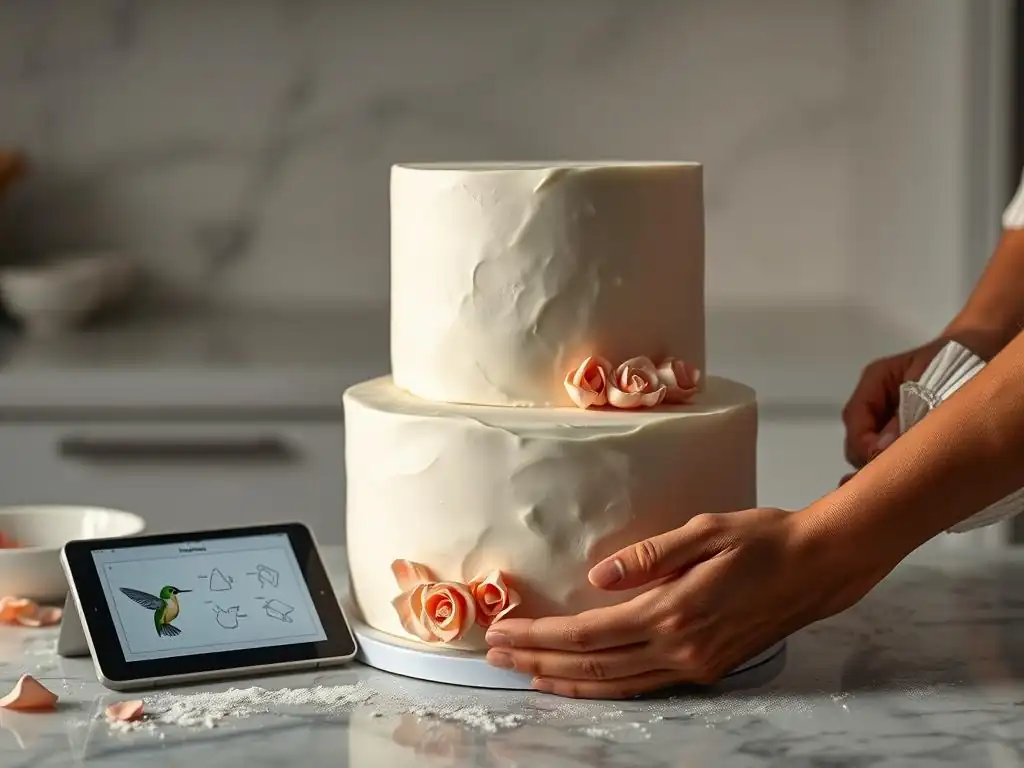
Welcome to BakeWithEase, your passport to a world of delightful baking! Ever dream of crafting cakes with flawlessly smooth fondant? Our guide to easy cake fondant techniques will unlock the secrets to achieving professional-looking results, even if you're just starting out. Prepare to transform ordinary cakes into extraordinary edible masterpieces! Intrigued? Discover the tips and tricks that will have you sculpting and covering like a pro... read on to learn more!
- Mastering Cake Fondant Techniques: A Guide from BakeWithEase
- Step-by-Step: Achieving a Smooth Fondant Cake Covering
- Fondant Sculpting Techniques: Adding Artistic Flair to Your Cakes
- Troubleshooting Common Fondant Problems: Solutions for Smooth Sailing
- Recommended Online Cake Fondant Courses: Elevate Your Skills with BakeWithEase
- Conclusion: Mastering Cake Fondant Techniques with BakeWithEase
- Frequently Asked Questions
- Final Reflection: The Sweet Art of Accessible Fondant
- Unleash Your Inner Cake Artist: Master Fondant Today!
Mastering Cake Fondant Techniques: A Guide from BakeWithEase
Why Learn Fondant? Unleashing Your Cake Decorating Potential
Learning easy cake fondant techniques opens up a world of creative possibilities for your baking projects. Unlike buttercream, which offers a softer, more rustic look, fondant provides a smooth, flawless finish that is perfect for elegant designs, sculpted elements, and vibrant colors. Mastering how to work with fondant allows you to transform a simple cake into a stunning centerpiece for birthdays, weddings, or any special occasion. Imagine creating cakes that look like works of art, complete with intricate details, sharp edges, and realistic figures – this is the power of fondant.
Beyond just aesthetics, fondant also offers practical benefits. It acts as a protective layer, sealing in moisture and keeping your cake fresh for longer compared to an unfrosted or buttercream-only cake. This is particularly useful for cakes that need to be transported or displayed for a period. Furthermore, fondant provides a stable surface for adding additional decorations like royal icing details, edible paint, or sugarpaste flowers, making it a versatile medium for ambitious cake decorators. Embracing easy cake fondant techniques is truly a game-changer for anyone looking to elevate their baking skills.
What You'll Need: Essential Fondant Tools and Ingredients
The Right Fondant: Pre-Made vs. Homemade
Choosing the right fondant is crucial for achieving great results, especially when learning easy cake fondant techniques. Pre-made fondant is widely available and comes ready to use, making it an excellent choice for beginners. Brands like Renshaw Extra Ready To Roll Icing or Wilton Ready-To-Use Rolled Fondant are popular options known for their elasticity and smooth finish, requiring minimal preparation straight out of the package. This saves time and ensures a consistent texture, allowing you to focus on the application and decorating process without the added step of making the fondant from scratch.
Homemade fondant, on the other hand, offers more control over ingredients, flavor, and consistency. While it requires more effort and practice to get right, some bakers prefer it for its potentially superior taste or specific texture requirements for advanced sculpting. However, for those just starting out or looking for easy cake fondant techniques, pre-made fondant is highly recommended due to its convenience and reliability. It provides a consistent starting point to practice your rolling, covering, and smoothing skills before potentially venturing into homemade versions.
Must-Have Tools for Fondant Perfection
- Fondant Smoothers: Achieving a Flawless Surface
- PME Smoothers - Durable and Effective
- Rolling Pins: Getting the Right Thickness
- Sweet Creations Non-Stick Rolling Pin - Prevents Sticking
- Dusting Pouch: Preventing Sticking and Tears
- Wilton Cake Release - Prevents Sticking
- Sculpting Tools: Adding Detail and Dimension
- JEM Petal Tools - For Fine Detailing
To successfully apply and work with fondant, you'll need a few essential tools. Fondant smoothers, often made of plastic, are indispensable for achieving that signature smooth, air-bubble-free finish on your covered cake. Using two smoothers simultaneously helps to gently press the fondant against the cake sides and top, removing imperfections and ensuring sharp edges. A non-stick rolling pin is also vital for rolling out the fondant evenly without it sticking. Look for pins specifically designed for fondant or those with a non-stick surface, like the Sweet Creations Non-Stick Rolling Pin, which makes handling large pieces of fondant much easier.
Preventing fondant from sticking to your work surface is key to avoiding tears and frustration. A dusting pouch filled with cornstarch or powdered sugar provides a light, even coating. Alternatively, products like Wilton Cake Release spray can be applied to your surface and rolling pin for a reliable non-stick barrier.
Finally, a basic set of sculpting tools, such as those found in a JEM Petal Tools set, will allow you to cut, shape, and add details to fondant decorations, from simple leaves and petals to more complex figures. These tools are fundamental for anyone learning easy cake fondant techniques and wishing to add decorative elements.
Step-by-Step: Achieving a Smooth Fondant Cake Covering
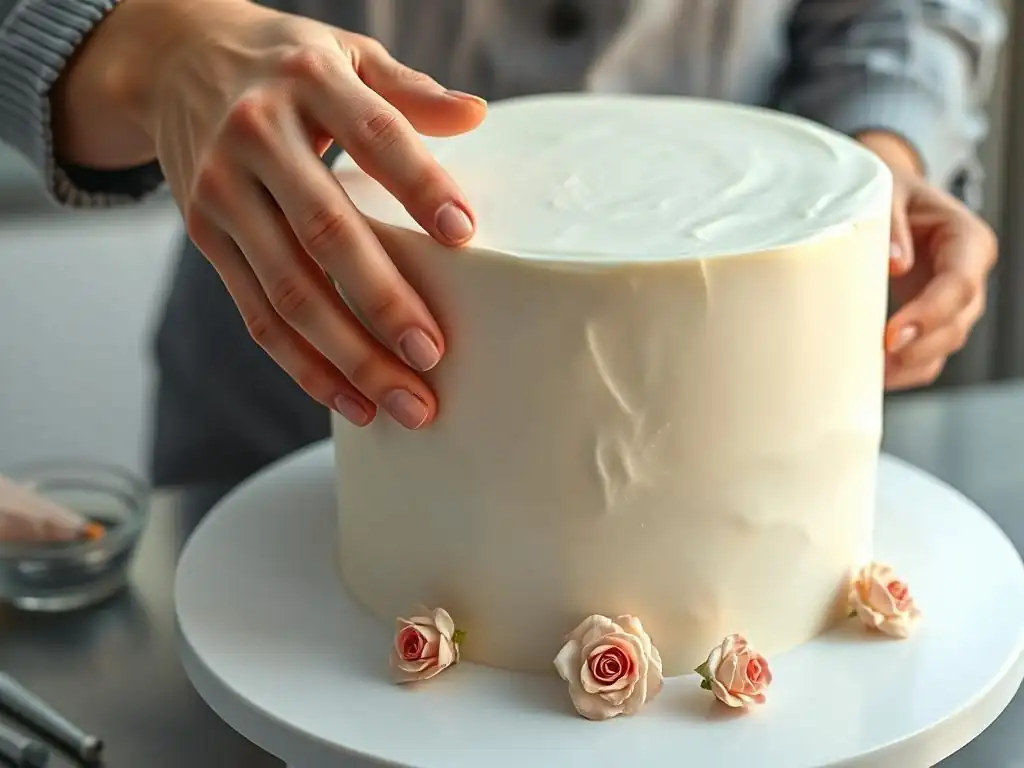
Preparing Your Cake for Fondant: The Key to Success
Leveling and Crumb Coating: Creating a Perfect Canvas
Before you even think about applying fondant, your cake needs proper preparation. The first step is to level your cooled cake layers using a cake leveler or a serrated knife to ensure a flat top. Any bumps or slopes will show through the smooth fondant finish.
Once leveled, the cake needs a crumb coating. This involves applying a thin layer of buttercream or ganache all over the cake's surface and filling any gaps or imperfections. This layer serves two critical purposes: it traps loose crumbs, preventing them from getting onto your final fondant layer, and it provides a sticky surface for the fondant to adhere to.
A well-applied crumb coat is arguably the most important step for achieving a flawless fondant finish. After applying the crumb coat, use a bench scraper or offset spatula to smooth it as much as possible. A smooth crumb coat ensures the fondant lies flat without any bumps or ridges. BakeWithEase offers a recommended crumb coating recipe that provides the perfect consistency for both filling gaps and creating a smooth base. Taking the time to perfect this stage will make the subsequent fondant application much easier and yield significantly better results, demonstrating a core principle of easy cake fondant techniques.
Chilling the Cake: Ensuring a Firm Base
After the crumb coat is applied and smoothed, chilling the cake is essential. Place the crumb-coated cake in the refrigerator for at least 30 minutes, or in the freezer for about 15-20 minutes, until the buttercream or ganache is firm to the touch. This chilling process sets the crumb coat, making the cake structure firm and easier to handle. A chilled, firm cake prevents dents and distortions when you are draping and smoothing the fondant over it.
A firm cake also provides a stable base that resists collapsing or shifting as you work the fondant around it. This is especially important when smoothing the sides and bottom edge, which requires some gentle pressure. Trying to apply fondant to a soft, room-temperature cake can lead to uneven surfaces, bulges, and difficulty achieving those sought-after sharp edges. Therefore, chilling your cake is a simple yet crucial step in mastering easy cake fondant techniques and ensuring a professional-looking result.
Kneading and Coloring Your Fondant: Getting Ready to Roll
Choosing the Right Food Coloring: Gel vs. Liquid
When coloring fondant, the type of food coloring you use makes a big difference. Gel food colorings are highly concentrated and produce vibrant colors without adding significant moisture to the fondant. This is crucial because excess liquid can make fondant sticky and difficult to work with, potentially leading to tears or cracks when rolling. Brands like Chefmaster Gel Food Coloring Set offer a wide range of intense colors with just a small amount, making them ideal for coloring fondant evenly and effectively.
Liquid food colorings, commonly found in grocery stores, contain more water and are less concentrated. While they are suitable for coloring batters or frostings, using them to achieve deep colors in fondant would require adding a large amount, which can compromise the fondant's texture, making it gummy or sticky. For the best results when learning easy cake fondant techniques, always opt for high-quality gel paste or powder food colorings designed for use with sugarpaste or fondant.
Kneading Techniques: Avoiding Cracks and Tears
Before rolling, fondant needs to be kneaded until it is pliable and smooth, much like kneading dough. Take the desired amount of fondant and knead it on a clean, dry surface (lightly dusted with cornstarch or powdered sugar if needed) until it becomes soft and elastic, without any stiffness or cracks. This process warms the fondant slightly and activates its elasticity, making it less prone to tearing when rolled thin.
Proper kneading also helps to distribute any added color or flavoring evenly and removes any air bubbles incorporated during storage or coloring. Knead using the palms of your hands, folding the fondant over itself repeatedly. You'll know it's ready when it feels smooth, stretches without cracking easily, and holds a shape without slumping excessively. Avoid over-kneading, as this can make the fondant greasy or brittle. A few minutes of gentle, thorough kneading is usually sufficient for most pre-made fondants, setting the stage for successful rolling as part of your easy cake fondant techniques.
Rolling Out Your Fondant: Achieving Consistent Thickness
The Perfect Thickness: Finding the Sweet Spot
Rolling fondant to the correct thickness is vital for both ease of application and the final look of your cake. If the fondant is rolled too thin, it will be difficult to lift and transfer without tearing, and it won't adequately hide any minor imperfections on the cake's surface. It also becomes more susceptible to developing air bubbles or wrinkles. A thickness of approximately 1/8 to 1/4 inch (about 3-6 mm) is generally considered the sweet spot for covering cakes.
This thickness provides enough strength to handle and drape over the cake without tearing, while still being thin enough to not appear bulky or heavy. It also offers a good balance between covering ability and the amount of fondant consumed. While some decorators prefer slightly thinner fondant for a more delicate look, beginners practicing easy cake fondant techniques should aim for the 1/8 to 1/4 inch range for maximum manageability and best results. Consistent thickness across the entire sheet is achieved by rolling evenly and potentially using rolling guides or spacers.
Preventing Sticking: Mastering the Dusting Technique
Sticking is one of the most common challenges when rolling out fondant, but it's easily preventable with the right technique. Your work surface and rolling pin need to be lightly dusted with an anti-stick agent. Cornstarch or confectioners' sugar are the most popular choices. A dusting pouch allows for a fine, even layer without clumps. Simply tap the pouch lightly over your clean, dry surface and rolling pin.
As you roll, lift and rotate the fondant periodically, dusting the surface underneath and the rolling pin as needed. This prevents the fondant from bonding to the surface as it expands. Be careful not to use too much dusting agent, as excess can dry out the fondant, leading to cracks, or leave white powdery marks on your finished surface. A light, consistent dusting is key to smooth rolling and is a fundamental part of mastering easy cake fondant techniques.
Applying the Fondant: Achieving a Seamless Finish
Lifting and Positioning: A Gentle Approach
Once your fondant is rolled to the desired size and thickness, the next challenge is transferring it to the cake without stretching or tearing. There are a few methods for this. For smaller pieces or figures, you can gently roll the fondant onto your rolling pin, lift the pin, position it over the cake, and unroll the fondant onto the surface. For larger sheets to cover an entire cake, carefully fold the fondant in half or quarters, lift it gently, position the folded edge against the cake, and then unfold it, letting it drape naturally over the cake.
Another effective technique for large sheets is to roll the fondant onto a large sheet of parchment paper or a silicone mat, then lift the paper/mat with the fondant and invert it onto the cake top, peeling the paper away. Whichever method you choose, handle the fondant with care, supporting its weight to prevent stretching, which can distort its shape and thickness. Proper lifting and positioning are critical steps in achieving a smooth, seamless cover using easy cake fondant techniques.
Smoothing Techniques: Eliminating Air Bubbles and Wrinkles
With the fondant draped over the cake, the real work of smoothing begins. Start by gently smoothing the top of the cake with your hands or a fondant smoother, working from the center outwards to adhere the fondant and push out any trapped air. Once the top is smooth, begin working on the sides. This is where fondant smoothers are invaluable. Using one or two smoothers, gently press the fondant against the sides of the cake, working your way down.
As you smooth the sides, you'll likely encounter excess fondant and potentially pleats or wrinkles around the base. Use one hand to gently lift and guide the excess fondant away from the cake while using the smoother in the other hand to press the fondant against the cake's surface, working downwards and outwards. This process helps to stretch the fondant slightly and smooth out wrinkles.
Work your way around the cake, smoothing and gently pulling the excess fondant until the sides are smooth and free of air bubbles. Using Fondant Smoothers for a Professional Look is key to achieving sharp edges and a flawless finish, a hallmark of effective easy cake fondant techniques.
Trimming Excess Fondant: Achieving Clean Edges
After the fondant is smoothed onto the cake's top and sides, you'll have excess fondant hanging around the base. Trimming this excess neatly is essential for a clean, professional finish. Use a sharp knife, pizza cutter, or a specialized fondant trimming tool to carefully cut away the excess fondant right against the base of the cake.
Hold the knife or cutter at a slight angle towards the cake to ensure a close cut. Work steadily around the entire circumference of the cake. Once the excess is removed, use a fondant smoother to gently press the fondant edge against the cake board or plate, creating a neat, defined line. This final trimming step completes the smooth covering process and is a satisfying part of mastering easy cake fondant techniques.
Fondant Sculpting Techniques: Adding Artistic Flair to Your Cakes
Basic Fondant Shapes: Creating Flowers, Bows, and More
Once you've mastered covering a cake, you can move on to creating beautiful fondant decorations. Basic shapes like simple flowers are an excellent starting point for adding artistic flair. Using fondant cutters, such as those found in a Wilton Flower Fondant Cutter Set, you can easily cut out multiple identical shapes. These can then be layered, shaped slightly using a ball tool or your fingers, and assembled to create simple yet effective floral decorations. A tiny dot of edible glue or water can help adhere layers together.
Creating fondant bows is another popular and relatively easy technique that adds elegance to cakes. Fondant strips are cut, shaped into loops and tails, and left to firm up slightly before being assembled with edible glue. These basic shapes allow you to practice handling and shaping fondant in smaller quantities before tackling more complex designs. Mastering these foundational techniques is key to expanding your repertoire of easy cake fondant techniques.
Making Simple Fondant Flowers: A Beginner-Friendly Project
Making simple fondant flowers is a rewarding project for beginners. Start by kneading a small amount of colored fondant until pliable. Roll it out thinly, about 1/16 inch thick. Use a small flower cutter from a set like the Wilton Flower Fondant Cutter Set to cut out several identical flower shapes.
To give the flowers a more realistic look, you can gently soften the edges of the petals using a ball tool on a foam pad or even just your fingertip. Layer two or three cutouts, offsetting the petals slightly, and secure them in the center with a tiny bit of edible glue or water.
Add a small ball of contrasting colored fondant or an edible pearl in the center. Let the flowers dry slightly on a curved surface (like an egg carton) to give them a natural shape before attaching them to your cake with a dab of buttercream or edible glue.
Sculpting Fondant Bows: Adding Elegance to Your Cakes
Fondant bows are a classic cake decoration that adds a touch of sophistication. To make a simple bow, roll out fondant to about 1/8 inch thick. Cut strips of equal width and length for the loops and a shorter strip for the center knot.
For each loop, bring the ends of a strip together, securing them with a tiny amount of edible glue or water, and slightly flatten the loop. Place the loops on their side on a piece of parchment paper or foam to dry slightly and hold their shape. You can place a crumpled piece of paper towel inside the loops to help them maintain their form.
Cut the ends of the tail strips into a decorative shape (like an inverted 'V'). Once the loops are firm enough to hold their shape, assemble the bow by attaching the loops and tails to the cake or a separate surface using edible glue. Wrap the shorter strip around the center where the loops meet to form the knot. Allow the entire bow to dry completely before handling or attaching it to the cake if made separately. This technique, while requiring patience for drying, is a beautiful addition to your easy cake fondant techniques.
Advanced Fondant Sculpting: Creating Characters and Complex Designs
Introduction to Sculpting Tools: Shaping and Detailing
Moving beyond basic shapes, advanced fondant sculpting allows you to create intricate details, realistic figures, and even gravity-defying designs. This level of artistry relies heavily on a variety of specialized sculpting tools. Tools like ball tools, cone tools, Dresden tools, and modeling sticks, often found in sets like JEM Petal Tools, allow you to indent, shape, smooth, and add texture to fondant. For instance, a ball tool is perfect for thinning petal edges or creating indentations, while a Dresden tool can add veining to leaves or define features on figures.
Wire cutters, pliers, and formers are also used when incorporating internal supports (armatures) for standing figures or complex structures. Understanding how to use each tool effectively is key to bringing your fondant visions to life. Many online resources and courses, including those mentioned later, provide detailed guidance on utilizing these tools for advanced techniques, building upon your foundation of easy cake fondant techniques.
Online Courses for Advanced Fondant Sculpting: Level Up Your Skills
For those looking to delve deeper into creating detailed fondant characters or complex sculpted cakes, online courses offer structured learning from experienced instructors. Platforms like Domestika feature courses specifically focused on fondant sculpting, teaching techniques for modeling human figures, animals, or cartoon characters step-by-step. These courses often demonstrate the use of armatures, layering techniques, and detailed finishing touches.
Another excellent resource is Sugar Geek Show, which provides an extensive library of tutorials covering a wide range of advanced fondant work, from gravity-defying structures to intricate character modeling. These platforms offer the opportunity to learn at your own pace, rewatch lessons, and often interact with instructors or a community of learners. Investing in such courses is a fantastic way to significantly level up your fondant skills beyond the basic or easy cake fondant techniques.
Troubleshooting Common Fondant Problems: Solutions for Smooth Sailing
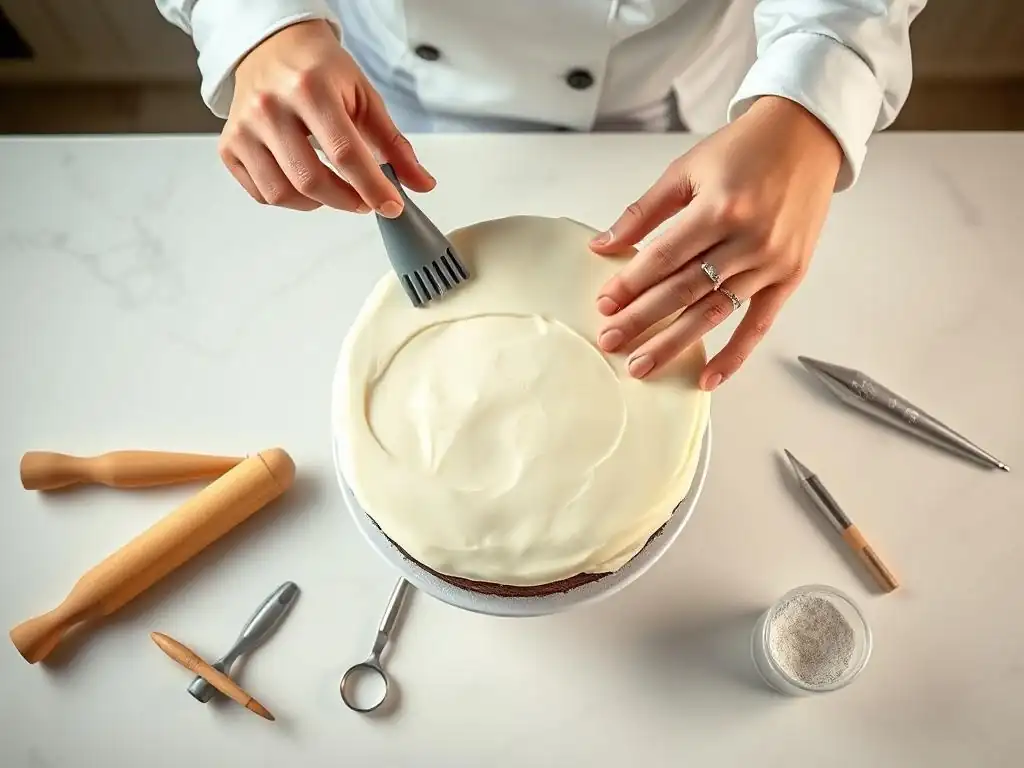
Cracking Fondant: Causes and Prevention
Cracking fondant is a common frustration, often occurring during kneading or rolling. The primary cause is usually dry fondant. This can happen if the fondant hasn't been stored properly (not sealed airtight), is old, or has been over-dusted with cornstarch/powdered sugar. Over-kneading can also sometimes dry out the fondant by overworking the ingredients.
To prevent cracking, ensure your fondant is fresh and stored correctly. When kneading, if it feels stiff, try incorporating a tiny amount of vegetable shortening or a commercial fondant conditioner (like Tylose powder mixed with water) to improve its pliability. If cracks appear while rolling, gently rub a tiny amount of shortening over the affected area and smooth it in before continuing. Keeping your rolling surface only lightly dusted also helps maintain moisture. Addressing dryness proactively is key to avoiding cracks when practicing easy cake fondant techniques.
Tearing Fondant: Avoiding Common Mistakes
Tearing usually happens when fondant is rolled too thin, stretched excessively during application, or when attempting to lift a large sheet without proper support. Humidity can also make fondant soft and prone to tearing. Trying to cover a cake with sharp edges or corners without properly rounding them off slightly can also cause tears as the fondant is stretched over these points.
To avoid tearing, ensure your fondant is rolled to the recommended thickness (1/8 to 1/4 inch). When transferring large pieces, use a rolling pin or support the fondant with your arms or another person.
If you notice a tear during application, you can often patch it by rubbing the edges together gently or cutting a small piece of fondant to fit the tear and blending the edges with a smoother or your finger (a tiny bit of water can help blend). Being mindful of these common mistakes will significantly reduce the likelihood of tears when working with easy cake fondant techniques.
Sticky Fondant: How to Handle Humidity
Humidity is fondant's nemesis, causing it to become soft, sticky, and difficult to handle. This makes rolling, smoothing, and sculpting a challenge, as the fondant will cling to surfaces and tools. High moisture in the air is the main culprit.
Working in a climate-controlled environment is the best defense against sticky fondant. If that's not possible, increase your use of dusting powder (cornstarch or powdered sugar) on your work surface, rolling pin, and hands – but remember not to overdo it.
You can also try kneading a small amount of Tylose powder or CMC powder into the fondant; these powders act as hardeners and can help the fondant firm up and become less sticky in humid conditions. Chilling tools and working quickly can also help mitigate stickiness when dealing with humid environments, allowing you to still practice easy cake fondant techniques effectively.
Recommended Online Cake Fondant Courses: Elevate Your Skills with BakeWithEase
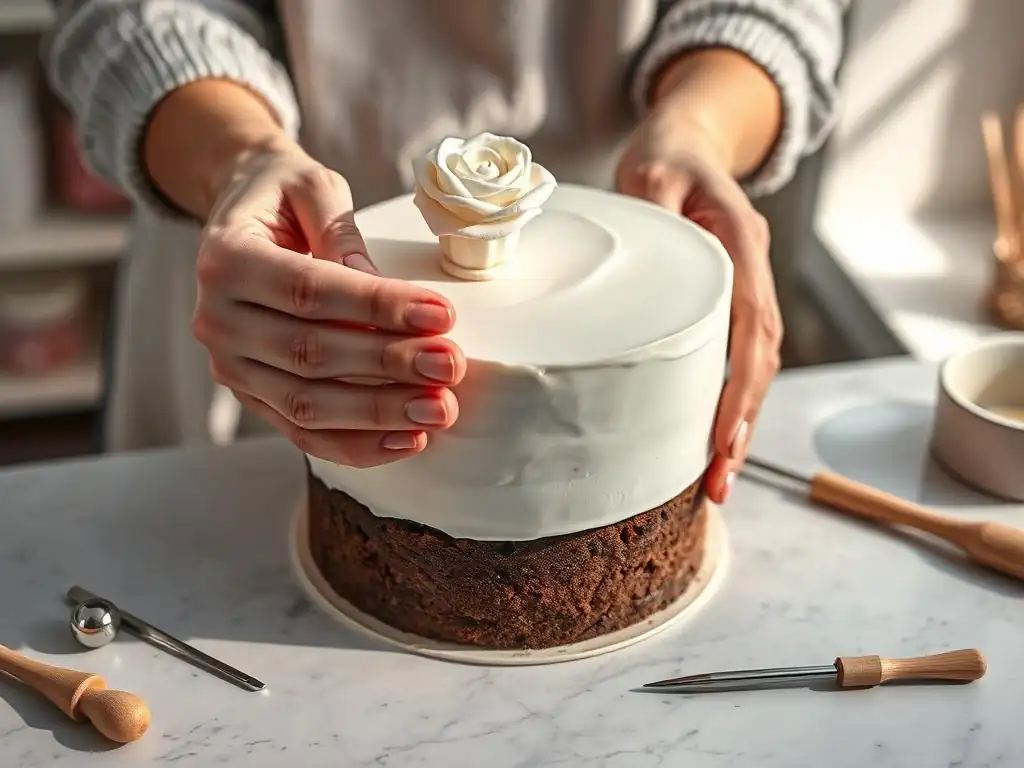
Top Online Platforms for Learning Fondant Techniques
For those eager to learn easy cake fondant techniques or advance their skills, online platforms offer flexible and accessible learning opportunities. Platforms like Udemy host a variety of courses covering everything from basic fondant application for beginners to creating intricate decorations and figures. These courses often include video demonstrations, downloadable resources, and exercises to practice techniques.
Another well-regarded platform for creative skills, including baking and cake decorating, is Bluprint (formerly Craftsy). They offer courses specifically focused on sculpting with fondant, teaching detailed methods for modeling characters, animals, and other complex designs. These platforms provide structured learning paths and the ability to learn at your own pace, making them excellent resources for mastering fondant.
Choosing the Right Course for Your Skill Level
Selecting the right online course depends largely on your current skill level and what you want to achieve. If you're brand new to fondant, look for courses titled "Beginner Fondant Techniques," "Fondant Basics," or focusing on easy cake fondant techniques. These courses will typically cover essential topics like kneading, rolling, covering a simple round cake, and basic decorations.
If you're comfortable with the basics but want to learn how to make more elaborate decorations, search for courses on "Fondant Sculpting," "Modeling Figures," or specific types of decorations like sugar flowers. Read course descriptions and student reviews to ensure the content aligns with your goals. Many platforms offer introductory videos or course outlines that can help you make an informed decision about which course will best help you elevate your fondant skills.
Conclusion: Mastering Cake Fondant Techniques with BakeWithEase
Your Journey to Fondant Artistry Starts Here.
Learning easy cake fondant techniques is a rewarding process that unlocks incredible potential for creating beautiful, professional-looking cakes. From achieving that perfectly smooth covering to sculpting intricate details, fondant provides a versatile medium for expressing your creativity. While it might seem intimidating at first, with the right tools, techniques, and a little practice, anyone can master the art of working with fondant.
We hope this guide from BakeWithEase has provided you with a clear roadmap and the confidence to start your fondant journey. Remember the importance of preparation, patience, and practice. Whether you aim to cover a simple birthday cake or sculpt complex characters, the easy cake fondant techniques you learn will serve as a foundation for endless possibilities in the world of cake decorating. Dive in, experiment, and enjoy the process of transforming your cakes into edible masterpieces!
Frequently Asked Questions
What are cake fondant techniques?
Cake fondant techniques refer to methods used to apply and sculpt fondant icing on cakes. This includes smooth covering, shaping, and decorating to create beautiful cake designs.
How can I learn fondant techniques online?
You can learn fondant techniques online through various resources like video tutorials, step-by-step guides, and articles on baking websites such as BakeWithEase.com.
Are fondant cakes suitable for beginners?
Yes, many fondant techniques are suitable for beginners. Start with simple designs and gradually progress to more complex shapes as you gain confidence and skill.
What materials do I need for cake fondant techniques?
To begin, you will need fondant, a rolling pin, a sharp knife, and cake tools like smoothers and molds. These tools help in achieving a professional-looking finish.
Can I use homemade fondant for my cakes?
Absolutely! You can use homemade fondant for your cakes. Many bakers prefer it for its taste and texture, ensuring your cake not only looks good but tastes great as well.
Final Reflection: The Sweet Art of Accessible Fondant
The internet has democratized creativity, and nowhere is this more evident than in the world of cake decorating. Learning intricate techniques like fondant application, once the exclusive domain of professional pastry chefs, is now readily available to anyone with an internet connection. This accessibility empowers aspiring bakers to transform their cakes from simple treats into stunning works of art.
The ease with which one can now master fondant techniques, from achieving a flawlessly smooth surface to sculpting intricate designs, is truly remarkable. It's a testament to the power of online learning and the shared passion for culinary arts. This democratization of skill development fosters a vibrant community of home bakers, constantly inspiring and supporting each other. The best way to find yourself is to lose yourself in the service of others.
– Mahatma Gandhi. This quote, while not directly about cake decorating, speaks to the collaborative and supportive nature of the online cake decorating community, where sharing knowledge and encouraging others is paramount.
Now, it's your turn. Consider the possibilities unlocked by these easily accessible techniques. Don't be intimidated by the seemingly complex world of fondant; embrace the challenge, experiment with different designs, and let your creativity flow. The journey of learning is as rewarding as the final product, so pick up your tools, find a tutorial, and start creating your own edible masterpieces. The sweet taste of success, both literally and figuratively, awaits.
Unleash Your Inner Cake Artist: Master Fondant Today!
Thanks for taking the time to explore the world of cake fondant with us! We hope you gained valuable insights into creating flawlessly smooth coverings and stunning sculpted designs. Ready to put your new skills to the test?
- Dive into your next cake project: Choose a design you've always wanted to try and apply the techniques you just learned. Don't be afraid to experiment!
- Share your fondant creations: Show off your amazing cakes on social media using #BakeWithEaseFondant and inspire others!
- Challenge a friend to a fondant decorating duel: Turn your newfound skills into a fun competition and learn from each other’s successes and challenges.
What incredible cake masterpiece will you create first?