
Simple Apple Crisp That's Always Perfect

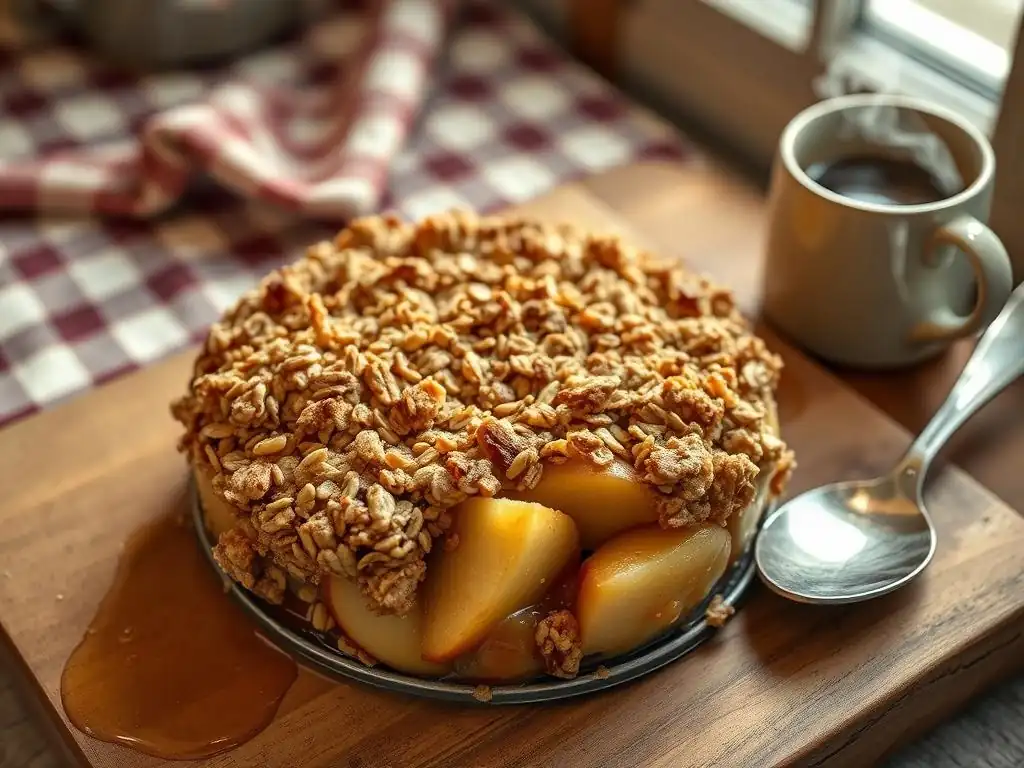
Welcome to BakeWithEase, your kitchen companion for creating delicious treats! Ever wondered how to achieve that perfectly golden, bubbly top on your apple crisp? Discover the secret to our Easy Apple Crisp Recipe and transform simple ingredients into a comforting, seasonal masterpiece. Dive in and let's bake something amazing together!
- Simple Apple Crisp That's Always Perfect - BakeWithEase.com
- Why This Easy Apple Crisp Recipe is Your New Fall Favorite
- Mastering the Easiest Apple Crisp Recipe: A Step-by-Step Guide
- Tips and Tricks for the Best Apple Crisp Every Time
- Troubleshooting Your Apple Crisp Recipe
- Variations on the Classic Apple Crisp Recipe
- The Joy of Fall Baking: More Easy Recipes from BakeWithEase
- Frequently Asked Questions
- Final Reflection: The Enduring Comfort of a Perfect Crisp
- Unleash Your Inner Baker: Make the Perfect Apple Crisp Tonight!
Simple Apple Crisp That's Always Perfect - BakeWithEase.com
Why This Easy Apple Crisp Recipe is Your New Fall Favorite
The Perfect Fall Dessert: Effortless Apple Crisp
As the leaves begin to change and a crispness fills the air, there's nothing quite like the comforting aroma of baked apples and warm spices wafting from your kitchen. An easy apple crisp recipe isn't just a dessert; it's an experience, embodying the cozy spirit of autumn.
Unlike more complex pies or tarts, this simple apple crisp requires minimal effort but delivers maximum flavor and a wonderfully satisfying texture contrast between the tender, spiced apples and the golden, crunchy topping. It's the kind of treat that feels special enough for a holiday gathering yet is straightforward enough for a spontaneous weeknight craving.
This particular simple apple crisp is designed for success, even if you're new to baking. It skips complicated steps like making pie crust from scratch and focuses on layering simple, readily available ingredients. The magic happens in the oven as the apples soften and release their sweet juices, mingling with cinnamon and sugar, while the buttery crumble topping transforms into a delightful, nutty crust. It's a forgiving recipe, too – slight variations in apple types or spice measurements still result in a delicious outcome, making it a perfect entry point into fall baking.
BakeWithEase: Simple Baking for Everyone
At BakeWithEase, our mission is to demystify baking and make it accessible and enjoyable for everyone, regardless of their experience level. We believe that creating delicious homemade treats shouldn't be intimidating. Our recipes, including this fantastic easy apple crisp recipe, are crafted with simplicity and clarity in mind, offering step-by-step instructions that are easy to follow. We focus on common ingredients and techniques, ensuring that you can achieve impressive results without needing specialized equipment or advanced skills.
This philosophy is woven into every recipe we share. We break down each process into manageable steps, explain why certain techniques are used, and offer helpful tips along the way. For instance, understanding how different apple varieties behave when baked or how the temperature of your butter affects the crumble texture can make a significant difference. Our goal is to empower you to bake with confidence, turning potential kitchen anxiety into joyful creation. This simple apple crisp is a prime example of how easy and rewarding baking can be when you have the right guidance.
Mastering the Easiest Apple Crisp Recipe: A Step-by-Step Guide
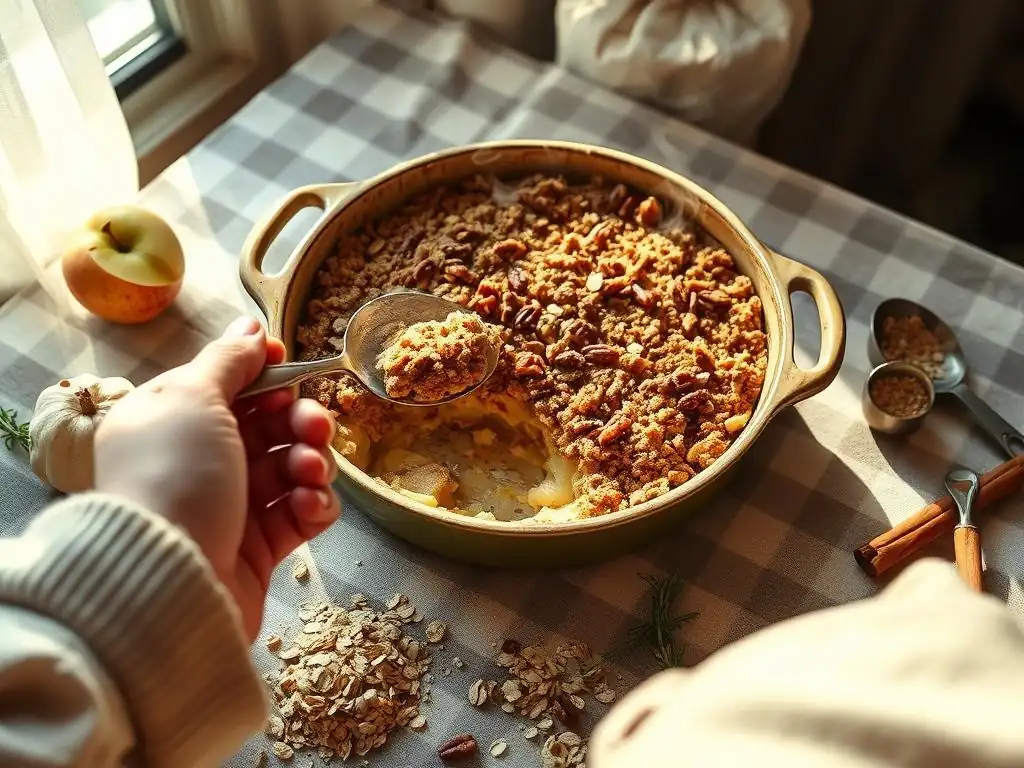
Gather Your Ingredients for the Perfect Apple Crisp
Having all your ingredients measured and ready before you start is key to a smooth baking process. For this easy apple crisp recipe, you'll need a mix of fresh produce and pantry staples. The beauty of this dessert lies in its simplicity, requiring only a handful of core components for both the apple filling and the irresistible crumble topping. Ensure your butter is cold for the topping, as this is crucial for achieving that perfect crumbly texture.
Preparing the Apple Filling: A Quick & Easy Method
Choosing the Best Apples for Apple Crisp (Granny Smith, Honeycrisp, etc.)
Selecting the right apples is perhaps the most critical step in making a fantastic apple crisp. You want a balance of sweetness and tartness, and apples that hold their shape well during baking without turning to mush. Granny Smith apples are a classic choice, offering a bright tartness that cuts through the sweetness of the sugar and crumble. For a slightly sweeter filling, consider using Honeycrisp, Fuji, or Gala apples.
A popular technique is to use a mix of varieties – perhaps 50% Granny Smith for structure and tang, and 50% Honeycrisp for sweetness and firmness. This blend often yields the most balanced and flavorful result. For a standard 8x8 inch dish, you'll typically need about 6-8 medium-sized apples, which is roughly 2 to 2.5 pounds.
Once you've chosen your apples, they need to be peeled, cored, and sliced. Aim for slices that are about 1/4 to 1/2 inch thick. Slices that are too thin can become mushy, while slices that are too thick might not soften properly. After slicing, the apples are tossed with a few simple ingredients – usually sugar, a thickener like flour or cornstarch (about 1-2 tablespoons for a standard recipe), and warm spices. This coating helps create a luscious, slightly thickened sauce as the apples bake and prevents the bottom layer from becoming watery.
Slicing and Spicing: Getting the Apple Filling Just Right
After peeling and coring your chosen apples, the slicing technique significantly impacts the final texture. Uniform slices, ideally between 1/4 and 1/2 inch thick, ensure that the apples cook evenly. If slices are inconsistent, some might become overly soft while others remain too firm. For an 8x8 inch pan, approximately 6-8 medium apples, totaling about 2.5 pounds, is a good estimate. Toss these slices gently in a large bowl with granulated sugar (around 1/2 to 3/4 cup, depending on apple sweetness), a thickening agent like all-purpose flour or cornstarch (about 2 tablespoons), and the essential spices.
Cinnamon is non-negotiable in an apple crisp, typically used at about 1 to 1.5 teaspoons. For added depth, a pinch of nutmeg (about 1/4 teaspoon) or a dash of ground cloves can elevate the flavor profile. Some recipes also benefit from a tablespoon of lemon juice, which brightens the flavor and helps prevent browning. Ensure the apples are evenly coated with the sugar, thickener, and spices before transferring them to your baking dish. This step ensures every bite is infused with delicious flavor and has the right consistency.
Crafting the Crumble Topping: The Key to a Perfect Texture
Combining Dry Ingredients for the Crumble
The crumble topping is what truly distinguishes an apple crisp from other apple desserts. It's a simple mixture, typically involving flour, sugars, and often oats, bound together by butter. For a classic crumble, you'll usually start by whisking together all-purpose flour (around 1 cup for an 8x8 inch dish), granulated sugar (about 1/4 cup), and brown sugar (about 1/2 cup, packed). The brown sugar adds moisture, a richer flavor, and helps create that desirable golden color. A pinch of salt (about 1/4 teaspoon) is also important to balance the sweetness and enhance the overall flavor.
For an extra layer of texture and a slightly nutty flavor, many simple apple crisp recipes incorporate old-fashioned rolled oats. If using oats, add about 1/2 to 3/4 cup to your dry mixture. Ensure all the dry ingredients are well combined before moving on to the next step. This ensures the sugars and salt are evenly distributed throughout the topping, guaranteeing consistent flavor in every bite.
Adding Butter: Achieving the Ideal Crumble Consistency
The magic of the crumble topping lies in how the cold butter is incorporated into the dry ingredients. Cold, unsalted butter (typically 1/2 to 3/4 cup, cut into small cubes) is crucial. Using cold butter and cutting it into the dry ingredients, either with your fingers, a pastry blender, or a food processor, creates pea-sized or slightly larger crumbs. As the crisp bakes, these small pieces of cold butter melt, creating steam and pockets within the topping, resulting in that signature light, crumbly, and slightly crispy texture.
Avoid overworking the mixture once the butter is added. You don't want a uniform paste, but rather a collection of varying-sized crumbs. If the mixture becomes too warm and sticky, you can pop it in the refrigerator for 10-15 minutes to chill the butter again before scattering it over the apples. This simple technique ensures your crumble bakes up golden brown and perfectly crisp, providing a wonderful contrast to the soft, warm apple filling underneath.
Assembling and Baking Your Simple Apple Crisp
Layering the Apples and Crumble
Assembling your simple apple crisp is straightforward. First, pour the prepared apple filling evenly into your baking dish. An 8x8 inch square pan or a 9-inch round pie plate works well for a standard recipe size, yielding about 6-8 servings. Ensure the apples are distributed relatively flat, though a slight mound in the center is fine as they will soften and settle during baking.
Next, evenly scatter the crumble topping over the apple layer. Try to cover the apples completely with the crumble mixture, ensuring there are no large bare spots. Don't press the crumble down firmly; leaving it loose allows it to bake into that wonderfully light and crispy texture. The goal is an even layer of potential golden-brown goodness covering the spiced apples.
Baking Time and Temperature for Golden Perfection
Baking your simple apple crisp involves two main goals: ensuring the apples are tender and bubbly, and the crumble topping is golden brown and crisp. Preheat your oven to a moderate temperature, typically around 375°F (190°C). Place the assembled crisp on a baking sheet to catch any potential drips from bubbling apple juices – this saves you from cleaning burnt sugar off the bottom of your oven!
Bake the crisp for approximately 35-50 minutes. The exact time can vary depending on your oven and the type of apples used. You'll know it's ready when the crumble topping is a deep golden brown, and you can see the apple juices bubbling up around the edges of the dish.
If the topping starts to brown too quickly before the apples are tender, you can loosely tent the crisp with aluminum foil for the remaining baking time. A simple test is to gently insert a knife or fork through the topping into the apple layer; the apples should feel soft with little resistance.
Tips and Tricks for the Best Apple Crisp Every Time
Preventing a Soggy Apple Crisp Bottom
One common issue with baked fruit desserts is a soggy bottom layer. In an easy apple crisp recipe, this can happen if the apple filling releases too much liquid or if the baking time isn't sufficient for the thickener to do its job. Using a thickening agent like flour or cornstarch (typically 1-2 tablespoons per 2.5 pounds of apples) is crucial. Ensure the apples are thoroughly coated before baking.
Another tip is to preheat your oven properly and bake the crisp until the juices are visibly bubbling around the edges. This bubbling indicates the filling has reached a high enough temperature for the thickener to activate. If your apples are particularly juicy, you might consider adding an extra half tablespoon of thickener or letting the sliced apples sit with the sugar and spices for 15-20 minutes, then draining off any excess liquid before adding the thickener and baking. Baking on the lower rack of your oven can also help ensure the bottom of the crisp gets enough heat.
Adding Extra Flavor to Your Easy Apple Crisp
A Touch of Cinnamon, Nutmeg, or Lemon Zest
While cinnamon is standard, don't be afraid to experiment with other spices to enhance your simple apple crisp. As mentioned earlier, a pinch of ground nutmeg (about 1/4 teaspoon) or a tiny amount of ground cloves (just a whisper, say 1/8 teaspoon) can add warmth and complexity. For a brighter, fresher flavor, consider adding the zest of half a lemon to the apple filling. This complements the sweetness and spice beautifully without making the crisp taste overtly lemony.
Another way to boost flavor is by adding a splash of vanilla extract (about 1 teaspoon) to the apple mixture before baking. The vanilla adds a subtle sweetness and rounds out the spice flavors. You could also add a tablespoon of brandy, rum, or apple cider to the apples for an extra layer of sophisticated flavor, allowing the alcohol to cook off during baking.
Incorporating Oats or Nuts into the Crumble Topping
The classic crumble topping often includes oats, which add chewiness and a nutty flavor. Rolled oats (not instant) work best, typically adding about 1/2 to 3/4 cup to the dry ingredients. This gives the topping more substance and a heartier texture.
For an even crunchier topping, consider adding chopped nuts like walnuts, pecans, or almonds. About 1/2 cup of chopped nuts mixed into the dry crumble ingredients before adding the butter can provide a delightful textural contrast. You could also lightly toast the nuts beforehand to enhance their flavor before adding them to the crumble. Just be mindful of potential nut allergies if you're serving the crisp to others.
Serving Suggestions: Enjoying Your Homemade Apple Crisp
Toppings: Ice Cream, Whipped Cream, or Caramel Sauce
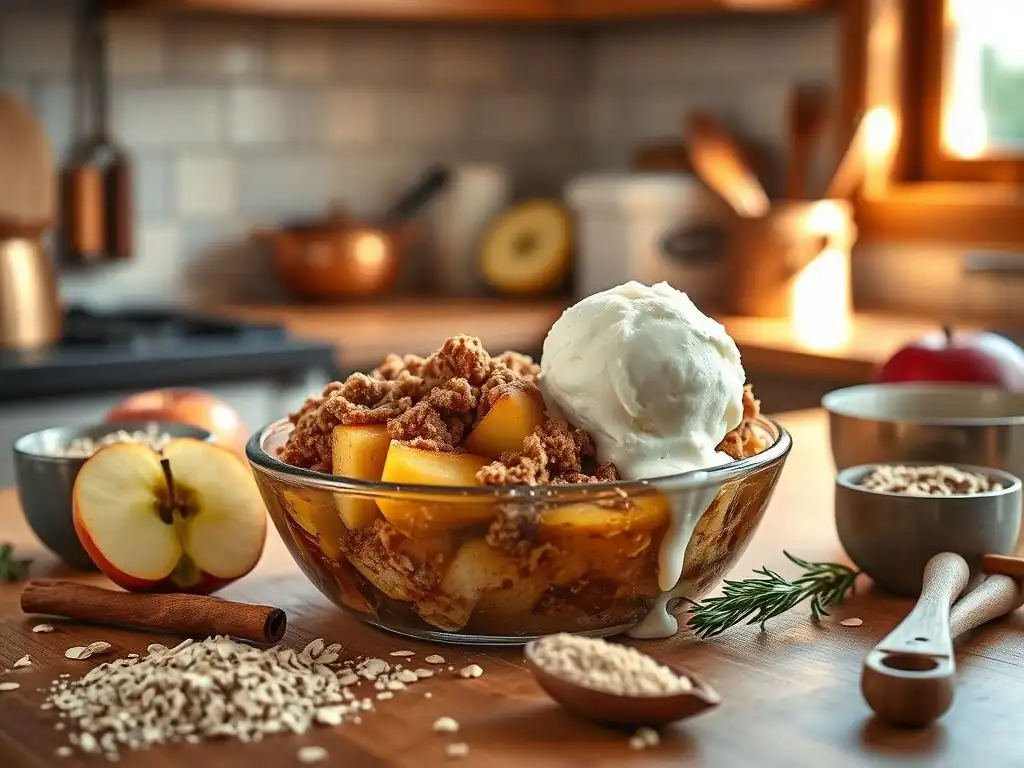
The beauty of an easy apple crisp recipe is that it's delicious on its own, but it also serves as a perfect canvas for delicious toppings. Serving it warm, straight from the oven, is highly recommended. A scoop of vanilla ice cream melting over the hot crisp is a classic pairing – the cold creaminess against the warm, crisp texture is simply divine.
Alternatively, a dollop of freshly whipped cream (sweetened or unsweetened) provides a lighter, airy contrast. For those with a sweet tooth, a drizzle of caramel sauce adds a layer of decadent richness that complements the apple and spice flavors wonderfully. Don't be shy about combining toppings! A scoop of ice cream with a drizzle of caramel is pure indulgence.
Storing Leftover Apple Crisp
If by some miracle you have leftovers of your simple apple crisp, store them properly to maintain their quality. Allow the crisp to cool completely before covering the dish tightly with plastic wrap or aluminum foil, or transferring individual portions to airtight containers. Leftover apple crisp can be stored in the refrigerator for 3-4 days.
To reheat, you can microwave individual portions for a quick warm-up, though this might soften the crumble topping. For the best results in preserving the crispness, reheat larger portions in a preheated oven at around 350°F (175°C) for 15-20 minutes, or until heated through and the topping is crisp again.
Troubleshooting Your Apple Crisp Recipe
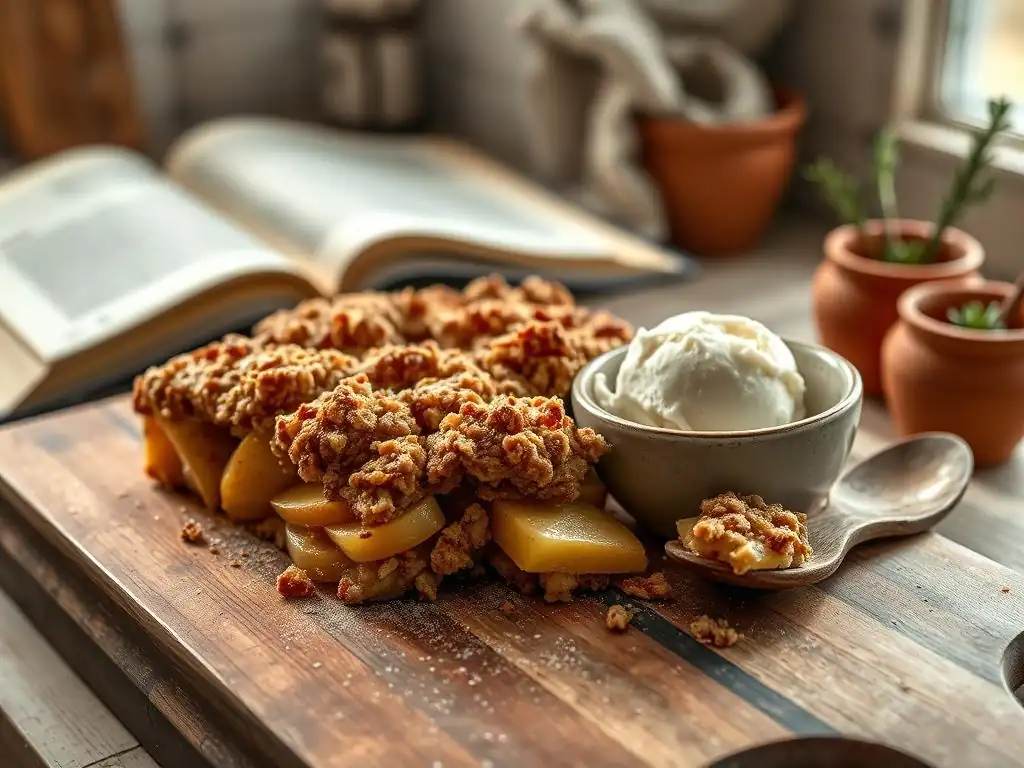
My Apple Crisp is Too Runny: What to Do?
If your simple apple crisp filling turns out too watery, it's likely due to the apples releasing more liquid than the thickener could handle, or not baking long enough for the thickener to fully activate. Ensure you used the recommended amount of flour or cornstarch (typically 2 tablespoons for about 2.5 lbs of apples). If you suspect your apples are particularly juicy (like McIntosh), you might increase the thickener by half a tablespoon next time.
If you discover it's too runny after baking, you can't easily fix the whole crisp, but you can drain some of the excess liquid when serving. For future bakes, make sure the crisp bakes until the edges are visibly bubbly, indicating the thickener is working. If the topping is browning too fast, loosely tent it with foil to allow the apples more time to cook and the liquid to thicken without burning the crumble.
My Crumble Topping is Too Dry: A Quick Fix
A crumble topping that's too dry and doesn't clump together properly usually means there wasn't enough fat (butter) or moisture to bind the dry ingredients. Ensure you used the correct amount of cold butter (around 1/2 to 3/4 cup for a standard recipe). If the mixture feels excessively dry when you're preparing it, you can add a tablespoon or two of melted butter or even a tiny splash of milk or water, mixing it in gently until the mixture holds together loosely when squeezed.
Also, make sure you're using brown sugar, which contributes moisture. If you only used granulated sugar, the topping will be drier and less flavorful. If you find your baked topping is too dry, you can't easily change it, but next time, check the butter quantity and consider adding that extra tablespoon of melted butter if needed during the mixing stage.
Adjusting the Recipe for Different Pan Sizes
This easy apple crisp recipe is typically written for an 8x8 inch square pan or a 9-inch round pie plate. If you want to use a different size, you'll need to adjust the ingredient quantities. For a larger 9x13 inch baking dish, which yields roughly double the servings (12-16), you'll generally need to double all the ingredients – about 5 lbs of apples, double the sugar, thickener, spices, and double the crumble ingredients (flour, sugars, butter, oats if using).
Baking time will also likely increase for a larger, deeper dish, potentially by 10-20 minutes or more, depending on the depth of the filling. Keep an eye on the crisp and bake until the apples are tender and the juices are bubbly. Conversely, for a smaller dish, like a 7x7 inch pan, you'd reduce the ingredients by about one-third to one-half and shorten the baking time accordingly. Always test for doneness by checking the tenderness of the apples and the bubbling of the juices.
Variations on the Classic Apple Crisp Recipe
Gluten-Free Apple Crisp: A Simple Adaptation
Adapting this simple apple crisp recipe to be gluten-free is quite straightforward. The main ingredient containing gluten is the all-purpose flour in both the apple filling thickener and the crumble topping. For the filling, you can substitute the flour with an equal amount of cornstarch or a gluten-free all-purpose flour blend. Cornstarch tends to create a slightly clearer sauce.
For the crumble topping, replace the all-purpose flour with a gluten-free all-purpose flour blend (ensure it contains xanthan gum or a binder, or add 1/4 teaspoon xanthan gum per cup of flour). If your recipe includes oats, make sure to use certified gluten-free oats, as traditional oats can be cross-contaminated with wheat. The rest of the ingredients – apples, sugars, spices, butter – are naturally gluten-free. Follow the same method for mixing and baking.
Vegan Apple Crisp: A Dairy-Free Delight
Making a vegan version of this easy apple crisp recipe primarily involves substituting the butter in the crumble topping. Instead of dairy butter, use a solid, plant-based butter substitute. Look for sticks of vegan butter that are designed for baking, as they behave similarly to dairy butter when cut into dry ingredients. You'll use the same amount (1/2 to 3/4 cup) and keep it cold.
All other ingredients are typically vegan: apples, sugar, flour (unless using a blend with dairy additives, which is rare), spices, and oats. Ensure your sugar is processed without bone char if that's a concern. Follow the recipe as written, using the vegan butter substitute. The baking time and temperature should remain the same, yielding a delicious, dairy-free simple apple crisp.
Other Fruit Crisps: Expanding Your Baking Repertoire (Peach, Berry, etc.)
The beauty of an easy apple crisp recipe is that the basic structure – fruit filling topped with a crumble – can be adapted for many other fruits. This opens up a world of simple fruit crisps to explore throughout the year. In the summer, you can make a delicious peach crisp or a mixed berry crisp (strawberries, blueberries, raspberries). Stone fruits like plums or cherries also work wonderfully.
The process is largely the same: prepare the fruit (peel and slice peaches, leave berries whole), toss with sugar and a thickener (the amount of sugar and thickener might vary slightly depending on the juiciness and sweetness of the fruit), and top with the same buttery crumble. Baking times might vary depending on the fruit's tenderness. A peach crisp might take around 30-40 minutes, while a berry crisp could be slightly less. This versatility makes the simple crumble topping a valuable tool in your baking arsenal.
The Joy of Fall Baking: More Easy Recipes from BakeWithEase
The inviting aromas and comforting flavors of fall baking are truly special. This easy apple crisp recipe is just one example of the simple pleasures you can create in your kitchen during this season. From warm spices to seasonal produce like apples and pumpkins, fall offers a wealth of inspiration for delicious, approachable baking projects.
Explore Our Fall Baking Collection: Apples & Pumpkins
If you've enjoyed making this simple apple crisp, you'll find plenty more to love in our dedicated Fall Baking collection on BakeWithEase.com. We feature a wide range of recipes specifically curated for the autumn season, focusing on easy-to-follow guides for using seasonal ingredients. Discover simple recipes for pumpkin bread, apple muffins, spiced cookies, and more. Each recipe is designed with our philosophy of simplicity and success in mind, helping you fill your home with the wonderful scents and tastes of fall without any stress. Happy baking!
Frequently Asked Questions
What makes this apple crisp recipe "easy"?
This recipe focuses on simple ingredients and a straightforward method, minimizing baking complexities. It's designed for bakers of all skill levels, even beginners.
What kind of apples work best in this apple crisp?
A mix of tart and sweet apples like Granny Smith and Honeycrisp provides the best flavor. Adjust the sugar depending on the apples' natural sweetness.
Can I substitute the flour in the topping?
Yes, you can substitute with a gluten-free flour blend for a gluten-free version. Make sure it's a 1:1 substitution and check for binding agents.
How do I prevent the apple crisp from getting soggy?
Don't overfill the dish with apples and ensure they are sliced evenly. A thoroughly combined topping helps absorb excess moisture.
How can I store leftover apple crisp?
Store leftover apple crisp in an airtight container in the refrigerator for up to 3 days. Reheat gently in the oven or microwave before serving.
Final Reflection: The Enduring Comfort of a Perfect Crisp
The seemingly simple act of baking an apple crisp transcends mere culinary creation; it's a ritual of comfort, a celebration of seasonal bounty, and a testament to the power of uncomplicated perfection. This article aimed to provide you with an easy apple crisp recipe, a guide to achieving that perfect balance of sweet, tart, and crunchy that elevates a simple dessert into something truly special. But more than just a recipe, it's a pathway to creating meaningful moments in the kitchen.
The enduring appeal of apple crisp lies in its ability to connect us to simpler times, to memories of family gatherings and the comforting aroma of warm spices filling a home. It's a recipe that's easily adaptable, allowing for personal touches and creative flourishes. As someone who has spent countless hours perfecting this recipe and sharing it with loved ones, I can attest to its power to bring people together. The best things in life are simple.
This holds especially true for the joy found in sharing a warm, homemade apple crisp.
Now, I invite you to go beyond the recipe itself. Consider the ingredients – the humble apple, the comforting cinnamon, the satisfying crunch of the topping – and how they represent the simple pleasures in life. Think about who you might share this crisp with, and the memories you'll create together. Bake this crisp, not just as a dessert, but as an act of mindful creation, a celebration of the simple things, and a reminder to savor the moments that truly matter.
Unleash Your Inner Baker: Make the Perfect Apple Crisp Tonight!
Thanks for taking the time to explore our recipe for the perfect apple crisp! We hope you've gained some delicious inspiration and confidence in the kitchen. Ready to roll up your sleeves and get baking?
- Bake your own irresistible apple crisp tonight! Use the recipe as a starting point – experiment with different spices or add a scoop of vanilla ice cream. Let your culinary creativity shine!
- Share your baking triumph! Post a picture of your creation on social media using #BakeWithEaseAppleCrisp and tag us—we love seeing your results!
- Explore more delicious recipes on BakeWithEase.com – discover new favorites and expand your baking skills!
So, what delicious twist will you add to your apple crisp? Let's hear about it in the comments below!