
Simple Techniques for Applying a Drip on Your Cake

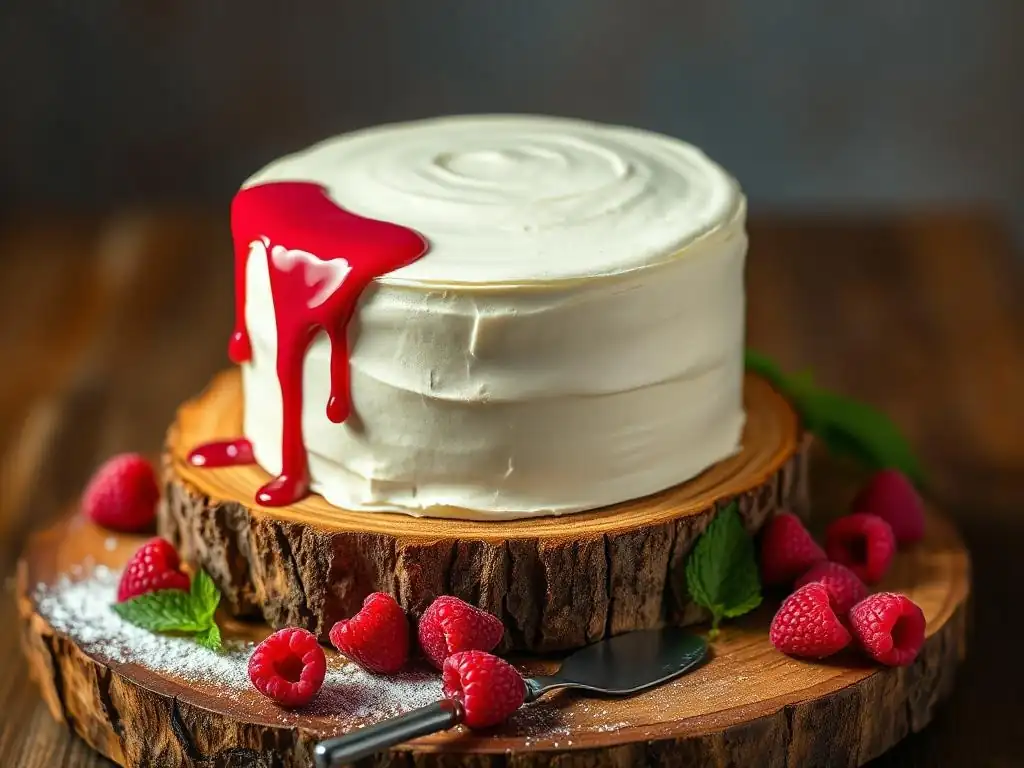
Welcome to BakeWithEase, your trusted guide to the sweet world of baking! Ever wondered how to achieve that flawless, professional-looking drip on your cake? This article dives deep into easy cake drip techniques, demystifying the process and empowering you to create stunning desserts at home. Get ready to unlock the secrets to a perfect drip and elevate your cake decorating game!
- Introduction to Chocolate Ganache Cake Drips
- Essential Tools and Ingredients for Chocolate Ganache Drips
- Step-by-Step Guide to Chocolate Ganache Drip Techniques
- Advanced Ganache Drip Techniques and Decoration Ideas
- Ganache Recipe Variations for Unique Flavors
- Tips for a Professional-Looking Ganache Drip Finish
- Conclusion: Mastering Chocolate Ganache Drip Techniques
- Frequently Asked Questions
- Final Reflection: The Sweet Simplicity of a Perfect Cake Drip
- Unleash Your Inner Cake Artist: Master the Drip!
Introduction to Chocolate Ganache Cake Drips
What is a Ganache Drip and Why Use It?
A ganache drip is a popular and visually striking cake decorating technique where a liquid chocolate ganache is poured or applied around the top edge of a cake, allowing it to gently cascade down the sides. This creates a beautiful, effortless-looking effect that can elevate a simple cake into a stunning centerpiece.
Ganache itself is a rich, smooth mixture typically made from chocolate and cream, and its consistency can be adjusted to create different drip styles, from thick, defined drops to thin, delicate rivulets. It's a relatively straightforward method, making it one of the easy cake drip techniques that even beginners can master with a little practice.
Using a ganache drip adds not just visual appeal but also a layer of rich flavor to your cake. It provides a smooth, glossy finish that contrasts nicely with other textures like buttercream or fondant. Beyond aesthetics, it's a versatile technique.
You can customize the color and flavor of the ganache, pair it with various cake and frosting flavors, and even add sprinkles or fruits while the drip is still soft. For those looking for easy cake drip techniques that deliver impressive results without complex tools or skills, the ganache drip is an excellent starting point, offering a high reward for minimal effort once you understand the basic principles.
Achieving the Perfect Ganache Drip: A Beginner's Guide
Achieving a perfect ganache drip might seem daunting, but it boils down to a few key factors: the right ganache consistency, the correct cake temperature, and a steady hand during application. For beginners, focusing on these fundamentals is crucial for mastering easy cake drip techniques. The goal is a drip that flows smoothly but stops before reaching the cake board, creating distinct drops around the edge. This requires a ganache that is neither too thick (which won't drip properly) nor too thin (which will run all the way down).
Temperature is also a critical element. Your cake should be well-chilled, typically in the refrigerator for at least 30-60 minutes before applying the drip. This helps the cold frosting set the warm ganache quickly upon contact, preventing it from running uncontrollably.
The ganache itself should be warm enough to be pourable but not hot, usually between 85°F and 90°F (about 30°C to 32°C). Practicing on the side of a glass or a small cake dummy can help you get a feel for the flow before applying it to your final masterpiece, making these easy cake drip techniques even more approachable.
Essential Tools and Ingredients for Chocolate Ganache Drips
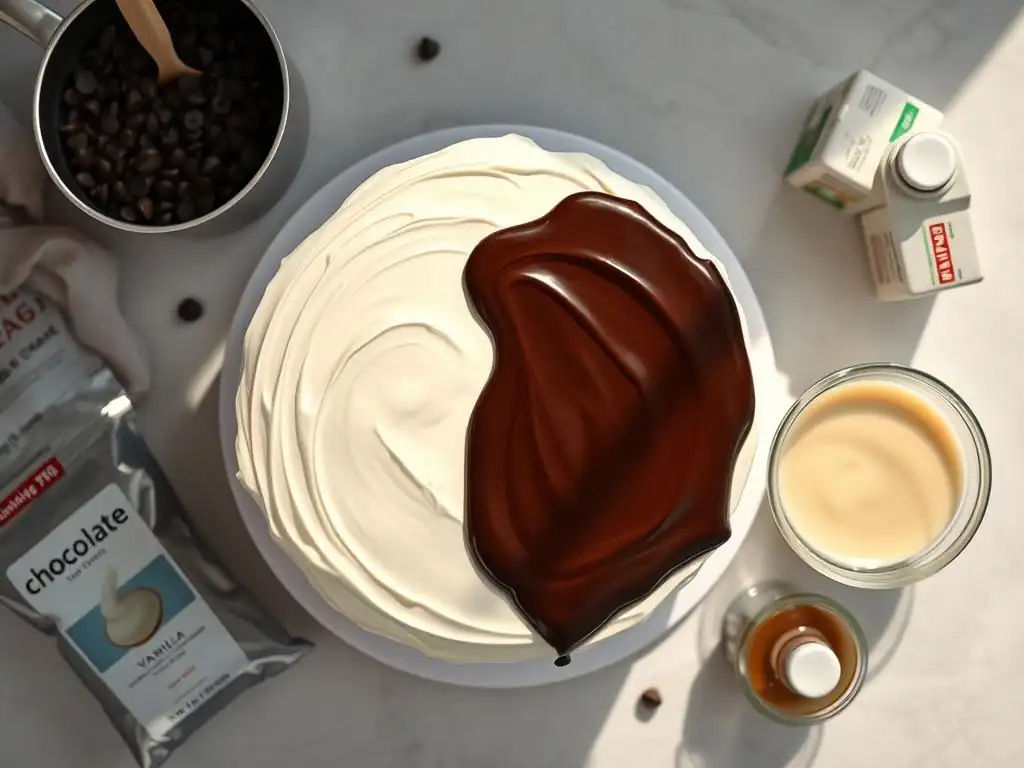
Choosing Your Chocolate: Dark, Milk, or White?
The type of chocolate you choose for your ganache drip significantly impacts both the flavor and the consistency of the drip. Dark chocolate, typically containing 50% or more cocoa solids, produces a rich, intense flavor and requires a lower cream-to-chocolate ratio due to its higher cocoa butter content. This often results in a firmer ganache, perfect for defined drips. Milk chocolate, with its sweeter profile and lower cocoa content (around 30-40%), results in a softer ganache that requires a higher proportion of chocolate to cream to achieve a drip consistency.
White chocolate, made from cocoa butter, sugar, and milk solids, is the sweetest and softest of the three. It requires the highest chocolate-to-cream ratio, often needing twice as much chocolate as cream by weight, to create a ganache firm enough to drip without pooling excessively at the bottom. While the type of chocolate affects the required ratio for easy cake drip techniques, the process of making the ganache remains largely the same. Experimenting with different types will help you discover your preferred flavor and how to adjust the consistency for your desired drip effect.
Must-Have Tools for a Flawless Ganache Drip Application
Having the right tools can make applying easy cake drip techniques much smoother and more successful. While you don't need a vast array of specialized equipment, a few key items are highly recommended. A good quality saucepan or a microwave-safe bowl is essential for heating the cream and melting the chocolate. Accuracy is paramount when making ganache, so a kitchen scale is indispensable for weighing your chocolate and cream to achieve the correct ratio, which directly impacts the consistency of your drip.
For the application itself, a small offset spatula is useful for spreading the ganache evenly around the top edge of the cake before encouraging the drips. Alternatively, a squeeze bottle or a piping bag with a small round tip offers more control over where and how much ganache is applied, allowing for precise drip placement. A thermometer, preferably an instant-read one, is also incredibly helpful for monitoring the temperature of your ganache before application, ensuring it's in the ideal range for easy cake drip techniques and a perfect flow.
Spatulas and Applicators for Ganache Drip
When it comes to applying the ganache drip, the choice of tool can greatly influence the outcome. A small offset spatula is one of the simplest tools. You can spoon ganache onto the center of the chilled cake top and gently push it towards the edge with the spatula, allowing gravity to pull it over. This method works well for a more organic, free-form drip effect. For instance, using a 4-inch offset spatula allows for fine control around the perimeter of a standard 8-inch cake.
For more control and uniformity, squeeze bottles designed for food use are excellent. Filling a squeeze bottle with tempered ganache allows you to pipe dots of ganache around the cake's edge, varying the size of the dot to control the length of the drip. A piping bag with a small (around 3mm-5mm) round tip offers similar precision.
These methods provide more consistency in drip size and spacing, making them popular for achieving a neat, professional look with easy cake drip techniques. Many bakers find that practicing the squeeze bottle method on a test surface first significantly improves their confidence and results on the actual cake.
Preparing Your Cake for the Drip
Proper cake preparation is just as important as making the ganache itself for successful easy cake drip techniques. The cake needs to be fully assembled and frosted, with the frosting layer smooth and even, especially around the top edge. Any bumps or imperfections in the frosting will show through the ganache drip and can affect how it flows. Ensure your frosting is firm; a crusting buttercream works particularly well.
Crucially, the cake must be thoroughly chilled before applying the ganache. Place the frosted cake in the refrigerator for at least 30 minutes, or even in the freezer for 10-15 minutes, until the frosting is firm to the touch. This cold surface is key because it causes the warm ganache to set quickly as it hits the cake, creating distinct drips rather than a messy flood. A well-chilled cake is fundamental to achieving clean, controlled drips when using any of the easy cake drip techniques.
Step-by-Step Guide to Chocolate Ganache Drip Techniques
Preparing the Ganache: Achieving the Right Consistency
The consistency of your ganache is the single most important factor for a successful cake drip. It needs to be fluid enough to drip easily but thick enough to set relatively quickly without running all the way down the cake. This consistency is primarily determined by the ratio of chocolate to cream and the temperature of the mixture when applied.
Mastering this balance is central to applying easy cake drip techniques effectively. A ganache that is too thick will result in short, stubby drips or no drips at all, while one that is too thin will create long, uncontrolled streaks.
The ideal consistency is often described as being like warm honey or thick paint. You should be able to drizzle a spoonful back into the bowl, and it should leave a noticeable ribbon on the surface before slowly sinking back in. Achieving this requires careful attention to the recipe ratio and temperature.
If your ganache is too thick after cooling slightly, you can gently warm it a few seconds at a time in the microwave or over a double boiler, stirring thoroughly after each warming, until it reaches the desired flow. If it's too thin, letting it sit at room temperature for a bit longer or stirring in a tiny bit more melted chocolate can help, though fixing overly thin ganache is generally harder than fixing overly thick ganache.
Melting Chocolate for Ganache Successfully
Melting the chocolate correctly is a crucial first step in making ganache for easy cake drip techniques. The best methods involve gentle, even heating to prevent the chocolate from burning or seizing. Using a double boiler is a classic and reliable method: place chopped chocolate in a heatproof bowl set over a saucepan of simmering water, ensuring the bottom of the bowl doesn't touch the water. Stir occasionally until the chocolate is smooth and fully melted.
Alternatively, you can melt the chocolate in the microwave, but this requires caution. Heat the chopped chocolate in a microwave-safe bowl on 50% power for short intervals (e.g., 30 seconds), stirring well after each interval. Continue until the chocolate is mostly melted, then stir until completely smooth from the residual heat. Overheating chocolate in the microwave is very easy and can ruin its texture and flavor, so go slowly and stir frequently. Combining the hot cream with the chocolate is the next step, allowing the cream's heat to finish melting any remaining chocolate pieces before stirring to emulsify.
Achieving the Correct Ganache Ratio
The correct ratio of chocolate to cream is fundamental to achieving the right consistency for easy cake drip techniques. The ratio needed depends on the type of chocolate used, as different chocolates have varying amounts of cocoa butter. A common starting point for dark chocolate is a 1:1 ratio of chocolate to heavy cream by weight (e.g., 8 ounces of chocolate to 8 ounces of cream). This usually results in a ganache that sets up quite firmly when cool but is pourable when slightly warm.
For milk chocolate, which is softer, a higher chocolate-to-cream ratio is needed, often around 1.5:1 or 2:1 (e.g., 12-16 ounces of milk chocolate to 8 ounces of heavy cream). White chocolate is the softest and requires the highest ratio, typically 2:1 or even 2.5:1 (e.g., 16-20 ounces of white chocolate to 8 ounces of heavy cream).
It's often best to start with a recommended ratio for your chocolate type and then adjust slightly if needed based on a test drip on a piece of parchment paper – if it runs too fast, add a little more chocolate; if it's too thick, add a tiny bit more warm cream.
Applying the Drip: Methods for Beginners
For beginners exploring easy cake drip techniques, there are a couple of simple methods to get started. The goal is to apply the ganache around the top edge of the chilled cake, allowing it to cascade down the sides. Regardless of the method chosen, ensure your ganache is at the correct temperature (around 85-90°F or 30-32°C) and your cake is cold.
Practice first on a glass.(Example of something to avoid or correct)- Check ganache temperature with a thermometer.
- Ensure cake is well-chilled.
These simple steps help set you up for success with easy cake drip techniques.
The Spoon Method: A Simple Ganache Drip Technique
The spoon method is perhaps the most intuitive and easy cake drip technique for beginners. Once your ganache is made and cooled to the correct temperature, simply take a small spoon (a teaspoon or a small measuring spoon works well) and scoop a small amount of ganache. Position the spoon at the very edge of the top of the chilled cake, letting a small amount of ganache spill over the side. You can gently push the ganache with the back of the spoon to encourage it to start dripping.
Move around the perimeter of the cake, applying small amounts of ganache at intervals. Varying the amount of ganache on the spoon will create drips of different lengths, giving your cake a more rustic or organic look. For longer drips, let a slightly larger amount spill over; for shorter drips, use less ganache. This method allows for a lot of control over the placement of individual drips and is very forgiving, making it a great way to start mastering easy cake drip techniques.
Using a Squeeze Bottle for Controlled Ganache Drips
Using a squeeze bottle offers more precision and consistency than the spoon method and is another excellent easy cake drip technique. Fill a clean squeeze bottle with your prepared ganache after it has cooled slightly to the correct temperature (warm but not hot). Hold the bottle tip just above the edge of the chilled cake. Gently squeeze a small amount of ganache onto the top edge, allowing it to flow over the side. You can control the length of the drip by how much ganache you squeeze out at each point.
To create uniform drips, apply consistent pressure on the bottle for the same amount of time at each spot around the cake's perimeter, spacing the drips evenly (e.g., every half inch). For a full drip effect, you can also pipe a thin line of ganache all the way around the top edge of the cake, allowing it to naturally drip down. This method is fantastic for achieving a neat, professional-looking drip and is relatively easy to master with a little practice on a piece of parchment paper before tackling the cake.
Troubleshooting Common Ganache Drip Problems
Even with easy cake drip techniques, you might encounter issues. Don't worry, most common problems can be fixed! The key is understanding the cause, which is usually related to ganache consistency or temperature.
Common Ganache Drip Issues:
- Ganache is too thick
- Ganache is too thin
- Drips are uneven
- Ganache won't drip at all
Identifying the problem correctly is the first step to applying the right fix and getting back on track to mastering easy cake drip techniques.
Ganache is Too Thick: Solutions for a Smooth Finish
If your ganache is too thick, it won't flow properly or create nice drips; it might just sit on the edge or create very short, stubby drops. This usually happens if the ganache has cooled down too much or if the chocolate-to-cream ratio was too high for the type of chocolate used. The easiest way to fix thick ganache is to gently warm it up.
You can place the bowl of ganache over a pot of warm (not boiling) water or microwave it in very short bursts (5-10 seconds) on low power, stirring thoroughly after each interval. Be patient and warm it just until it reaches a pourable consistency, around 85-90°F (30-32°C). If you suspect the ratio was off, you can try stirring in a very small amount (like a teaspoon at a time) of warm heavy cream and stirring until fully incorporated, then testing the consistency. This adjustment helps ensure the ganache is perfect for easy cake drip techniques.
Ganache is Too Thin: How to Thicken Your Ganache
If your ganache is too thin, it will run quickly down the cake, potentially pooling at the bottom or making very long, uncontrolled streaks. This usually means the ganache is too warm or the chocolate-to-cream ratio was too low. If it's just too warm, simply let the ganache sit at room temperature for a bit longer, stirring occasionally, until it cools down to the ideal application temperature (85-90°F or 30-32°C). You can speed this up by stirring it over an ice bath for just a few seconds, being careful not to let it get too cold and seize.
If the ratio was incorrect and the ganache is inherently too thin even at the right temperature, the best fix is to gently melt a small amount of the same type of chocolate you used and stir it into the ganache. Start with a tablespoon or two of melted chocolate, stir until fully combined, and test the consistency. Add more melted chocolate if needed. This boosts the chocolate content, helping the ganache set firmer and making it suitable for easy cake drip techniques.
Uneven Drips: Tips for Achieving a Consistent Look
Uneven drips can make a cake look less polished. This can happen for several reasons, including inconsistent ganache temperature, applying varying amounts of ganache at each point, or an uneven cake surface. To achieve a more consistent look with your easy cake drip techniques, ensure your ganache is uniformly heated to the correct temperature throughout the batch before you start applying.
If using the spoon method, try to scoop roughly the same amount of ganache for each drip point. With a squeeze bottle, practice applying consistent pressure and timing for each squeeze. Starting the drip application on the back side of the cake (the side that will face away from view) allows you to get into a rhythm before moving to the front.
Also, ensure your cake is level and the top edge of your frosting is smooth and even, as this provides a consistent starting point for each drip. Patience and a steady hand are key to mastering consistent easy cake drip techniques.
Advanced Ganache Drip Techniques and Decoration Ideas
Creating Colored Ganache Drips: Adding Visual Appeal
While classic chocolate ganache is beautiful, you can easily add a pop of color to your cake by creating colored ganache drips. This is typically done with white chocolate ganache, as its light color serves as a neutral base for adding food coloring. To make colored ganache, follow the standard white chocolate ganache recipe (using a 2:1 or 2.5:1 ratio of chocolate to cream). Once the ganache is smooth and emulsified, let it cool slightly but remain liquid.
Add oil-based or powdered food coloring a little at a time, stirring until the desired shade is achieved. Water-based gel or liquid colors can cause chocolate to seize, so it's crucial to use oil-based colors designed for chocolate or candy making. You can create vibrant drips in any color imaginable, from bright pinks and blues to elegant metallics using edible luster dust mixed with a tiny amount of clear extract. These colored drips add a fun and personalized touch to your easy cake drip techniques.
Combining Drips with Other Cake Decoration Elements
Ganache drips are a fantastic foundation for further cake decoration. They pair beautifully with a variety of other elements, enhancing the overall design. Applying easy cake drip techniques is often just the first step in creating a stunning cake.
- Add textures: Sprinkles, chopped nuts, or cookie crumbs.
- Incorporate fresh elements: Berries, flowers, or herbs.
- Top with confections: Macarons, meringues, or candies.
These additions can be applied while the ganache is still wet for them to stick, or placed carefully around the set drip.
Ganache Drip with Sprinkles
Adding sprinkles is one of the easiest ways to enhance a ganache drip and add texture and color. Once you've applied your ganache drip using your preferred easy cake drip techniques, and while the ganache is still wet and slightly tacky, gently press sprinkles onto the drips as they run down the cake sides. You can use any type of sprinkle, from jimmies and nonpareils to edible glitter or confetti sprinkles.
For a clean look, focus the sprinkles just on the drips themselves. For a more festive look, you can cover the entire lower portion of the cake in sprinkles after the drip has set slightly, or even apply sprinkles to the top edge before the drip for a different effect. This simple addition takes just moments but adds significant visual interest, turning easy cake drip techniques into a more elaborate decoration.
Ganache Drip with Fresh Berries
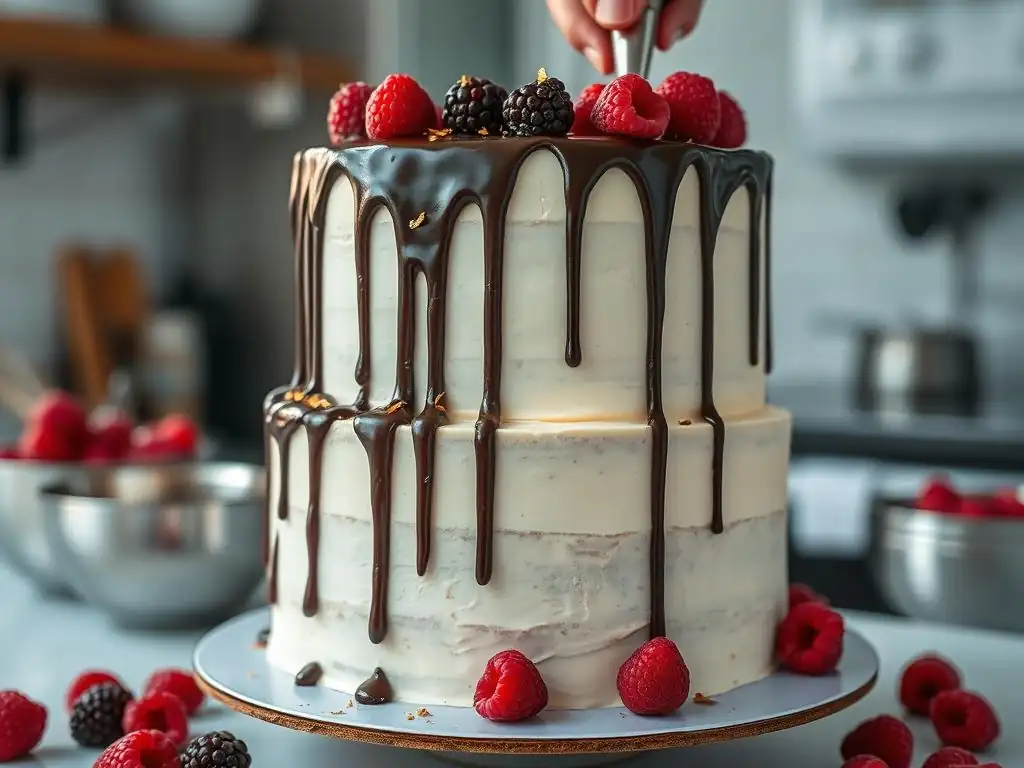
Pairing a chocolate ganache drip with fresh berries creates a beautiful and delicious contrast. The richness of the chocolate complements the tartness and freshness of berries like strawberries, raspberries, or blueberries. After applying your ganache drip and allowing it to set for a few minutes until it's firm but still slightly soft, you can arrange fresh berries on top of the cake, around the perimeter, or even gently press smaller berries into the drips on the side.
For example, placing halved strawberries around the top edge or scattering raspberries and blueberries across the top surface within the drip boundary adds natural color and elegance. Ensure the berries are clean and dry before placing them on the cake. This combination is particularly effective on chocolate or vanilla cakes and is a simple way to elevate easy cake drip techniques into a sophisticated dessert presentation.
Ganache Recipe Variations for Unique Flavors
Beyond classic dark, milk, or white chocolate, ganache can be infused with other flavors to create unique and exciting drips. Exploring these variations adds another dimension to mastering easy cake drip techniques. The base method remains the same – heating cream and combining it with chocolate – but additional ingredients are introduced to change the flavor profile.
Salted Caramel Ganache Drip: A Sweet and Salty Delight
A salted caramel ganache drip offers a delightful balance of sweet and salty flavors. To make this variation, you'll first need a good quality salted caramel sauce. You can use store-bought or homemade sauce. Prepare your chocolate ganache as usual (white or milk chocolate works well for this variation due to their sweetness). Once the ganache is smooth and emulsified, stir in 1-2 tablespoons of salted caramel sauce per cup of ganache, or to taste.
Ensure the caramel sauce is smooth and lump-free before adding it. Stir until the caramel is fully incorporated and the ganache is a uniform color. The addition of caramel might slightly alter the consistency, so you may need to adjust the temperature or add a tiny bit more chocolate if it becomes too thin. This variation provides a rich, complex flavor and a beautiful golden-brown hue, making it a popular choice for those looking to expand their easy cake drip techniques repertoire.
Mocha Ganache Drip: Coffee Infused Indulgence
For coffee lovers, a mocha ganache drip provides a wonderful coffee-infused chocolate flavor. This variation works best with dark or milk chocolate ganache. Prepare your standard ganache by heating the cream and pouring it over the chopped chocolate. Before adding the cream to the chocolate, you can infuse the cream with coffee flavor.
One method is to add 1-2 tablespoons of instant espresso powder or very strong brewed coffee to the cream while it's heating. Stir until dissolved, then proceed with making the ganache as usual. Alternatively, after the ganache is made and smooth, you can stir in 1-2 teaspoons of instant espresso powder or coffee extract, ensuring it dissolves completely. Be mindful that adding liquid coffee can thin the ganache slightly, potentially requiring a small adjustment in consistency. This variation adds a sophisticated depth of flavor to your easy cake drip techniques.
Peanut Butter Ganache Drip: A Nutty Twist
A peanut butter ganache drip is perfect for fans of the classic chocolate and peanut butter combination. This variation is typically made with milk or dark chocolate ganache. Prepare your chocolate ganache as usual. Once the ganache is smooth and emulsified, stir in 1-2 tablespoons of smooth, creamy peanut butter per cup of ganache, or to taste.
Ensure the peanut butter is well-stirred before adding it to the ganache to avoid lumps. Stir until the peanut butter is fully incorporated and the ganache is smooth and uniform. The peanut butter will thicken the ganache, so you will likely need to gently warm it more than usual or add a tiny splash of warm cream to achieve the correct pourable consistency for dripping. This nutty variation adds a unique flavor profile and a slightly different texture, making your easy cake drip techniques even more versatile.
Tips for a Professional-Looking Ganache Drip Finish
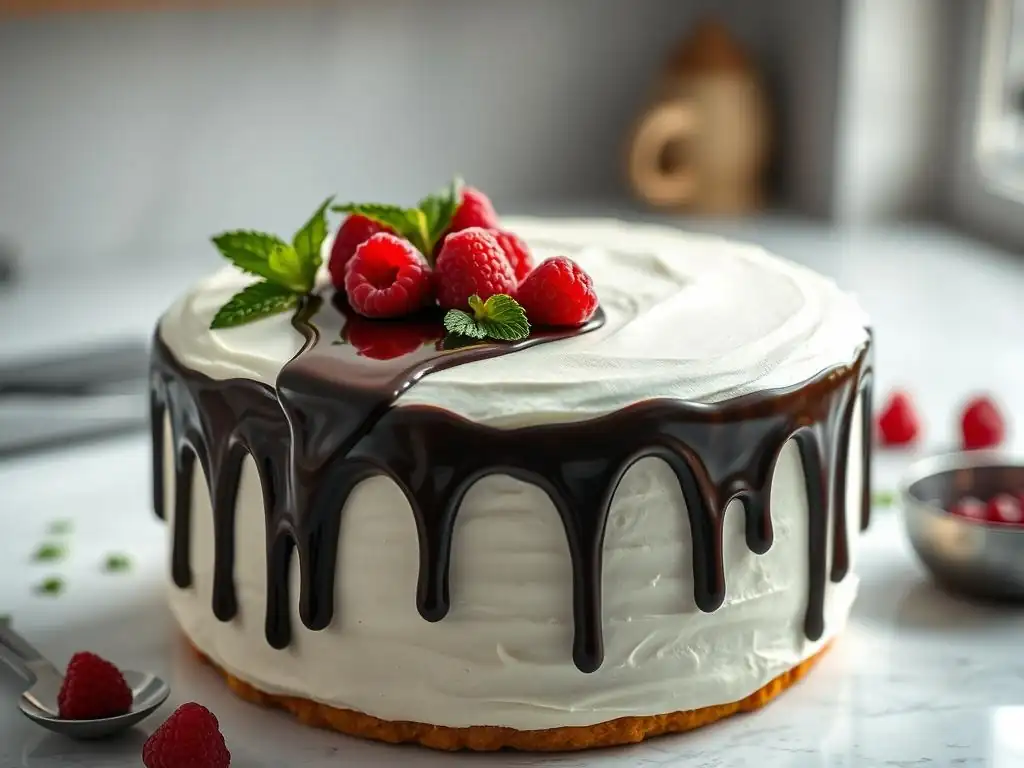
Achieving a truly professional-looking ganache drip goes beyond just applying the ganache correctly. A few finishing touches and preparation steps can make a significant difference in the final appearance and longevity of your cake. These tips help refine your easy cake drip techniques for a flawless result.
Chilling Your Cake for Best Drip Results
As mentioned earlier, chilling your cake is absolutely paramount for achieving clean, well-defined drips. A cold cake surface helps the warm ganache set quickly upon contact, preventing it from running too far down the sides and pooling at the bottom. Ideally, your frosted cake should be refrigerated for at least 30-60 minutes before you apply the drip.
For an even firmer surface, you can place the cake in the freezer for 10-15 minutes. The goal is for the frosting to be firm and cold to the touch. This cold temperature creates a thermal shock that causes the ganache to solidify rapidly as it flows down, stopping it in its tracks and creating that desirable drip effect. Skipping this crucial step is one of the most common reasons for messy or uncontrolled drips, undermining otherwise perfect easy cake drip techniques.
Achieving a Clean Cake Board After Drip Application
After applying your ganache drip, some drips might extend all the way down to the cake board. For a professional finish, you'll want to clean the board. Wait until the ganache drips have fully set – this might take anywhere from 15 minutes to an hour, depending on the ganache consistency and room temperature.
Once the drips are firm, you can use a small, sharp paring knife or an offset spatula to carefully scrape away any ganache that has landed on the cake board. Hold the knife or spatula at a low angle to the board and gently push the set ganache away from the cake base. You can then wipe the board clean with a damp paper towel or cloth, being careful not to smudge the drips on the cake itself. A clean cake board provides a neat frame for your beautifully decorated cake, highlighting your successful easy cake drip techniques.
Storing Your Drip Cake to Maintain Freshness
Proper storage is essential to keep your beautiful drip cake fresh and the ganache drip intact. Once the ganache drip has fully set, the cake is generally best stored in the refrigerator, especially if it contains perishable fillings or frostings. Place the cake in an airtight cake carrier or cover it loosely with plastic wrap.
Be aware that refrigerating can sometimes cause condensation on the ganache when the cake is brought back to room temperature. To minimize this, let the cake sit in its carrier at room temperature for 30-60 minutes before serving. While the ganache drip itself is quite stable once set, refrigerating helps maintain the overall quality and safety of the cake. Easy cake drip techniques result in a sturdy decoration, but the cake underneath still needs appropriate care.
Conclusion: Mastering Chocolate Ganache Drip Techniques
Mastering chocolate ganache drip techniques is a rewarding skill that can dramatically enhance the visual appeal of your cakes. From understanding the fundamental role of chocolate and cream ratios to practicing simple application methods like the spoon or squeeze bottle, these easy cake drip techniques are accessible to bakers of all levels. We've explored how temperature plays a critical role, how to troubleshoot common issues like ganache that's too thick or too thin, and even how to get creative with colored ganache and flavor variations like salted caramel or mocha.
Applying easy cake drip techniques successfully requires attention to detail, patience, and practice. By ensuring your ganache is the right consistency and temperature, your cake is well-chilled, and by using the appropriate tools, you can achieve beautiful, consistent drips every time. Remember to clean your cake board for a polished finish and store your cake properly to maintain freshness. With these tips and techniques, you're well on your way to creating stunning drip cakes that are sure to impress!
Frequently Asked Questions
What exactly is a cake drip and why should I use it?
A cake drip is a decorative topping made from chocolate or ganache that cascades down the sides of a cake. It's popular because it adds an elegant and modern touch without requiring advanced skills.
What kind of chocolate is best for making a cake drip?
While you can use various chocolates, semi-sweet chocolate is a great starting point. Experiment with dark or white chocolate for different flavors and aesthetics. Quality chocolate will always yield the best results.
How do I achieve the perfect consistency for my cake drip?
The consistency is key! You want it thin enough to drip, but not so thin that it runs right off. Gently warming the ganache or adding a touch more cream can help you achieve the ideal, pourable consistency.
How do I prevent my cake drip from being too thick or too thin?
Careful measurements are crucial. If it's too thick, add a small amount of warm cream. If it's too thin, add more melted chocolate, mixing thoroughly after each addition until the desired consistency is reached.
How long should I chill my cake before applying the drip?
It's best to chill your cake until it's firm to the touch. This allows the drip to adhere properly and prevents it from melting the frosting underneath. Aim for at least 30 minutes in the refrigerator.
Final Reflection: The Sweet Simplicity of a Perfect Cake Drip
Mastering the art of the cake drip isn't just about aesthetics; it's about elevating the everyday into something extraordinary. A simple drip can transform a humble cake into a showstopper, adding a touch of elegance and personality that speaks volumes. This seemingly small detail holds the power to elevate your baking game and impress your loved ones.
The impact of visually appealing desserts extends far beyond the immediate satisfaction of taste. It's a powerful form of self-expression, a way to share joy and creativity with others. The simple act of creating a beautiful cake, adorned with a perfectly executed drip, can bring immense personal fulfillment. The best things in life are the simple things.
This sentiment rings particularly true when considering the transformative power of a well-placed chocolate ganache or vibrant fruit glaze. The techniques explored in this article are a testament to the beauty found in simplicity.
Now, it's your turn. Don't be intimidated by the seemingly complex world of cake decorating. Take the knowledge you've gained here, experiment with different flavors and colors, and let your creativity flow. Embrace the imperfections, learn from each attempt, and most importantly, have fun! The perfect cake drip is waiting to be discovered – within you.
Unleash Your Inner Cake Artist: Master the Drip!
Thanks for taking the time to learn about creating stunning cake drips! We hope you now feel confident in your newfound cake decorating skills. Ready to put your knowledge into practice?
- Create your masterpiece! Try out the drip techniques you learned today on your next cake. Experiment with different colors and consistencies to discover your signature style. This is the fun part!
- Share your drip-tastic creations! Tag us on social media — we'd love to see your beautiful cakes. Use #BakeWithEaseDrips to inspire others.
- Dive deeper into cake decorating! Explore more of our articles on BakeWithEase.com for advanced techniques and delicious recipes.
What unique flavor combination will you try with your next drip cake? Let us know in the comments below!