
Add Depth and Dimension with Layering Techniques on Cookies

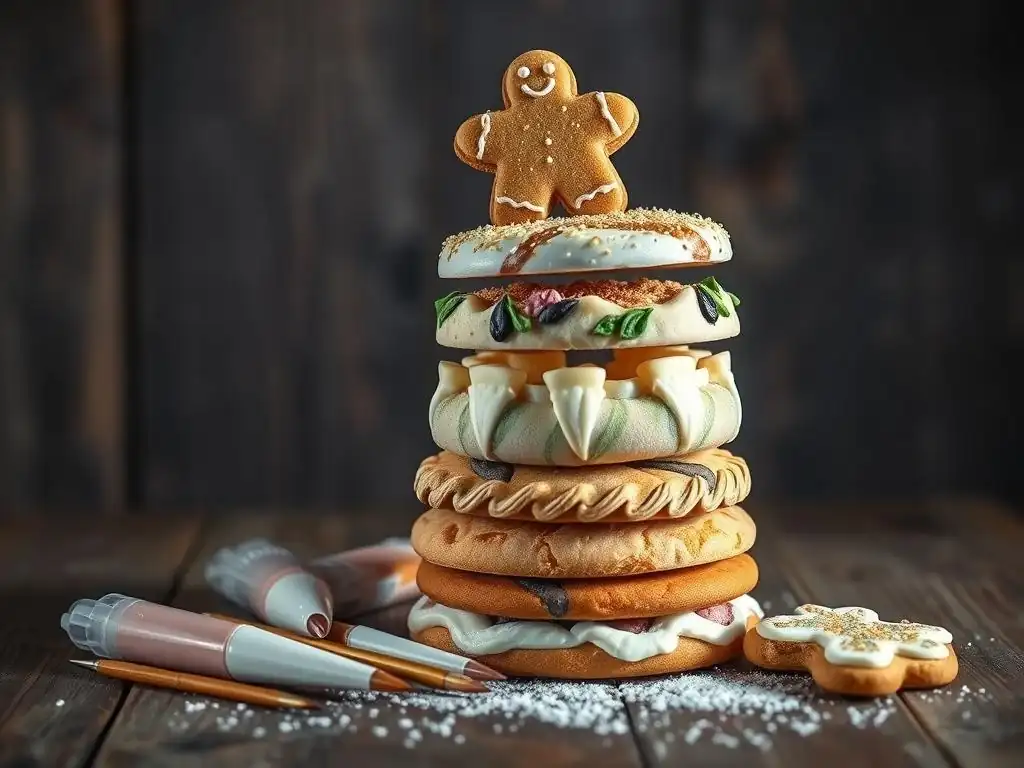
Welcome to BakeWithEase, your haven for baking bliss! Ever wondered how to elevate your cookie decorating game from simple to stunning? This time, we're diving deep into the world of layered cookie decorating techniques, unlocking secrets to add incredible depth and dimension to your sweet creations. Prepare to be amazed as we unveil easy-to-follow methods that will transform your cookies into edible masterpieces. Ready to start layering?
- Mastering Layered Cookie Decorating Techniques for Stunning Results
- Why Use Layering Techniques for Cookie Decoration?
- Essential Tools and Ingredients for Layered Cookie Designs
- Basic Layering Techniques: Building a Foundation
- Advanced Layering Techniques: Taking Your Cookies to the Next Level
- Layered Cookie Decorating Ideas and Inspiration
- Troubleshooting Common Layering Issues
- Tips for Achieving Professional-Looking Layered Cookies
- Conclusion: Unleash Your Creativity with Layered Cookie Art
-
Frequently Asked Questions
- How can I achieve a smooth, even base layer for my layered cookie decorating?
- What types of royal icing consistencies are best for different layers?
- How long should I wait between layers to prevent bleeding or mixing?
- Can I use other materials besides royal icing for layered cookie decorating?
- What are some common design mistakes to avoid when layering cookies?
- Final Reflection: The Enduring Allure of Layered Cookie Art
- Unleash Your Inner Cookie Artist: Master Layering Today!
Layered cookie decorating techniques transform flat, simple cookies into stunning works of edible art. By applying royal icing and other edible elements in successive layers, you can build designs that have visual depth, tactile texture, and intricate detail that simply isn't possible with a single flood coat. This approach allows for greater creativity and complexity, elevating your baking projects from delicious treats to impressive showpieces. Mastering these techniques opens up a world of possibilities for personalized gifts, special occasion desserts, and simply beautiful cookies to share.
The beauty of layered cookie decorating techniques lies in their versatility. Whether you're aiming for realistic floral designs, complex geometric patterns, or whimsical characters, layering provides the framework to bring your vision to life. Each layer adds a new dimension, building upon the base to create a finished product that is both visually appealing and structurally interesting. This methodical process encourages patience and precision, rewarding you with cookies that are not only tasty but also miniature canvases of edible art.
Utilizing layered cookie decorating techniques is paramount when you want your cookies to stand out from the crowd. A flat cookie, while potentially colorful, lacks the visual interest that dimension provides. By adding layers of icing, you create shadows, highlights, and perceived depth, making elements appear to sit on top of or recede into the design. For instance, creating a layered flower where each petal is a separate layer of icing gives the bloom a realistic, almost sculptural quality that a simple drawn flower cannot replicate. This technique can make a simple design appear significantly more complex and professional.
Consider the difference between a cookie flooded with a single color versus one where details like leaves, stems, and flower centers are added in subsequent layers. The layered cookie immediately has more visual weight and realism. This dimensionality is particularly effective for designs mimicking real-world objects or scenes. A layered landscape cookie, for example, can use different icing thicknesses and layers to suggest distance and foreground elements, guiding the viewer's eye across the edible scene. This strategic use of layering turns a cookie into a small piece of art that invites closer inspection.
Layered cookie decorating techniques aren't just about visual depth; they also introduce tactile texture. Varying the consistency of your royal icing and the application method for different layers allows you to create distinct textures on the cookie surface. A smooth flood layer provides a canvas, while subsequent layers applied with medium or stiff consistency icing can create raised lines, dots, or shapes that you can physically feel. Imagine a knitted sweater cookie design – the textured "stitches" created with layered piping make the design incredibly realistic and engaging.
Beyond simple raised details, layering enables more complex textural effects. For example, applying a thick layer of icing and using a tool to create impressions before it dries can mimic wood grain or fabric. Using different icing consistencies side-by-side in layers can also create subtle textural shifts. This combination of visual depth and tactile texture makes layered cookies incredibly appealing and memorable. It transforms the act of decorating from simply coloring a surface to sculpting and building an edible masterpiece, adding a significant level of sophistication to your baked goods.
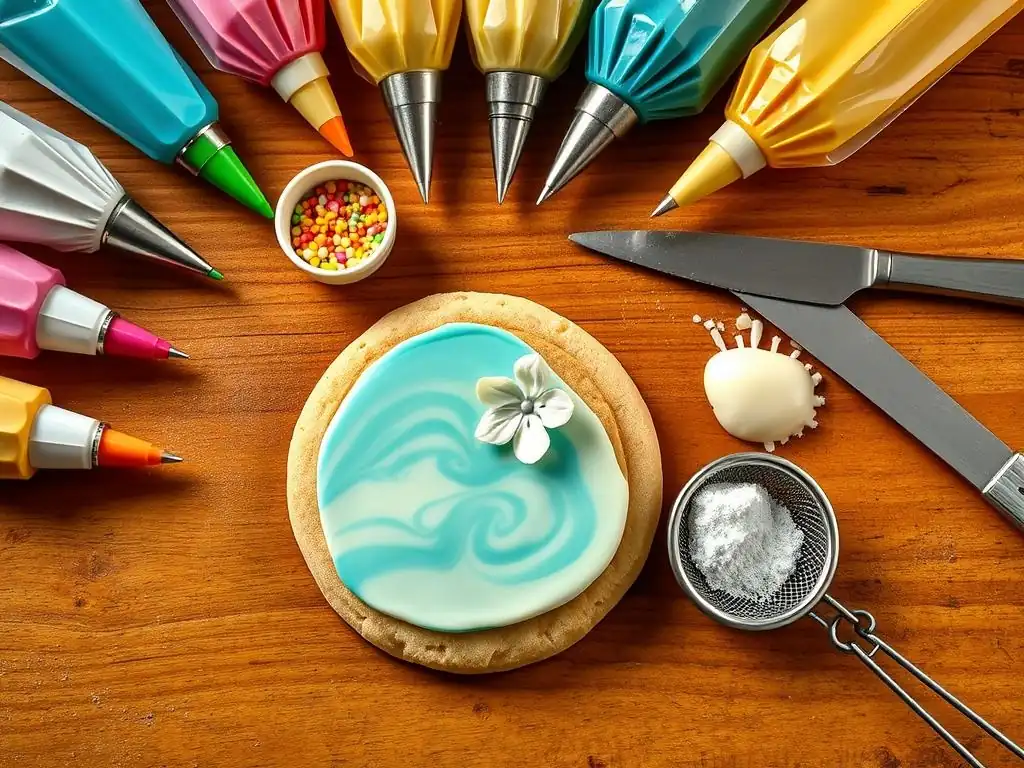
Achieving clean and precise layers in your cookie decorating requires a few essential tools. Piping bags are fundamental, typically requiring several so you can have different colors and consistencies of icing ready simultaneously. While disposable bags are convenient, reusable silicone bags are an eco-friendly alternative. Piping tips are also crucial; a set including various round tips (like PME 1.5, 2, 3 or Wilton 1, 2, 3) and maybe some star or leaf tips will cover most layering needs. Small round tips are indispensable for fine outlines and details between layers.
A scribe tool or a toothpick is another non-negotiable item. These are used to guide icing into small spaces, pop air bubbles, and gently manipulate layers before they dry. Having a rotating turntable for decorating provides easy access to all sides of the cookie without smudging wet layers. Small offset spatulas are helpful for spreading thicker icing layers or smoothing larger areas. Investing in quality versions of these basic tools will significantly improve the ease and outcome of your layered cookie decorating efforts, allowing for more intricate and professional results.
Choosing the Right Royal Icing Consistency for Layering
The success of layered cookie decorating techniques hinges on using the correct royal icing consistencies for different stages. You'll typically need at least two, but often three or four, consistencies. A "stiff" or "piping" consistency is used for outlines and fine details that need to hold their shape or for building three-dimensional elements; it should be like toothpaste. A "flood" consistency is thinner, used to fill outlined areas smoothly; it should be like honey or thick syrup and level itself out.
For adding details on top of a dried flood layer, a "medium" consistency is often ideal. This consistency falls between stiff and flood; it holds a soft peak but is still fluid enough to flow smoothly from a piping bag for lines, dots, or small shapes that will have some dimension but aren't meant to stand tall.
Using the wrong consistency is a common pitfall – flood icing on top of wet flood icing will blend (wet-on-wet), while flood icing on dry flood icing will create a raised layer. Understanding and mastering consistency is perhaps the most critical skill for effective layering.
The shape of your cookie cutter can significantly influence the possibilities for layered cookie decorating techniques. Simple shapes like circles, squares, or ovals provide a blank canvas perfect for practicing basic layering, geometric patterns, or creating miniature scenes. They offer ample space to experiment with multiple layers without the constraints of an intricate edge. For example, a simple circle cookie can be transformed into a complex layered floral wreath or a detailed mosaic pattern using geometric layering.
More complex cookie cutter shapes, such as animals, flowers, or holiday symbols, often lend themselves naturally to layered designs. A gingerbread person cutter is perfect for layering clothing details, while a floral cutter can guide the placement of layered petals and leaves. Sometimes, using a set of nested cutters of the same shape (e.g., concentric circles or stars) can help plan and execute layered designs where sections are built up in size. Choosing cutters that inspire specific layering ideas can make the design process more intuitive and fun.
Basic Layering Techniques: Building a Foundation
The Flood Layer: Creating a Smooth Base
The first step in most layered cookie decorating techniques is creating a smooth, solid base layer, typically using the "flood" technique with royal icing. This involves outlining the area to be flooded with a stiffer consistency icing to create a dam, then filling the inside with thinner flood consistency icing. The flood icing should be thin enough to spread and level itself out, but not so thin that it runs over the outline. Using a scribe tool to gently guide the icing to the edges and pop any air bubbles ensures a flawless surface.
Allowing this flood layer to dry completely is absolutely crucial before adding any subsequent layers on top. Drying times can vary significantly based on humidity, icing consistency, and thickness, but typically range from 6 to 12 hours at room temperature, or as little as 1-2 hours in a food dehydrator set on a low temperature (around 100-110°F or 38-43°C).
Applying a new layer onto a wet or even slightly damp base will cause the colors to bleed or the layers to sink and merge, losing the desired definition and depth. Patience during this drying phase is key to successful layering.
Adding Overlays: Introducing the First Layer of Detail
Once your flood base layer is completely dry and hard, you can begin adding overlay layers. This involves piping or applying a design element directly onto the dried base using a slightly thicker consistency of royal icing, typically a medium or stiff consistency depending on the desired effect. These overlays sit on top of the base layer, creating the first level of dimension. Simple overlays might include stripes, dots, simple shapes, or outlines that define areas for further layering.
For example, on a circular cookie with a dried white flood base, you might pipe concentric rings in different colors using a medium consistency icing. Each ring is an overlay layer. Alternatively, you could pipe small dots in a pattern, which will stand slightly proud of the base. This stage is about adding distinct elements that contrast with or build upon the initial flood layer. Ensuring the overlay icing is opaque enough to cover the base color is also important for clean, defined layers.
Wet-on-Wet Layering: Blending Colors and Creating Soft Effects
Wet-on-wet is a layering technique where you apply wet royal icing onto a wet flood layer before it has begun to set. This differs from traditional layering where each layer dries before the next is applied. Because both layers are wet, they merge and blend together, creating designs that are smooth and flush with the base layer, rather than raised. This technique is perfect for creating marbled effects, simple polka dots that sink into the base, or feathered designs.
To perform wet-on-wet layering, first flood your cookie area with your base color. Immediately, while the base is still wet and shiny, pipe your secondary color(s) onto the wet flood layer in dots, lines, or swirls. Then, use a scribe tool or toothpick to drag through the wet icing, pulling the colors together to create patterns like marbling, hearts (by dragging through dots), or spiderwebs (by dragging lines). The key is to work quickly before the icing starts to crust over. This technique results in beautiful, soft, and seamless designs without any raised texture.
Creating 3D Effects with Royal Icing
Taking layered cookie decorating techniques into the third dimension allows for truly impressive results. This involves building up layers of stiff consistency royal icing to create sculptural elements that stand significantly off the cookie surface. Techniques include piping dots or lines repeatedly in the same spot, allowing each small layer to slightly set before adding the next, gradually building height. This is how realistic flowers, intricate borders, or even small figures can be constructed directly on the cookie.
Another method for 3D effects is using piping tips designed for specific shapes, like ruffle tips to create layered frills or petal tips for realistic flower petals. These require specific piping motions but rely on the principle of layering icing on top of itself or previous layers to build volume. Using a very stiff icing consistency is critical here to ensure the shapes hold their form and don't collapse under their own weight. Allowing adequate drying time between significant build-up stages prevents sagging and ensures structural integrity.
Stenciling and Layering for Intricate Designs
Stencils are powerful tools in layered cookie decorating, allowing you to apply intricate patterns or images with precision. You can use stencils in conjunction with layering in several ways. One method is to apply a stencil over a dry flood layer and spread royal icing (usually a medium consistency) over the stencil. When the stencil is carefully removed, a perfectly rendered pattern is left behind as a raised layer. This can be done with multiple colors or even with different stencils on different areas of the cookie.
Alternatively, stencils can be used to define areas before flooding or layering. For example, you could use a stencil to lightly mark a design onto the bare cookie or a dry base layer with edible marker or dust, and then use those lines as guides for piping different colored flood layers or overlay details. Stenciling adds a layer of complexity and detail that might be difficult to achieve freehand, making it an excellent technique for adding intricate patterns or consistent elements across a set of layered cookies.
Using Edible Markers to Enhance Layered Details
Edible markers provide a unique way to add fine details and shading to layered cookie designs, particularly after the royal icing layers have dried. While icing layers provide dimension and color blocks, markers allow for the addition of intricate lines, small dots, text, or even subtle shading that would be challenging or impossible to achieve with piped icing. This technique adds an extra level of refinement and detail to your layered creations.
After all the royal icing layers are completely dry and hard (which can take 12-24 hours depending on thickness and humidity), you can use edible markers to draw directly onto the smooth icing surface. For instance, on a layered floral cookie, you could use a fine-tip black marker to add veins to leaves or outline petals. On a layered character cookie, markers are perfect for drawing eyes, mouths, or tiny details on clothing. Using different color markers can also add depth through shading or highlighting, further enhancing the layered effect.
Incorporating Sprinkles and Other Edible Decorations for Texture
Layered cookie decorating techniques aren't limited to just royal icing. Incorporating other edible decorations like sprinkles, sanding sugar, nonpareils, edible glitter, or dragées can add significant texture, sparkle, and visual interest to your layered designs. These elements can be applied to wet icing layers, where they will sink slightly and adhere, or attached to dry layers using a small dot of fresh royal icing or edible glue.
For example, after flooding a section of a layered design, you could immediately sprinkle sanding sugar over that wet area to create a sparkling, textured surface that contrasts with the smooth adjacent icing layers. Nonpareils can be pressed into a wet border layer to create a bumpy texture. Edible glitter can be brushed onto a dry layer for shimmer. These additions provide a multi-sensory experience, adding both visual appeal through texture and sparkle, and sometimes a different crunch or taste, enhancing the overall appeal of the layered cookie.
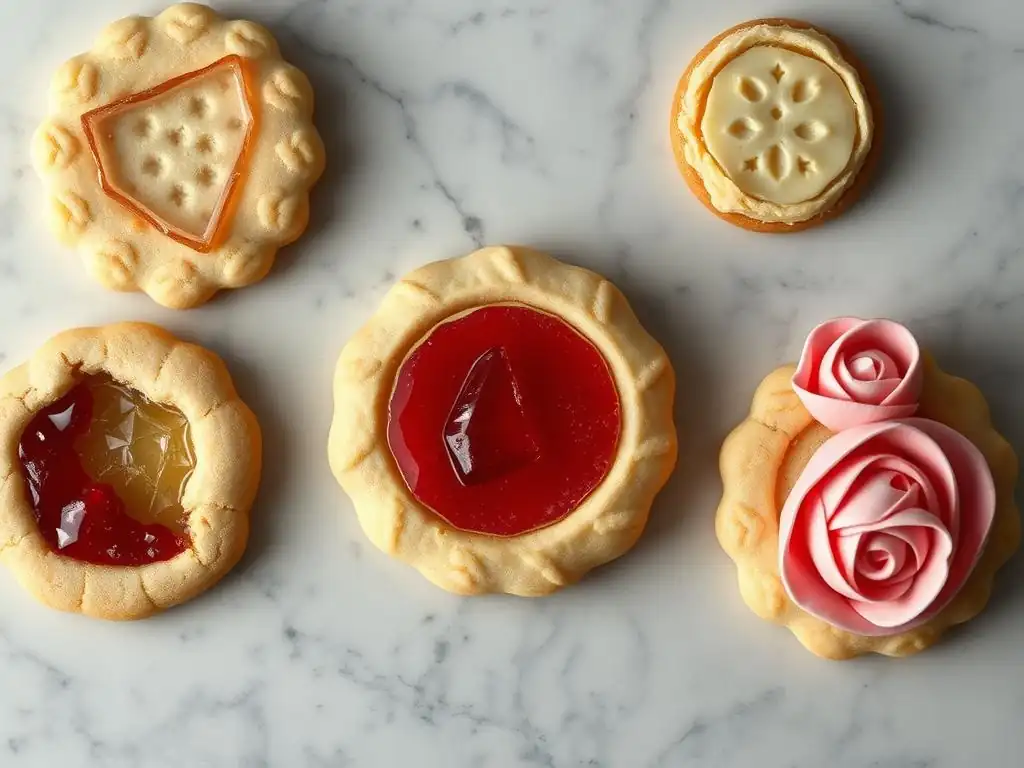
Floral designs are a classic and beautiful application of layered cookie decorating techniques. You can create realistic or whimsical flowers by building up petal shapes layer by layer. Start with a base flood layer for the cookie or a specific area. Then, pipe individual petals using a medium or stiff consistency icing, allowing each petal or section of petals to dry slightly before adding overlapping ones to create depth. Using different shades of the same color for subsequent layers can add realism.
Consider creating a layered rose by piping overlapping curved petals around a central point, building outwards. Or, create a daisy by piping elongated white petals from the center outwards, adding a textured yellow dot or dome in the middle as the final layer. Leaves and stems can be added as separate layers using green icing, piped with a leaf tip or simply as lines. A wreath design can be built by layering various types of leaves and small flowers around the edge of a circular cookie.
Geometric patterns lend themselves wonderfully to layered cookie decorating techniques, allowing for clean lines and striking visual effects. Using masking techniques in conjunction with layering is key here. After a base flood layer is dry, you can use strips of parchment paper or food-safe masking material to cover parts of the cookie while you flood or pipe icing onto the exposed areas. Once that layer is dry, remove the mask and repeat the process on different sections.
This allows you to create crisp stripes, chevrons, plaid patterns, or even complex mosaic-like designs where different colored geometric shapes are layered side-by-side or on top of each other. For example, create a layered argyle pattern by flooding a diamond shape, letting it dry, then piping intersecting lines over it as a second layer. Using contrasting colors and allowing each section to dry fully before moving to the next is crucial for achieving sharp, clean lines in geometric layered designs.
Layered cookie decorating techniques are perfect for adding extra festive flair to holiday cookies. For Christmas, create dimensional snowflakes by piping intricate layers of white or blue icing, allowing each fine line to set before adding the next, building a delicate, raised structure. Or, decorate ornament-shaped cookies by layering different colored sections, adding piped details like hooks, stripes, or glitter accents on top.
For Halloween, layered techniques can bring spooky designs to life. Create a dimensional pumpkin by flooding the base orange, then piping segments on top once dry, adding a layered green stem and brown vine. For Thanksgiving, layer different shades of brown and yellow to create realistic layered pie slices or build up layers for corn on the cob kernels. Easter cookies can feature layered baskets with woven textures or dimensional eggs with layered patterns. Layering adds a level of detail that truly makes holiday cookies special.
Creating a layered succulent cookie is a popular and visually stunning application of layering techniques, particularly using stiff consistency royal icing. The goal is to mimic the dense, fleshy leaves of a succulent plant by piping individual petals layer by layer, building outwards from the center. Start with a base flood layer, often in a sandy or earthy tone.
Using a piping bag filled with stiff green (or purple, or red, depending on the succulent type) icing and a small petal tip or even just a snipped piping bag tip, pipe small, curved petal shapes in a tight circle in the center. Allow these to set slightly. Then, pipe a second ring of slightly larger petals just outside the first, overlapping them slightly.
Continue adding layers of increasingly larger petals, working outwards, allowing each ring to set enough to support the next layer. The stiff consistency ensures the petals hold their shape and stand upright, creating a realistic, dimensional succulent form.
A layered pumpkin cookie is a fantastic example of using layering to add dimension to a simple shape. Start with a pumpkin-shaped cookie cutter. Flood the entire cookie with orange royal icing and allow it to dry completely. This forms the base of your pumpkin. Next, using a slightly thicker orange icing (medium consistency), pipe curved lines from the top center downwards, mimicking the segments of a pumpkin.
Once the orange segments are dry, add the stem. Use brown or green stiff consistency icing to pipe a small, slightly textured shape at the top center, layering icing to give it height and form. You can also add a green vine by piping a thin, curled line of green icing next to the stem. For added detail, use edible markers to add subtle shading between the segments or use a small amount of darker orange icing as a final layer to deepen the grooves. Each layer adds depth and realism to the pumpkin shape.
Troubleshooting Common Layering Issues
Preventing Royal Icing Bleed
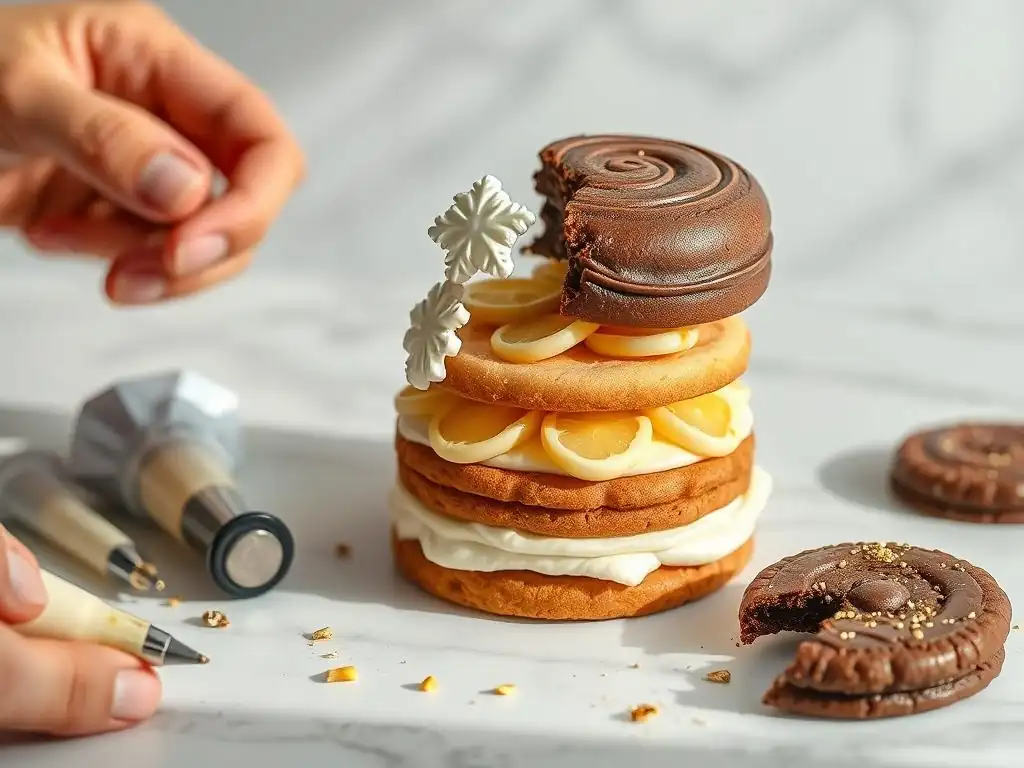
Royal icing bleed, where colors spread into adjacent layers, is a frustrating issue in layered cookie decorating. It typically occurs when one layer is not completely dry before the next is applied, or due to certain types of food coloring, particularly dark reds, blacks, and blues, which are highly concentrated and can sometimes leach color even when dry, especially in humid conditions. Ensuring each layer is completely dry is the most critical step in prevention.
This means waiting the full recommended drying time, which could be 12-24 hours at room temperature depending on humidity, or using a dehydrator to speed up the process to 1-4 hours. Using high-quality gel food coloring designed for royal icing can also help minimize bleed compared to liquid colorings. In humid environments, running a fan or dehumidifier near your drying cookies can make a significant difference. For particularly problematic colors, some decorators apply a thin layer of clear piping gel or a barrier coat of white icing over the dried dark layer before adding a lighter color on top.
Avoiding Air Bubbles in Layered Icing
Air bubbles can ruin the smooth finish of your royal icing layers, leaving unsightly pits. These bubbles are often introduced when mixing the icing or when transferring it to piping bags. To minimize bubbles, mix your royal icing on a low speed if using a stand mixer after the initial ingredients are combined. When coloring icing, stir gently rather than whipping vigorously.
Before filling piping bags, gently tap the bowl of icing on the counter. Once the icing is in the piping bag, twist the top tightly and gently squeeze the bag, rolling it between your hands or tapping it on the counter with the tip pointing up to encourage any trapped air bubbles to rise to the top.
When piping a flood layer, use your scribe tool to gently swirl through the wet icing; this helps release surface bubbles. For smaller details or overlay layers, keep an eye out for bubbles emerging from the tip and pop them with your scribe tool before they disrupt the design.
Fixing Mistakes in Layered Designs
Even experienced decorators make mistakes. When working with layered cookie decorating techniques, knowing how to fix errors can save a cookie. If you make a mistake on a wet layer (like a misplaced line or dot), act quickly! Gently use your scribe tool or a clean paintbrush to carefully lift or smooth out the wet icing. You might need to re-flood a small area if the mistake is significant.
If a mistake is made on a dry layer, fixing it is trickier but often possible. For small imperfections like a stray dot or line, you might be able to carefully scrape it off with a sharp, clean blade (like an X-Acto knife reserved solely for cookie decorating). For larger errors, you might need to cover the mistake entirely with another layer of icing or incorporate it into the design with additional details.
For instance, a smudge could become part of a textured area, or a misplaced line could be covered by adding a leaf or dot on top. Sometimes, a mistake can even inspire a new, creative direction for the design!
Practice Makes Perfect: Refining Your Technique
Like any skill, mastering layered cookie decorating techniques requires practice. Your first attempts may not be flawless, and that's perfectly normal. Start with simple designs using basic shapes and just two or three layers. Focus on achieving the correct icing consistencies and smooth flood layers. Practice piping straight lines, curves, and dots consistently on parchment paper before attempting them on a cookie.
Commit to practicing regularly, even if it's just decorating a few cookies each week. Pay attention to what works and what doesn't. Did the icing bleed? Was a layer not smooth? Did the lines wobble? Analyze the results and adjust your technique, consistency, or drying time accordingly. The more you practice piping, flooding, and layering, the steadier your hand will become, the more intuitive consistency will feel, and the cleaner and more professional your layered cookies will look.
Planning Your Design Before You Start
Successful layered cookie decorating often begins before you even mix your icing. Planning your design is a crucial step, especially for complex layered projects. Start by sketching your design on paper, noting the different elements and the order in which they will be applied. Decide which areas will be the base layer, which will be overlays, and which might involve wet-on-wet techniques or 3D elements.
Choose your color palette beforehand and mix all your icing colors and consistencies before you start decorating the first cookie. This ensures you have everything ready to go and helps maintain consistency across a batch of cookies. Thinking through the layering order helps prevent issues like realizing you should have added a detail before flooding an area or needing to wait excessively long for a layer to dry because you didn't plan the sequence efficiently. A well-planned design saves time and reduces frustration.
Using a Projector for Complex Layered Designs
For highly detailed or complex layered cookie designs, such as portraits, intricate illustrations, or designs requiring precise text placement, using a pico projector can be a game-changer. A projector allows you to cast an image directly onto your cookie surface, providing lines that you can trace with your royal icing. This eliminates the need for freehand drawing or complex transfer methods.
To use a projector for layered designs, first project your image onto your dry base layer. Then, using a fine tip and piping consistency icing, trace the main outline and key features of your design. These traced lines become guides for where to apply your flood layers and subsequent overlay details. For multi-layered illustrations, you can project different parts of the design as you add each layer, ensuring everything lines up perfectly. This technique is particularly useful for achieving accuracy in character cookies or designs with fine, illustrative details that are built up through layering.
Frequently Asked Questions
A smooth base is crucial for layering. Ensure your royal icing is the correct consistency - not too runny, not too thick. Use a piping bag for even distribution and a scribe tool to smooth out imperfections.
What types of royal icing consistencies are best for different layers?
Different layers require different consistencies. Use a thicker "outlining" consistency for borders and details, and a thinner "flooding" consistency for filling in areas. Adjust with water, a few drops at a time, for precise control.
How long should I wait between layers to prevent bleeding or mixing?
Patience is key! Allow each layer to completely dry before adding the next. This usually takes several hours, depending on humidity and icing thickness. A dehydrator can significantly speed up the drying process.
Yes, you can! Consider using fondant, edible markers, sprinkles, or even edible glitter to add texture and dimension. Experiment with different materials for unique effects and visual interest.
Avoid using too much icing, which can make the cookie soggy. Also, ensure each layer is properly adhered to the previous one. Planning your design beforehand can help prevent overcrowding and messy results.
The art of layered cookie decorating isn't just a fleeting trend; it's a testament to the enduring human desire to create beauty and express individuality through edible artistry. These intricate designs, built layer upon painstaking layer, represent a commitment to detail and a celebration of the transformative power of simple ingredients. The techniques explored in this article offer a gateway to a world of creative possibilities, far beyond the limitations of simple icing.
The impact of layered cookie decorating extends beyond the visual appeal. It fosters a sense of community, connecting bakers through shared passion and inspiring countless variations on classic designs. It's a practice that encourages experimentation, pushing creative boundaries and celebrating the unique perspectives of each artist. The best things in life are the simple things, but it takes a lot of hard work to make them simple.
This quote, though not directly about baking, perfectly encapsulates the dedication and skill required to master layered cookie techniques, resulting in seemingly effortless elegance.
Now, it's your turn. Consider the techniques discussed within this article – the careful application of icing, the strategic use of color, the delicate balance of texture. Don't be afraid to experiment, to push your own creative boundaries, and to discover the joy of transforming a simple cookie into a miniature masterpiece. Let the layered beauty you create not only delight your senses but also inspire others to embrace the artistry within themselves. The world awaits your unique contribution to the ever-evolving landscape of layered cookie decorating.
Thanks for diving into the world of layered cookie artistry with us! We hope you’ve gained some delicious inspiration and new techniques to elevate your baking game. Ready to put your newfound skills to the test?
- Create your masterpiece: Try out one of the layering techniques we discussed – start with your favorite cookie recipe and experiment with different flavor combinations and textures!
- Share your creations: Show off your stunning layered cookies on social media using #BakeWithEaseLayeredCookies – we’d love to see your results!
- Explore new flavor profiles: Think outside the box! What unexpected flavor combinations could you layer to create a truly unique cookie experience?
What incredible layered cookie creation will you bake next?