
Airbrushing Magic: Achieve Smooth Gradients on Your Cookies

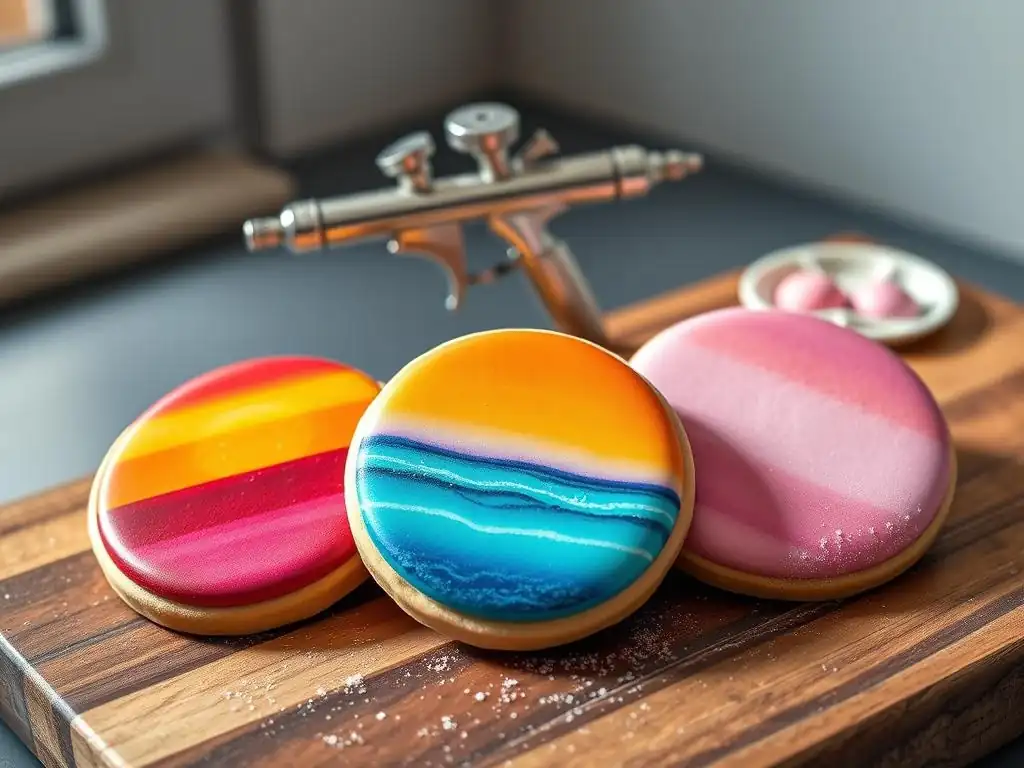
Welcome to BakeWithEase, your secret ingredient to baking brilliance! Ever dreamt of effortlessly creating stunning, professional-looking cookies? Dive into "Airbrushing Magic: Achieve Smooth Gradients on Your Cookies" and unlock the secrets to easy airbrushing cookie gradients. Discover how simple techniques can transform your treats from ordinary to extraordinary. Ready to add a touch of artistry to your baking? Let's get started!
- Introduction to Easy Airbrushing Cookie Gradients
- Understanding Airbrushing Equipment for Cookie Decorating
- Selecting Airbrush Colors for Gradient Cookies
- Step-by-Step Guide to Airbrushing Cookie Gradients
- Advanced Airbrushing Gradient Techniques for Cookies
- Troubleshooting Airbrushing Issues on Cookies
- Cleaning and Maintaining Your Airbrush Equipment
- Creative Ideas for Airbrushed Gradient Cookies
- Sealing and Protecting Your Airbrushed Cookies
- Conclusion: Unleash Your Creativity with Easy Airbrushing Cookie Gradients
-
Frequently Asked Questions
- What is airbrushing and why is it useful for cookie decoration?
- What equipment do I need to start airbrushing cookies?
- What are some tips for creating a smooth color gradient with an airbrush?
- What type of edible colors should I use for airbrushing cookies?
- How do I clean my airbrush after using it?
- Final Reflection: The Enduring Allure of Airbrushed Cookie Art
- Unleash Your Inner Cookie Artist!
Mastering airbrushing opens up a world of creative possibilities for cookie decorators. It allows for incredibly smooth, seamless color transitions that are difficult, if not impossible, to achieve with traditional brushing or flooding methods. This technique is particularly valuable for creating realistic effects like skies, water, or soft backgrounds, elevating your cookie designs from beautiful to breathtaking. Learning easy airbrushing cookie gradients can significantly enhance the professional look of your baked goods, making them stand out for special occasions or sales.
Beyond aesthetics, airbrushing can also be a time-saver for covering large areas with an even layer of color quickly. Once you get the hang of the equipment and technique, applying a base color or a simple gradient across dozens of cookies becomes much faster than hand-painting or even multiple layers of royal icing. This efficiency, combined with the stunning visual results, makes airbrushing a skill worth acquiring for anyone serious about taking their cookie decorating to the next level, especially when aiming for those sought-after smooth gradient cookies.
Achieving seamless color transitions, or gradients, on cookies using an airbrush involves understanding a few fundamental principles. The core idea is to apply thin layers of food-safe airbrush color, gradually building up intensity and blending between hues. This is done by controlling the distance of the airbrush from the cookie surface and the pressure of the airflow, allowing for soft, diffused sprays rather than sharp lines. Patience is key, as building the gradient slowly ensures smooth blending.
For beginners tackling easy airbrushing cookie gradients, starting with a simple two-color transition is advisable. For instance, transitioning from white to blue or light pink to dark pink. Practice on paper towels or scrap pieces before moving to your actual cookies. Pay attention to how the color builds up with each pass and how varying your speed and distance affects the blend. With practice, you'll develop the muscle memory needed to create beautiful, seamless color flows that make your gradient cookies truly magical.
Choosing the Right Airbrush for Gradient Effects
Selecting the appropriate airbrush is crucial for achieving smooth gradient effects on your cookies. For cookie decorating, a gravity-feed, dual-action airbrush is generally recommended. Gravity-feed models have a color cup on top, allowing paint to flow down easily, which is great for working with food colors that can sometimes be thicker than intended for general airbrushing. Dual-action means you control both air flow (by pressing down) and color flow (by pulling back the trigger), offering maximum control over your spray pattern and intensity – essential for delicate gradients.
When choosing, look for an airbrush with a nozzle size typically between 0.3mm and 0.5mm. A 0.3mm nozzle is excellent for fine details and controlled sprays needed for intricate gradients, while a 0.5mm nozzle is better for covering larger areas quickly and can still achieve smooth blends with practice. Investing in a reputable brand, even a beginner-level kit, can make a significant difference in performance and ease of use when learning easy airbrushing cookie gradients.
Beyond the airbrush itself, several tools and accessories are essential for successful cookie airbrushing. A quiet and reliable air compressor is non-negotiable; look for one designed for airbrushing with a regulator to control air pressure, ideally capable of maintaining consistent pressure between 15-30 PSI, which is common for food colors. An air hose connects the compressor to the airbrush.
Other vital accessories include food-safe airbrush colors specifically designed for edible applications. Cleaning supplies are paramount: airbrush cleaning solution, small brushes, and cleaning needles will keep your equipment in top condition and prevent clogs. A stand or holder for your airbrush is also helpful, as are gloves to protect your hands and a spray booth or well-ventilated area to contain overspray. Having these items ready ensures you can focus on the technique of creating beautiful gradient cookies.
Preparing Your Airbrush for Smooth Gradient Application
Proper preparation of your airbrush is key to achieving smooth and even color application for your easy airbrushing cookie gradients. Before adding any color, connect the airbrush to the compressor and test the airflow. Ensure the air pressure is set appropriately for your airbrush and color, typically between 20-25 PSI for general work, though lower pressure (15-20 PSI) might be better for very soft gradients or fine details.
Next, add a few drops of your chosen food-safe airbrush color into the color cup. Some colors might need to be diluted slightly with a few drops of airbrush cleaning solution or distilled water to ensure they flow smoothly, especially if they seem thick. Test the spray pattern on a paper towel to check for consistency and color intensity before spraying your cookies. This quick test ensures the airbrush is working correctly and helps you gauge the proper distance and pressure needed for the desired effect.
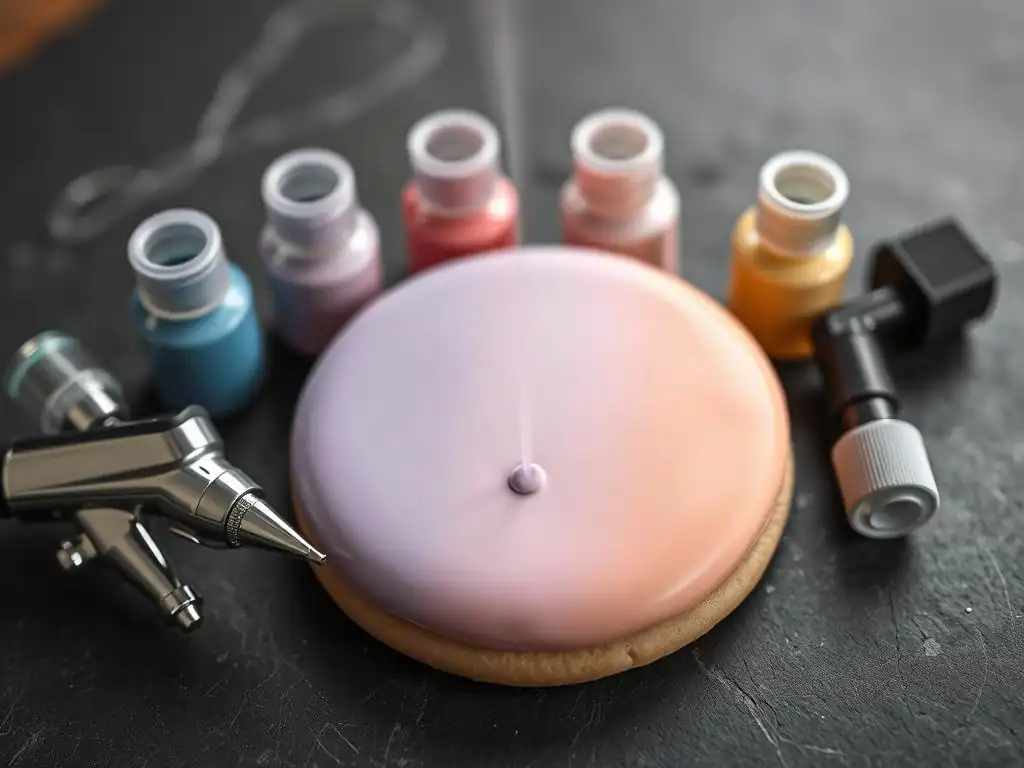
Selecting high-quality, food-safe airbrush colors is paramount for decorating cookies. These colors are specifically formulated for use with airbrushes and edible surfaces, ensuring they are non-toxic and produce vibrant, consistent results. Look for brands that are well-regarded in the baking community and explicitly state that their colors are food-safe and designed for airbrushing. Using colors intended for other purposes could be unsafe or clog your airbrush.
Food-safe airbrush colors come in a wide spectrum of hues. When choosing colors for gradient cookies, consider the overall design you envision. Starter kits often provide a good range of primary and secondary colors, allowing you to mix custom shades. Ensure the colors have a thin consistency suitable for airbrushing; thicker gel colors typically need significant dilution, which can sometimes affect vibrancy. Always check the product label for usage instructions and safety information.
Working with Color Palettes for Gradient Effects
Working with a thoughtful color palette is essential for creating visually appealing gradient effects on cookies. For simple gradients, choosing two colors that are adjacent on the color wheel (analogous colors) or different shades of the same color (monochromatic) often yields the smoothest transitions. For example, a transition from light blue to dark blue, or yellow to orange to red, works beautifully.
More complex gradients might involve complementary colors or triadic palettes, but these require careful blending to avoid muddying the colors where they meet. Planning your color transition beforehand, perhaps sketching it out, can help. Consider the theme of your cookies – subtle pastels for baby showers, vibrant hues for tropical designs, or deep, dramatic tones for galaxy effects. Experimenting with small amounts of color mixes on a test surface will give you confidence before applying them to your finished gradient cookies.
Mixing custom airbrush colors allows for greater creative freedom and the ability to achieve unique shades perfectly suited to your cookie designs. You can mix different food-safe airbrush colors directly in the airbrush cup or in a separate small container before adding them to the airbrush. Start with the lighter color, then add small amounts of the darker or accent color until you achieve the desired hue.
Keep track of the ratios you use, perhaps noting that you used 3 drops of yellow and 1 drop of red to get a specific orange shade. This is especially helpful if you need to mix more of the same color later. Remember that colors often appear lighter when sprayed as a fine mist than they do in the cup. Test your custom mix on a paper towel to see the true sprayed color before applying it to your gradient cookies. Diluting slightly with airbrush cleaner or distilled water may be necessary if the mixed color seems too thick.
Proper preparation of your cookies and their surface is a crucial first step for achieving beautiful easy airbrushing cookie gradients. Typically, airbrushing is done on a smooth, dry surface, most commonly royal icing that has fully hardened. Royal icing needs to dry completely, which can take anywhere from 8 to 24 hours depending on humidity and thickness. A fully dried surface prevents the airbrush color from soaking in unevenly or causing dents.
Ensure the cookie surface is clean and free of any dust or debris. Handle the dried cookies carefully to avoid smudges or fingerprints. If your design involves multiple layers of icing, ensure the base layer is completely dry before airbrushing. Some decorators lightly dust the surface with cornstarch using a soft brush to absorb any residual moisture or oils, though this step is optional and depends on the humidity level in your workspace.
Mastering the Airbrushing Technique: Distance and Pressure
Mastering the technique of controlling distance and air pressure is fundamental to creating smooth gradient cookies. Generally, holding the airbrush further away from the cookie surface (e.g., 4-6 inches) with lower air pressure (e.g., 15-20 PSI) produces a wider, softer spray pattern, ideal for blending colors seamlessly and building up color gradually. This technique is perfect for the lighter areas of your gradient.
As you move closer to the cookie (e.g., 1-3 inches) and potentially increase pressure slightly (e.g., 20-25 PSI), the spray pattern becomes narrower and more concentrated, allowing you to apply more color intensity or target specific areas. For gradients, you will typically start further away with lighter passes and gradually move closer or make repeated passes over the darker areas. Practice controlling these two variables on a test surface until you feel comfortable creating soft edges and smooth transitions.
Creating a Basic Gradient: Light to Dark
Creating a basic light-to-dark gradient is a fundamental technique for easy airbrushing cookie gradients. Start with your lighter color in the airbrush. Hold the airbrush a moderate distance from the cookie (e.g., 4-6 inches) and apply a very light, even mist over the area that will be the lightest part of the gradient. Use smooth, overlapping strokes.
Next, either switch to your darker color or, if using a single color gradient, add more color to the cup. Begin spraying from the edge where you want the darkest color to be, moving towards the lighter area. Hold the airbrush closer (e.g., 1-3 inches) at the darkest edge and gradually increase your distance as you move towards the lighter part. Use light, repeated passes, allowing each layer to dry slightly before applying the next, until the transition from light to dark is smooth and blended.
Blending Colors for a Seamless Transition
Blending colors for a seamless transition is the heart of creating beautiful gradient cookies. This is achieved by applying thin, overlapping layers of color and controlling the spray. When transitioning from one color to another, apply the first color to its designated area, feathering the edge slightly by lifting the airbrush away as you reach the transition point.
Then, add the second color to the airbrush. Start spraying the second color from its designated area, feathering its edge by lifting the airbrush as you approach the first color. The key is to overlap the feathered edges of the two colors with very light passes, holding the airbrush a bit further away (e.g., 4-6 inches) to create a soft mist. Repeat these light, overlapping passes until the line between the two colors disappears and a smooth blend is achieved. Patience and multiple thin layers are much better than trying to blend with heavy coats of paint.
Airbrushing Multiple Colors for Complex Gradients
Airbrushing multiple colors allows you to create more complex and vibrant gradients on your cookies, such as rainbow or sunset effects. When working with three or more colors, it's often easiest to work from one end of the spectrum to the other, or from light to dark, cleaning your airbrush thoroughly when switching between colors that could create muddy mixes (like blue and yellow if you want green in between, or blue and red if you don't want purple).
Apply the first color to its section, feathering the edge where it will meet the next color. Clean the airbrush. Add the second color, apply it to its section, and overlap the feathered edge of the first color, blending the transition. Feather the other edge of the second color where it will meet the third. Continue this process for each color, cleaning the airbrush between colors as needed. Building up each color and blend gradually with light passes is essential for a smooth, multi-colored gradient effect on your gradient cookies.
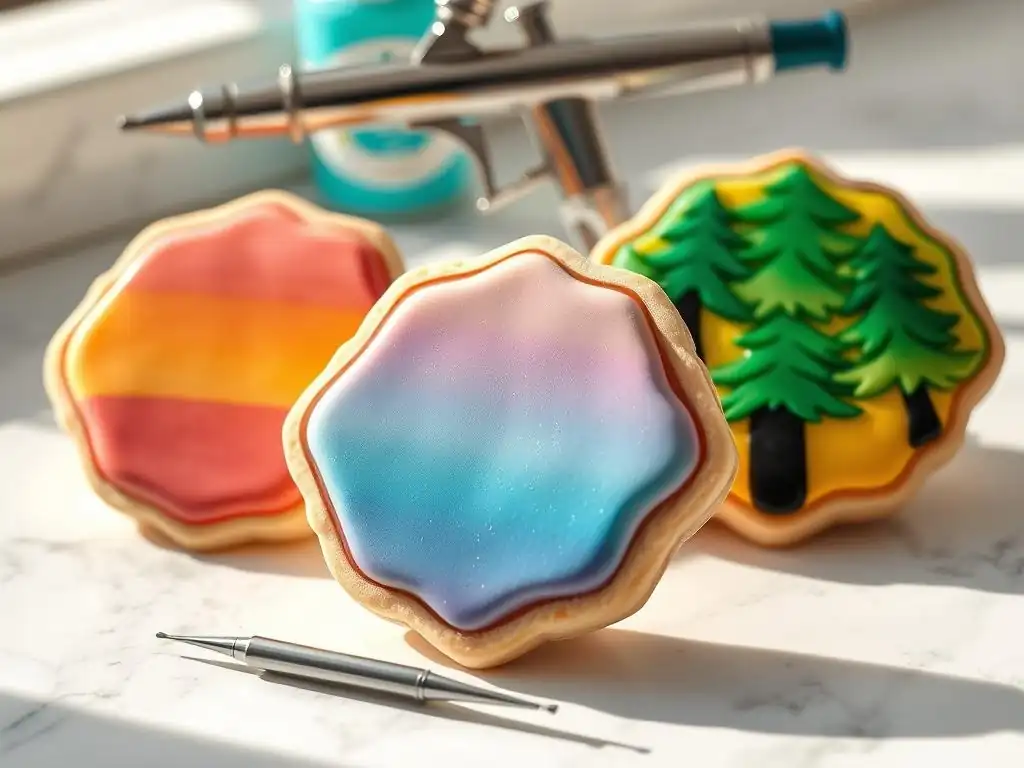
Achieving an ombre effect is a specific type of gradient where one color gradually transitions into another, or into white/transparency, often moving from dark to light or one distinct color to another across the cookie. For a simple dark-to-light ombre using one color, load the darker shade into your airbrush. Start spraying the area you want darkest by holding the airbrush closer (1-2 inches) and applying slightly heavier passes.
As you move towards the area that will be lightest, gradually increase your distance from the cookie (up to 6 inches or more) and use much lighter, quicker passes. The goal is to apply less and less color as you move into the lighter area, allowing the base color of the cookie (often white) to show through, creating the transition. Building the dark area first and then feathering out is a common approach for beautiful ombre gradient cookies.
Creating Shaded and Highlighted Areas
Airbrushing is excellent for creating realistic depth through shading and highlighting on your gradient cookies. To add shading, use a slightly darker shade of the base color or a complementary color very sparingly around the edges or in recessed areas of your design. Hold the airbrush close (around 1 inch) and use very low pressure (10-15 PSI) and quick, controlled bursts of color to deposit small amounts precisely where shadows would naturally fall.
For highlights, you can use white airbrush color or a very light version of the base color. Apply highlights to raised areas or where light would hit the surface. Again, use low pressure and quick, controlled sprays, holding the airbrush close for a more defined highlight or slightly further away for a softer glow. These techniques, combined with easy airbrushing cookie gradients, add dimension and make your cookies look more professional.
Using Stencils with Airbrushing for Detailed Gradients
Using stencils with airbrushing allows you to create detailed patterns or shapes with gradient fills on your cookies. Place a clean, dry stencil firmly on the dried cookie surface. You can hold it in place or use small magnets on a metal surface or stencil holders designed for cookies. Ensure the edges are flush with the cookie to prevent overspray underneath.
Apply your gradient technique through the stencil opening. For example, to create a gradient within a star shape, spray the darker color at one point of the star, gradually transitioning to the lighter color at the opposite point, all while keeping the stencil in place. Remove the stencil carefully immediately after airbrushing to reveal the clean, airbrushed gradient design underneath. Stencils are a fantastic tool for incorporating intricate elements into your easy airbrushing cookie gradients.
Avoiding Common Airbrushing Mistakes
Avoiding common mistakes is key to successful airbrushing and achieving smooth gradient cookies. One frequent issue is holding the airbrush too close with too much pressure, resulting in heavy, uneven color application or splatters. Remember to use lower pressure and greater distance for soft blends. Another mistake is not cleaning the airbrush properly between colors or after use, leading to clogs and inconsistent spray patterns.
Applying too much color too quickly is also a common pitfall; build up gradients with multiple thin layers rather than one heavy coat. Not allowing royal icing to dry completely before airbrushing can cause damage or uneven absorption. Lastly, neglecting to test the airbrush on a paper towel before spraying the cookie means you might encounter issues like clogs or incorrect color mixes mid-design. Patience, practice, and diligent cleaning are your best friends.
Clogged Airbrush: Causes and Solutions
A clogged airbrush is one of the most frustrating issues when working on easy airbrushing cookie gradients. Clogs are often caused by dried paint inside the airbrush body, nozzle, or needle, or by using paint that is too thick or contains particles. Insufficient cleaning is the primary culprit.
To solve a clog, first backflush the airbrush: cover the nozzle tip with a finger or cap and gently pull back the trigger. This forces air back into the color cup, bubbling the paint and potentially dislodging the clog. If that doesn't work, try running airbrush cleaner or warm water through the airbrush. For stubborn clogs, you may need to partially or fully disassemble the airbrush and use cleaning brushes, needles, and cleaning solution to remove dried paint from the nozzle and needle. Always follow the manufacturer's cleaning instructions for your specific airbrush model.
Uneven Color Application: Troubleshooting Tips
Uneven color application can ruin the smooth effect you want for gradient cookies. This can happen due to inconsistent air pressure, uneven paint flow, holding the airbrush at an inconsistent distance or angle, or moving too slowly or quickly over the cookie surface. Ensure your compressor is providing steady pressure, typically between 20-25 PSI for general coverage, adjusting slightly for different effects.
Check that your paint is properly mixed and diluted; too thick or too thin paint can cause issues. Practice your spraying motion on a test surface to ensure you are moving the airbrush smoothly and at a consistent speed across the area you are coloring. Overlapping your spray passes slightly helps ensure even coverage. If the issue persists, check for a partial clog that might be disrupting the spray pattern.
Addressing Splatter and Splotches
Splatter and splotches are undesirable outcomes that can occur during airbrushing gradient cookies. Splatter is often caused by paint that is too thick, air pressure that is too low, or dried paint partially clogging the nozzle. Ensure your food-safe airbrush color is thin enough to flow freely; if it seems thick, dilute it with a few drops of airbrush cleaner or distilled water.
Check your air pressure; if it's too low, the paint isn't atomizing properly and is being pushed out in droplets. Increase the pressure slightly within the recommended range (e.g., 20-25 PSI). Splotches can also result from moisture build-up in the air line (though less common with smaller hobby compressors) or inconsistent trigger control. Make sure you are pressing the trigger down fully for air before pulling back for paint, and releasing the paint trigger before releasing the air.
Preventing Color Bleeding
Color bleeding occurs when the airbrush color spreads uncontrollably into unwanted areas on the cookie, often along the edges of royal icing details or into cracks. This usually happens if the royal icing is not completely dry before airbrushing. Ensure your royal icing has dried thoroughly, ideally for 12-24 hours, depending on humidity and thickness.
Another cause of bleeding can be applying too much airbrush color at once. Using excessive paint or holding the airbrush too close for too long can saturate the surface and cause the color to wick into the icing. Always apply color in light, thin layers, allowing each layer to dry for a few seconds before applying the next. High humidity can also exacerbate bleeding issues; try to airbrush in a dry environment if possible.
Cleaning and Maintaining Your Airbrush Equipment
Proper Cleaning Procedures for Airbrushes
Proper cleaning after every use is non-negotiable for maintaining your airbrush and ensuring consistent results for your easy airbrushing cookie gradients. Start by emptying any remaining color from the cup. Add a few drops of airbrush cleaner or water to the cup and spray it through onto a paper towel until the spray runs clear.
For a more thorough clean, especially when switching colors or finishing a session, add cleaner to the cup, cover the nozzle with your finger, and backflush by pulling the trigger back while air is flowing. This creates bubbles in the cup, helping to dislodge paint. Spray the cleaner through again. You may need to repeat this several times. For best practice, use small cleaning brushes and needles to clean the color cup, around the trigger, and the nozzle area. Disassemble the nozzle and needle periodically for a deep clean as per your airbrush manual.
Maintaining Optimal Airbrush Performance
Maintaining optimal airbrush performance requires consistent cleaning and occasional preventative care. Beyond cleaning after each use, periodically disassemble your airbrush for a more thorough cleaning, focusing on areas where paint can build up, such as the nozzle, needle, and inside the airbrush body. Refer to your airbrush's manual for specific disassembly and cleaning instructions.
Ensure your compressor's air filter (if it has one) is clean and that the air hose connections are secure. Check the needle packing and other seals for wear and tear; replacing these parts when needed prevents air leaks and ensures smooth operation. Lubricating the needle lightly with a tiny amount of airbrush-specific lubricant (never use oil intended for other purposes) can help the trigger action remain smooth. Regular maintenance prevents clogs and ensures your airbrush is always ready for creating beautiful gradient cookies.
Storing Your Airbrush Equipment Correctly
Correct storage is essential for protecting your airbrush equipment from damage and dust. After cleaning and drying your airbrush completely, store it in a protective case or on an airbrush stand. Avoid leaving it assembled with paint in the cup or lying unprotected on a workbench where it could be knocked or accumulate dust.
Store your air compressor in a clean, dry place. If your compressor has a moisture trap, remember to drain it regularly to prevent water from building up in the air line. Keep your food-safe airbrush colors stored according to the manufacturer's instructions, typically in a cool, dark place, ensuring the caps are tightly sealed to prevent them from drying out. Proper storage ensures your equipment remains in good working order for your next cookie decorating project.
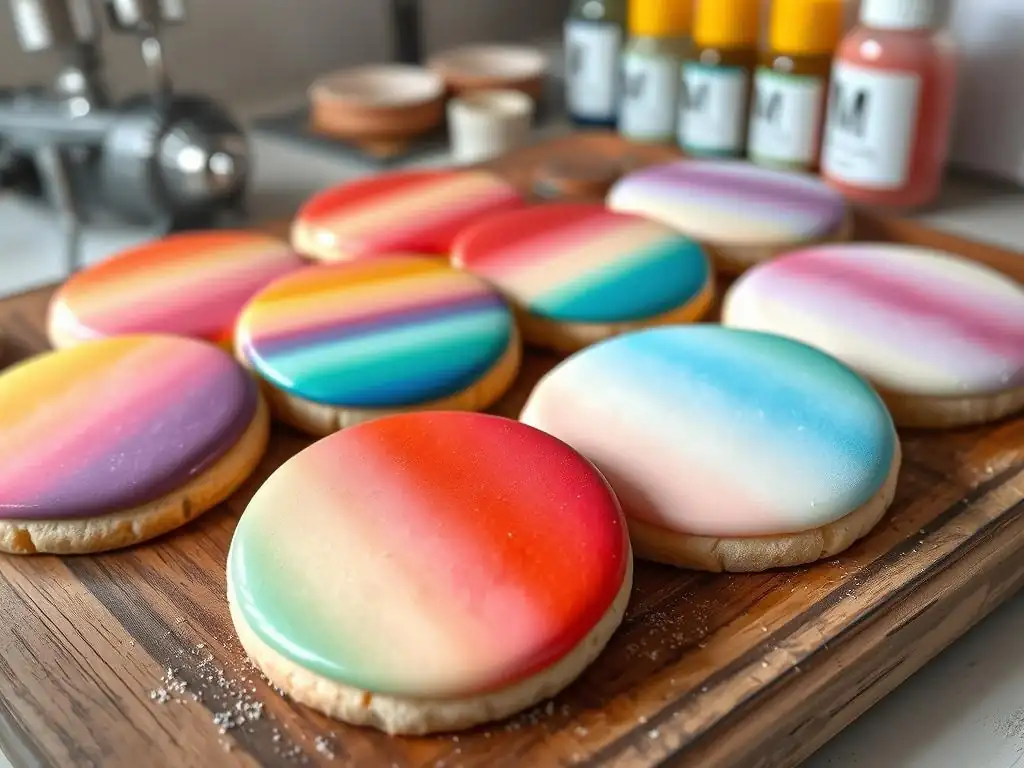
Gradient sunset cookies are a classic and beautiful application of easy airbrushing cookie gradients. Start with a base of white or light yellow royal icing. Use food-safe airbrush colors like yellow, orange, pink, and purple. Begin airbrushing the lightest color (yellow) at the bottom of where the sky will be, using light passes and holding the airbrush further away.
Gradually transition to orange above the yellow, overlapping the edges and blending carefully. Then transition to pink above the orange, and finally purple or a deep blue at the top. Build up each color slowly with thin layers, ensuring smooth blends between each hue to create a realistic sunset effect. You can then add details like black silhouettes of trees or birds once the gradient is dry.
Galaxy themed gradient cookies are incredibly popular and showcase the dramatic potential of airbrushing cookie gradients. Start with a base of dark blue or black royal icing that is completely dry. Use vibrant food-safe airbrush colors like purple, pink, blue, and white. Apply patches of purple and pink over the dark base, creating nebulous shapes with soft edges by varying distance and pressure.
Add touches of bright blue. Then, using white airbrush color diluted slightly, hold the airbrush further away (e.g., 6+ inches) and quickly flick the trigger for bursts of air and paint to create star-like spatters. You can also use a stencil for more defined star clusters or planets. The layering and blending of vibrant colors over a dark base create the stunning depth of a galaxy design on your gradient cookies.
Floral gradient cookies combine the softness of airbrushed gradients with delicate floral designs. You can create gradient backgrounds for piped or painted flowers, or airbrush gradients on the flowers themselves. For a background, apply a soft gradient of green to blue for a sky and grass effect before adding royal icing flowers.
Alternatively, pipe royal icing flowers onto a dry cookie and let them dry. Then, use an airbrush to add subtle gradients to the petals, for example, transitioning from a lighter shade at the tips to a darker shade at the base of each petal. This requires precise control of the airbrush, holding it close and using low pressure. This adds realism and depth to your floral gradient cookies.
Abstract Gradient Designs
Abstract gradient designs allow for maximum creativity and experimentation with easy airbrushing cookie gradients. Instead of representing a specific scene, focus on the interplay of colors and shapes. You can create swirling gradients, geometric patterns with gradient fills (using stencils), or freeform blends of multiple colors across the cookie surface.
Experiment with different color combinations – bold, contrasting colors for a modern look, or soft, harmonious shades for a dreamy effect. Try masking off areas with edible masking film or paper before airbrushing to create sharp lines between gradient sections. Abstract designs are a great way to practice blending techniques and explore the versatility of airbrushing without the pressure of replicating a realistic image.
Food-Safe Sealants for Airbrushed Designs
While food-safe airbrush colors are designed to dry on the cookie surface, adding a food-safe sealant can offer an extra layer of protection for your airbrushed gradient cookies. The most common food-safe sealant for decorated cookies is a very thin layer of royal icing or a clear edible glaze. A clear glaze spray or brush-on glaze specifically designed for confectionery can help seal the color and provide a slight sheen.
Alternatively, a very thin flood consistency royal icing layer, applied carefully over the dried airbrushed surface, can seal the design. However, applying a wet layer over airbrushing can sometimes cause colors to run or smudge if not done with extreme care and if the airbrushing isn't completely dry. Always ensure any sealant you use is explicitly labeled as food-safe for confectionery applications.
Protecting your airbrushed gradient cookies from smudging is important, especially if they will be handled or packaged. Once the airbrush color is completely dry (which usually takes a few minutes), and any optional sealant has dried, the color is relatively stable. However, friction or moisture can still cause smudges.
Allow cookies to dry fully after airbrushing before stacking or packaging. If stacking, place a layer of food-safe parchment or wax paper between each cookie. For individual packaging, use food-safe cellophane bags or boxes. Handle the cookies by the edges as much as possible to avoid touching the decorated surface.
Proper display and storage help preserve the beauty of your airbrushed gradient cookies. When displaying, arrange them on platters or stands in a cool, dry environment away from direct sunlight, which can fade some food colors over time. Avoid displaying them in areas with high humidity, as this can affect the icing and airbrushing.
For storage, place airbrushed cookies in an airtight container at room temperature. Ensure they are in a single layer or separated by parchment paper to prevent them from sticking or smudging. Stored properly, royal iced and airbrushed cookies can last for several weeks, though they are best enjoyed within 1-2 weeks for optimal freshness. Avoid refrigerating or freezing royal iced cookies as condensation can damage the decoration.
Learning easy airbrushing cookie gradients is a skill that can truly transform your cookie decorating. From simple color fades to complex galaxy scenes and realistic sunsets, the ability to create smooth, blended colors opens up vast artistic possibilities. While it might seem intimidating at first, with the right equipment, food-safe colors, and a little practice, you can master the techniques of distance, pressure, and layering to achieve stunning results.
Embrace the process, start with basic two-color gradients, and gradually work your way up to more complex designs. Don't be discouraged by initial challenges like clogs or uneven sprays; troubleshooting is a normal part of the learning curve. With patience and practice, you'll soon be confidently creating beautiful gradient cookies that impress everyone with their seamless color transitions and professional finish, truly unleashing your creativity.
Frequently Asked Questions
Airbrushing is a technique that uses an air compressor to spray edible color onto your cookies. It's useful for creating smooth gradients and adding intricate details that would be difficult to achieve with other methods.
You'll need an airbrush gun, an air compressor, edible airbrush colors, and cookies prepared with a smooth, dry icing surface like royal icing. A turntable can also be helpful.
What are some tips for creating a smooth color gradient with an airbrush?
Start with a light touch and gradually build up the color. Maintain a consistent distance from the cookie and overlap your passes slightly to avoid harsh lines. Practice on parchment paper first.
Only use edible airbrush colors specifically designed for airbrushing. Regular food coloring can clog the airbrush and damage the equipment.
How do I clean my airbrush after using it?
Thorough cleaning is crucial! Rinse the airbrush with warm water and then spray airbrush cleaner through it until it runs clear. Disassemble and clean all parts regularly to prevent clogging and maintain performance.
The pursuit of perfectly smooth gradients on cookies isn't just a fleeting trend; it's a testament to the enduring human desire for beauty and precision in even the smallest details. This article explored the seemingly simple yet surprisingly nuanced art of airbrushing cookie gradients, demystifying the process and empowering bakers of all skill levels to achieve professional-looking results. From mastering the right equipment to understanding color theory and technique, we've journeyed through the essential steps to unlock this captivating skill.
The impact of airbrushing on the culinary arts, and specifically cookie decorating, is undeniable. It's a technique that elevates the ordinary to the extraordinary, transforming simple baked goods into miniature works of art. It's a visual language that speaks of creativity, patience, and a dedication to mastering one's craft. The details are not the details. They make the design.
– Charles Eames. This quote perfectly encapsulates the importance of achieving those smooth, seamless gradients – they're not just minor additions; they're the essence of the design, transforming a cookie into something truly special.
Now, it's your turn. Don't be intimidated by the seemingly complex world of airbrushing. Pick up a brush, experiment with colors, and embrace the journey of learning. The satisfaction of creating your own stunning, airbrushed cookie gradients is a reward in itself. Remember the techniques we've explored, practice consistently, and let your creativity flow. You might surprise yourself with the beautiful results you can achieve. The world of easy airbrushing cookie gradients awaits – go create your masterpiece!
Thanks for joining us on this delicious journey into airbrushing cookie gradients! We hope you've gained the confidence to create stunning, professional-looking cookies. Ready to take your baking to the next level?
- Master the Airbrush: Practice your newly acquired skills on a few test cookies. Experiment with different colors and techniques to find your signature style. Remember, practice makes perfect!
- Share Your Creations: Show off your beautifully airbrushed cookies on social media using #BakeWithEaseAirbrush – we’d love to see your masterpieces!
- Explore New Flavors: Try airbrushing gradients onto cookies with different flavor profiles. What surprising combinations will you discover?
What unexpected flavor and color combination will you airbrush onto your next cookie creation?