
Seamlessly Integrate Edible Images for Complex Cookie Designs

Welcome to BakeWithEase, your haven for unlocking baking brilliance!
Ready to take your cookie decorating to the next level? Ever wondered how to achieve those intricate, seemingly impossible designs on your cookies? Then you're in the right place! Dive into our guide on Edible Image Cookie Transfer and discover the secrets to effortlessly creating stunning, professional-looking treats. Prepare to be amazed at how simple it can be to elevate your baking from ordinary to extraordinary...
- Mastering Edible Image Transfers for Stunning Cookie Designs
- Introduction to Edible Image Cookie Transfers
- Understanding Edible Image Basics
- Preparing Your Edible Images for Cookie Transfers
- The Edible Image Cookie Transfer Process: A Step-by-Step Guide
- Troubleshooting Common Edible Image Cookie Transfer Problems
- Tips and Tricks for Stunning Edible Image Cookie Art
- Advanced Techniques for Edible Image Cookie Decorating
- Conclusion: Mastering Edible Image Cookie Transfers
- Frequently Asked Questions
- Final Reflection: The Sweet Revolution of Edible Image Cookie Transfer
- Unleash Your Inner Cookie Artist: Master Edible Images!
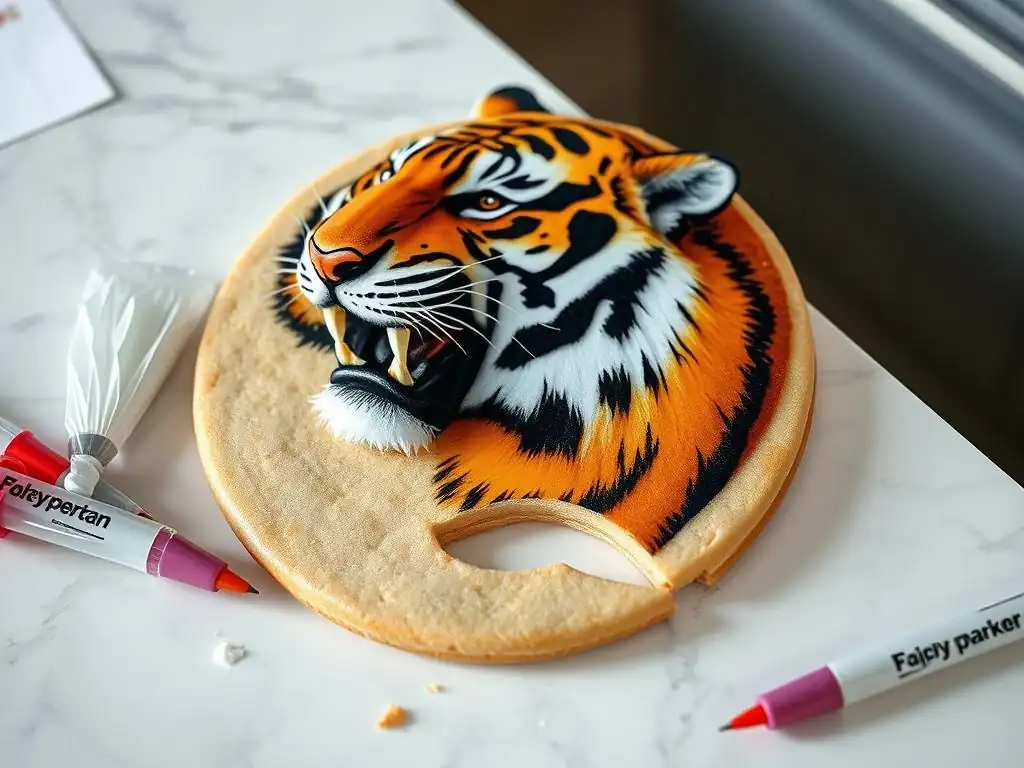
Edible image cookie transfer is a technique that allows bakers to apply pre-printed designs, photos, or patterns directly onto the surface of a cookie. This method offers an incredible shortcut for creating complex and detailed cookie art that would be incredibly time-consuming, if not impossible, to achieve with traditional decorating methods like royal icing piping or stenciling alone. Imagine transferring a family photo onto a cookie for a special occasion, or replicating intricate floral patterns with photographic detail – edible images make this accessible to home bakers and professionals alike.
By mastering the edible image cookie transfer process, you unlock a new level of creativity and efficiency in your baking. This technique is particularly valuable for large orders, corporate logos, or highly personalized treats where consistency and detail are paramount. While traditional methods require significant skill and steady hands for intricate work, edible images provide a way to achieve professional-looking results with less manual effort on the final design application. It's about leveraging technology to enhance your cookie decorating capabilities.
Choosing edible images offers several distinct advantages for cookie decorators looking to expand their repertoire and efficiency. Primarily, they provide unparalleled detail and photographic quality that is impossible to replicate with icing. A complex character design, a detailed map, or a high-resolution photograph can be printed and transferred with stunning accuracy, something that would take hours of meticulous hand-painting or piping, if achievable at all.
Furthermore, using edible images significantly speeds up the decorating process, especially for large batches. Once the cookies are baked and prepared, applying an edible image can take mere minutes per cookie, compared to the 10-30 minutes or more that intricate royal icing designs might require.
This efficiency gain is crucial for businesses or anyone needing to produce a high volume of decorated cookies for events, potentially allowing for a 50% or greater reduction in active decorating time on complex designs. They also ensure perfect consistency across multiple cookies, guaranteeing that every cookie in a set looks identical in terms of the applied design.
Understanding Edible Image Basics
What are Edible Images Made Of? Exploring Sugar Sheets and Wafer Paper
Edible images are printed onto thin sheets of edible material using specialized edible inks. The two most common types of sheets are sugar sheets (also known as frosting sheets or icing sheets) and wafer paper. Sugar sheets are made primarily from tapioca starch, corn syrup solids, cellulose, sugar, water, and sometimes vegetable oil and flavorings. They have a smooth, slightly flexible surface, similar in texture to a thin piece of fondant or dried royal icing.
Wafer paper, on the other hand, is made from potato starch, water, and vegetable oil. It is generally thinner and less flexible than sugar sheets and has a slightly translucent quality. Wafer paper can range in thickness, with some varieties being quite delicate and others thicker and more opaque. Understanding the composition of these materials is key to knowing how they will behave during the edible image cookie transfer process and which type is best suited for your specific design needs.
When it comes to edible image cookie transfer, sugar sheets are generally the preferred choice for applying a full-coverage image directly onto the cookie surface. Their smooth, opaque texture and slight flexibility make them ideal for adhering seamlessly to a cookie base, providing a vibrant, high-resolution image that looks almost painted on. They offer a richer color payoff compared to wafer paper and blend more smoothly with underlying icing.
Wafer paper, while useful for many edible applications like standing figures or layered effects, is less commonly used for direct, full-surface application onto cookies unless a specific translucent or slightly textured effect is desired. It can be more prone to curling or becoming brittle, and achieving a smooth, bubble-free transfer can be more challenging than with sugar sheets. For the typical "seamless transfer" effect described in this guide, sugar sheets are the go-to material.
Choosing the Right Edible Printer and Inks for Optimal Results
To create your own edible images, you will need a dedicated edible printer and edible inks. It is crucial to use a printer that has never been used with regular ink, as even trace amounts of standard ink are not food safe. Most edible printing setups utilize modified inkjet printers, often from brands like Canon or Epson, specifically designed or adapted for edible cartridges.
Edible inks are made from food-grade colorings and ingredients. They come in cartridges that fit into the compatible edible printer. The quality of your edible inks directly impacts the vibrancy, accuracy, and safety of your printed images. Using high-quality inks designed for edible printing is essential for achieving bright, true colors and ensuring food safety. A dedicated edible printer setup, including inks, can represent an initial investment, but it provides the flexibility to print any design you can create or find, making it a valuable tool for frequent edible image cookie transfer projects.
Finding and Selecting High-Resolution Images for Edible Printing
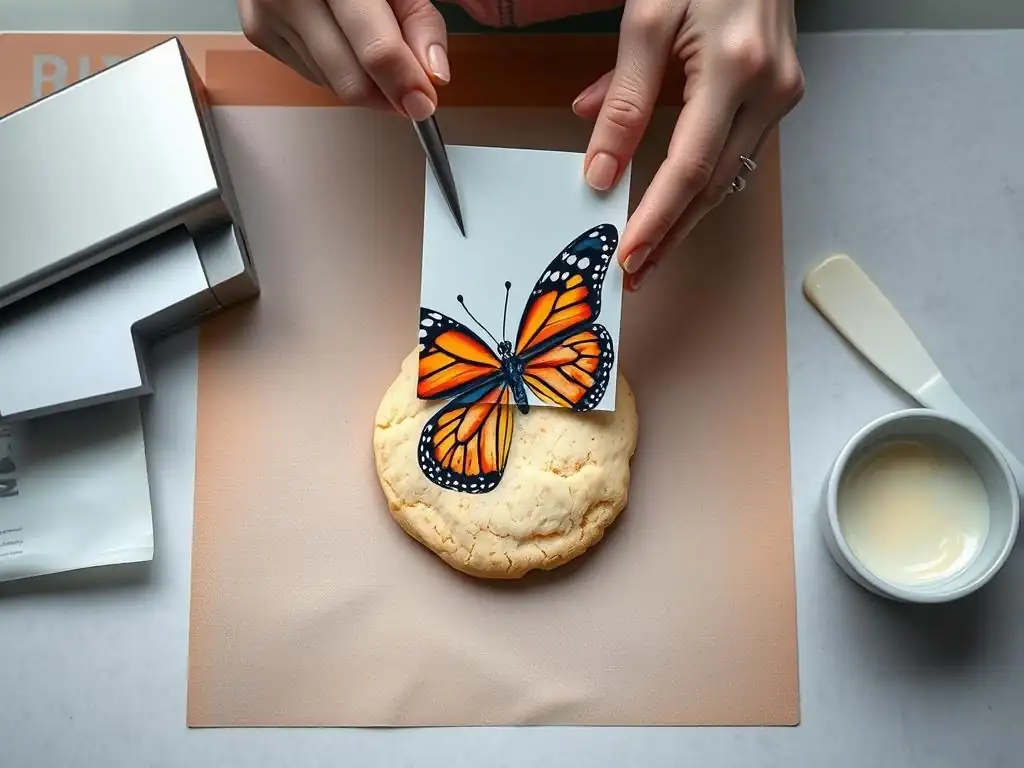
The quality of your final edible image cookie transfer begins with the source image. For the best results, always start with high-resolution images. A low-resolution image, when enlarged to fit a cookie, will appear pixelated and blurry, diminishing the professional look of your decorated cookie. Aim for images with a resolution of at least 300 dots per inch (dpi) if possible, especially for detailed designs or photographs.
When selecting images, consider the shape and size of your cookies. A square image might work well on a square cookie, but a rectangular image on a round cookie will require careful cropping or placement. Ensure the image you choose is suitable for the scale you intend to print it at. For instance, tiny details in a large photo might become indistinguishable when shrunk down to fit a 3-inch cookie.
Once you have selected your high-resolution images, you'll need to size and potentially edit them to fit your specific cookie dimensions. Using graphic design software (even simple programs like online editors or word processors) allows you to import your cookie cutter shape or measure your baked cookie size and then scale your image accordingly. It's often helpful to create a template layout that matches the edible image sheet size (e.g., 8.5x11 inches or A4) and arrange multiple cookie-sized images on it to maximize the use of each sheet.
Editing might also involve cropping the image to focus on the most important elements, adjusting brightness or contrast to ensure colors print clearly on the edible sheet, or adding text like names or dates for personalized cookies. Some bakers add a thin border around each image on the template, slightly smaller than the cookie, to allow for a small margin of icing around the edge. This precise preparation step is critical for a successful edible image cookie transfer, ensuring the image fits perfectly without waste.
Printing Your Edible Images: Best Practices for Vibrant Colors
Printing edible images requires a dedicated edible printer loaded with fresh edible ink cartridges and edible paper. Before printing, ensure your printer settings are configured for the correct paper type (usually labeled as "plain paper" or a similar setting, depending on the edible paper brand's recommendations) and set to the highest print quality. This helps ensure maximum ink saturation and vibrant colors.
Print a test page on regular paper first to check the layout and sizing. Once satisfied, load your edible paper according to the printer's instructions – usually shiny side up for sugar sheets. Print your images, and immediately remove the sheet from the printer to prevent it from absorbing excess moisture from the air, which can cause smudging or sticking. Allow the printed sheet to dry for a few minutes before cutting the images out. Proper printing technique is fundamental for achieving the bright, clear images needed for a stunning edible image cookie transfer.
Ensuring a Smooth Surface: Essential for Perfect Edible Image Adhesion
The foundation for a flawless edible image cookie transfer is a perfectly smooth cookie surface. This is typically achieved by flooding the baked and cooled cookies with royal icing. The royal icing should be flooded smoothly and evenly, free from bubbles, craters, or uneven textures. Allow the royal icing to dry completely and harden – this can take anywhere from 6 to 24 hours depending on humidity and icing consistency. A fully dried, hard surface is crucial because the edible image will conform directly to it.
Any bumps, ridges, or imperfections in the royal icing will show through the edible image once it's applied. Some decorators even gently sand the dried royal icing surface with a fine-grit food-safe sander or piece of cheesecloth to ensure absolute smoothness before applying the edible image. A smooth, level surface guarantees optimal contact and adhesion for the edible image cookie transfer.
Using a Light Coating: Piping Gel Application
To adhere the edible image to the dried royal icing surface, a very thin layer of edible adhesive is needed. The most common and effective adhesive for edible image cookie transfer is piping gel. Piping gel is a clear, flavorless gel that provides just enough tackiness to hold the edible image in place without dissolving it or causing colors to bleed excessively.
Apply a thin, even layer of piping gel to the back of the cut-out edible image using a food-safe brush or a small offset spatula. You need just enough to make the back slightly sticky – too much gel can cause the image to wrinkle or colors to run. Alternatively, some bakers apply a thin layer directly onto the dried royal icing surface of the cookie. Whichever method you choose, ensure the layer is minimal and consistent across the entire area where the image will sit.
Smoothing Out Air Bubbles: Techniques for a Flawless Finish
With the piping gel applied, carefully position the edible image onto the prepared cookie surface. Start by placing one edge down and gently lowering the rest of the image, minimizing trapped air. Once the image is in place, immediately begin smoothing it out from the center towards the edges. You can use a clean, dry fondant smoother, the pad of your finger (with a clean glove), or a piece of parchment paper placed over the image before smoothing.
Apply gentle, even pressure to push out any air bubbles trapped underneath. Work quickly but carefully, as excessive rubbing can damage the image. If a bubble persists, you can sometimes gently lift a corner or edge of the image to release the air, then re-smooth. The goal is a perfectly flat, seamless bond between the edible image and the cookie surface, crucial for a professional-looking edible image cookie transfer.
Drying Time: How Long to Let Your Edible Images Set
After applying and smoothing the edible image onto the cookie, it needs time to set and fully adhere. While the piping gel provides immediate tackiness, the image will continue to bond and slightly soften onto the royal icing surface over the next 30-60 minutes, or potentially longer depending on the humidity of your environment. During this time, avoid touching or moving the cookies excessively.
Allowing adequate setting time helps the edible image become one with the cookie surface, reducing the risk of lifting or cracking later. It also allows any residual moisture from the piping gel to dissipate slightly. Place the cookies on a flat surface, ideally in a cool, dry room, away from direct sunlight or drafts, to cure properly after the edible image cookie transfer is complete.
Sealing Your Edible Images: Considerations for Humidity and Storage
In humid environments, or if you need to store your edible image cookies for an extended period, sealing the edible image can help protect it from moisture and preserve its vibrancy. A common method is to apply a very thin layer of edible glaze or confectioners' glaze spray specifically designed for edible images. This creates a barrier against ambient moisture.
Alternatively, some bakers use a very light mist of food-grade sealant spray. Be extremely careful with sprays, as applying too much can cause colors to run or the image to bubble. Test on a scrap image first. Proper storage is also key: store finished edible image cookies in an airtight container at room temperature, away from light and humidity. Avoid refrigerating edible image cookies, as condensation can cause the image to bleed or become sticky.
Preventing Edible Images from Cracking or Tearing
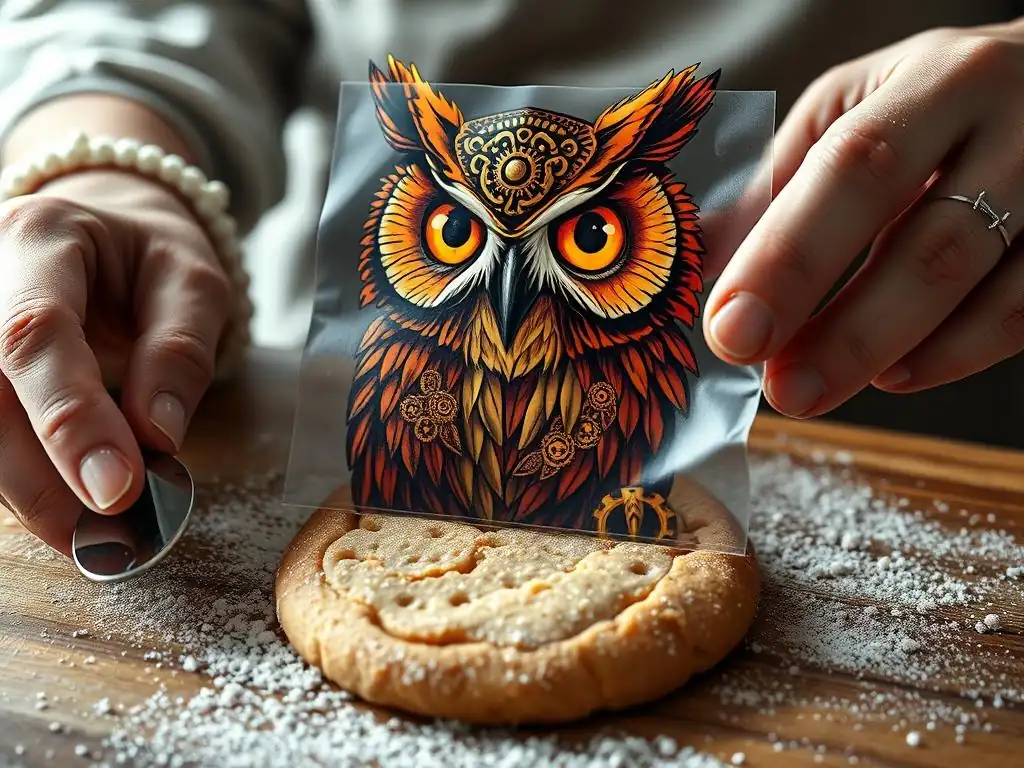
One common issue during edible image cookie transfer is the image cracking or tearing, often occurring when handling dry or brittle edible paper or when applying it to a curved or uneven surface. To prevent this, ensure your edible sheets are fresh and stored properly in their sealed bag before use. If they seem brittle, exposing them briefly to a humid environment (like a steamy bathroom for a few seconds) can add a touch of flexibility, but be careful not to overdo it.
When applying to cookies, especially those with rounded edges, allow the edible image a moment to soften slightly on the piping gel before trying to smooth it aggressively. For contoured cookies, consider using a technique that involves cutting the image into sections or using a more flexible type of edible paper if available. Handling the sheets gently and supporting them fully when transferring them from the backing sheet to the cookie is also crucial.
Addressing Bleeding Colors in Edible Images
Color bleeding is usually caused by excessive moisture coming into contact with the edible ink. This can happen if too much piping gel is used, if the royal icing base wasn't fully dry, or if the cookies are exposed to high humidity or condensation (like from refrigeration). To minimize bleeding during edible image cookie transfer, use the absolute minimum amount of piping gel needed for adhesion.
Ensure your royal icing is bone dry before application. If working in a humid climate, consider using a dehumidifier in your workspace. As mentioned earlier, avoid refrigerating edible image cookies. If minor bleeding occurs right after application, sometimes gently blotting with a dry brush can help, but often, preventing the moisture issue beforehand is the best solution.
Fixing Bubbles and Imperfections in Edible Image Application
Bubbles and wrinkles trapped under the edible image detract from the smooth finish desired in an edible image cookie transfer. These occur when air is trapped during placement or if the image isn't smoothed correctly. The best fix is prevention: carefully lay the image down from one edge and smooth thoroughly from the center outwards immediately after placement.
If you discover a small bubble after the image has started to set, you might be able to gently prick it with a fine pin and then smooth the area carefully with a dry finger or smoother. However, this can sometimes tear the image. For larger wrinkles or bubbles, it's often best to carefully peel the image off (if it hasn't set too much), add a tiny bit more piping gel to the lifted area if needed, and re-apply and smooth. Practice makes perfect in minimizing these imperfections.
Creative Uses for Edible Images Beyond Simple Transfers
Creating Edible Image Collages on Cookies
Edible images aren't limited to a single design per cookie. You can cut out different elements from various edible image sheets and arrange them into a collage on a single cookie. For example, create a scene by combining cut-outs of characters, backgrounds, and text. This technique allows for highly customized and complex designs that tell a story or feature multiple images, adding depth and visual interest to your edible image cookie transfer projects.
To create a collage, cut out your individual image elements precisely using sharp scissors or a craft knife. Apply a thin layer of piping gel to the back of each piece and carefully position them onto your prepared cookie surface, layering them as desired. Smooth each piece gently as you apply it. This method requires a bit more time than a single full-surface transfer but opens up possibilities for truly unique cookie artwork.
Incorporating Edible Images with Other Decorating Techniques (e.g., Royal Icing)
Combining edible image cookie transfer with other decorating techniques, particularly royal icing, can elevate your cookie designs significantly. For instance, apply a smaller edible image (like a logo or character face) to the center of a cookie, and then pipe a decorative royal icing border, frame, or additional details around it. This adds texture and dimension that the flat edible image alone cannot provide.
You can also pipe details onto the edible image itself once it's set, such as adding highlights to eyes, outlines, or textures. Ensure the royal icing used on the image is not too wet, or it could cause the underlying edible ink to bleed. This fusion of techniques allows you to leverage the detail of edible images for complex elements while using royal icing for structural decoration and traditional piping artistry, creating truly mixed-media cookie art.
Storage Solutions for Long-Lasting Edible Image Cookie Designs
Proper storage is paramount to maintaining the quality and appearance of your edible image cookies. Once the edible image has fully set on the cookie, store them in an airtight container at room temperature. Layering cookies in the container should be done carefully, using parchment paper or wax paper between layers to prevent the edible images from sticking to each other.
Avoid exposing the cookies to direct sunlight, which can fade the edible inks over time. High humidity is the biggest enemy of edible images, potentially causing them to become sticky, bleed, or even dissolve. A food-grade desiccant packet placed inside the storage container (not in direct contact with the cookies) can help absorb excess moisture in humid climates. Stored correctly, edible image cookies can maintain their appearance for several weeks, though the underlying cookie's freshness will determine the best time to consume them.
Layering Edible Images for Depth and Dimension
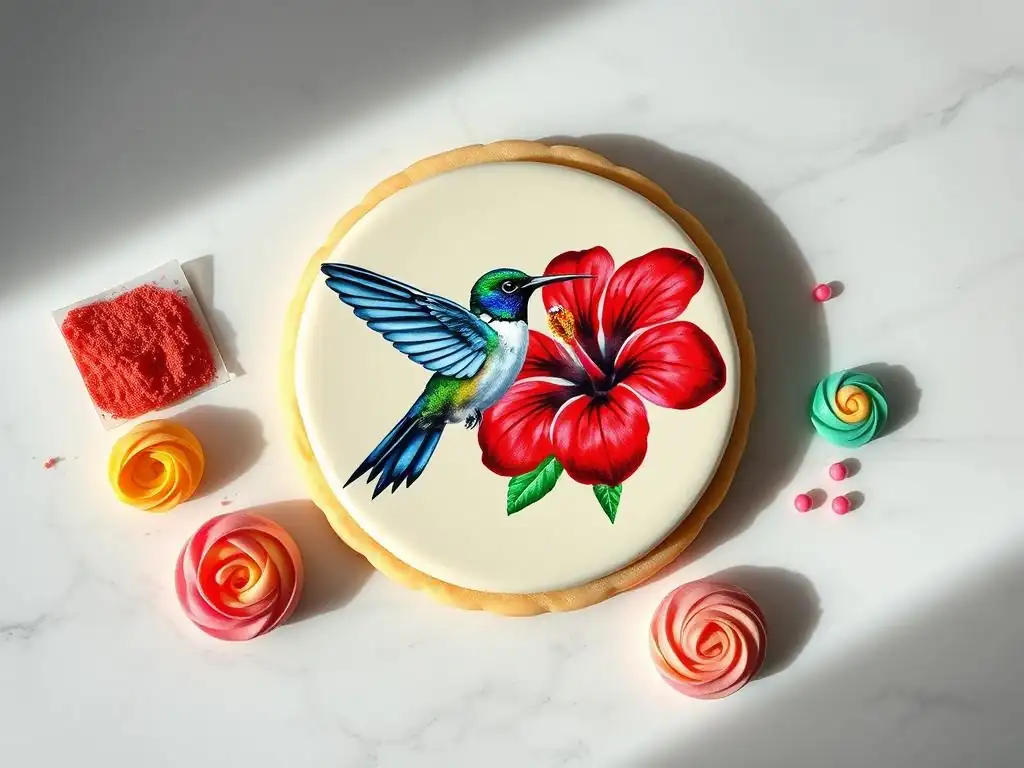
Beyond simple collages, layering edible images involves cutting out specific elements from one image and placing them on top of a base edible image to create a sense of depth or pop-out effects. For example, you might apply a background scene as your base edible image cookie transfer, then cut out a character or object from a second print of the same or a different image and adhere it on top using a tiny dot of piping gel or edible glue.
This technique adds a subtle 3D effect, making elements appear closer to the viewer. It requires careful cutting and precise placement. You can layer multiple elements, building up complex scenes with foreground, middle ground, and background details, all using edible paper. This method is particularly effective for creating intricate character cookies or detailed narrative scenes on a flat cookie surface.
Applying flat edible images to cookies that aren't perfectly flat (like those with raised edges, curves, or significant textures) presents a challenge during edible image cookie transfer. The flat sheet wants to stay flat, while the cookie surface is not. For slight contours, the flexibility of sugar sheets often allows them to conform if gently pressed and smoothed.
For more significant contours, you may need to carefully make small, strategic cuts or snips in the edible image, particularly around curves or corners, to help it lay flat without wrinkling. Another approach is to cut the image into smaller sections that can be applied individually to different facets of the cookie. For highly textured cookies, it's often best to apply a smooth layer of royal icing first, as discussed earlier, to create a suitable surface for the edible image transfer.
Customizing Edible Images with Hand-Painted Details
Adding hand-painted details using food-grade coloring powders mixed with clear alcohol (like vodka or lemon extract) or edible paints can enhance your edible image cookie transfer designs. Once the edible image is applied and set, you can carefully paint over certain areas to add shading, highlights, or fine details that didn't print clearly or that you want to emphasize.
For example, you could paint subtle shadows, add glitter details with edible glitter mixed into a clear medium, or paint fine lines like hair or fur. This technique allows you to personalize and refine mass-produced edible image designs, adding an artistic touch that makes each cookie unique. It requires a steady hand and edible paints/colors, but it's a fantastic way to blend the efficiency of edible images with the artistry of hand decoration.
Mastering the edible image cookie transfer technique opens up a world of creative possibilities for your baking. From personalized photo cookies for birthdays and anniversaries to intricate themed sets for holidays and corporate events, edible images allow you to achieve stunning, detailed results that would be incredibly challenging or impossible with traditional methods alone. It's a powerful tool for both home bakers looking to impress and professional bakers aiming for efficiency and detailed customization.
By understanding the materials, preparing your images correctly, and practicing the application steps, you can confidently create edible works of art. The ability to seamlessly transfer complex designs means you're limited only by your imagination and access to images. Embrace the convenience and artistic potential of edible image cookie transfers to elevate your cookie decorating game and delight recipients with uniquely designed treats.
To continue expanding your cookie decorating skills beyond edible image cookie transfer, explore resources on advanced royal icing techniques such as wet-on-wet designs, brush embroidery, and pressure piping. Learning how to create intricate borders, dimensional elements, or textured surfaces with icing can beautifully complement your edible image work.
Additionally, delve into airbrushing techniques, which can be used to add gradient colors or backgrounds to cookies before or after applying edible images. Exploring different edible mediums like fondant, modeling chocolate, and isomalt can also provide new ways to add structural elements, figures, or glossy details to your cookie creations. Combining various advanced techniques, including mastering the edible image cookie transfer, will truly allow you to unleash your full creative potential in the world of cookie art.
Frequently Asked Questions
Edible image cookie transfer involves printing an image onto icing sheets using edible ink, then transferring it onto a cookie using a thin layer of royal icing.
Cookies with a flat, smooth surface are ideal. Sugar cookies are a popular choice, as they provide a great canvas for the edible image to adhere to. Avoid cookies with uneven textures.
Wafer paper and icing sheets are the most common. Icing sheets generally provide a higher quality image and blend better with the royal icing, while wafer paper is more affordable.
Can I use any printer for edible images?
No, you need a printer specifically designed for edible ink. Regular printers are not food-safe and can contaminate your cookies. Ensure your printer is solely used for edible printing.
Edible image cookie transfers can last for several days to weeks if stored properly in an airtight container at room temperature. Avoid direct sunlight and humidity, as they can cause the image to fade or bleed.
The art of edible image cookie transfer isn't just a trend; it's a revolutionizing force in the world of baking, democratizing complex designs and making professional-level artistry accessible to everyone. From intricate floral arrangements to personalized portraits, the possibilities are endless, pushing the boundaries of what we consider achievable in home baking. This accessibility empowers both hobbyists and professionals alike, fostering creativity and innovation in the kitchen.
The impact of readily available edible image technology is profound. It's not just about pretty cookies; it's about the memories created, the celebrations enhanced, and the personal expressions made possible. The ease of transferring high-quality images onto cookies allows for a level of personalization previously unimaginable. This resonates deeply with me, as I've witnessed firsthand the joy on people's faces when presented with a cookie bearing a cherished photograph or a meaningful design. The best things in life are the people we love, the places we've been, and the memories we've made along the way.
This quote perfectly encapsulates the emotional connection edible image cookies foster.
So, what's next for you? I encourage you to explore the world of edible image cookie transfer. Don't be intimidated by the seemingly complex designs; embrace the simplicity of the process and let your creativity flow. Experiment with different images, techniques, and flavors. Most importantly, share your creations and the joy they bring with others. The possibilities are as limitless as your imagination, and the sweet rewards are well worth the effort. Let's continue to bake, create, and share the magic of edible image cookies together!
Thanks for taking the time to explore the world of edible images and their amazing potential for cookie decorating! You've learned how to elevate your baking game with stunning, high-resolution designs. Now it's time to put your newfound knowledge into practice.
- Create your first masterpiece! Think about a design you’ve always wanted to try and bring it to life using edible image printing. Let your imagination run wild!
- Share your creations! Post your edible image cookies on social media and tag us @BakeWithEase – we'd love to see your amazing work.
- Explore our advanced techniques guide (available on the BakeWithEase website, a link will appear shortly). Discover even more intricate design possibilities and troubleshooting tips.
Ready to transform ordinary cookies into edible works of art? What’s the first design you'll bring to life using edible images?