
NoChurn Ice Cream: Your Easiest Path to Creamy Bliss

Welcome to BakeWithEase, your trusted guide to the sweet side of life!
Ever dreamed of indulging in homemade ice cream without the fuss of churning? Imagine crafting perfectly creamy, intensely flavored ice cream with just a few simple ingredients and absolutely no special equipment. Our latest article dives deep into the delightful world of no churn ice cream, revealing the secrets to achieving frozen perfection in your own kitchen. Discover the surprisingly easy techniques that will have you enjoying delicious, homemade ice cream sooner than you think. Ready to skip the churn and dive into dessert heaven?
- Homemade Ice Cream Without a Machine: Creamy Delight Made Easy
- What is Homemade Ice Cream Without a Machine and Why You'll Love It?
- The Classic Homemade Ice Cream Recipe: Your Guide to Deliciousness
- Flavor Variations: Expanding Your Ice Cream Repertoire
- Tips and Tricks for Ice Cream Success
- Serving Suggestions: Savoring Your Homemade Creation
- Preparing Ice Cream in Advance: Ideal for Gatherings
-
Frequently Asked Questions
- What exactly is no-churn ice cream, and how does it differ from traditional ice cream?
- What are the basic ingredients required to make no-churn ice cream?
- Is no-churn ice cream as creamy and delicious as ice cream made in an ice cream maker?
- How long does it take for no-churn ice cream to freeze properly?
- Can I add different flavors and mix-ins to my no-churn ice cream?
- Final Reflection: The Enduring Allure of Effortless Indulgence
- Unlock Your Inner Ice Cream Artisan!
Homemade Ice Cream Without a Machine: Creamy Delight Made Easy
What is Homemade Ice Cream Without a Machine and Why You'll Love It?
The Simplicity of Homemade: Few Ingredients, Big Flavor
Making delicious frozen desserts doesn't always require specialized equipment. The magic of no churn ice cream lies in its incredible simplicity, typically relying on just two core ingredients: heavy whipping cream and sweetened condensed milk. This minimal approach means you can whip up a batch with items often already in your pantry or easily found at any grocery store.
Despite the short ingredient list, the flavor potential is vast. Starting with a rich base allows you to infuse almost any flavor imaginable, from classic vanilla bean to bold coffee or fresh fruit. The high fat content from the cream, combined with the sugar in the condensed milk, helps create a smooth, creamy texture that rivals traditional churned ice cream, proving that complex flavor doesn't require complex methods.
Ditch the Ice Cream Maker: The Convenience of Homemade Ice Cream
One of the biggest hurdles for home cooks wanting to make ice cream has traditionally been the need for an ice cream maker. These machines can be expensive, take up valuable kitchen space, and often require pre-freezing bowls hours in advance, adding planning steps to an otherwise spontaneous treat.
The beauty of no churn ice cream is that it completely bypasses this requirement. All you need is a bowl, a mixer (handheld or stand), and a freezer. This makes homemade ice cream accessible to virtually anyone, regardless of kitchen size or budget. The process is quick, often taking only about 15-20 minutes of active preparation time before it goes into the freezer, making it a perfect dessert to prepare ahead of time.
A Beginner-Friendly Treat: Homemade Ice Cream - A Great Starting Point
For those new to baking or dessert making, tackling complex recipes like custard-based ice creams can feel intimidating. These often involve tempering eggs, precise heating, and careful churning. No churn ice cream, on the other hand, is remarkably forgiving and requires very little technical skill.
The primary techniques involved are simply whipping cream and folding ingredients together – skills easily mastered by beginners. Successfully creating a batch of creamy, delicious no churn ice cream provides a confidence boost and encourages further exploration in the kitchen. It's a rewarding project that yields impressive results with minimal effort, proving that delightful homemade treats are within reach for everyone.
The Classic Homemade Ice Cream Recipe: Your Guide to Deliciousness
Ingredients for a Rich Ice Cream Base
The foundation of most no churn ice cream recipes is surprisingly simple, focusing on creating a rich, creamy base that freezes smoothly without churning. You'll typically need about 2 cups (approximately 470ml) of cold heavy whipping cream, which should have a fat content of at least 35% for optimal whipping results.
The second essential ingredient is one standard 14-ounce can (about 396g) of sweetened condensed milk. This provides the necessary sweetness and, crucially, interferes with ice crystal formation due to its high sugar content, contributing significantly to the smooth texture characteristic of no churn ice cream. A splash of vanilla extract, perhaps 1 to 2 teaspoons, adds depth and classic flavor.
Essential Equipment
While you don't need an ice cream maker for this method, a few basic kitchen tools will make the process much smoother and ensure the best results for your no churn ice cream. A large mixing bowl is essential for whipping the cream without spills. An electric mixer, either a stand mixer with a whisk attachment or a handheld electric mixer, is highly recommended to efficiently whip the heavy cream to stiff peaks.
You'll also need a rubber spatula or a large spoon for gently folding the whipped cream into the condensed milk mixture. Finally, an airtight container is necessary for freezing the ice cream. A standard loaf pan (approximately 9x5 inches) is a popular choice, often yielding about 1.5 quarts of ice cream, but any freezer-safe container with a tight-fitting lid will work.
Step 1: Combining Cream and Milk
The first step in creating your delicious no churn ice cream base is to prepare the sweetened condensed milk mixture. Pour the entire can of sweetened condensed milk into your large mixing bowl. This forms the sweet, creamy foundation that will bind the final mixture together and contribute significantly to its smooth texture once frozen.
At this stage, if your recipe calls for liquid flavorings or extracts to be incorporated directly into the base (like vanilla extract or coffee), stir them into the condensed milk now. Ensure they are thoroughly combined, creating a homogeneous mixture before proceeding to the next step.
Step 2: Infusing Flavor with Vanilla
Once the sweetened condensed milk is in the bowl, it's time to add your primary flavoring. For a classic vanilla no churn ice cream, add 1 to 2 teaspoons of good quality vanilla extract. You can adjust the amount based on how prominent you want the vanilla flavor to be.
Stir the vanilla extract into the condensed milk until it is evenly distributed. This simple addition transforms the sweet base into a familiar and comforting flavor profile. For variations, this is the point where you might incorporate other liquid flavorings or pastes before moving on to the next crucial step.
Step 3: Sweetening to Perfection
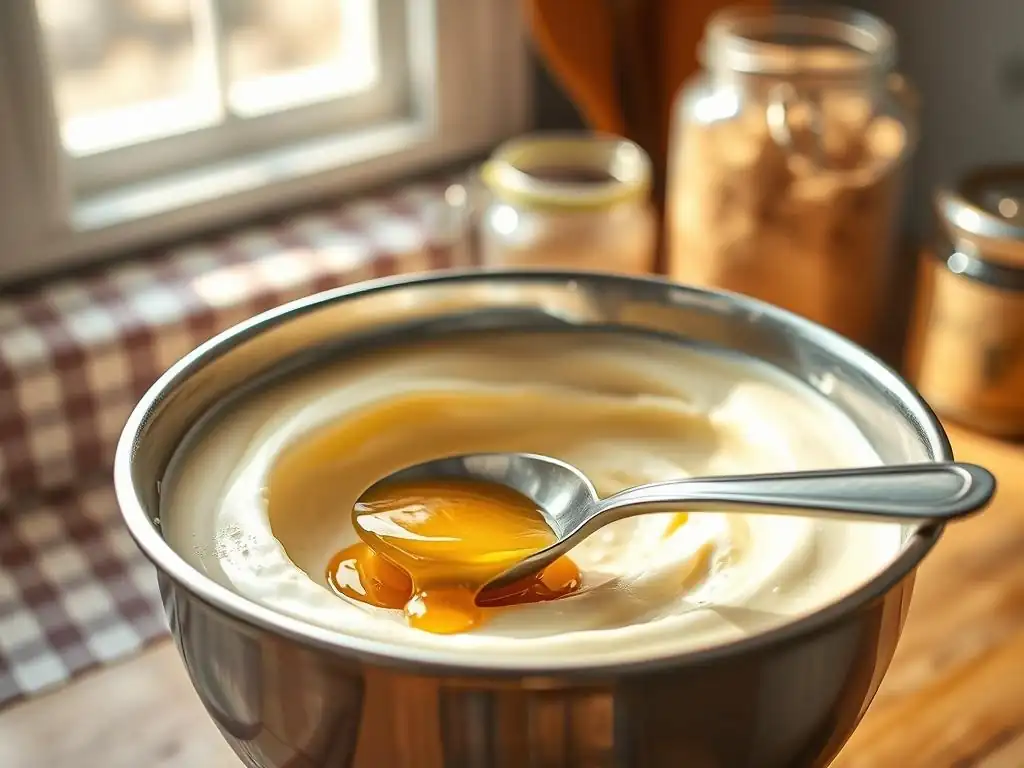
The sweetened condensed milk provides the majority of the sweetness required for no churn ice cream. A standard 14-ounce can contains a significant amount of sugar, which is perfectly balanced by the richness of the heavy cream. For most basic recipes, no additional sugar is needed beyond the condensed milk.
It's a good idea to taste the condensed milk mixture after adding your primary flavorings (like vanilla). While unlikely to need more sugar for the base itself, tasting helps you anticipate the final flavor profile, especially if you plan to add unsweetened mix-ins later. Remember, the sweetness will be slightly less pronounced when frozen compared to when it's liquid.
Step 4: Achieving a Smooth Consistency
This step is arguably the most critical for achieving the signature creamy texture of no churn ice cream. In a separate, clean bowl (or the same bowl if using a stand mixer and cleaning it), whip the very cold heavy cream. Start on a low speed, then gradually increase to medium-high or high speed.
Whip the cream until stiff peaks form. This means that when you lift the whisk, the peaks stand straight up without drooping. Over-whipping can result in a grainy texture, while under-whipping won't incorporate enough air, leading to an icy result.
Once stiff peaks are achieved, gently fold about one-third of the whipped cream into the condensed milk mixture using a spatula. Mix until just combined, then gently fold in the remaining whipped cream in two additions, being careful not to deflate the air you've whipped in. This air is what gives no churn ice cream its light, smooth texture without churning.
Step 5: Freezing for the Ideal Texture
After gently folding the whipped cream into the condensed milk mixture, you should have a light, airy, and uniformly combined base. Carefully pour or spoon this mixture into your chosen freezer-safe container, such as a loaf pan or an airtight plastic tub. Smooth the top with your spatula if desired.
To prevent ice crystals from forming on the surface, press a layer of plastic wrap directly onto the surface of the ice cream mixture before putting on the lid or covering the pan tightly with foil. Place the container in the freezer for at least 6-8 hours, or preferably overnight, to allow it to freeze solid and develop its creamy texture. A typical home freezer set to 0°F (-18°C) works well for this process.
Flavor Variations: Expanding Your Ice Cream Repertoire
Vanilla Bean Ice Cream: A Timeless Classic
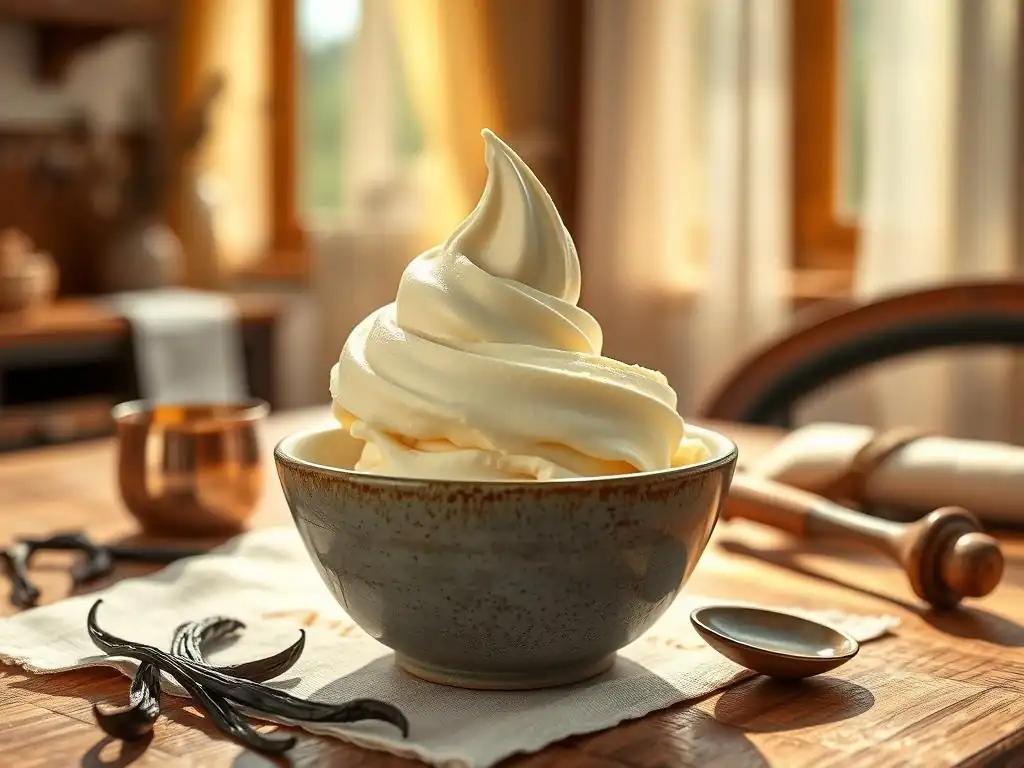
Elevating the classic vanilla no churn ice cream is simple by using real vanilla bean. Instead of, or in addition to, vanilla extract, scrape the seeds from one vanilla bean pod and add them to the sweetened condensed milk mixture in Step 1. The tiny black flecks distribute throughout the ice cream, providing a more complex and aromatic vanilla flavor.
Alternatively, you can use high-quality vanilla bean paste, typically 1 to 2 tablespoons, stirred into the condensed milk. This offers a similar intense flavor and visible vanilla specks. The rich base of the no churn ice cream is the perfect canvas to showcase the pure, exquisite taste of real vanilla.
Rich Chocolate Ice Cream: For Chocolate Enthusiasts
Creating a decadent chocolate no churn ice cream is straightforward. Melt about 4 to 6 ounces of good quality chocolate (dark, milk, or semi-sweet, depending on your preference) and let it cool slightly. Stir the melted chocolate into the condensed milk mixture in Step 1 until completely smooth and uniform.
Alternatively, you can whisk in about 1/2 cup of unsweetened cocoa powder (Dutch-processed works well for a deeper color and smoother flavor) into the condensed milk. Ensure there are no lumps. Proceed with folding in the whipped cream as usual. The result is a rich, intensely chocolatey no churn ice cream that satisfies any cocoa craving.
Fresh Strawberry Ice Cream: A Taste of Summer
Capture the essence of summer with a vibrant strawberry no churn ice cream. Hull and puree about 1 to 1.5 cups of fresh strawberries. For a more intense flavor and less water content (which can cause iciness), you can cook the puree down slightly in a saucepan for a few minutes and let it cool completely.
Stir the cooled strawberry puree into the sweetened condensed milk mixture in Step 1. A squeeze of fresh lemon juice (about 1 teaspoon) can brighten the strawberry flavor. The natural moisture in the strawberries means it's extra important to follow the freezing instructions carefully to prevent ice crystals, but the resulting fruity no churn ice cream is well worth the effort.
Bold Coffee Ice Cream: A Caffeine Kick
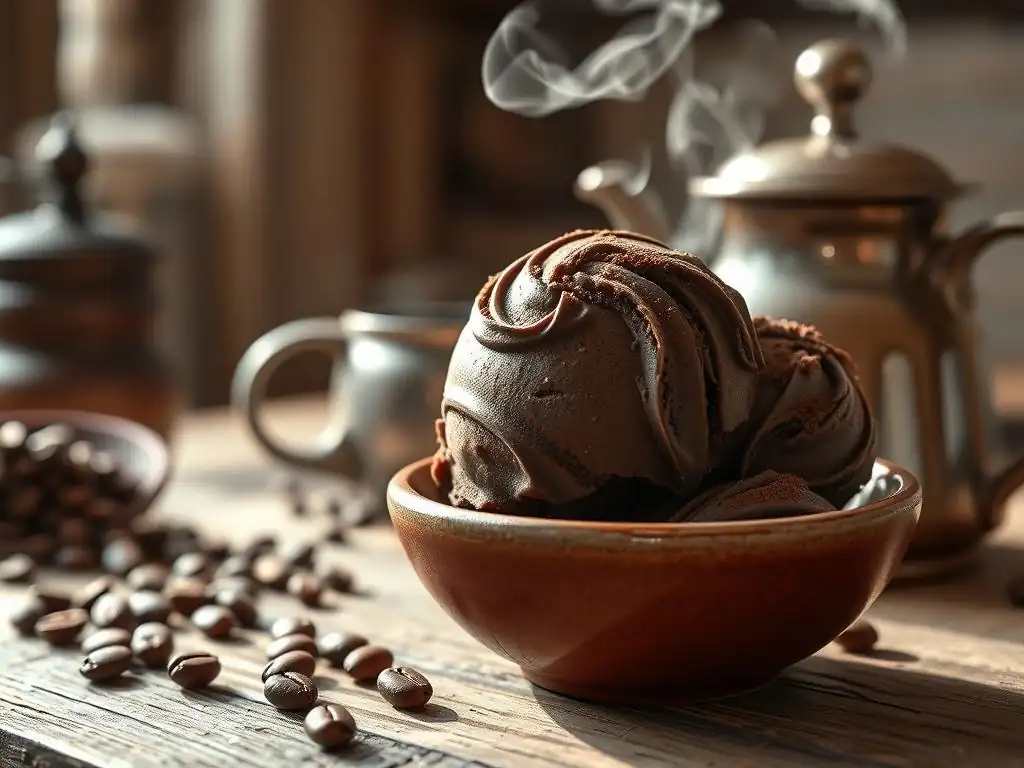
For coffee lovers, a bold coffee no churn ice cream is a perfect treat. Dissolve 2 to 3 tablespoons of instant espresso powder or instant coffee granules in 2 tablespoons of hot water. Let it cool completely.
Stir the cooled, dissolved coffee mixture into the sweetened condensed milk in Step 1. You can adjust the amount of coffee for a stronger or milder flavor. If you prefer using brewed coffee, reduce about 1/4 cup of very strong brewed coffee on the stovetop until it's concentrated, cool it, and then mix it in. The condensed milk base blends beautifully with the coffee, creating a smooth and invigorating no churn ice cream.
Mint Chocolate Chip Ice Cream: A Refreshing Favorite
A refreshing mint chocolate chip no churn ice cream is easy to achieve. Stir 1/2 to 1 teaspoon of pure peppermint extract (start with less and add more to taste, as it's potent) into the sweetened condensed milk mixture in Step 1. Avoid using "mint" extract, which often tastes like spearmint; peppermint is the key flavor here.
Once the whipped cream is folded in, gently stir in about 1 cup of finely chopped dark chocolate or mini chocolate chips. Folding them in at the end ensures they are evenly distributed without sinking. The combination of cool peppermint and rich chocolate makes this no churn ice cream a delightful classic.
Tips and Tricks for Ice Cream Success
Achieving a Smooth and Creamy Texture
The key to a perfectly smooth and creamy no churn ice cream lies in two main factors: the ingredients and the technique. Using full-fat heavy cream (35% or more) is crucial, as the fat contributes significantly to the rich texture. Whipping the cream to stiff peaks incorporates air, which is essential for a light, scoopable result without churning.
Equally important is the gentle folding of the whipped cream into the condensed milk mixture. Avoid vigorous mixing that could deflate the air. The sweetened condensed milk itself plays a vital role; its high sugar content inhibits the formation of large, icy crystals during freezing, working in tandem with the air from the whipped cream to create that desirable creamy consistency.
Preventing Ice Crystals: Expert Advice
While the condensed milk helps, preventing ice crystals entirely in no churn ice cream requires a couple of extra steps. First, ensure your container is truly airtight. Air exposure is a major culprit for freezer burn and ice crystal formation.
Second, pressing plastic wrap directly onto the surface of the ice cream before putting the lid on creates an extra barrier against air and moisture. Ensure the plastic wrap touches the entire surface. Freezing the ice cream quickly also helps; ensure your freezer is set to a proper freezing temperature, ideally 0°F (-18°C) or below, and place the container in the coldest part of the freezer.
Storing Your Ice Cream Properly
Proper storage is essential to maintain the quality and texture of your homemade no churn ice cream. Always use an airtight container, preferably one designed for freezing. This prevents moisture loss and protects against absorbing freezer odors.
Place a layer of plastic wrap directly on the surface of the ice cream before securing the lid. While no churn ice cream can last for several weeks in the freezer, its texture is typically best within the first 2-3 weeks. After that, it may gradually lose some of its initial creaminess, though it will still be perfectly safe to eat.
Troubleshooting Common Ice Cream Issues
Even with a simple recipe, sometimes things don't go exactly as planned with no churn ice cream. If your ice cream freezes too hard, it likely needs to soften slightly at room temperature for 5-10 minutes before scooping. This is normal for homemade ice cream compared to commercial varieties with stabilizers.
If your ice cream turns out icy, it's usually because the heavy cream wasn't whipped to stiff peaks, or the whipped cream was folded in too vigorously, causing it to deflate. Insufficiently cold cream or a freezer that isn't cold enough can also contribute to iciness. Ensure your cream is very cold before whipping and your freezer is set correctly.
Serving Suggestions: Savoring Your Homemade Creation
Classic Scoops: The Perfect Serving
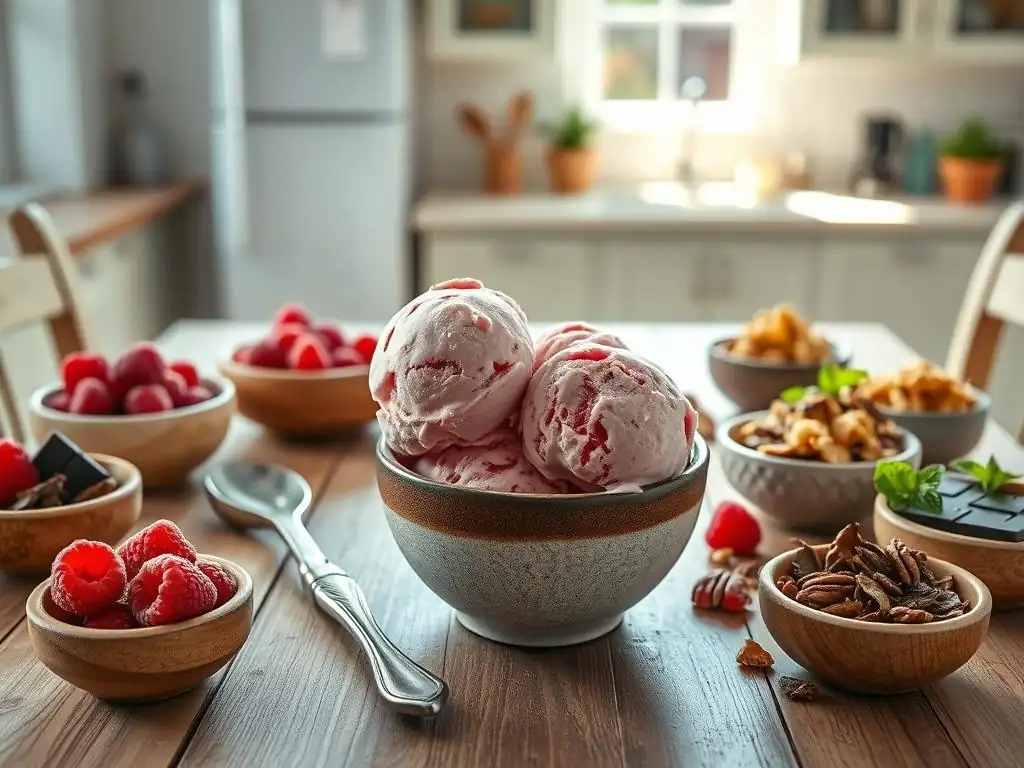
Sometimes, the simplest presentation is the best. Serving your no churn ice cream in classic scoops allows its creamy texture and pure flavor to shine. For the easiest scooping experience, let the ice cream sit at room temperature for a few minutes to soften slightly.
Using a scoop that has been dipped in warm water can also help create perfectly round spheres. A standard batch made with 2 cups of cream and a can of condensed milk typically yields around 1.5 quarts, which translates to about 12-16 generous scoops, perfect for sharing.
Ice Cream Sandwiches: A Fun Dessert
Transform your no churn ice cream into delightful ice cream sandwiches. Bake or buy your favorite cookies – classic chocolate chip, chewy sugar cookies, or even soft brownies work wonderfully. Allow the cookies or brownies to cool completely.
Place a scoop of slightly softened no churn ice cream onto the flat side of one cookie or brownie. Gently press another cookie or brownie on top to create a sandwich. You can roll the edges in sprinkles or mini chocolate chips if desired. Wrap them individually and freeze for at least 30 minutes to firm up before serving.
Ice Cream Sundaes: Unleash Your Creativity
Homemade no churn ice cream is the perfect base for building epic sundaes. Start with a few scoops in a bowl and let your creativity flow with toppings. Classic options include hot fudge sauce, warm caramel sauce, whipped cream, chopped nuts (like peanuts or walnuts), and colorful sprinkles.
Don't limit yourself to the classics! Fresh fruit (sliced strawberries, blueberries, banana), chopped candy bars, cookie pieces, or a drizzle of fruit syrup also make fantastic additions. The possibilities for customizing your no churn ice cream sundae are virtually endless.
Pairing Ice Cream with Complementary Desserts
Serving a scoop of no churn ice cream alongside a warm dessert creates a delightful contrast in temperature and texture. A scoop of vanilla or coffee no churn ice cream is heavenly next to a slice of warm apple pie or a molten chocolate lava cake.
Pairing strawberry no churn ice cream with shortcake or serving chocolate no churn ice cream with warm brownies or churros elevates both desserts. The cool, creamy texture of the ice cream provides a refreshing counterpoint to warm, often richer, baked goods.
Preparing Ice Cream in Advance: Ideal for Gatherings
One of the many benefits of making no churn ice cream is how perfectly suited it is for advance preparation. Since it requires a minimum of 6-8 hours (and ideally overnight) to freeze properly anyway, it's a dessert you can easily make a day or two before you plan to serve it.
This makes no churn ice cream an excellent choice for entertaining. You can prepare multiple flavors in advance, store them in the freezer, and have them ready to scoop and serve when your guests arrive, freeing up your time on the day of the gathering. A standard batch provides enough to serve approximately 6-8 people generously, making it convenient for small to medium-sized get-togethers.
Frequently Asked Questions
What exactly is no-churn ice cream, and how does it differ from traditional ice cream?
No-churn ice cream eliminates the need for an ice cream maker. It typically relies on ingredients like whipped cream and condensed milk to achieve a creamy texture without churning.
What are the basic ingredients required to make no-churn ice cream?
The core ingredients usually include heavy cream, which is whipped to incorporate air, and sweetened condensed milk, which provides sweetness and a smooth consistency. Flavorings are added to customize.
Is no-churn ice cream as creamy and delicious as ice cream made in an ice cream maker?
While the texture might be slightly different, no-churn ice cream can be incredibly creamy and delicious. The high fat content of the ingredients contributes to a rich and satisfying result.
How long does it take for no-churn ice cream to freeze properly?
Typically, no-churn ice cream needs at least 6-8 hours in the freezer to fully set. It's best to allow it to freeze overnight for optimal texture.
Can I add different flavors and mix-ins to my no-churn ice cream?
Absolutely! No-churn ice cream is highly customizable. You can add extracts, fruit purees, chocolate chips, nuts, cookies, or almost any other flavoring or mix-in you desire.
Final Reflection: The Enduring Allure of Effortless Indulgence
The simplicity of no-churn ice cream transcends mere convenience; it unlocks a world of culinary creativity for everyone. This method, once a niche technique, has exploded in popularity, democratizing the dessert experience and empowering home cooks to craft delicious, personalized treats without the need for specialized equipment. The ease of preparation allows for experimentation and exploration, transforming the kitchen into a laboratory of flavor.
The impact of no-churn ice cream extends beyond individual kitchens; it represents a shift in our relationship with food, prioritizing accessibility and enjoyment over technical expertise. It's a testament to the power of simple recipes to connect us to the joy of creating and sharing. The best things in life are simple,
a sentiment perfectly encapsulated by this delightful dessert. This accessibility has fostered a vibrant online community, sharing recipes, variations, and inspiring each other to push the boundaries of flavor combinations.
Now, it's your turn. Don't let the fear of complicated recipes or specialized equipment hold you back. Embrace the simplicity of no-churn ice cream, experiment with your favorite flavors, and share the creamy bliss with those you love. The journey to creating your perfect scoop awaits – a journey fueled by creativity, simplicity, and the undeniable satisfaction of homemade goodness.
Unlock Your Inner Ice Cream Artisan!
Thanks for joining us on this delicious journey into the world of no-churn ice cream! You've just discovered the easiest way to create creamy, dreamy desserts at home. Ready to take your ice cream game to the next level?
- Whip up your first no-churn masterpiece today! Use the recipe we've provided (or get creative and experiment with your own flavors! ).
- Share your frozen creations on social media using #BakeWithEaseNoChurn – let's see those delightful results!
- Explore our other easy dessert recipes on BakeWithEase.com for more sweet inspiration.
What unique flavor combination will you create with your newfound no-churn expertise?