
Beginner's Guide to Homemade Ice Cream: Simple Steps Start Here

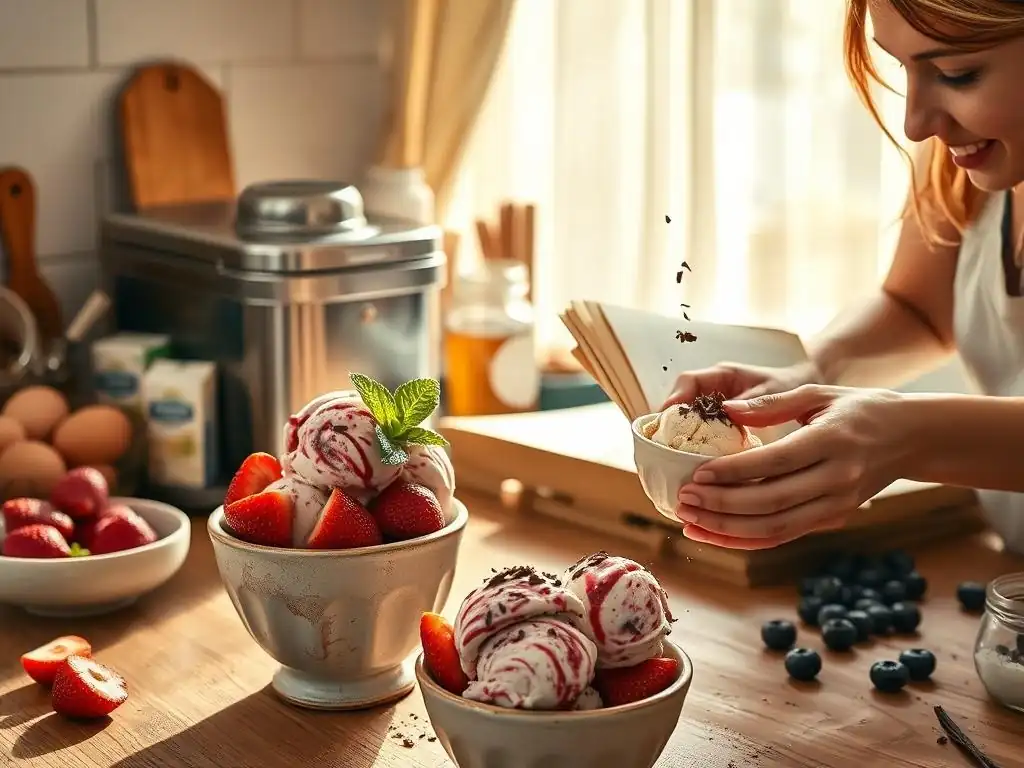
Welcome to BakeWithEase, your haven for baking brilliance! Curious about crafting the perfect summer treat? Discover the surprisingly simple secrets to easy homemade ice cream recipes with our beginner-friendly guide. Unleash your inner artisan and learn how to create delicious, creamy ice cream right in your own kitchen – no fancy equipment needed. Intrigued? Let's get started on a sweet adventure!
- Introduction to Easy Homemade Ice Cream Recipes
- Essential Equipment for Easy Homemade Ice Cream
- Simple Homemade Ice Cream Recipes: A Step-by-Step Guide
- Mastering the Ice Cream Base: Key Ingredients and Techniques
- Tips and Tricks for Perfect Homemade Ice Cream
- Troubleshooting Common Ice Cream Making Problems
- Variations and Creative Add-Ins for Homemade Ice Cream
- Beyond the Basics: Taking Your Homemade Ice Cream to the Next Level
- Conclusion: Enjoying Your Easy Homemade Ice Cream Creations
- Frequently Asked Questions
- Final Reflection: The Sweet Simplicity of Homemade Happiness
- Unlock Your Inner Ice Cream Maestro!
Introduction to Easy Homemade Ice Cream Recipes
Making your own ice cream at home might sound complicated, but it's surprisingly straightforward and incredibly rewarding. Forget the store-bought tubs; nothing compares to the fresh, vibrant flavor and creamy texture of ice cream made right in your own kitchen. This guide is designed specifically for beginners, offering simple steps and reliable techniques to help you master easy homemade ice cream recipes. We'll walk you through everything from essential equipment to basic recipes and troubleshooting tips, making your journey into the world of frozen treats a delicious success.
Embarking on the adventure of making your own ice cream is a fantastic way to explore new flavors and enjoy a fun activity, whether you're doing it alone or with family. Our focus is on easy homemade ice cream recipes that don't require specialized skills or exotic ingredients. By following these simple steps, you'll be able to create delightful frozen desserts that are fresher, more flavorful, and often more economical than what you find in the freezer aisle. Get ready to churn your way to sweet, frozen perfection!
Why Make Your Own Ice Cream? The Benefits of Homemade
There are numerous advantages to making your own ice cream. First and foremost is the unparalleled freshness and flavor. When you make ice cream at home, you use fresh ingredients, often without the stabilizers, emulsifiers, or artificial flavors found in many commercial varieties. This results in a cleaner, more intense taste that highlights the quality of your ingredients. For instance, vanilla ice cream made with real vanilla bean paste tastes dramatically different from one made only with artificial extract. You have complete control over the flavor profile, allowing you to adjust sweetness, add favorite mix-ins, and create unique combinations.
Beyond taste, making homemade ice cream offers control over the ingredients and can be more cost-effective in the long run. You can choose organic dairy, use less sugar, or cater to specific dietary needs or allergies, such as making dairy-free versions with coconut milk or almond milk.
While the initial investment in an ice cream maker might seem like a barrier, the cost per serving of homemade ice cream is often significantly lower than purchasing premium store-bought brands, potentially saving you money over time, especially if your family enjoys ice cream frequently. Plus, the satisfaction of creating something delicious from scratch is a reward in itself.
Understanding the Basics of Ice Cream Making
At its core, making ice cream involves two main processes: freezing and incorporating air. A standard ice cream base, typically a mixture of dairy (milk, cream), sugar, and flavorings, needs to be chilled thoroughly before churning. Chilling is crucial because it helps the mixture freeze faster once it's in the ice cream maker. The faster the freezing process, the smaller the ice crystals, resulting in a smoother texture. Aim to chill your base in the refrigerator for at least 4-6 hours, or preferably overnight, until it's very cold, ideally below 40°F (4°C).
The second critical step is churning, which is usually done in an ice cream maker. The churning process simultaneously freezes the mixture and whips air into it. This air is what gives ice cream its light, scoopable texture; without it, you'd end up with a solid block of ice.
Churning also constantly scrapes the freezing mixture from the sides of the ice cream maker bowl, preventing large ice crystals from forming. The duration of churning varies depending on the machine and recipe but typically ranges from 15 to 30 minutes, resulting in a soft-serve consistency that then needs further hardening in the freezer.
Essential Equipment for Easy Homemade Ice Cream
You don't need a professional kitchen setup to make delicious ice cream at home. Several basic tools will make the process smooth and enjoyable. Having the right equipment ensures your ingredients are properly mixed, chilled, and churned, leading to consistently good results. Let's look at the must-have items for beginners venturing into easy homemade ice cream recipes.
While the absolute essentials will get you started, a few optional pieces of equipment can elevate your ice cream making experience. These tools can help with precision, storage, and overall ease, making your journey from simple bases to more complex flavors even more rewarding. Consider adding these to your collection as you become more comfortable with the basics.
Must-Have Tools for Beginners
The most crucial piece of equipment for making easy homemade ice cream is an ice cream maker. There are several types available, but thermal (freezer bowl) models are popular for beginners due to their affordability and simplicity. These require you to freeze the bowl for 12-24 hours before use. Other types include compressor models (which have their own freezing element) and rock salt/ice models. A standard thermal bowl machine typically yields about 1 to 1.5 quarts of ice cream per batch.
Beyond the ice cream maker, you'll need a few other common kitchen items. A large mixing bowl is essential for preparing your ice cream base. A whisk or electric mixer helps ensure your ingredients are well combined and smooth. A flexible spatula is invaluable for scraping down the sides of bowls and transferring the base to the ice cream maker. Finally, you'll need an airtight container for storing your finished ice cream in the freezer; specialized ice cream tubs or good quality plastic containers work well.
Optional Equipment That Enhances Your Ice Cream Making
While not strictly necessary for your first few batches, a few items can significantly improve your results. A fine-mesh sieve is useful for straining your ice cream base, especially custard-based recipes with egg yolks, to remove any lumps or unincorporated solids, resulting in a smoother final product. A candy thermometer can be helpful if you're making cooked custard bases, ensuring you reach the correct temperature (around 175°F or 79°C) to properly cook the eggs without scrambling them.
Another helpful item is an immersion blender or regular blender. While a whisk works for simple bases, a blender can create an exceptionally smooth and emulsified base, leading to a creamier texture. Lastly, specialized ice cream scoops and storage containers designed to minimize ice crystal formation (often with double walls or specific shapes) can enhance your serving and storage experience. Investing in these as you progress can make your homemade ice cream even more professional-looking and tasting.
Simple Homemade Ice Cream Recipes: A Step-by-Step Guide

Ready to start churning? Here are three easy homemade ice cream recipes perfect for beginners. We'll cover the classic favorite, vanilla, a crowd-pleasing chocolate, and a refreshing strawberry version. These recipes use minimal ingredients and straightforward techniques, proving that easy homemade ice cream recipes can be absolutely delicious. Follow these steps closely, and you'll be enjoying your first scoops in no time.
Each recipe provides a base that is simple to prepare and churn. Remember to chill your ice cream maker bowl (if using a thermal model) and your ice cream base thoroughly before you begin. The success of these easy homemade ice cream recipes relies on these foundational chilling steps. Let's get started with the timeless classic!
Recipe 1: Classic Vanilla Ice Cream for Beginners
Classic vanilla is the perfect starting point for making easy homemade ice cream. Its simple flavor profile allows you to focus on technique and achieving a creamy texture. This recipe uses a basic Philadelphia-style base, which doesn't require cooking eggs, making it even easier for beginners. It yields approximately 1.5 quarts.
This recipe is forgiving and versatile. Once you've mastered it, you can use it as a base for many other flavors by adding mix-ins after churning or adjusting the extracts. It's a foundational recipe for any collection of easy homemade ice cream recipes.
Ingredients for Classic Vanilla Ice Cream
- 2 cups (473 ml) heavy cream
- 1 cup (237 ml) whole milk
- ¾ cup (150 grams) granulated sugar
- 1 tablespoon pure vanilla extract
- Optional: Pinch of salt (enhances flavor)
Step-by-Step Instructions for Vanilla Ice Cream
- Combine the heavy cream, whole milk, and sugar in a large mixing bowl.
- Whisk the mixture until the sugar is completely dissolved. This may take a few minutes; ensure no sugar granules remain at the bottom.
- Stir in the vanilla extract and the optional pinch of salt.
- Cover the bowl and refrigerate the mixture for at least 4 hours, or preferably overnight, until it is very cold.
- Pour the chilled mixture into your ice cream maker and churn according to the manufacturer's instructions. This typically takes 15-25 minutes, until the ice cream is thickened to the consistency of soft-serve.
- Transfer the churned ice cream to an airtight container.
- Freeze for at least 2-4 hours to harden before serving.
Recipe 2: Easy Chocolate Ice Cream Recipe
Chocolate is another favorite that's surprisingly simple to make at home. This easy homemade ice cream recipe incorporates cocoa powder directly into the base, creating a rich, satisfying flavor without needing to melt chocolate. It's a great variation once you've tried the vanilla base. This recipe also yields about 1.5 quarts.
This method ensures the chocolate flavor is evenly distributed throughout the ice cream. Adjust the amount of cocoa powder slightly if you prefer a milder or more intense chocolate taste. It's a solid addition to your repertoire of easy homemade ice cream recipes.
Ingredients for Easy Chocolate Ice Cream
- 2 cups (473 ml) heavy cream
- 1 cup (237 ml) whole milk
- ¾ cup (150 grams) granulated sugar
- ½ cup (45 grams) unsweetened cocoa powder
- 1 teaspoon pure vanilla extract
- Optional: Pinch of salt
Step-by-Step Instructions for Chocolate Ice Cream
- In a large mixing bowl, whisk together the sugar and unsweetened cocoa powder, breaking up any clumps.
- Gradually whisk in the whole milk until the cocoa and sugar are dissolved and the mixture is smooth.
- Stir in the heavy cream and vanilla extract. Add the optional pinch of salt.
- Cover the bowl and refrigerate the mixture for at least 4 hours, or preferably overnight, until very cold.
- Pour the chilled chocolate base into your ice cream maker and churn according to the manufacturer's instructions, typically 20-30 minutes, until it reaches a soft-serve consistency.
- Transfer the churned ice cream to an airtight container.
- Freeze for at least 2-4 hours to harden before serving.
Recipe 3: Strawberry Ice Cream: A Fruity Delight
For a refreshing, fruity option, this easy homemade ice cream recipe featuring fresh strawberries is perfect. Using real fruit provides a bright, natural flavor and lovely pink color. This recipe requires a simple preparation step for the strawberries before mixing the base. It yields approximately 1.5 quarts.
The key to great strawberry ice cream is using ripe, flavorful berries. Macerating them with sugar helps draw out their juices and enhances their sweetness. This recipe is a wonderful example of how easy homemade ice cream recipes can incorporate fresh, seasonal ingredients.
Ingredients for Strawberry Ice Cream
- 2 cups (about 300 grams) fresh strawberries, hulled and sliced
- ¼ cup (50 grams) granulated sugar (for strawberries)
- 1 ¾ cups (414 ml) heavy cream
- ¾ cup (177 ml) whole milk
- ½ cup (100 grams) granulated sugar (for base)
- ½ teaspoon pure vanilla extract
- Optional: 1-2 teaspoons lemon juice (brightens flavor)
Step-by-Step Instructions for Strawberry Ice Cream
- In a medium bowl, combine the sliced strawberries and ¼ cup sugar. Stir gently and let sit for 30-60 minutes, stirring occasionally, until the strawberries have released their juices.
- You can leave the strawberries chunky or mash them slightly with a fork for a smoother texture. For an even smoother ice cream, you can purée the macerated strawberries (including juice) using an immersion blender or regular blender.
- In a large mixing bowl, whisk together the heavy cream, whole milk, and ½ cup sugar until the sugar is dissolved.
- Stir in the strawberry mixture (either chunky or puréed) and the vanilla extract. Add the optional lemon juice if desired.
- Cover the bowl and refrigerate the base for at least 4 hours, or preferably overnight, until very cold.
- Pour the chilled strawberry base into your ice cream maker and churn according to the manufacturer's instructions, typically 20-30 minutes, until it reaches a soft-serve consistency.
- Transfer the churned ice cream to an airtight container.
- Freeze for at least 2-4 hours to harden before serving.
Mastering the Ice Cream Base: Key Ingredients and Techniques
Understanding the role of each ingredient in your ice cream base is fundamental to making consistently excellent easy homemade ice cream. The balance of dairy, sugar, and flavorings directly impacts the texture, sweetness, and overall quality of the final product. While our easy homemade ice cream recipes are simple, knowing the why behind the ingredients will help you troubleshoot and experiment later.
Getting the base right is the most important step before churning. Let's delve into how different components interact and contribute to that perfect scoop. Mastering these basics will build your confidence and skills for creating even more complex easy homemade ice cream recipes in the future.
Understanding Different Milk and Cream Ratios
The ratio of milk to cream in your base significantly affects the richness and texture of your homemade ice cream. Heavy cream contains a high percentage of fat, typically around 36% or more. Milk, particularly whole milk, has a much lower fat content, usually around 3.5%. Fat is crucial for creating a smooth, creamy texture because it coats ice crystals, preventing them from growing large and making the ice cream icy.
Using a higher proportion of heavy cream (like a 2:1 cream to milk ratio, as in our recipes) results in a richer, denser, and creamier ice cream. A lower proportion of cream and higher milk content will yield a lighter, less rich texture, which some prefer. Experimenting with these ratios in your easy homemade ice cream recipes allows you to customize the mouthfeel to your preference. Some bases even incorporate half-and-half or condensed milk for varying textures and sweetness levels.
The Role of Sugar in Homemade Ice Cream
Sugar is not just for sweetness in ice cream; it plays several vital roles. Primarily, it provides the sweetness that balances the richness of the dairy and enhances other flavors like vanilla or chocolate. However, sugar also significantly affects the texture. It acts as an antifreeze, lowering the freezing point of the mixture. This means the ice cream doesn't freeze solid like a block of ice but remains scoopable.
The type and amount of sugar used can influence texture. Granulated sugar is standard in most easy homemade ice cream recipes. Using too little sugar will result in a harder, icier ice cream, while too much can prevent it from freezing properly and make it excessively soft or syrupy. Typically, sugar makes up about 15-20% of the base by weight in classic recipes, though this can vary. Other sugars like corn syrup or invert sugar can further improve texture by interfering with ice crystal formation, but for beginners, granulated sugar is perfectly fine.
Flavor Enhancers: Vanilla Extract, Chocolate, and More
Flavor is where your homemade ice cream truly shines. Pure vanilla extract is a fundamental flavor enhancer, often used even in non-vanilla ice creams because it rounds out and enhances the dairy flavors. Using high-quality pure vanilla extract makes a noticeable difference compared to imitation vanilla. For a more intense vanilla flavor, consider using vanilla bean paste or scraping seeds from a vanilla bean pod, though extract is easiest for beginners.
Chocolate flavor can be introduced using unsweetened cocoa powder, as in our recipe, or by melting high-quality chocolate into a warm base (though this adds a step). Other popular flavor enhancers include coffee or espresso powder, fruit purées or pieces, extracts like almond or peppermint, and spices like cinnamon or nutmeg. When adding extracts, remember they are potent; a little often goes a long way. Incorporating these into your easy homemade ice cream recipes allows for endless creativity.
Tips and Tricks for Perfect Homemade Ice Cream
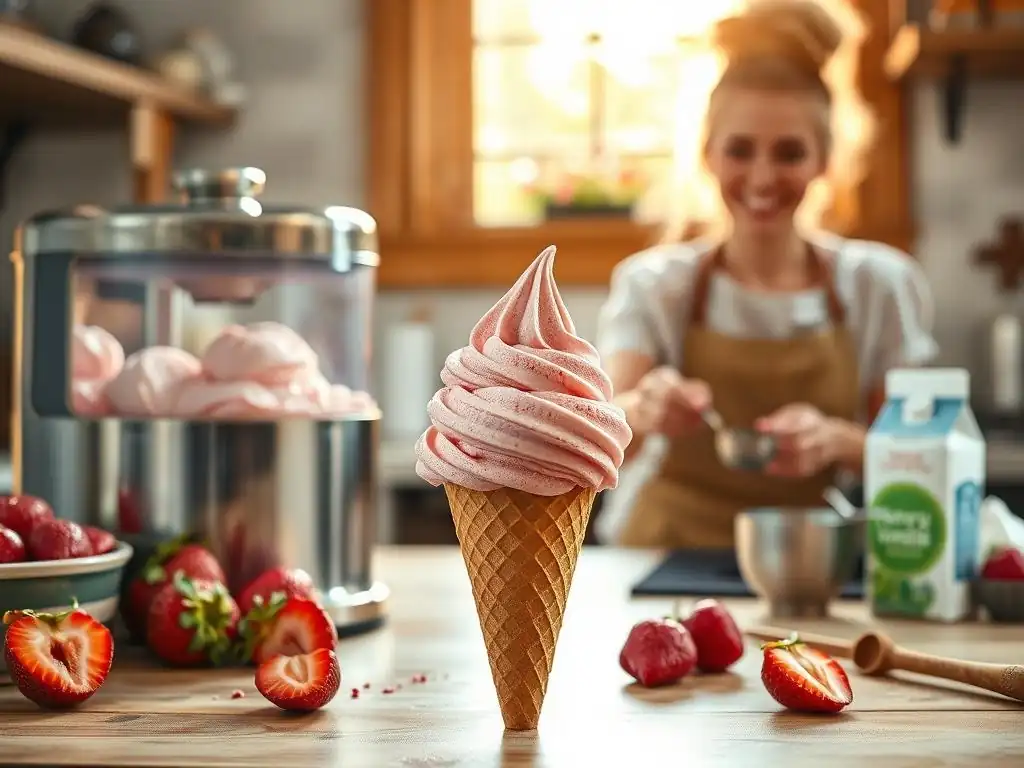
Making delicious easy homemade ice cream involves a few key practices that can dramatically improve the final texture and quality. Following these tips will help you achieve that smooth, creamy consistency you crave and ensure your ice cream stays delightful longer. These are simple techniques that make a big difference for beginners.
Paying attention to details before, during, and after churning can prevent common pitfalls and lead to consistently excellent results. Let's explore how to perfect the texture, avoid iciness, and store your frozen creations properly, enhancing your easy homemade ice cream recipes.
Achieving a Smooth and Creamy Texture
The secret to smooth, creamy ice cream lies in minimizing the size of ice crystals. The faster the mixture freezes while being churned, the smaller the crystals will be. This is why thoroughly chilling your base before churning is absolutely critical. A very cold base (ideally below 40°F or 4°C) freezes more quickly in the ice cream maker.
Churning itself is designed to incorporate air and simultaneously freeze the mixture rapidly while scraping down the sides. Ensure your ice cream maker bowl is properly frozen (if applicable) and the machine is running efficiently. Don't overfill the machine; leave room for the mixture to expand as air is incorporated. Once churning is complete and the ice cream is soft-serve consistency, transfer it immediately to a pre-chilled airtight container and place it in the coldest part of your freezer for final hardening.
Preventing Ice Crystals in Your Ice Cream
Even after successful churning, ice crystals can form during storage. This often happens if the ice cream melts slightly and then refreezes, or if moisture evaporates from the surface. To combat this, rapid freezing after churning is essential. Place your airtight container in the coldest part of your freezer, usually towards the back, where the temperature is most stable.
Using an airtight container is crucial to prevent moisture evaporation and keep freezer odors out. Press a piece of plastic wrap directly onto the surface of the ice cream before sealing the container for an extra layer of protection. Adding a small amount of alcohol (like a tablespoon of vodka in a large batch) or a touch of corn syrup to your base can also help lower the freezing point slightly and interfere with crystal formation, though this is optional for easy homemade ice cream recipes.
Storing Your Homemade Ice Cream Properly
Proper storage is key to maintaining the quality of your easy homemade ice cream. Always use an airtight container specifically designed for freezing or a high-quality plastic container with a tight-fitting lid. Avoid storing ice cream in open bowls or containers not meant for freezing, as this exposes it to air and moisture, leading to freezer burn and ice crystals.
Before putting the lid on, press a piece of plastic wrap or parchment paper directly onto the surface of the ice cream. This minimizes contact with air and helps prevent the formation of a hard, icy layer on top. Store the container in the back of your freezer, away from the door, where temperatures fluctuate less. Properly stored homemade ice cream can maintain its quality for about 2-3 weeks, though the texture is often best enjoyed within the first week.
Troubleshooting Common Ice Cream Making Problems
Even with easy homemade ice cream recipes, you might encounter a few bumps along the way. Don't worry, these are common issues, and most have simple solutions. Understanding what might have gone wrong is the first step to fixing it for your next batch. Making ice cream is a learning process, and each attempt helps you refine your technique.
We'll address some of the most frequent problems beginners face, such as icy texture, failure to freeze, and adjusting sweetness. By understanding the potential causes, you can troubleshoot your current batch or make adjustments for future easy homemade ice cream recipes.
My Ice Cream is Icy: What Went Wrong?
An icy texture is one of the most common complaints with homemade ice cream. The primary cause is the formation of large ice crystals. This can happen if the ice cream base was not thoroughly chilled before churning, leading to slow freezing in the machine. Slow freezing gives crystals more time to grow.
Other culprits include not churning for long enough (which means not enough air was incorporated and freezing wasn't fast enough), or improper storage after churning. If the ice cream melts and refreezes, large crystals will form. Ensure your base is very cold, your ice cream maker is ready, you churn until it's the consistency of soft-serve, and you transfer it quickly to an airtight container in the coldest part of the freezer for final hardening.
My Ice Cream Didn't Freeze: Possible Causes and Solutions
If your ice cream mixture doesn't seem to be freezing or thickening in the machine after the recommended churning time, there are a few potential reasons. The most likely cause for beginners using thermal bowl machines is that the freezer bowl was not frozen solid enough. It typically needs at least 12-24 hours in a very cold freezer (-0.4°F or -18°C or below) to be effective.
Another reason could be that the ice cream base itself wasn't sufficiently chilled before churning. It needs to be refrigerator-cold, ideally below 40°F (4°C). Also, check that you haven't drastically altered the recipe by adding too much liquid or not enough fat or sugar, as these affect the freezing point and consistency. Ensure your machine is assembled correctly and functioning properly according to the manufacturer's guide.
The Ice Cream is Too Sweet: Adjusting the Sugar Content
Sometimes, an easy homemade ice cream recipe turns out sweeter than you prefer. Sugar levels in recipes are often a matter of personal taste and can also depend on the sweetness of other ingredients, like fruit. If your ice cream is too sweet, you can adjust the sugar content in future batches.
For your next batch using the same recipe, try reducing the sugar amount by 10-20%. Remember that sugar also affects texture, so significantly reducing it might result in a slightly harder ice cream. You can compensate slightly by ensuring the base is very cold before churning and chilling it quickly after. Alternatively, balance the sweetness by adding ingredients with a slightly tart or bitter profile, such as a pinch of salt (which enhances flavor and can cut sweetness), cocoa powder, or lemon juice (as in the strawberry recipe).
Variations and Creative Add-Ins for Homemade Ice Cream
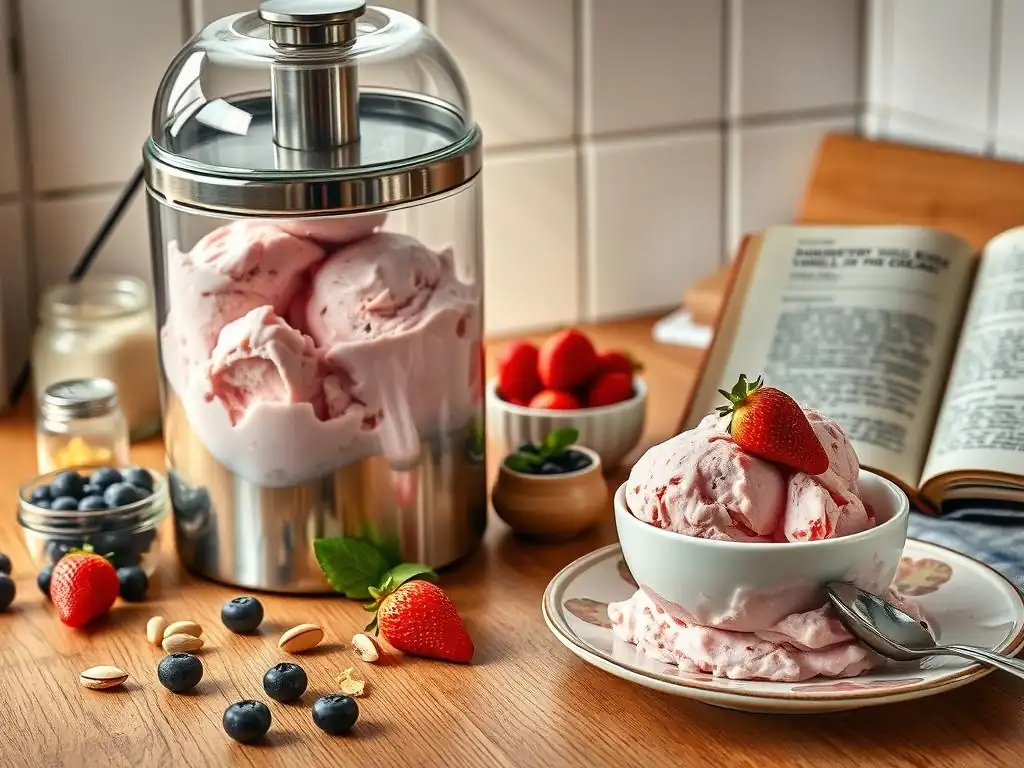
Once you've mastered the basic easy homemade ice cream recipes, it's time to get creative! Homemade ice cream is perfect for customization. Adding mix-ins, exploring different base ingredients, or combining unique flavors allows you to create truly personalized frozen treats. The possibilities are nearly endless, and it's a fun way to experiment in the kitchen.
Don't be afraid to venture beyond the simple vanilla, chocolate, and strawberry. Your ice cream maker is a canvas for culinary creativity. From classic additions to dairy-free options and adventurous flavor pairings, making ice cream offers exciting opportunities for delicious innovation.
Adding Fruits, Nuts, and Chocolate Chunks
Incorporating solid add-ins like fresh fruit pieces, chopped nuts, chocolate chips, cookie dough chunks, or candy pieces is a popular way to enhance your easy homemade ice cream recipes. The best time to add these is towards the very end of the churning cycle, usually in the last 5 minutes. This ensures they are evenly distributed throughout the ice cream without being pulverized by the churning paddle.
If adding fresh fruit, especially berries, make sure they are well-drained if you've macerated them, as excess liquid can make the ice cream icy. Nuts and chocolate can be chopped into small pieces, roughly ¼ to ½ inch, depending on your preference. For cookie dough or brownie pieces, ensure they are chilled or partially frozen before adding them to prevent them from melting into the base during churning.
Making Vegan and Dairy-Free Ice Cream
Easy homemade ice cream recipes can easily be adapted for vegan and dairy-free diets. Instead of using dairy milk and cream, you can substitute plant-based alternatives. Full-fat canned coconut milk is a popular choice because its high-fat content mimics the richness of dairy cream, resulting in a creamy texture. Other options include almond milk, soy milk, oat milk, or cashew milk, often combined with a thickener like cornstarch or a stabilizer like a small amount of vegetable oil to improve texture.
When substituting, you might need to adjust the sugar slightly, as some plant-based milks are sweeter or less sweet than dairy. The churning process remains the same. Dairy-free bases sometimes freeze harder than dairy versions, so allowing them to soften at room temperature for 5-10 minutes before scooping can be helpful. There are many fantastic easy homemade ice cream recipes specifically designed for dairy-free options.
Exploring Unique Flavor Combinations
Moving beyond traditional flavors is where the fun really begins. Think about your favorite flavor profiles from other desserts or drinks and how they might translate into ice cream. Coffee ice cream can be made by adding strong brewed coffee or espresso powder to the base. Mint chocolate chip can use peppermint extract and chocolate chips.
Consider combining flavors like lavender honey, lemon basil, or even savory notes like olive oil or sea salt caramel. Extracts, spices, citrus zest, and infusions (like steeping tea leaves or herbs in warm milk/cream before chilling) are great ways to introduce new flavors. Don't be afraid to experiment in small batches to find your new favorite easy homemade ice cream recipe!
Beyond the Basics: Taking Your Homemade Ice Cream to the Next Level
Once you're comfortable making easy homemade ice cream, you can start using it in more elaborate ways or exploring slightly more advanced techniques. Your delicious homemade creations are perfect for elevating other desserts or becoming the star of the show themselves. This is where your baking and dessert skills can truly complement your ice cream making.
Think about how your simple frozen bases can be transformed into impressive treats. From classic pairings to creative desserts, your homemade ice cream opens up a world of sweet possibilities.
Making Ice Cream Sandwiches and Sundaes
Using your homemade ice cream to make ice cream sandwiches or elaborate sundaes is a fantastic way to showcase your work. For sandwiches, scoop softened homemade ice cream between two cookies (like chocolate chip or peanut butter), brownies, or even slices of cake. Press gently, smooth the sides, and roll the edges in sprinkles, mini chocolate chips, or chopped nuts if desired. Wrap individually and freeze until firm.
Sundaes are even simpler – just scoop your fresh, creamy ice cream into a bowl and pile on your favorite toppings! Think homemade hot fudge sauce, caramel sauce, whipped cream, fresh fruit, chopped nuts, or a cherry on top. The superior texture and flavor of homemade ice cream truly make a difference in these classic presentations.
Using Homemade Ice Cream in Desserts
Homemade ice cream is a perfect accompaniment to many baked goods. A warm slice of apple pie or a rich chocolate lava cake is instantly elevated by a scoop of your smooth, creamy vanilla ice cream. Consider pairing fruit tarts with complementary fruit-flavored ice creams or serving a warm brownie with a scoop of homemade chocolate or coffee ice cream.
You can also use your homemade ice cream as an ingredient in other desserts. Think about making a stunning baked Alaska, where a dome of ice cream is covered in meringue and briefly baked, or incorporating it into milkshakes and smoothies for an extra rich and flavorful treat.
Experimenting with Different Ice Cream Flavors
Taking your easy homemade ice cream recipes further means continuously experimenting with new flavor combinations and ingredients. Try making a custard-based ice cream that uses egg yolks for an even richer, silkier texture (this requires cooking the base). Explore adding liqueurs (like rum or Kahlua) to your base; the alcohol helps keep the ice cream softer.
Consider infusing your milk or cream with spices (cinnamon sticks, star anise), citrus zest, or tea leaves before making the base. You can also swirl in sauces or fruit purées after churning but before freezing for beautiful patterns and bursts of flavor. Document your experiments – what worked, what didn't, and your precise ingredient amounts – to refine your own unique easy homemade ice cream recipes.
Conclusion: Enjoying Your Easy Homemade Ice Cream Creations
Congratulations! You've taken the first step into the wonderful world of making easy homemade ice cream. Starting with simple recipes and understanding the basic principles empowers you to create delicious, fresh frozen treats right in your own kitchen. From classic vanilla to fruity delights and beyond, the process is rewarding, and the results are undeniably superior to most store-bought options.
Remember that practice makes perfect. Don't be discouraged if your first batch isn't absolutely flawless. Each attempt will teach you more about your machine, your ingredients, and your freezer. Keep exploring easy homemade ice cream recipes, experiment with flavors and add-ins, and most importantly, share and enjoy the fruits (or should we say, frozen fruits!) of your labor with friends and family. Happy churning!
Frequently Asked Questions
What makes this ice cream guide beginner-friendly?
This guide focuses on simple steps and easy-to-find ingredients, making it perfect for those new to making ice cream. It avoids complex techniques and specialized equipment.
Do I need an ice cream maker for these recipes?
While an ice cream maker improves texture, some recipes in the guide offer no-churn options for those without one. These recipes still deliver delicious results.
Are the ice cream recipes in this guide customizable?
Absolutely! The guide emphasizes base recipes that can be easily customized with your favorite flavors and mix-ins. Experiment with fruits, chocolates, and more.
What kind of milk and cream should I use for the best results?
For the richest and creamiest ice cream, use whole milk and heavy cream. Lower-fat options can be used but will affect the final texture.
How long does homemade ice cream last in the freezer?
Homemade ice cream typically lasts for 1-2 weeks in the freezer, if stored properly in an airtight container. After that, it can develop ice crystals.
Final Reflection: The Sweet Simplicity of Homemade Happiness
The pursuit of creamy, delicious ice cream doesn't have to be a daunting task; this guide proves that crafting delightful frozen treats at home is surprisingly accessible. Making your own ice cream opens a world of flavor possibilities, allowing you to control ingredients and create unique combinations tailored to your preferences, a refreshing alternative to store-bought options.
The joy of homemade ice cream extends beyond the simple act of eating; it's about the process itself. The anticipation, the careful measuring, the satisfying churn – these are all elements that contribute to a richer, more meaningful experience. The best things in life are simple.
This sentiment rings particularly true when considering the uncomplicated pleasure derived from creating something delicious with your own hands. The ripple effect of this simple act can be profound, fostering a connection to food and a deeper appreciation for the ingredients that make up our favorite treats.
Now, it's your turn. Don't let the perceived complexity of ice cream making hold you back. Gather your ingredients, embrace the process, and experience the satisfaction of creating something truly special. The next time you crave a cool, sweet treat, remember the simplicity and joy of homemade ice cream. Let this be your invitation to embark on a delicious adventure, one scoop at a time.
Unlock Your Inner Ice Cream Maestro!
Thanks for joining us on this creamy adventure! You've now got the skills to craft delicious homemade ice cream – a treat that's both rewarding and surprisingly simple. Ready to take your ice cream game to the next level?
- Whip up your first batch tonight! Use the recipe we provided and experiment with your favorite flavors. Don't be afraid to get creative!
- Share your ice cream creations with us! Post a picture on social media using #BakeWithEaseIceCream and tag us – we’d love to see your masterpieces.
- Explore our other dessert recipes – you might discover your next favorite sweet treat!
What unexpected flavor combination will you try first? Let us know in the comments below!